OP
OP
WD Pro
Well-Known Member
- Joined
- Jan 18, 2018
- Threads
- 132
- Messages
- 6,800
- Reaction score
- 13,641
- Location
- United Kingdom
- Vehicle(s)
- Lime GT
- Vehicle Showcase
- 1
- Thread starter
- #151
I've not missed it, I've just not done anything with it yet ...Can't believe you have missed that bit of plastic trim not sitting flush on the left side of the centre console ! Mine were worse than that but if you take off the knee pad and refit everything they will go flush


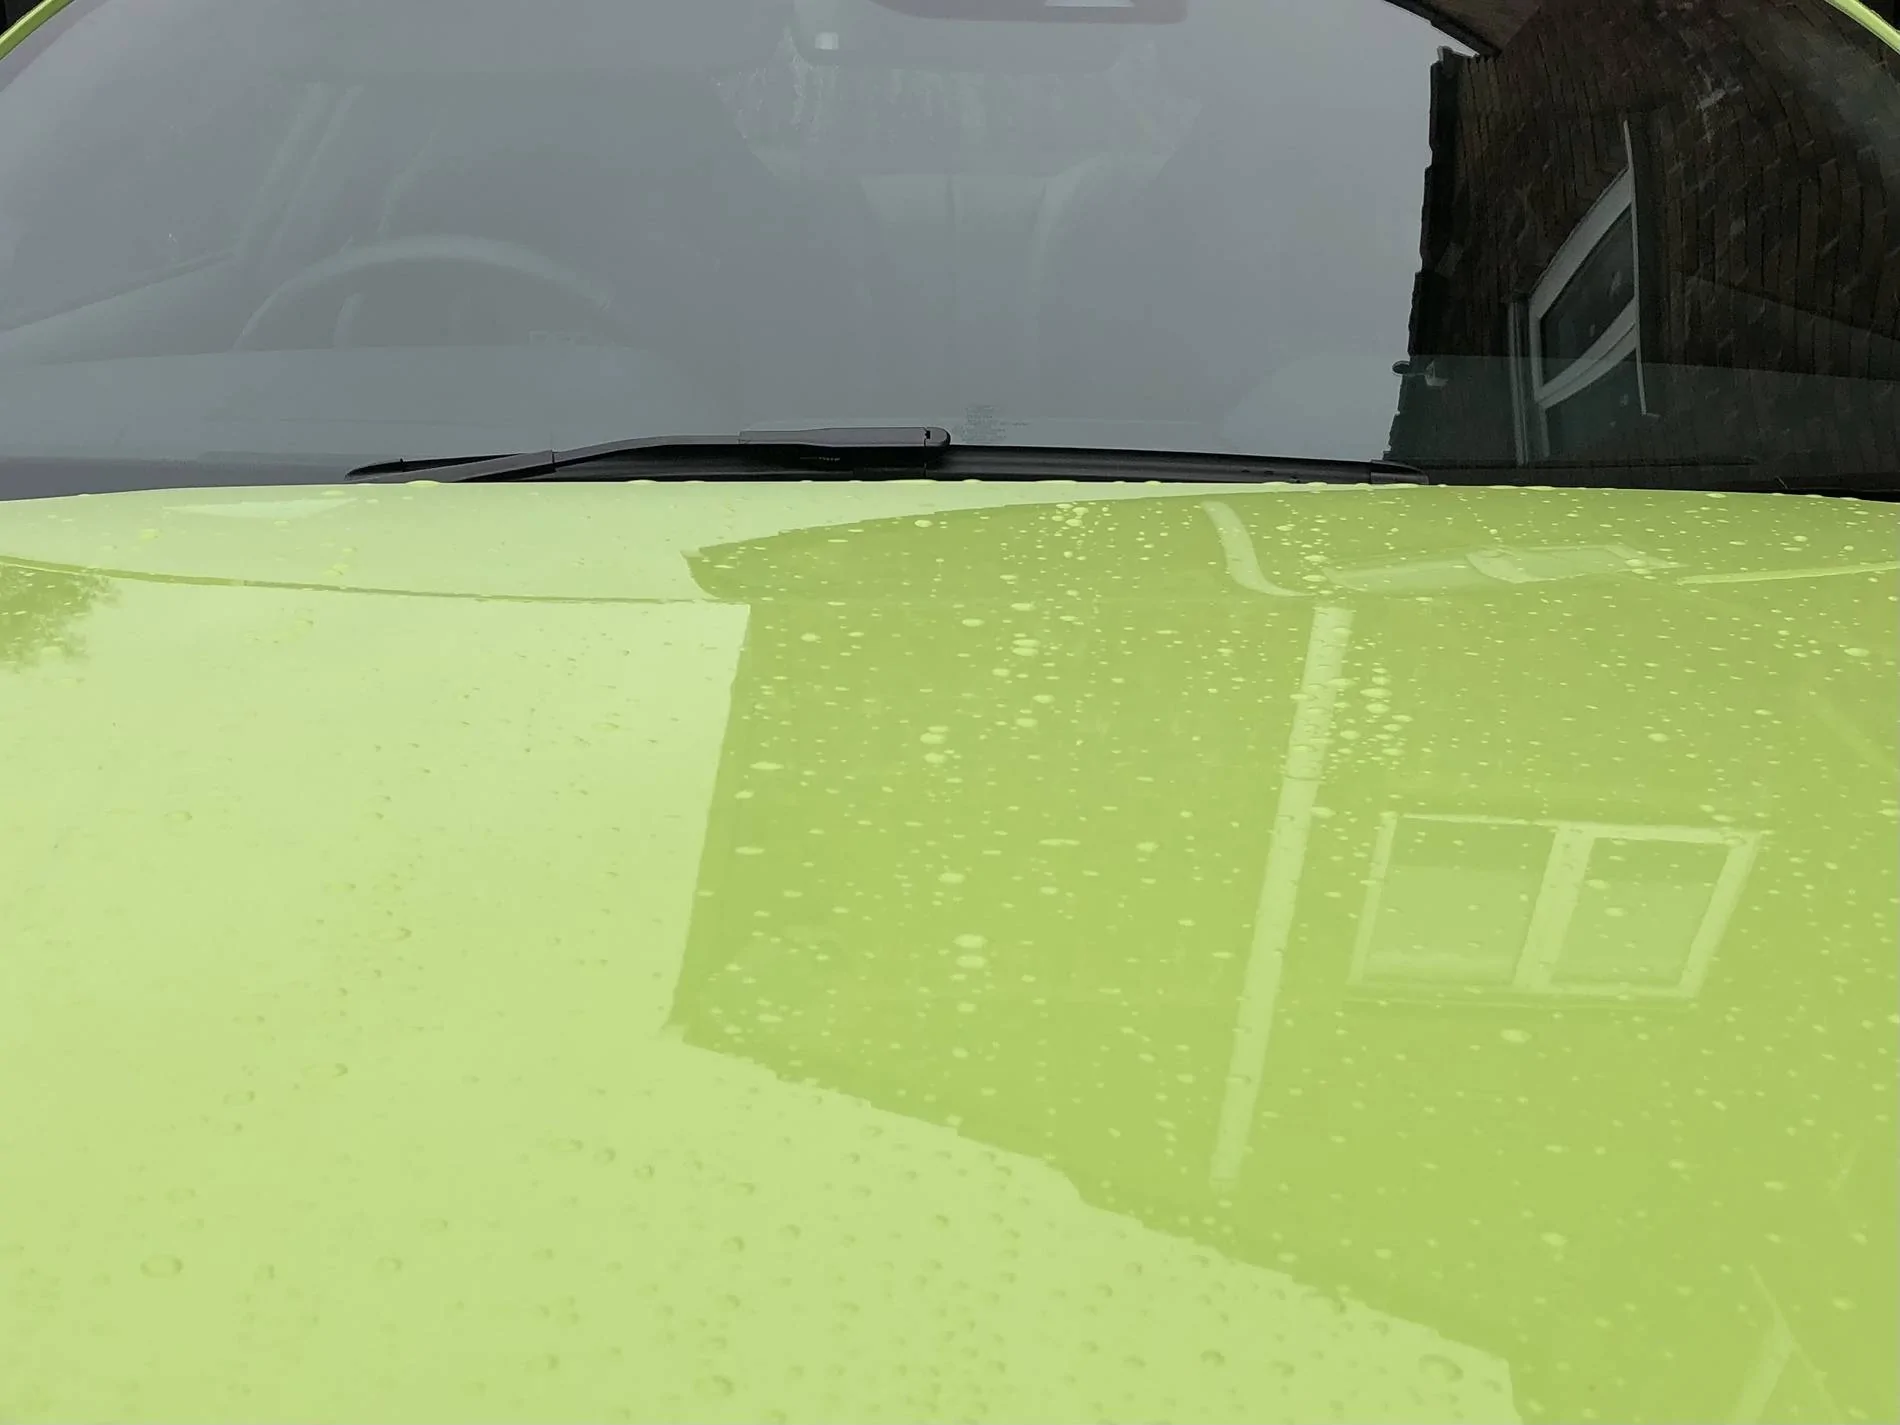
I noticed it when I went through the interior when I first got it. The 'leather' in that area was covered in trim glue which I cleaned off. That panel is like its been moulded banana shaped and appears slightly loose. I can get it to sit a bit better, but then it relaxes again (probably with car movement) into the position you see.
Does it come off easily ? If so, how ? (I don't want to break it). I had planned on a small piece of trim tape under it to hold it down and hold it in place

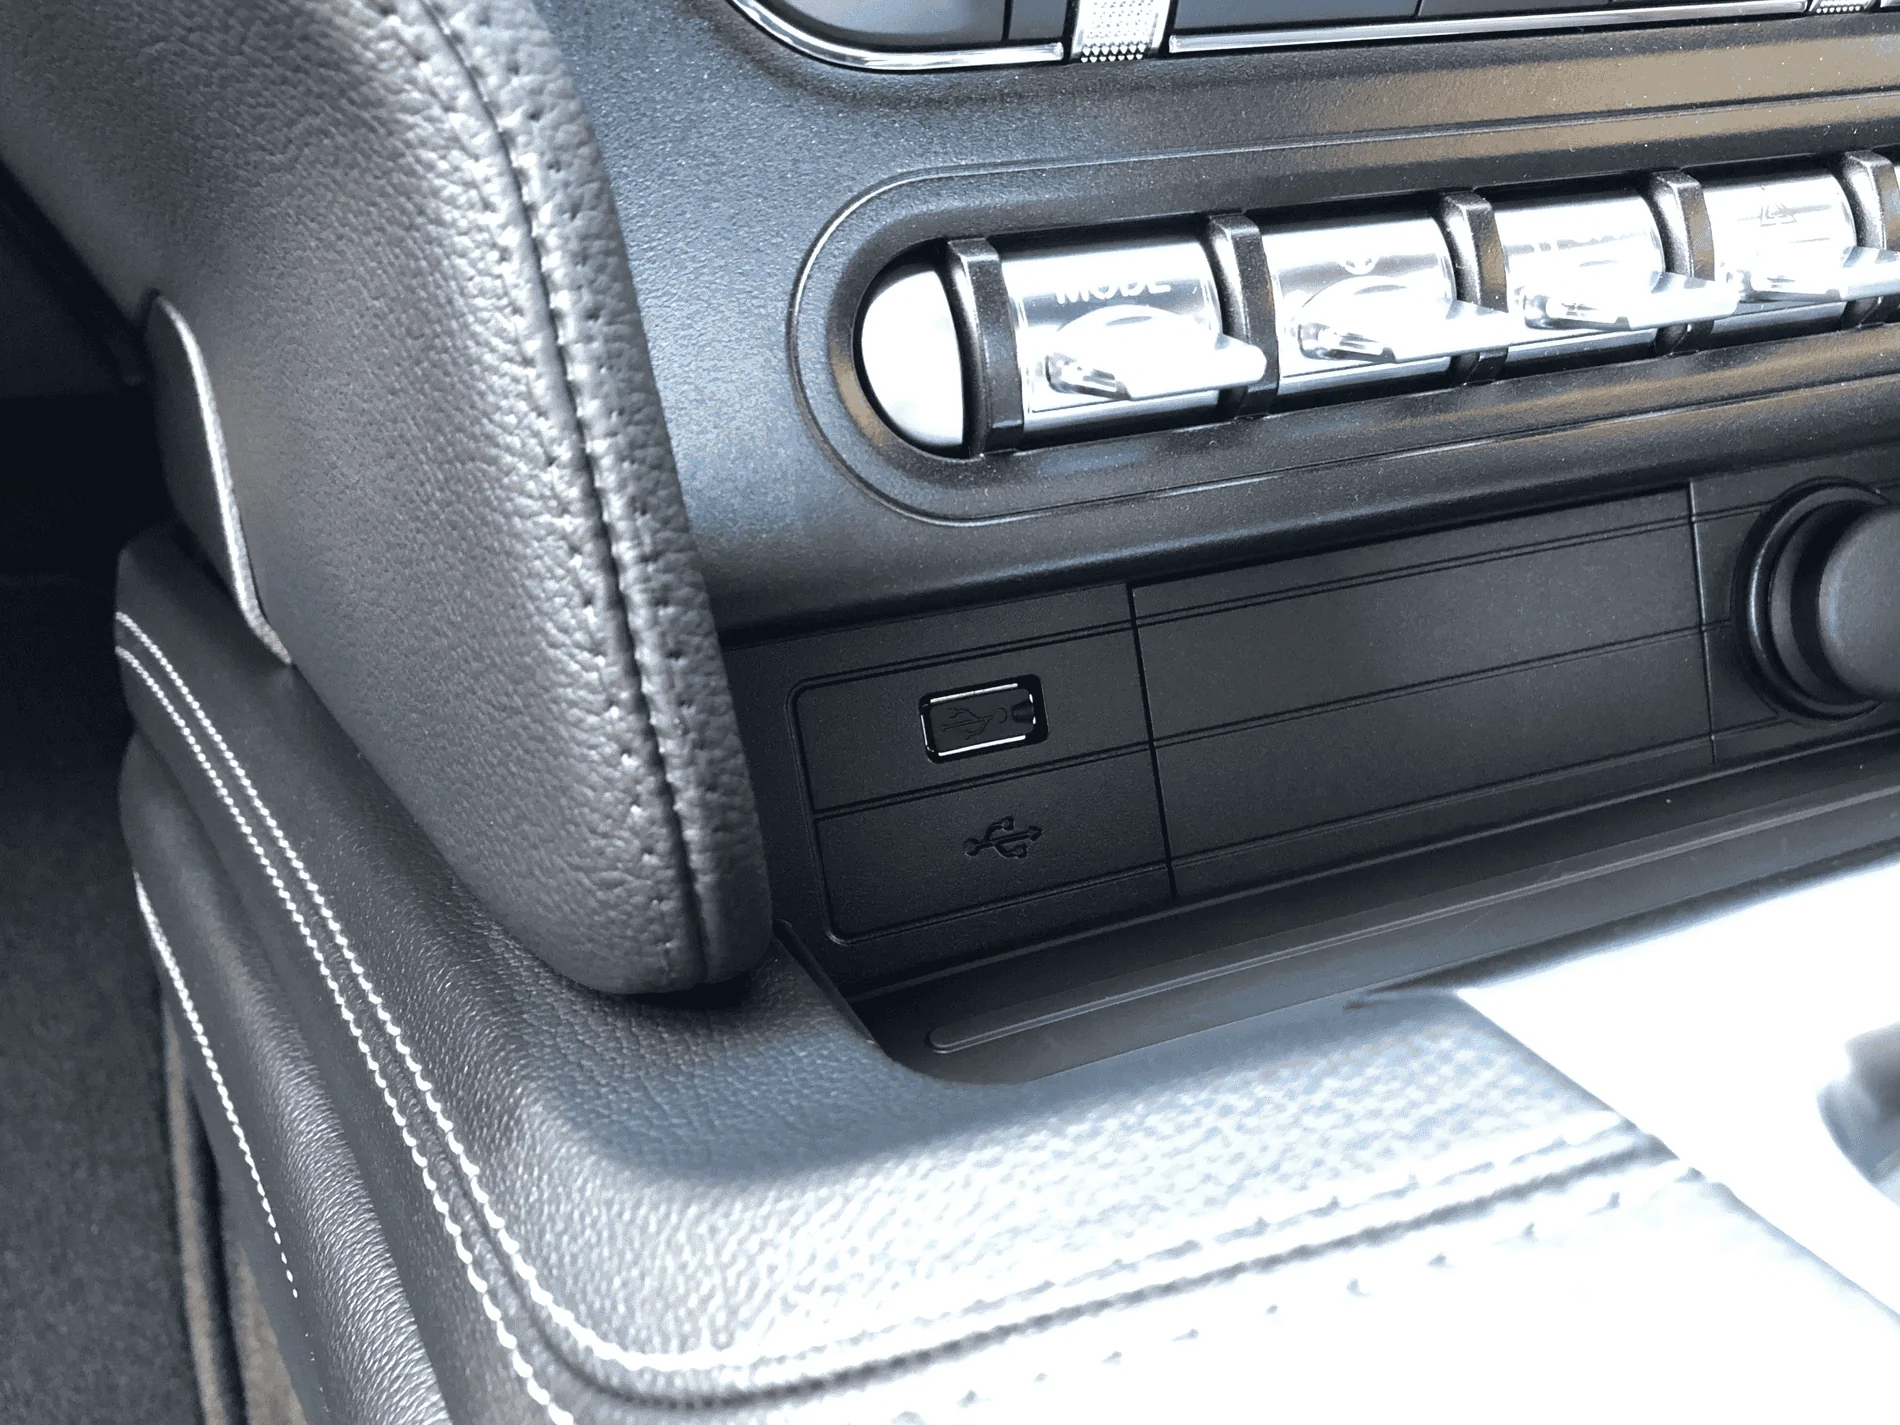
Dust plug for the USB, its the little things that make me happy ...Sorry, but I can't for the life of me figure out what I should see here.
Just that it's clean?

WD
Sponsored