Sponsored

Grabber Lime 2020 GT Build Thread

Jerry Carguy

Well-Known Member
Joined
Dec 30, 2021
Threads
51
Messages
269
Reaction score
274
Location
Michigan 48169
First Name
Jerry
Vehicle(s)
2021 California Special Black exterior
Thanks for the comment :like: but I’m not sure on the bit about German build quality … lol

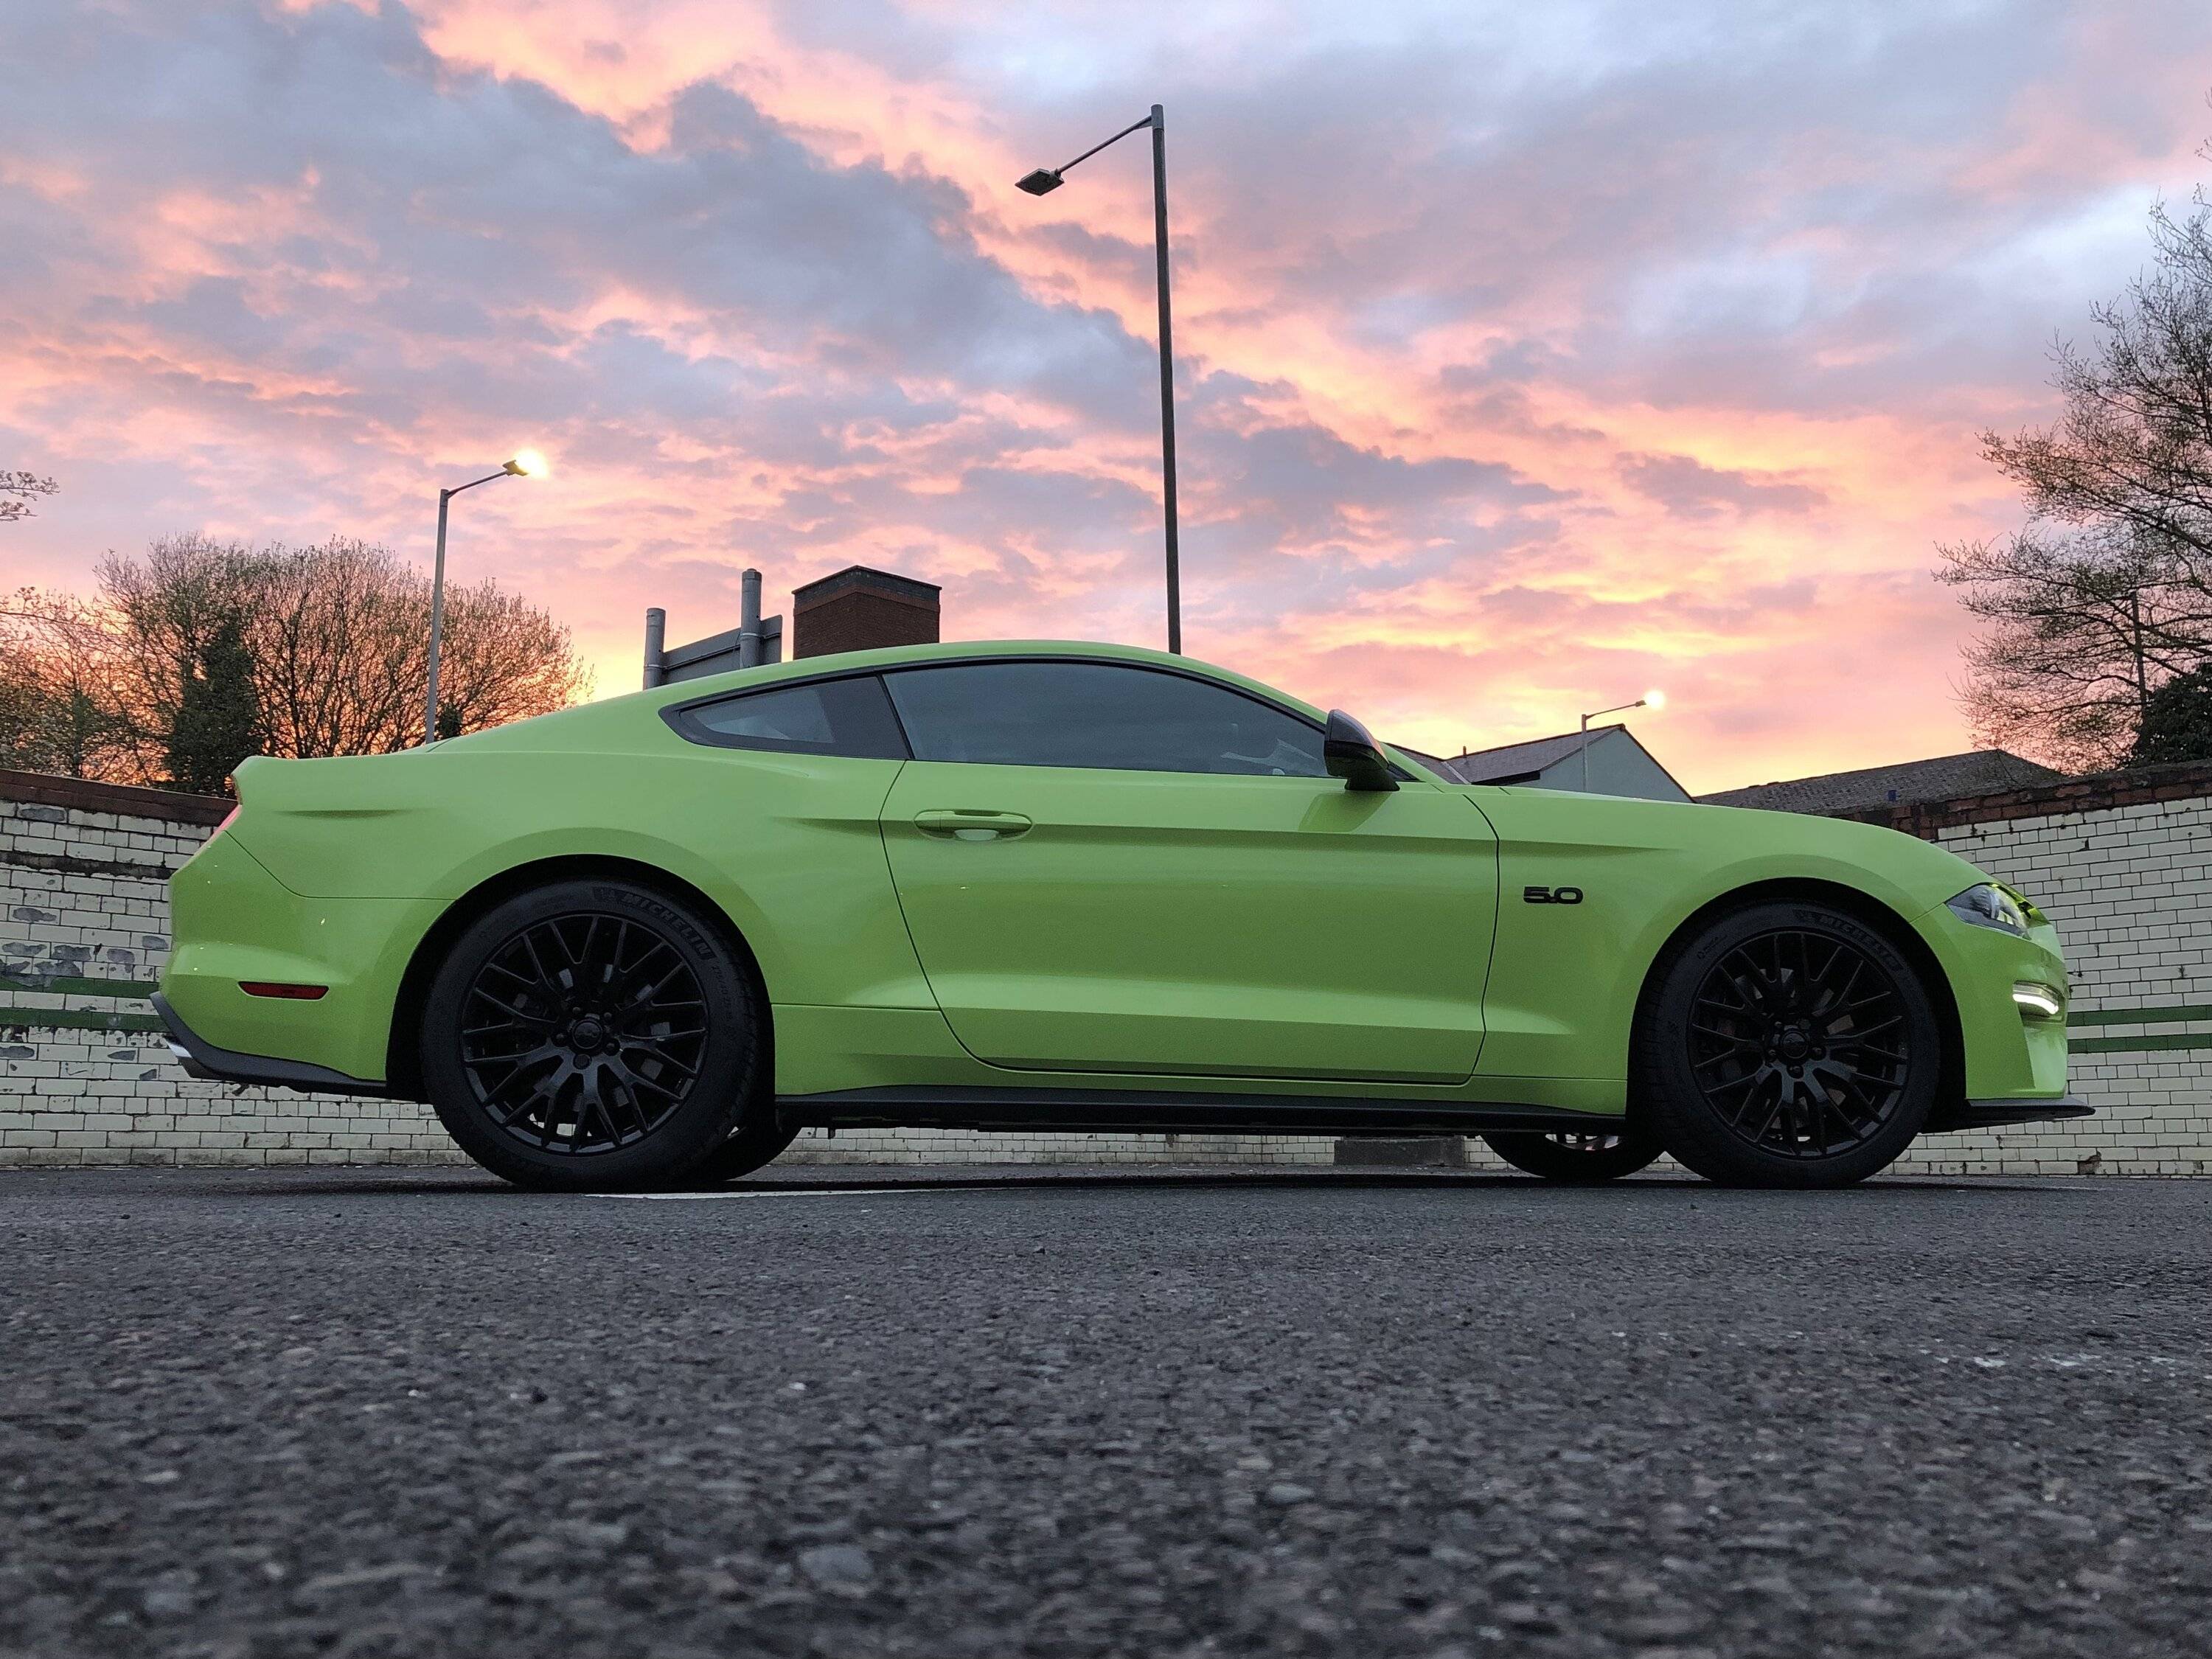
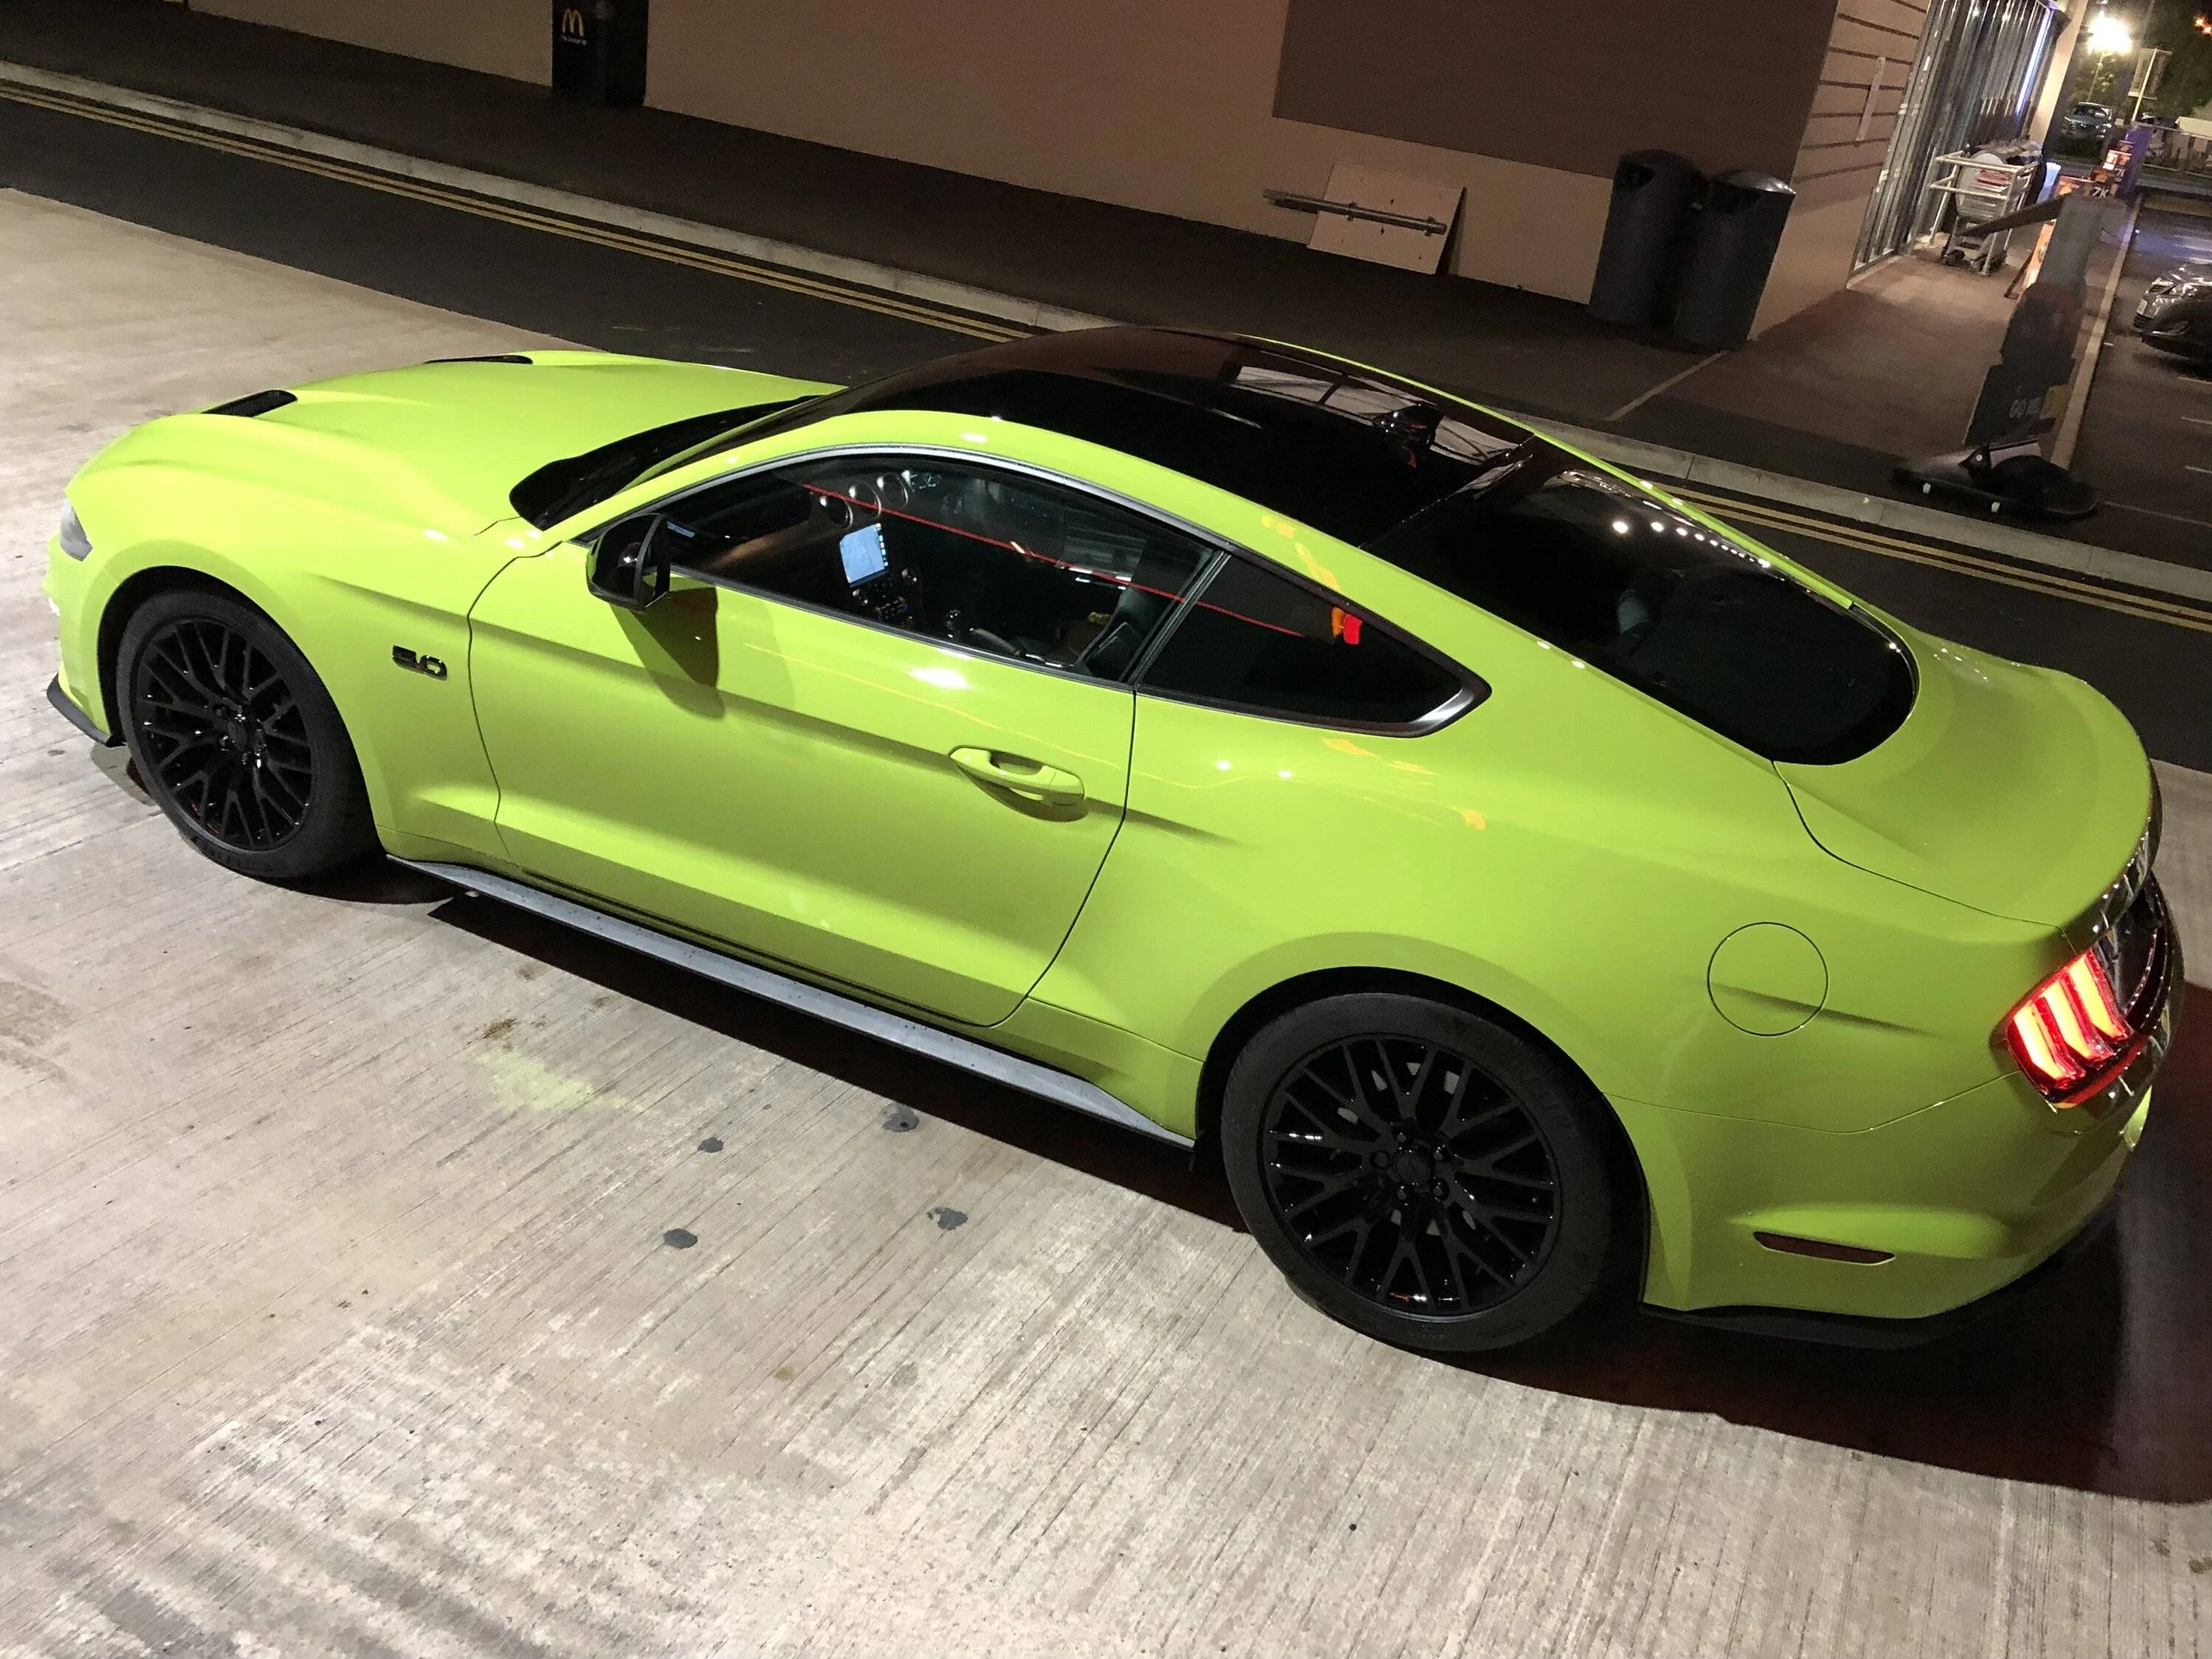
If we use a new house as the example, I’m not doing anything with the bricks and mortar, I’m simply doing a bit of painting and decorating whilst working through the snagging list :wink:

The seat I removed to repair the transport damage – it’s now mounted better than Ford managed (i.e. it doesn’t squeak), but it’s still Fords seat bolted into a Ford built car :like:

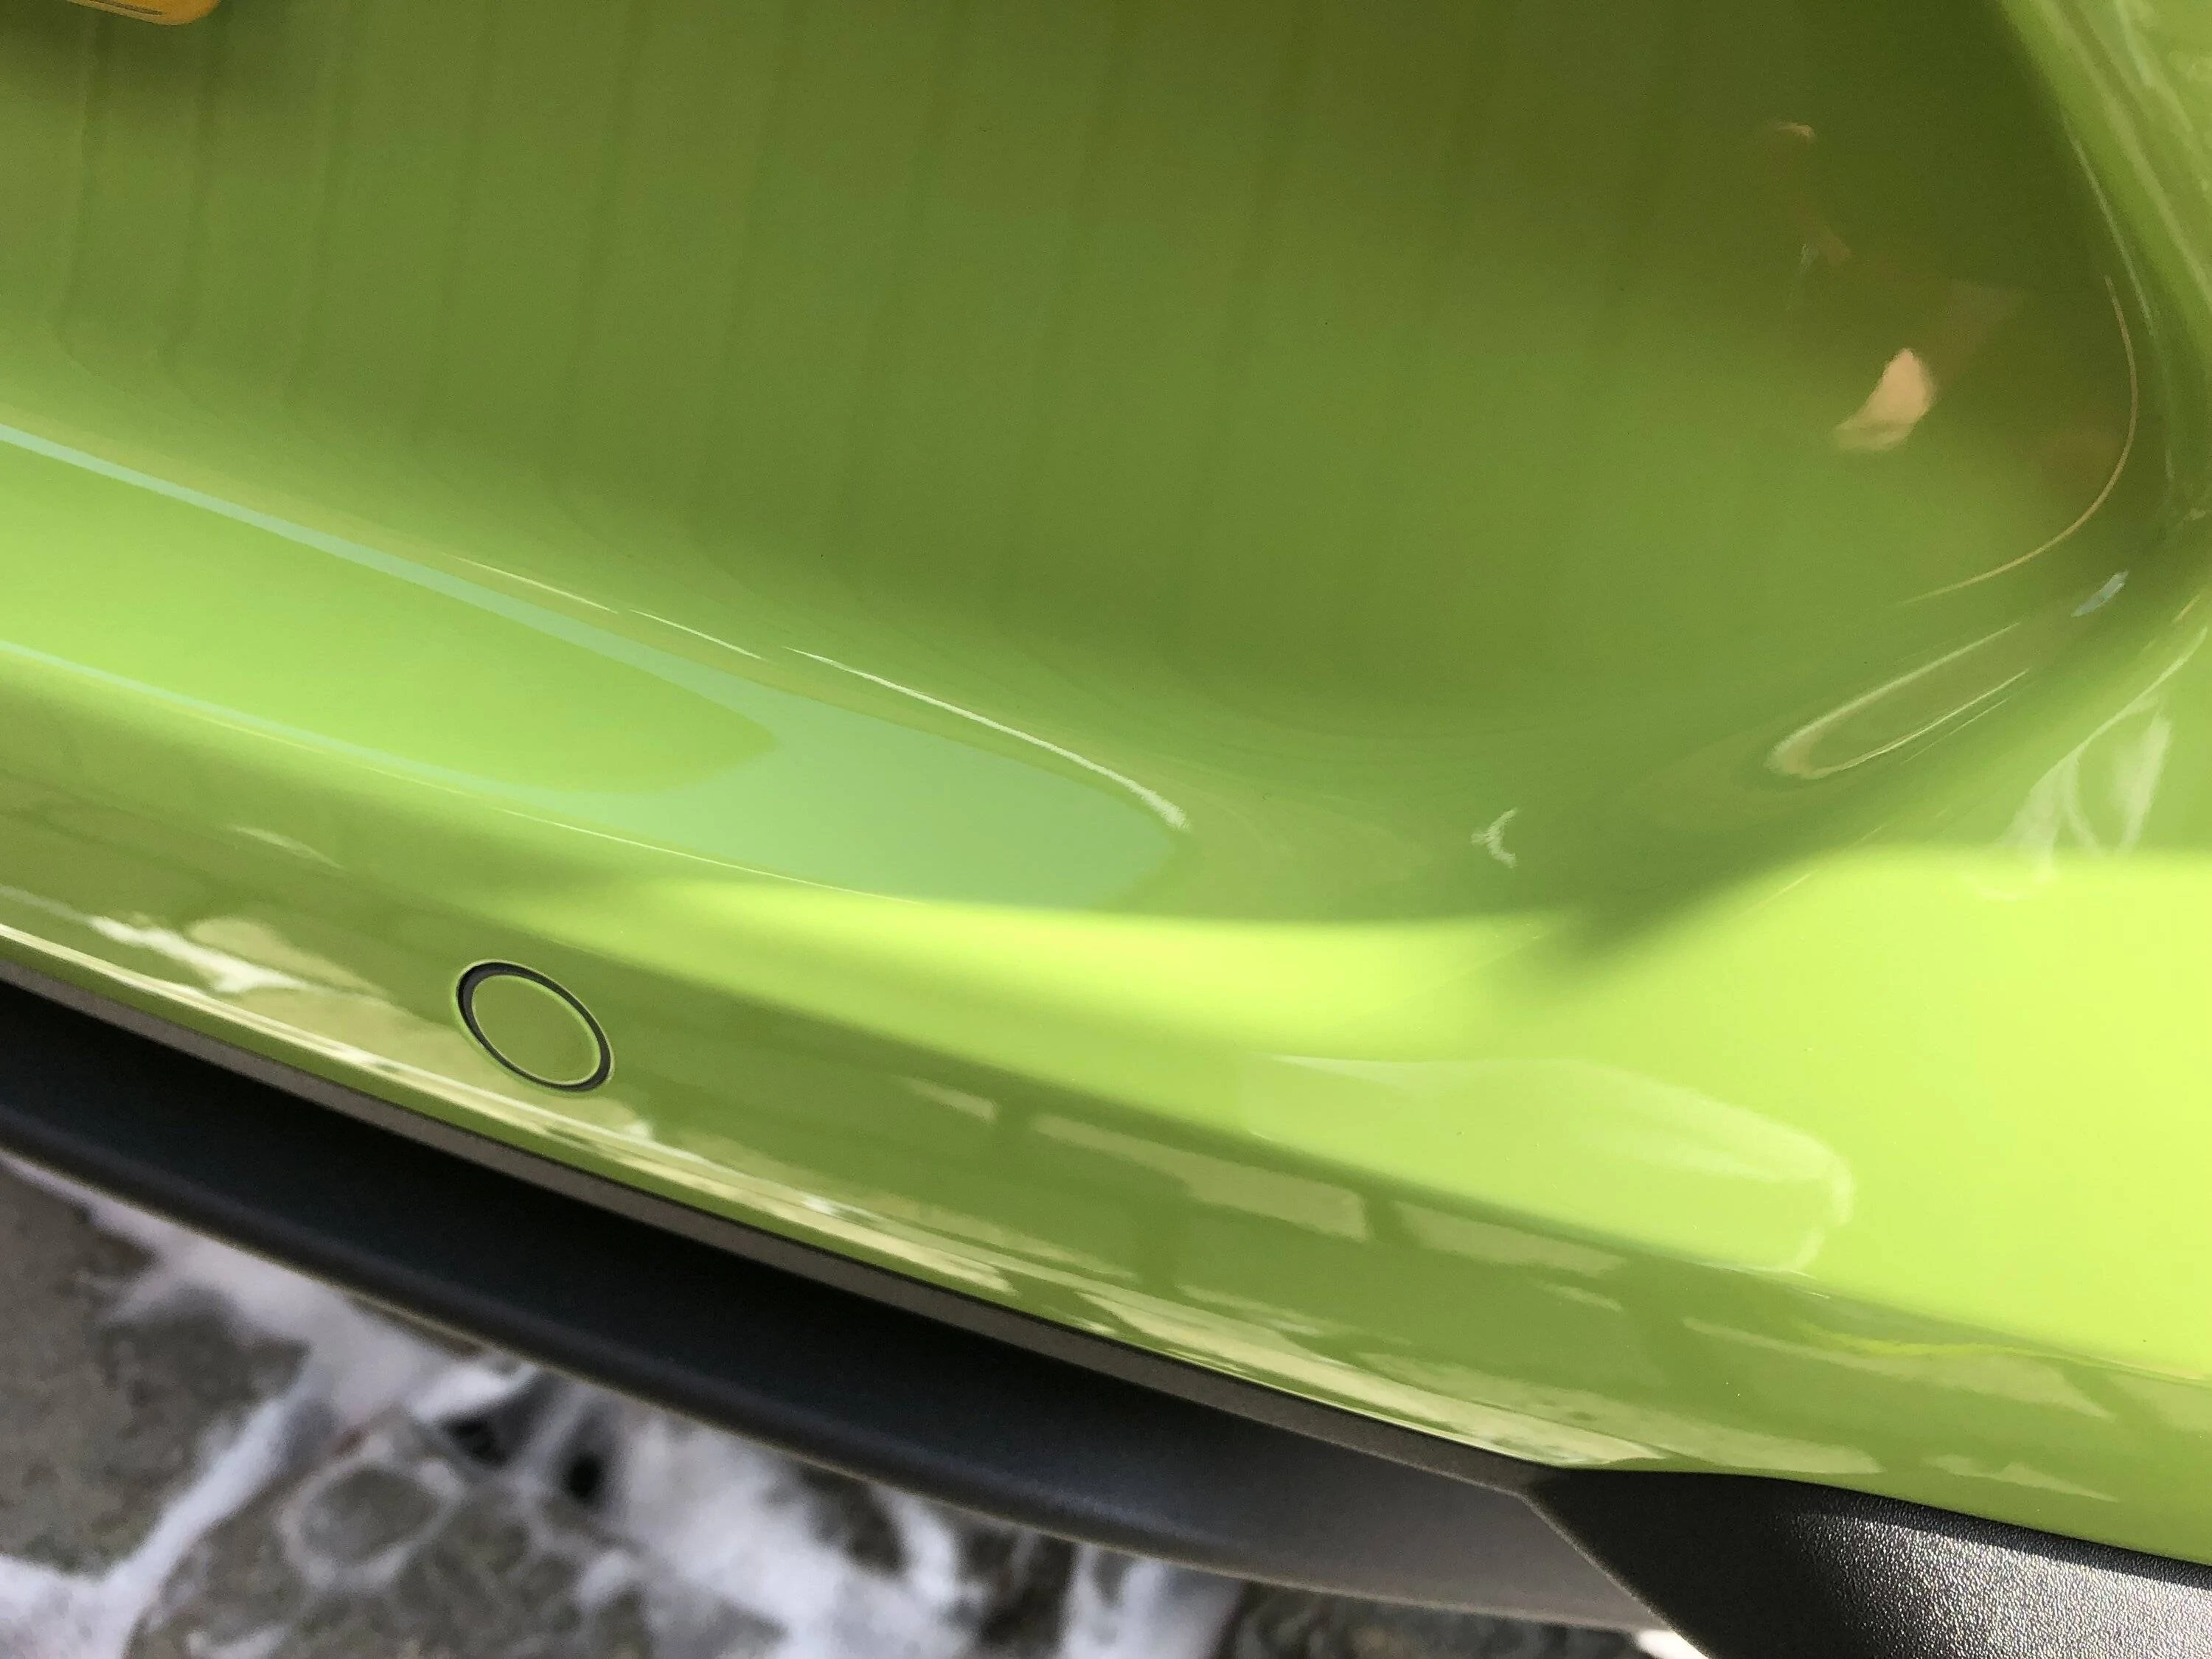
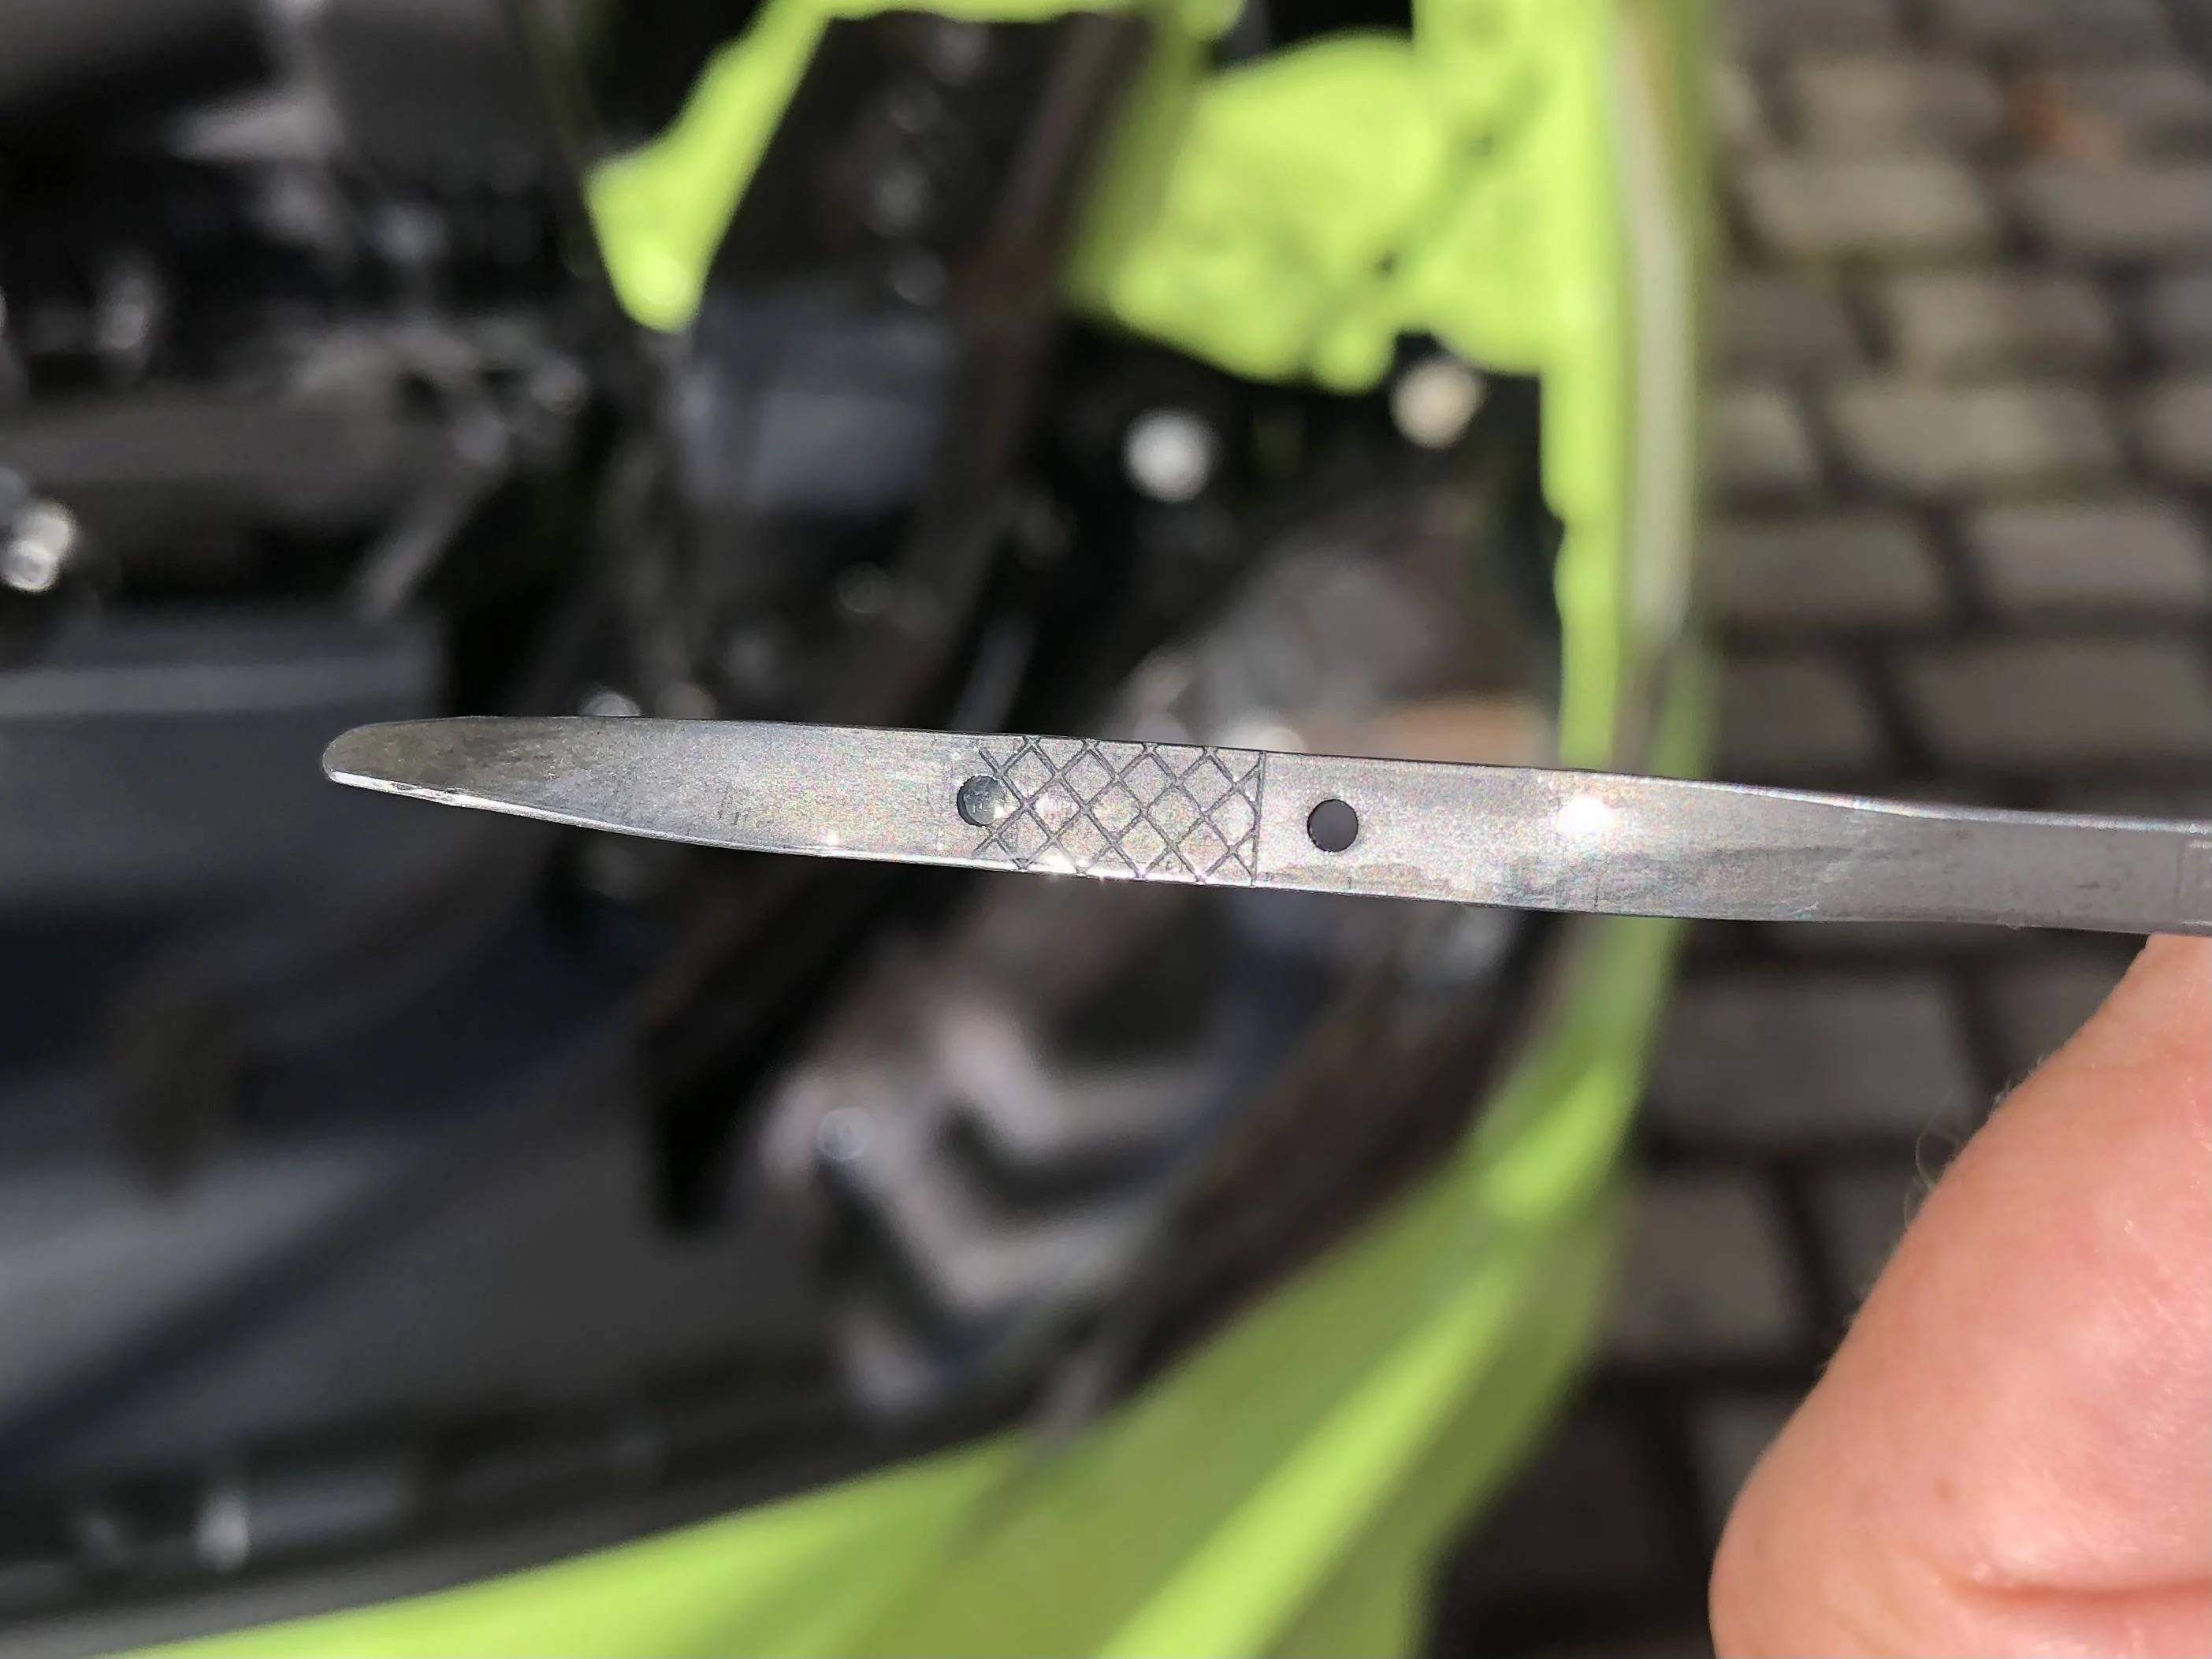
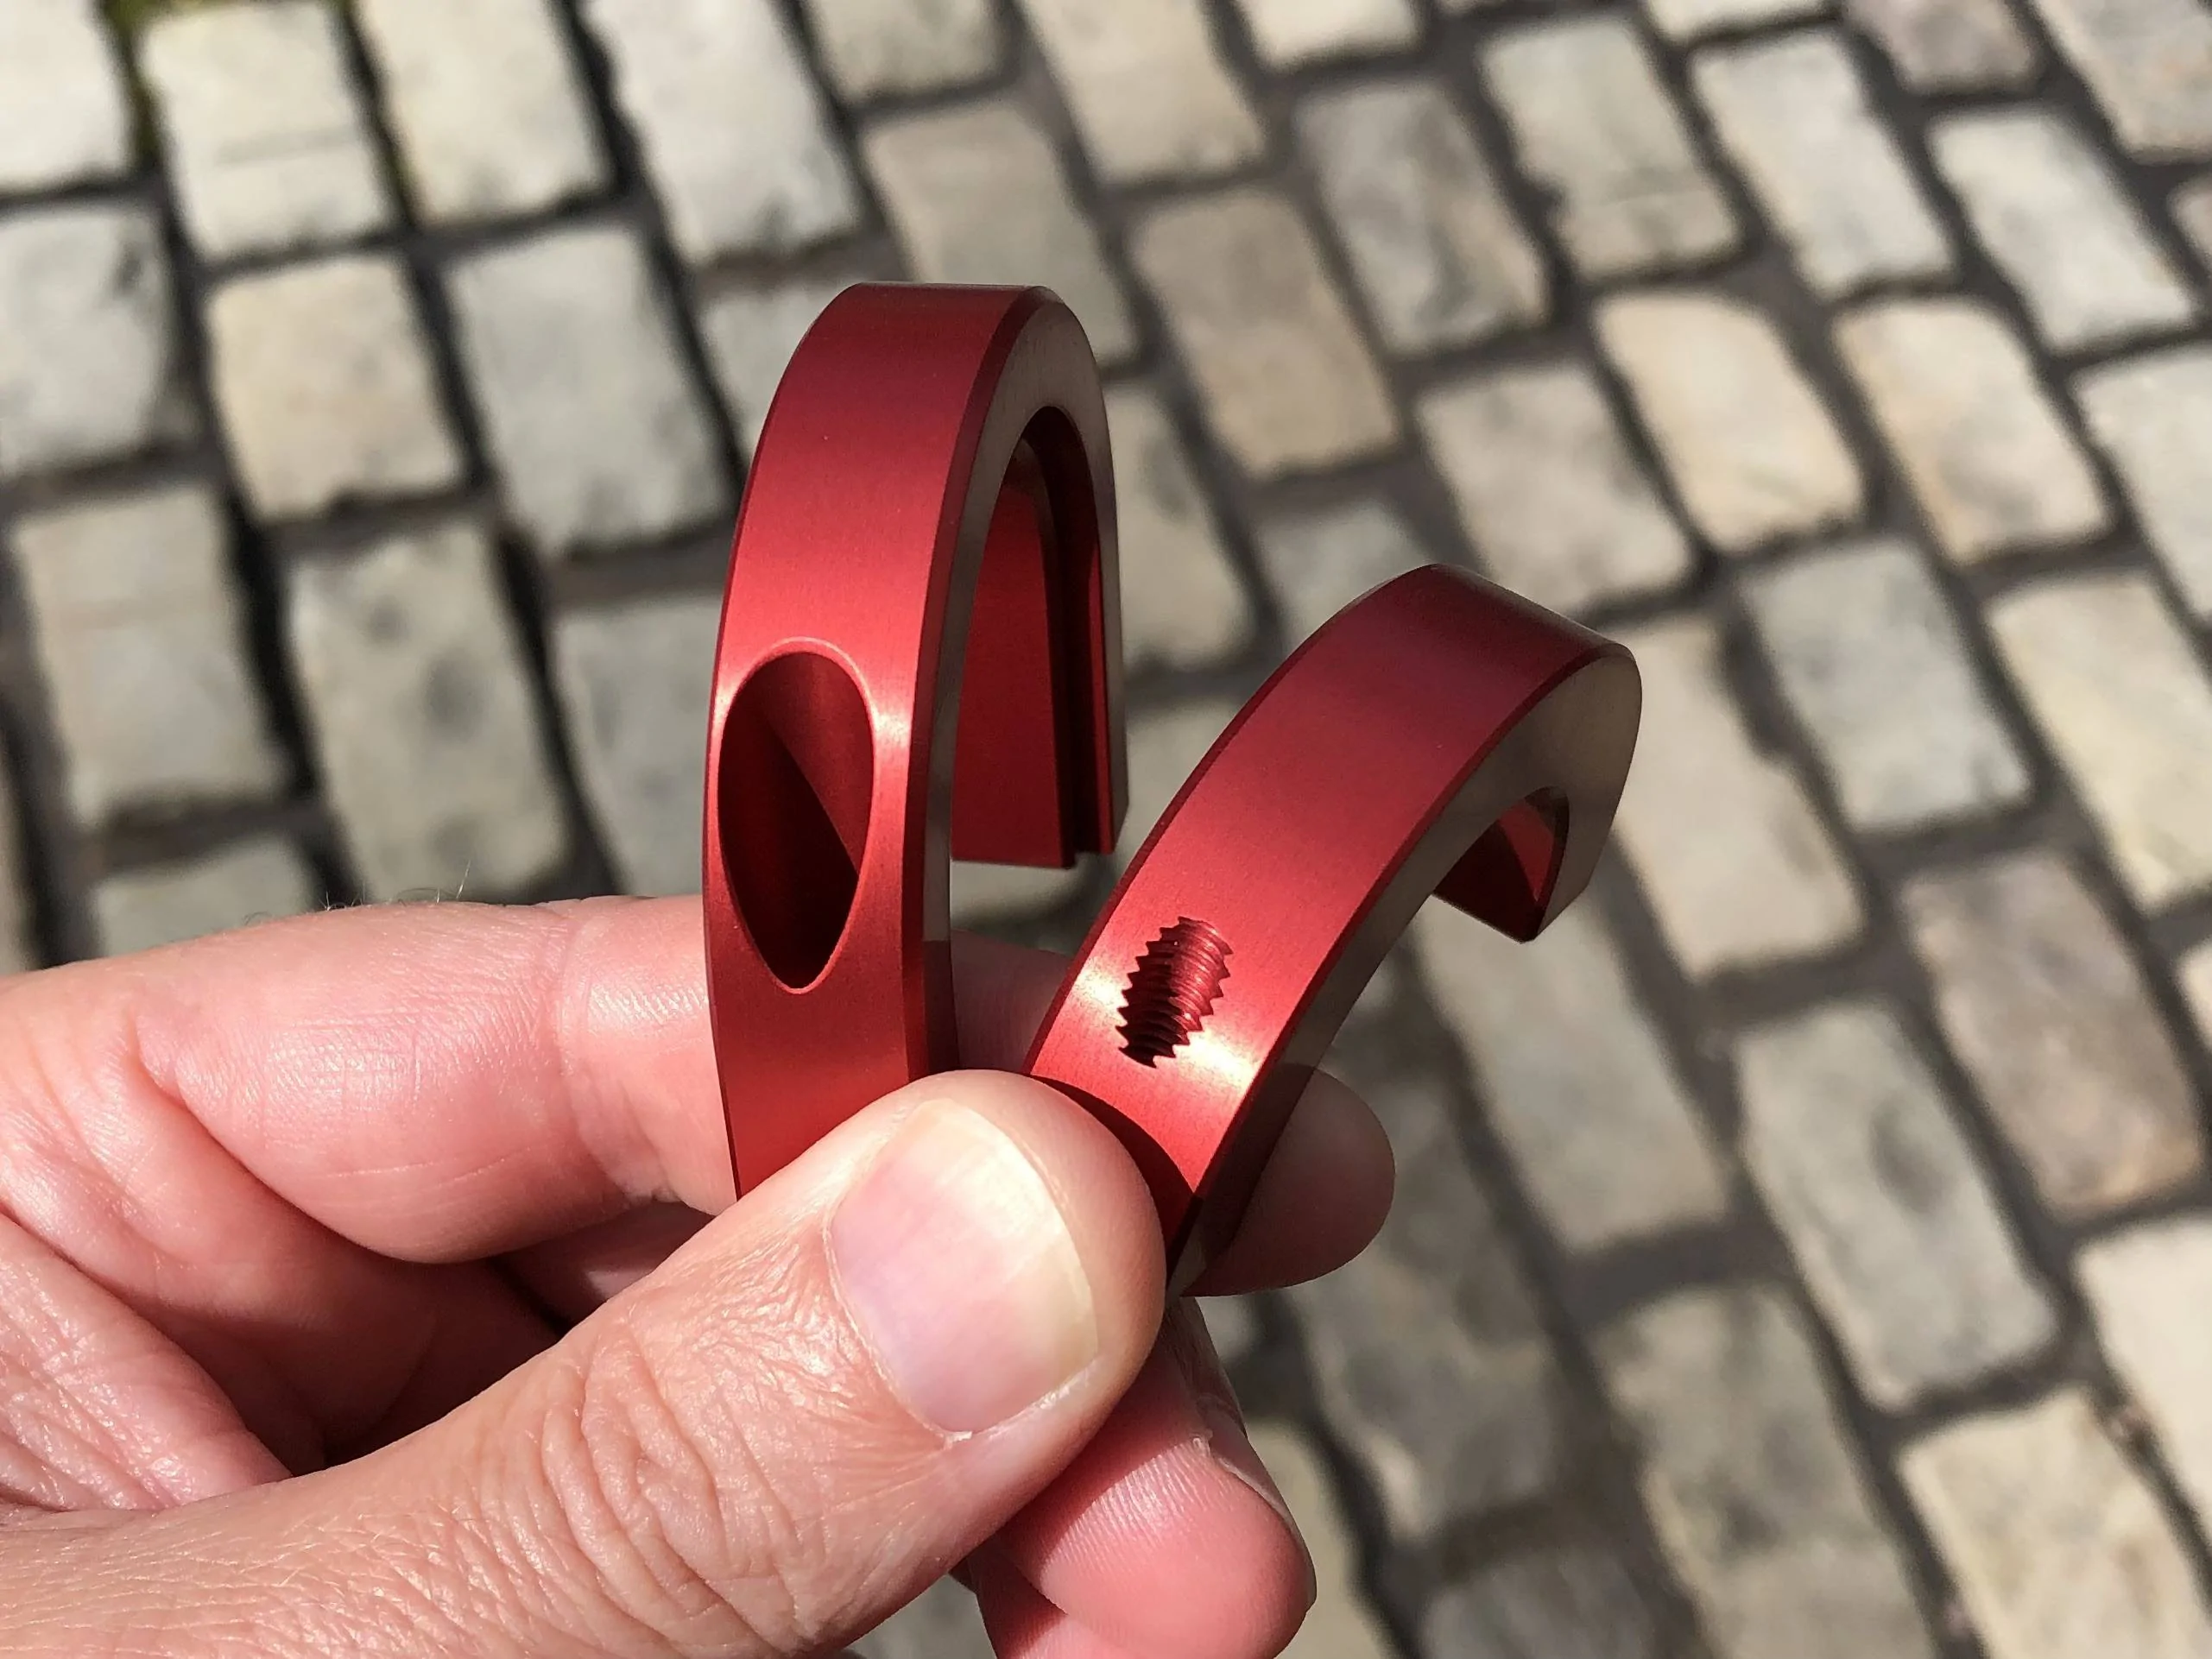
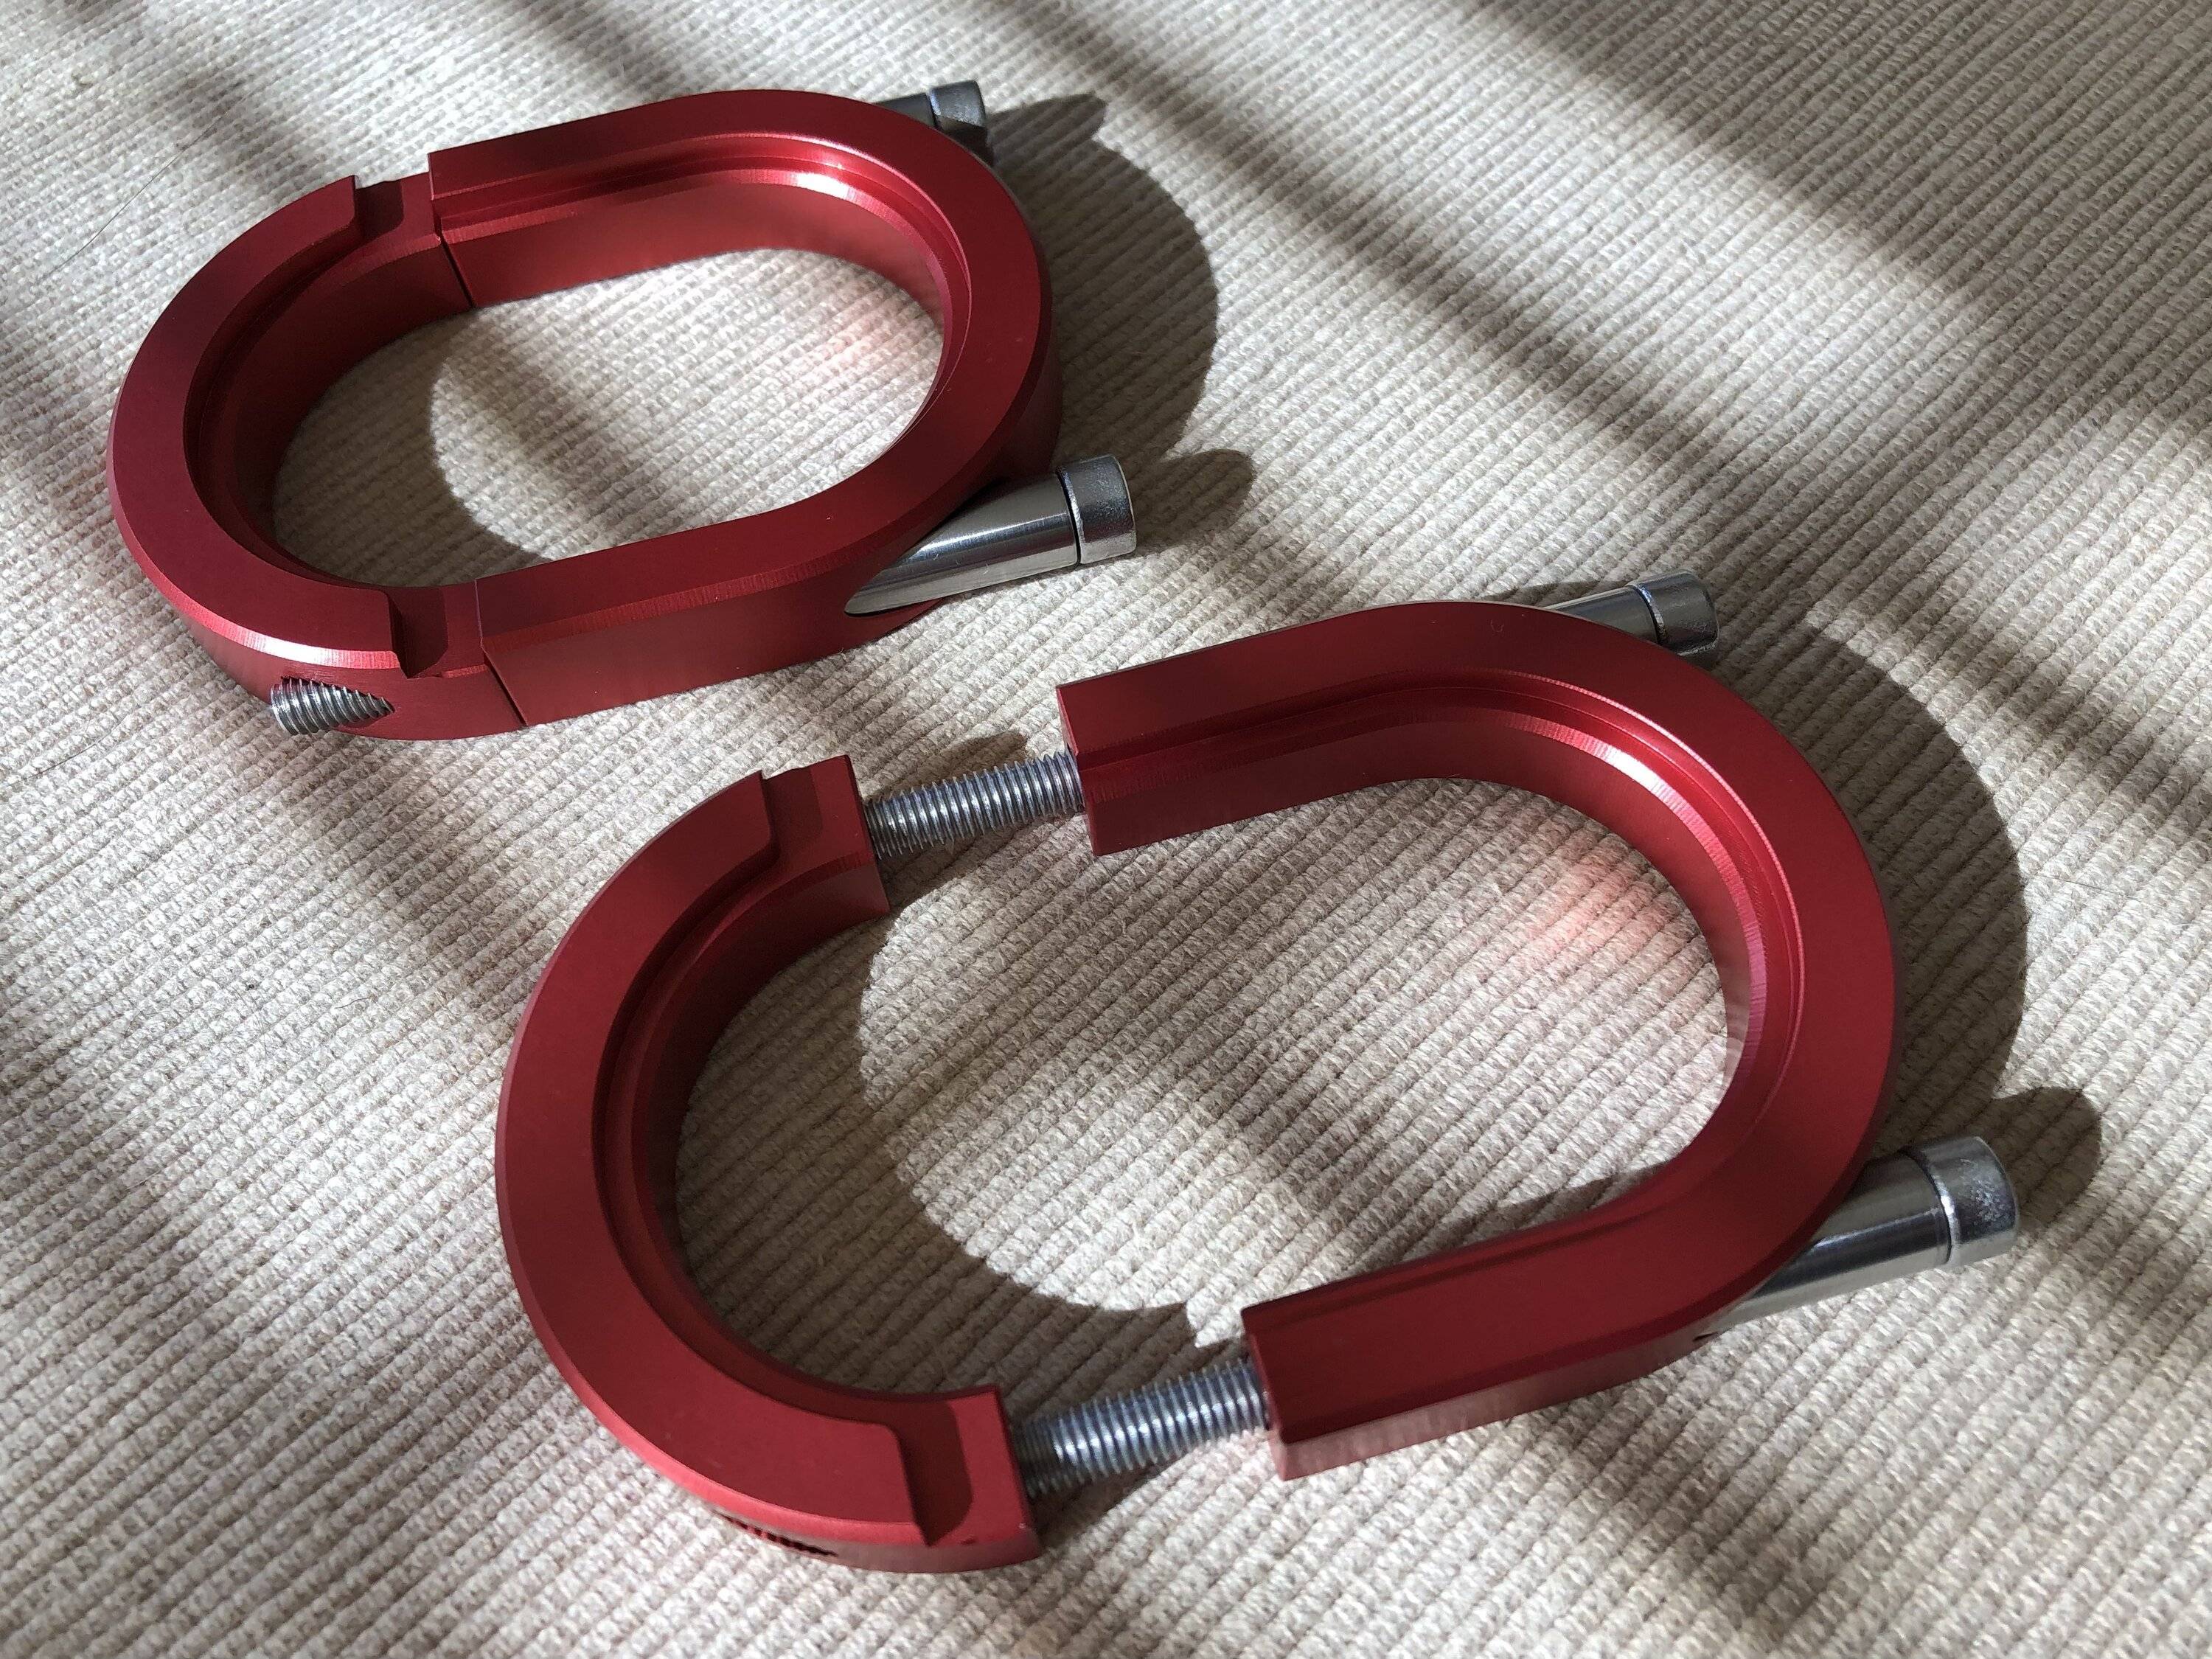
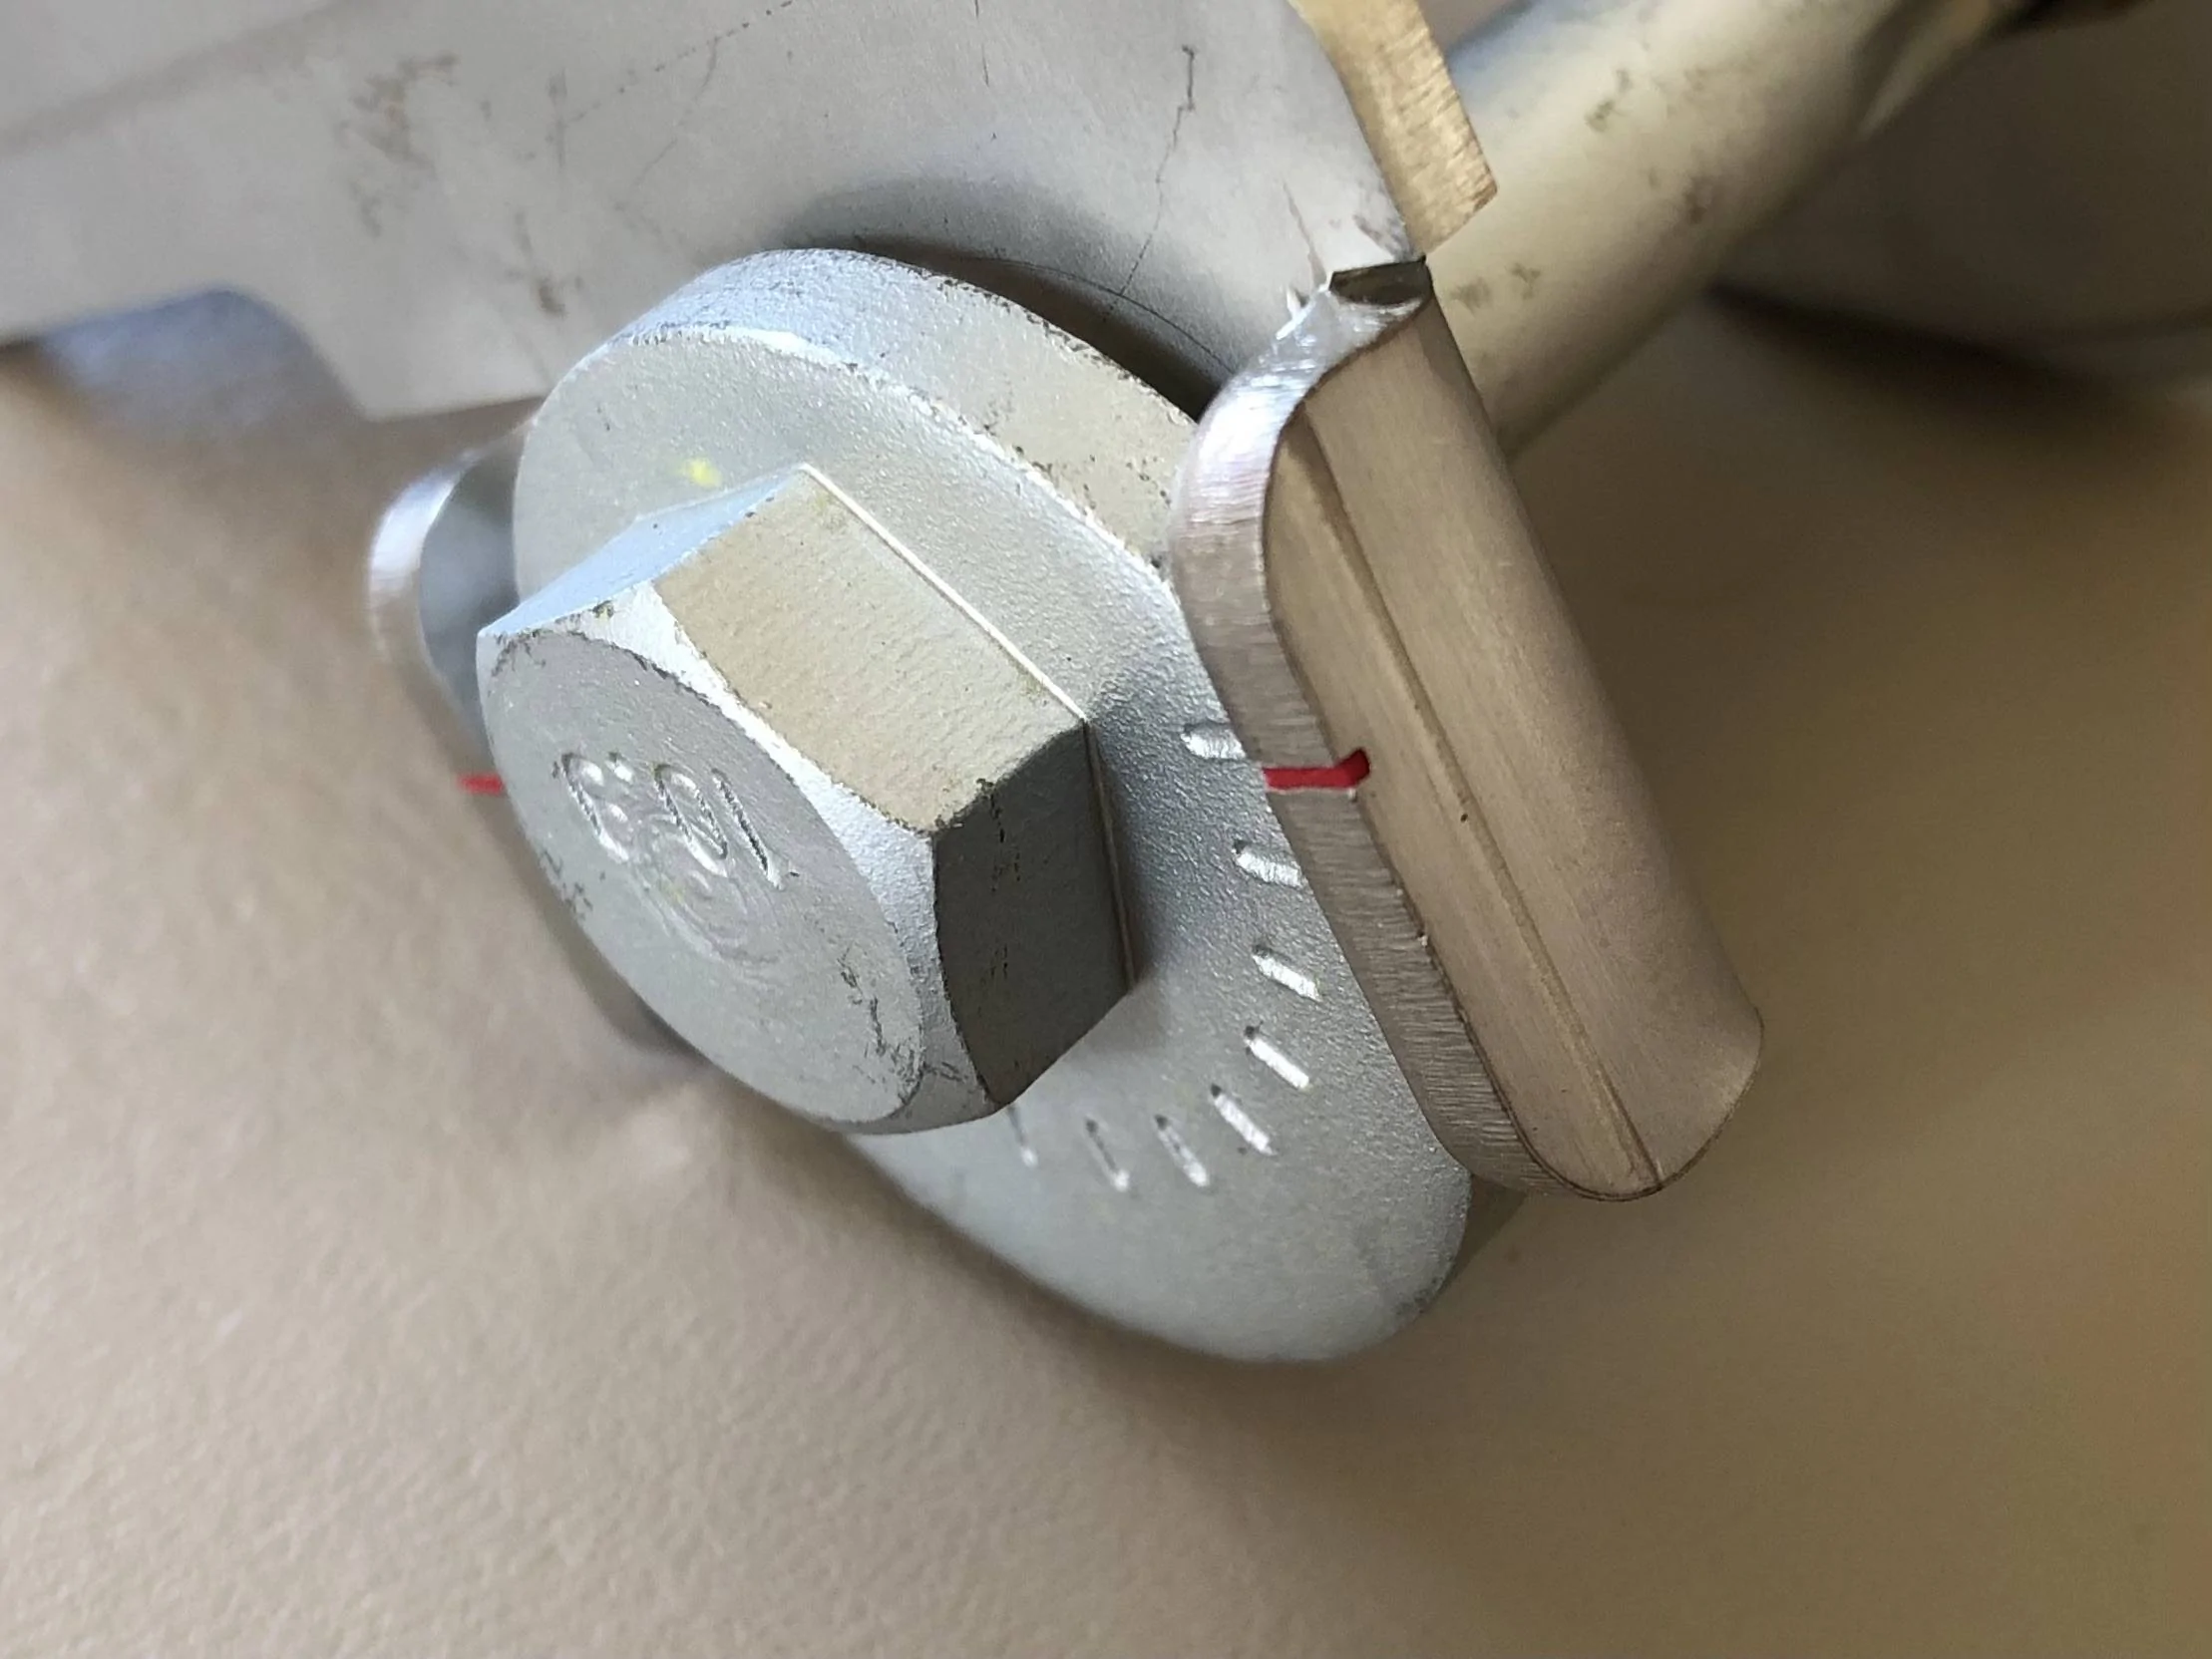
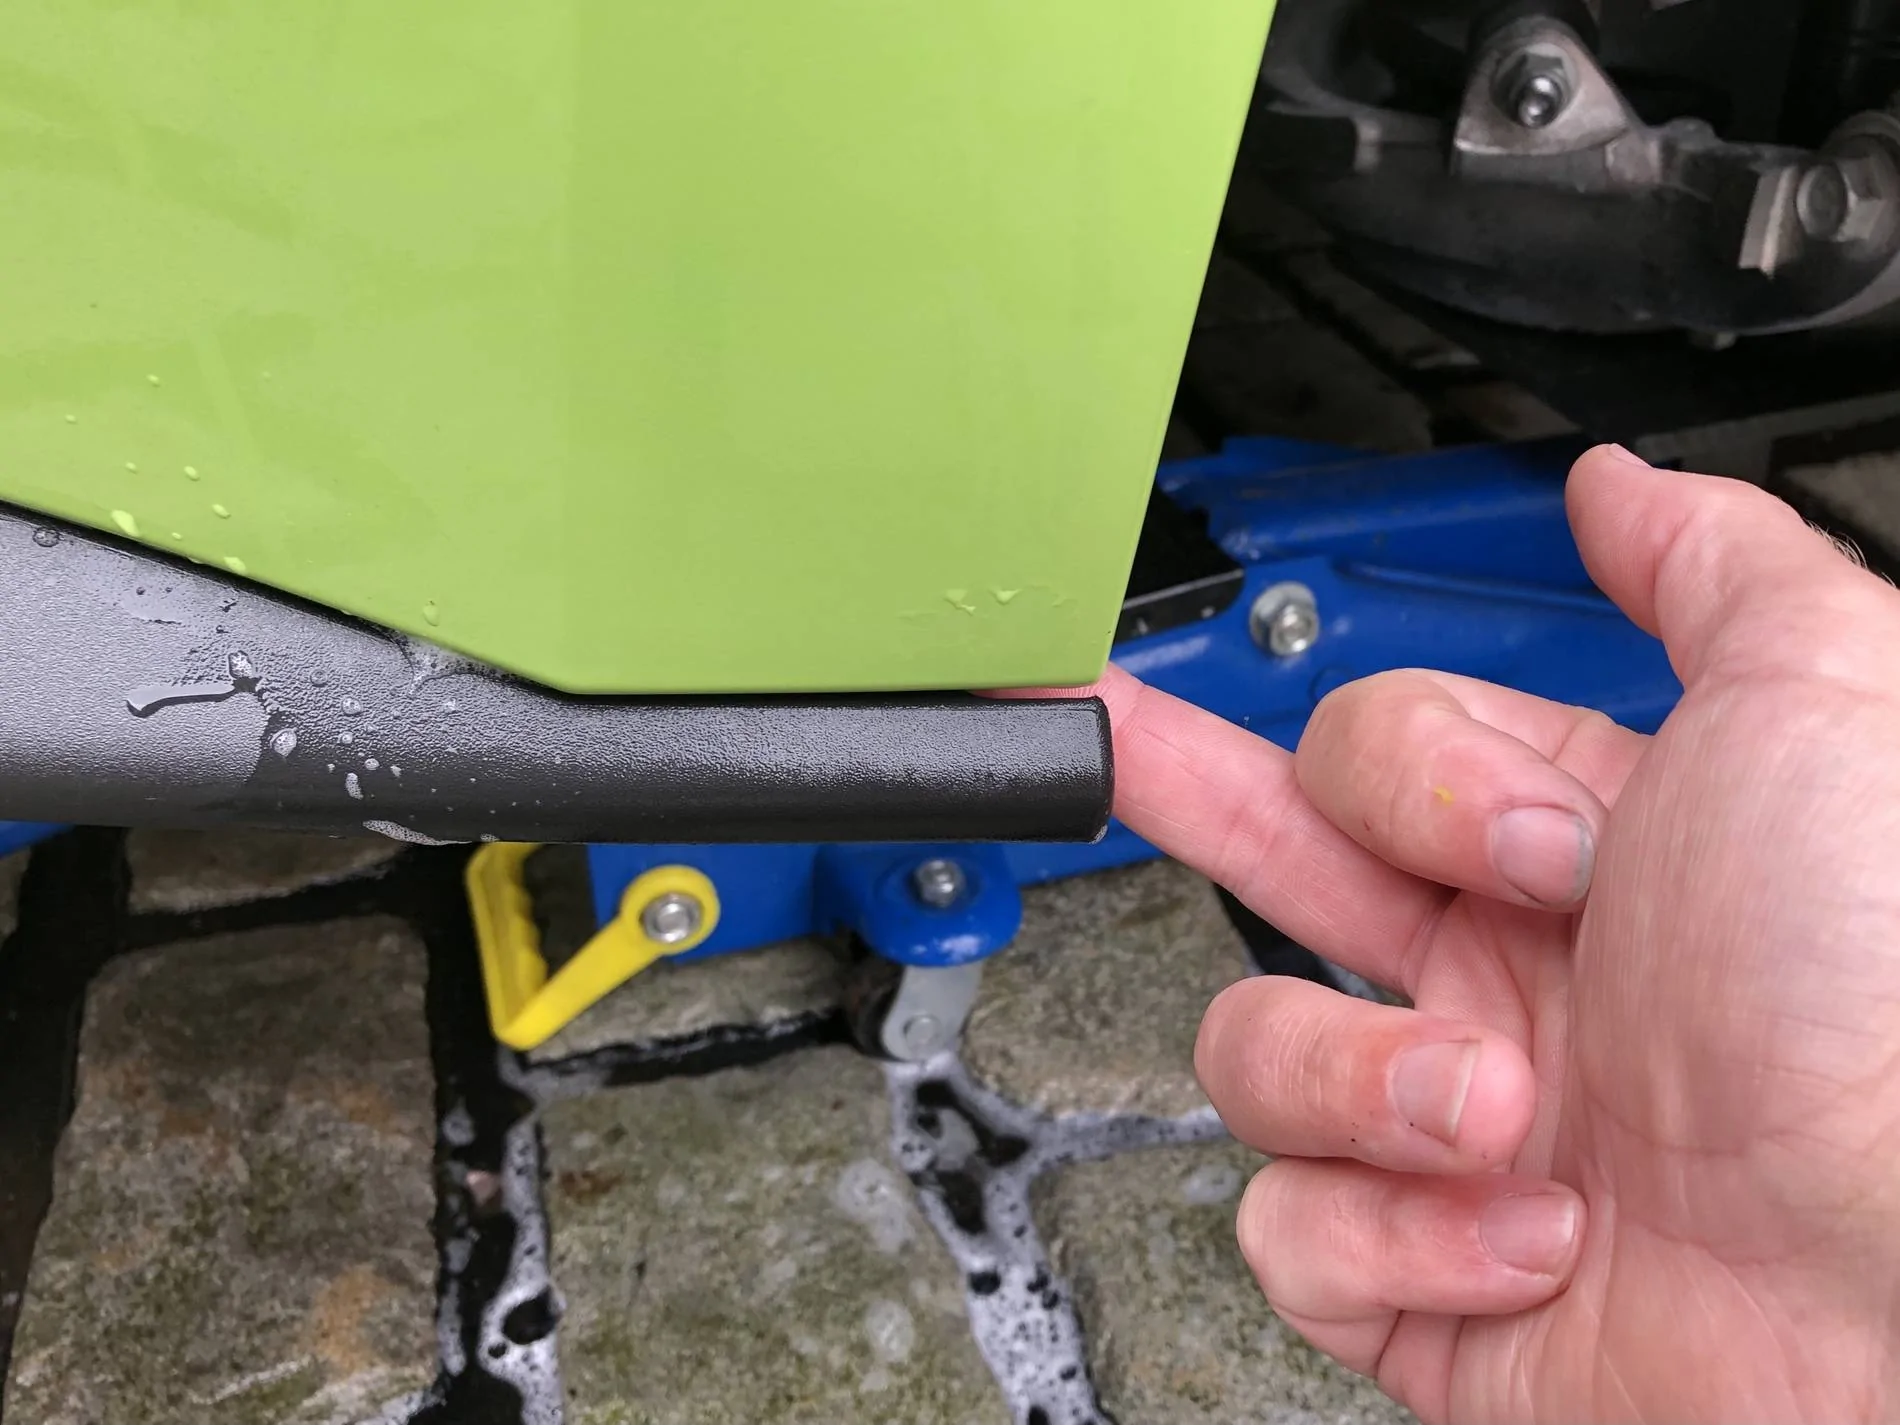
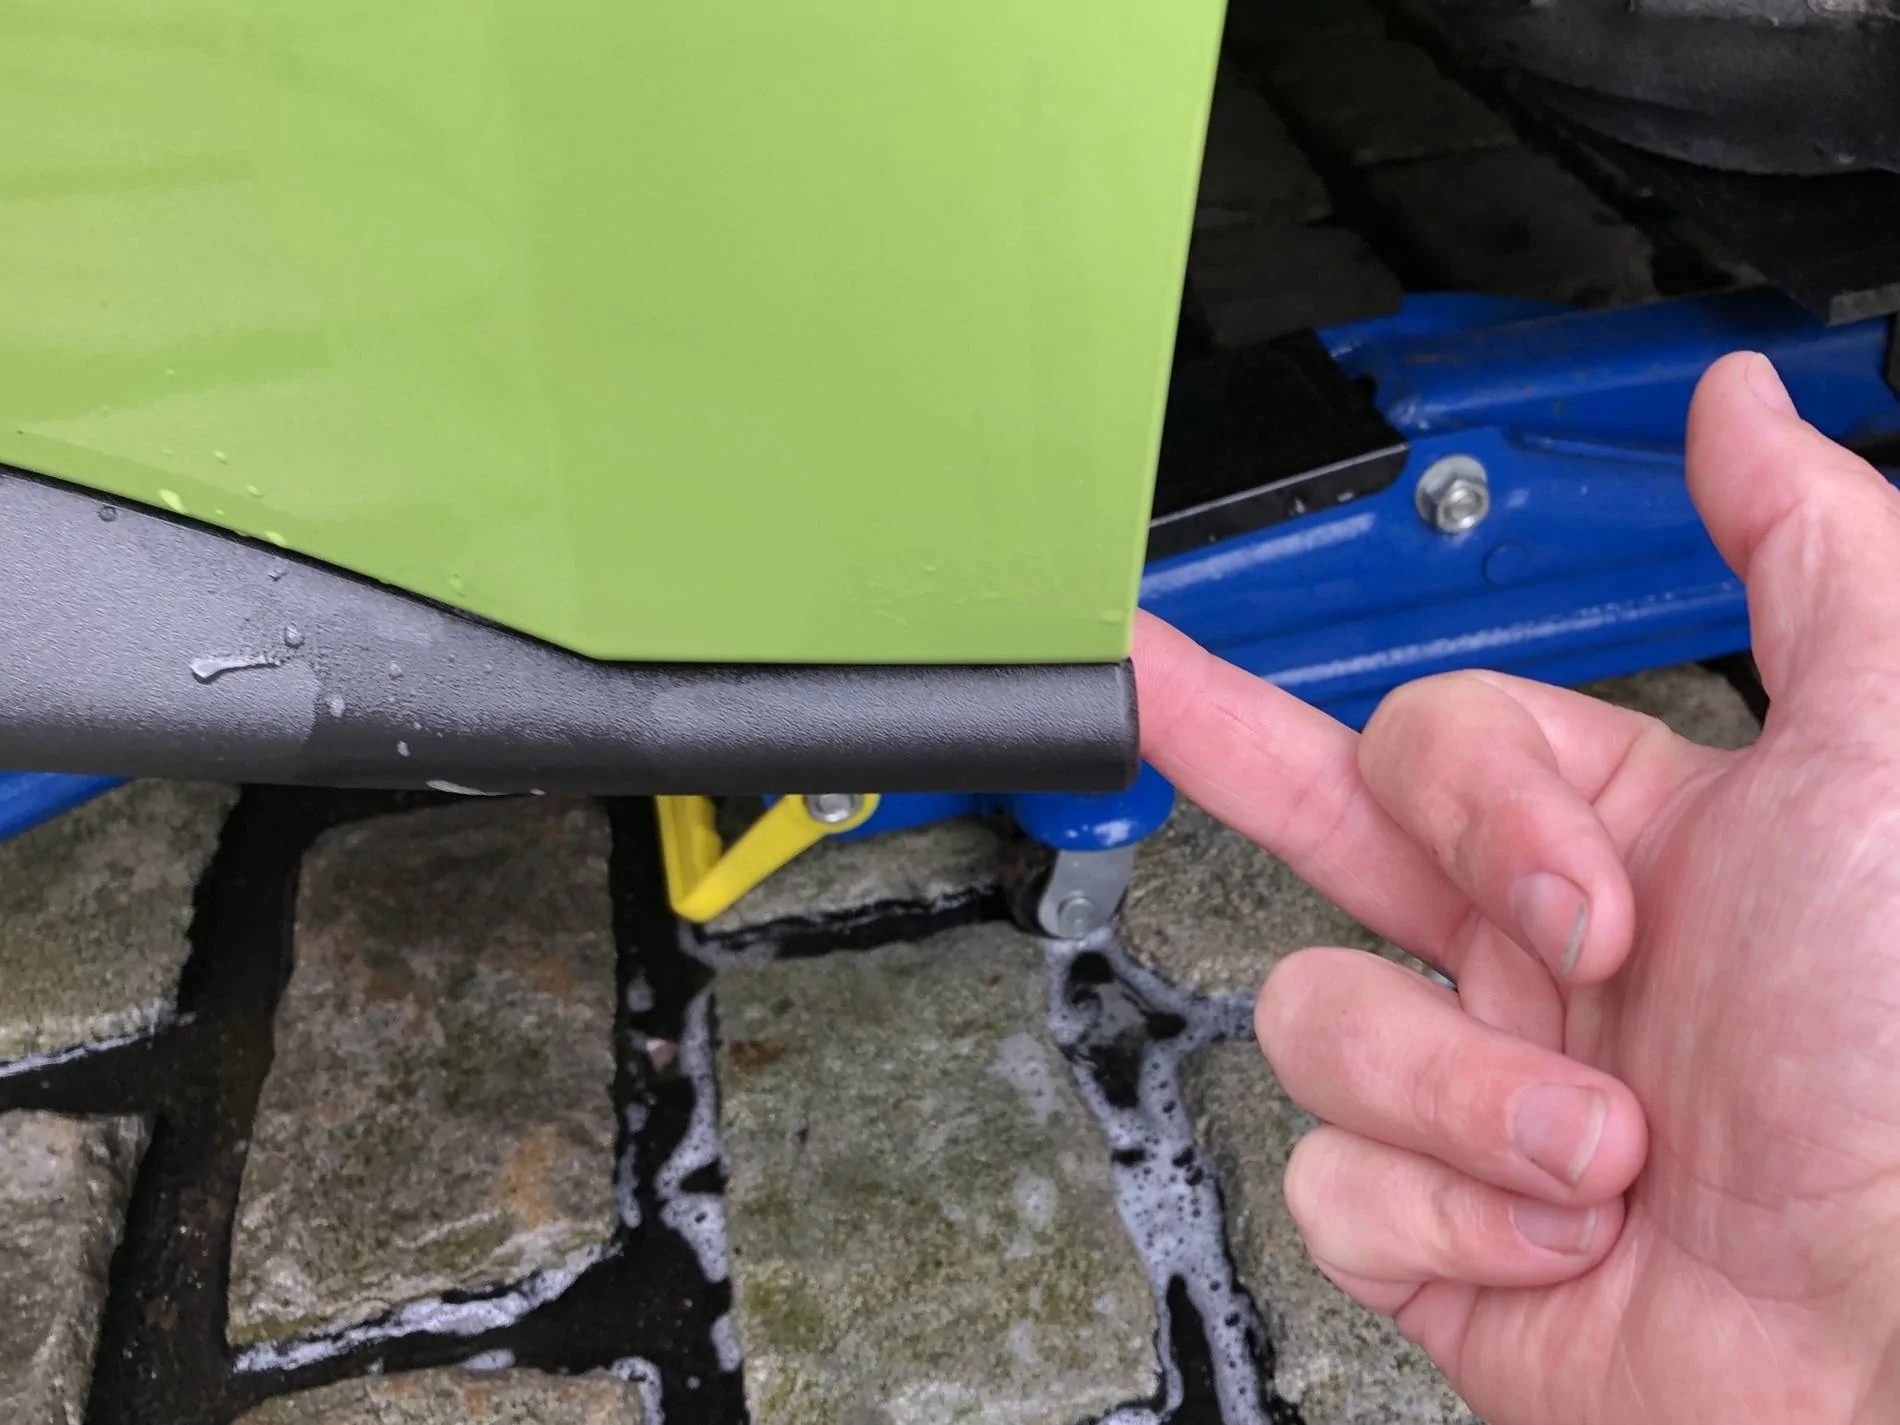
Similar with the realignment of things, this was the other side rear valance (finger provided purely to provide a bit of contrast to highlight the gap lol) :

3306-B3-BD-B22-C-46-F6-8-C72-2-C4-E2-B53-F471.jpg


And after 60 seconds with a 7mm socket :

A45-C5517-A488-4747-934-B-E47-E5-CA569-AC.jpg


It now fits as intended, but it’s still Ford’s parts :like:

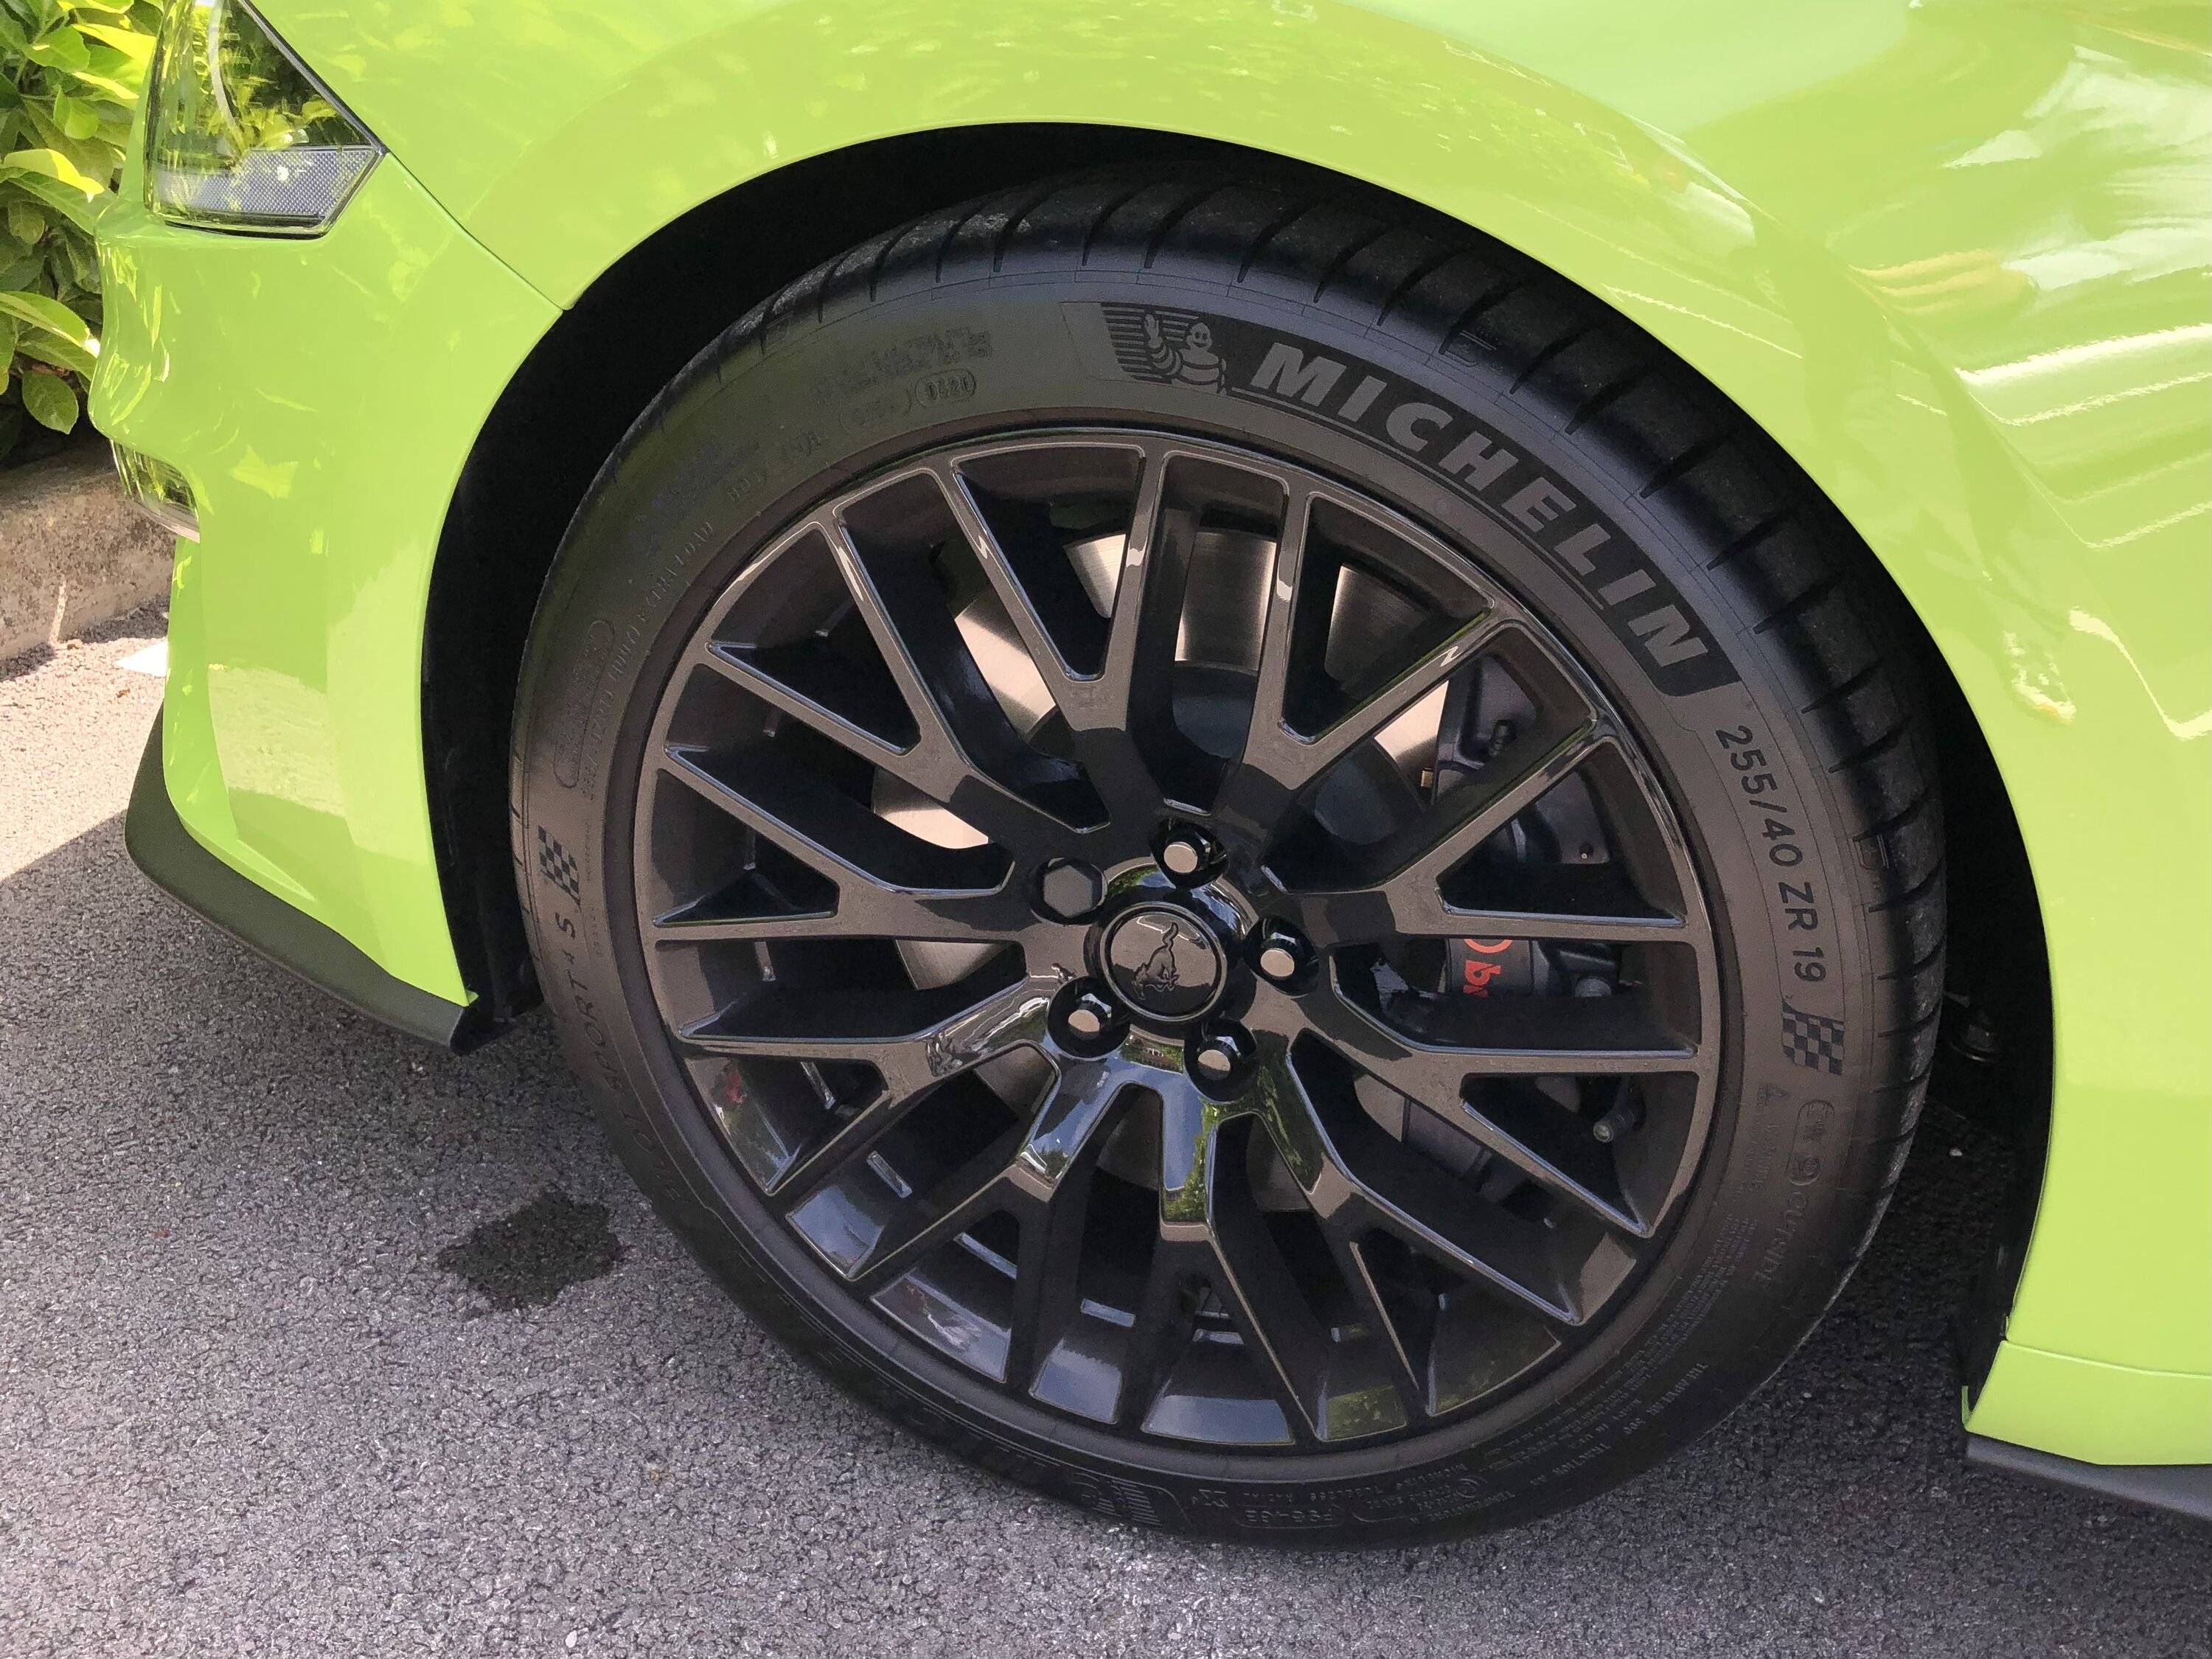
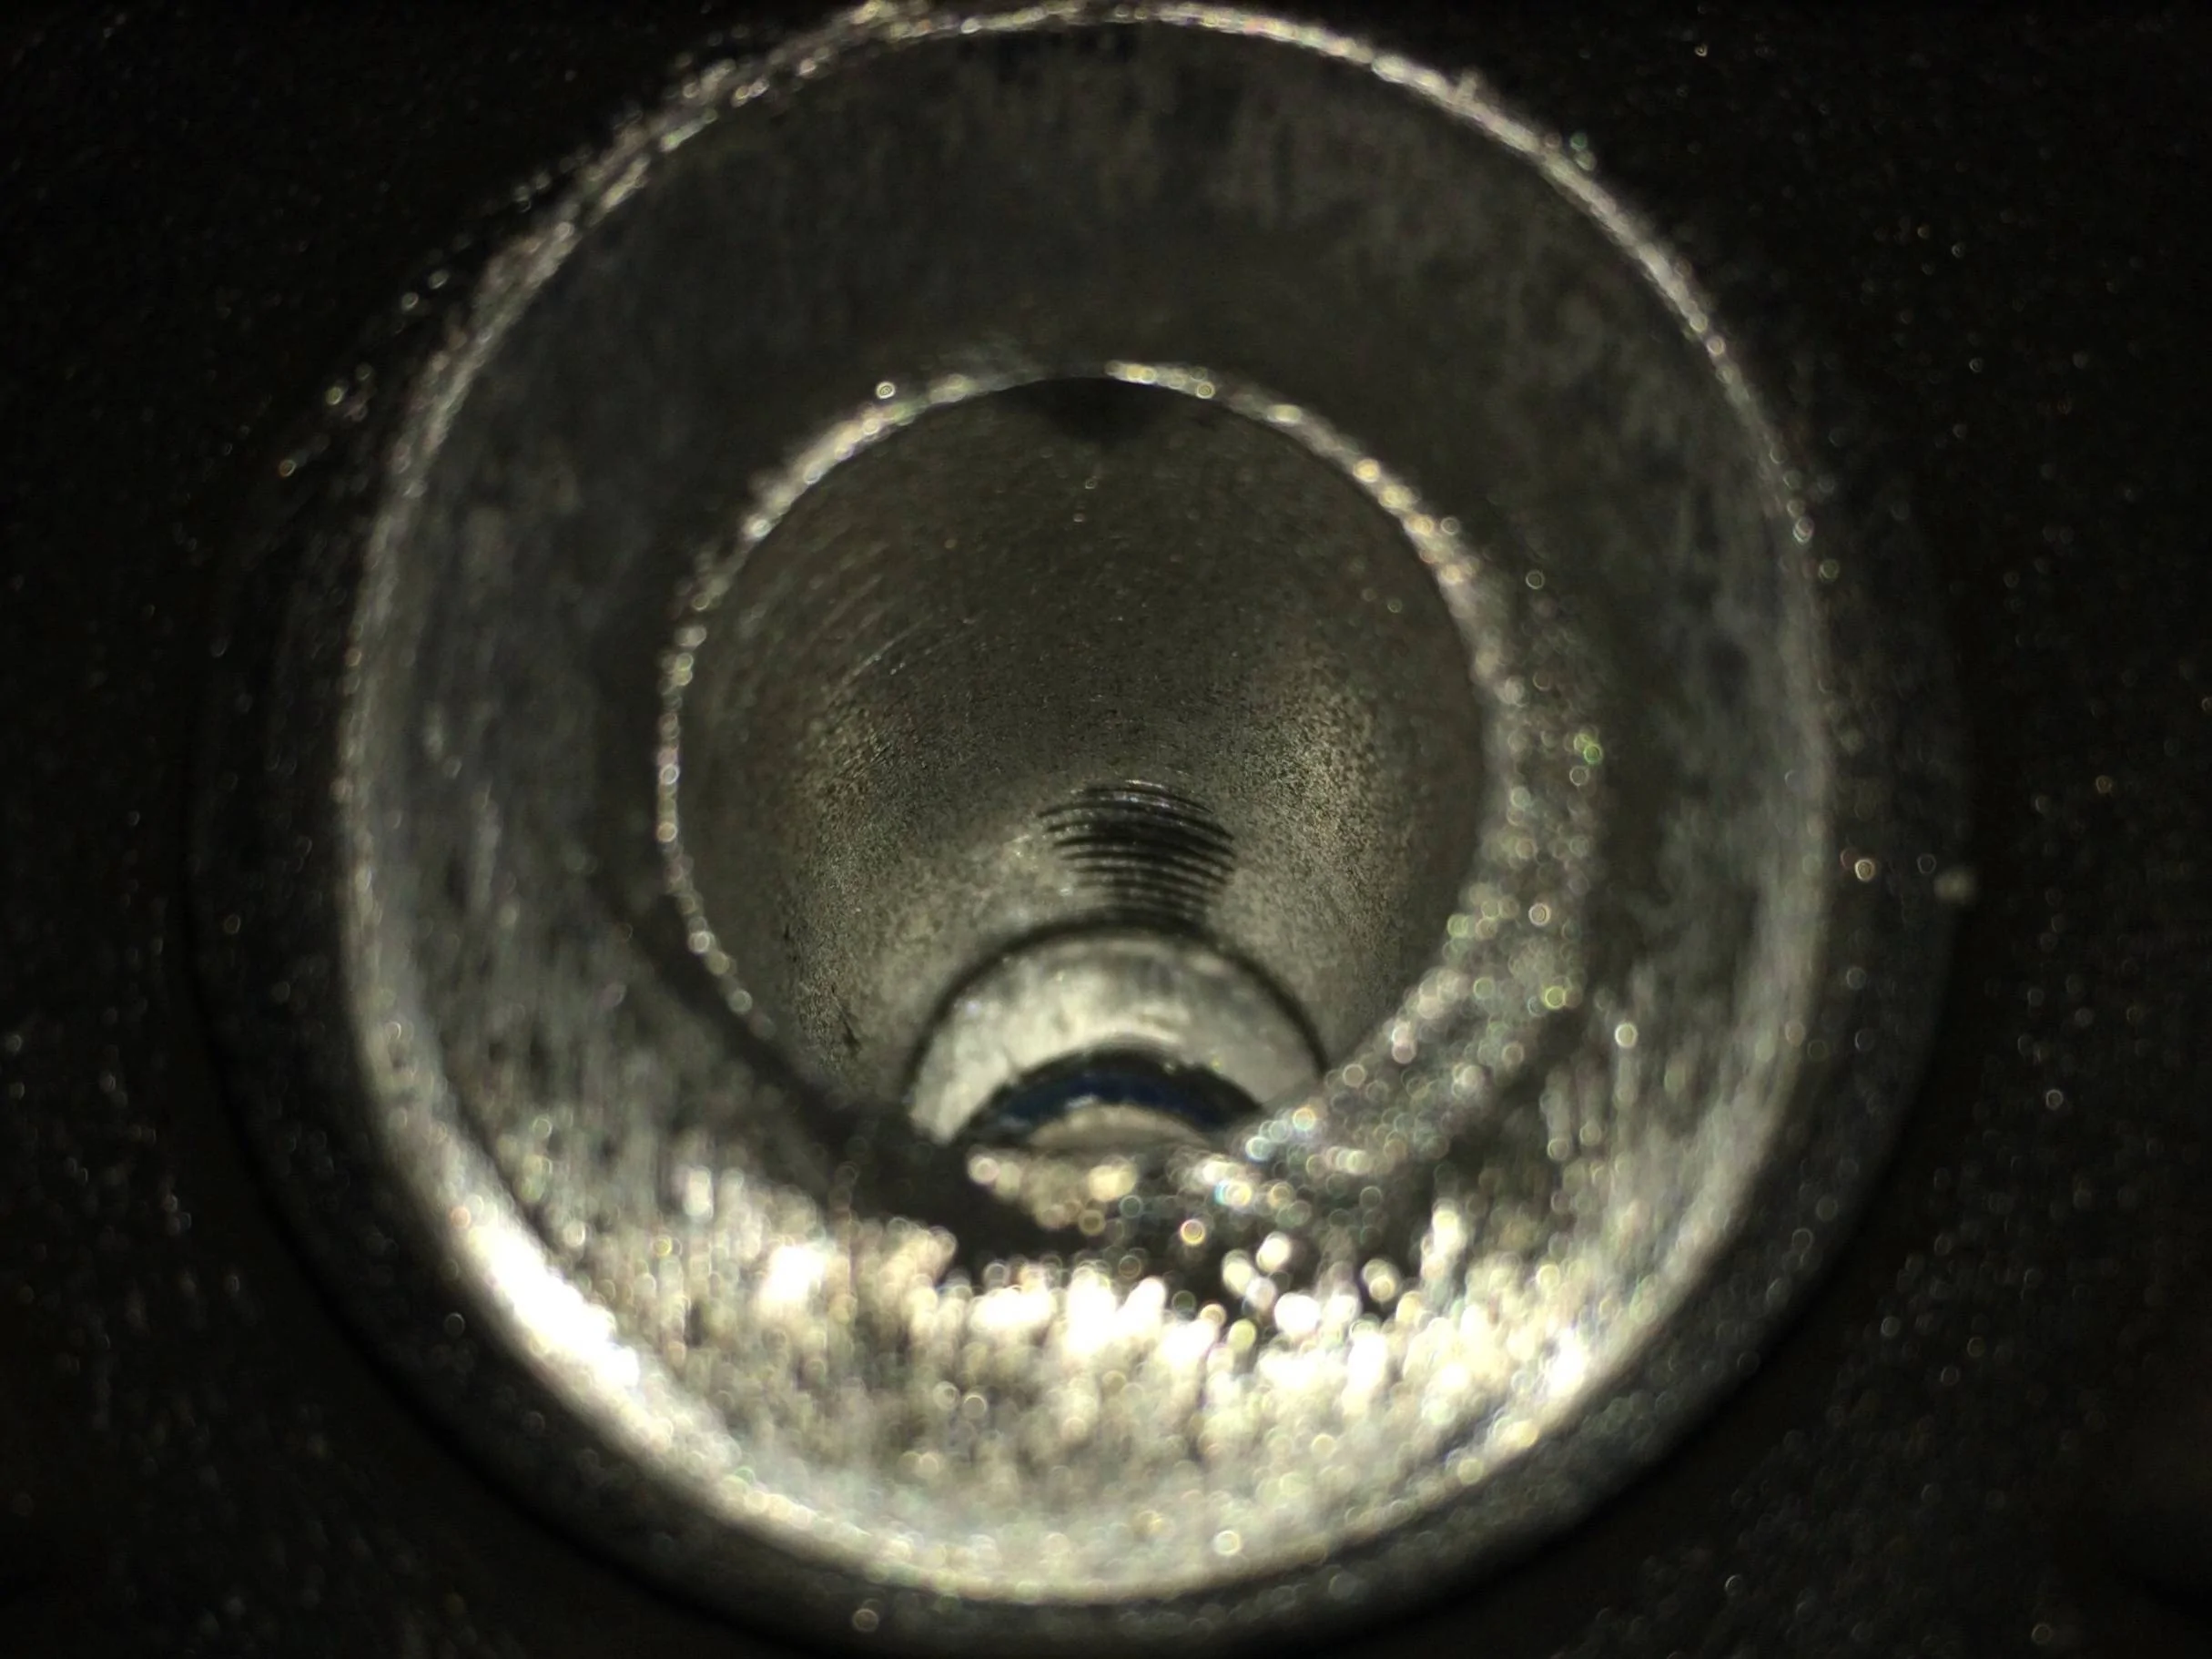
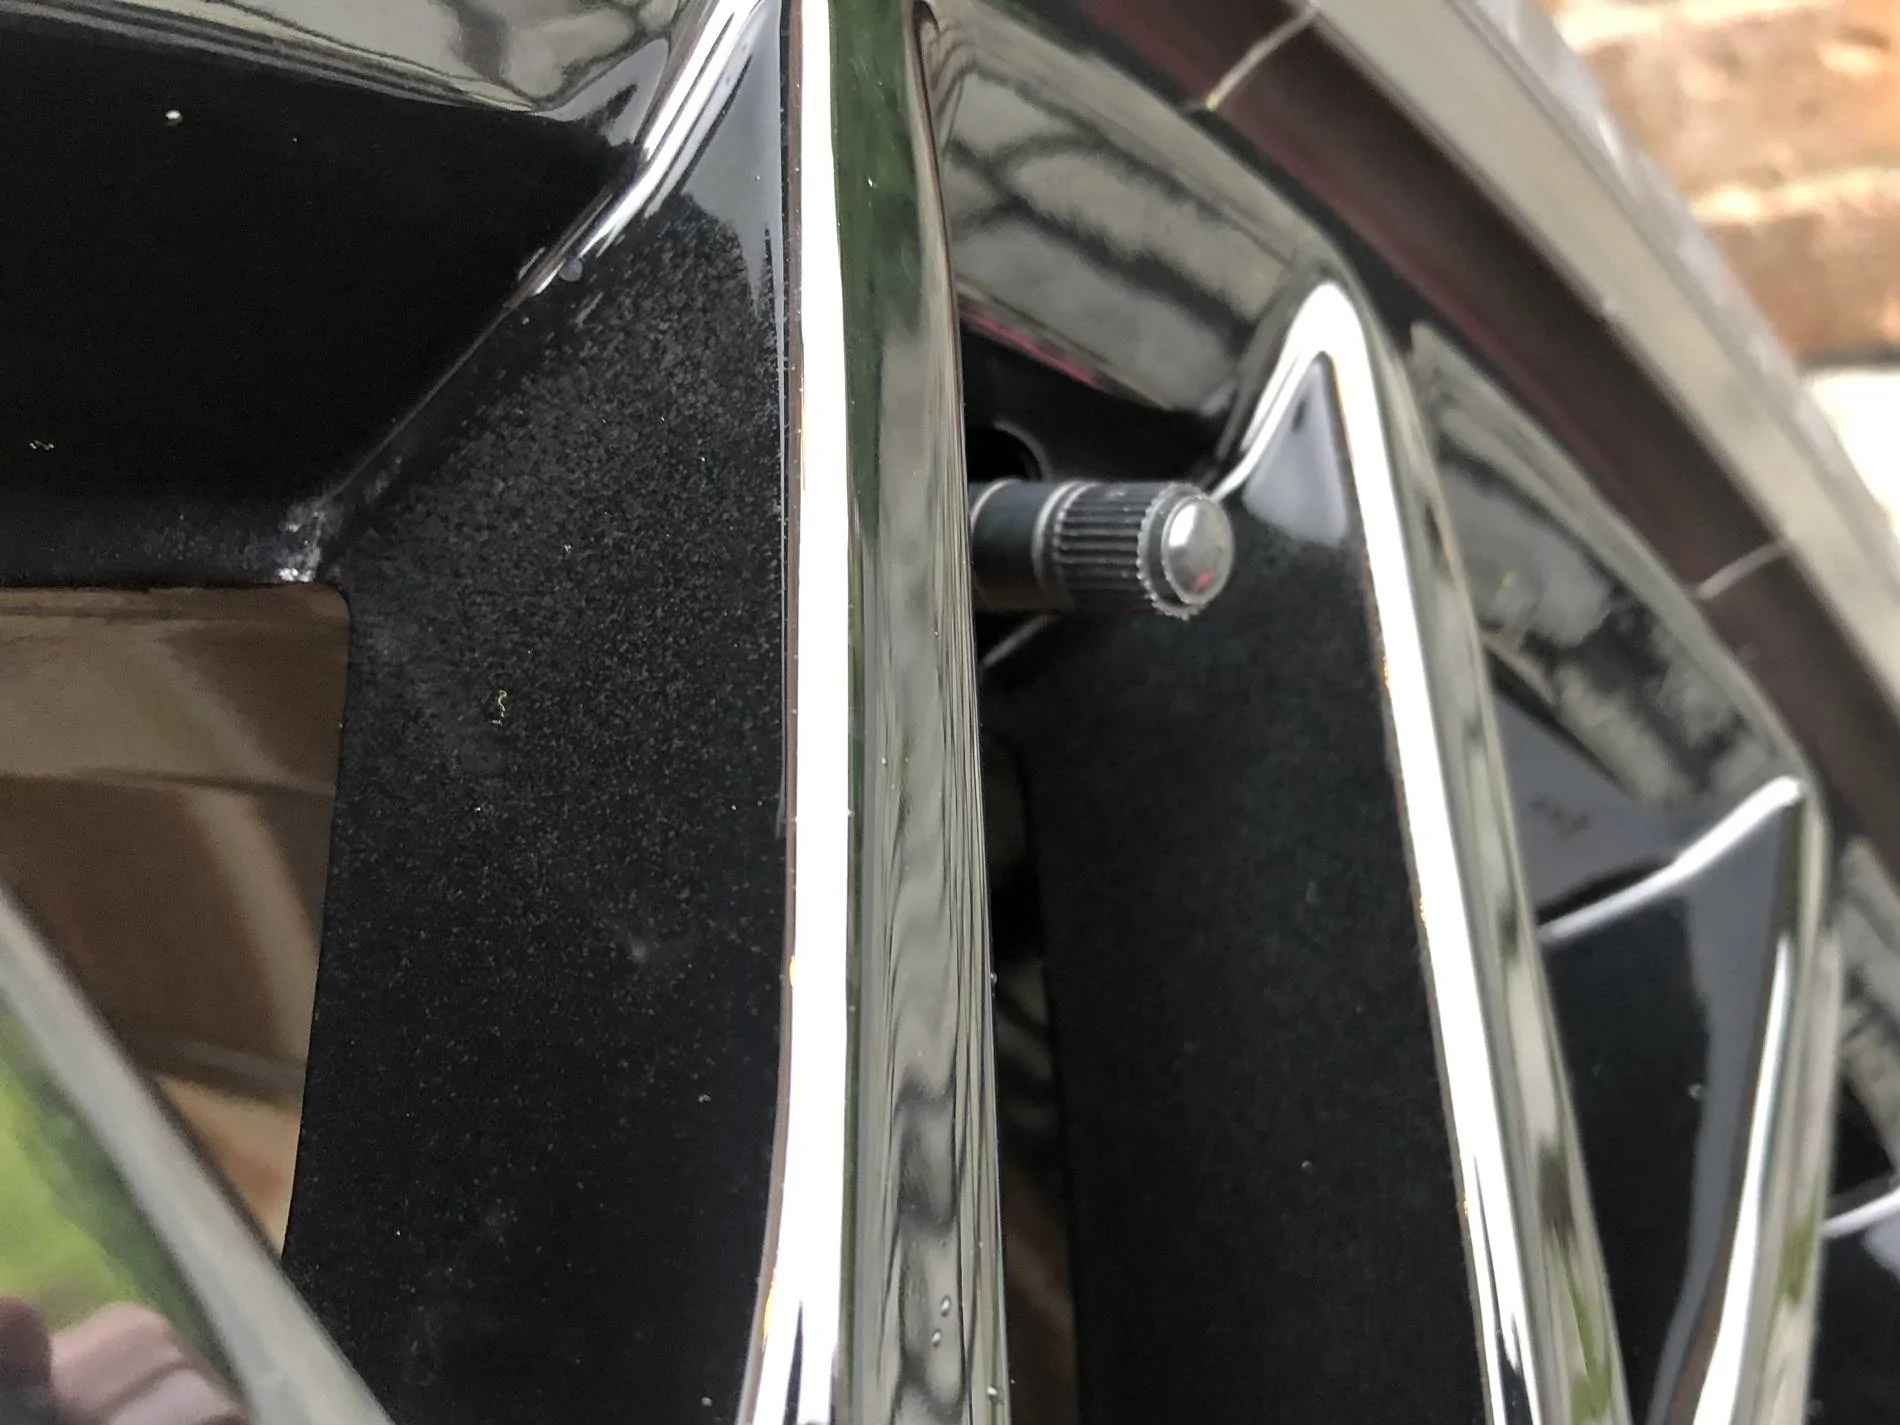
Pulled my finger out and got the other side done. About a third of the spokes also had the under seal overspray (that’s a lot of overspray when you consider the spoke count on a PP1 wheel … :shock:) and that doesn’t include the light dusting that was pretty much all over the rest of it but the camera doesn’t capture :

E8-F3961-B-CABC-4155-930-E-FDA5-A8-B6-C741.jpg


I am really glad this was a ‘one off’ job and not a maintenance job that will need repeating ... :headbang: :angry:

I should have mentioned that the wheels final prep was the Turtle Wax ceramic polish – seemed to be a good final step considering I just can’t put any more time into the wheels at the moment, it’s a mild cleaner polish that leaves a deep finish and some ceramic protection.

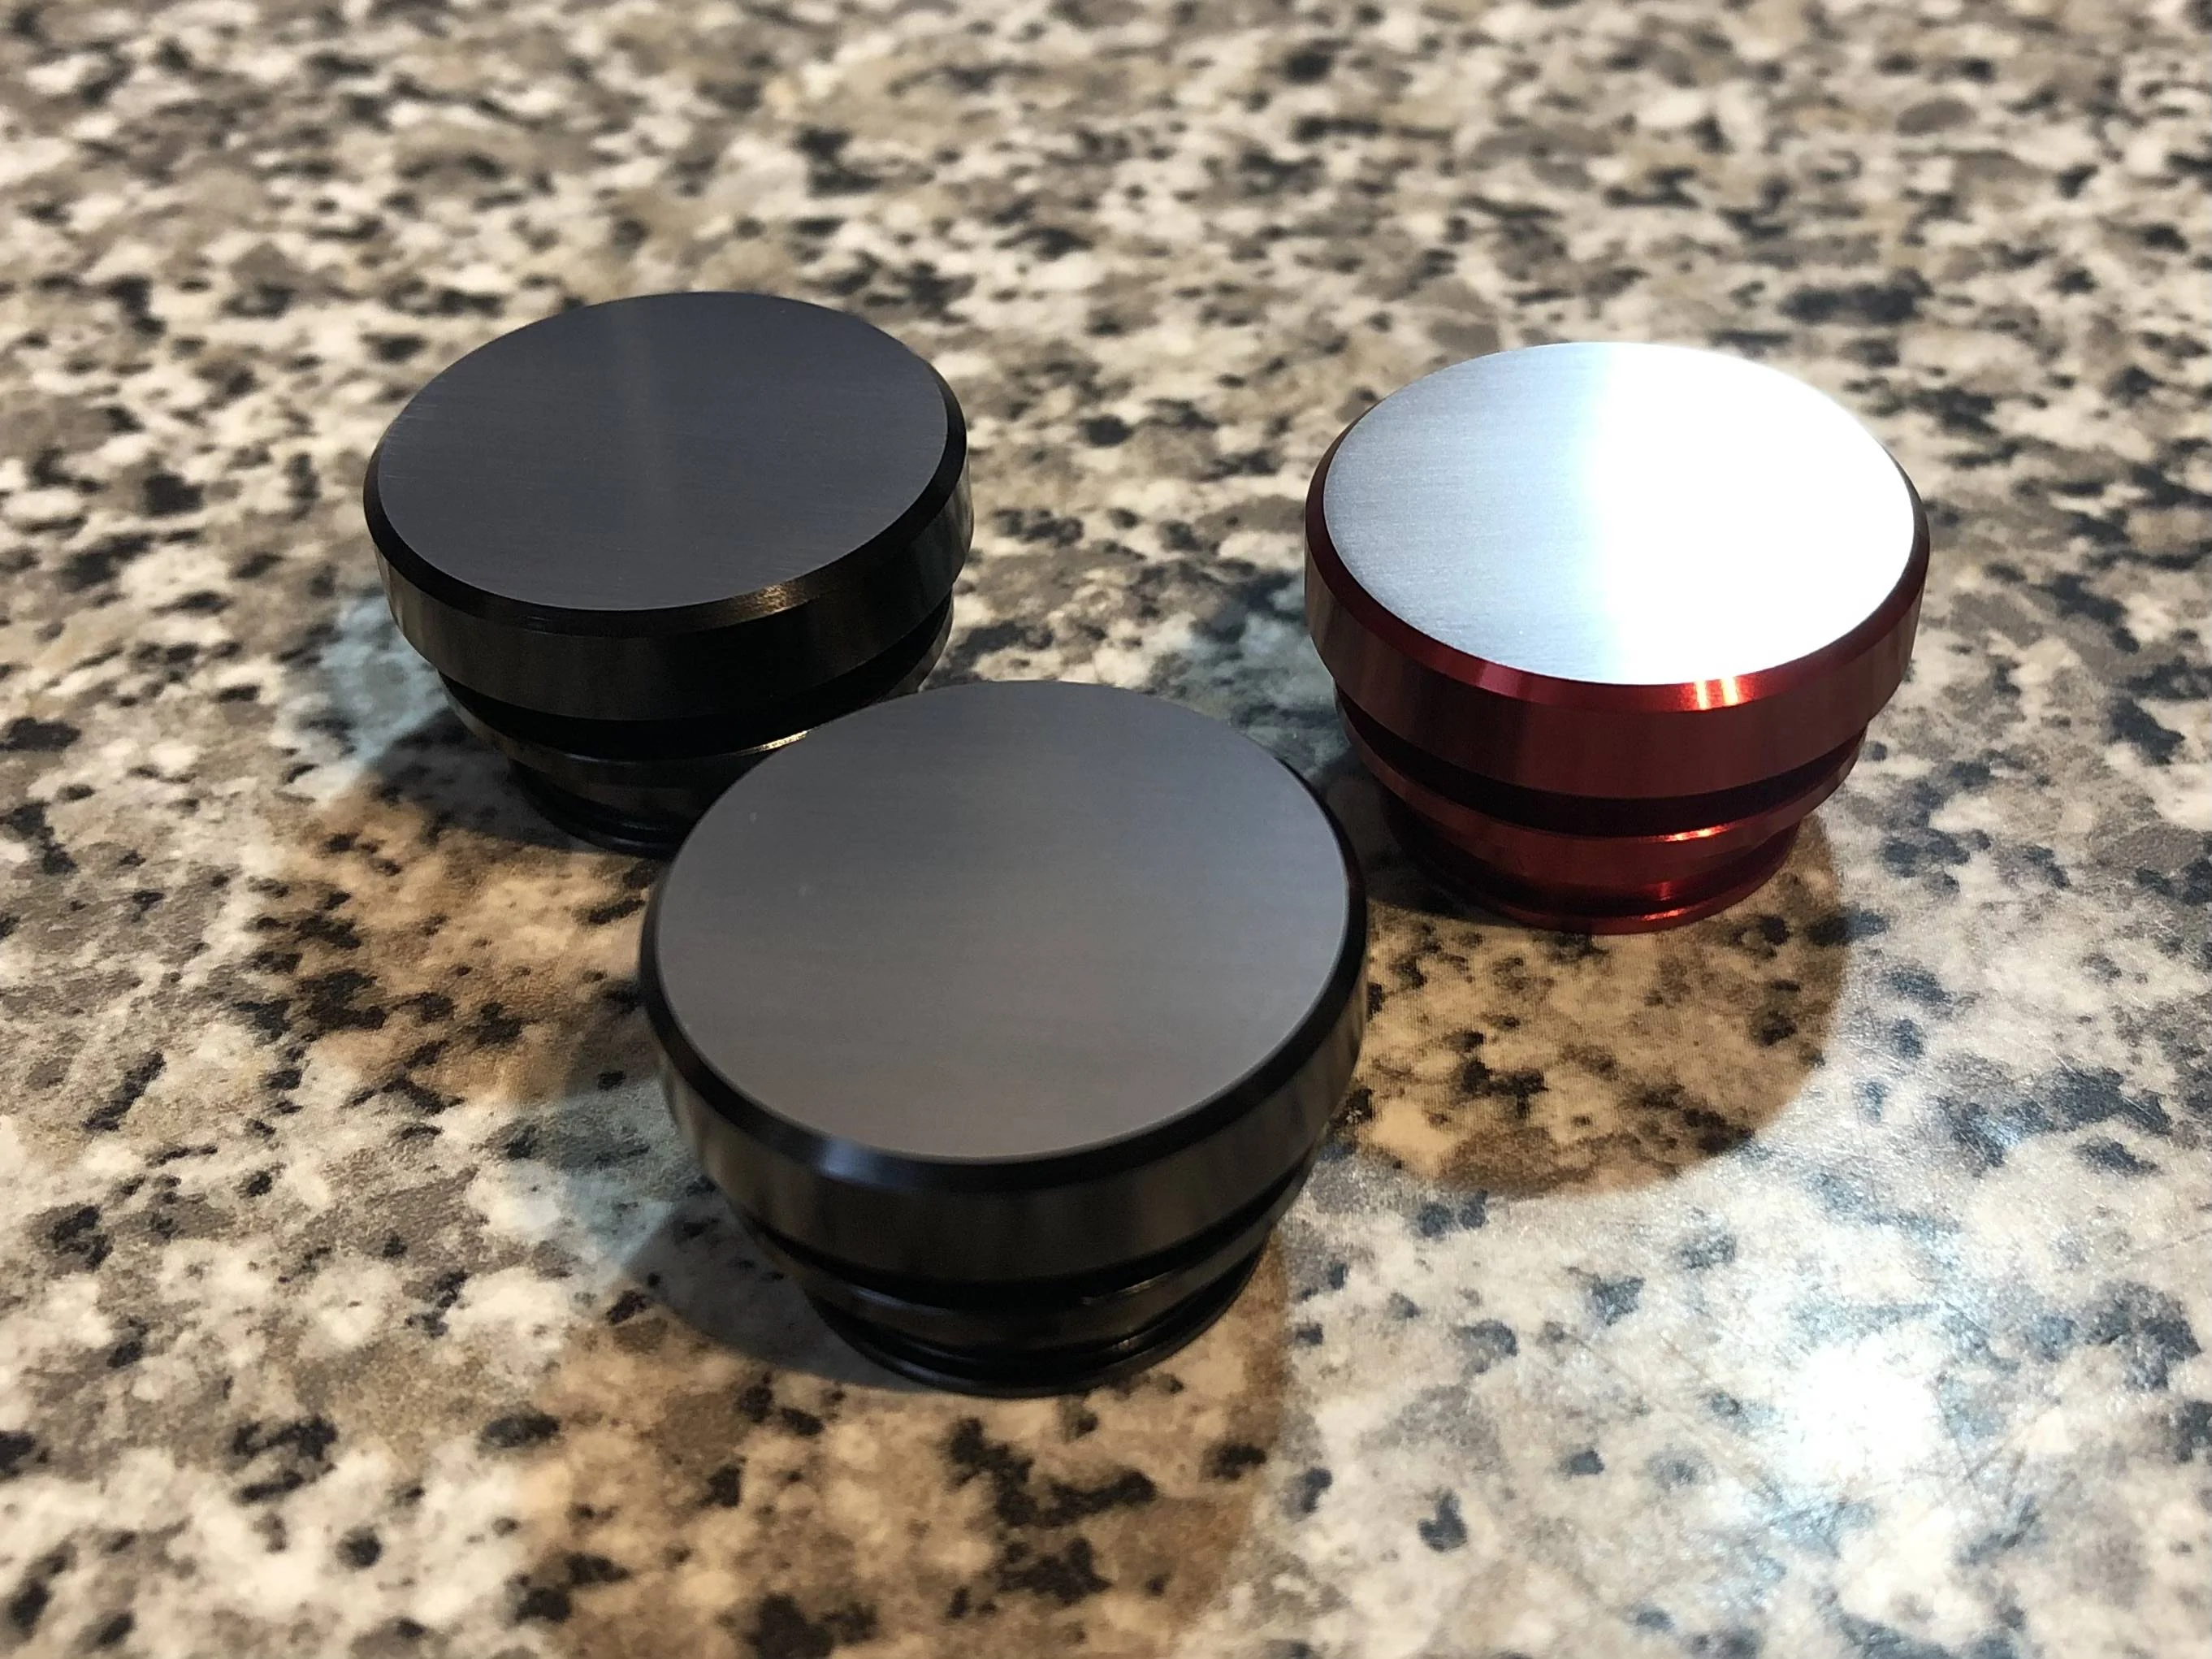
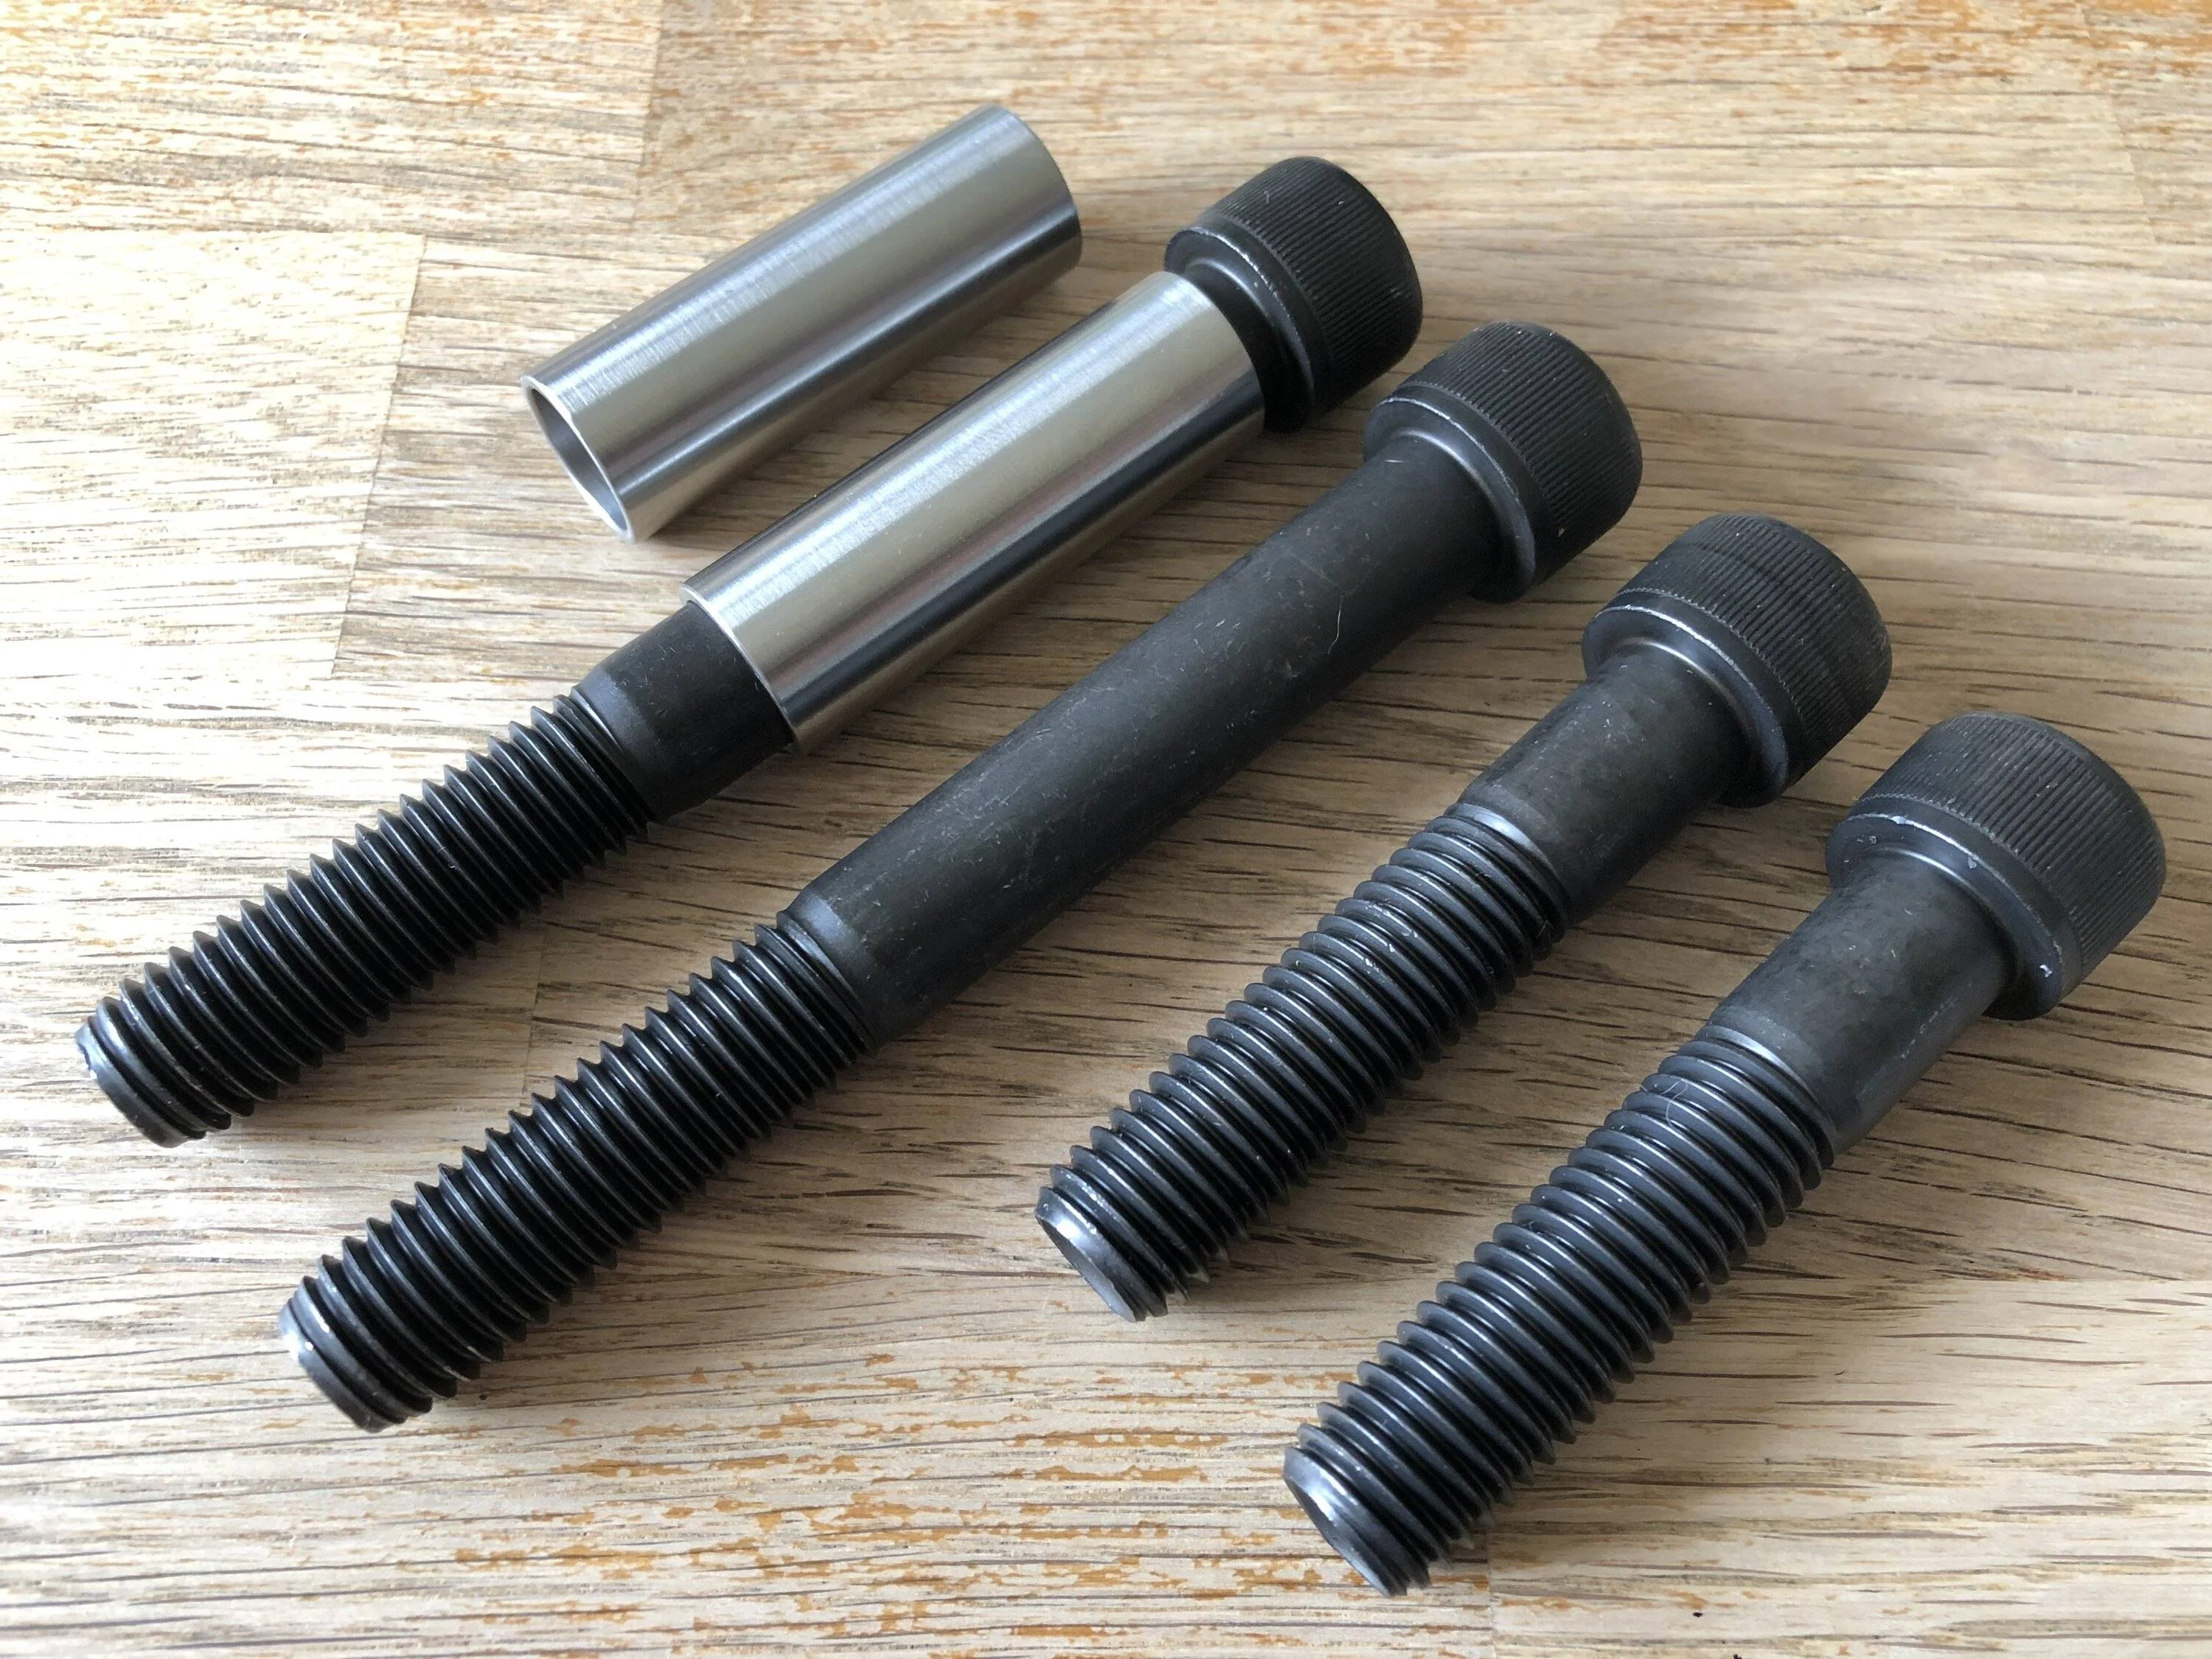
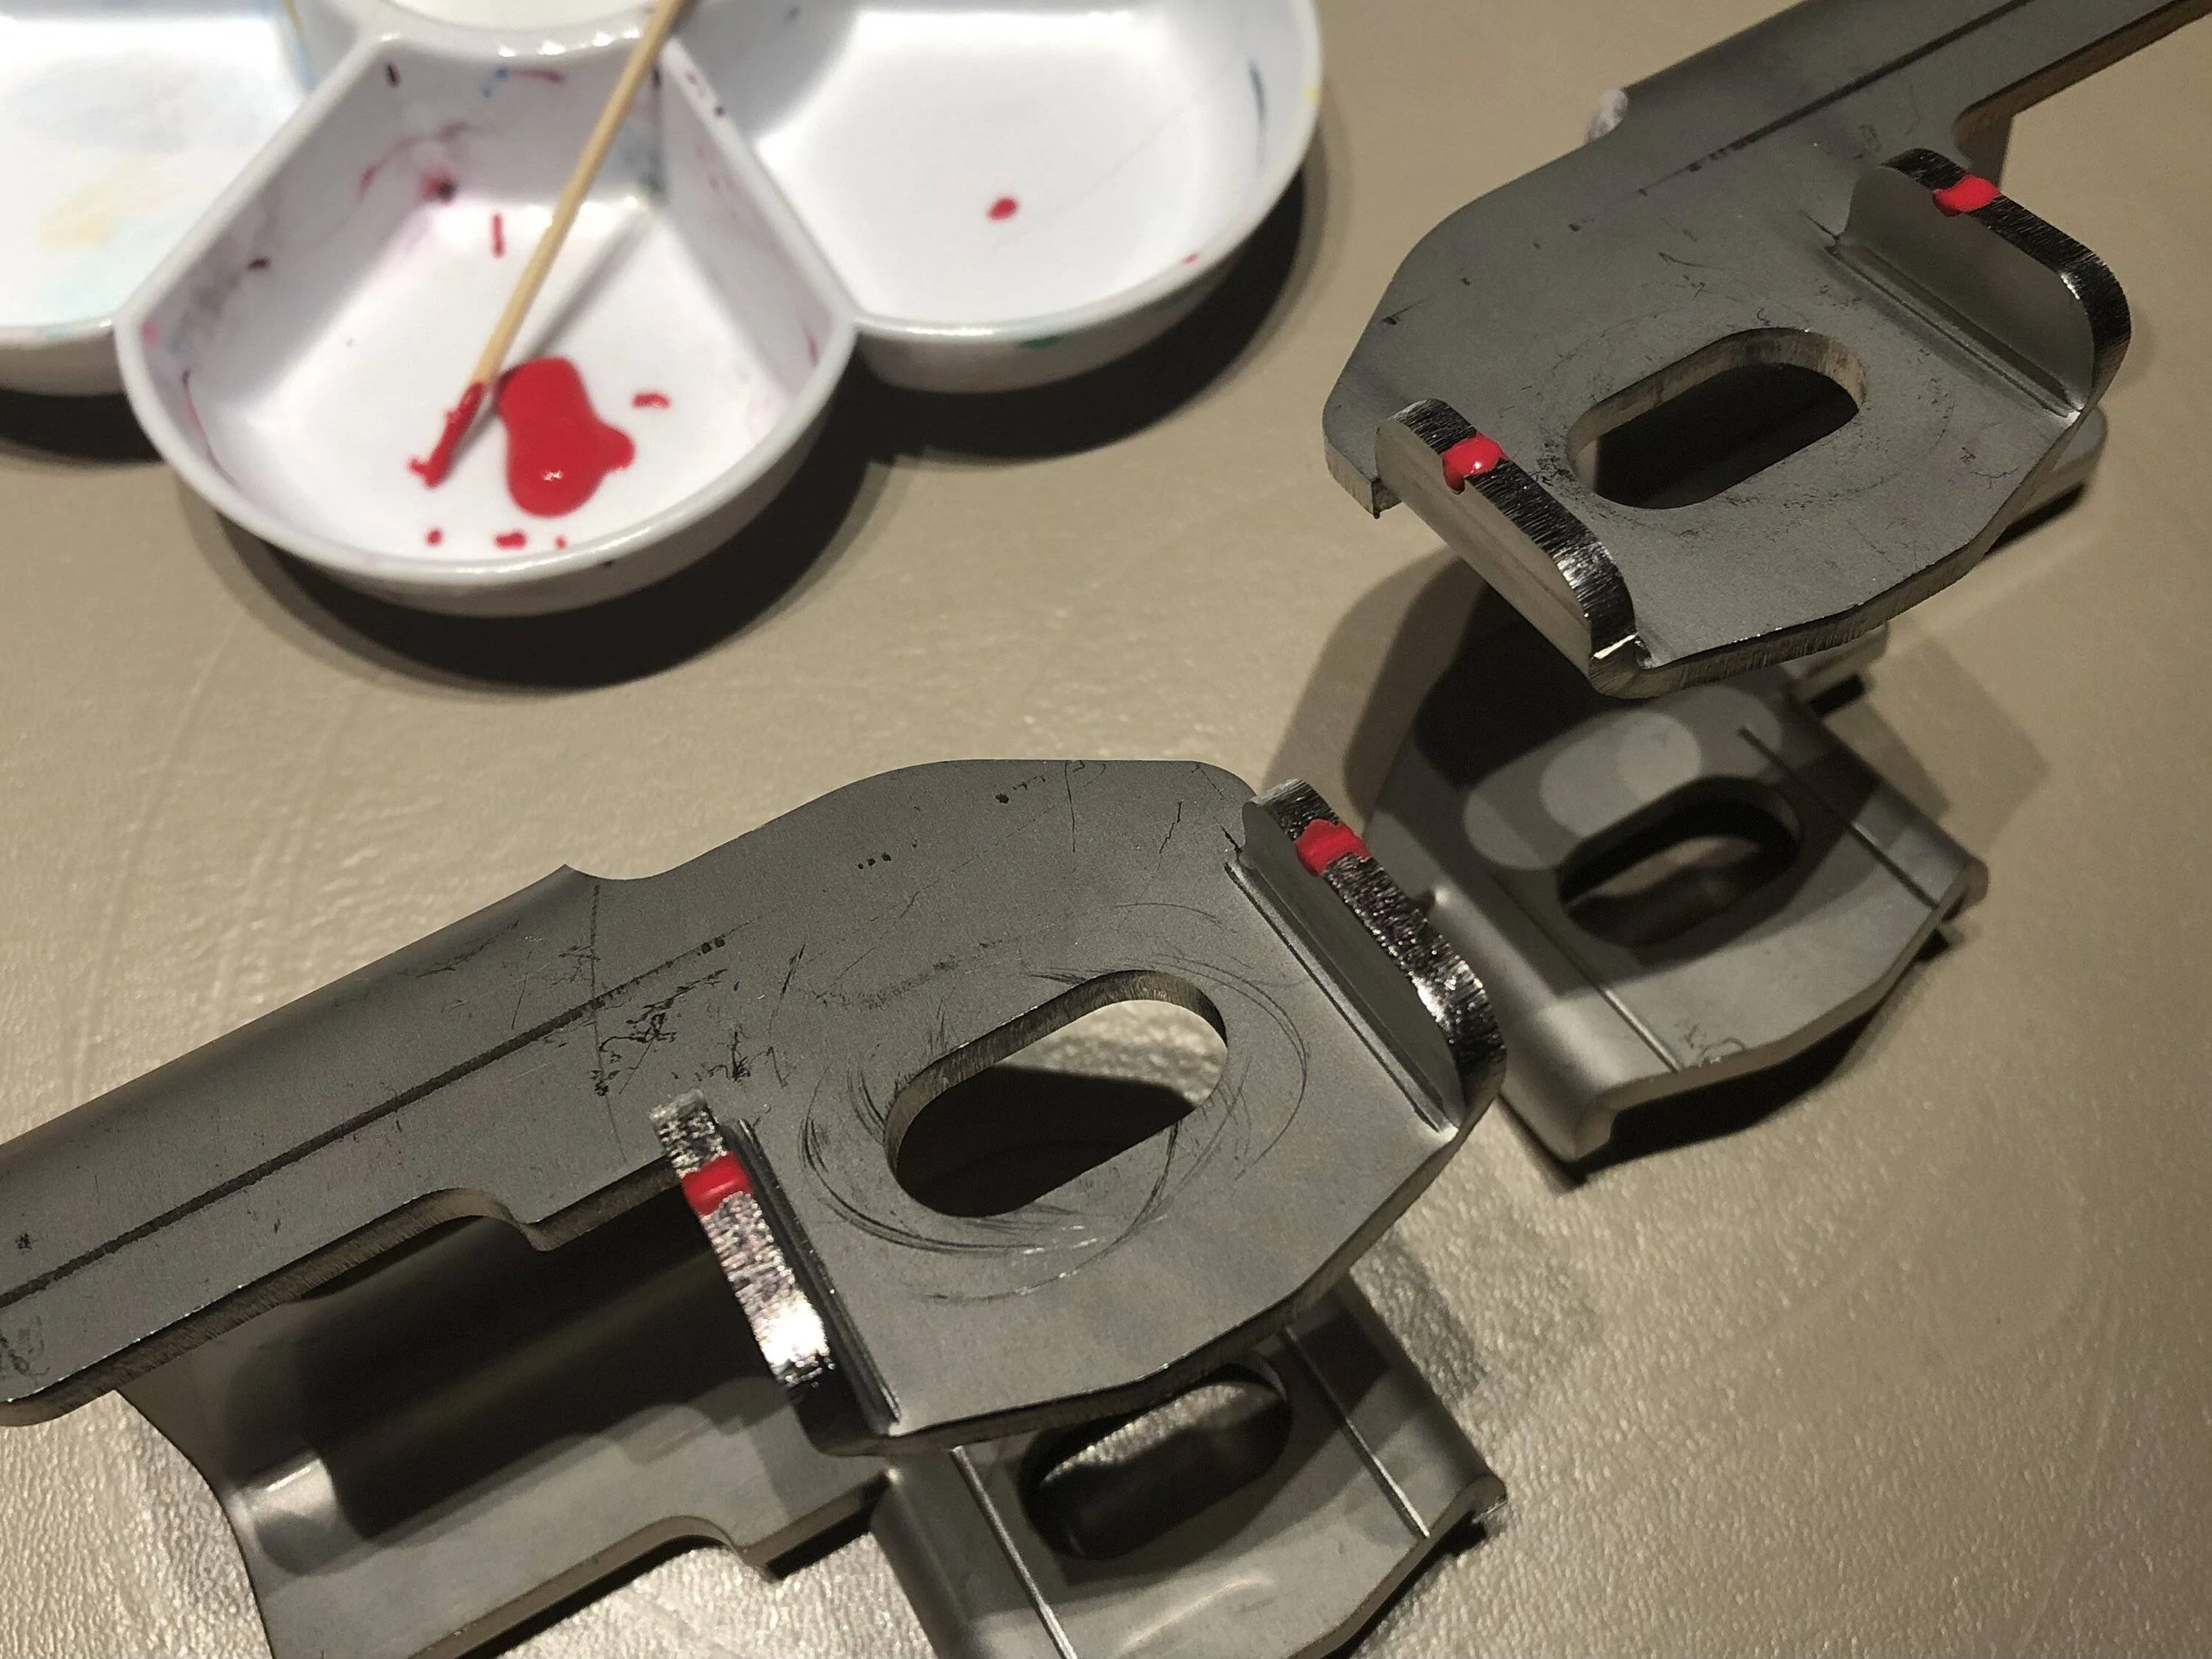
I also got to try out some tools I bought specifically for the Mustang :

E36-FE60-C-0-D2-F-4-AE4-8555-25956161699-B.jpg


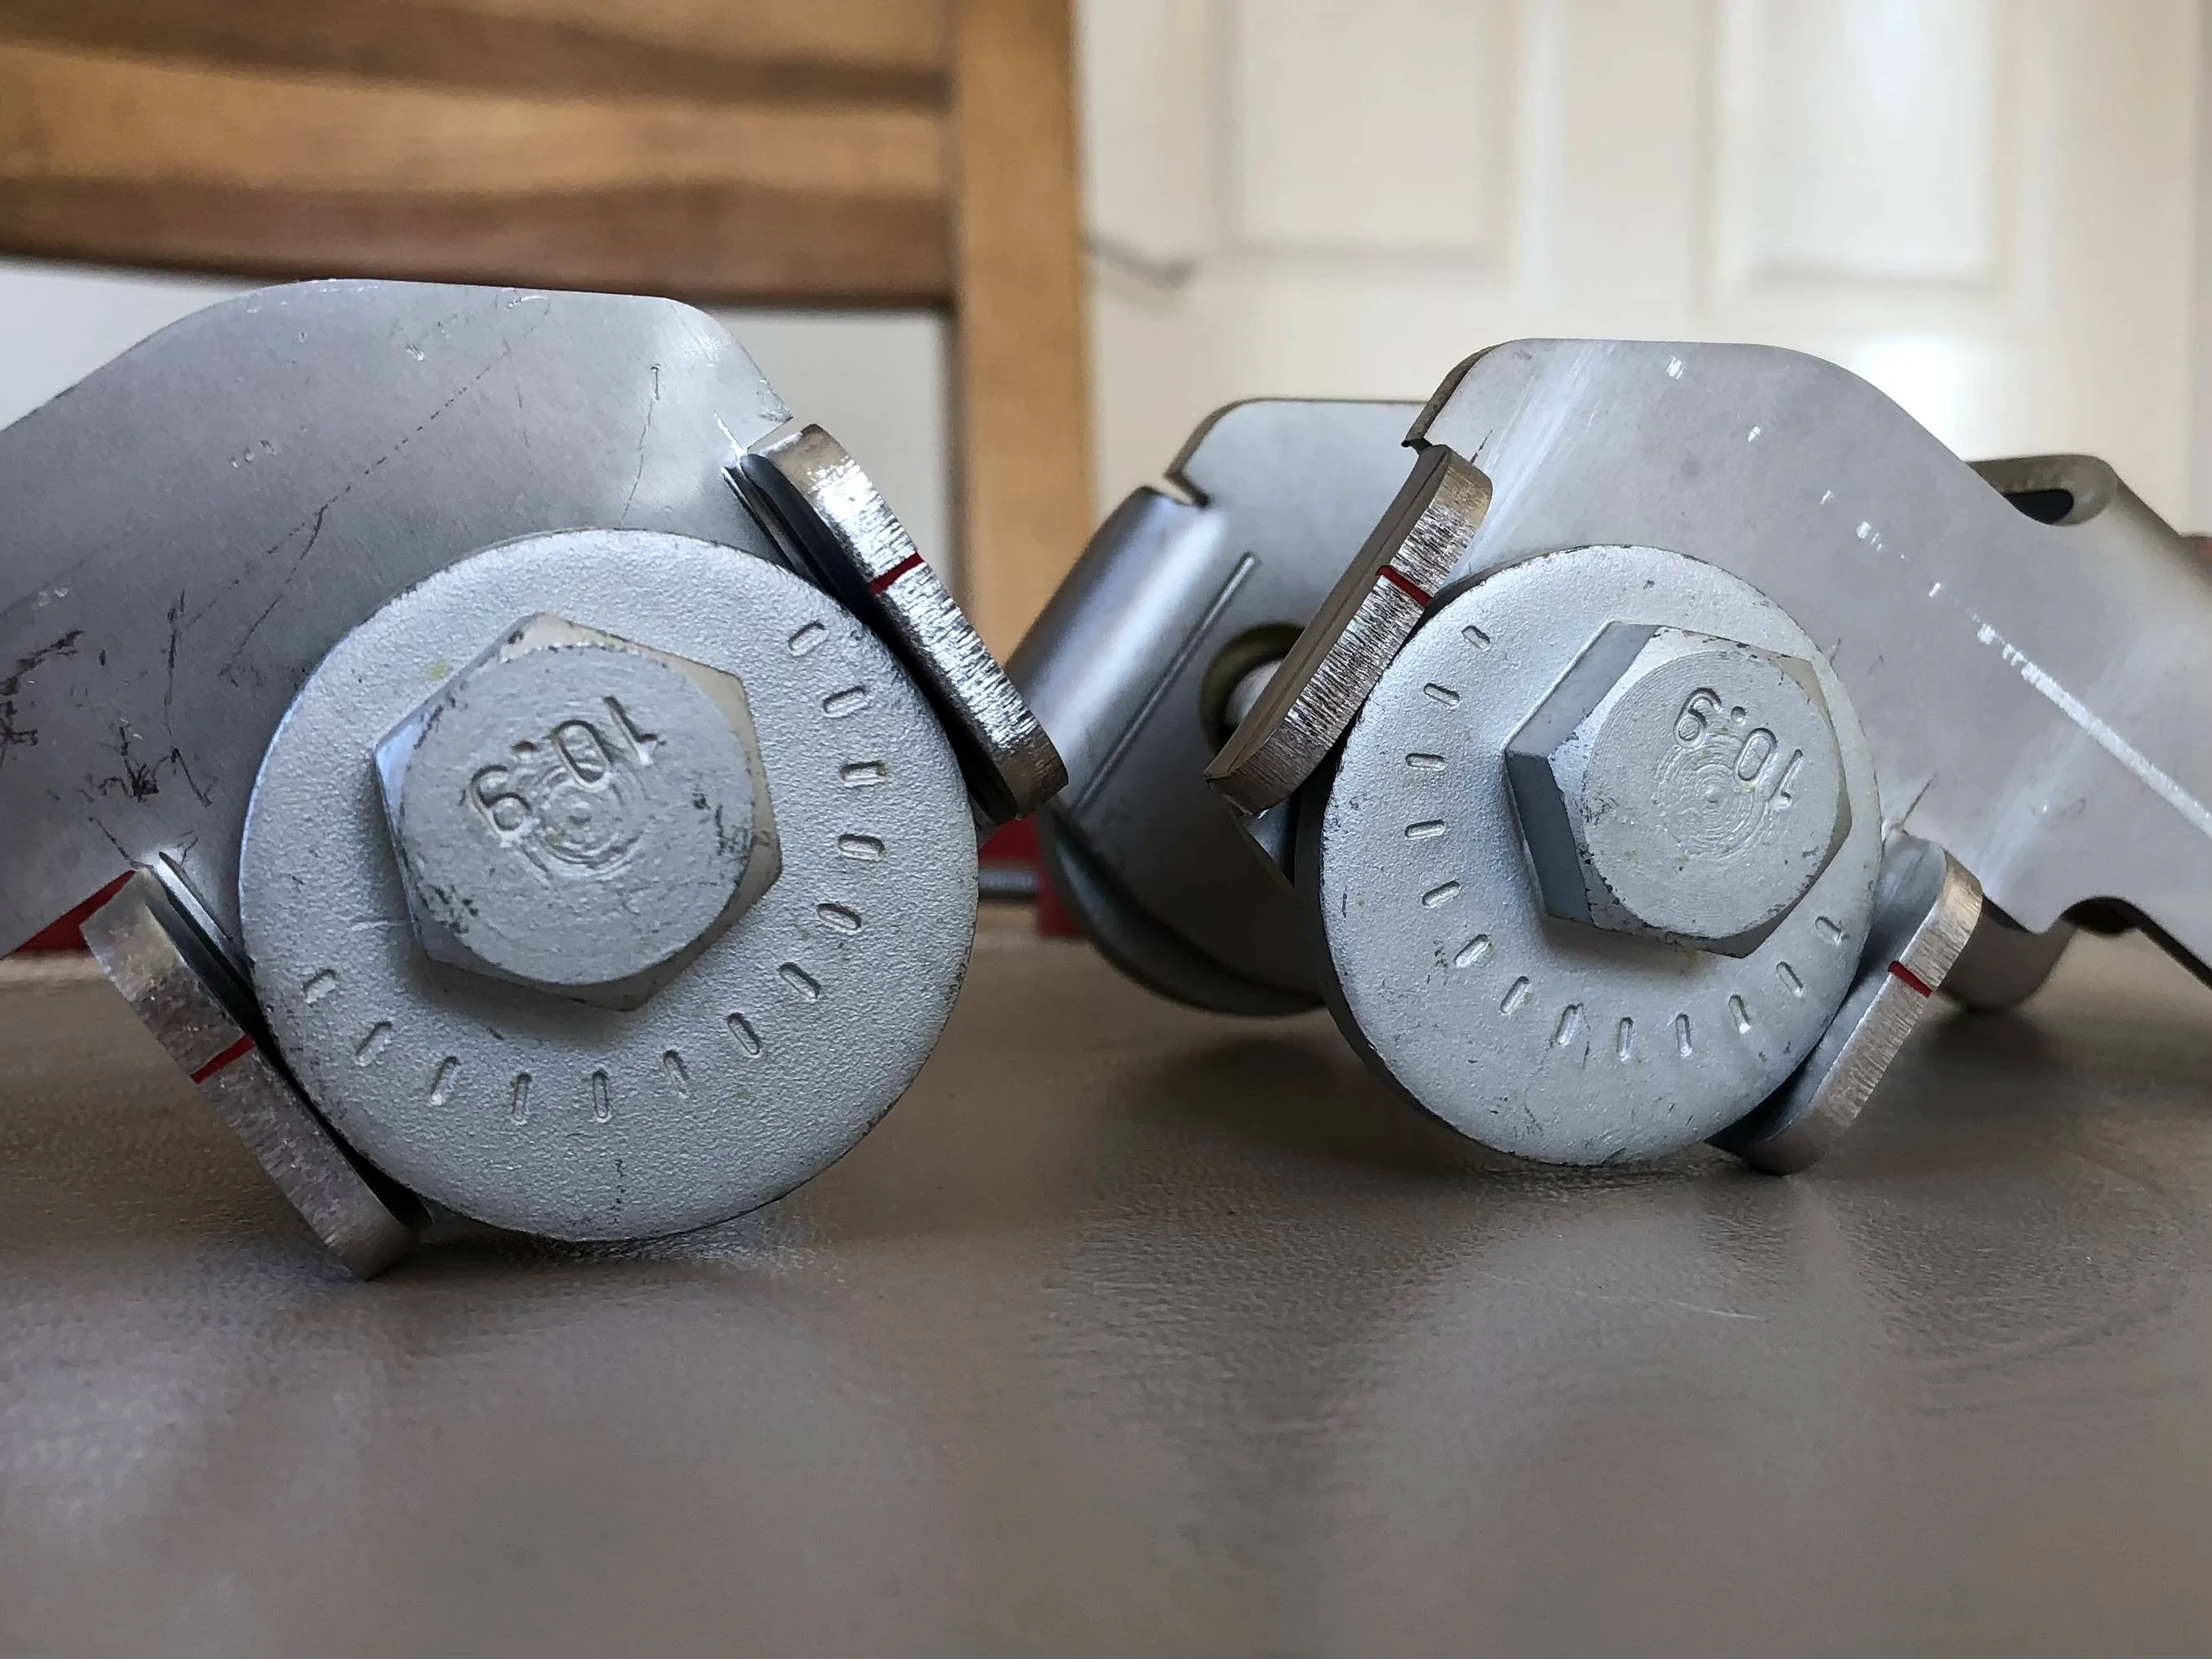
Breaker bar to cope with the high nut torque, nice socket so I don’t mark the finish on the black nuts and the other things are the ‘reverse logic’ wheel changing studs to help with heavy wheels and big brakes. I was surprised how much easier these items made wheel removal / replacement :

896-A96-B7-FC88-46-DC-8675-F315-D2-DB40-EA.jpg


41-A4-A3-DB-C937-43-BC-AA0-F-E969-A9-C55-F1-D.jpg


Interestingly the nut torque as supplied from Ford was considerably lower than I expected (and lower than a nut I correctly torqued as a sanity check).

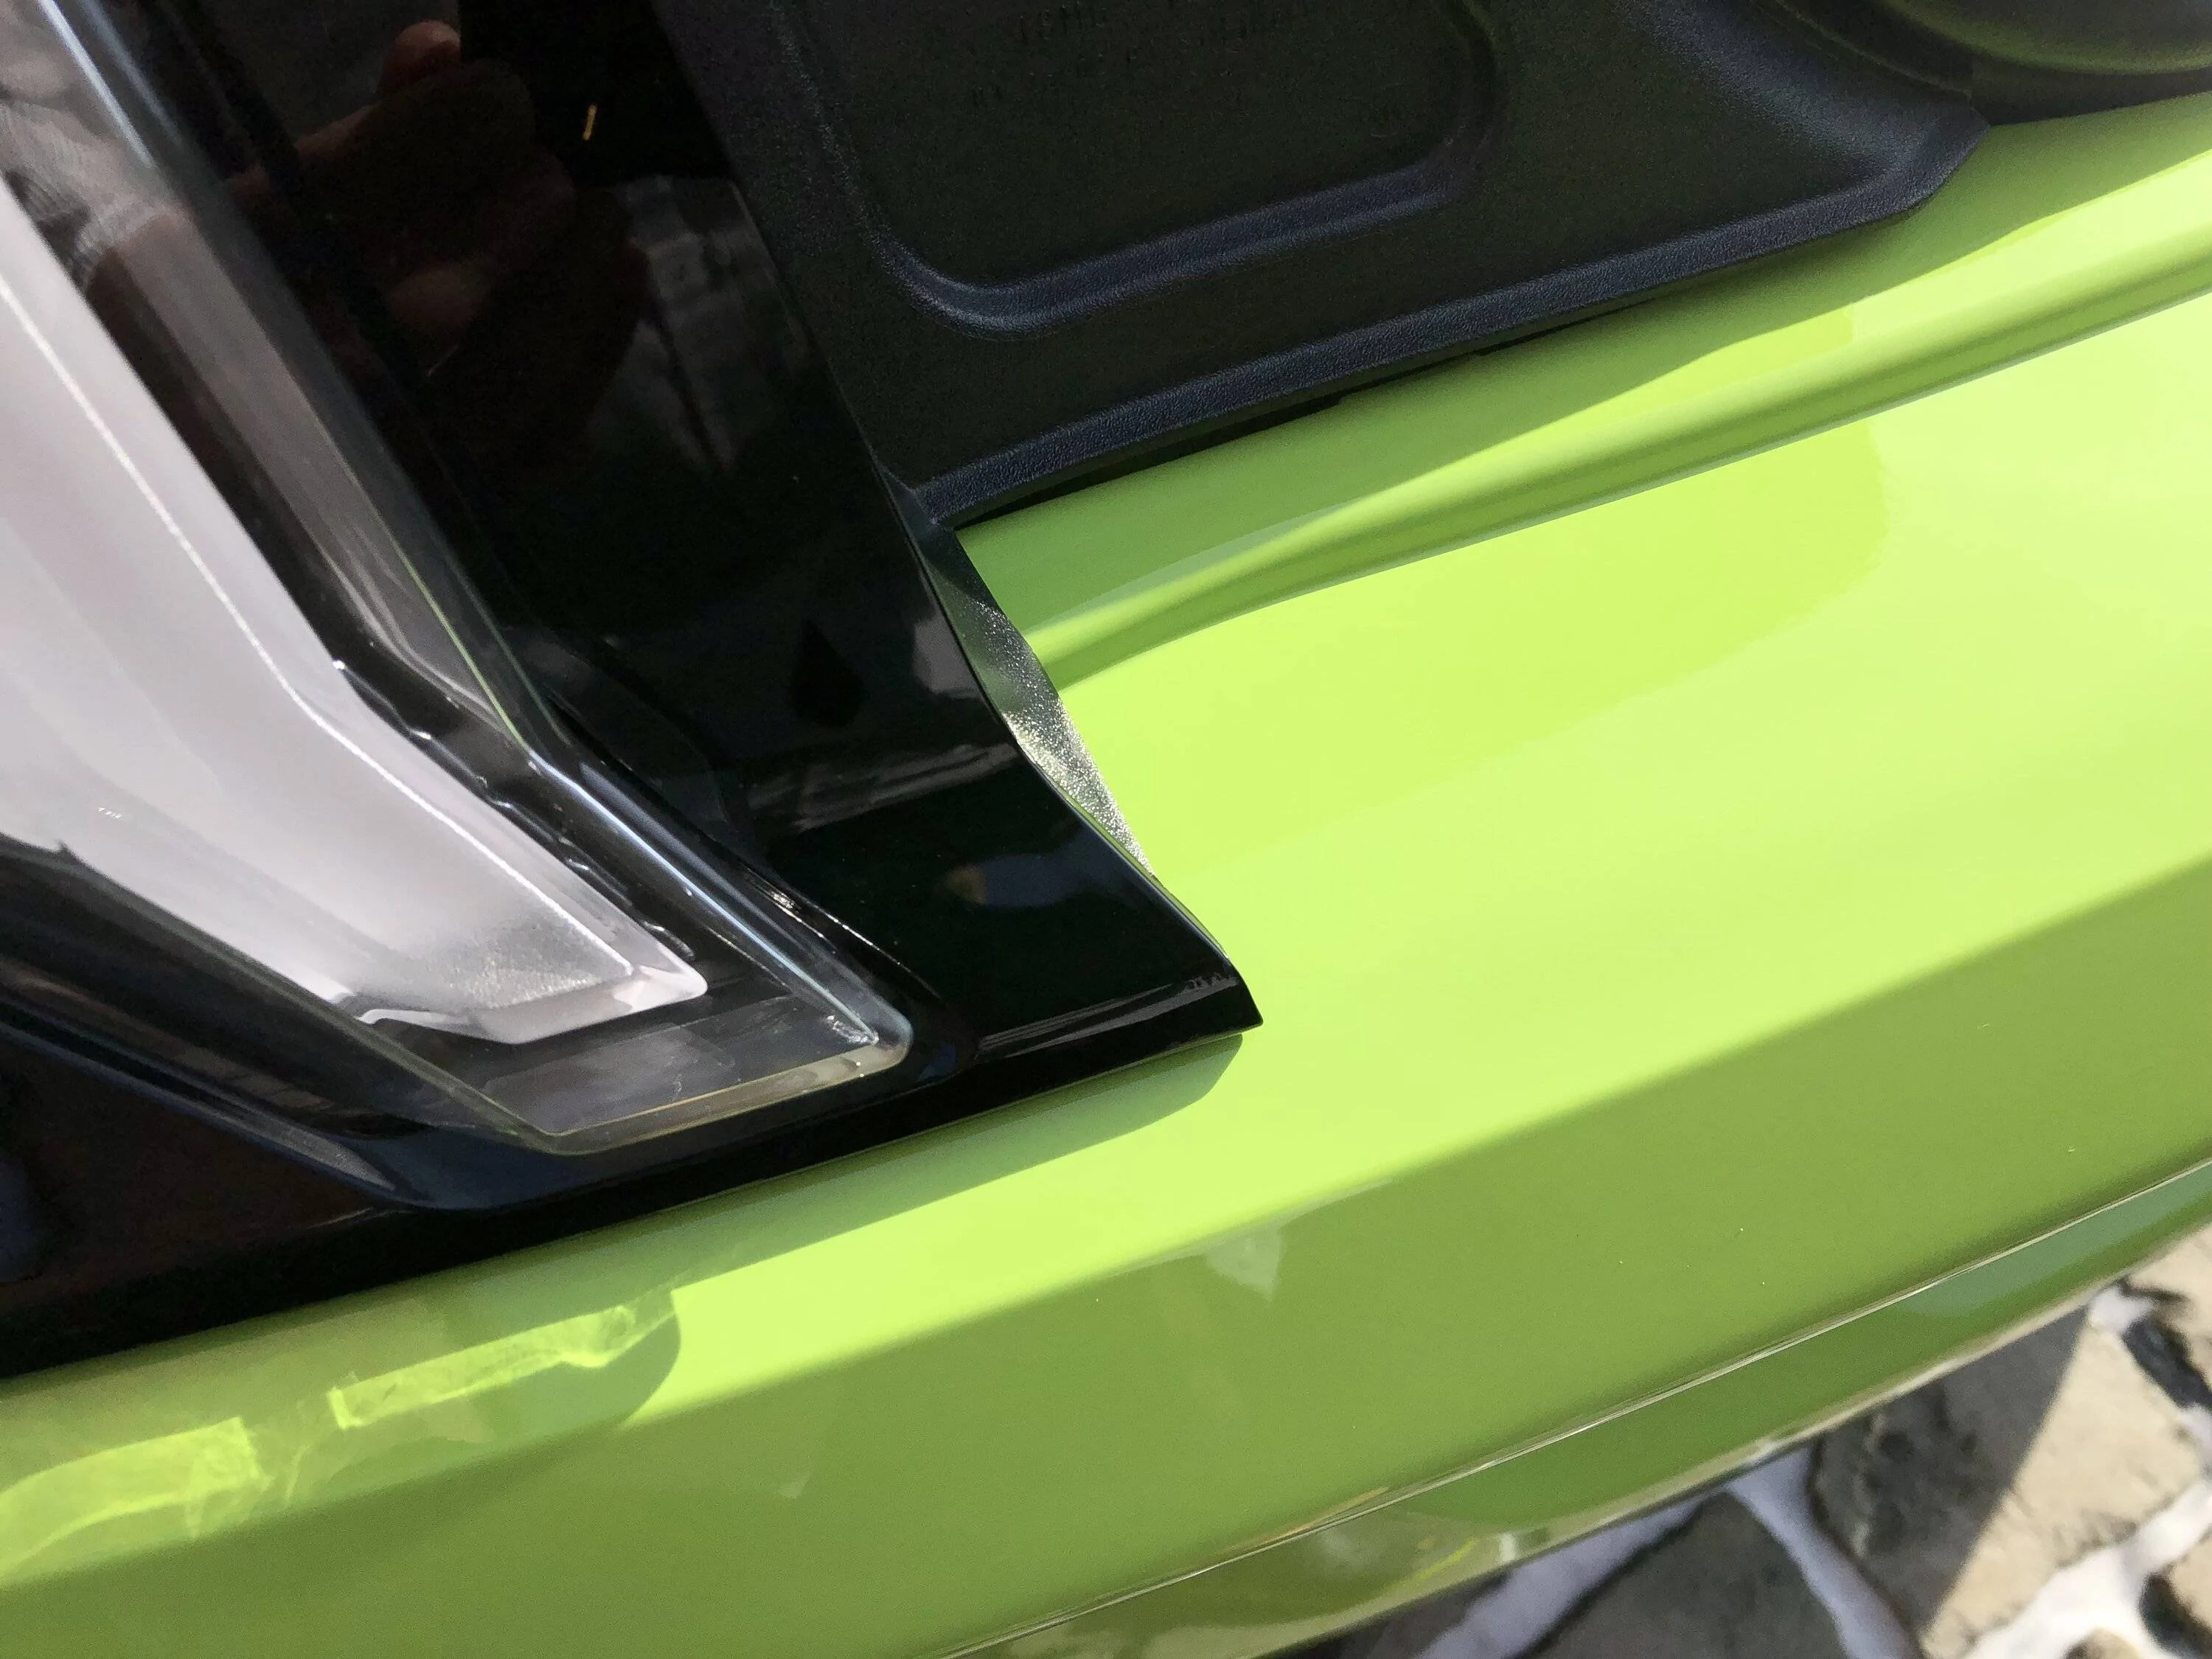
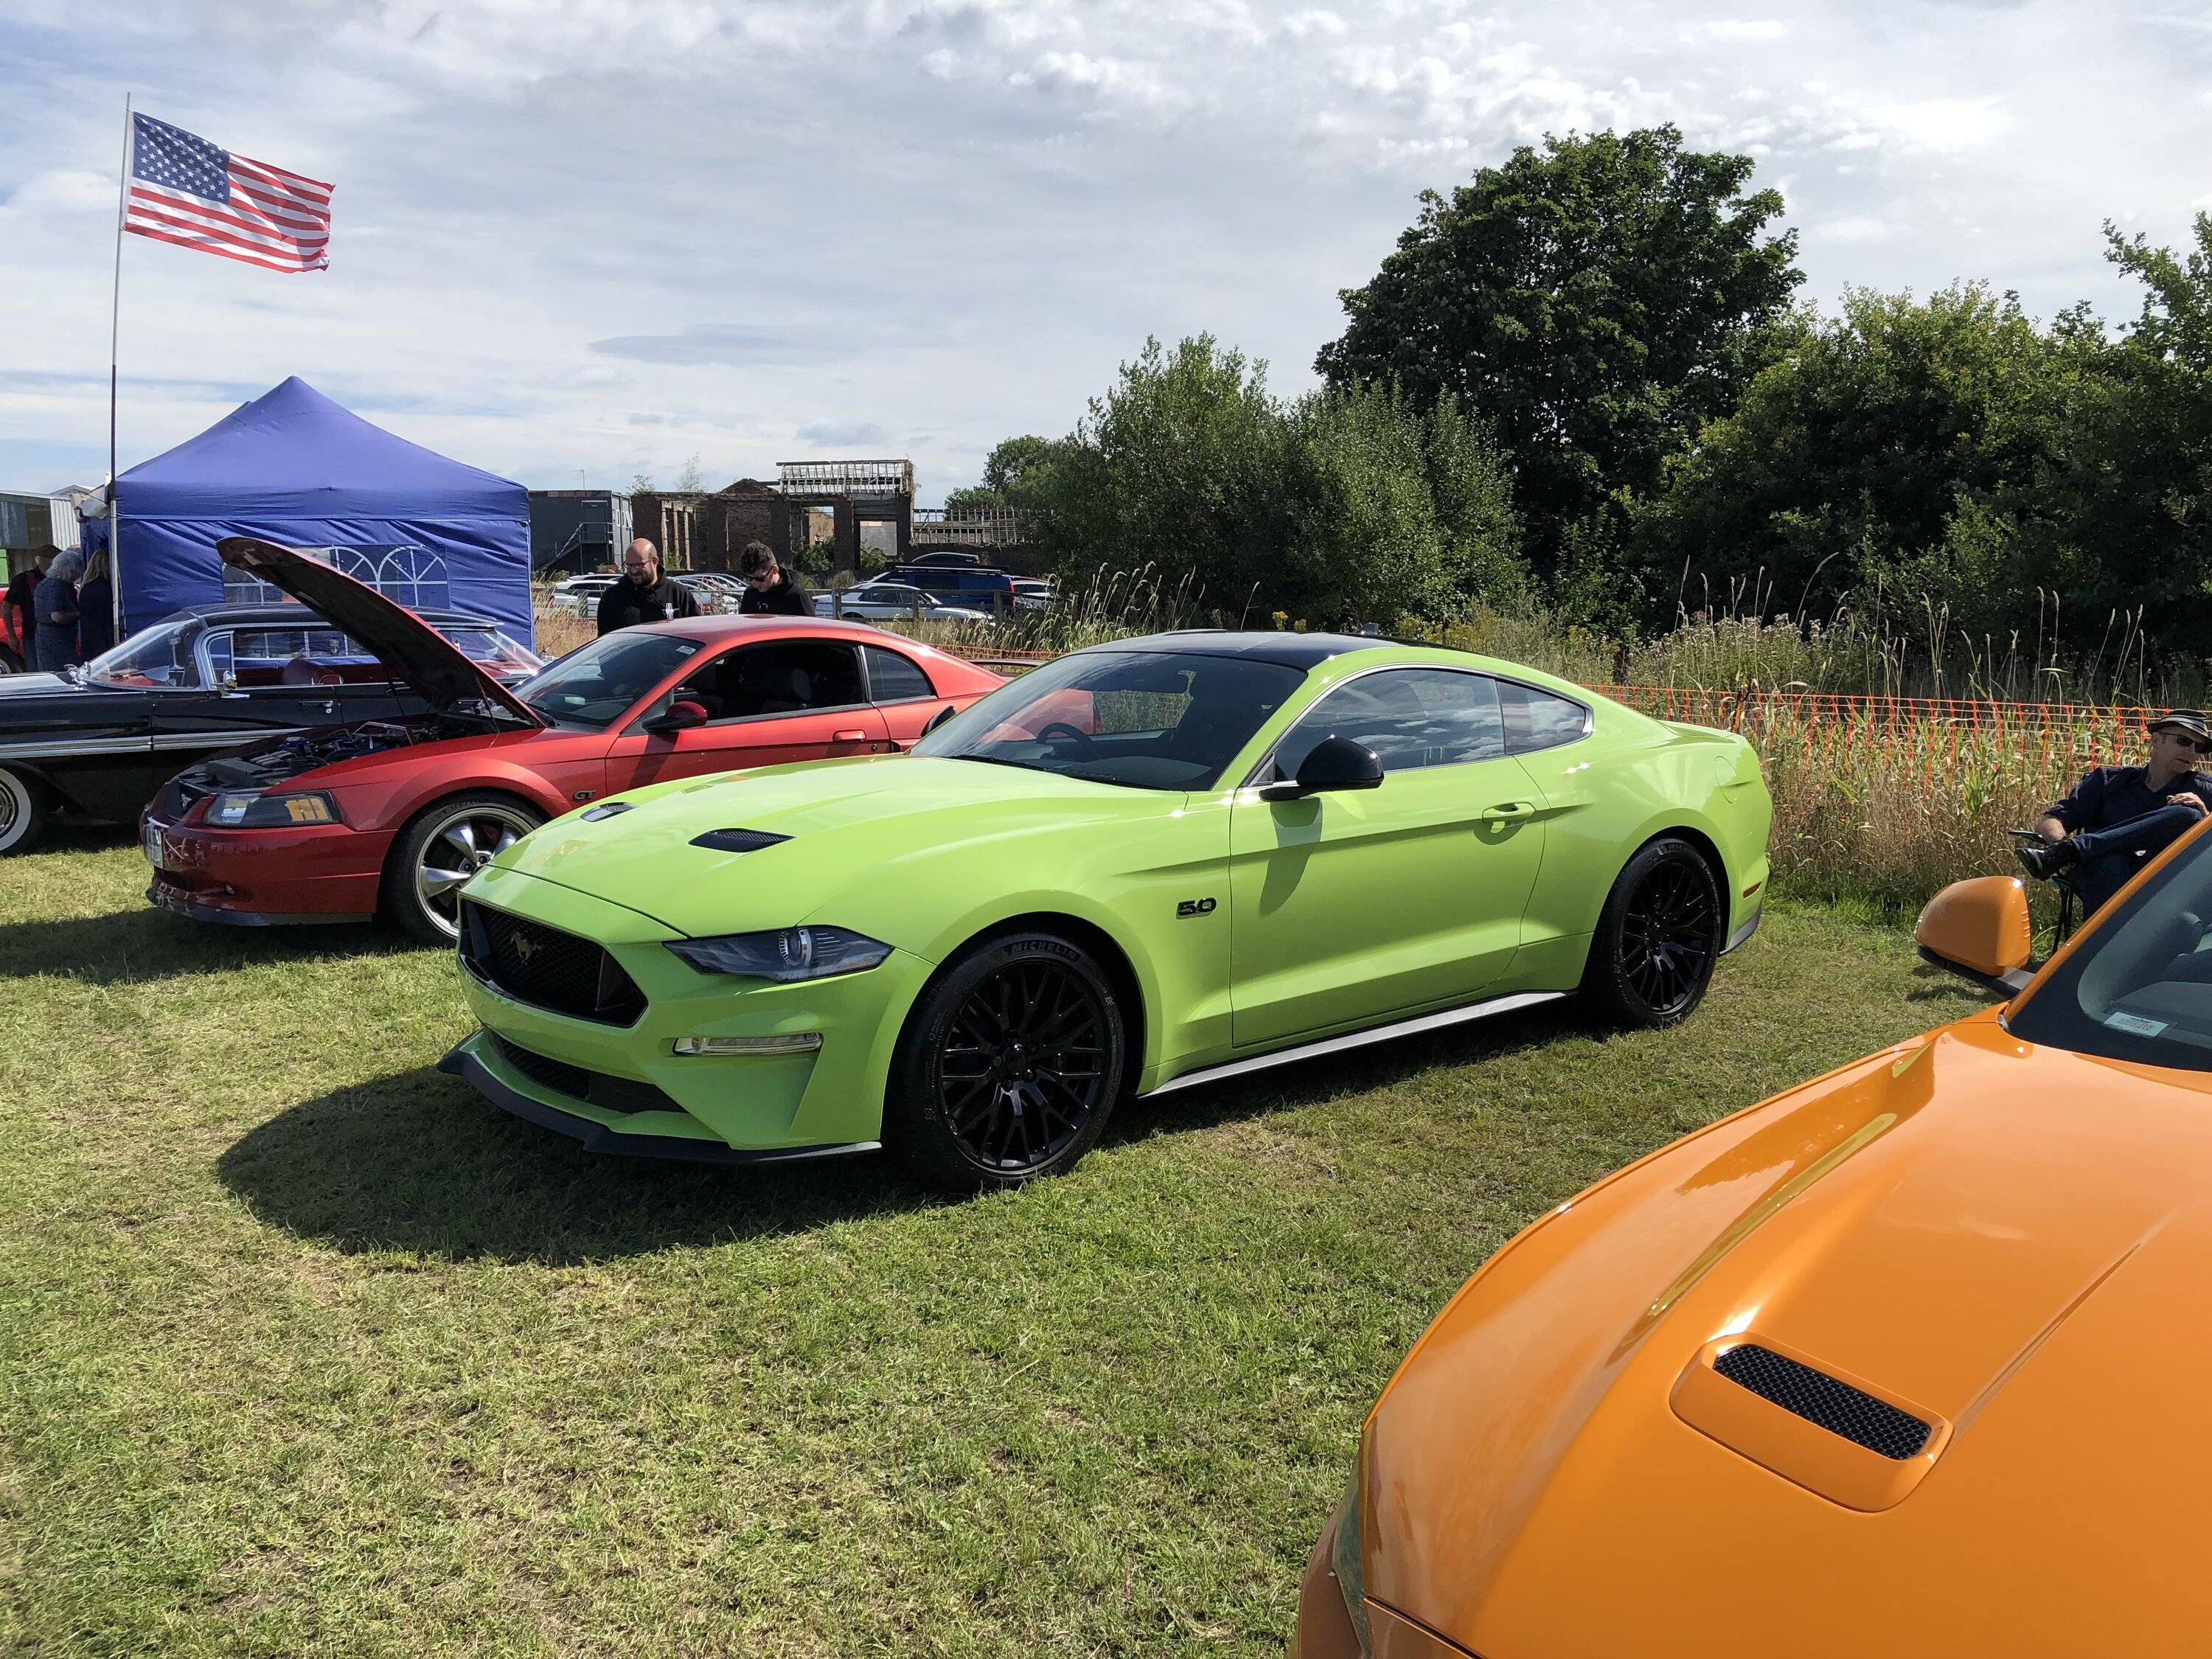
Really happy with the splash guards, they blend in and suit the car really well :

22-D7-EAC6-5-F7-F-418-C-BD71-2-EFC1-E7068-CB.jpg


I kind of wish ford did something like them and offered it as an extra, especially for the front :frown:

The McGard nuts seem really nice quality :like: Is it wrong to line up the valve, badge and the position of the locking wheel nut … ?

78329-AFF-30-A1-4-C5-A-919-D-E9-C0-FDEC430-C.jpg


And more importantly, how will I cope when I do the front wheels as they have the offset valve … :facepalm: :giggle: :cwl:

WD :like:
Great content.... Who knew such a mundane component would require so much attention!?
Sponsored


Schwerin

Well-Known Member
Joined
Jan 31, 2018
Threads
179
Messages
3,993
Reaction score
2,497
Location
Home
Vehicle(s)
2019 Mustang
After working with @Zombie on the 2020 puddle light changes I now have these fitted :

F0-E25-F16-8770-4841-AA06-B4-CC7-FD1-C643.jpg


It’s really hard to capture on a camera at night (they look shaper in real life) but here’s the best picture I can get of the projected image :

34-D2-A5-A5-9-F92-4602-8-DEB-8-A698-DA0-C194.jpg


In reality, any loss of clarity is minimal and (in my opinion) far outweighed by the cool colour coding :sunglasses:

Anyhow, check them out here : https://stickyzombie.storenvy.com/products/31086760-puddle-light-overlays-design-2 :like:


WD :like:
I have the original, been like 3-4yrs and they never came off and still look new.
 
OP
OP
WD Pro

WD Pro

Well-Known Member
Joined
Jan 18, 2018
Threads
121
Messages
5,717
Reaction score
11,030
Location
United Kingdom
Vehicle(s)
Lime GT
Vehicle Showcase
1
Seems ages since I last updated this thread, so lets see how many pictures I can add to one post ... :giggle:

Most stuff will be copy and pasted from other threads, but I will try to keep it in timeline order :like:

First the excuses ...

Early part of the year was dominated by helping to get my misses get over the finish line :

1664395200441.jpeg


For those that haven't been involved in training for or supporting someone training for a 140 mile race, it's (very) time consuming and takes a lot of family planning. The car took a back seat, but I was very happy for it to do so and very proud of what my misses accomplished :inlove:

Lots of other excuses in this thread too :

https://www.mustang6g.com/forums/th...y-ive-not-been-doing-mustang-jobs-lol.173815/

Then there's redoing the en suite ...

Car stuff now :like:

Fitted some nice wraps to secure the CTEK charging tail :

0-E6-A3-D55-B327-44-E7-9054-A7777-DE7-B9-C6.jpg


The standard cable ties were really cutting into the CTEK insulation that gets very soft with the under hood temps.

Birthday kit :

1649419826540.jpeg


I know there are better battery DA’s, but I’ve already got Ryobi stuff and unlike most other things the Ryobi DA is proportionately much cheaper in the U.K. than in the states (£84 with the pads, circa $110).

It will be perfect for what I want (quick setup / light work / touch up or single panel work). I have a porter cable that I bought in the states and run on a transformer if I need to do heavier work or run for a long time :like:

Check the text on the note from our youngest … 😍

Random photos taken on an evening drive :

1664396147454.jpeg


1664396163081.jpeg


A bit tacky :

IMG_6174.jpg


But quite nicely made :

IMG_6176.jpg


Looking a bit better :

IMG_6177.jpg


Then the same finish as the starter button (and messing around with a gel decal) :

IMG_6267.jpg


Looking good (and matching the Steeda hood lever that I modified - just in the background) :

IMG_6269.jpg


The red one matches the starter button quite well :

IMG_6270.jpg


Future plans for the spare black and red one - try some engraving and (body) colour coded paint fill :like:

CarPro Perl on the rubber if anyone's interested :

1664396539039.jpeg


Spent about three hours with the clay mitt and clay bar removing all the crud that really seems to build up quick on the back bumper cover. It’s nice to get back to the ‘as new’ look in all the corners :

1658009162163.jpeg


1658009210028.jpeg


1658009242318.jpeg


1658009268319.jpeg


There seemed to be a lot or iron around the back end ...

First mini car show at a local airfield :

1659901405127.jpeg


The red one is a 4.6 with a Kenne Bell.

The orange fury belongs to a forum member :like:

1659901668586.jpeg


The limes eyeing each other up :

1659901746525.jpeg


1659901843209.jpeg


Random forecourt photo after filling with v power :

1664396867580.jpeg


PCM recall done :like:

2nd year service done :like:

Having nice day with no shitty roads and no cleaning to do afterwards is a bonus :sunglasses:

1661959194462.jpeg


Following up on its service I decided to empty the catch can :

1661984776858.jpeg


It’s doing about 0.8 to 0.9ml per 100 miles (about 1.5oz per 5000 miles to give a reference for the USA guys).

I don’t go easy on it and they are mostly fun miles - it’s a second car and it doesn’t sit on the freeway in sixth with cruise on :wink:

Although I have the master tech work on it and he’s a very conscientious guy (who really seems to like and be interested in the car), it does no harm to double check :

1661985238105.jpeg


Half a hash mark down from the top of the hashed area :like:

I’ve always struggled with the strut brace and dipstick position, but by chance I dropped on the perfect method (for me) - dipstick in from the front of the strut bar, whilst my right hand at the back of the strut bar does the work pushing it down the tube (no pushing with the left ‘guide hand’ which just stops it contacting the brace or engine cover) :

1661985425959.jpeg


It made what I had always found a fiddly job to be very easy - and I tried it a few times to make sure it wasn’t a fluke … :giggle:

Sulked a little … :frown:

Can you spot anything missing ?

1662205793153.jpeg


Well, it’s only half missing - but I think that’s worse … :

1662205842679.jpeg


Out with the Steeda supplied 10.9’s, hello 12.9’s with some stainless bush sleeves :

1663451764748.jpeg


I already had the Steeda cradle support bushes, but after seeing them on a U.K. car and how they hold up against salt / winter, I decided to modify them a little.

I re tapped the 10-32” UNF holes to M5 through holes and cleaned up the sharp edges of the bore holes (top as supplied / bottom modified) :

1663452048791.jpeg


The thread can now come all the way through making for easier fitment and reducing a dirt collection / corrosion point.

These things appear to be made as a set and then cut, rather than being fully interchangeable :

1663452260014.jpeg


Prepped for anodising :

1663452348819.jpeg


No more corrosion traps or bolt heads hidden down the bores and therefore hopefully easier to remove (if required) if the future :

1663452519642.jpeg


All set for dropping at the anodisers, but I’m still unsure of colour - either green or red … ?

Crawled under the car without lifting it and managed to get some better photos of what started this work in the first place - look at the movement of the bolt head witness mark :

1663452700120.jpeg


The M14 bolt in a 17.x mm bore :

1663452868968.jpeg


And the teeth marks from where the bolt got hungry before finally giving up and shearing :

1663452941383.jpeg


Yeah thanks Ford, I wonder if they fix that design on the S650 … :facepalm:

Seeing as how the cradle has to be dropped, it would be rude not to make the rear camber adjustment a little easier ...

IMG_7056.jpg


Big shout out to @Hotpart.com - the product looks great and found it's way from California to the sunny UK in just less than 72 hours (including a Sunday !) :sunglasses:

Ally bits now back from the anodisers :

1664392909604.jpeg


1664392944719.jpeg


It's a nice job, it was worth putting the extra time into the prep and debur etc :

1664392983519.jpeg


1664392998852.jpeg


NOT a dig at Steeda, but same as the other parts I have refinished, this is how I would have liked them to be supplied (and I know others on here have also asked) - I would have been happy with a $ increase to cover it :like:

I just can't leave stuff alone ... lol

Slight mod with the hacksaw :

1664393212467.jpeg


Some of my eldest daughters craft supplies :

1664393228665.jpeg


Quick wipe with thinners :

1664393249125.jpeg


Hopefully this will remove some of the guesswork :

1664393263517.jpeg


I understand that 'Approx' 1mm of movement = 0.15 deg, so if I've done my measurements and maths correctly, each notch should move the camber approx 0.13 deg.

I have access to a flat floor and I have a quality camber gauge, these ease of adjustment and reduced guesswork should allow me to get the camber good enough (before a proper alignment) without too many adjustment cycles :like:

Hopefully all this stuff should be on soon, the car is now stripped, the diff is out and it's awaiting a new rear cover ...

WD :like:
 

Kristian87

Super Moderator
Moderator
Joined
Mar 3, 2015
Threads
85
Messages
3,822
Reaction score
3,056
Location
Newbury, UK
Vehicle(s)
Mustang GT
Then the same finish as the starter button (and messing around with a gel decal) :

img_6267-jpg.jpg
Love this! You reminded me of the sticker I got - been in my wallet since 2015! I have the GT350 starter button now so it was never going to go on that. Love this idea though, where are they from? Might do a copy :)

The raised gel sticker looks better that mine too

IMG_9079.jpg
 

Sponsored

OP
OP
WD Pro

WD Pro

Well-Known Member
Joined
Jan 18, 2018
Threads
121
Messages
5,717
Reaction score
11,030
Location
United Kingdom
Vehicle(s)
Lime GT
Vehicle Showcase
1
Love this! You reminded me of the sticker I got - been in my wallet since 2015! I have the GT350 starter button now so it was never going to go on that. Love this idea though, where are they from? Might do a copy :)

The raised gel sticker looks better that mine too

IMG_9079.jpg
Thank you :like:

The blanking plugs came from Amazon :

1664439784466.png


You can get them cheaper (individually) and in other colours, but I wanted some spares to mess around with and unless I just got lucky, the quality of the machining and anodising seems particularly good on the set I got.

Sticker was only £2 from here : https://www.dmb.uk.com/prod/go-baby-go-start-button-badge-20mm

Ideally it could do with being a little larger diameter though.

I did approach 5 Spurs about doing custom blanking plugs, but at that point in time there wasn't any interest :

1664440191862.png


Hope that helps ?

WD :like:
 

Vlad Soare

Well-Known Member
Joined
Jan 21, 2020
Threads
65
Messages
3,168
Reaction score
2,879
Location
Bucharest, Romania
First Name
Vlad
Vehicle(s)
2020 Mustang GT 6MT
I tend to agree with 5Spurs. :blush:
Anyway, for me the best cover for that plug is this:

IMG_1214.jpg


I don't smoke, but I want my car to look like it was made for real men, not for millenials.
I hate how most cars today come with a stupid flip cap instead of a cigarette lighter, as if the manufacturer were telling me, "we know you're a good boy and won't smoke in your car, will you?". Well, no, I'm not a good boy. I bought the most politically incorrect car I could find, so I want it to look politically incorrect on the inside as well. :devil:
 

Gregs24

Well-Known Member
Joined
Aug 31, 2018
Threads
23
Messages
4,532
Reaction score
2,845
Location
Wiltshire UK & Charente FR
First Name
Greg
Vehicle(s)
Mustang V8 GT, Ford Kuga PHEV
I tend to agree with 5Spurs. :blush:
Anyway, for me the best cover for that plug is this:

IMG_1214.jpg


I don't smoke, but I want my car to look like it was made for real men, not for millenials.
I hate how most cars today come with a stupid flip cap instead of a cigarette lighter, as if the manufacturer were telling me, "we know you're a good boy and won't smoke in your car, will you?". Well, no, I'm not a good boy. I bought the most politically incorrect car I could find, so I want it to look politically incorrect on the inside as well. :devil:
So only real men smoke - dream on..... It's a 12v socket, real men don't smoke, especially in a car.
 

Vlad Soare

Well-Known Member
Joined
Jan 21, 2020
Threads
65
Messages
3,168
Reaction score
2,879
Location
Bucharest, Romania
First Name
Vlad
Vehicle(s)
2020 Mustang GT 6MT
So only real men smoke - dream on..... It's a 12v socket, real men don't smoke, especially in a car.
Real men smoke if they want to, or don't smoke if they don't want to. They make their own decisions. They don't take politically correct hints from manufacturers who think they know better.
 
Last edited:

Gregs24

Well-Known Member
Joined
Aug 31, 2018
Threads
23
Messages
4,532
Reaction score
2,845
Location
Wiltshire UK & Charente FR
First Name
Greg
Vehicle(s)
Mustang V8 GT, Ford Kuga PHEV
Real men smoke if they want to, or don't smoke if they don't want to. They make their own decisions. They don't take politically correct hints from manufacturers who think they know better.
No

Car makers provide 12v sockets.

Very few people smoke in cars (men or women) and so they are no longer fitted as there is no demand. No politics involved.
 

Sponsored

Vlad Soare

Well-Known Member
Joined
Jan 21, 2020
Threads
65
Messages
3,168
Reaction score
2,879
Location
Bucharest, Romania
First Name
Vlad
Vehicle(s)
2020 Mustang GT 6MT
Very few people smoke in cars (men or women) and so they are no longer fitted as there is no demand.
I think it's most likely a cost reduction measure. But it doesn't matter. No matter the reason, I find it a sign of the politically correct age we're currently living in, while a cigarette lighter gives the car a slightly nonconformist look. To me the cigarette lighter says: "I don't care if smoking isn't fashionable anymore; I will smoke if I want to, and screw whoever has a problem with it". That's just my view. Feel free to disagree.:like:

Anyway, it seems Ford designers agree with me, since they gave us one in the Mustang despite ditching them in all other models. Apparently they thought that S550 owners might want to smoke, or to look as if they did. :giggle:
 
Last edited:

Gregs24

Well-Known Member
Joined
Aug 31, 2018
Threads
23
Messages
4,532
Reaction score
2,845
Location
Wiltshire UK & Charente FR
First Name
Greg
Vehicle(s)
Mustang V8 GT, Ford Kuga PHEV
I think it's most likely a cost reduction measure. But it doesn't matter. No matter the reason, I find it a sign of the politically correct age we're currently living in, while a cigarette lighter gives the car a slightly nonconformist look. To me the cigarette lighter says: "I don't care if smoking isn't fashionable anymore; I will smoke if I want to, and screw whoever has a problem with it". That's just my view. Feel free to disagree.:like:

Anyway, it seems Ford designers agree with me, since they gave us one in the Mustang despite ditching them in all other models. Apparently they thought that S550 owners might want to smoke, or to look as if they did. :giggle:
You are seeing things that just are not there ...

It has gone from the S650
 

DFB5.0

Well-Known Member
Joined
Mar 15, 2017
Threads
63
Messages
3,643
Reaction score
10,548
Location
Australia
Vehicle(s)
Mustang GT Fastback
Seems ages since I last updated this thread, so lets see how many pictures I can add to one post ... :giggle:

1649419826540.jpeg


I know there are better battery DA’s, but I’ve already got Ryobi stuff and unlike most other things the Ryobi DA is proportionately much cheaper in the U.K. than in the states (£84 with the pads, circa $110).

It will be perfect for what I want (quick setup / light work / touch up or single panel work). I have a porter cable that I bought in the states and run on a transformer if I need to do heavier work or run for a long time :like:

CarPro Perl on the rubber if anyone's interested :

1664396539039.jpeg


WD :like:
Would like to hear your expanded thoughts on the Ryobi.

Absolutely perfect with the application of Perl, probably the best product for the PS4S's. :clap:
 

RR550

Member
Joined
Dec 5, 2018
Threads
1
Messages
16
Reaction score
7
Location
North Essex, UK.
First Name
Simon
Vehicle(s)
5.0 GT Auto, L322 Range Rover, Series 3 Land Rover
That's because the S650 is made for millenials and zoomers.
But that's a different story, and WD's thread isn't the right place for it. :blush:
I hadn't thought of it like that,I think you are right,just as my L322 is ,I think,the last proper Range Rover.
Sponsored


Top