OP
OP
WD Pro
Well-Known Member
- Joined
- Jan 18, 2018
- Threads
- 132
- Messages
- 6,784
- Reaction score
- 13,592
- Location
- United Kingdom
- Vehicle(s)
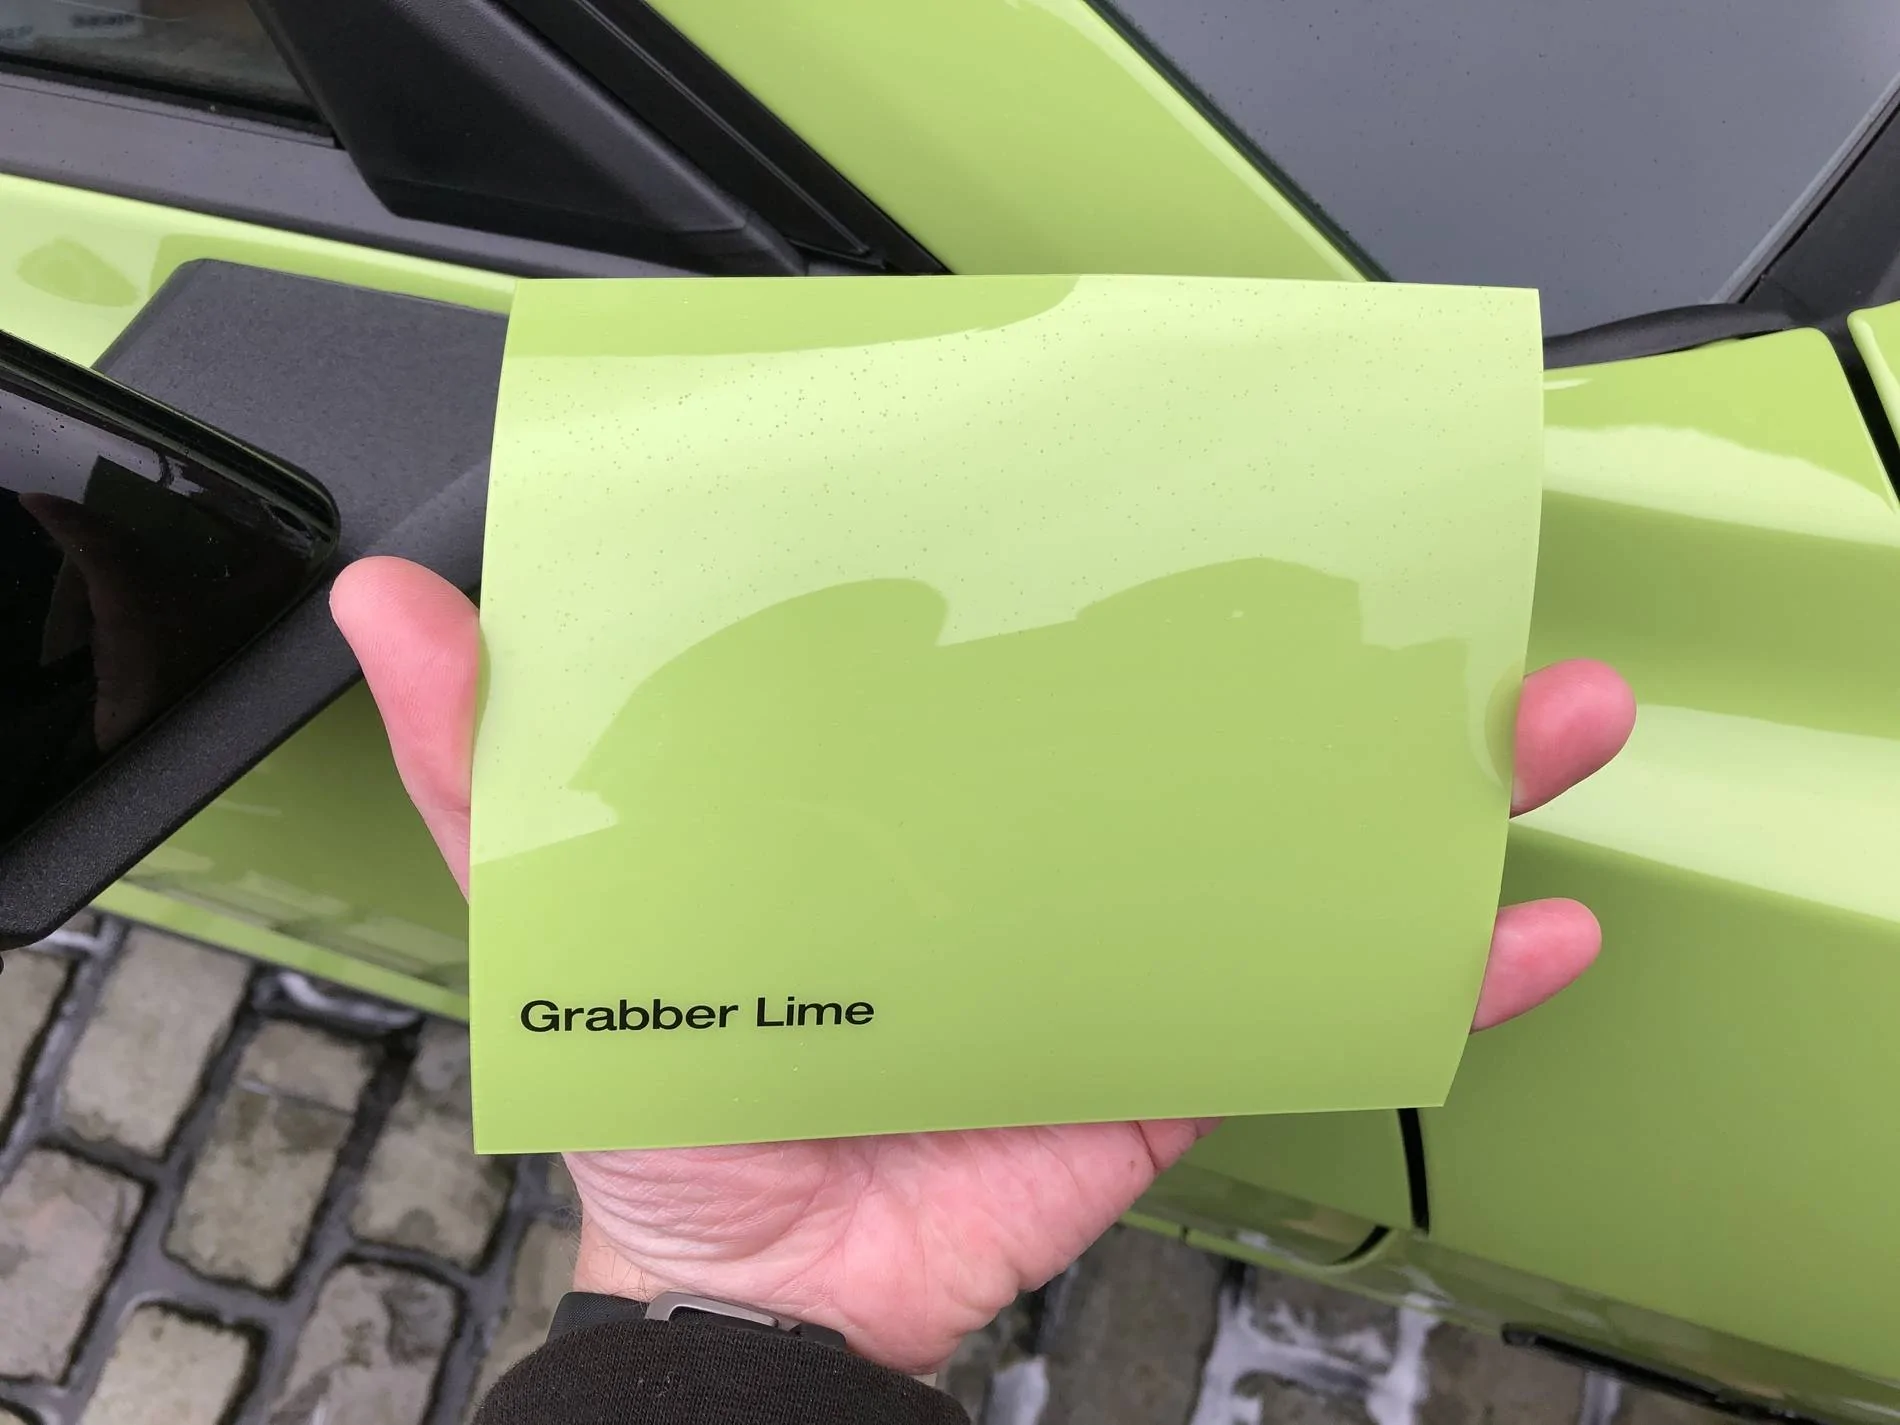
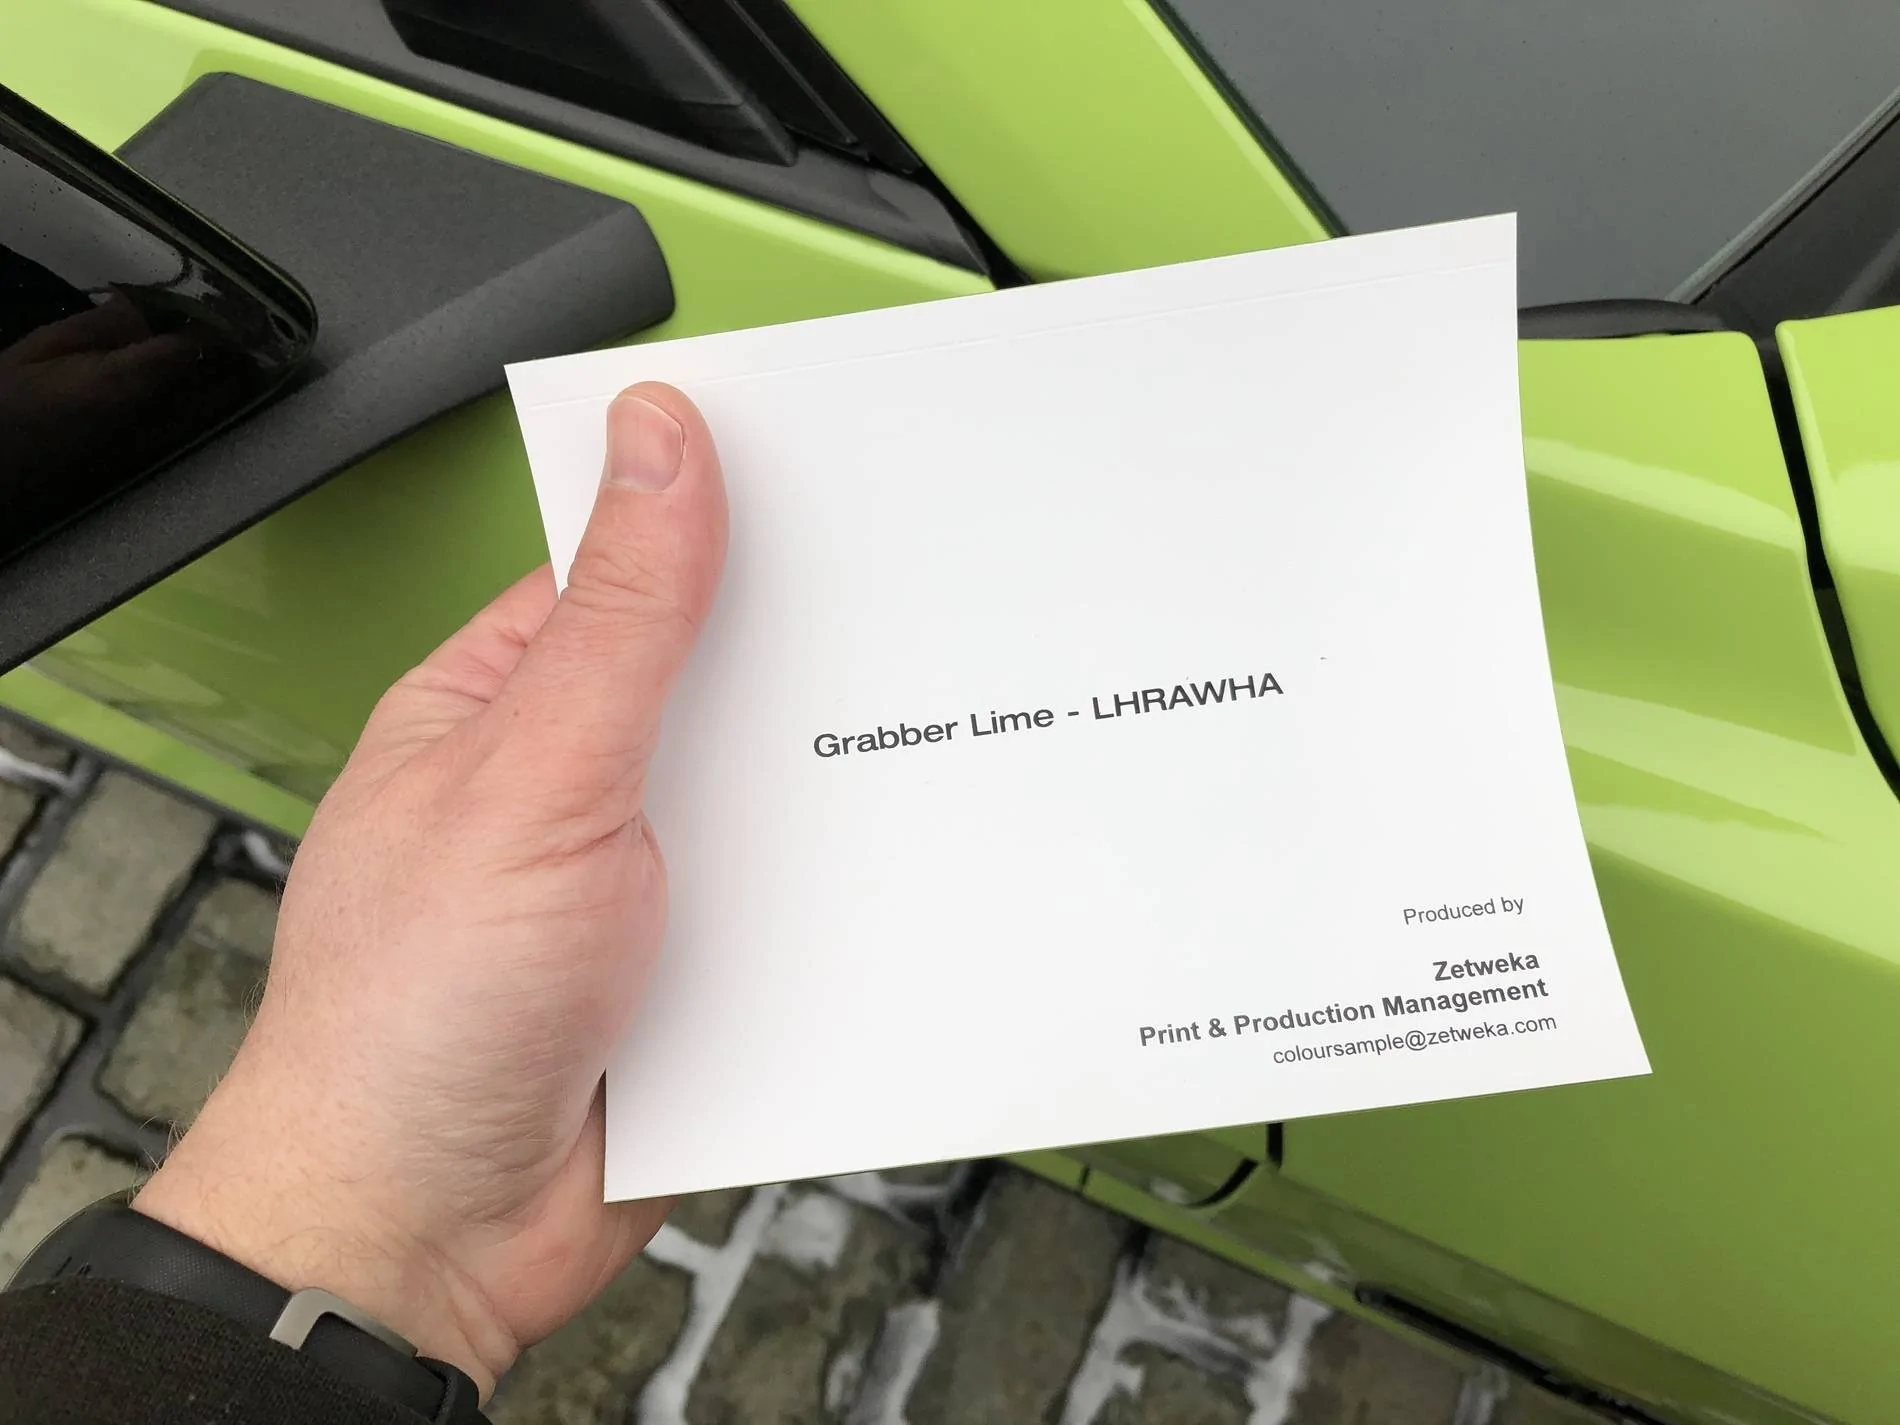
- Lime GT
- Vehicle Showcase
- 1
- Thread starter
- #211
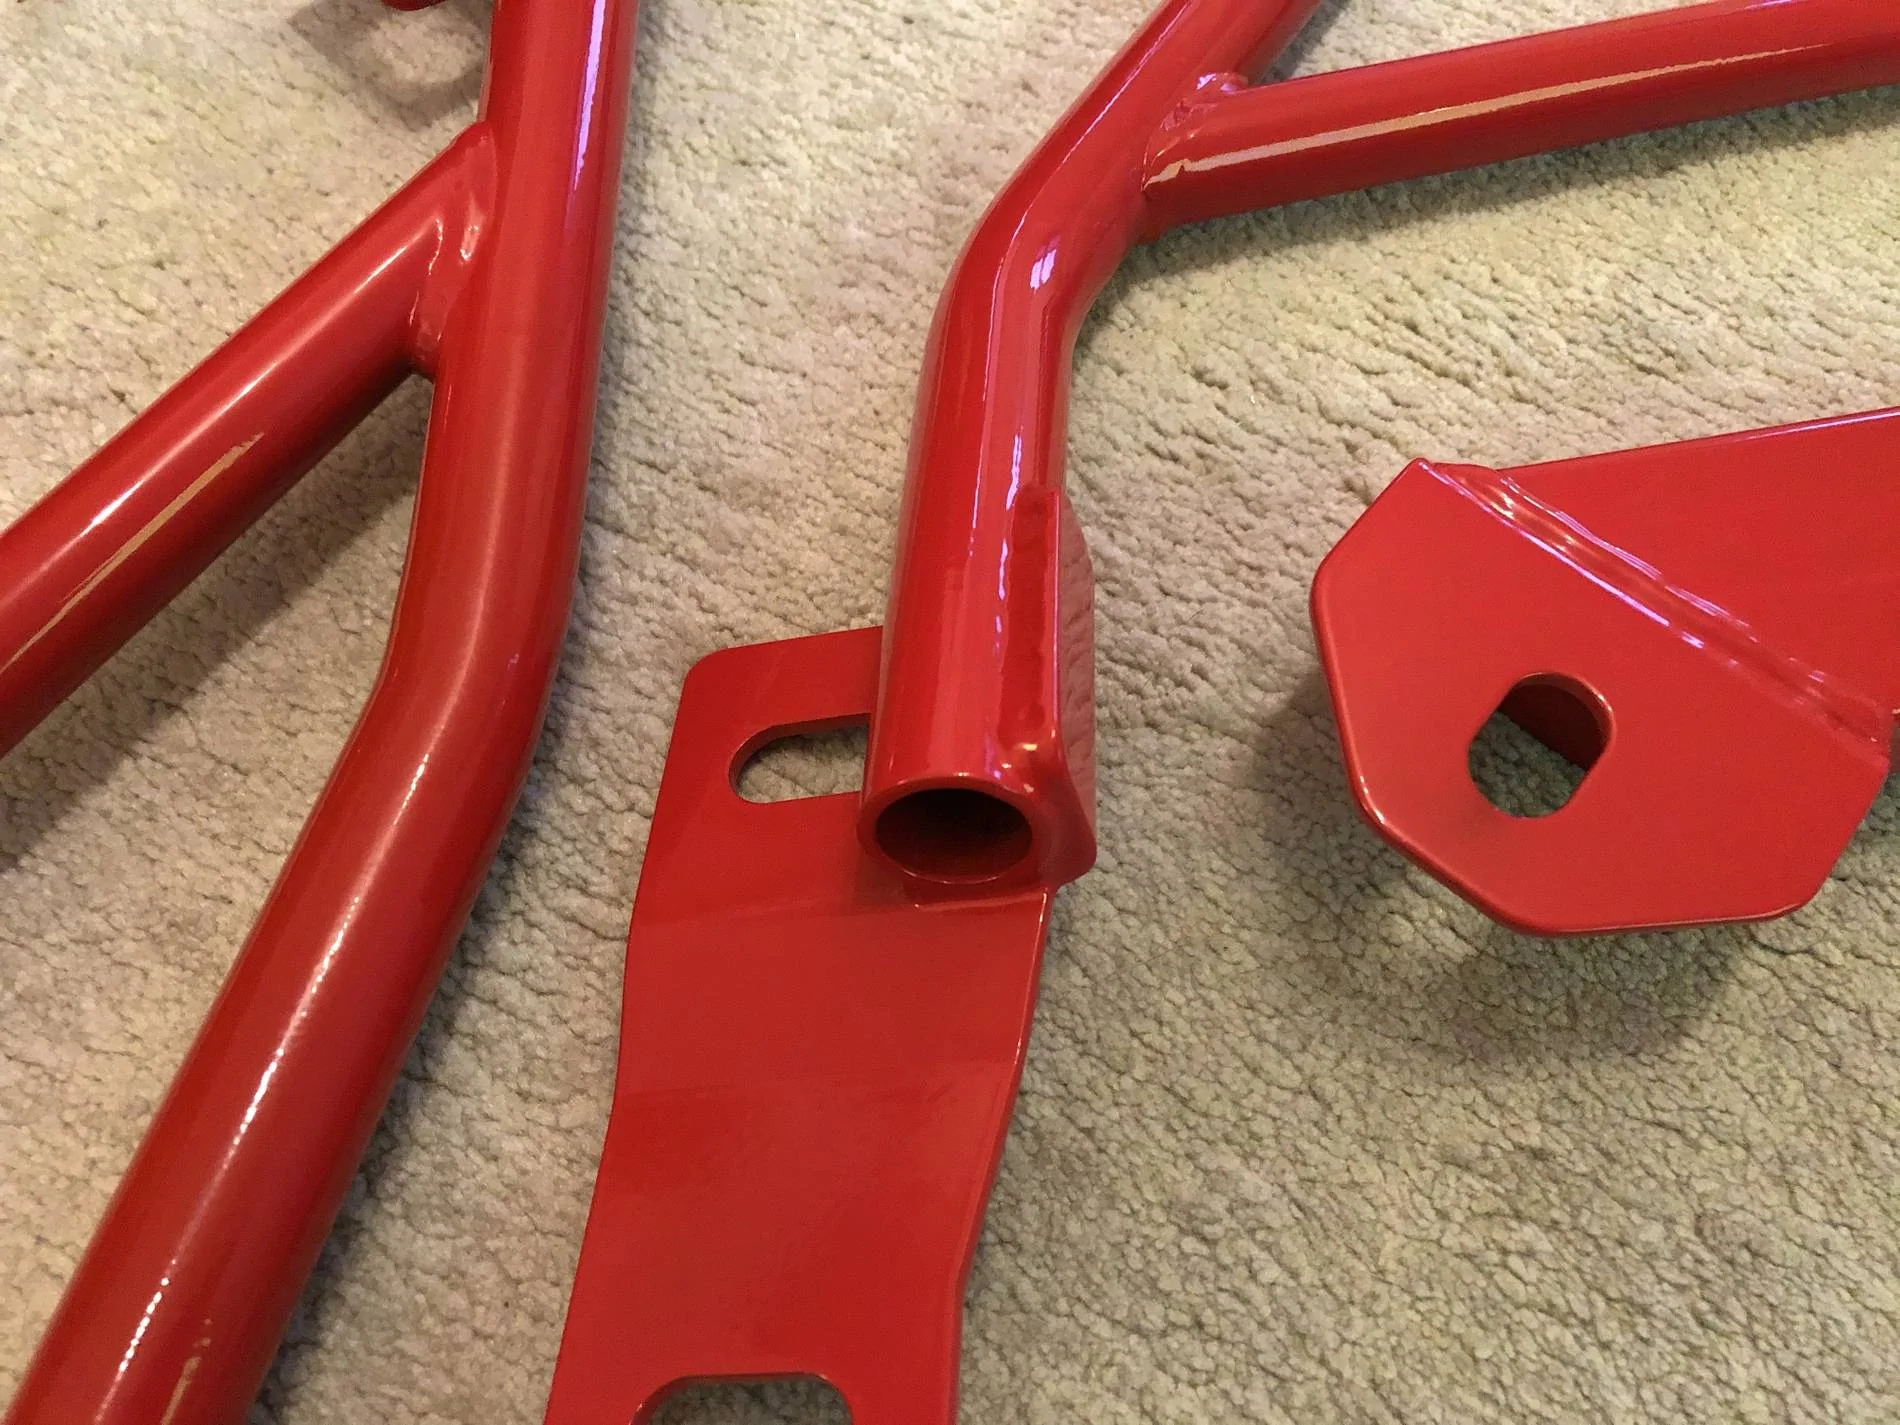
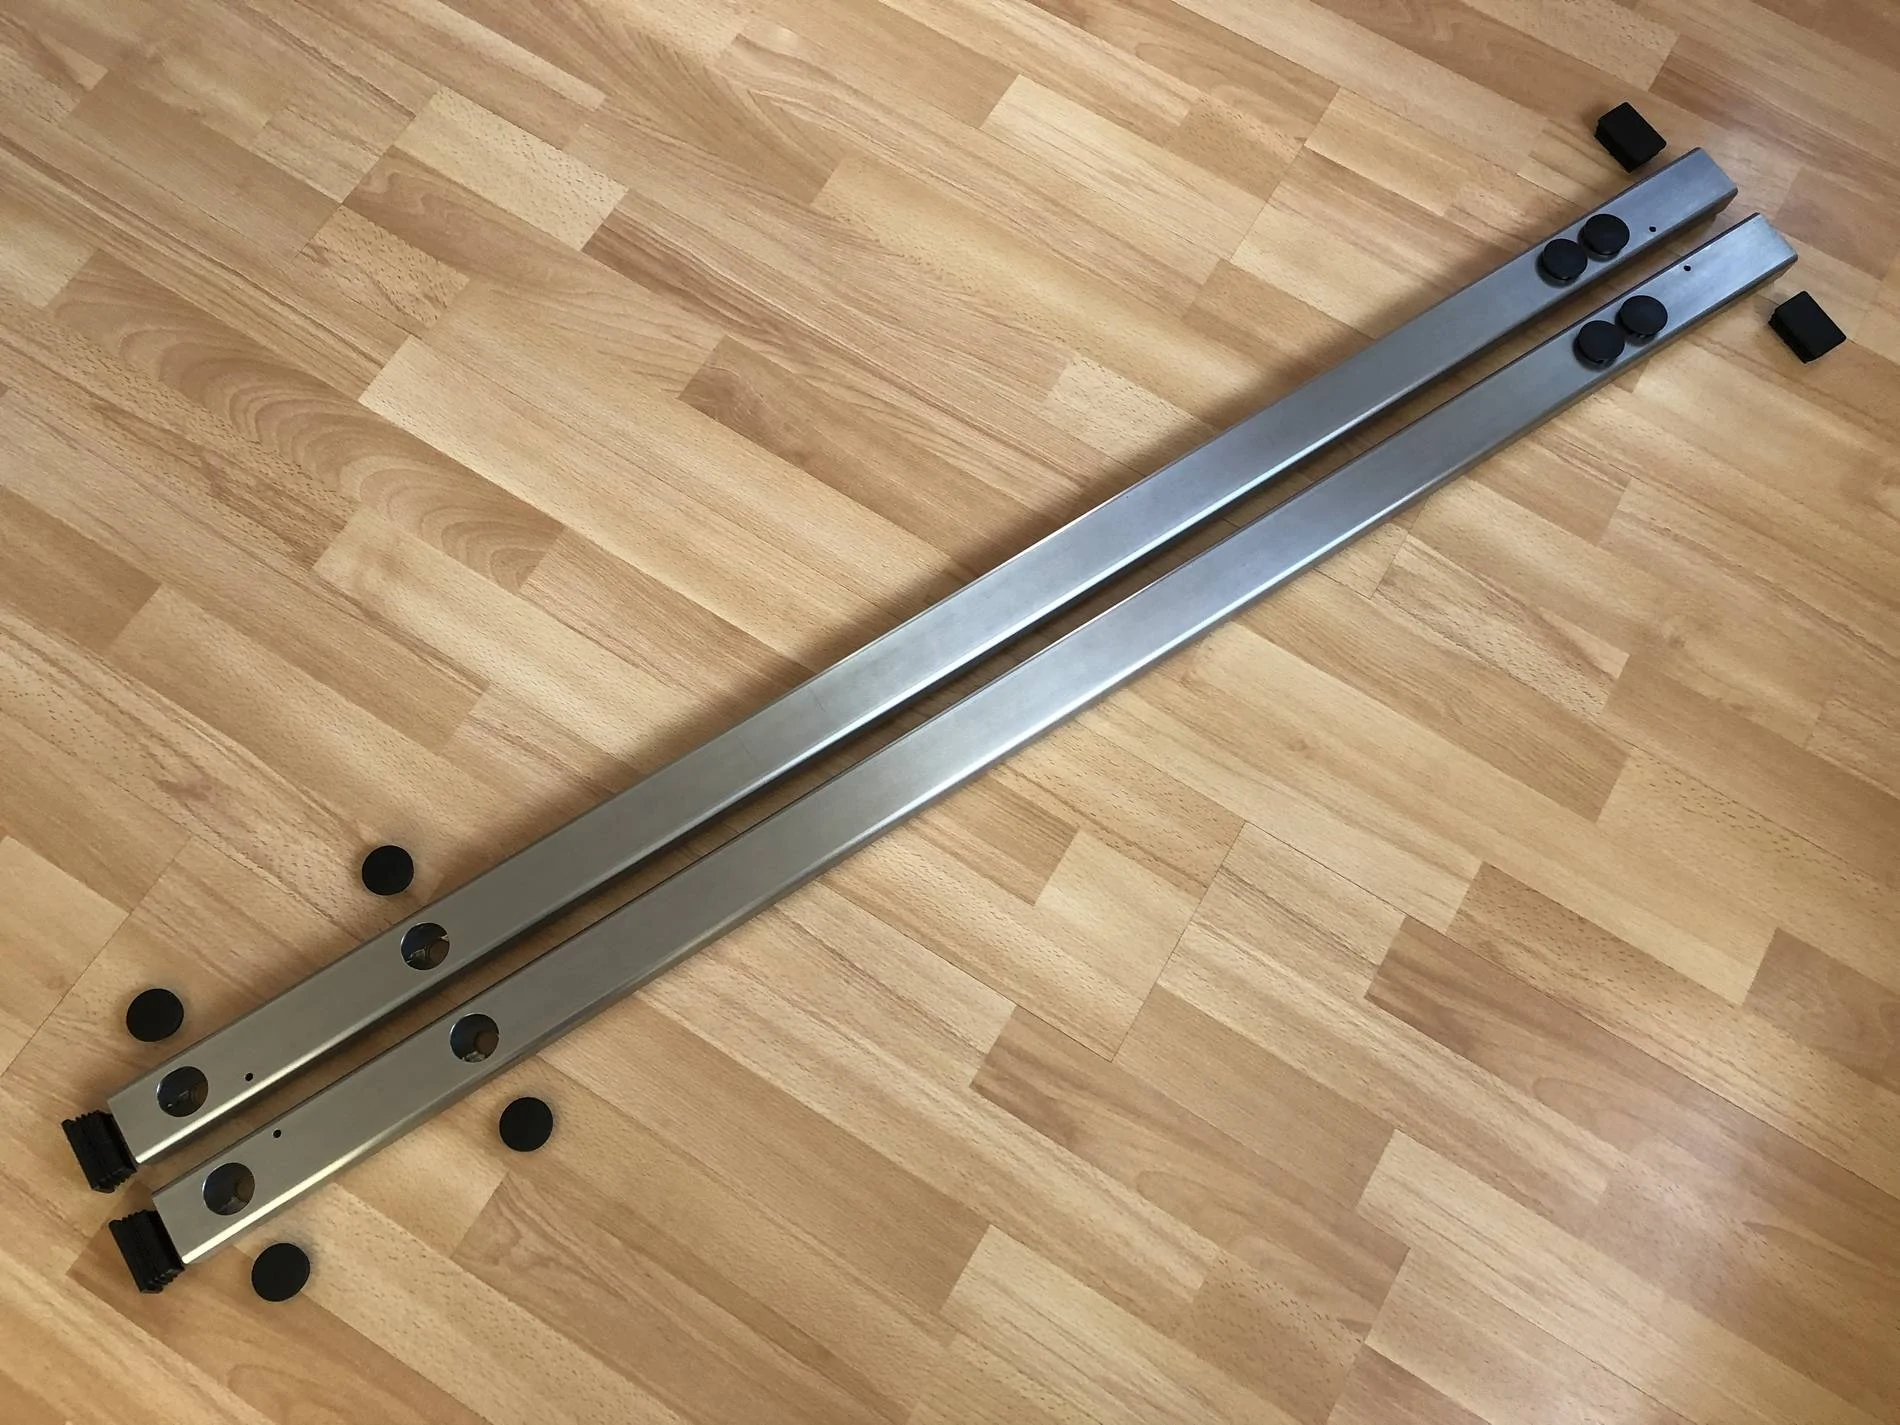
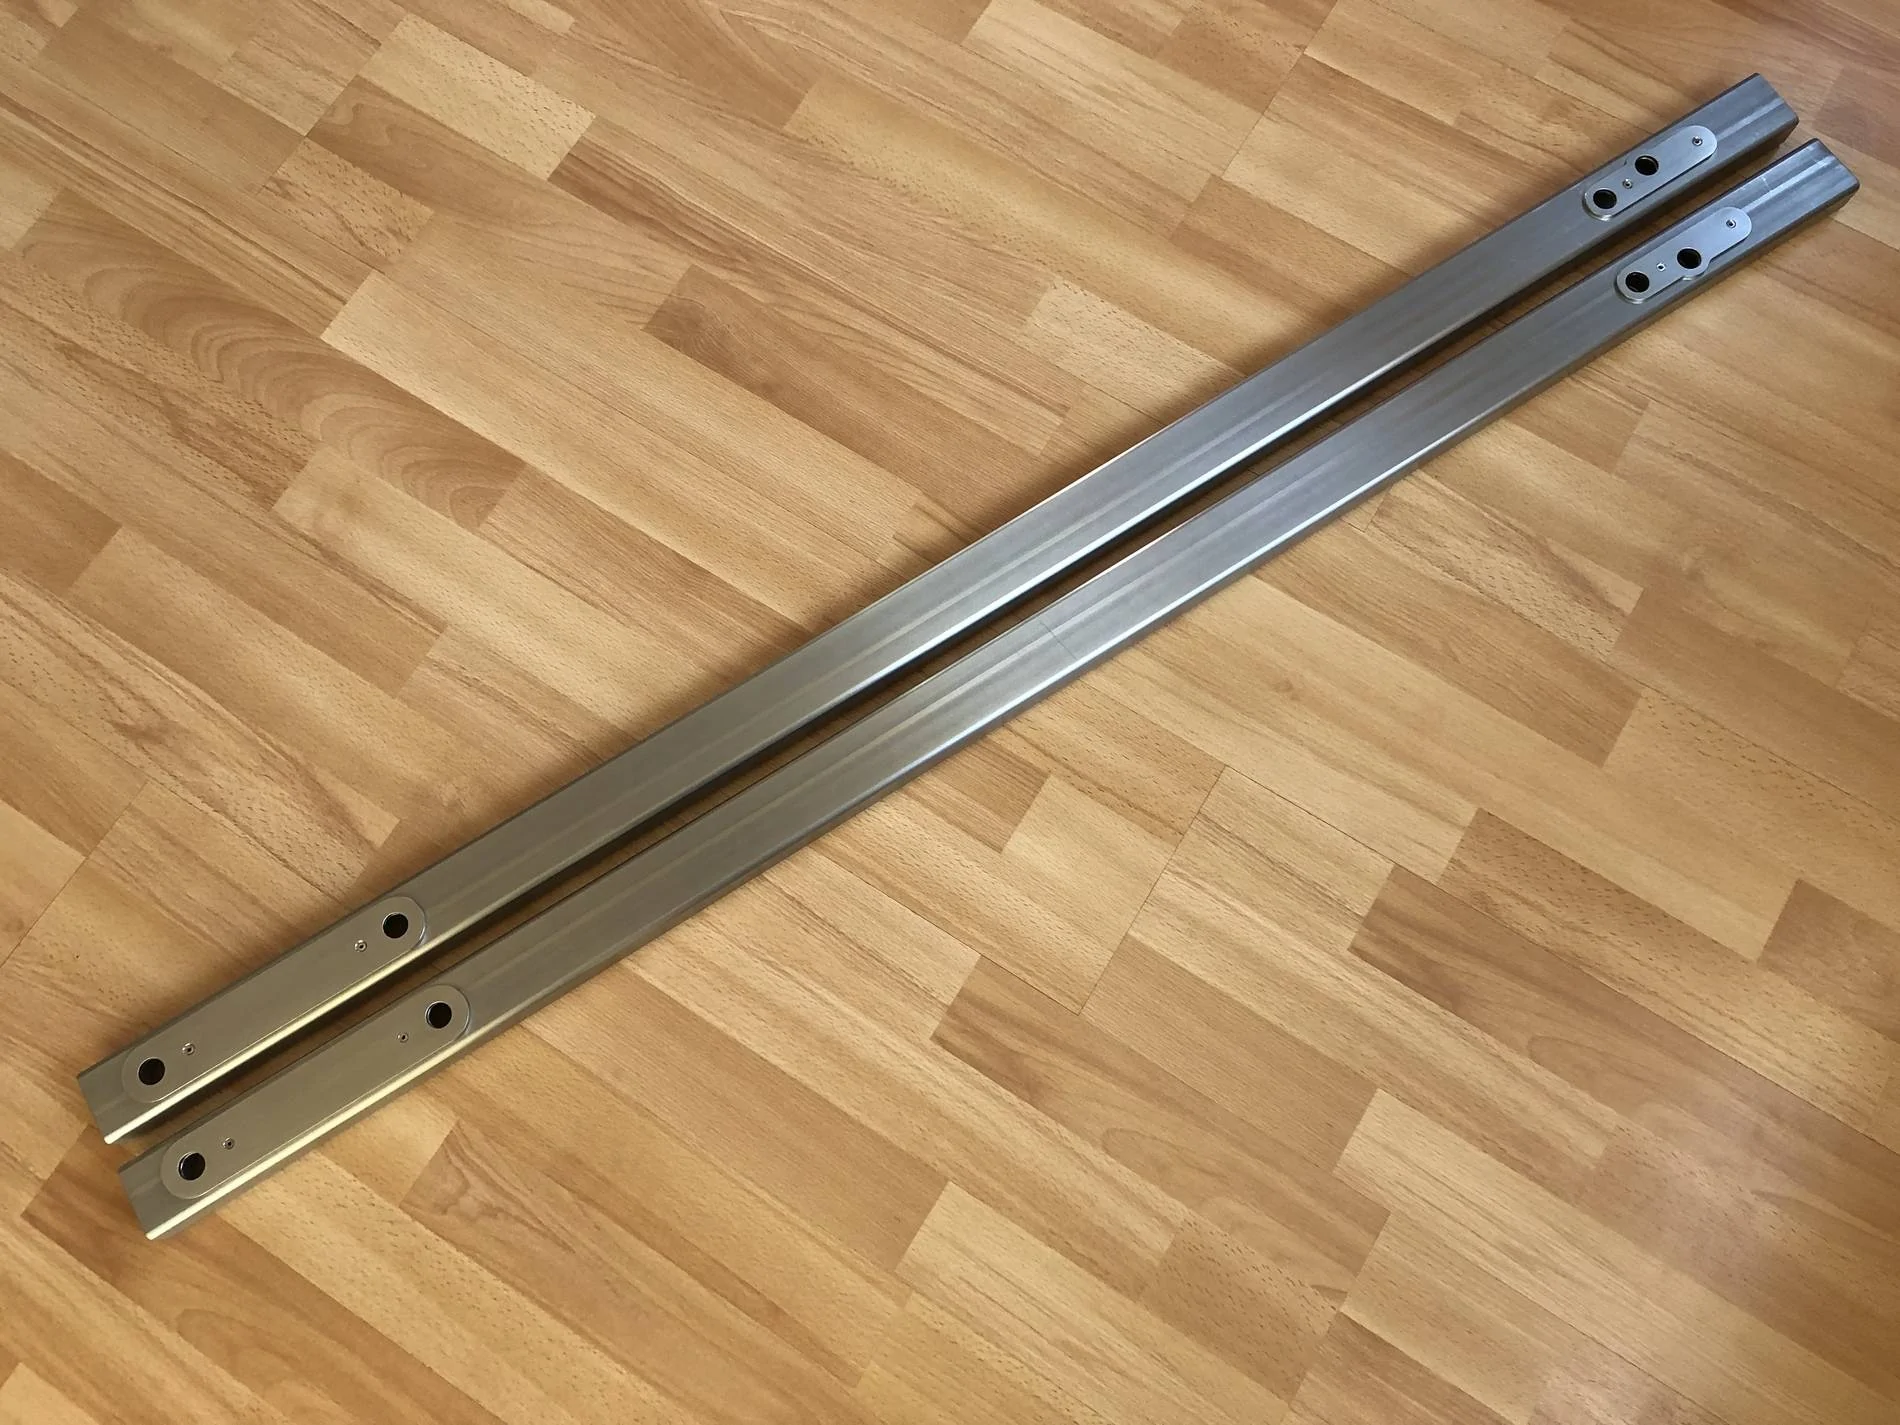
Finished the stainless jacking rails 
I went for (with my reasons) :
Final pictures :
Stainless laser cut pads :

Pads drilled through and countersunk for stainless rivets :
Pads mounted, original paper templates behind :
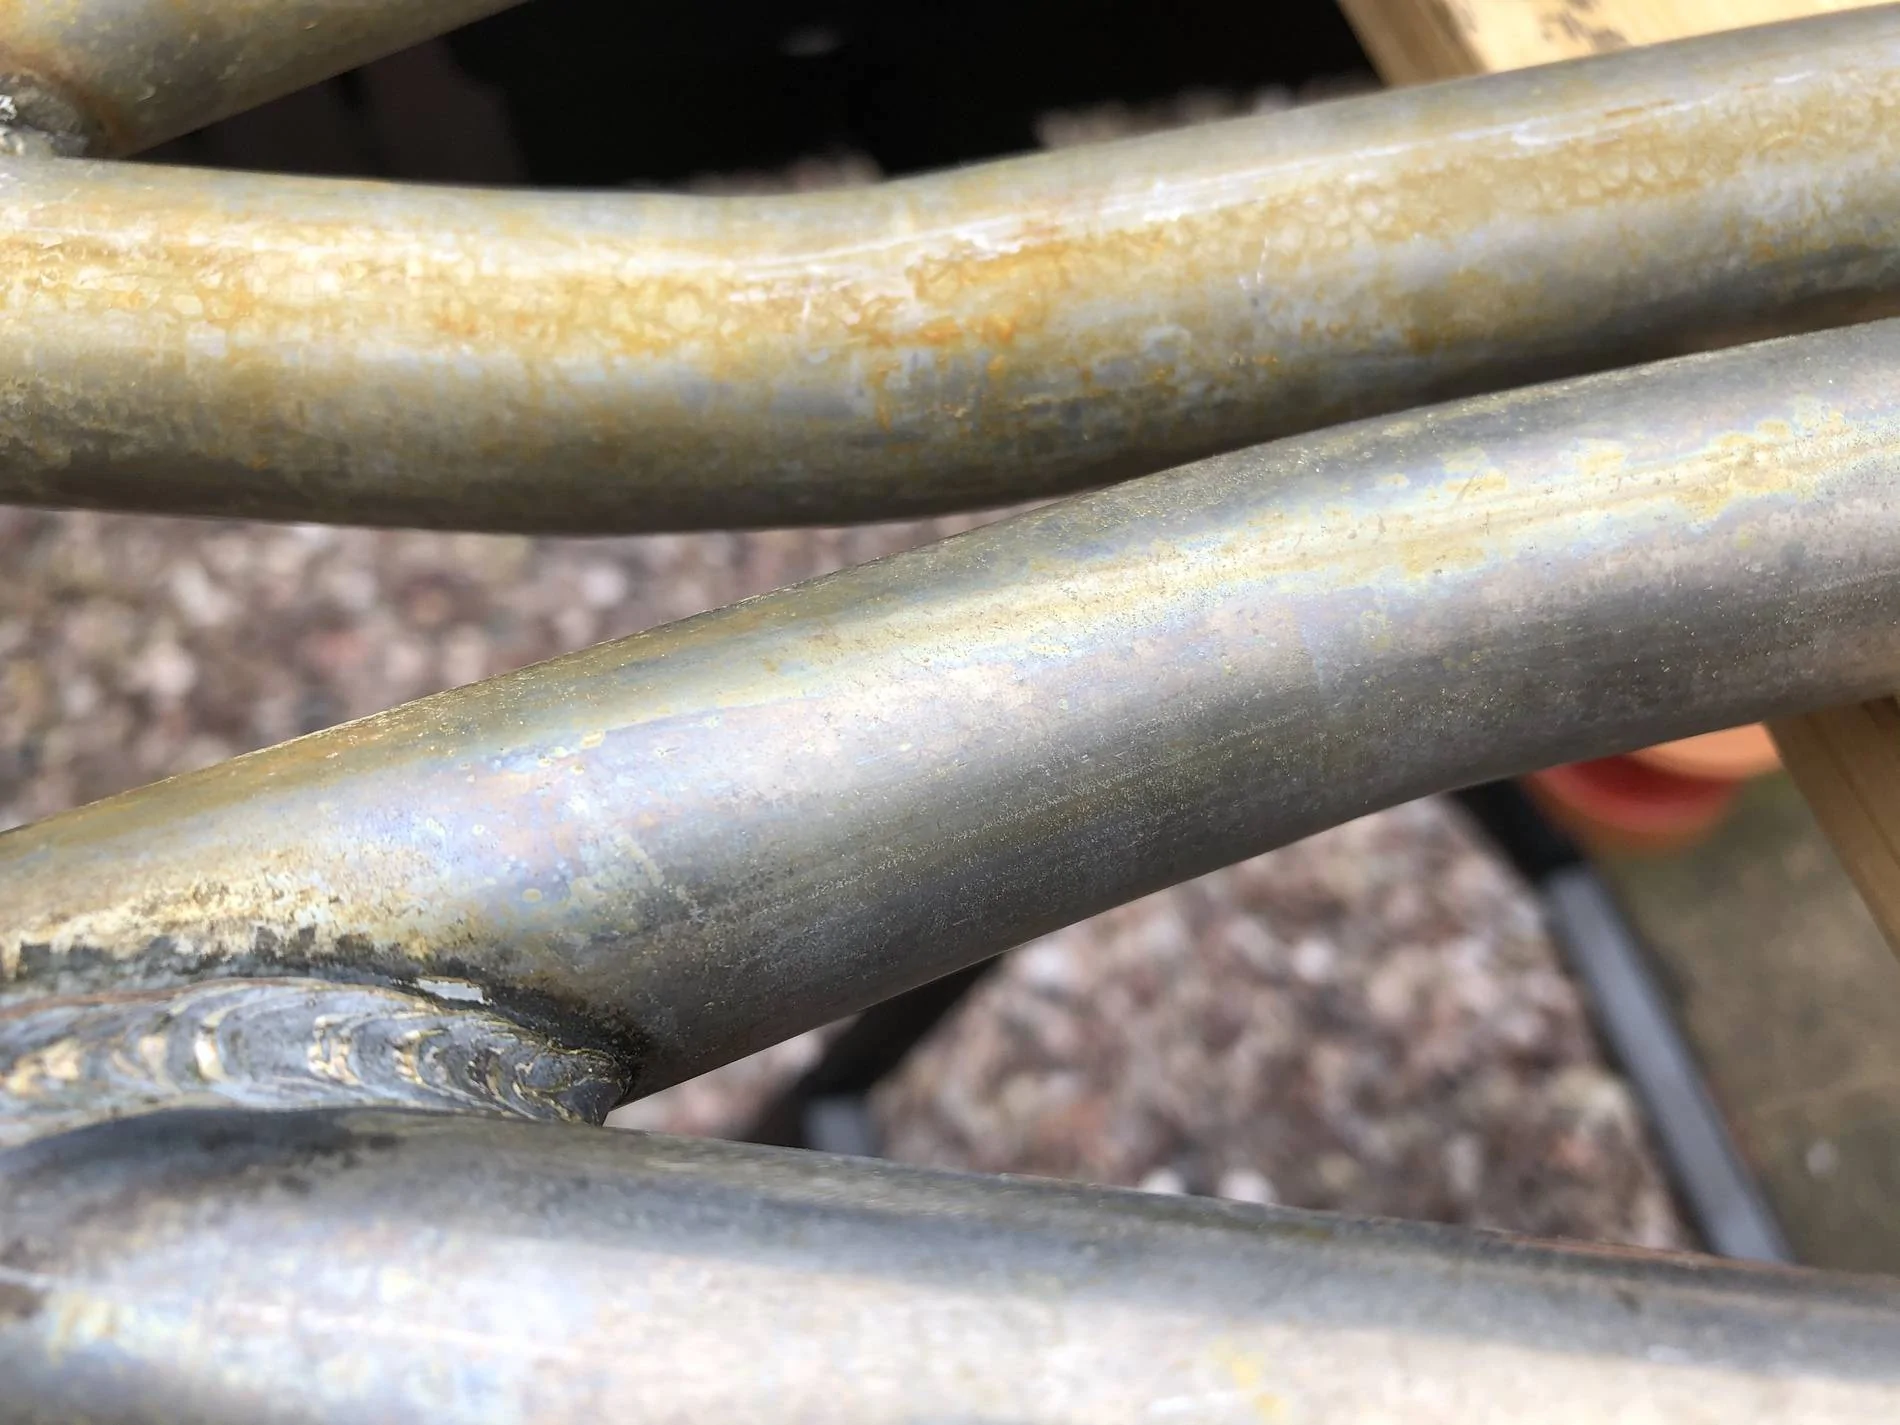
Ground the internal tubing weld flat where the bolts / washer will clamp :
All done :
I have since flushed them through to rid them of debris and give them a scrub up with a 3M pad. They just need the end caps banging in and then bolting under the car, hopefully this weekend if the bolts arrive in time from Ford …
WD
I went for (with my reasons) :
- 304 stainless (good enough for under the car – no issues with scratching / rusting etc).
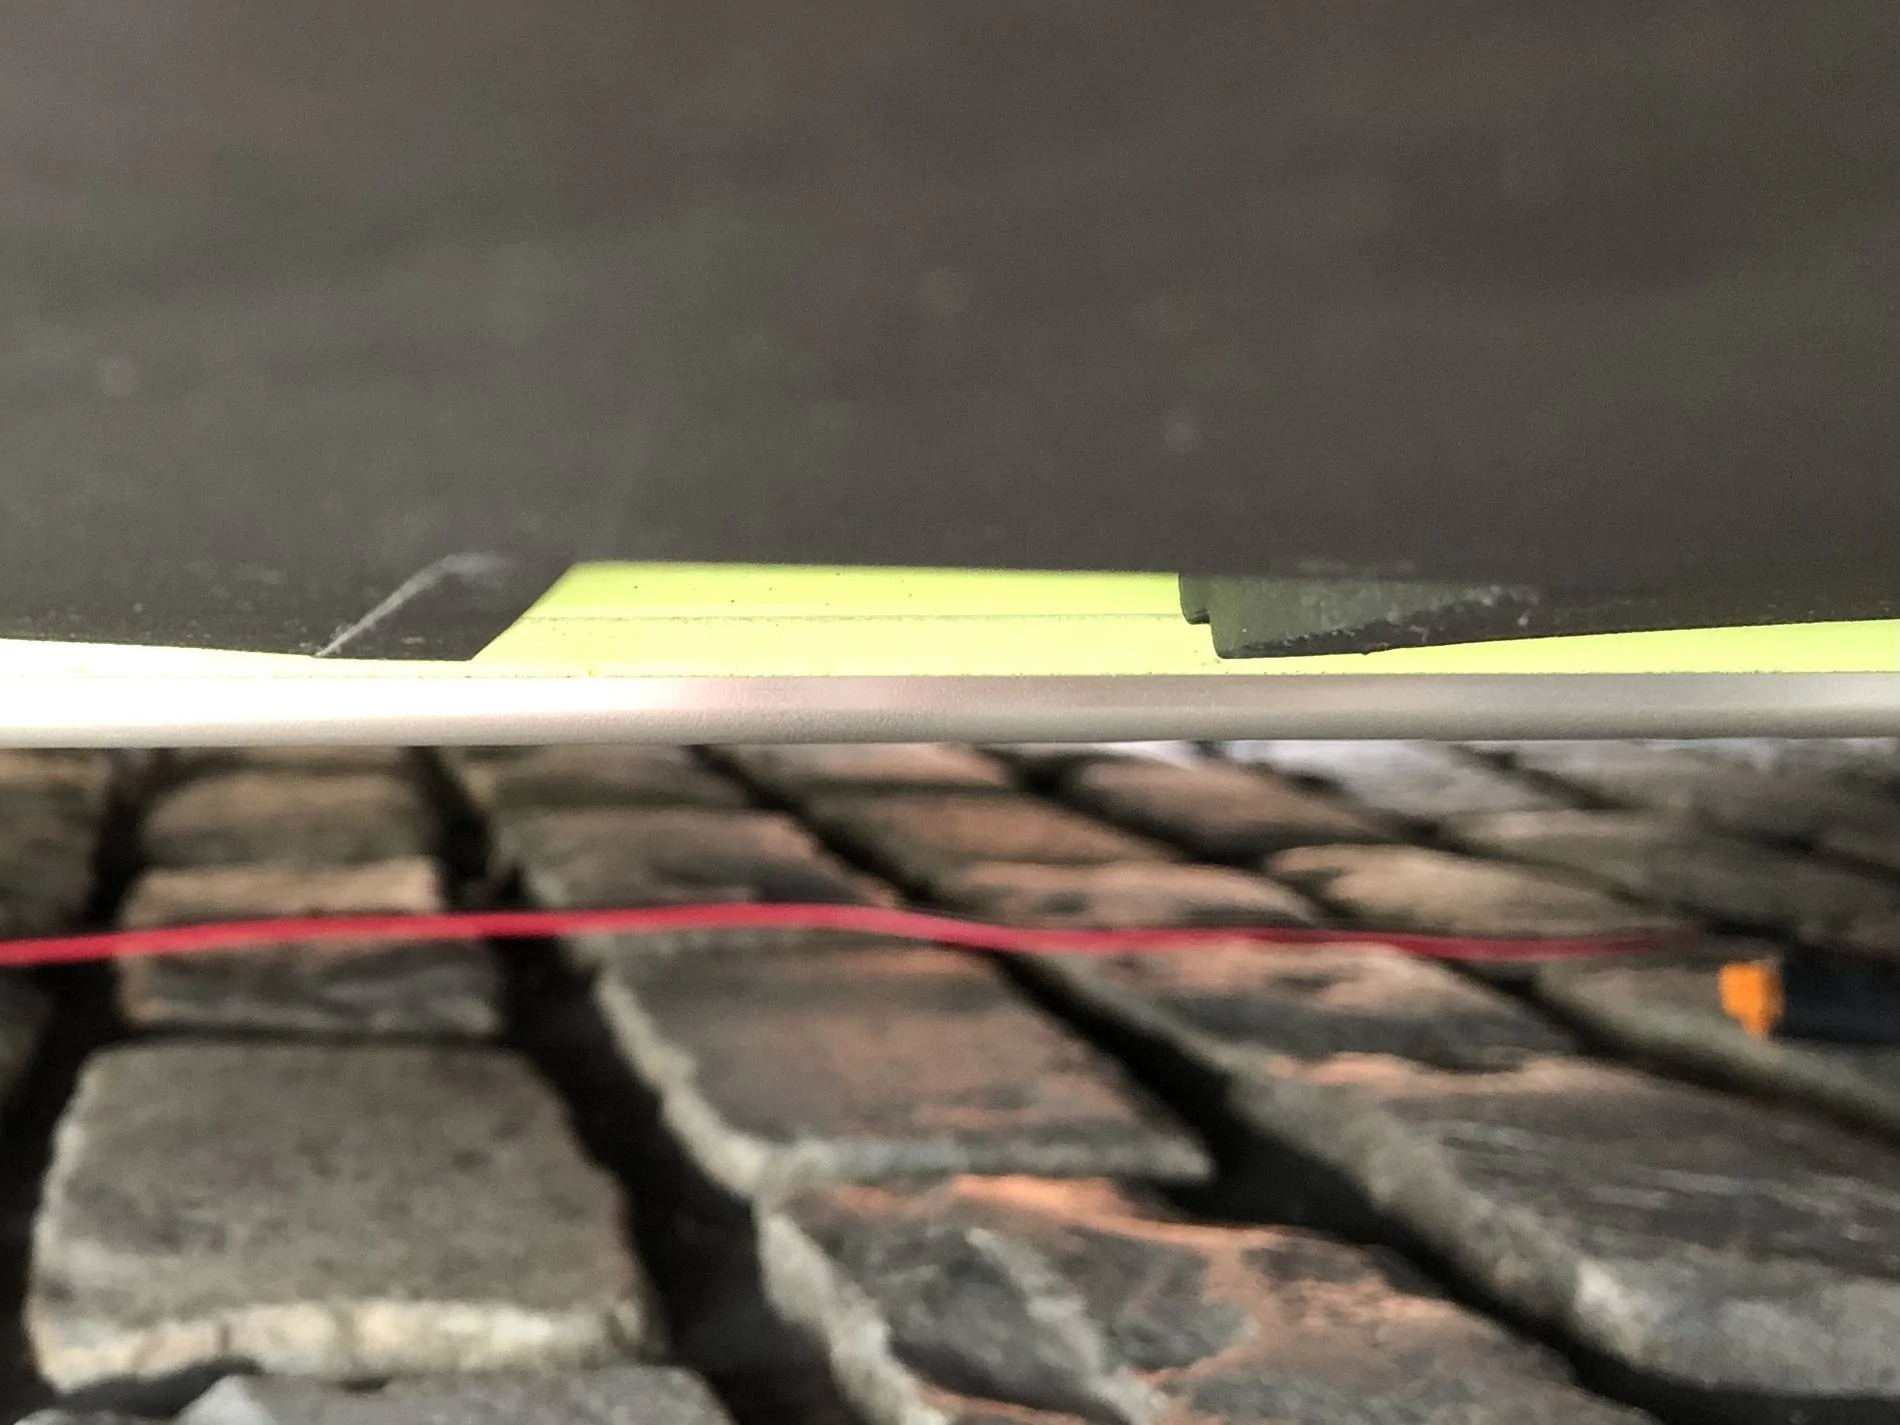
- 50 x 30mm section (I wanted them a little lower than the pinch welds).
- 3mm wall section (I didn’t want to crimp or dent them).
- 5mm offset for the front holes (to allow for the offset in the frame mounts).
- 16mm small holes (good wiggle room around the M10’s – still easily covered by the 28mm captive washers.
- 30mm big holes (to accept the 28mm captive washers / easy size to get blanking plugs).
- 3mm mounting plates riveted to the underside (no need to trim seam sealer / some air space between the frame / 8mm overall protection for the pinch weld).
- Stainless rivet’s (just to hold the mounting plates in position relative to the rail during fitment / no chance of electrolytic corrosion with ally rivet’s).
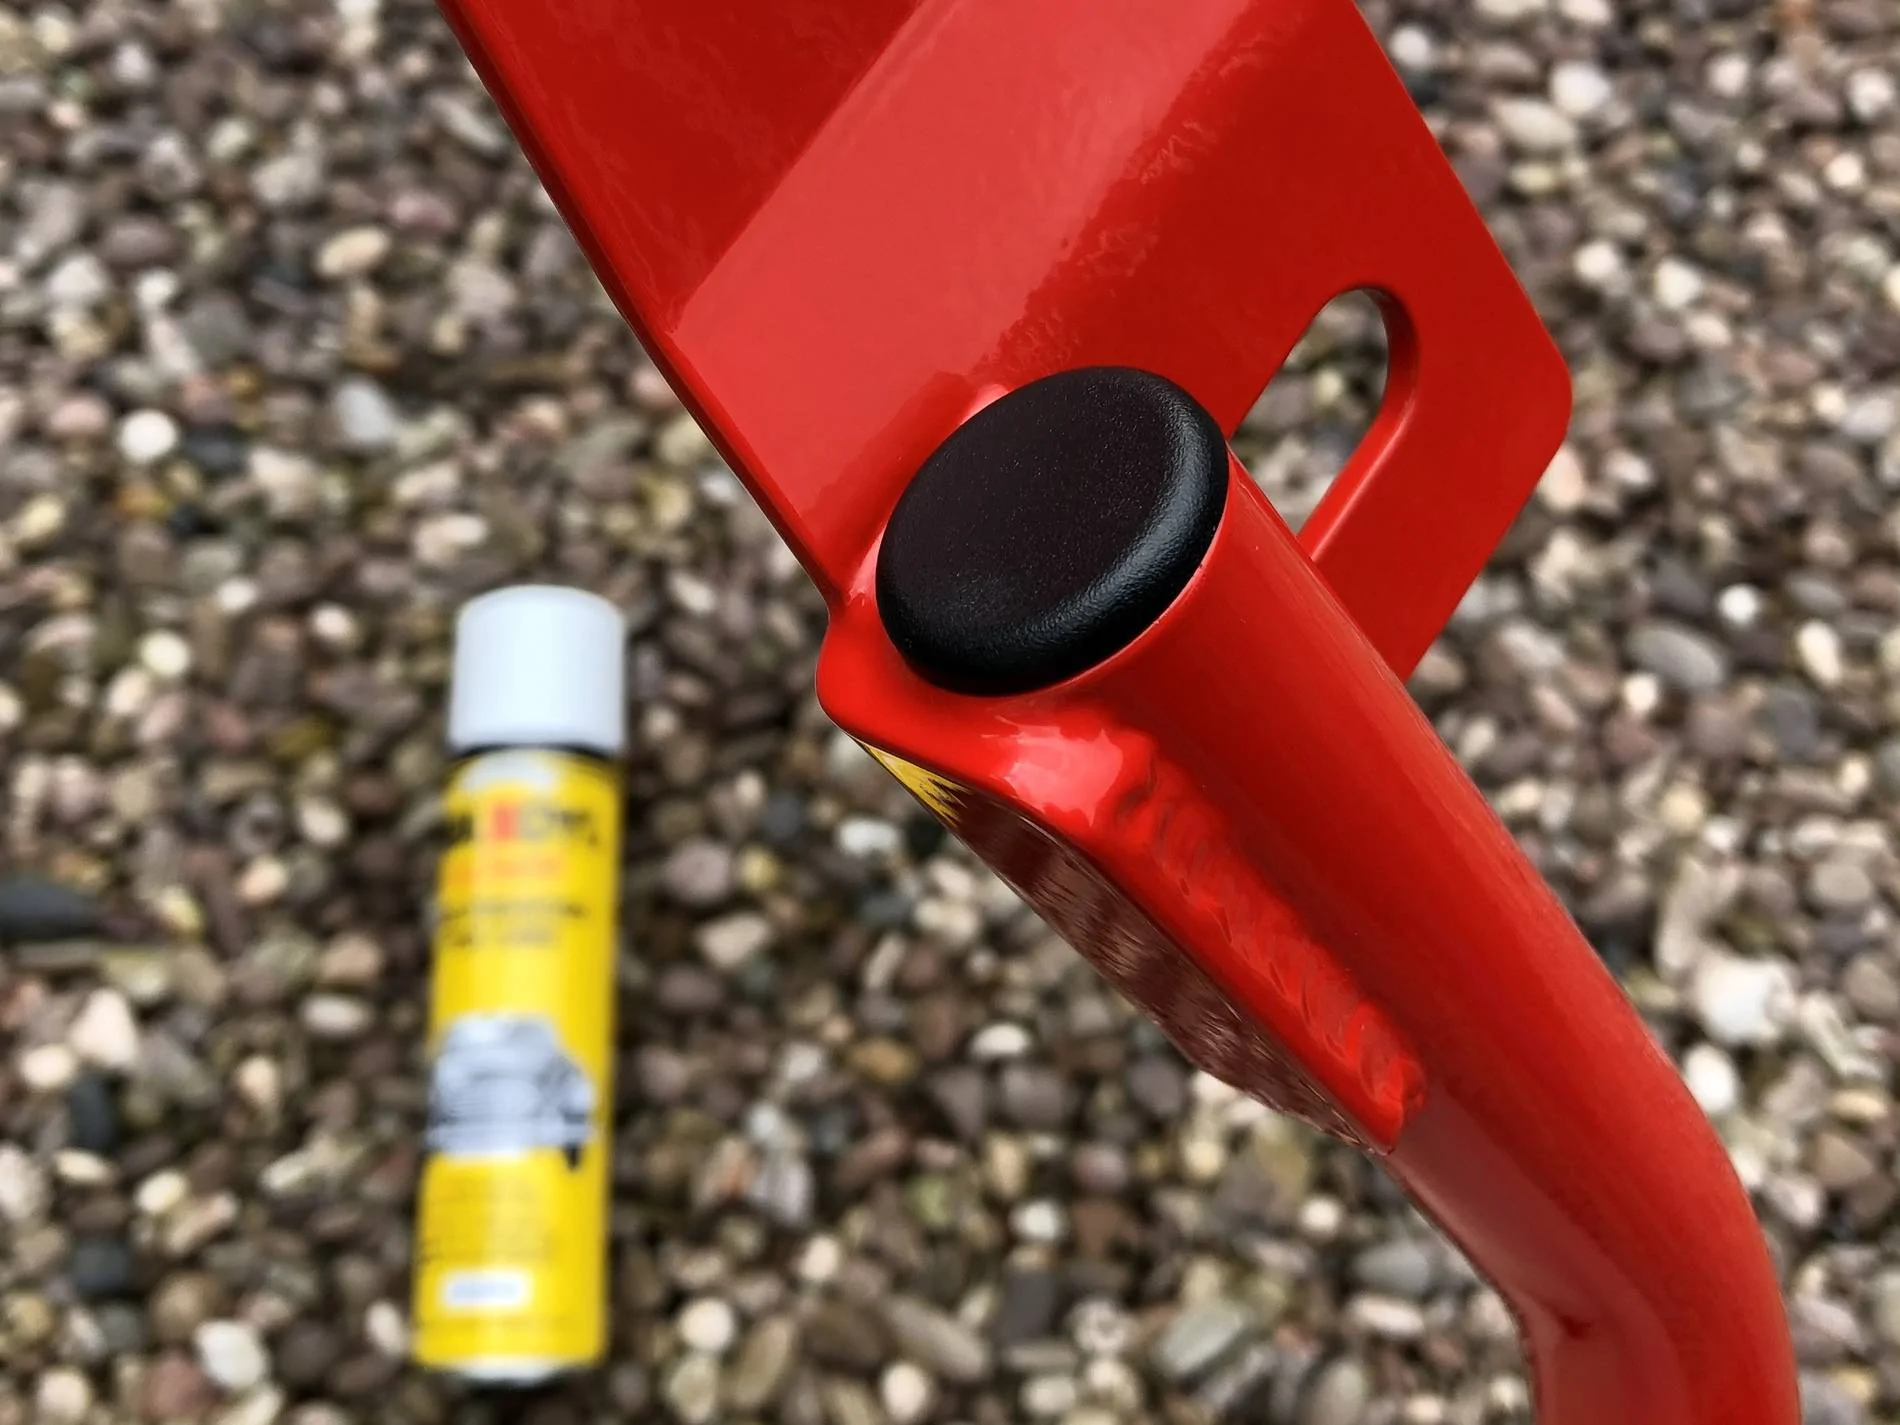
- Plastic end plugs and hole plugs just to keep the stones out of them.
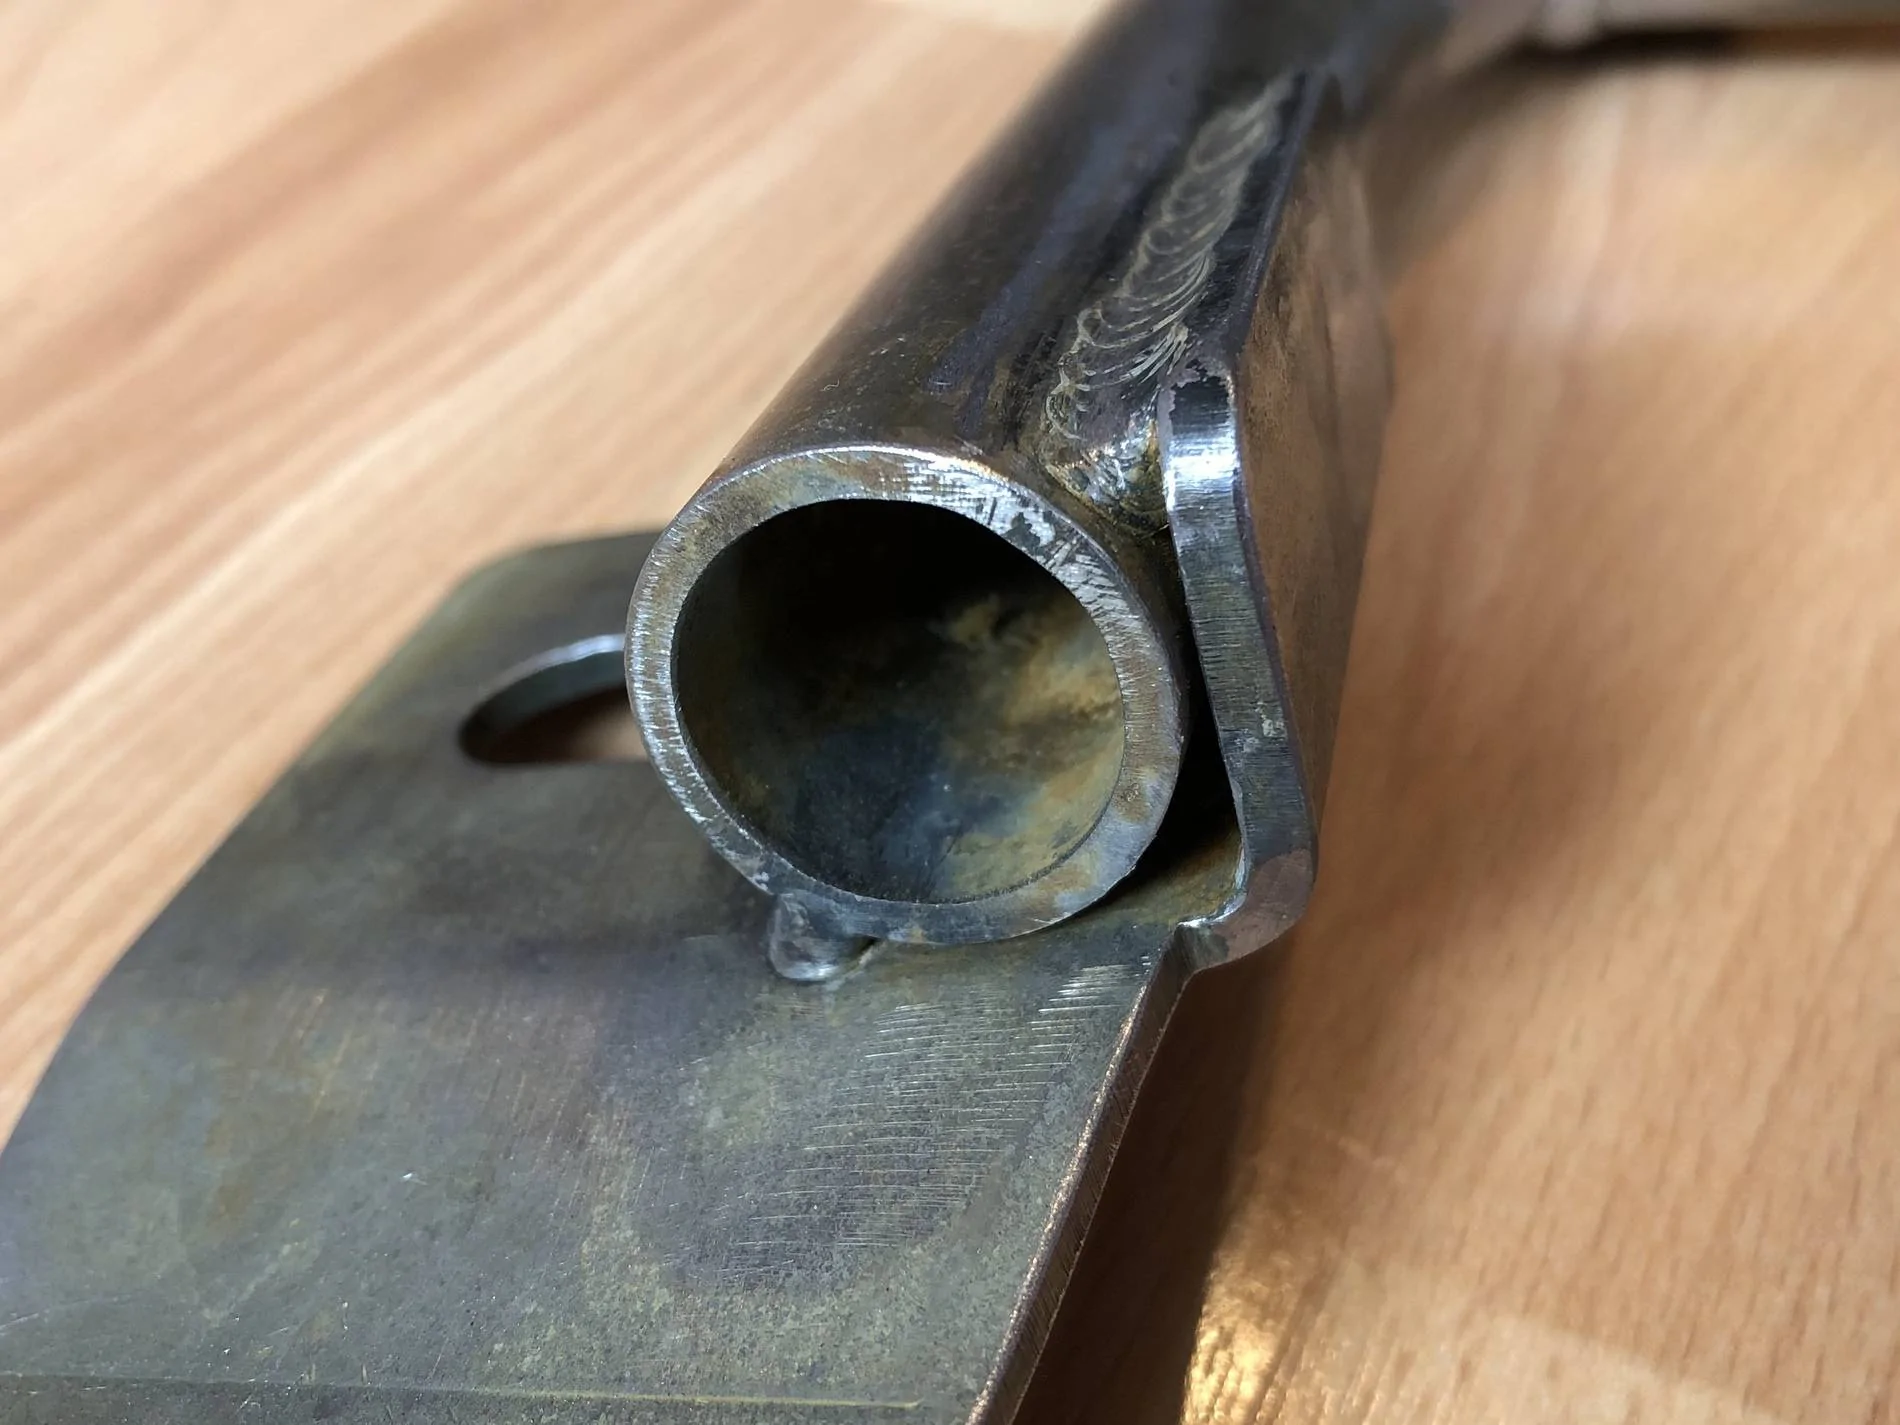
- 5mm drain holes at each end of the rail positioned on the outer / lower edges.
- Both rails are the same length and extended a little at the front.
- Rails are sized to work with the Steeda IRS braces (which are now coming up on the jobs list).
Final pictures :
Stainless laser cut pads :

Pads drilled through and countersunk for stainless rivets :

Pads mounted, original paper templates behind :

Ground the internal tubing weld flat where the bolts / washer will clamp :

All done :
I have since flushed them through to rid them of debris and give them a scrub up with a 3M pad. They just need the end caps banging in and then bolting under the car, hopefully this weekend if the bolts arrive in time from Ford …
WD
Sponsored


 ) :
) :