Gregs24
Well-Known Member
- Joined
- Aug 31, 2018
- Threads
- 23
- Messages
- 4,782
- Reaction score
- 3,062
- Location
- Wiltshire UK & Charente FR
- First Name
- Greg
- Vehicle(s)
- Mustang V8 GT, Ford Kuga PHEV
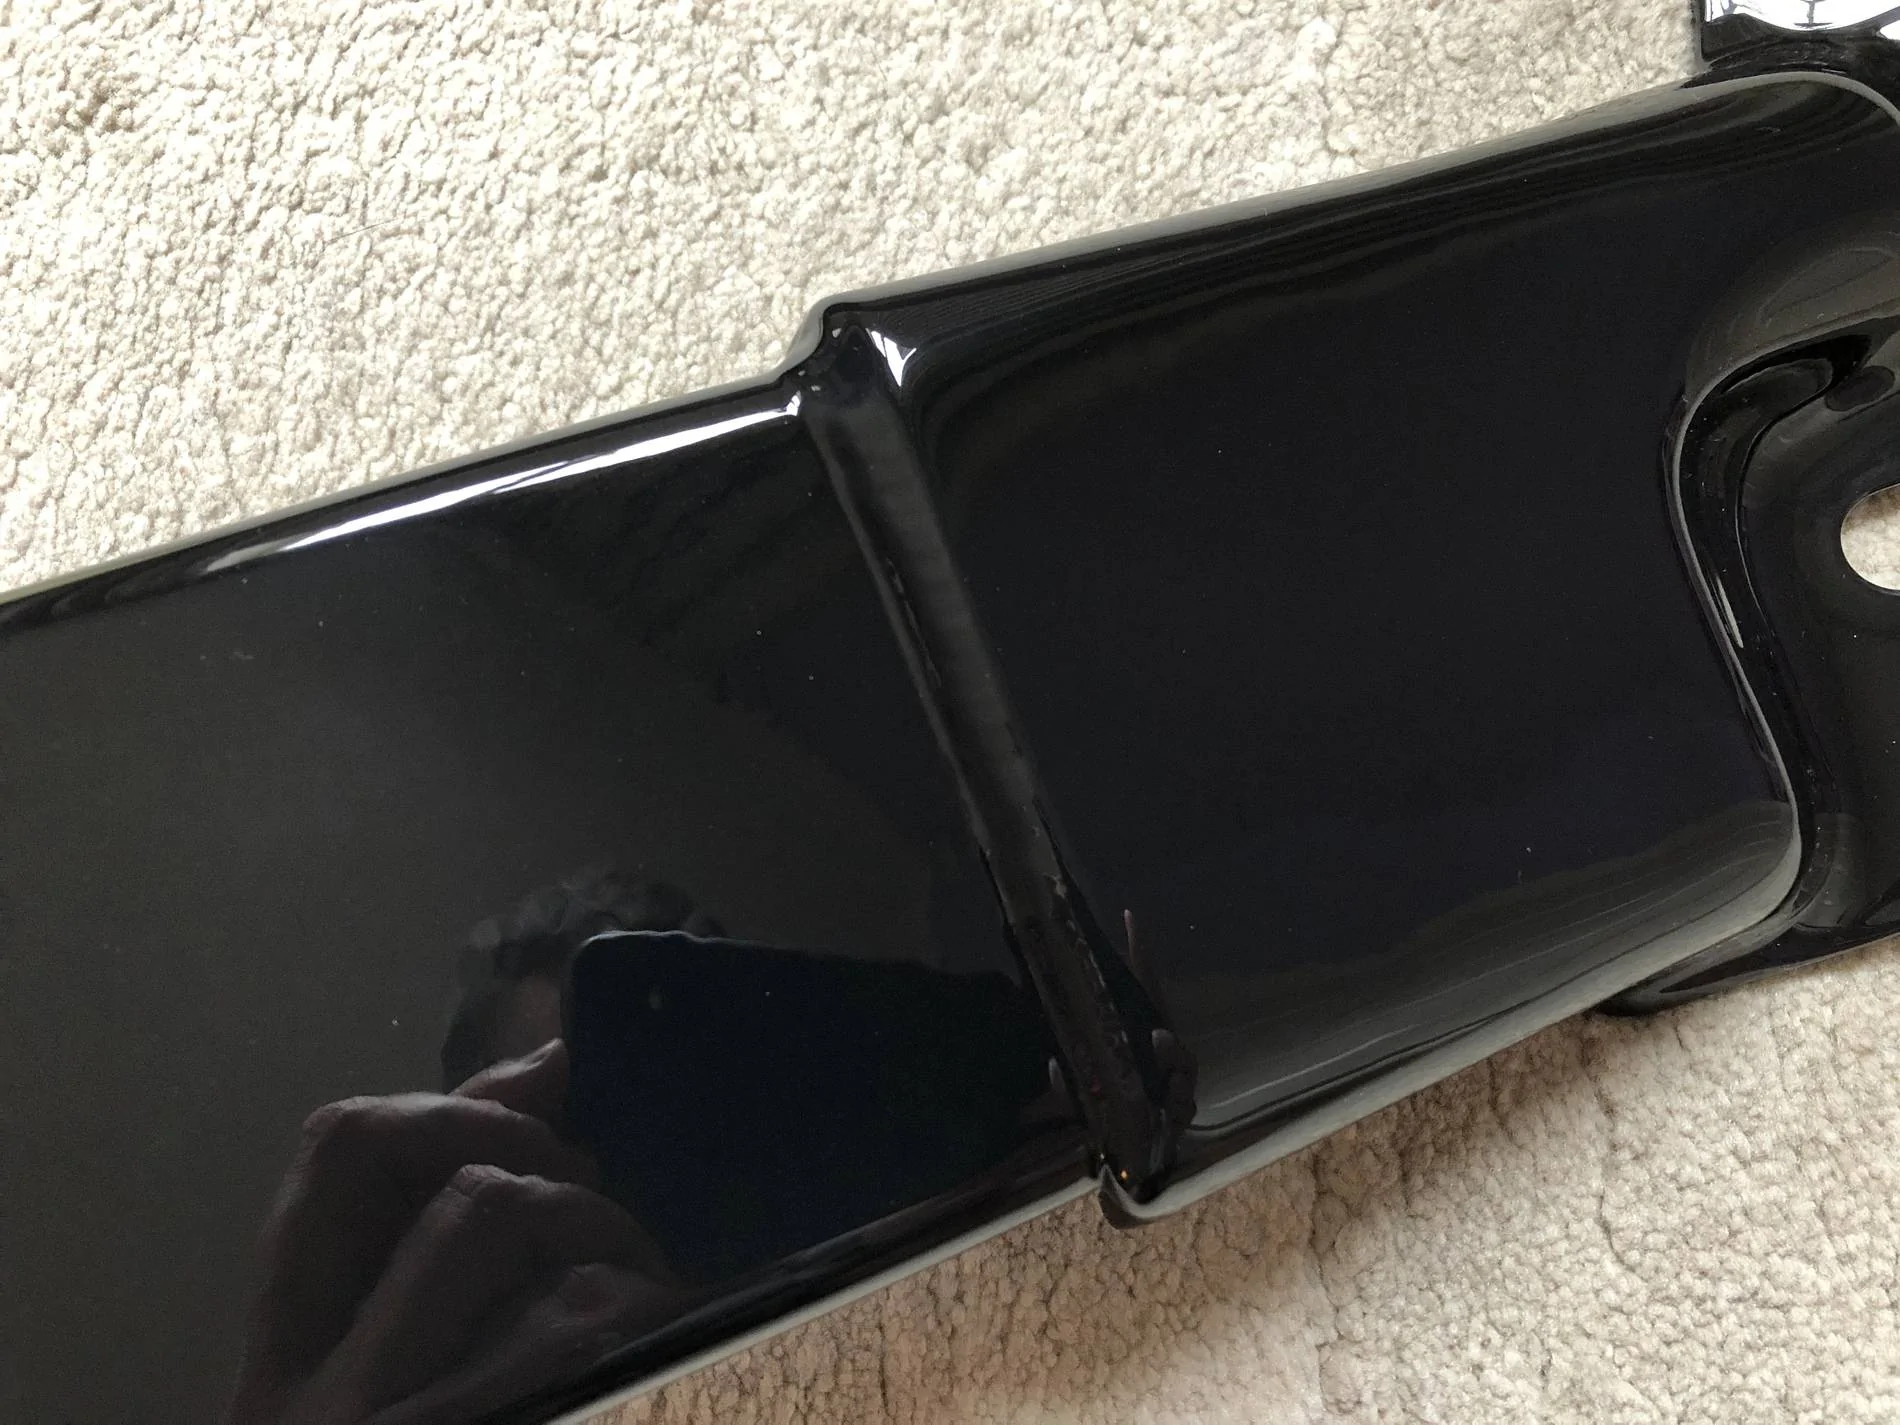
Hate to tell you but F10 is just being released officially, some models already have it for download !!I (mostly) got the wrinkles out of the back seat linings. A bit out of character for me but I didn’t take a before picture, but here is how the bottom middle corners fit after undoing the internal Velcro tabs :

Just undoing those was enough for the wrinkles to mostly relax and after moving the corners of the covers around the hinges then repositioning the Velcro tabs, the winkles are now virtually non-existent :
Beforehand the wrinkles on the right hand seat back went about a third of the way up.
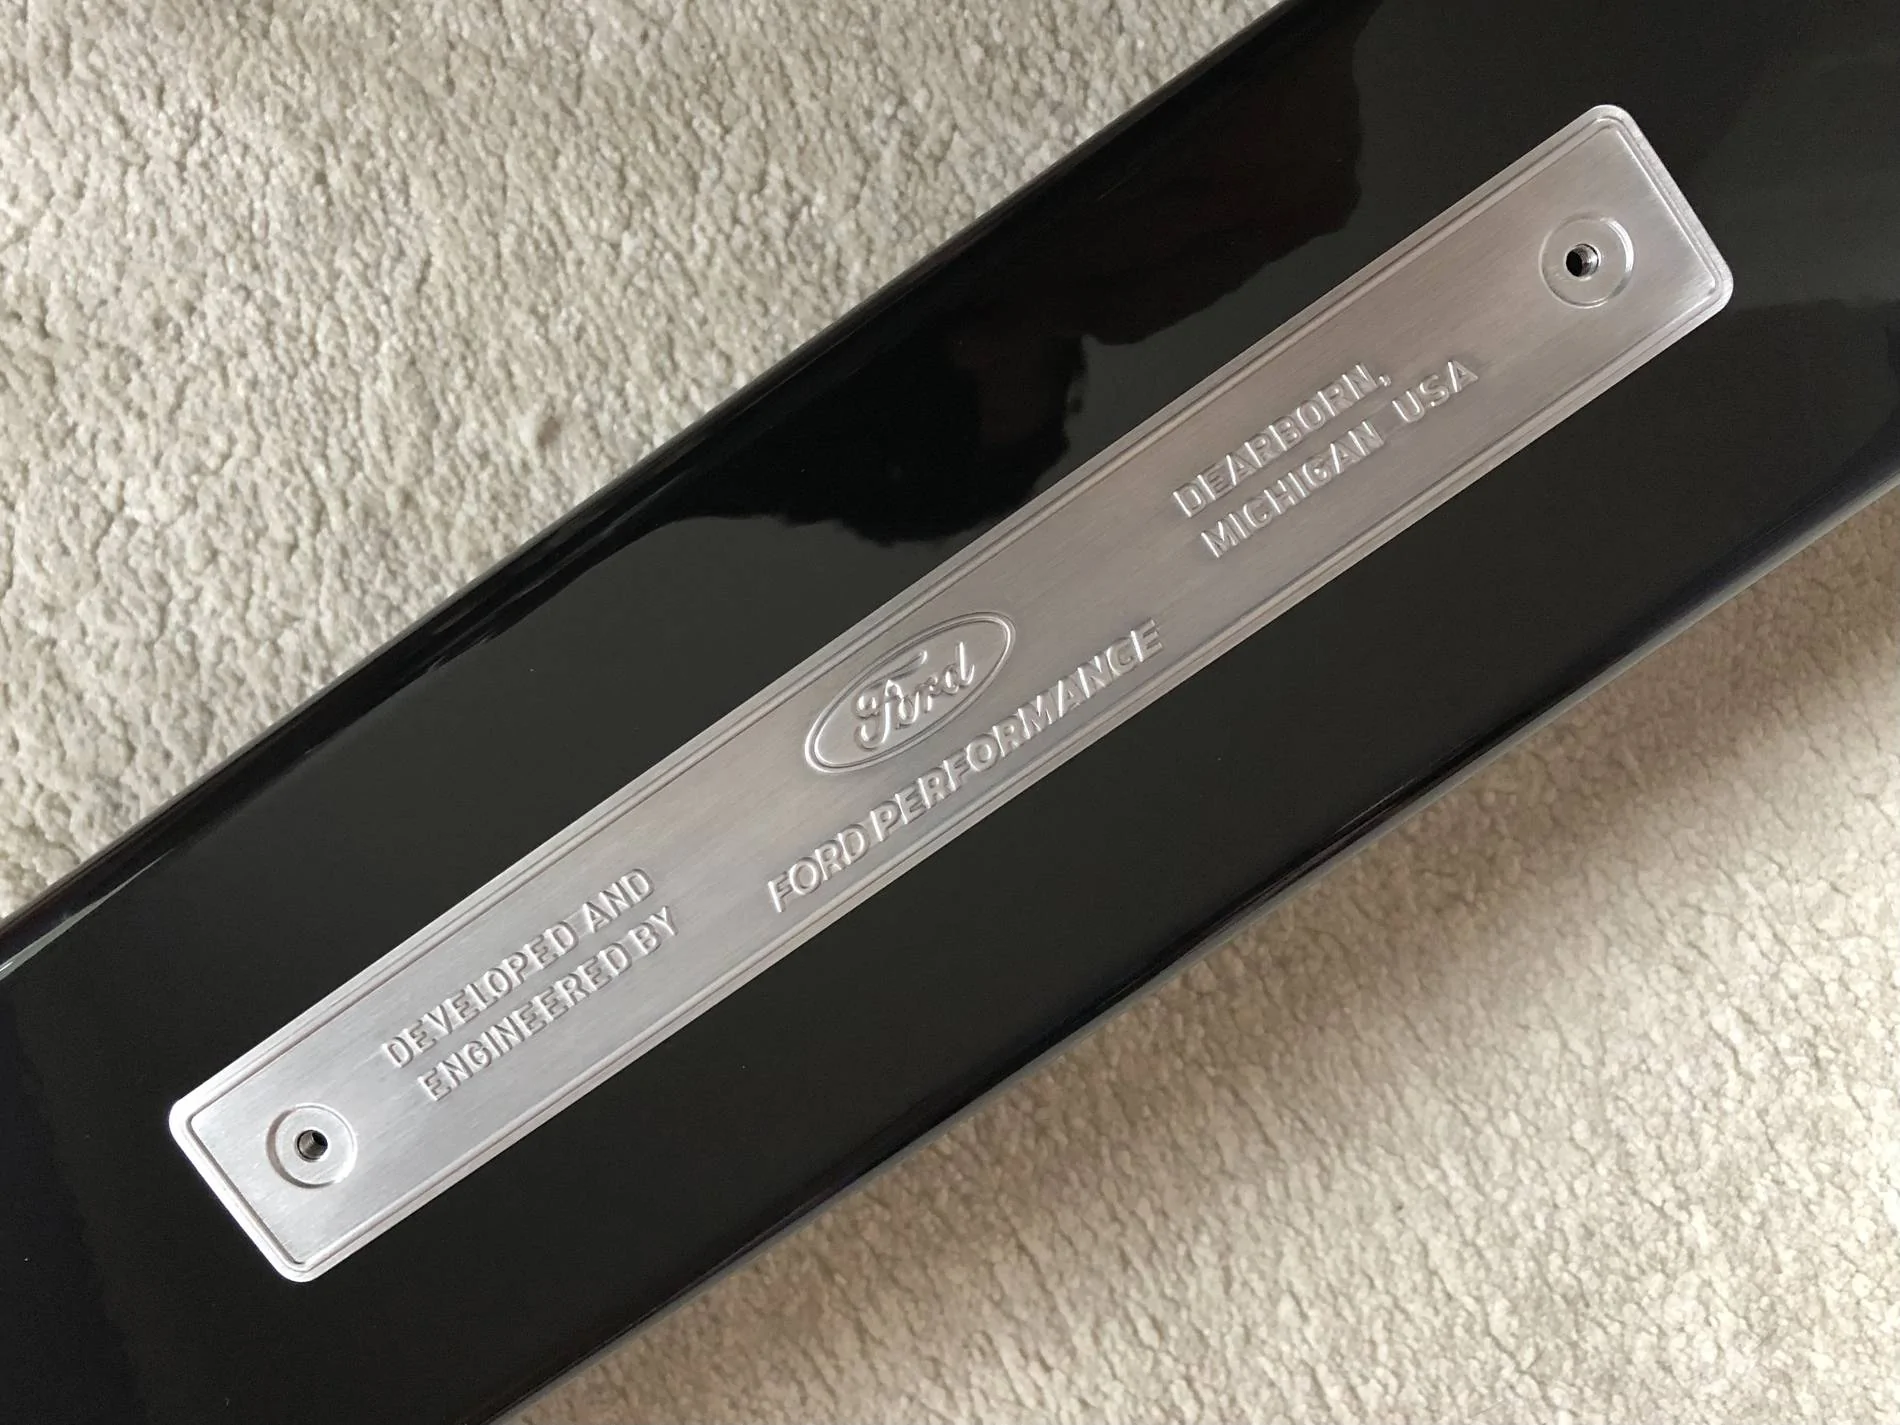
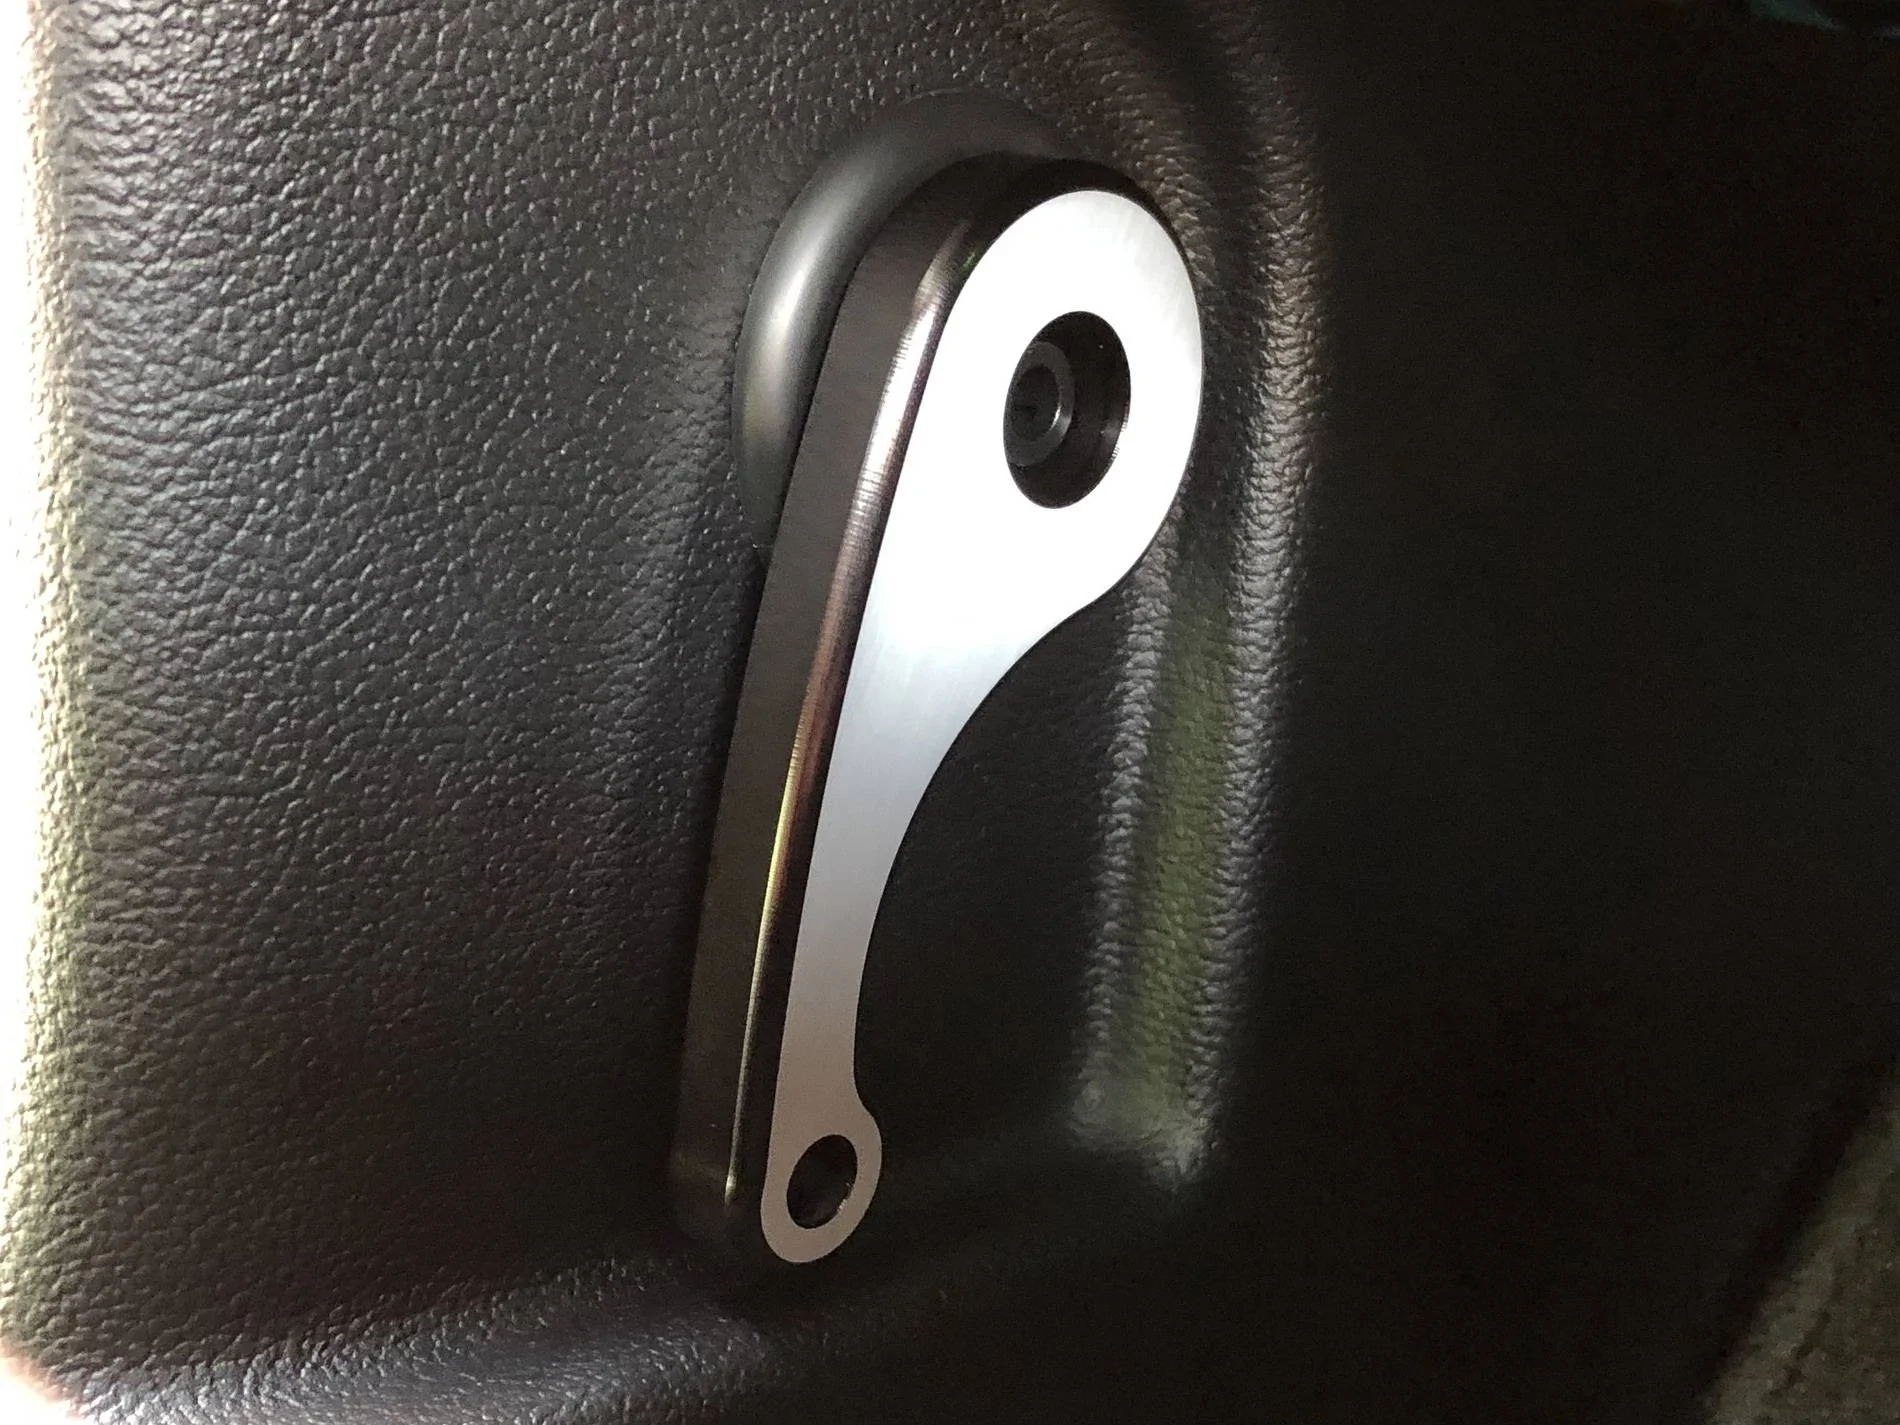
Old bonnet catch pops off real easy with a deep 10mm socket (push the socket firmly down the hole and it simultaneously retracts both clips and the latch pulls straight off) :
(Birthday present number 1) New latch fitted with half of a wiring grommet behind it :
The grommet was used purely for cosmetic reasons, the Steeda latch leaves the existing trim hole exposed and the spindle for the latch handle and the trim hole were offset on my car (and others I have seen). The ford latch is designed to hide both of these cosmetic issues. I know the cap from the original Ford lever is supposed to fit in the central hole, but I kind of like it how it is
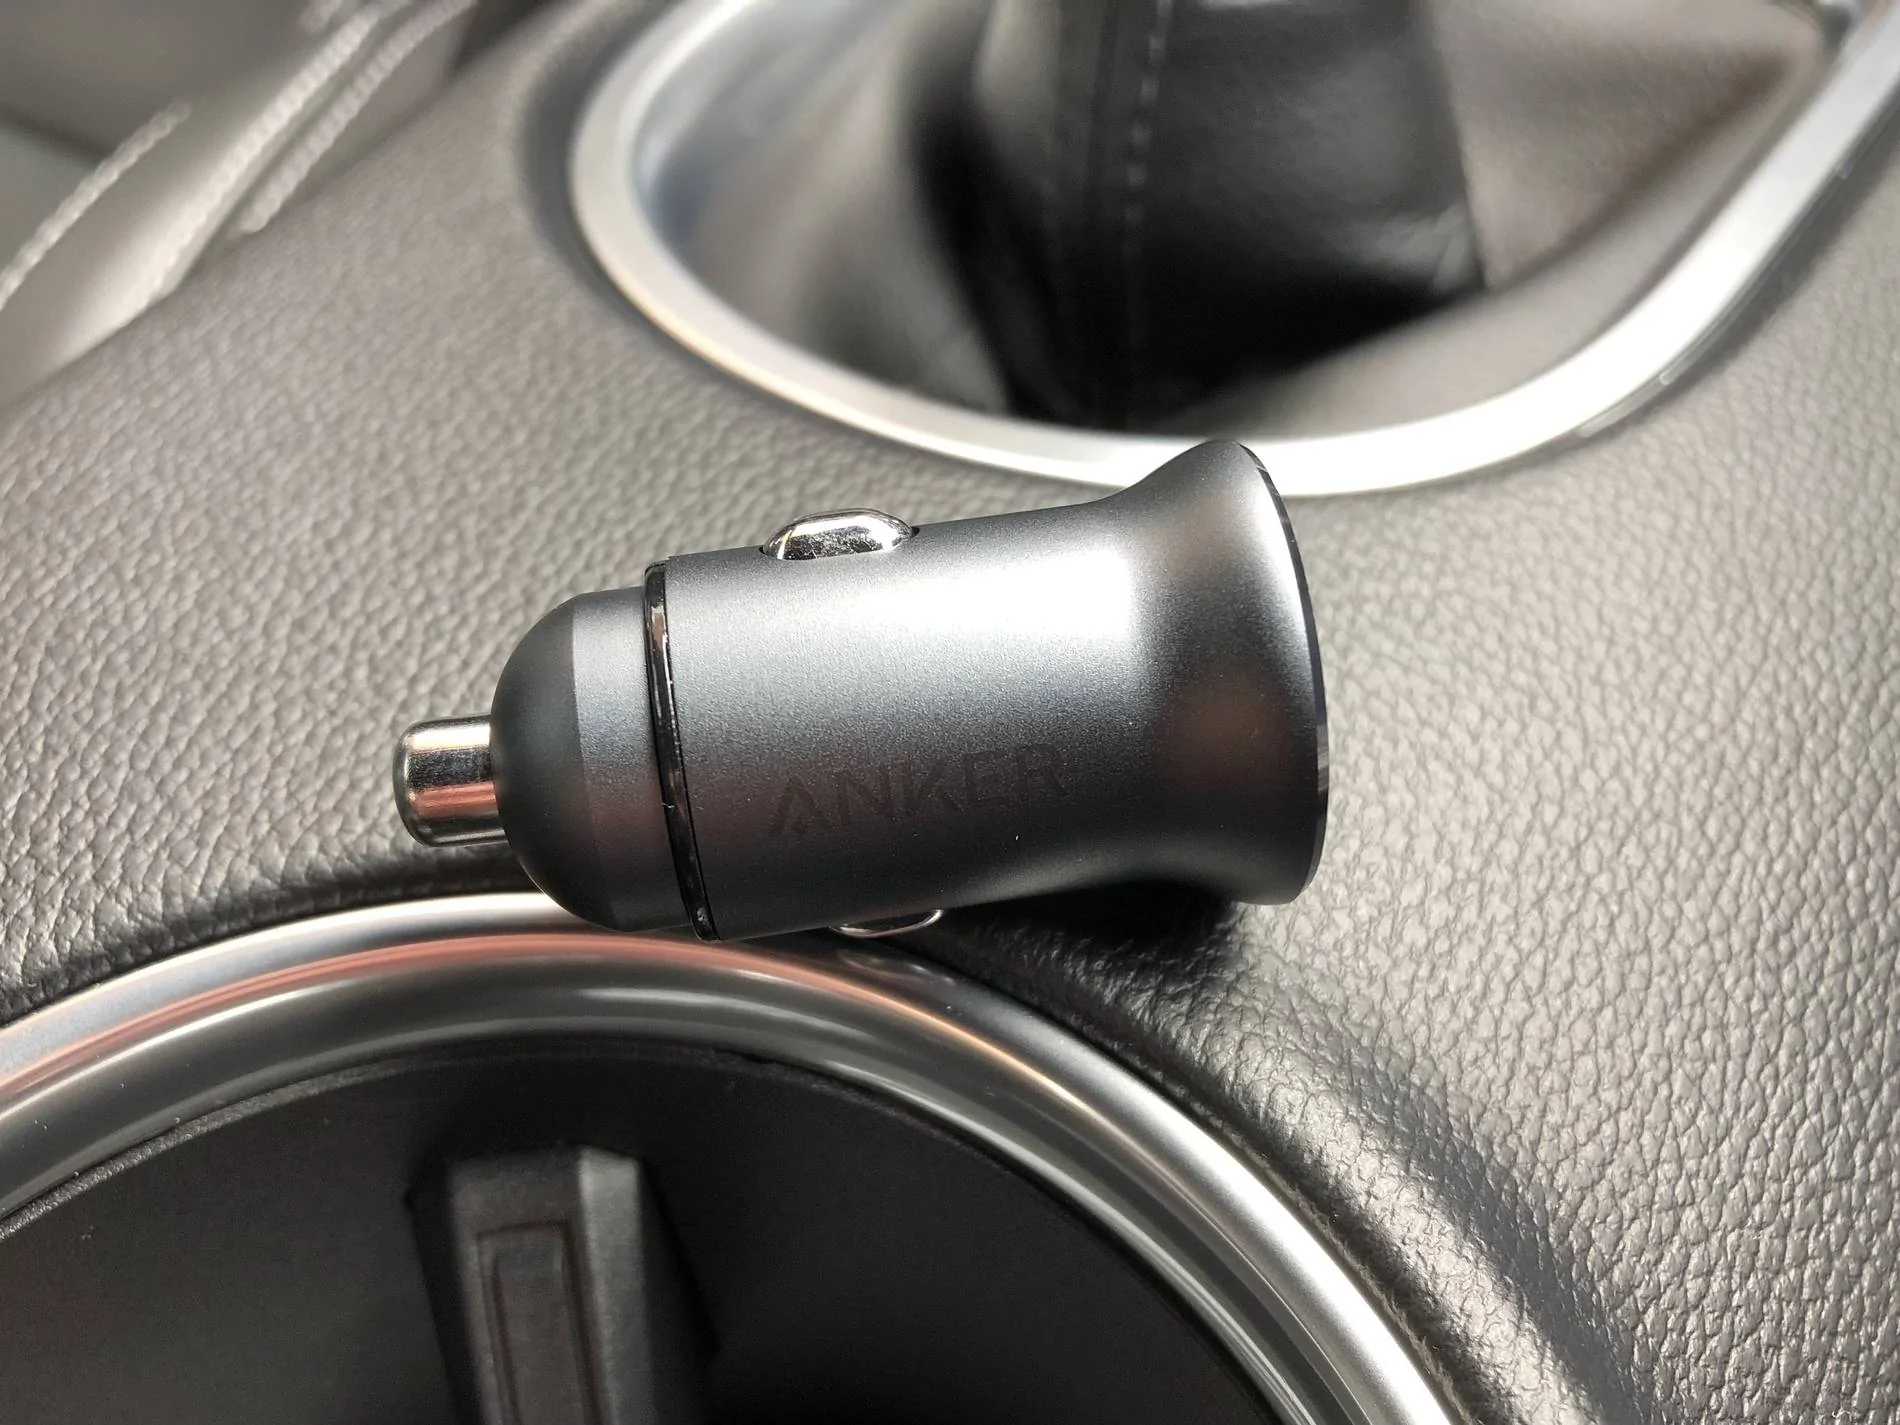
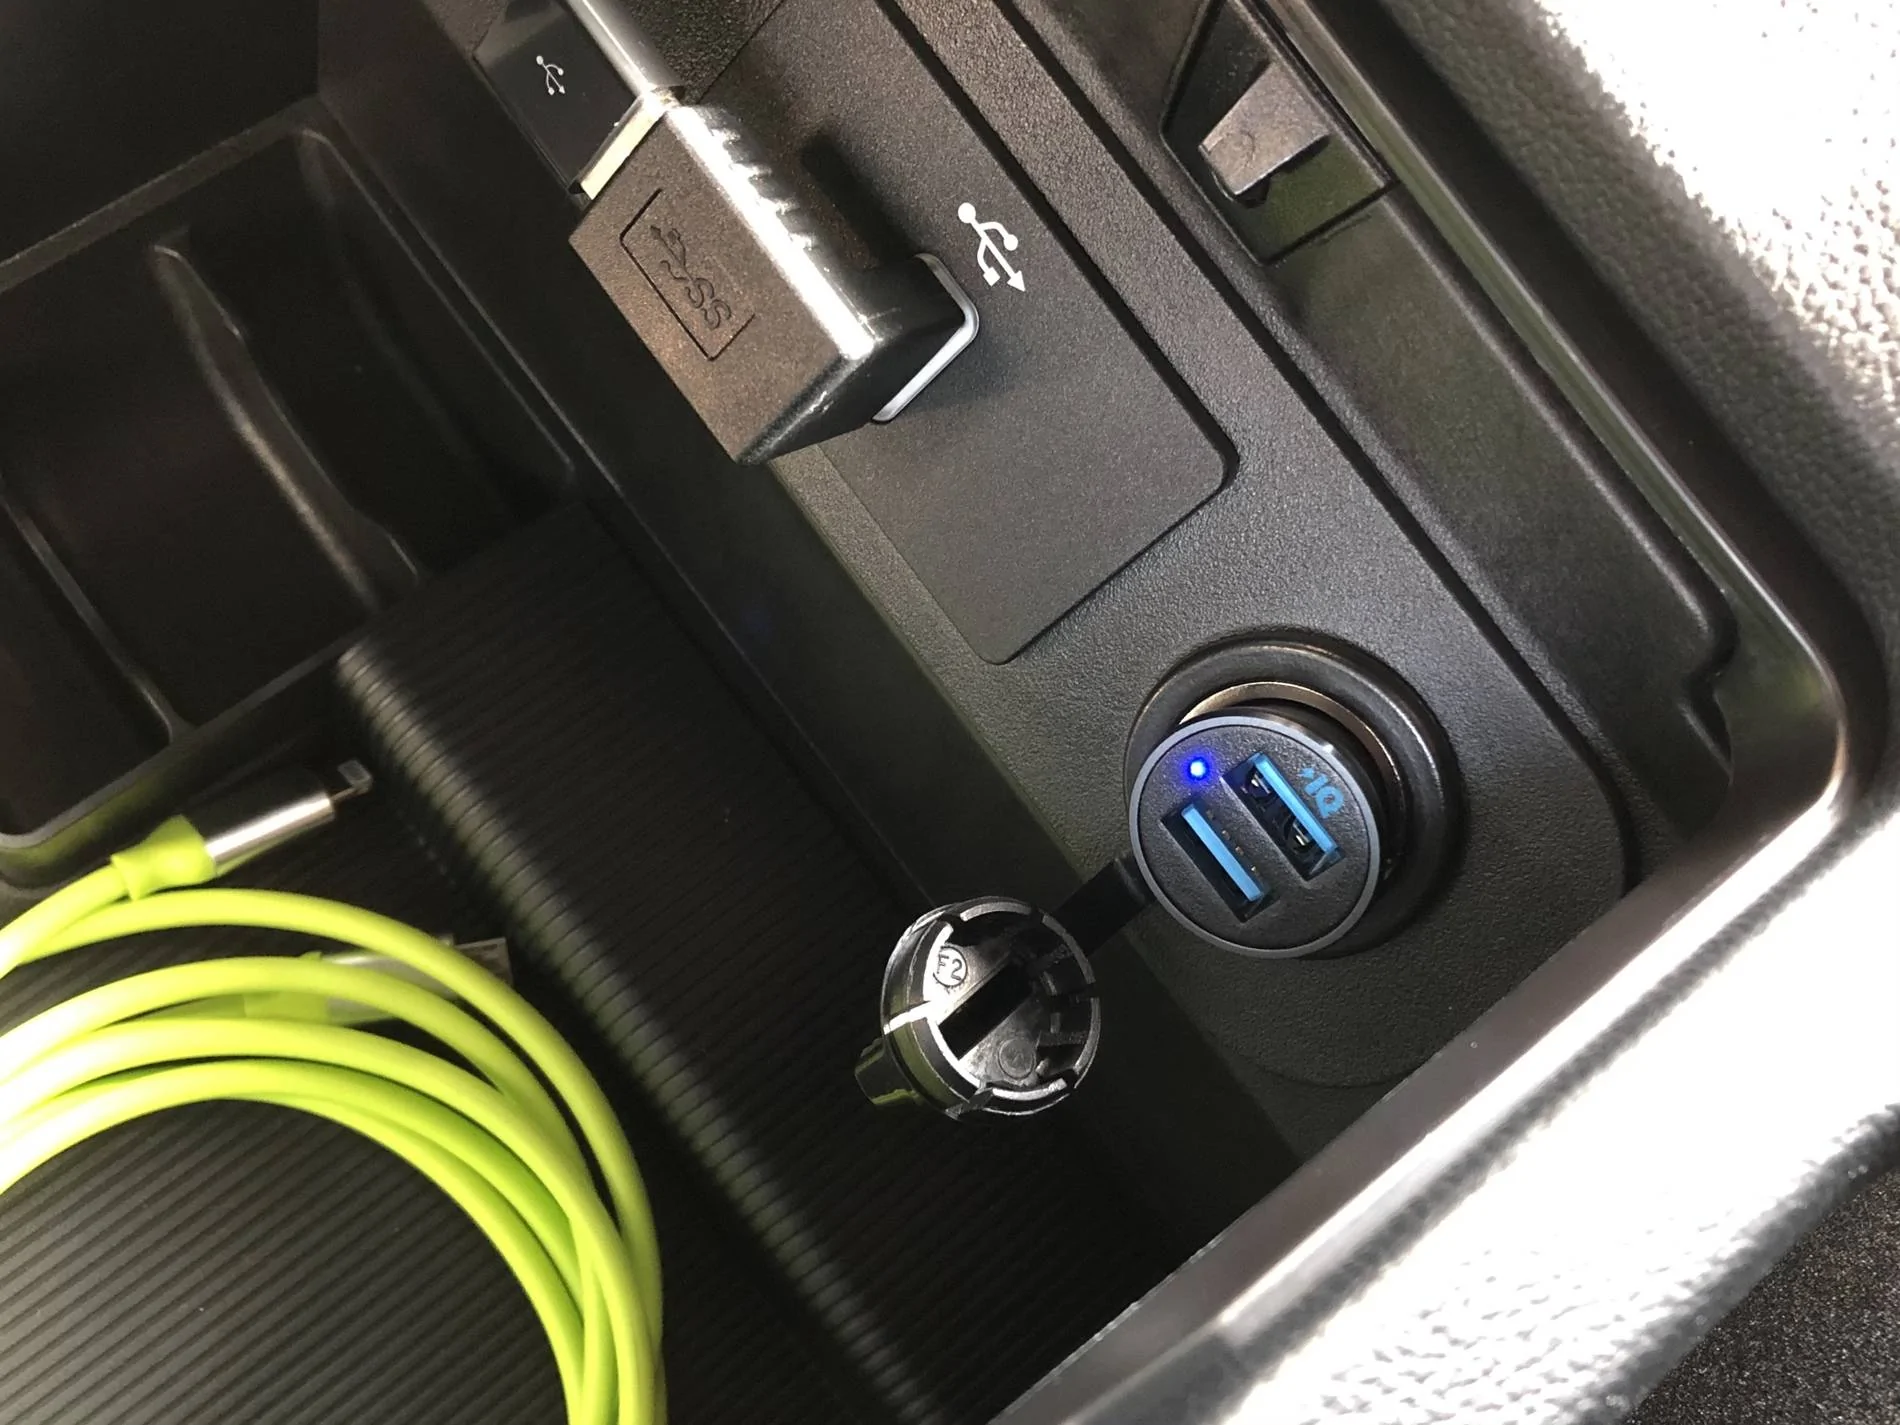
(Birthday present number 2) Now I have used up both USB’s with the carplay and music drive, this was the smallest twin USB I could find for the centre console :
(Birthday present number 3) It's from Asda / George if any of the U.K. guys are interested :
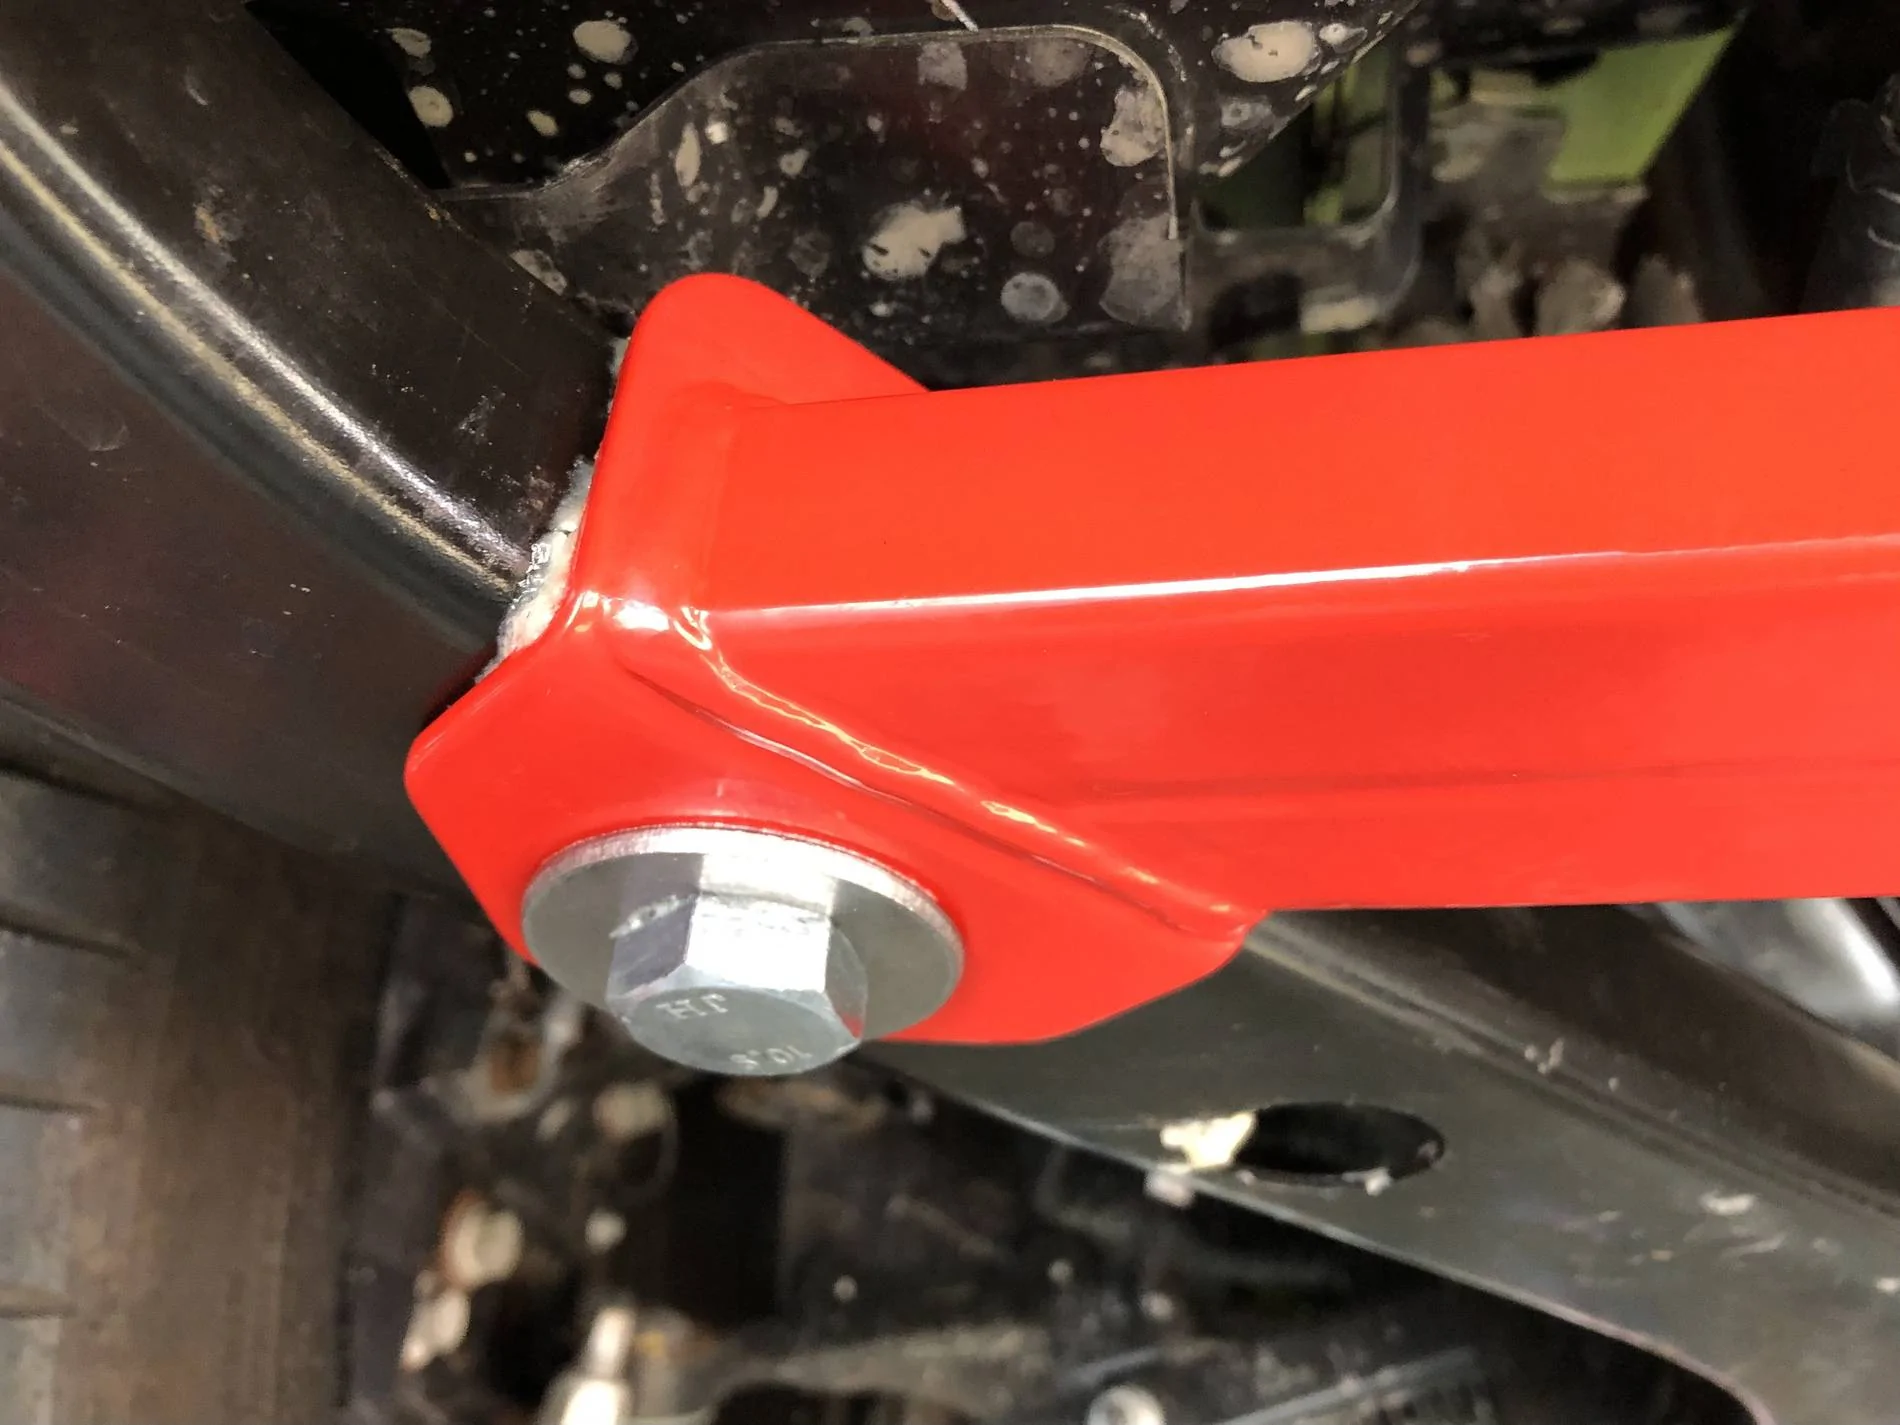
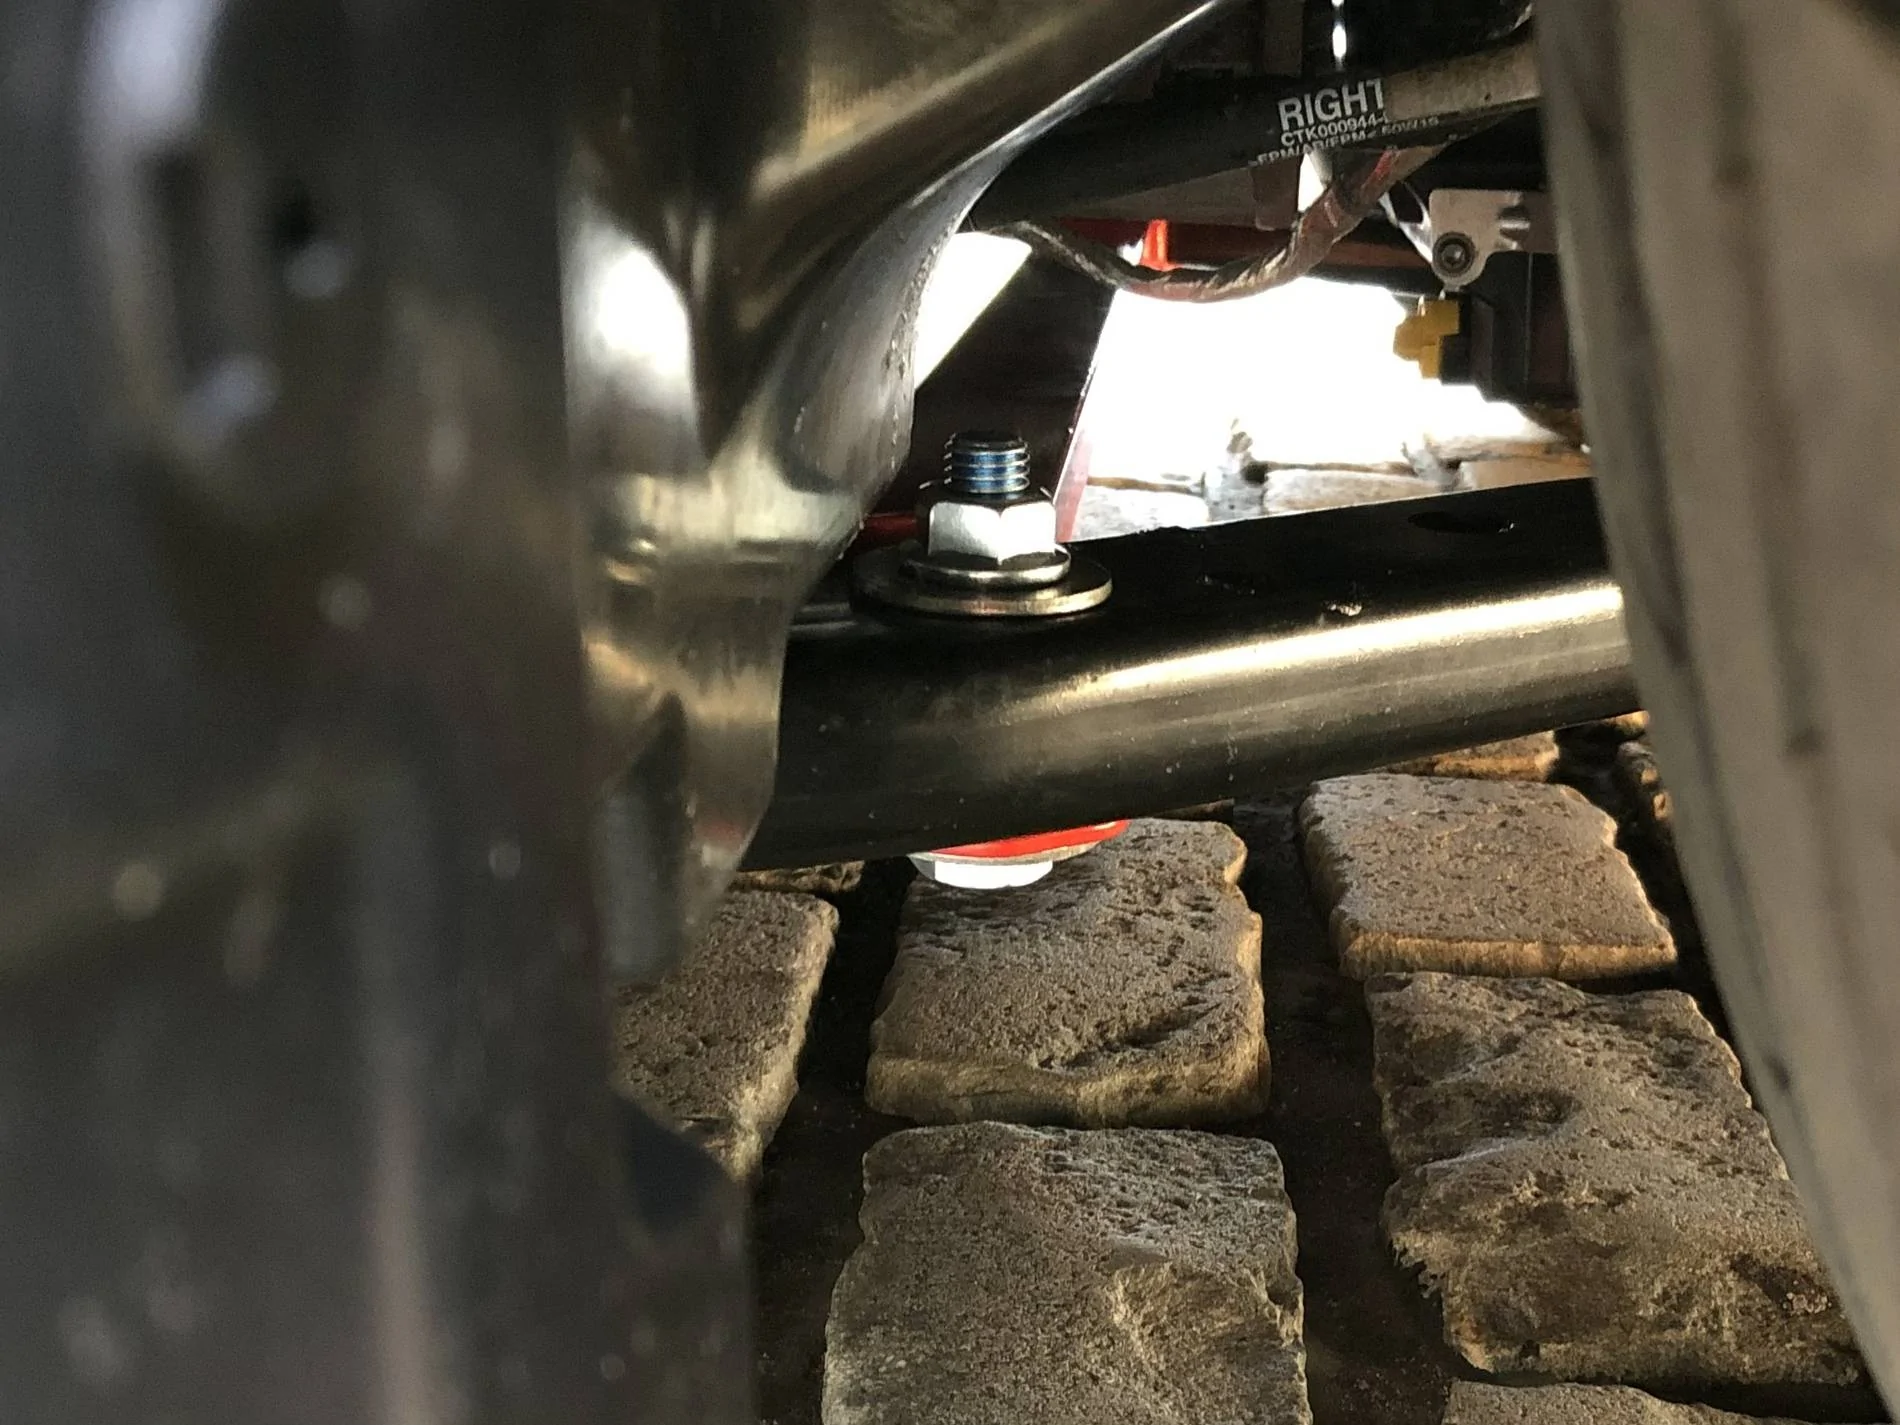
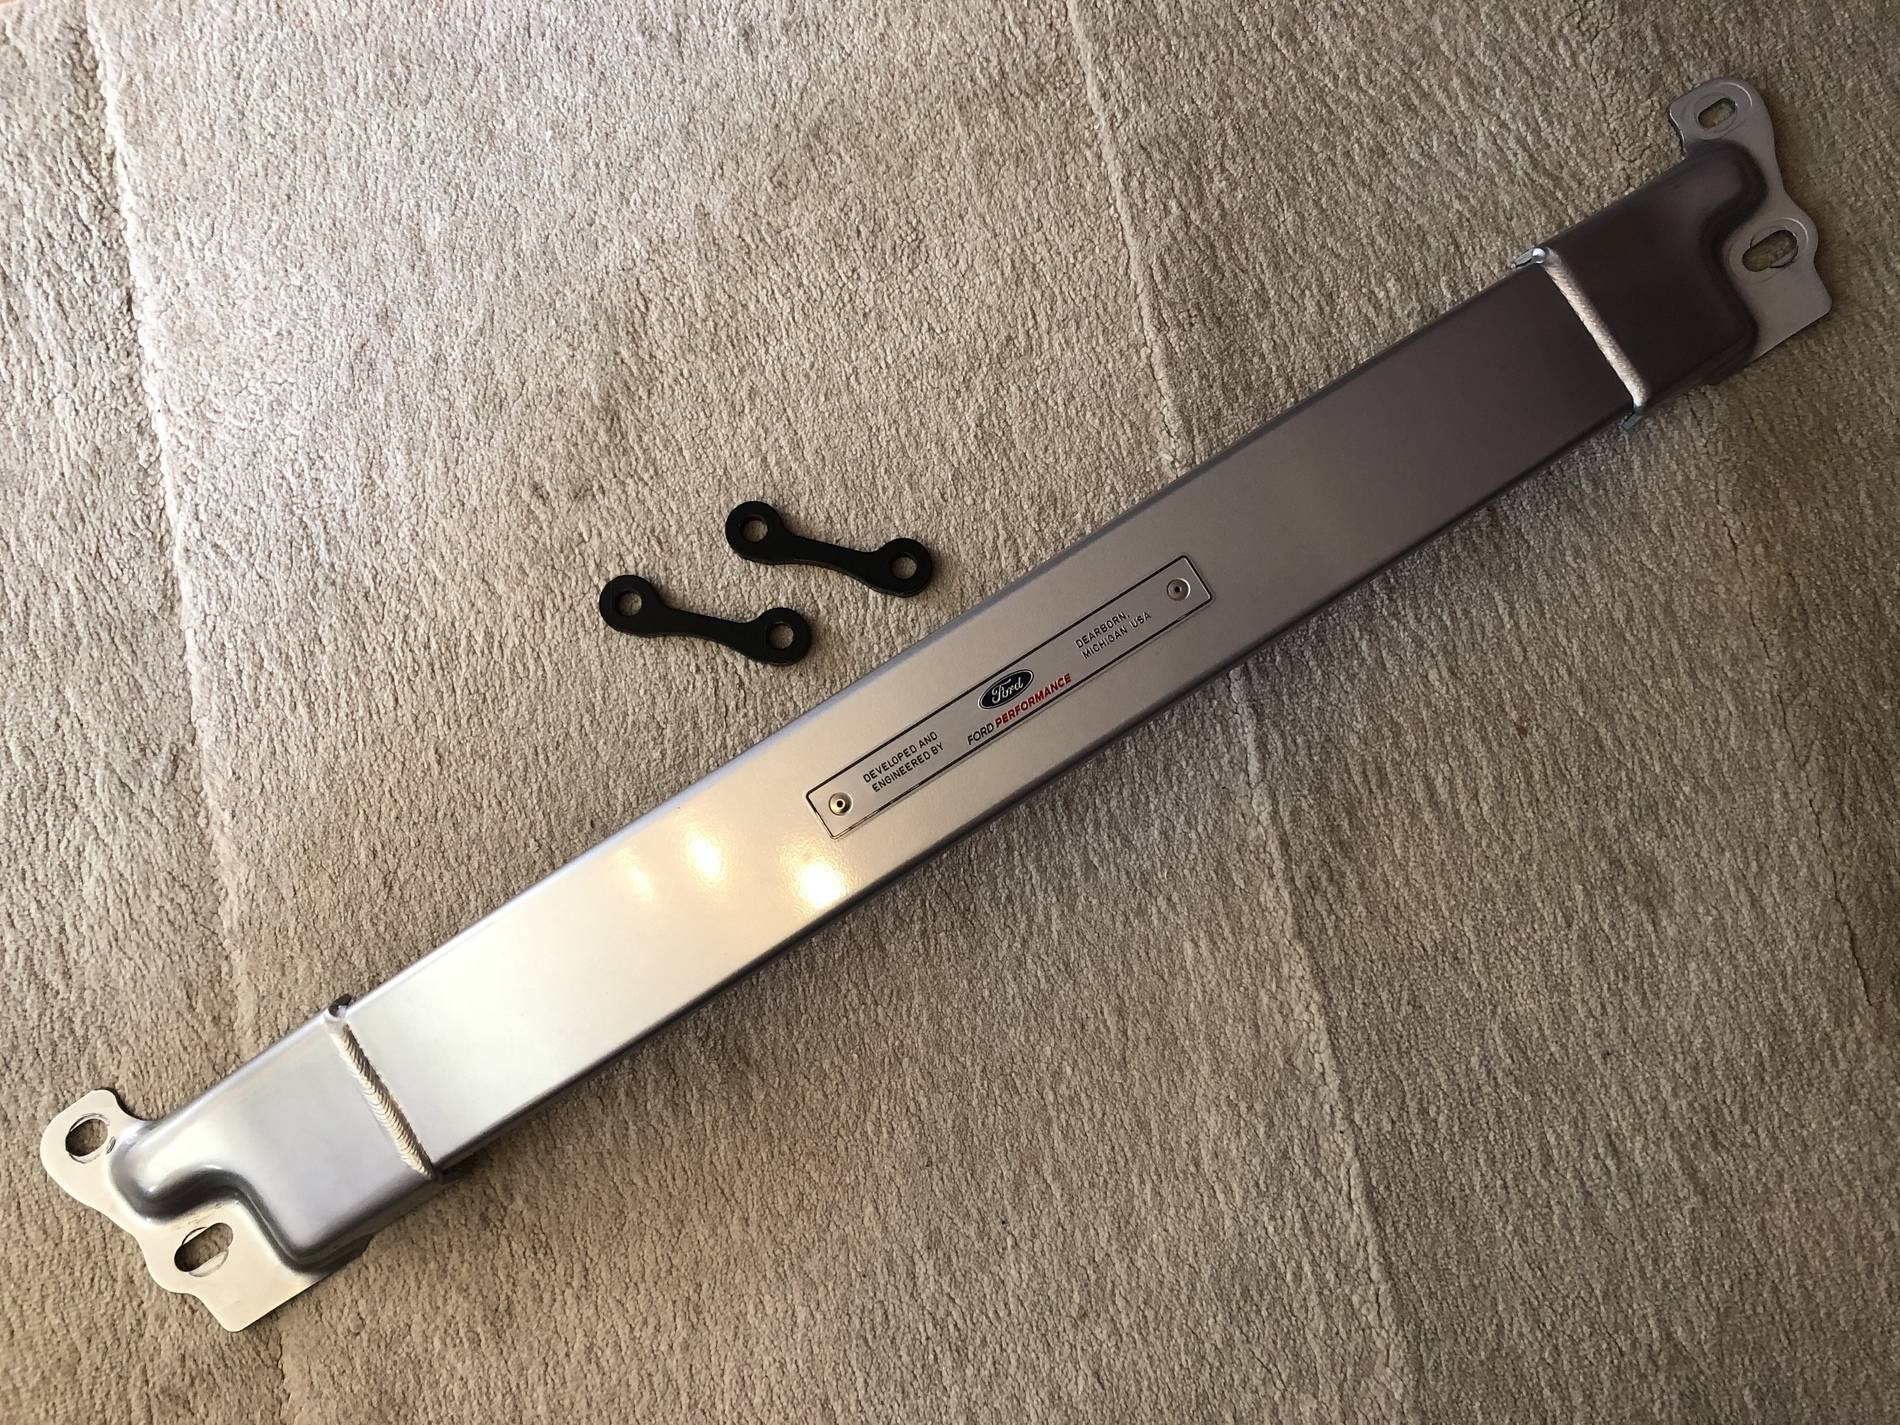
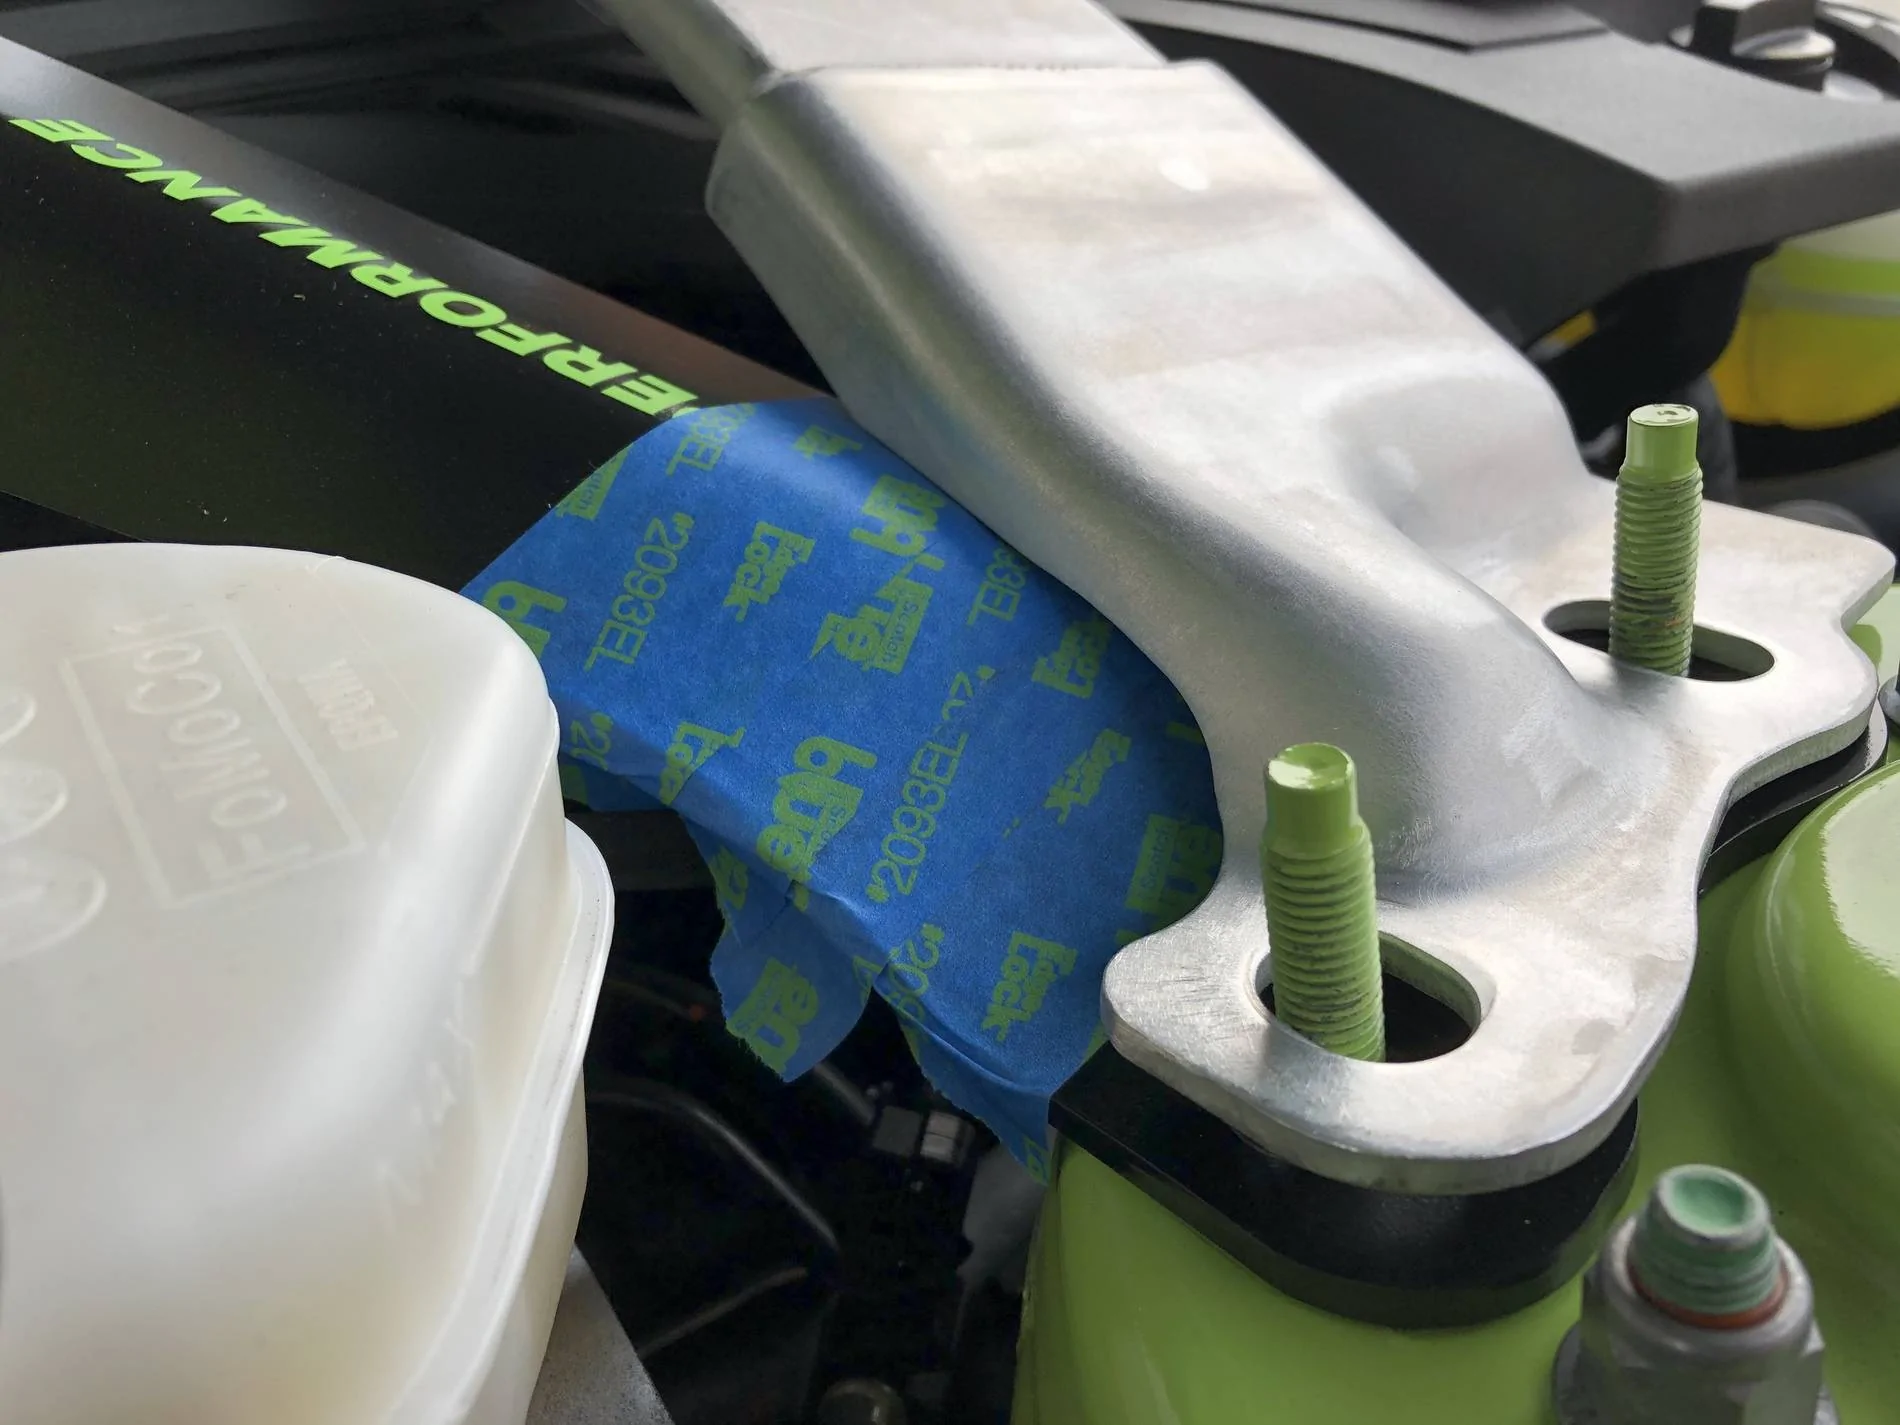
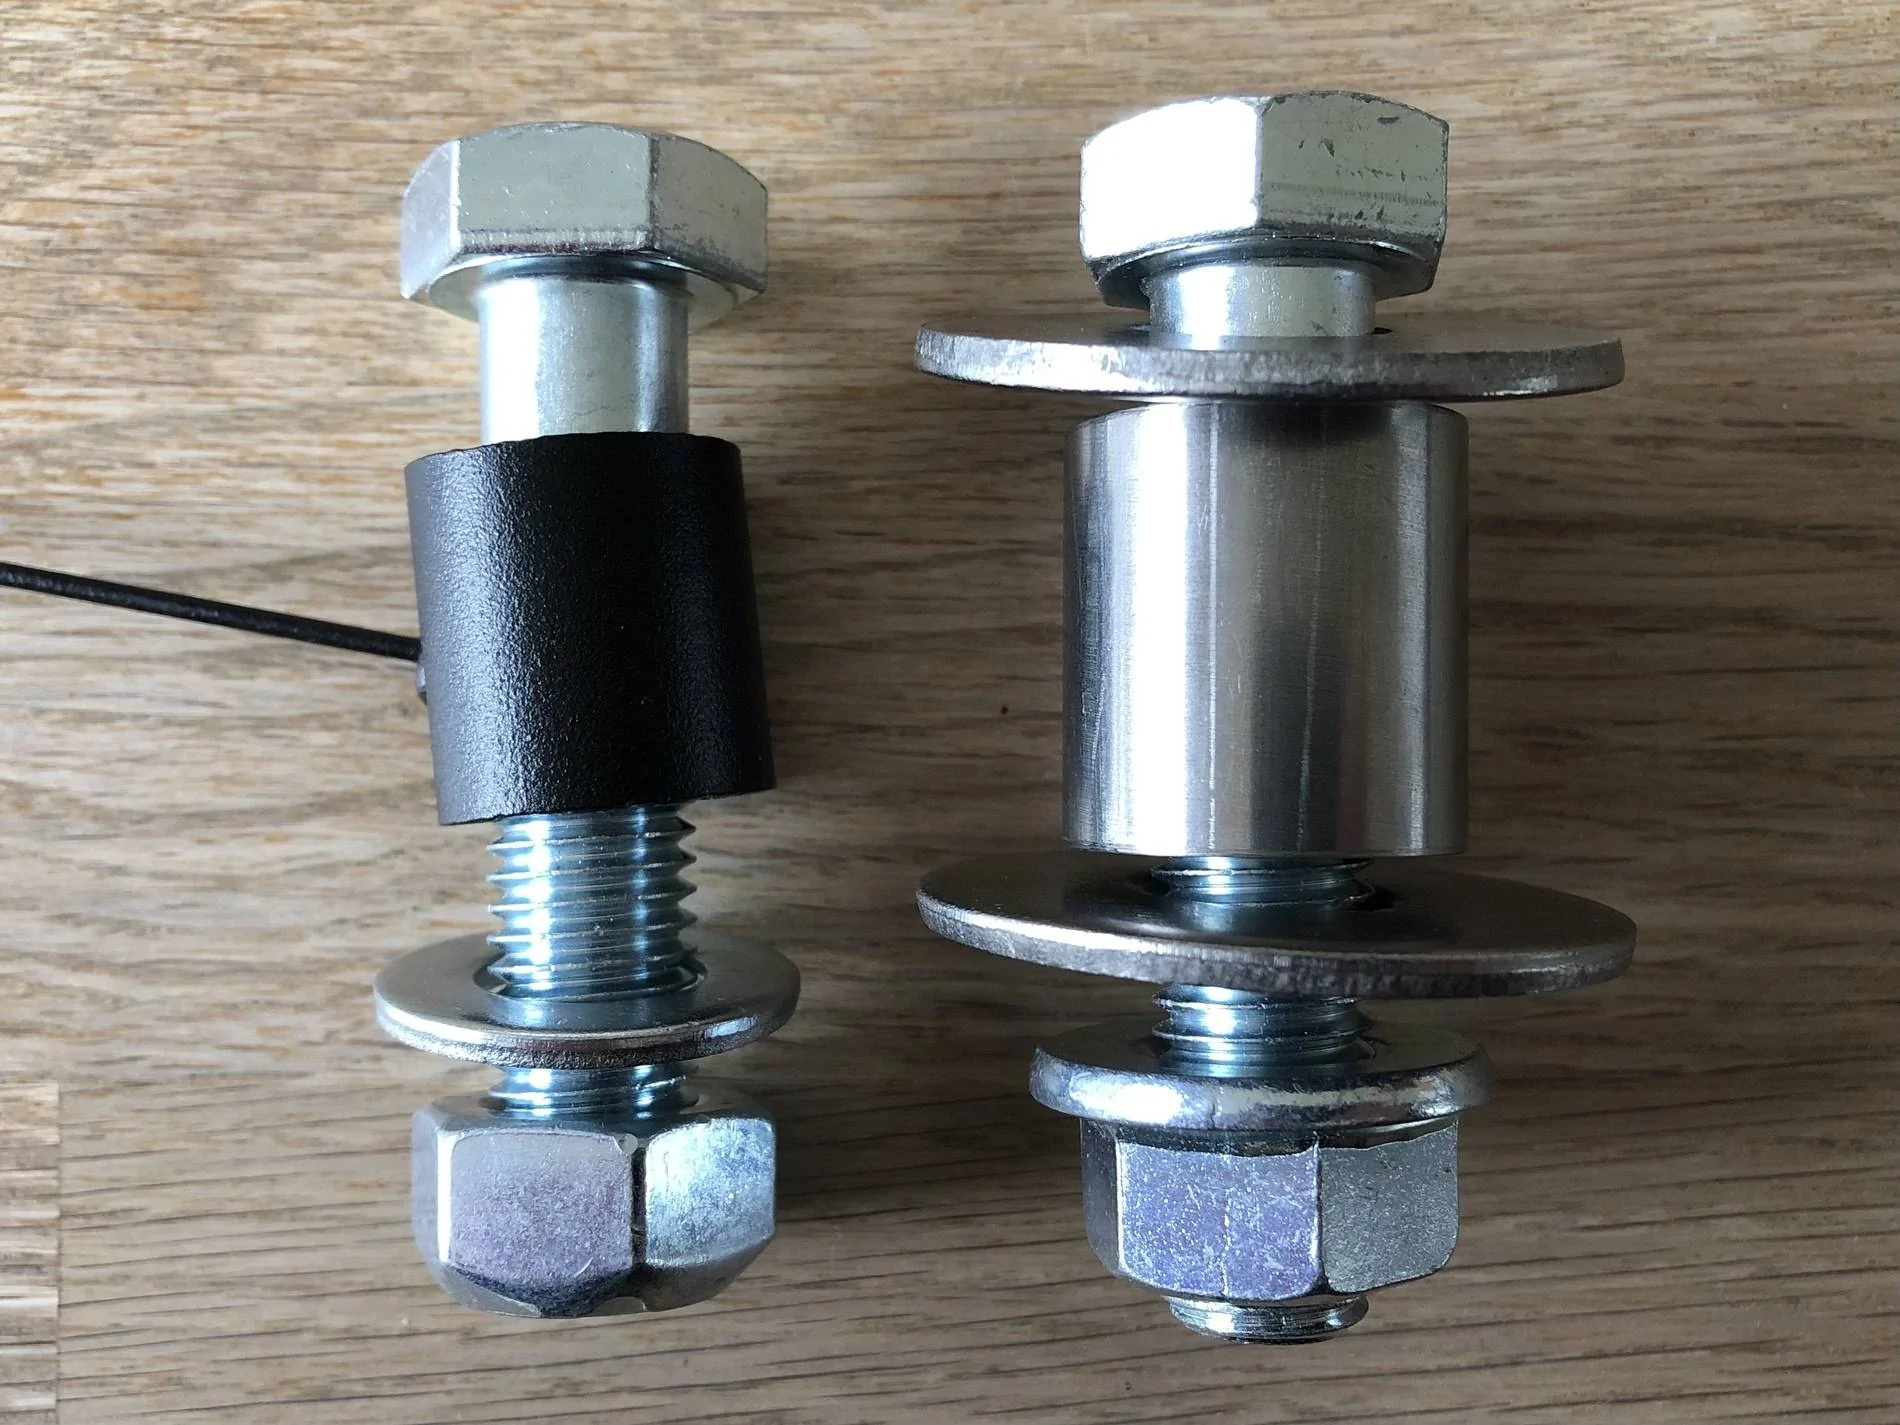
After waiting for the Steeda spacers for the front brace (missing in my delivery), it was obvious that they weren’t a good fit on my car - not Steeda’s fault as they are trying to hit a moving target. On my car I had very little deformation of the cross member and very few burrs on the internal faces which meant the Steeda spacers were very loose and wouldn’t have done anything to stop me crimping the cross member. I know Steeda have been criticised in the past for the spacers being too tight so I am guessing Steeda have reduced the spacer height over time and then Ford must have just refreshed the punch tooling ... lol. New v old spacers :
New spacers are larger diameter, 2.5mm taller and made from stainless.
I have obviously lost the ‘tail’ that would help with fitment, but with a bit of care and attention the new spacers are still easily positioned without issue and with hindsight, I probably could have got them made another mm taller.
Large diameter thick gauge stainless washers will be used to further spread the load along with flange nuts for the topside (Standard Steeda stuff on the left) :
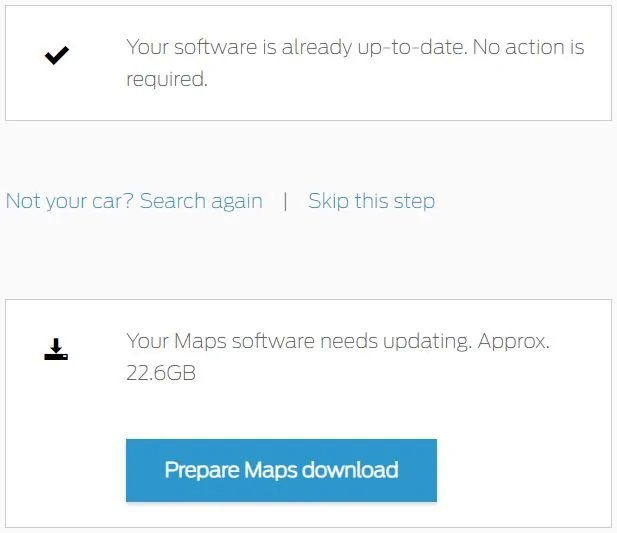
After giving up with it for a while and for no apparent reason, Fords SYNC server suddenly decided that after what I think was the sixth attempt, it would finally recognise my update and allow me to move onto installing F9 maps :

The map install went smoothly, on the second attempt, after three separate downloads and without the ‘DONTINDX.MSA’ file being missing from each download – let’s hope they don’t update it again soon …
Mustangs and donuts, great mix …

WD


Sponsored