Sponsored

Grabber Lime 2020 GT Build Thread

mike3105

Well-Known Member
Joined
Jun 26, 2020
Threads
1
Messages
127
Reaction score
111
Location
Cambridge, UK
First Name
Mike
Vehicle(s)
2018 (pre-FL) manual GT
So you’re applying wax on to a ceramic coating ? If so that’s not something that is recommended as it can compromise the efficiency of the ceramic coating hydrophobic layer.
I think you might've mistaken me with someone else. I'm using Ceramic plus the CQuartz topper for it.
Sponsored

 
OP
OP
WD Pro

WD Pro

Well-Known Member
Joined
Jan 18, 2018
Threads
121
Messages
5,717
Reaction score
11,030
Location
United Kingdom
Vehicle(s)
Lime GT
Vehicle Showcase
1
MP concepts splash guards compared to the OE Ford version (in approximately correct position) :

1-AA8-FED9-0-A55-4-C74-8501-3167-F28-E98-A7.jpg


This is behind the fender liner :

621-FBB24-3-F6-A-4-AE7-8-E9-E-2-F2-BF2-C74908.jpg


Standard splash guard mounting :

66-AC4-DBA-B96-E-454-D-9073-DA231-E792918.jpg


Two screws, a location pin and some tape :

16129-FCB-1-D01-4734-B1-FF-BE1-DBF3-C316-C.jpg


I removed the metal clips as they are no longer used and it seems pointless to leave them there just to attract rust.

If you want to retain all the fender liner mountings, the MP Concepts guard needs an extra 8mm hole :

87-FABEAD-6-B76-4615-8-FF3-BC7-E0-F30609-A.jpg


I might have gone a little overboard with the VHB … :giggle:

3751-E9-AC-E5-B5-44-BC-AE99-D5-F6763568-B5.jpg


Mounted :

D577-E7-B1-3-AE2-41-A9-A43-D-3-C9143-D5-F5-D6.jpg


IMHO, they look much more OE when compared to any of the other aftermarket offerings :

908-D12-CA-7143-42-CB-8512-BCDDF6-DC04-A1.jpg


Whist not as big as the other aftermarket offerings, they are a similar design to the GT500, GT350 and Mach 1 pieces so they should offer some protection - at the very least they will stop the paint getting stripped from the painted bumper edge :like:

Whilst the well liner was out I took the opportunity to correctly align the trim piece from the factory setting :

D6-EC1-F78-82-B0-463-D-BC49-8-C99902-CA3-B0.jpg


To this :

FAAEB7-D9-8-F55-4-F2-D-81-D7-C20032519-FD7.jpg


Which is only a small change, but it makes a big difference visually. The right side is worse, you can see daylight through the gap … :facepalm:

Then the time consuming bit, clearing the excess under seal overspray - yes, it was as bad as it looks in the photos :

F6-C30053-2262-4-DC8-91-AC-2-ED0-B40-B27-DC.jpg


Ford even do the tyres to stop them from rusting :shock: :

9-F96-B11-B-1211-420-B-9-B0-E-7-DE36-C15353-A.jpg


Strong paint cleaners work but they are slow, as is clay. Sometimes you have to get the big guns out but even with thinners, it’s still not a quick job :headbang:

My wheel detailing station :

4-AF8-F589-9-BFA-4-EA7-ACF3-8771-B826-EF65.jpg


Not as fancy as some people workstations (yes that’s at you guys @DFB5.0 @kilobravo and no, you’re not spending any more of my money :cwl:
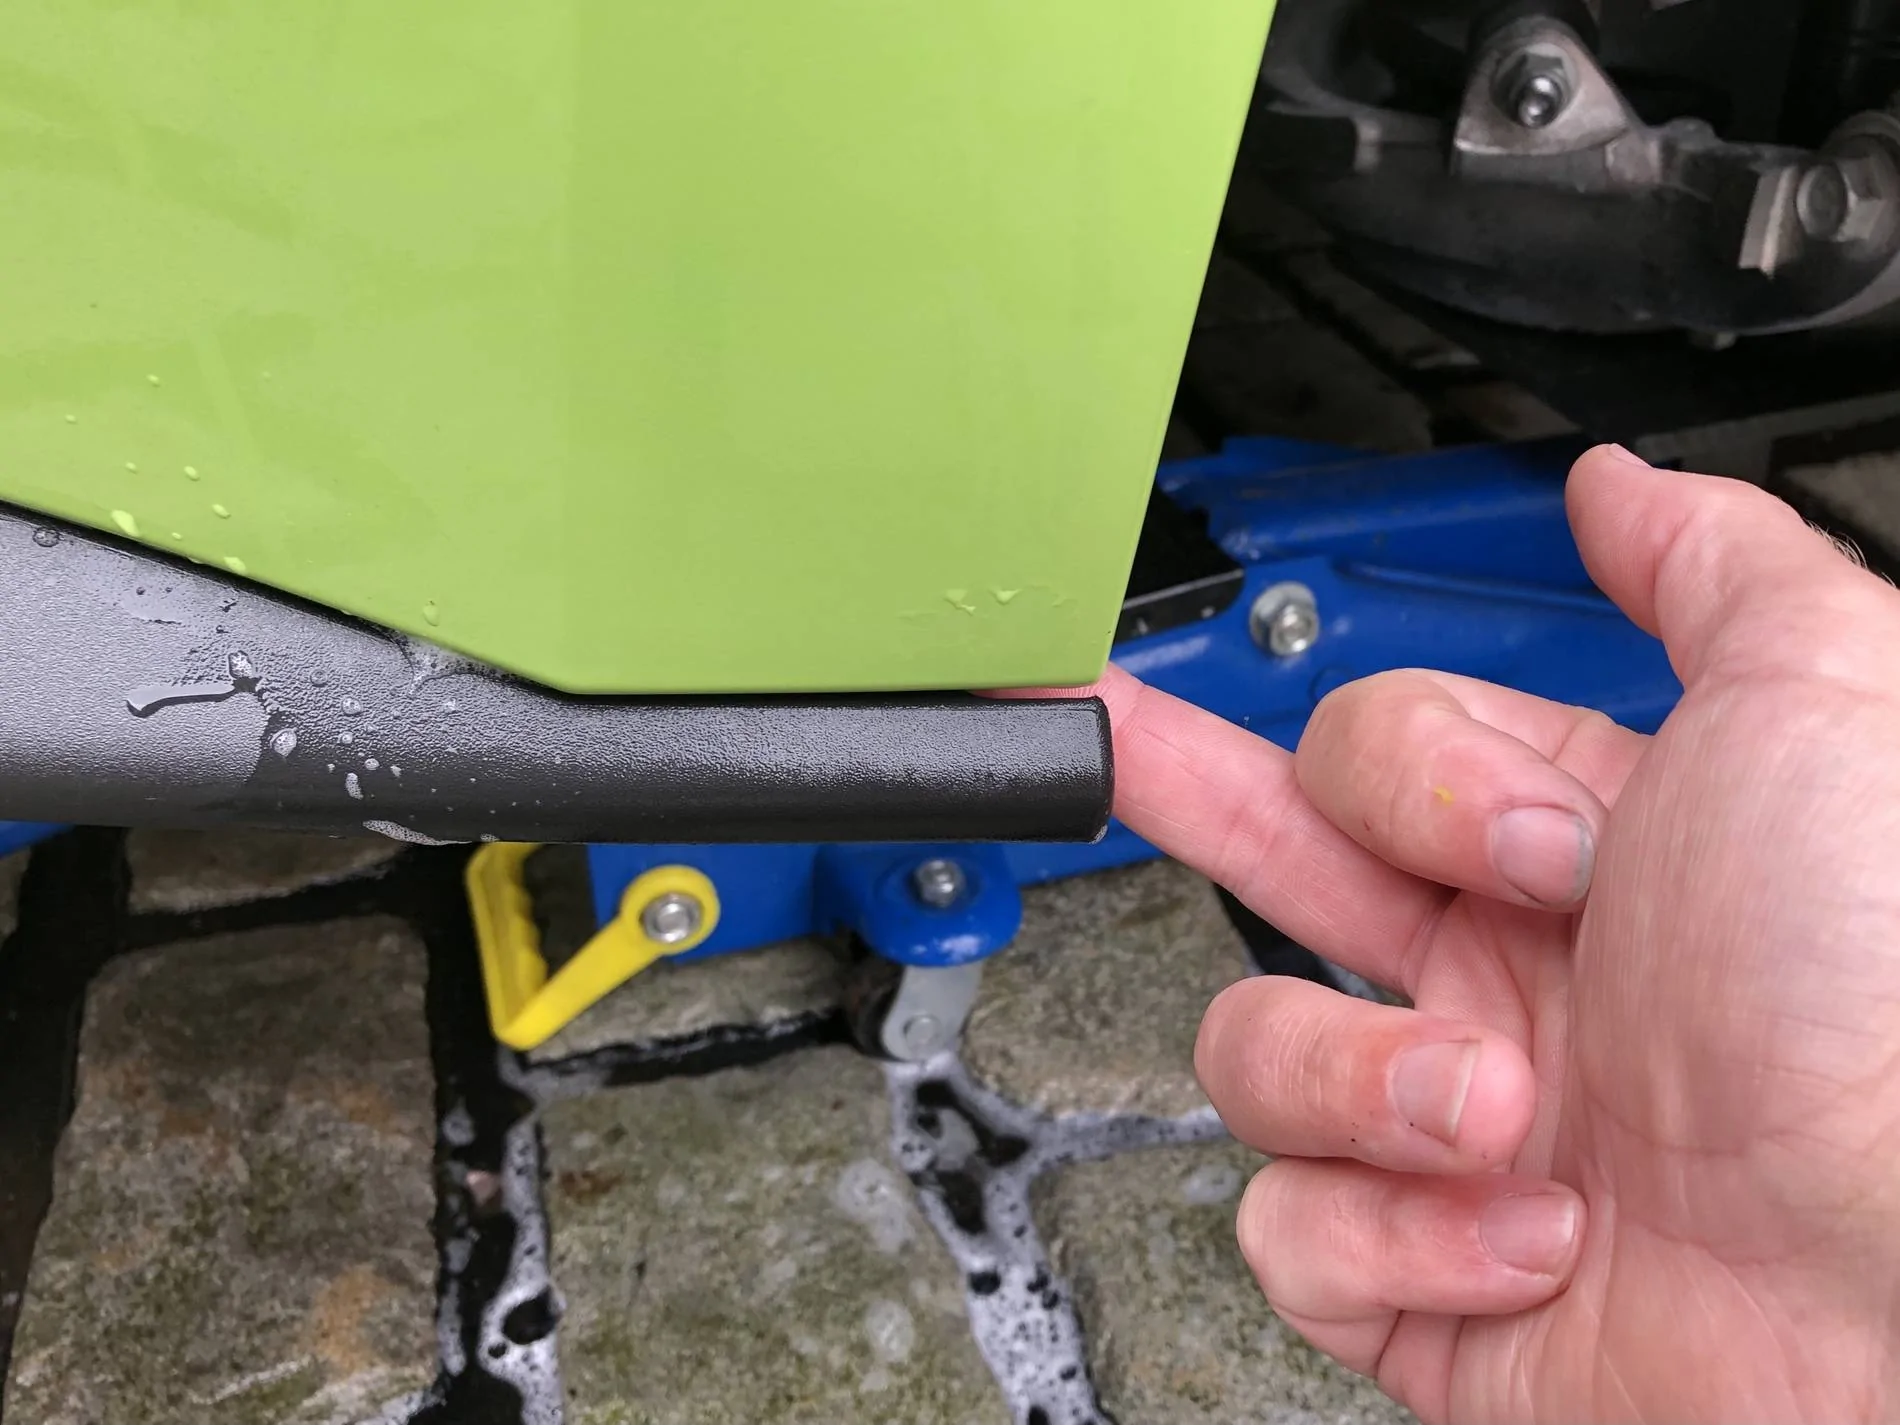
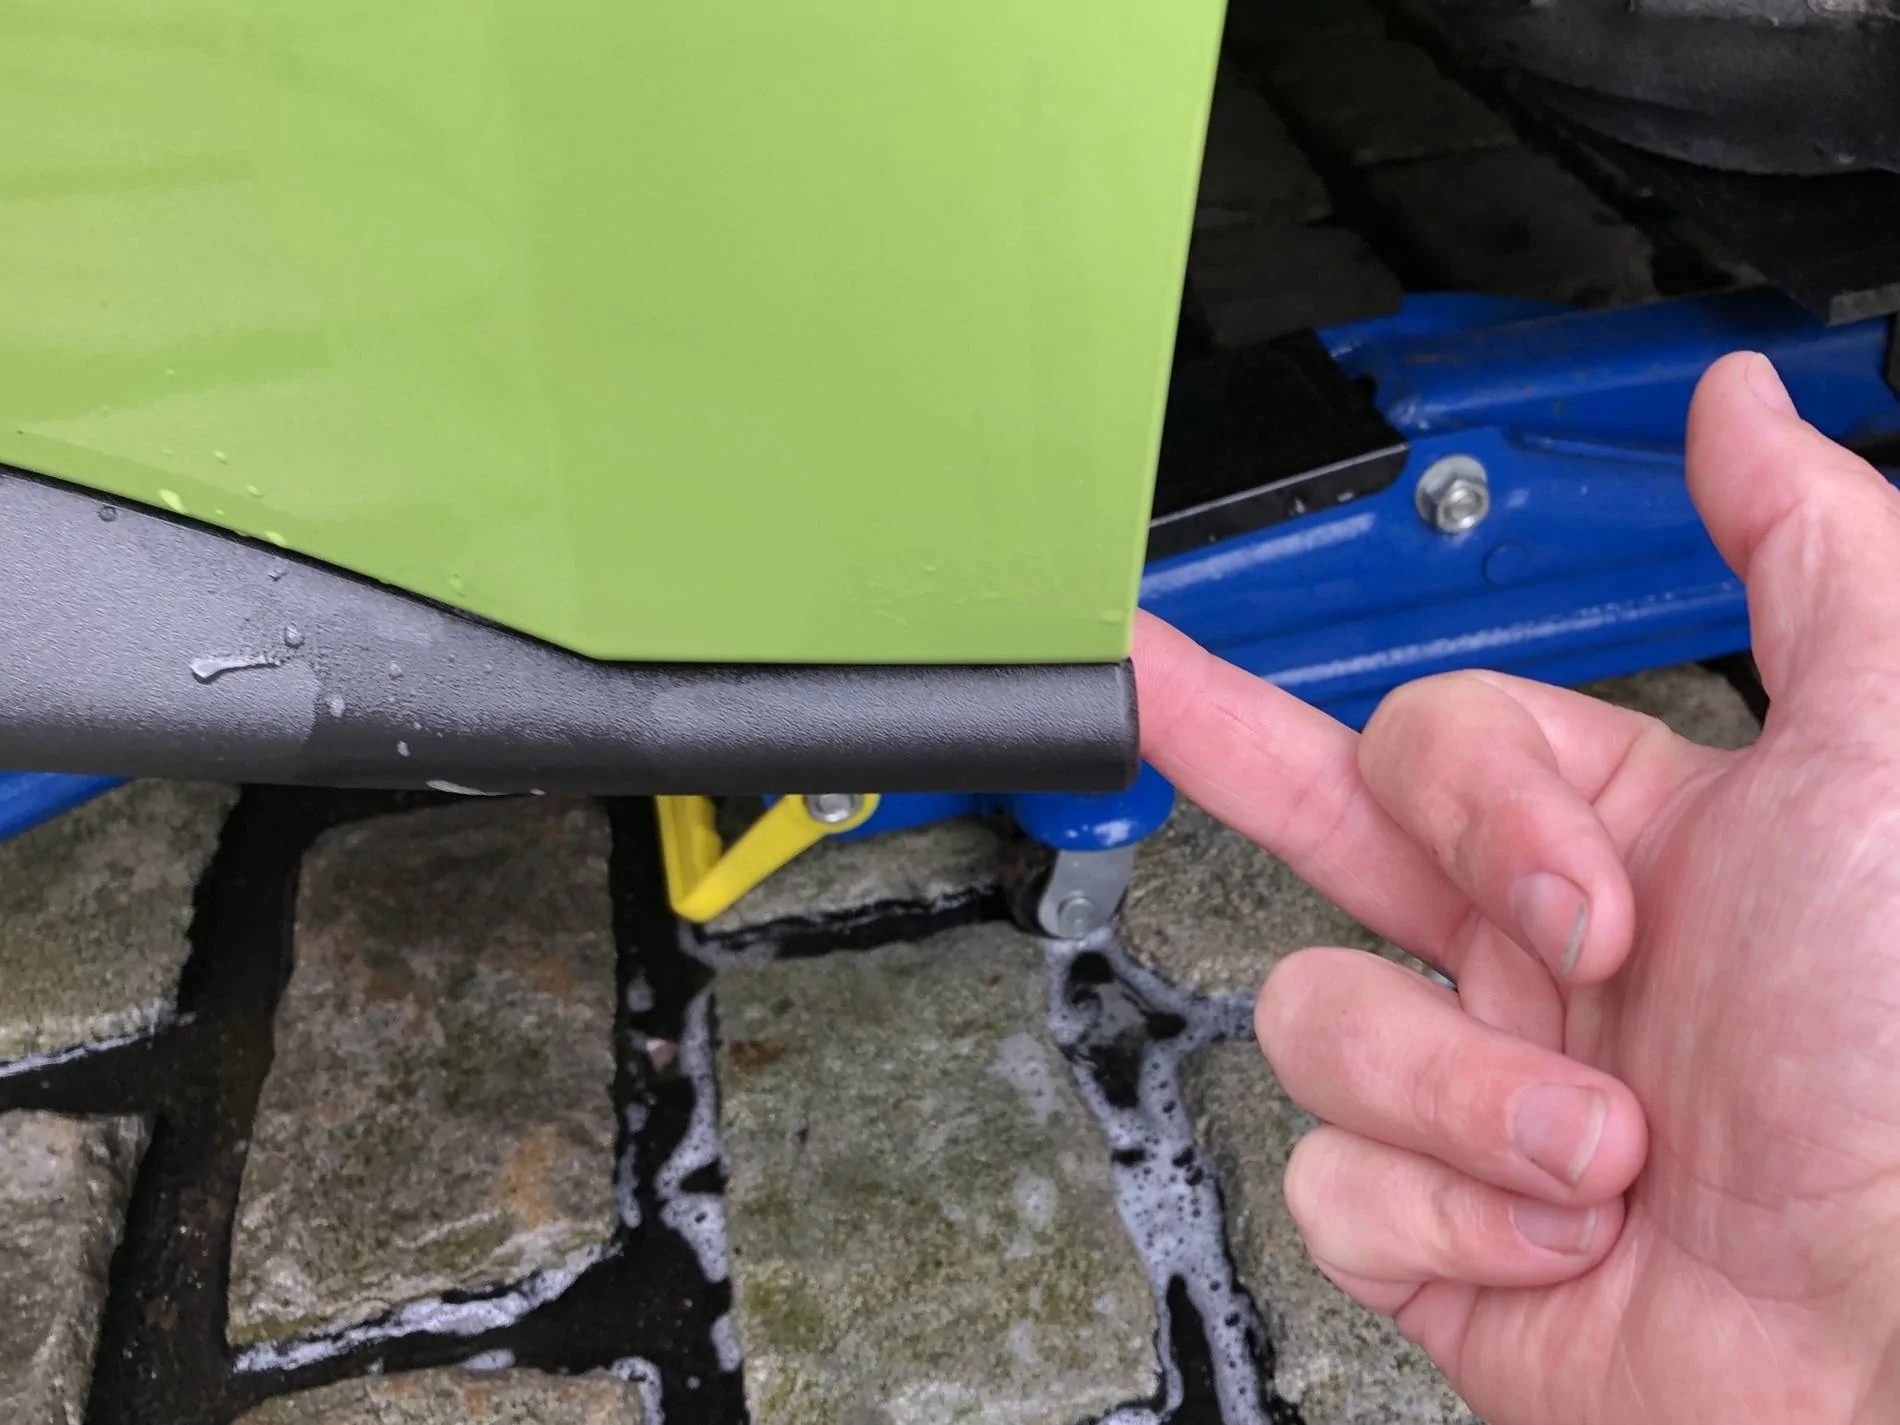
) but it did the job :like:

About three hours went into that wheel but at least it’s got a shiny barrel now rather than the dull patchy look it had previously - and I’m glad Ford only chose to under seal the back wheels (they leave the front ones much cleaner).

Cut some silicone nut caps down to hide the lockers a bit :

B091-AC9-A-B511-49-E8-9-CAD-33-BA76-ECE72-C.jpg


17-D1681-C-1-BCD-4-B68-A194-2-E00-BEA15403.jpg


Took the chrome pony out in preparation for a colour change :

7709-C7-A4-5-D4-D-477-F-84-B8-8580942-CA939.jpg


Now I just have to motivate myself for round two - AKA the other side …

WD :like:
 

s1ms

Well-Known Member
Joined
Apr 9, 2019
Threads
11
Messages
130
Reaction score
86
Location
Oxfordshire
First Name
Simon
Vehicle(s)
2019 Mustang GT
Love it. The build quality of your car will soon reach the level of German cars. Keep on doing it. I was also thinking that you should start offering these improvements to us all. We'll bring biscuits :D haha
 
OP
OP
WD Pro

WD Pro

Well-Known Member
Joined
Jan 18, 2018
Threads
121
Messages
5,717
Reaction score
11,030
Location
United Kingdom
Vehicle(s)
Lime GT
Vehicle Showcase
1
Love it. The build quality of your car will soon reach the level of German cars. Keep on doing it. I was also thinking that you should start offering these improvements to us all. We'll bring biscuits :D haha
Thanks for the comment :like: but I’m not sure on the bit about German build quality … lol

If we use a new house as the example, I’m not doing anything with the bricks and mortar, I’m simply doing a bit of painting and decorating whilst working through the snagging list :wink:

The seat I removed to repair the transport damage – it’s now mounted better than Ford managed (i.e. it doesn’t squeak), but it’s still Fords seat bolted into a Ford built car :like:

Similar with the realignment of things, this was the other side rear valance (finger provided purely to provide a bit of contrast to highlight the gap lol) :

3306-B3-BD-B22-C-46-F6-8-C72-2-C4-E2-B53-F471.jpg


And after 60 seconds with a 7mm socket :

A45-C5517-A488-4747-934-B-E47-E5-CA569-AC.jpg


It now fits as intended, but it’s still Ford’s parts :like:

Pulled my finger out and got the other side done. About a third of the spokes also had the under seal overspray (that’s a lot of overspray when you consider the spoke count on a PP1 wheel … :shock:) and that doesn’t include the light dusting that was pretty much all over the rest of it but the camera doesn’t capture :

E8-F3961-B-CABC-4155-930-E-FDA5-A8-B6-C741.jpg


I am really glad this was a ‘one off’ job and not a maintenance job that will need repeating ... :headbang: :angry:

I should have mentioned that the wheels final prep was the Turtle Wax ceramic polish – seemed to be a good final step considering I just can’t put any more time into the wheels at the moment, it’s a mild cleaner polish that leaves a deep finish and some ceramic protection.

I also got to try out some tools I bought specifically for the Mustang :

E36-FE60-C-0-D2-F-4-AE4-8555-25956161699-B.jpg


Breaker bar to cope with the high nut torque, nice socket so I don’t mark the finish on the black nuts and the other things are the ‘reverse logic’ wheel changing studs to help with heavy wheels and big brakes. I was surprised how much easier these items made wheel removal / replacement :

896-A96-B7-FC88-46-DC-8675-F315-D2-DB40-EA.jpg


41-A4-A3-DB-C937-43-BC-AA0-F-E969-A9-C55-F1-D.jpg


Interestingly the nut torque as supplied from Ford was considerably lower than I expected (and lower than a nut I correctly torqued as a sanity check).

Really happy with the splash guards, they blend in and suit the car really well :

22-D7-EAC6-5-F7-F-418-C-BD71-2-EFC1-E7068-CB.jpg


I kind of wish ford did something like them and offered it as an extra, especially for the front :frown:

The McGard nuts seem really nice quality :like: Is it wrong to line up the valve, badge and the position of the locking wheel nut … ?

78329-AFF-30-A1-4-C5-A-919-D-E9-C0-FDEC430-C.jpg


And more importantly, how will I cope when I do the front wheels as they have the offset valve … :facepalm: :giggle: :cwl:

WD :like:
 

Kristian87

Super Moderator
Moderator
Joined
Mar 3, 2015
Threads
85
Messages
3,822
Reaction score
3,056
Location
Newbury, UK
Vehicle(s)
Mustang GT
Ooh the ceramic on those wheels :inlove:

Mine will have their first clean at the weekend since being refurbished, I won't be taking them off though. I do have some wheel sealant that I may apply to the front faces. What did you use to apply the polish?
 

Sponsored

OP
OP
WD Pro

WD Pro

Well-Known Member
Joined
Jan 18, 2018
Threads
121
Messages
5,717
Reaction score
11,030
Location
United Kingdom
Vehicle(s)
Lime GT
Vehicle Showcase
1
I’m not sure Turtle Wax ceramic is true ceramic, at least not compared to the stuff some guys use … lol

Nothing fancy equipment wise (I haven’t got a polisher small enough to be worthwhile on a PP1 wheel), all done by hand using standard Microfibres. They look way better than they did (even taking the overspray out of the equation), but they are not perfect. I had kind of hit that ‘time v results’ break even point :like:

I am considering that turtle wax ceramic specifically for black stuff, it’s got fillers and black dies in it but I don’t necessarily think that’s a bad thing, especially on a wheel.

I got a great deal on the turtle wax stuff, it was reduced at Halfords and they sent me £5 off a click and collect order with no minimum value. For less than £10 I’m very impressed ! :like:

WD :like:
 

Alfa Male

Well-Known Member
Joined
Mar 2, 2018
Threads
31
Messages
583
Reaction score
436
Location
Worcestershire Sauce Country
Vehicle(s)
Alfa Giulia
Really happy with the splash guards, they blend in and suit the car really well :

I kind of wish ford did something like them and offered it as an extra, especially for the front :frown:

WD :like:
The rear splash guards look great. Re the front guard I’ve got the ZL1 Addons Delux Rock Guards which are really good quality

Link to pro

https://nemesisuk.com/products/zl1-addons-mud-lux-mus6g-f-r-mustang-2015-20

Couple of old pics for reference of them fitted on mine

B3344F5F-DCA5-46FF-B45C-407114C83974.jpeg
CC8E25D3-CB13-4A17-B0FD-C9D2FAA58566.jpeg


I didn’t fit the rear guards though as they were a little too wide for my liking. The ones you have fitted look much nicer and balanced so may opt for these instead
 

raptor17GT

Well-Known Member
Joined
Aug 9, 2019
Threads
20
Messages
1,622
Reaction score
1,267
Location
Scotland
Vehicle(s)
Mustang GT Manual 2017
Thanks for the comment :like: but I’m not sure on the bit about German build quality … lol

If we use a new house as the example, I’m not doing anything with the bricks and mortar, I’m simply doing a bit of painting and decorating whilst working through the snagging list :wink:

The seat I removed to repair the transport damage – it’s now mounted better than Ford managed (i.e. it doesn’t squeak), but it’s still Fords seat bolted into a Ford built car :like:

Similar with the realignment of things, this was the other side rear valance (finger provided purely to provide a bit of contrast to highlight the gap lol) :

3306-B3-BD-B22-C-46-F6-8-C72-2-C4-E2-B53-F471.jpg


And after 60 seconds with a 7mm socket :

A45-C5517-A488-4747-934-B-E47-E5-CA569-AC.jpg


It now fits as intended, but it’s still Ford’s parts :like:

Pulled my finger out and got the other side done. About a third of the spokes also had the under seal overspray (that’s a lot of overspray when you consider the spoke count on a PP1 wheel … :shock:) and that doesn’t include the light dusting that was pretty much all over the rest of it but the camera doesn’t capture :

E8-F3961-B-CABC-4155-930-E-FDA5-A8-B6-C741.jpg


I am really glad this was a ‘one off’ job and not a maintenance job that will need repeating ... :headbang: :angry:

I should have mentioned that the wheels final prep was the Turtle Wax ceramic polish – seemed to be a good final step considering I just can’t put any more time into the wheels at the moment, it’s a mild cleaner polish that leaves a deep finish and some ceramic protection.

I also got to try out some tools I bought specifically for the Mustang :

E36-FE60-C-0-D2-F-4-AE4-8555-25956161699-B.jpg


Breaker bar to cope with the high nut torque, nice socket so I don’t mark the finish on the black nuts and the other things are the ‘reverse logic’ wheel changing studs to help with heavy wheels and big brakes. I was surprised how much easier these items made wheel removal / replacement :

896-A96-B7-FC88-46-DC-8675-F315-D2-DB40-EA.jpg


41-A4-A3-DB-C937-43-BC-AA0-F-E969-A9-C55-F1-D.jpg


Interestingly the nut torque as supplied from Ford was considerably lower than I expected (and lower than a nut I correctly torqued as a sanity check).

Really happy with the splash guards, they blend in and suit the car really well :

22-D7-EAC6-5-F7-F-418-C-BD71-2-EFC1-E7068-CB.jpg


I kind of wish ford did something like them and offered it as an extra, especially for the front :frown:

The McGard nuts seem really nice quality :like: Is it wrong to line up the valve, badge and the position of the locking wheel nut … ?

78329-AFF-30-A1-4-C5-A-919-D-E9-C0-FDEC430-C.jpg


And more importantly, how will I cope when I do the front wheels as they have the offset valve … :facepalm: :giggle: :cwl:

WD :like:
yeah i think i might be ordering a couple of the ‘reverse logic’ wheel changing studs you talk about. Look a really neat idea, US company only for ordering as I cannot see anywhere else selling them UK based. Oh well
 

PKs

PK's
Joined
Aug 20, 2016
Threads
23
Messages
1,249
Reaction score
1,480
Location
Gold Coast, Australia
First Name
Peter
Vehicle(s)
2018 GT Fastback
yeah i think i might be ordering a couple of the ‘reverse logic’ wheel changing studs you talk about. Look a really neat idea, US company only for ordering as I cannot see anywhere else selling them UK based. Oh well
I have the Reverse Logic brand bought in Australia but I recently saw another brand of the same thing on the US forum that may be easier to get in UK. I remember there was a youtube of a tarted up "muscular" woman demonstrating their use. Sorry that's all I have.
 

Sponsored

raptor17GT

Well-Known Member
Joined
Aug 9, 2019
Threads
20
Messages
1,622
Reaction score
1,267
Location
Scotland
Vehicle(s)
Mustang GT Manual 2017
I have the Reverse Logic brand bought in Australia but I recently saw another brand of the same thing on the US forum that may be easier to get in UK. I remember there was a youtube of a tarted up "muscular" woman demonstrating their use. Sorry that's all I have.
haha I remember the video, think it was for gt350/500 caliper bolts but yes i'm sure she did a video for wheel removal as well. I shall go looking, purely for the parts of course
 
OP
OP
WD Pro

WD Pro

Well-Known Member
Joined
Jan 18, 2018
Threads
121
Messages
5,717
Reaction score
11,030
Location
United Kingdom
Vehicle(s)
Lime GT
Vehicle Showcase
1
Might have to take a look at those MP splash guards, the stock ones are gravel traps :like:
Yes the OE are hollow on the section that wraps the edge and some of the gravel that was stuck behind them was bigger that the gap to get in there in the first place ? !

I think the stock ones left in position for a long time might start to mark the paint on the edge - could be a problem for a mid life removal ?

yeah i think i might be ordering a couple of the ‘reverse logic’ wheel changing studs you talk about. Look a really neat idea, US company only for ordering as I cannot see anywhere else selling them UK based. Oh well
I have the Reverse Logic brand bought in Australia but I recently saw another brand of the same thing on the US forum that may be easier to get in UK. I remember there was a youtube of a tarted up "muscular" woman demonstrating their use. Sorry that's all I have.
haha I remember the video, think it was for gt350/500 caliper bolts but yes i'm sure she did a video for wheel removal as well. I shall go looking, purely for the parts of course
Mine came really quick from the states so don’t worry about shopping over there, mine also dodged any extra fees :like:

There not something I would have bought for myself, I like to gather stuff like that up and then spend Christmas / birthday money on things like that :like:

I was surprised how they helped, they bring the struggle closer to your body and away from the brake, and those rear PP1’s are heavy … !

I think the other ones were ‘calliperflexion’ :like:

WD :like:
 
  • Like
Reactions: PKs

mhdgsn

Member
Joined
Jul 1, 2021
Threads
1
Messages
16
Reaction score
26
Location
Sussex, UK
First Name
Mike
Vehicle(s)
'20 Magnetic Mustang GT
MP concepts splash guards compared to the OE Ford version (in approximately correct position) :

1-AA8-FED9-0-A55-4-C74-8501-3167-F28-E98-A7.jpg


This is behind the fender liner :

621-FBB24-3-F6-A-4-AE7-8-E9-E-2-F2-BF2-C74908.jpg


Standard splash guard mounting :

66-AC4-DBA-B96-E-454-D-9073-DA231-E792918.jpg


Two screws, a location pin and some tape :

16129-FCB-1-D01-4734-B1-FF-BE1-DBF3-C316-C.jpg


I removed the metal clips as they are no longer used and it seems pointless to leave them there just to attract rust.

If you want to retain all the fender liner mountings, the MP Concepts guard needs an extra 8mm hole :

87-FABEAD-6-B76-4615-8-FF3-BC7-E0-F30609-A.jpg


I might have gone a little overboard with the VHB … :giggle:

3751-E9-AC-E5-B5-44-BC-AE99-D5-F6763568-B5.jpg


Mounted :

D577-E7-B1-3-AE2-41-A9-A43-D-3-C9143-D5-F5-D6.jpg


IMHO, they look much more OE when compared to any of the other aftermarket offerings :

908-D12-CA-7143-42-CB-8512-BCDDF6-DC04-A1.jpg


Whist not as big as the other aftermarket offerings, they are a similar design to the GT500, GT350 and Mach 1 pieces so they should offer some protection - at the very least they will stop the paint getting stripped from the painted bumper edge :like:
You prompted me to examine mine and apart from being full of grit, as you mentioned, I'm not even sure my passenger side one is attached with screws or bolts - it pivots - so might be only held on with the sticky tape you describe! How that feeble piece of plastic can serve any purpose as a splash guard is beyond me anyway.

So you've piqued my interest in these replacements - they maybe my first ever "mod" :cool: Can I ask where you sourced them? And also why the screw holes on them appear to be rectangular??

Cheers
M
 
OP
OP
WD Pro

WD Pro

Well-Known Member
Joined
Jan 18, 2018
Threads
121
Messages
5,717
Reaction score
11,030
Location
United Kingdom
Vehicle(s)
Lime GT
Vehicle Showcase
1
Hi,

The Ford items aren't really a splash guard - its part of some requirement that the tyre edge can't be seen when viewed from a certain angle, hence it strange position. A lot of cars have something similar, some are now moulded into the bumper.

The front edge of the Ford guard that you see is only located by 'hooking' itself around the edge of the bumper (which it doesn't do very well) and once it's only partially hooked, it will pivot inwards towards the centre of the car easily.

I got mine from here : https://www.american-horsepower.de/...t350-style-wheelhouse-winglets-15-21-all-2693

They are not the cheapest of things for what's essentially a bit of moulded plastic and they have gone up a little in cost since I bought mine, but they are a lot cheaper than a bumper respray when that edge gets chipped which is especially noticeable on the lighter colour cars (I spent some time at an American car show checking out that area on other mustangs) :frown:

The screw holes are slotted to provide a bit of vertical adjustment, but in reality the adjustment (on my car) was limited due to the upper and lower edges in the back of the bumper. If i could be picky, I would have liked MP to make the guards just a little lower and to mate with the black trim on the bottom of the bumper rather than finishing level with the painted part. They are a 100% reversible mod though so if a better option comes along in the future I still have the option to change them out.

Hope that helps and yeah, sorry for spending some of your money ... :giggle:

WD :like:
 
OP
OP
WD Pro

WD Pro

Well-Known Member
Joined
Jan 18, 2018
Threads
121
Messages
5,717
Reaction score
11,030
Location
United Kingdom
Vehicle(s)
Lime GT
Vehicle Showcase
1
I took these for another member but I might as well add them in here :like:

McGard nuts expose a small ring of silver on the PP1 wheels, 'if' your anal enough to get down and look down the bores :

22-B54-F63-1057-42-C9-966-A-6253-CAD03-C55.jpg


Note that the McGard's fully contact the taper in the wheel i.e. they clamp the same area as the standard nuts, but the cosmetic part of the bulge is a little smaller.

Quick fix :

8-F088-B9-B-05-F4-40-A1-8-ADA-B4-E7-FC24-C6-F6.jpg


34.5mm ID 3mm section EPDM o rings. I soaked them in 303 and they pop straight on gripping the diameter around the base of the nut :like:

WD :like:
Sponsored


Top