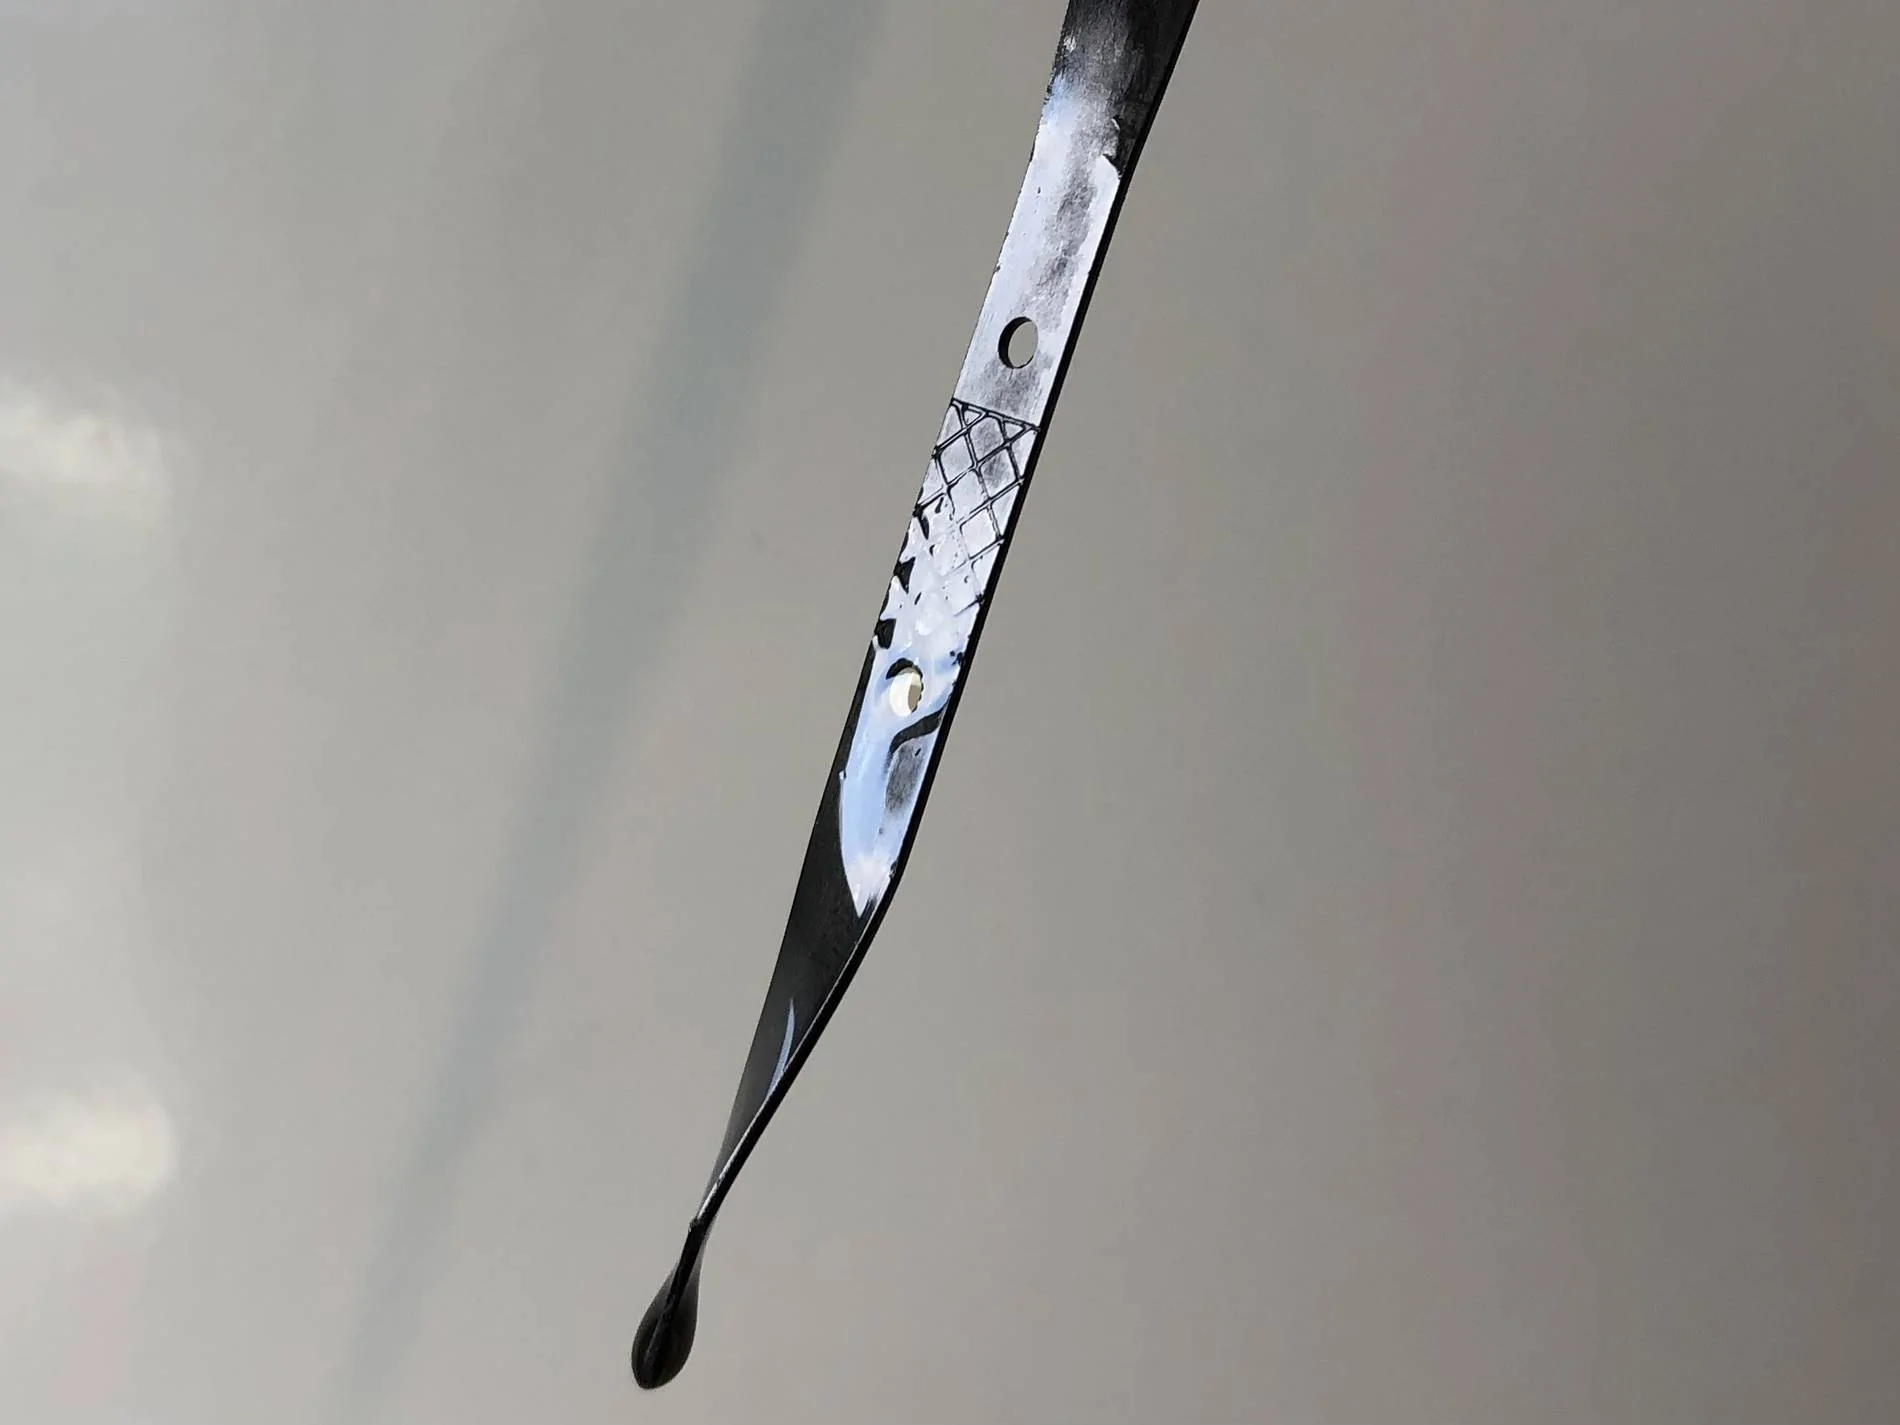
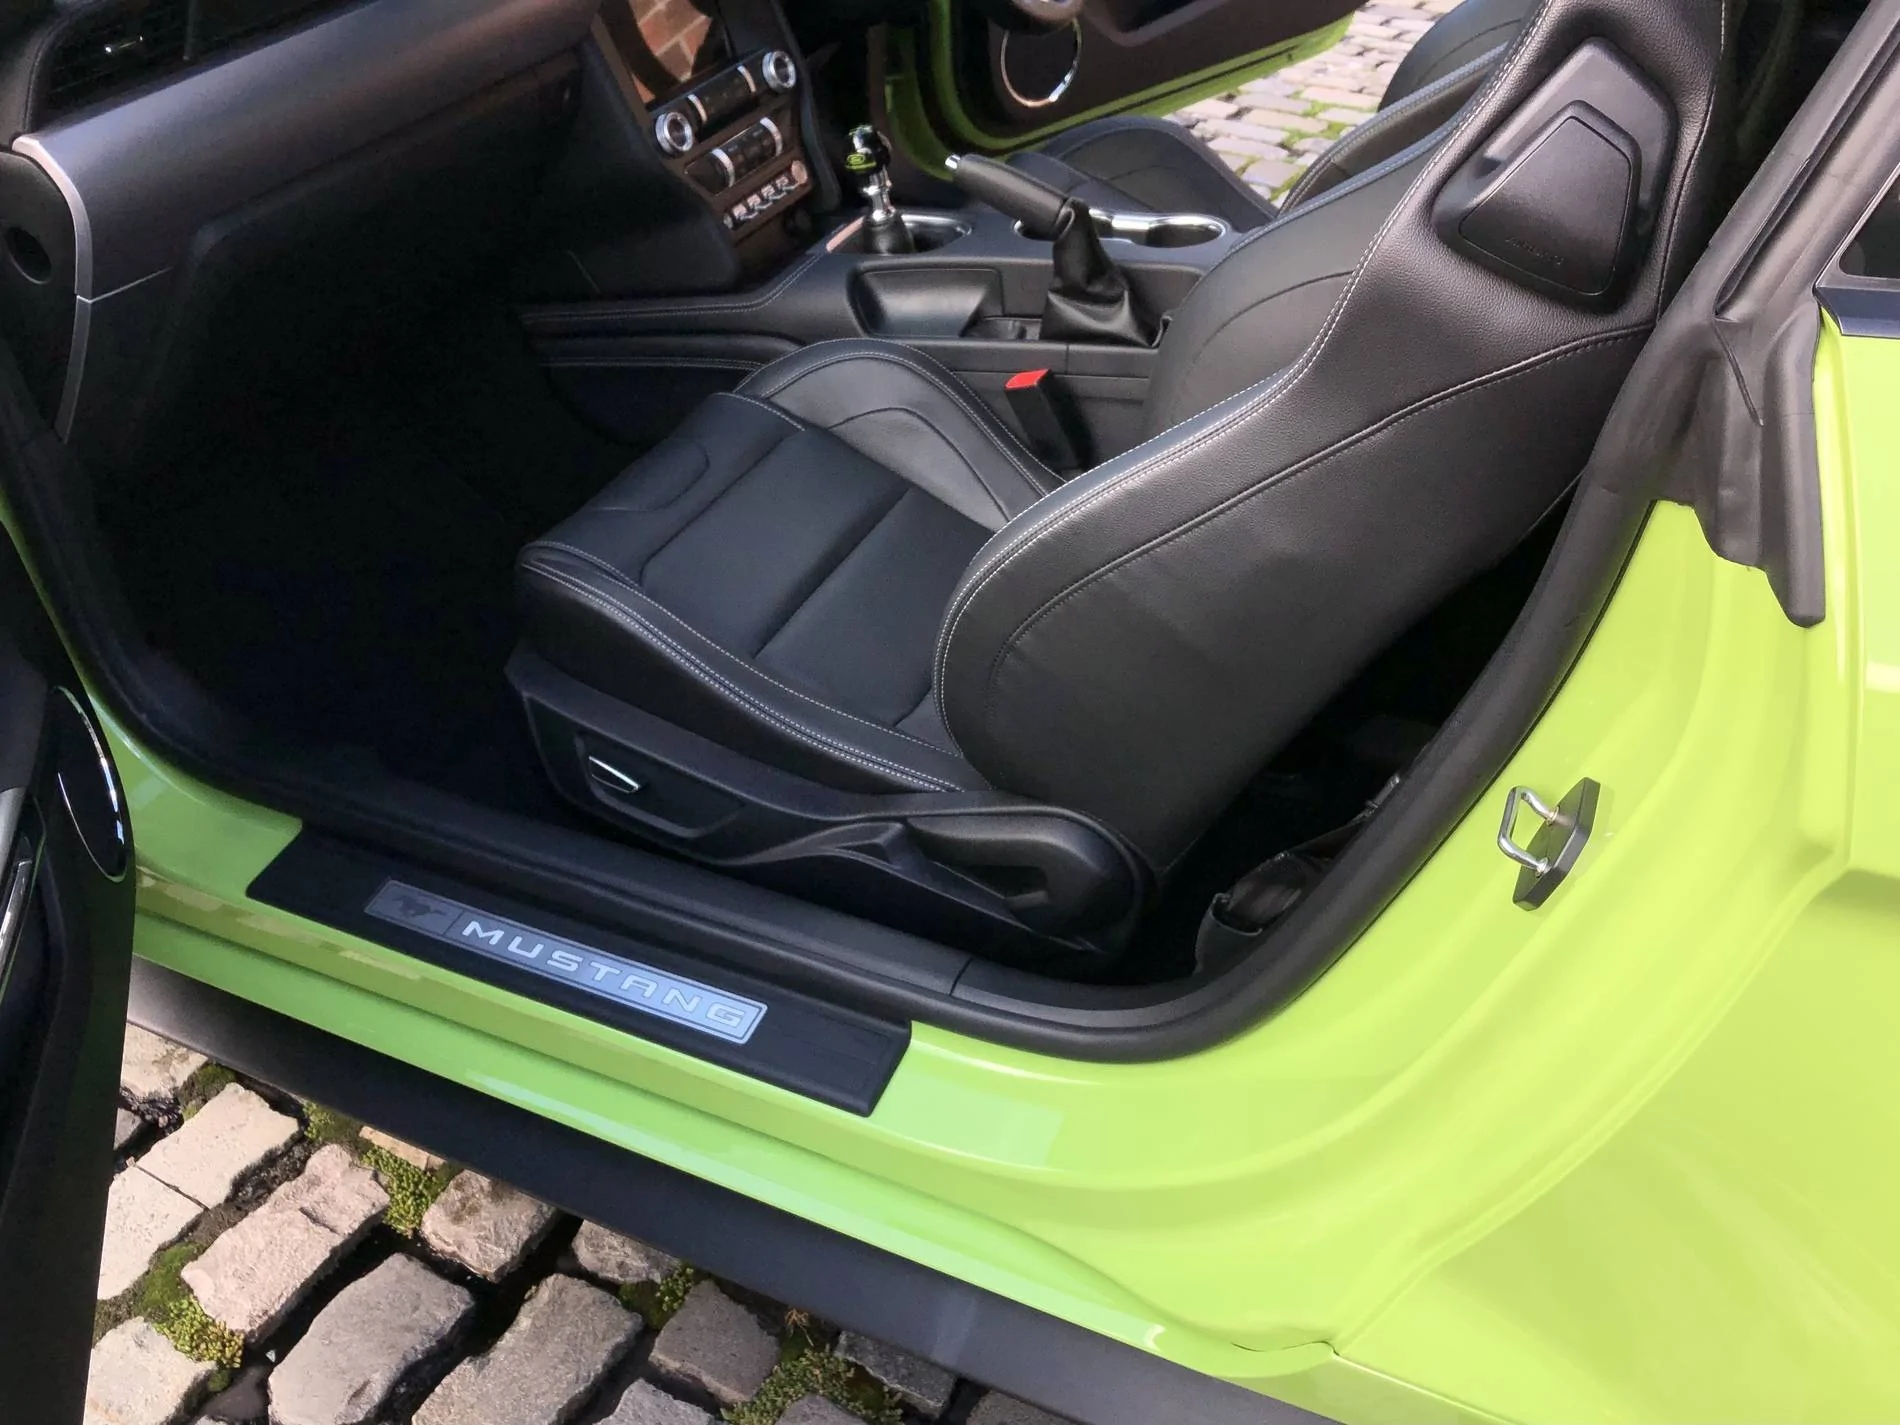
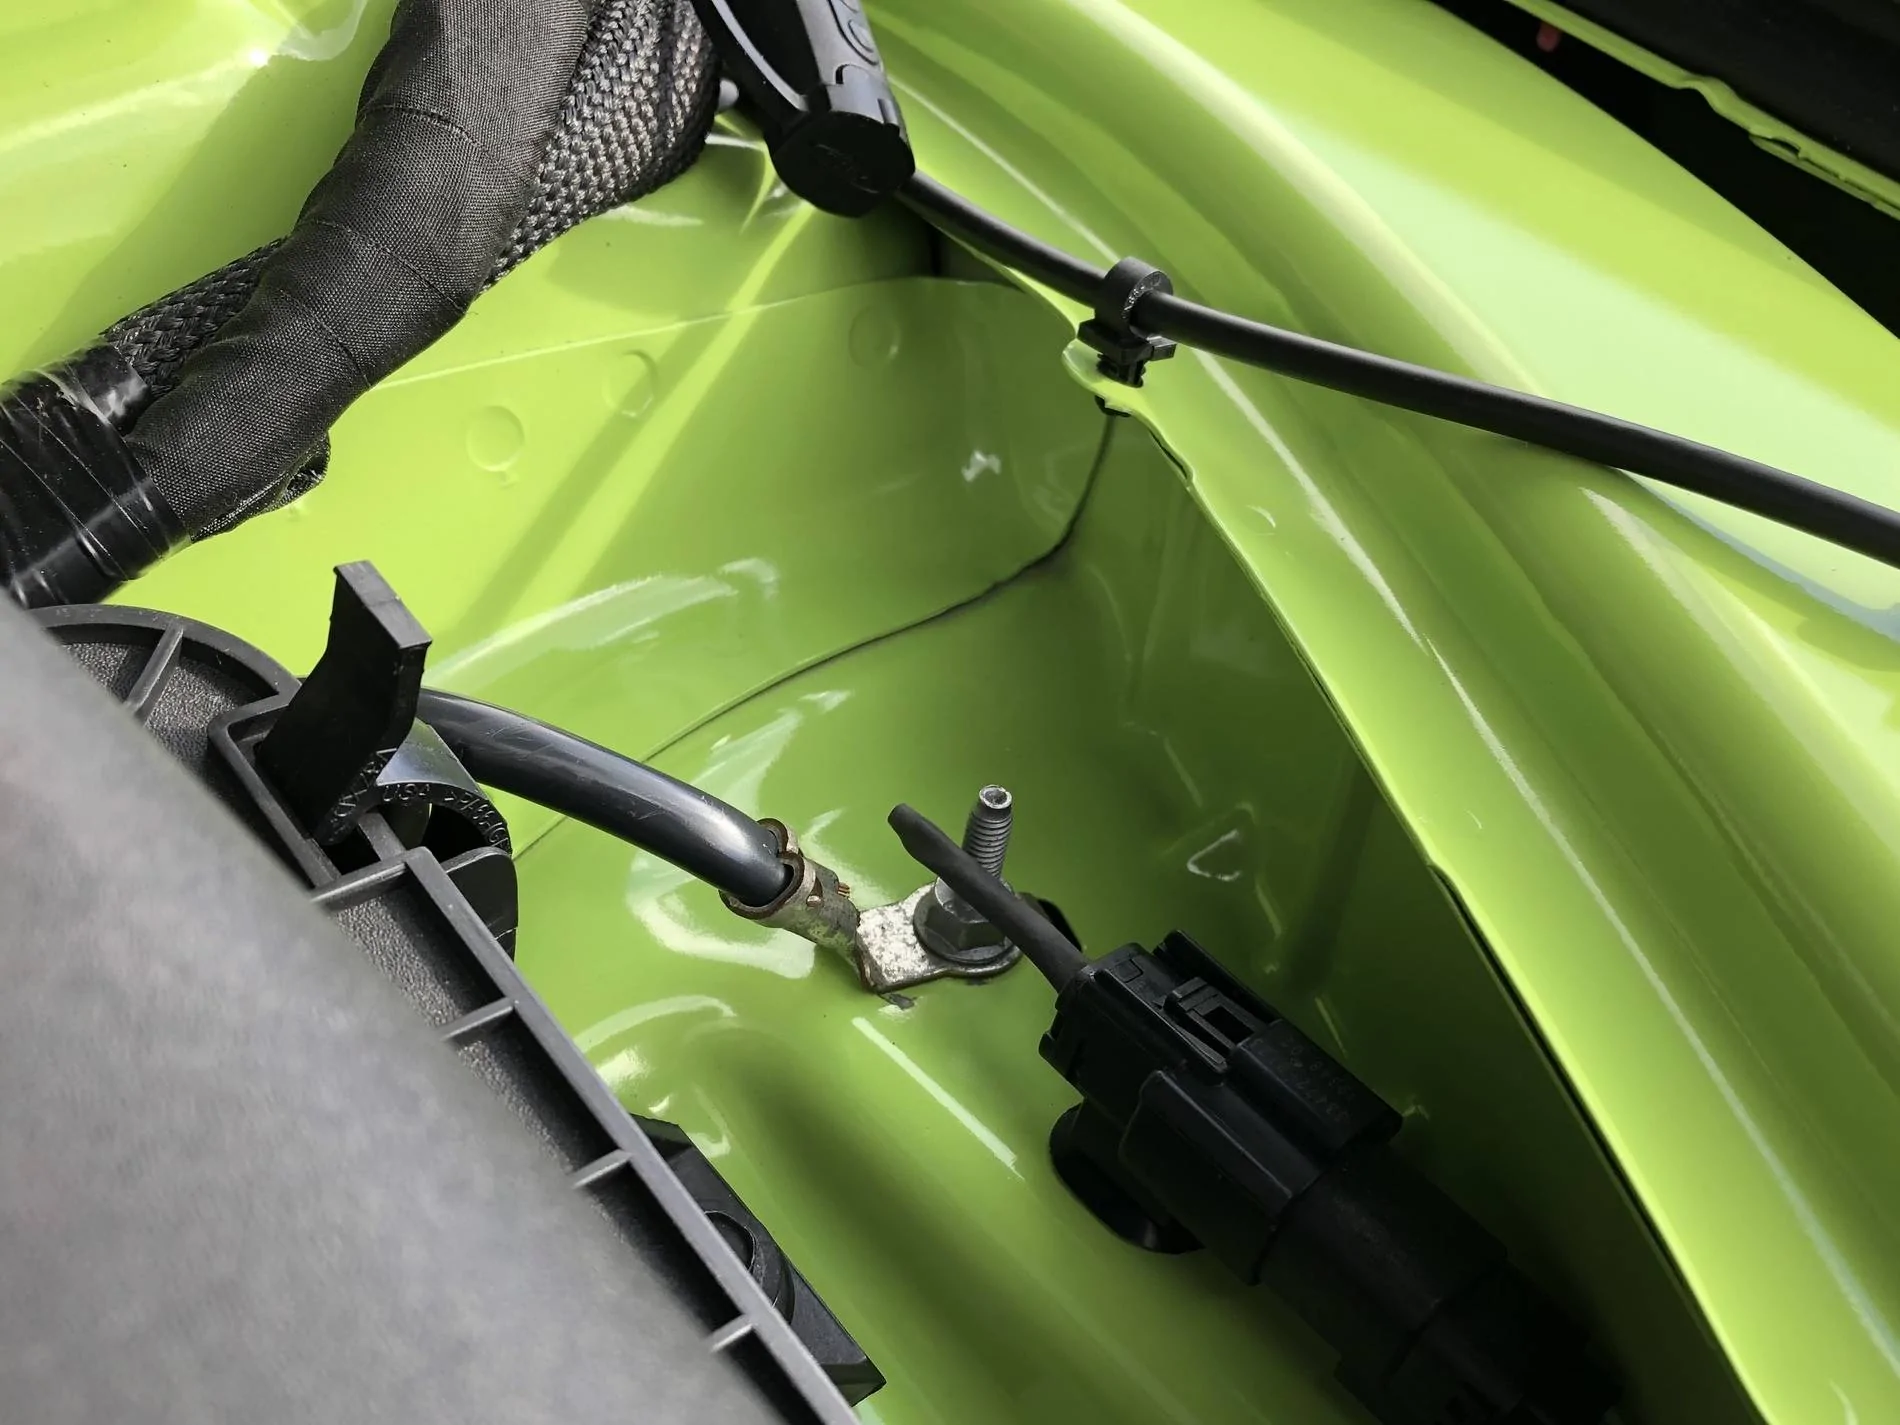
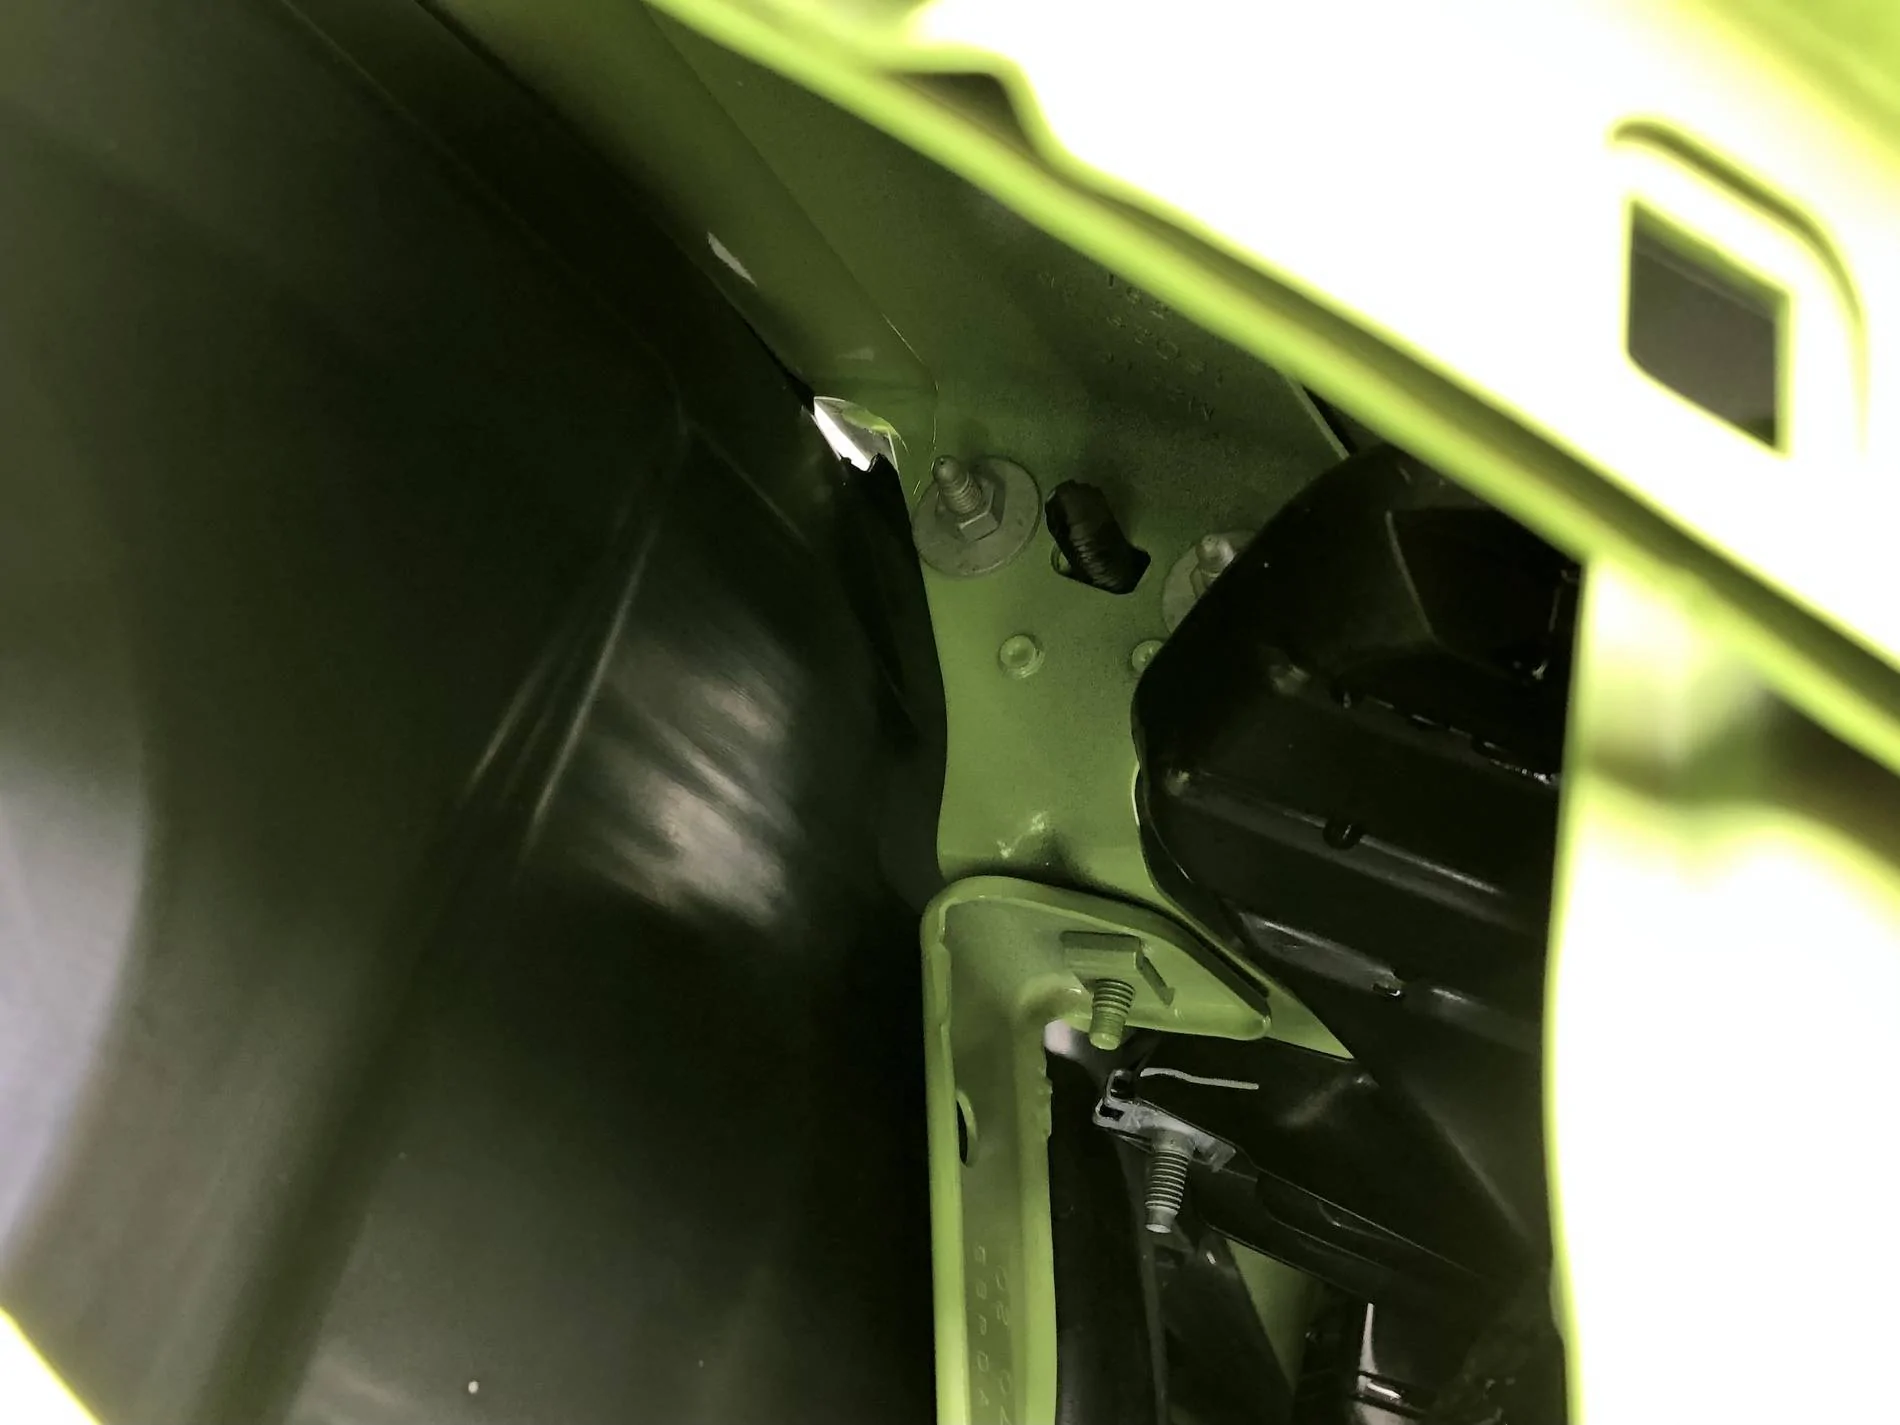
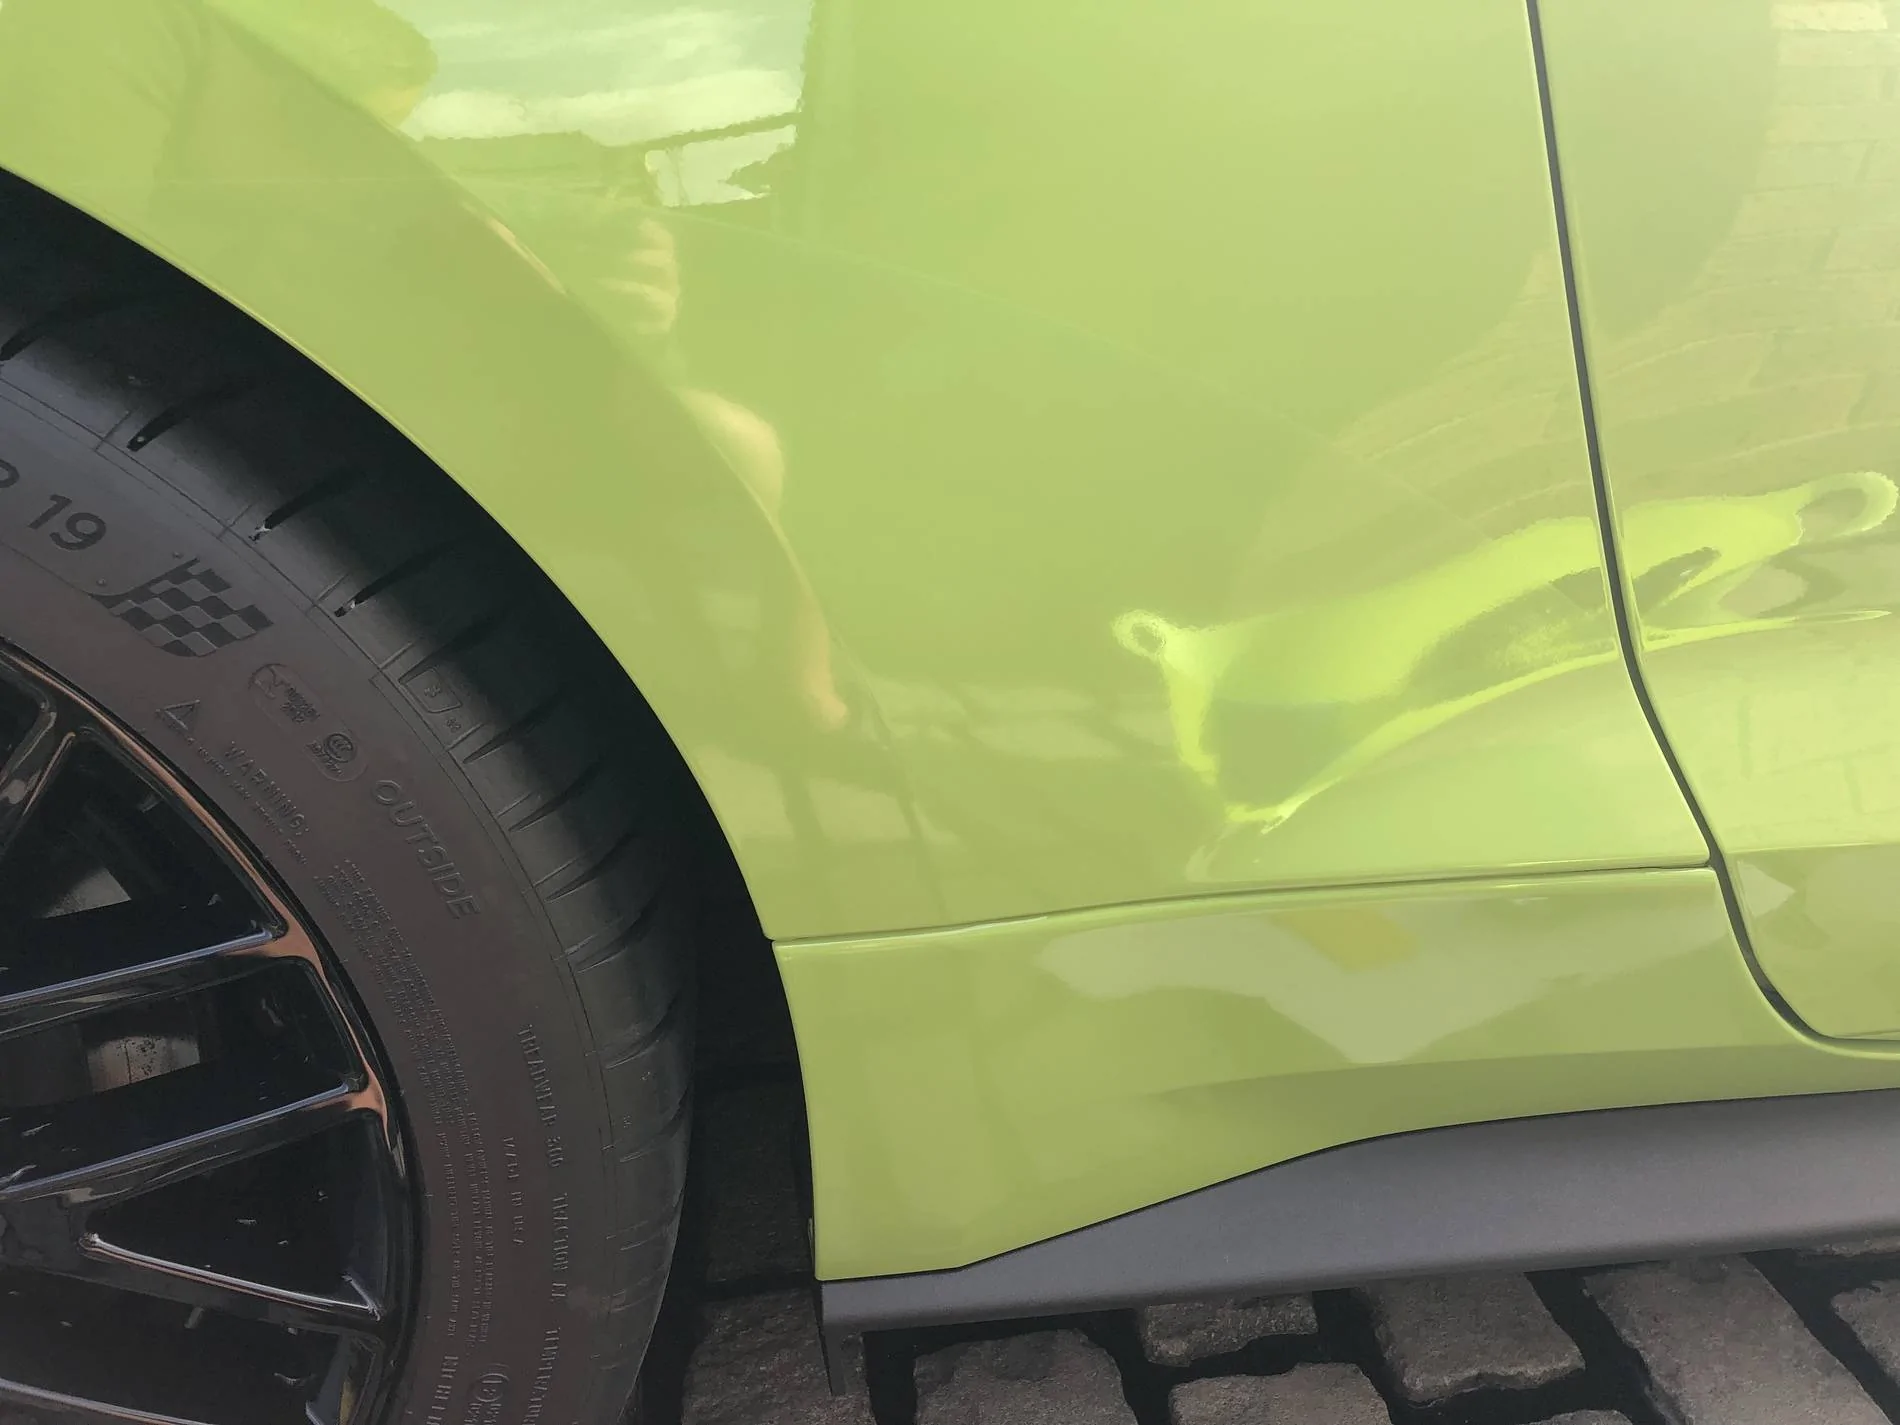
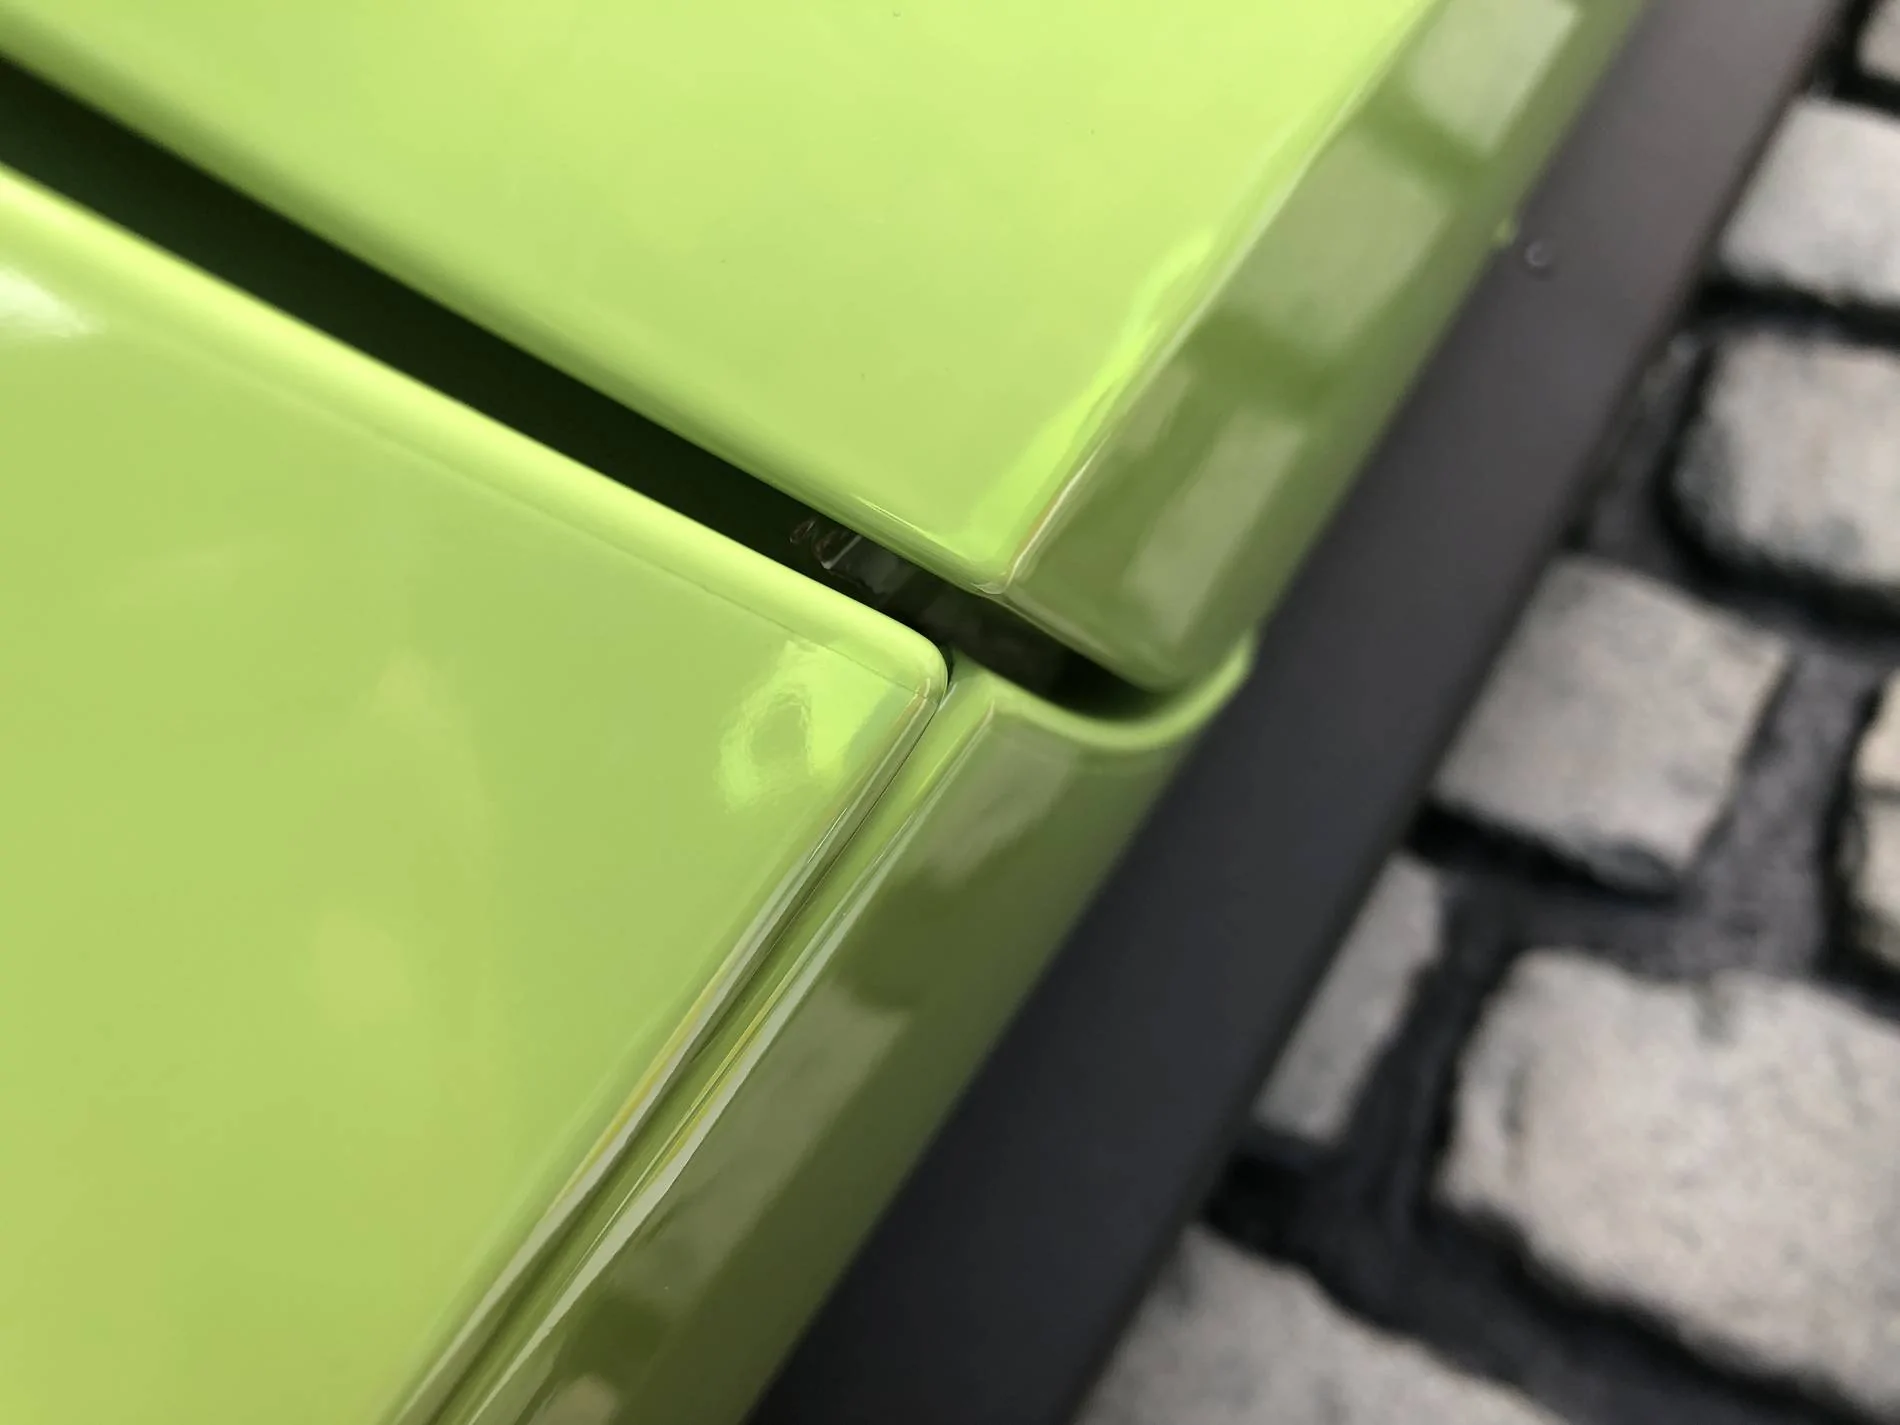
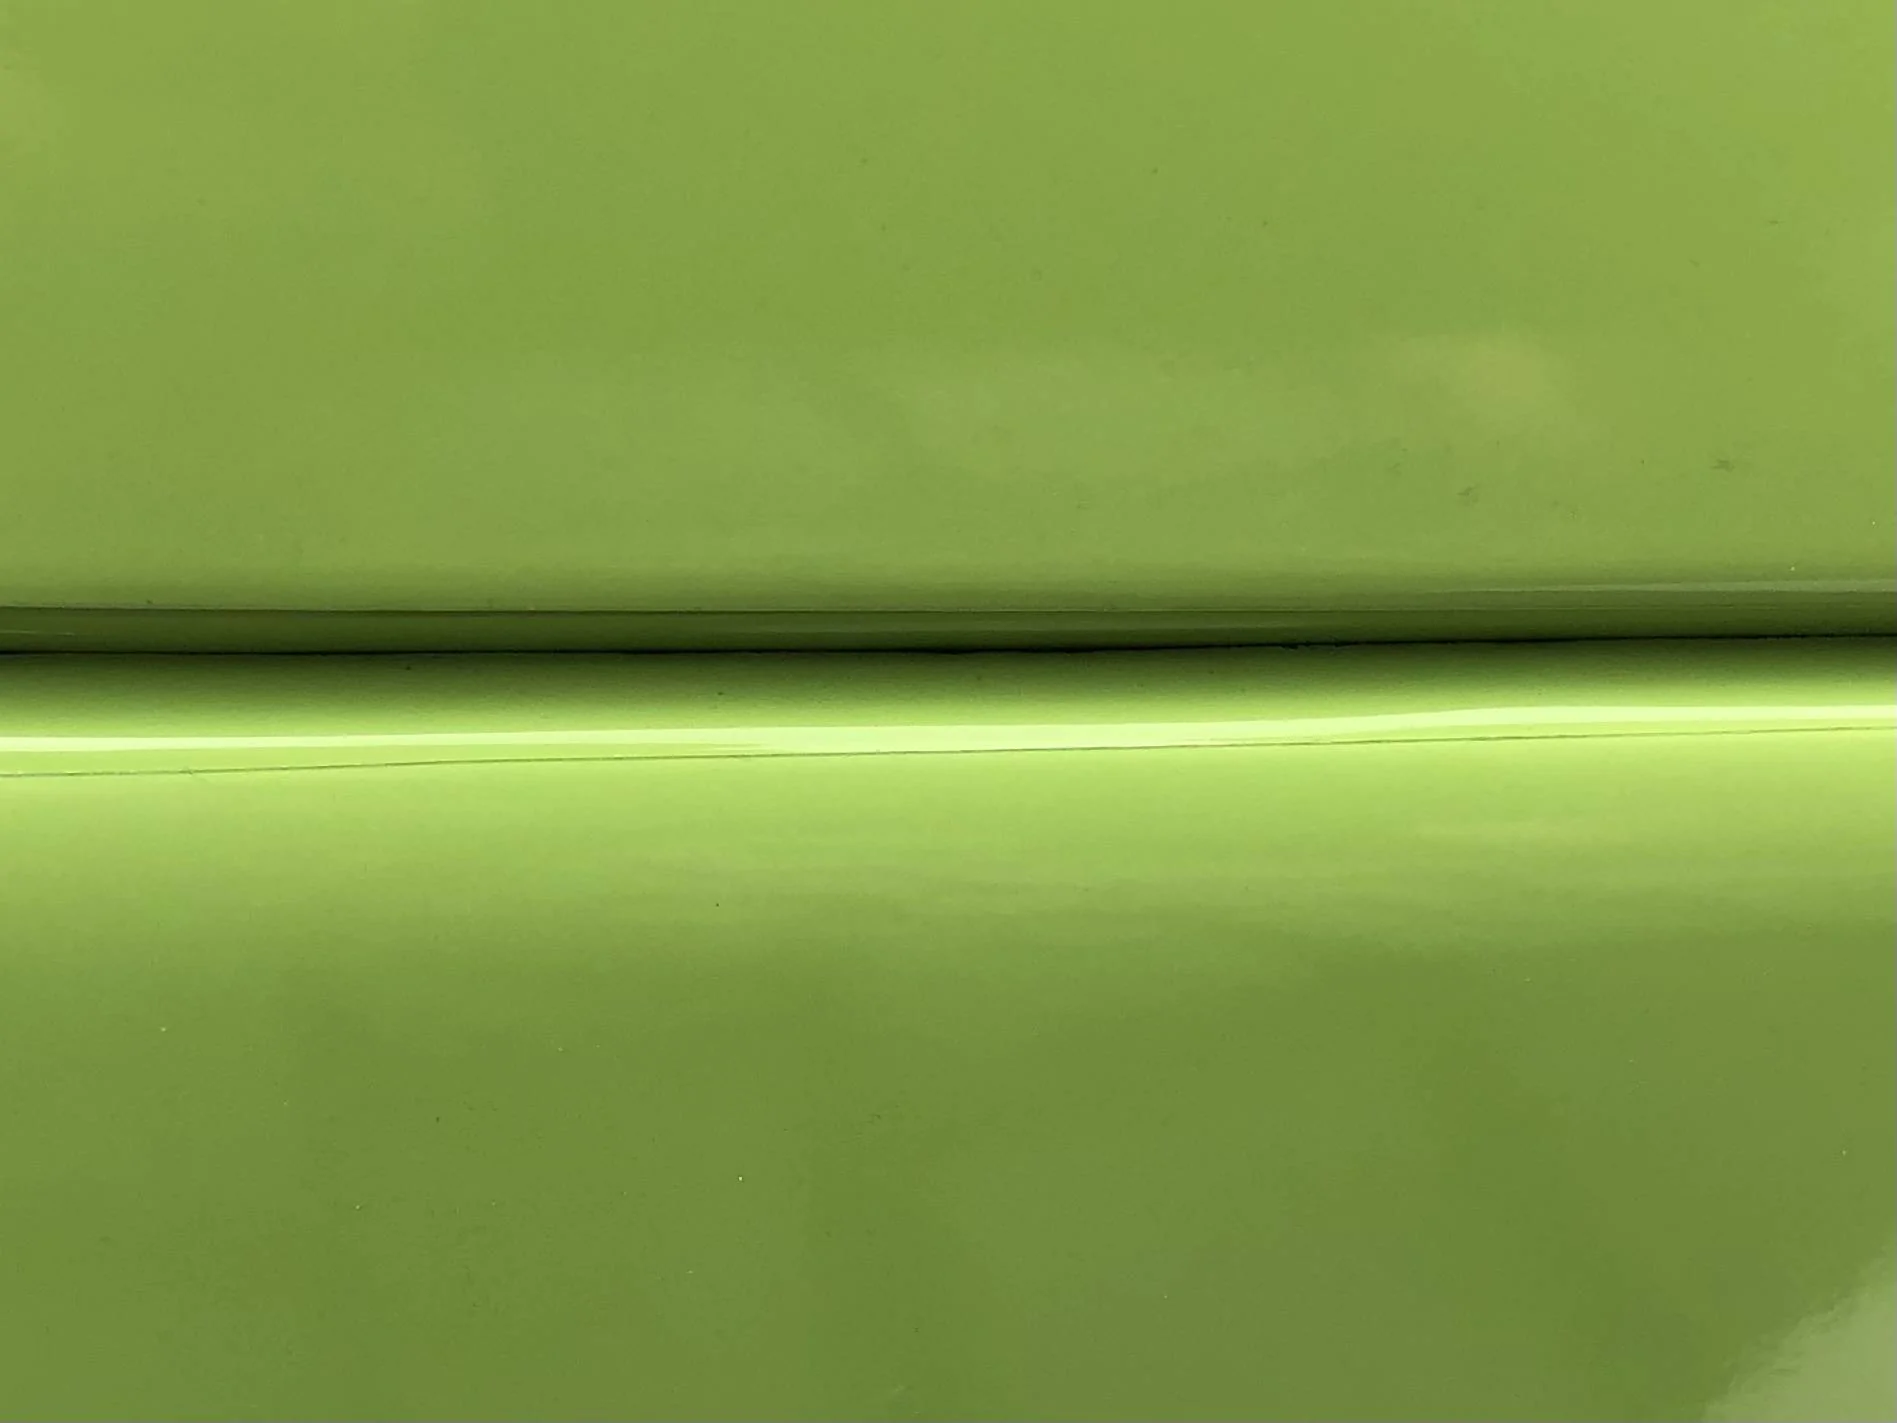
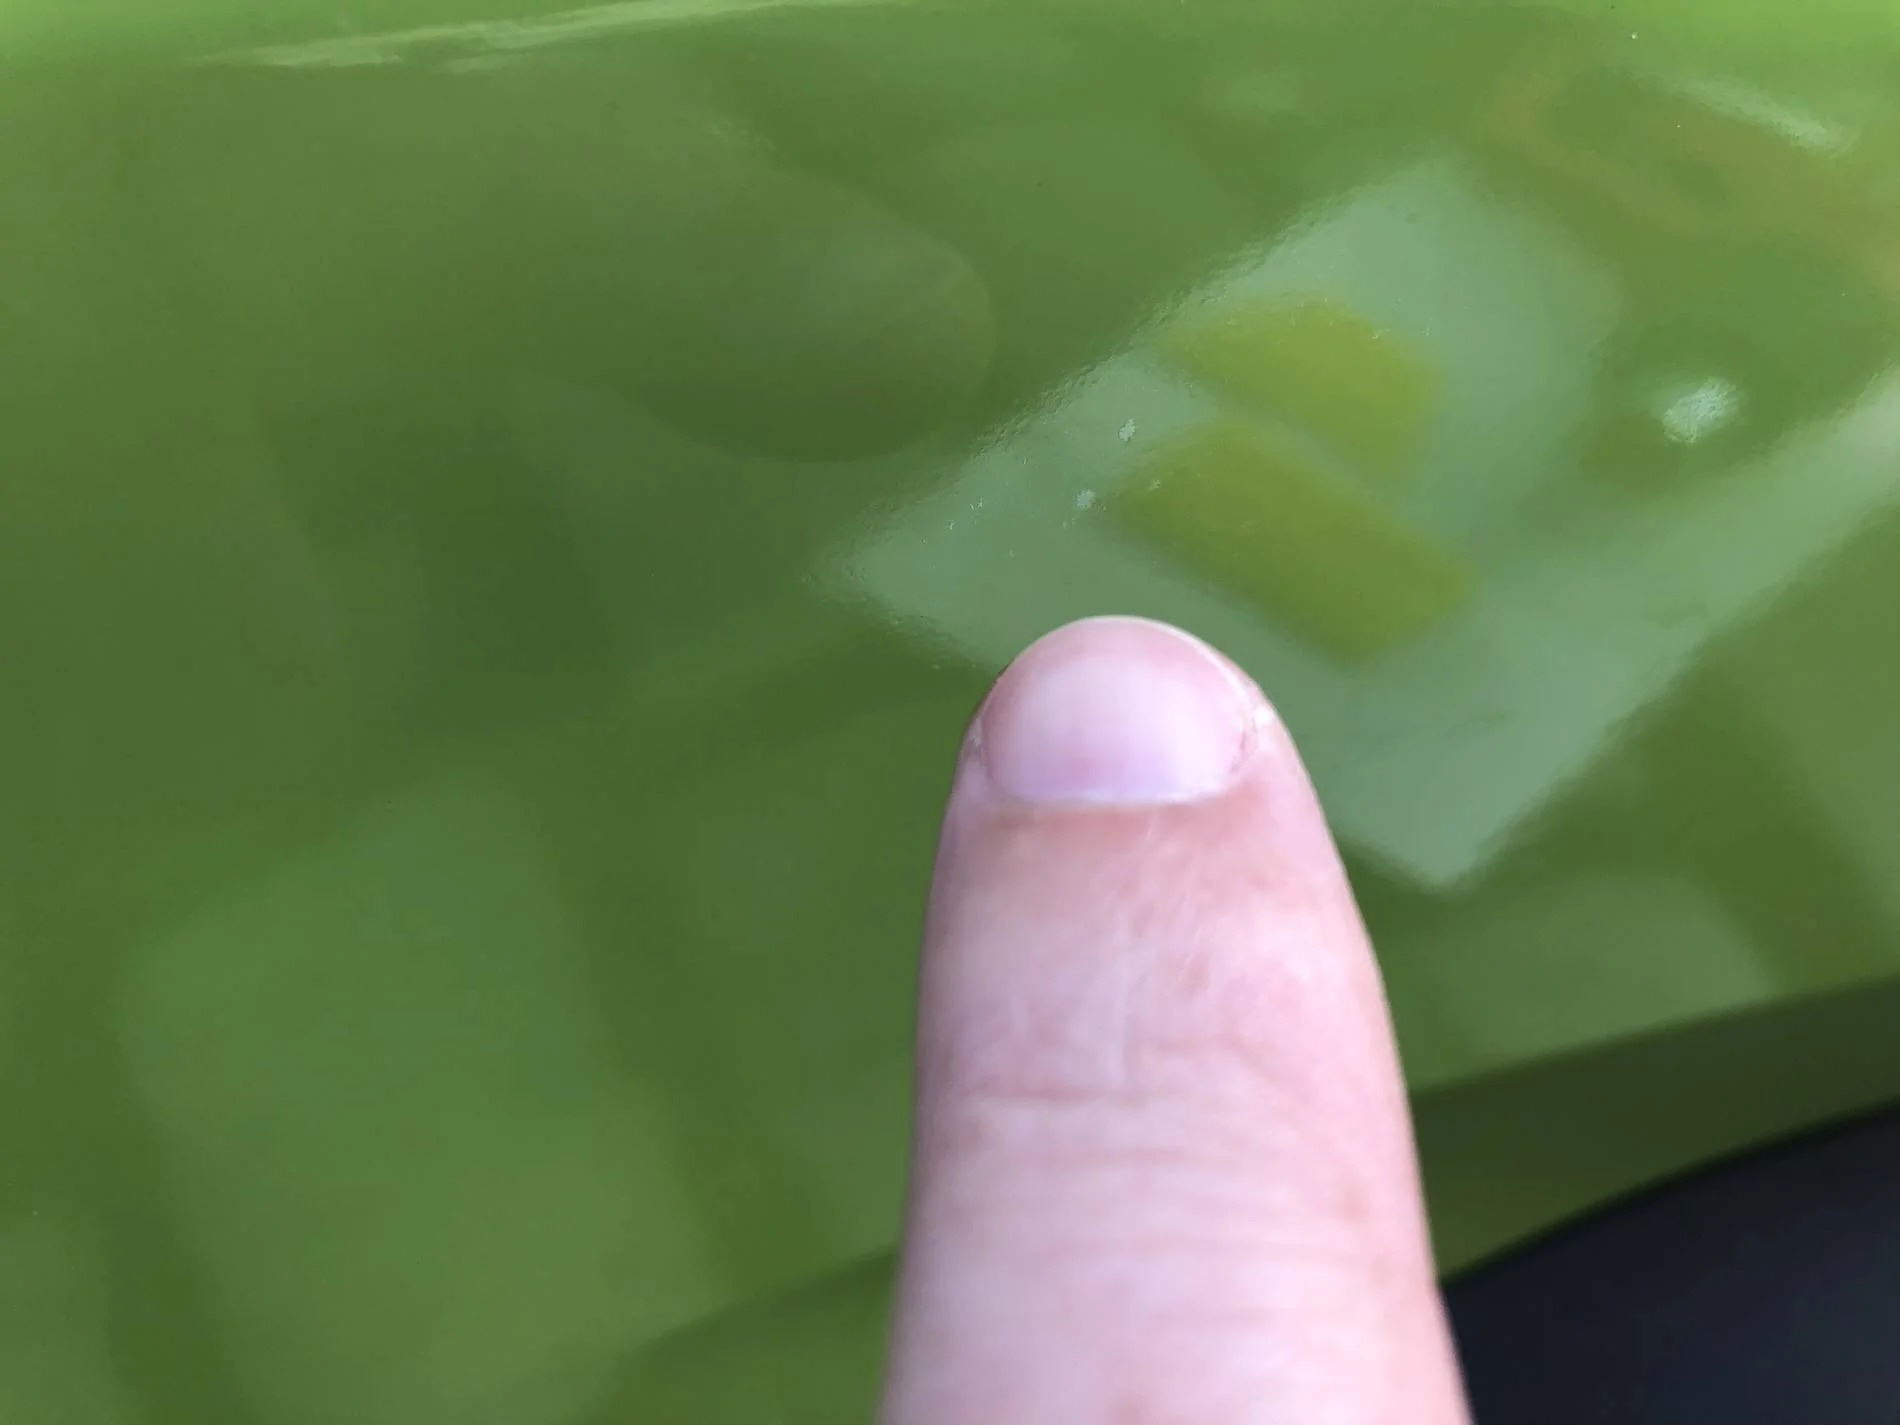
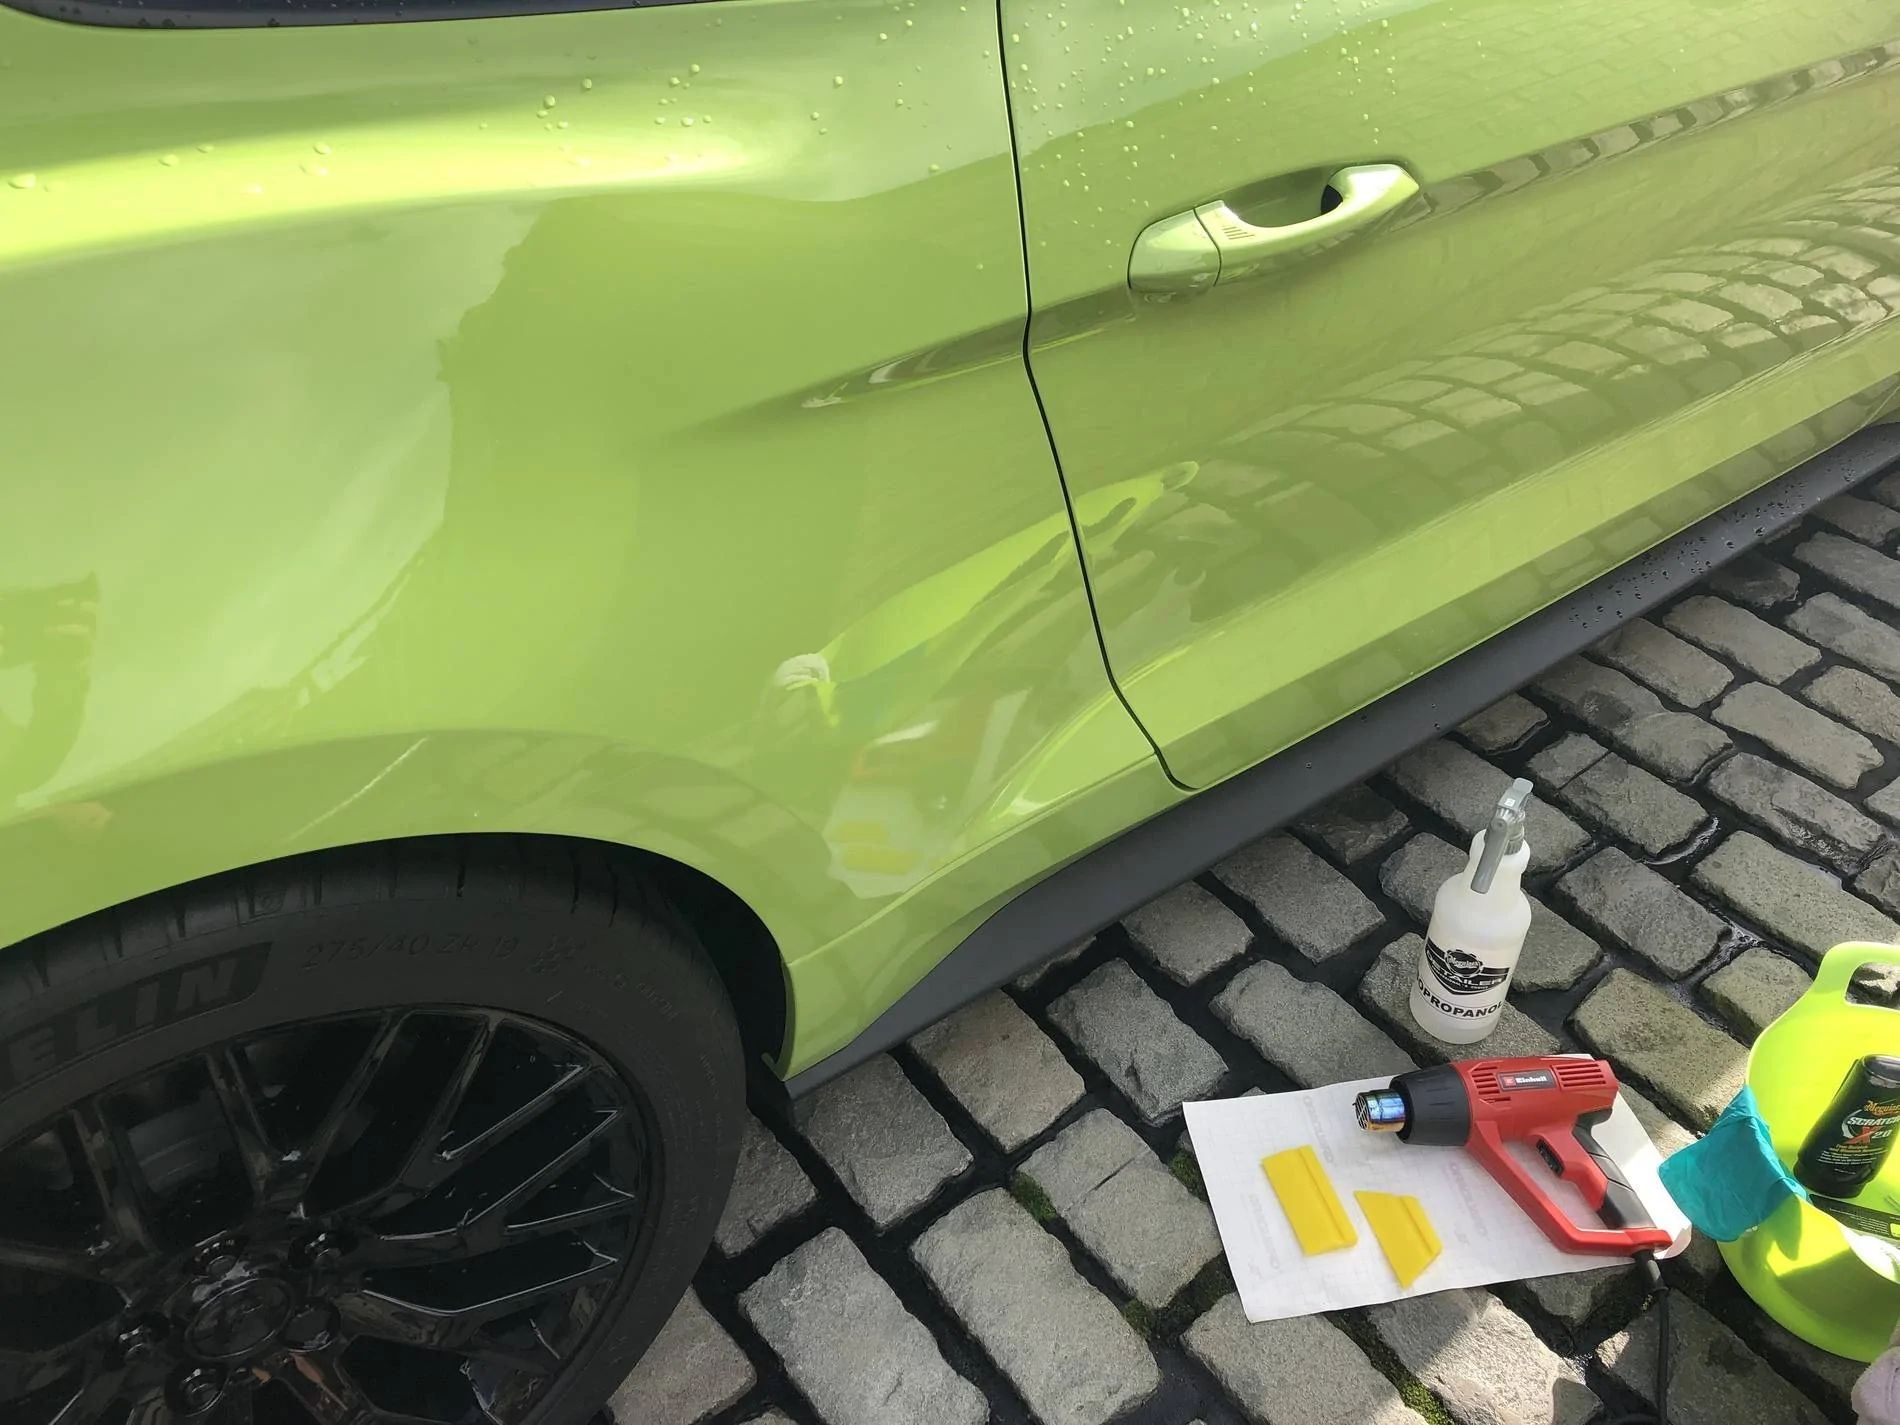
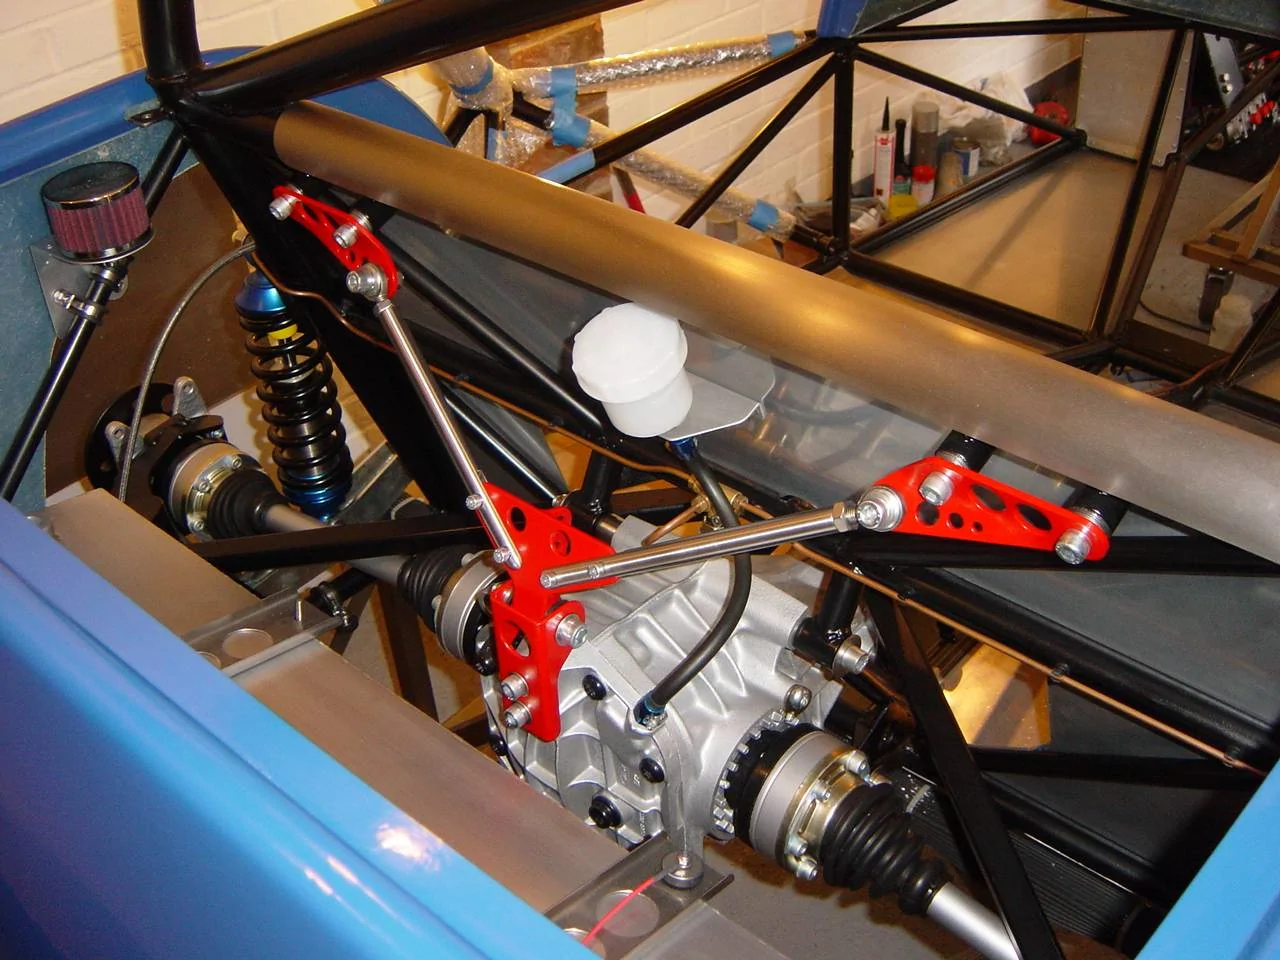
G18
Member
Here’s the car
I just found a great car on Auto Trader:
https://www.autotrader.co.uk/car-details/202109137313987
I just found a great car on Auto Trader:
https://www.autotrader.co.uk/car-details/202109137313987
Sponsored
Was curious so I flicked through the photos, the dash plaque says "fifty five years" rather than the normal "since 1964" so I assume it is a 55 edition?As far as I can tell, that’s a decal package with black badges and hood vents - everything else looks standard.
That's the standard dash plaque for a none 55 edition 2020, either that or Ford fitted the wrong plaque in my car ... lolWas curious so I flicked through the photos, the dash plaque says "fifty five years" rather than the normal "since 1964" so I assume it is a 55 edition?
Thank you And I hope you back gets better soon ...Just read this thread from start to finish as my back has collapsed again and I needed something to take my mind off it. Brilliant, loved it so many ideas for things for me to do when my back improves And so much detail. Thanks WD, and keep it up, top stuff
So it had its 1st service yesterday and it absolutely hammered it down ... But I still washed the car before I took it in so I could hand on heart say there wasn't a mark on it when I dropped it off.Just to update this thread as I've jumped in on the servicing plan before my anniversary (it can only be taken out in the first year).
The dealer (Bristol Street) quoted me :
1st service = £234.72
2nd service = £330.97
3rd service = £245.66
Total = £811.35
The Ford protect plan is £489 and safe from inflation.
Bristol Street did say that they didn't honour the Ford Protect plan, but when I questioned them on it (told them I couldn't find any info on the validity of that statement on line and no guide as to what garages did honour it + asked them which did), they retracted their statement, confirmed that it was a their mistake and booked me in no problem
I've just paid the £489 in one go and sold it to myself on the basis that the first service is expensive, but I get the 2nd and 3rd for free ... lol
WD
I went with RokBlokz so I didn't have to take a chance here in the mountains. Plain black ones even though you can get them in some silly colors.I have a habit of putting off jobs that scare me a little or I have zero experience of, but after kicking something up and it hitting the rear quarter (buffed out) and taking a chip out of the rear wheel spoke (currently filling it with paint ready for polishing it back), I decided it was time to finally pull my finger out and start on the PPF.
Upper and lower rear fenders done with the Anchor Room kit - from the top left of this photo to the bottom right :
I washed, clayed, washed, wet all the work area down and then started.
I got the edges at the front lined up well (all the close up photos have been taken at angles to try to highlight the edges) :
The rear edges didn’t line up quite as well, bottom piece could have been a few mm longer and with a bit more curve :
Arch lined up well :
I found tucking the bottom edge between the plastic sill a little tricky, but a credit card worked really well :
Really close up view of the fender seam and PPF edges :
Overall I was really happy with the kit and installation. I have six of these dots in two different areas :
But I can press them and they temporarily go. I’m hoping that the sun will dry them out and eliminate them.
Tools and work area :
I didn’t need anything more, but I couldn’t have done it well with anything less. Heat gun and silicone squeezes were absolutely essential.
In reality and from most angles the kit would be invisible to most people. The most noticeable edge is the top one, just under the reflection of the microfibre on the bucket top :
The reflections in the PPF aren’t as sharp as in the paint, but for where the PPF is, it’s really not an issue
This is the type of PPF used :
I’m defo not as quick as what Jason is on his video’s though, it took me about 1.5 hours to do that one side including getting the kit out, washing, claying and packing away etc.
I should be a little quicker on the other side but A) the breeze started to get up and b) family time beckoned so that’s a job for another day
I’ve also got PPF for behind the rear wheels but I don’t think I will fit that - seems pointless with the splash guards ?
I’m on the fence about the stuff I have for the bottom of the doors.
The trunk edge piece will get added if I start to use the trunk for anything more than my laptop … lol
Having said that, I’ve just paid off some ramp time with beer that came from a trip to Asda (Walmart) :
I genuinely didn’t see the connection with my friends taste of beer and my car until I uploaded that photo yesterday …
WD
I’m happy with the rears, I think they look almost factory (a little like the Mach 1’s, 350’s and 500’s) :I went with RokBlokz so I didn't have to take a chance here in the mountains. Plain black ones even though you can get them in some silly colors.
look goodI’m happy with the rears, I think they look almost factory (a little like the Mach 1’s, 350’s and 500’s) :
I hope they are wide enough to protect the paint behind them
I wish they did matching fronts, but they don’t …
I have considered those RokBlokz’s but decided to try a little project first. After a ‘few’ paper templates, here’s where I am up to :
The PPF is a motor cross version, very thick and suitable for high impact areas :
There should have only been 1.5mm border between carbon and PPF, I’m not sure which ones out a little but it doesn’t really matter.
They secure with one of the original push pins and two M4 well nuts /rubber rivets, I’ve just got the stainless hardware to sort out and some rubber bumpers before fitment
WD
Thank youLove your work
where did you get the carbon mudflaps from?
Nice work Is this a Clubman ?Thank you
The carbon and PPF is my design. The project might work or it might not, we will have to see …
I have contacts for carbon, water jet cut stainless and graphics who will all work directly from my CAD outlines.
I’ve only used those skills on the mustang for the exhaust braces, jacking rail pads, hood vent PPF and the front splash guards (all photos buried in this thread somewhere above), but over the years they have come in useful for lots of other projects :
GoPro mounts in stainless steel (both hand held and bike mounted).
Car bits in mild steel (throttle components and transmission braces).
Bike bits in stainless and carbon (handlebar and seat mounts, bike light mounts etc).
It’s the little (very time consuming … lol) projects that keep me focussed and happy
I’m happy to post loads of photos if people are interested, here’s a diff brace that I made :
It’s to stop the diff breaking its upper mounting bolts under high power (that car will make 450 ish). All design work done by me. Lathe work and welding also done by me - before I lost access to a workshop …
WD