Sponsored

What did you do to your GT350 today?

WD Pro

Well-Known Member
Joined
Jan 18, 2018
Threads
132
Messages
6,798
Reaction score
13,640
Location
United Kingdom
Vehicle(s)
Lime GT
Vehicle Showcase
1
I’m not totally convinced a nice bit of CNC’d and anodised aluminium tucked under the car, is in the same league as hydro dipping skulls and flames over the engine … :giggle:

WD :like:
Sponsored


Nfs1000f

Well-Known Member
Joined
Jan 1, 2018
Threads
66
Messages
1,036
Reaction score
1,092
Location
Upstate NY
First Name
Neal
Vehicle(s)
2017 GT350 & 2019 Ford Fusion SEL Hybrid
After a heavy rain last night here in upstate New York, the roads got cleaned off and I took the car out for the first time this year. It has been in hibernation for nearly 4 months. As I do every year before the first start up, I turn the engine over three times for about 8 seconds to build oil pressure and get the oil circulated throughout the entire engine. No dry starts for me.
 

CharlesC

Well-Known Member
Joined
Nov 12, 2023
Threads
0
Messages
166
Reaction score
247
Location
Eagle, ID
First Name
Charles
Vehicle(s)
2024 Superduty, 2019 GT350
Got a quote for extended stud installation for front and rear. How long does that typically take DIY vs shop? Anyone done recently and can give guidance on shop cost?
 

CharlesC

Well-Known Member
Joined
Nov 12, 2023
Threads
0
Messages
166
Reaction score
247
Location
Eagle, ID
First Name
Charles
Vehicle(s)
2024 Superduty, 2019 GT350
Finished up Steeda springs, camber plates, front and rear sway bars, and stop the hop kit. Roll bar and tow hook going in then off to the shop for an alignment later this week.
How hard were the bushing supports and delrin alignment? Fairly quick install time wise?
 

Sponsored

SL8888

Well-Known Member
Joined
Jan 26, 2020
Threads
2
Messages
672
Reaction score
1,449
Location
Sylvania Ohio
First Name
Ray
Vehicle(s)
2019 Ruby Red GT-350 # K1989
Got a quote for extended stud installation for front and rear. How long does that typically take DIY vs shop? Anyone done recently and can give guidance on shop cost?
Yes, I did this job myself. I took some good council from another member here and just purchased the complete hub assembly from Optimum Performance instead of just changing the studs.
I figured that my original hubs had some track time on them so I changed the whole hub.
Fronts were a piece of cake,
rears were another story.
Emergency brakes, axle nuts, and so on.
I did the job on my car lift and glad that I did it myself, but it was a real PITA.
I posted it on this thread
#1102. I’m sure you can do it judging from what you have already done, but you are going to earn it.
Good luck
 

CharlesC

Well-Known Member
Joined
Nov 12, 2023
Threads
0
Messages
166
Reaction score
247
Location
Eagle, ID
First Name
Charles
Vehicle(s)
2024 Superduty, 2019 GT350
Yes, I did this job myself. I took some good council from another member here and just purchased the complete hub assembly from Optimum Performance instead of just changing the studs.
I figured that my original hubs had some track time on them so I changed the whole hub.
Fronts were a piece of cake,
rears were another story.
Emergency brakes, axle nuts, and so on.
I did the job on my car lift and glad that I did it myself, but it was a real PITA.
I posted it on this thread
#1102. I’m sure you can do it judging from what you have already done, but you are going to earn it.
Good luck
Trying to decide if $1500 installed ($550 parts plus $950 labor) is worth it vs buying new hubs for the 2.5k mile car with the studs already pressed in then dealing with the headache of installing myself to save a few hundred bucks. Will have to check your earlier post.
 

COBRAFREAK1996

Well-Known Member
Joined
Apr 20, 2023
Threads
2
Messages
166
Reaction score
282
Location
MD
Vehicle(s)
2018 Shelby GT350
How hard were the bushing supports and delrin alignment? Fairly quick install time wise?
First side obviously took longer just figuring out what went where but overall not bad. The only part that was sort of a pain was the bushing support clamp which is two pieces. I had to drive the larger U shaped piece in most of the way first to expand the metal part of the bushing for the rear smaller piece of the clamp. There's not a lot of room for that piece to be inserted between the subframe and rubber bushing. Took a bit of prying and squeezing with channel locks before it lined up enough to get the cap screws started. Everything else was pretty easy. You have to make sure the front subframe bolt is torqued prior to installing the IRS brace. It's in the way which is odd because the end of the instructions specifically say to retorque that bolt if it was loosened to install the brace.
 

WD Pro

Well-Known Member
Joined
Jan 18, 2018
Threads
132
Messages
6,798
Reaction score
13,640
Location
United Kingdom
Vehicle(s)
Lime GT
Vehicle Showcase
1
First side obviously took longer just figuring out what went where but overall not bad. The only part that was sort of a pain was the bushing support clamp which is two pieces. I had to drive the larger U shaped piece in most of the way first to expand the metal part of the bushing for the rear smaller piece of the clamp. There's not a lot of room for that piece to be inserted between the subframe and rubber bushing. Took a bit of prying and squeezing with channel locks before it lined up enough to get the cap screws started. Everything else was pretty easy. You have to make sure the front subframe bolt is torqued prior to installing the IRS brace. It's in the way which is odd because the end of the instructions specifically say to retorque that bolt if it was loosened to install the brace.
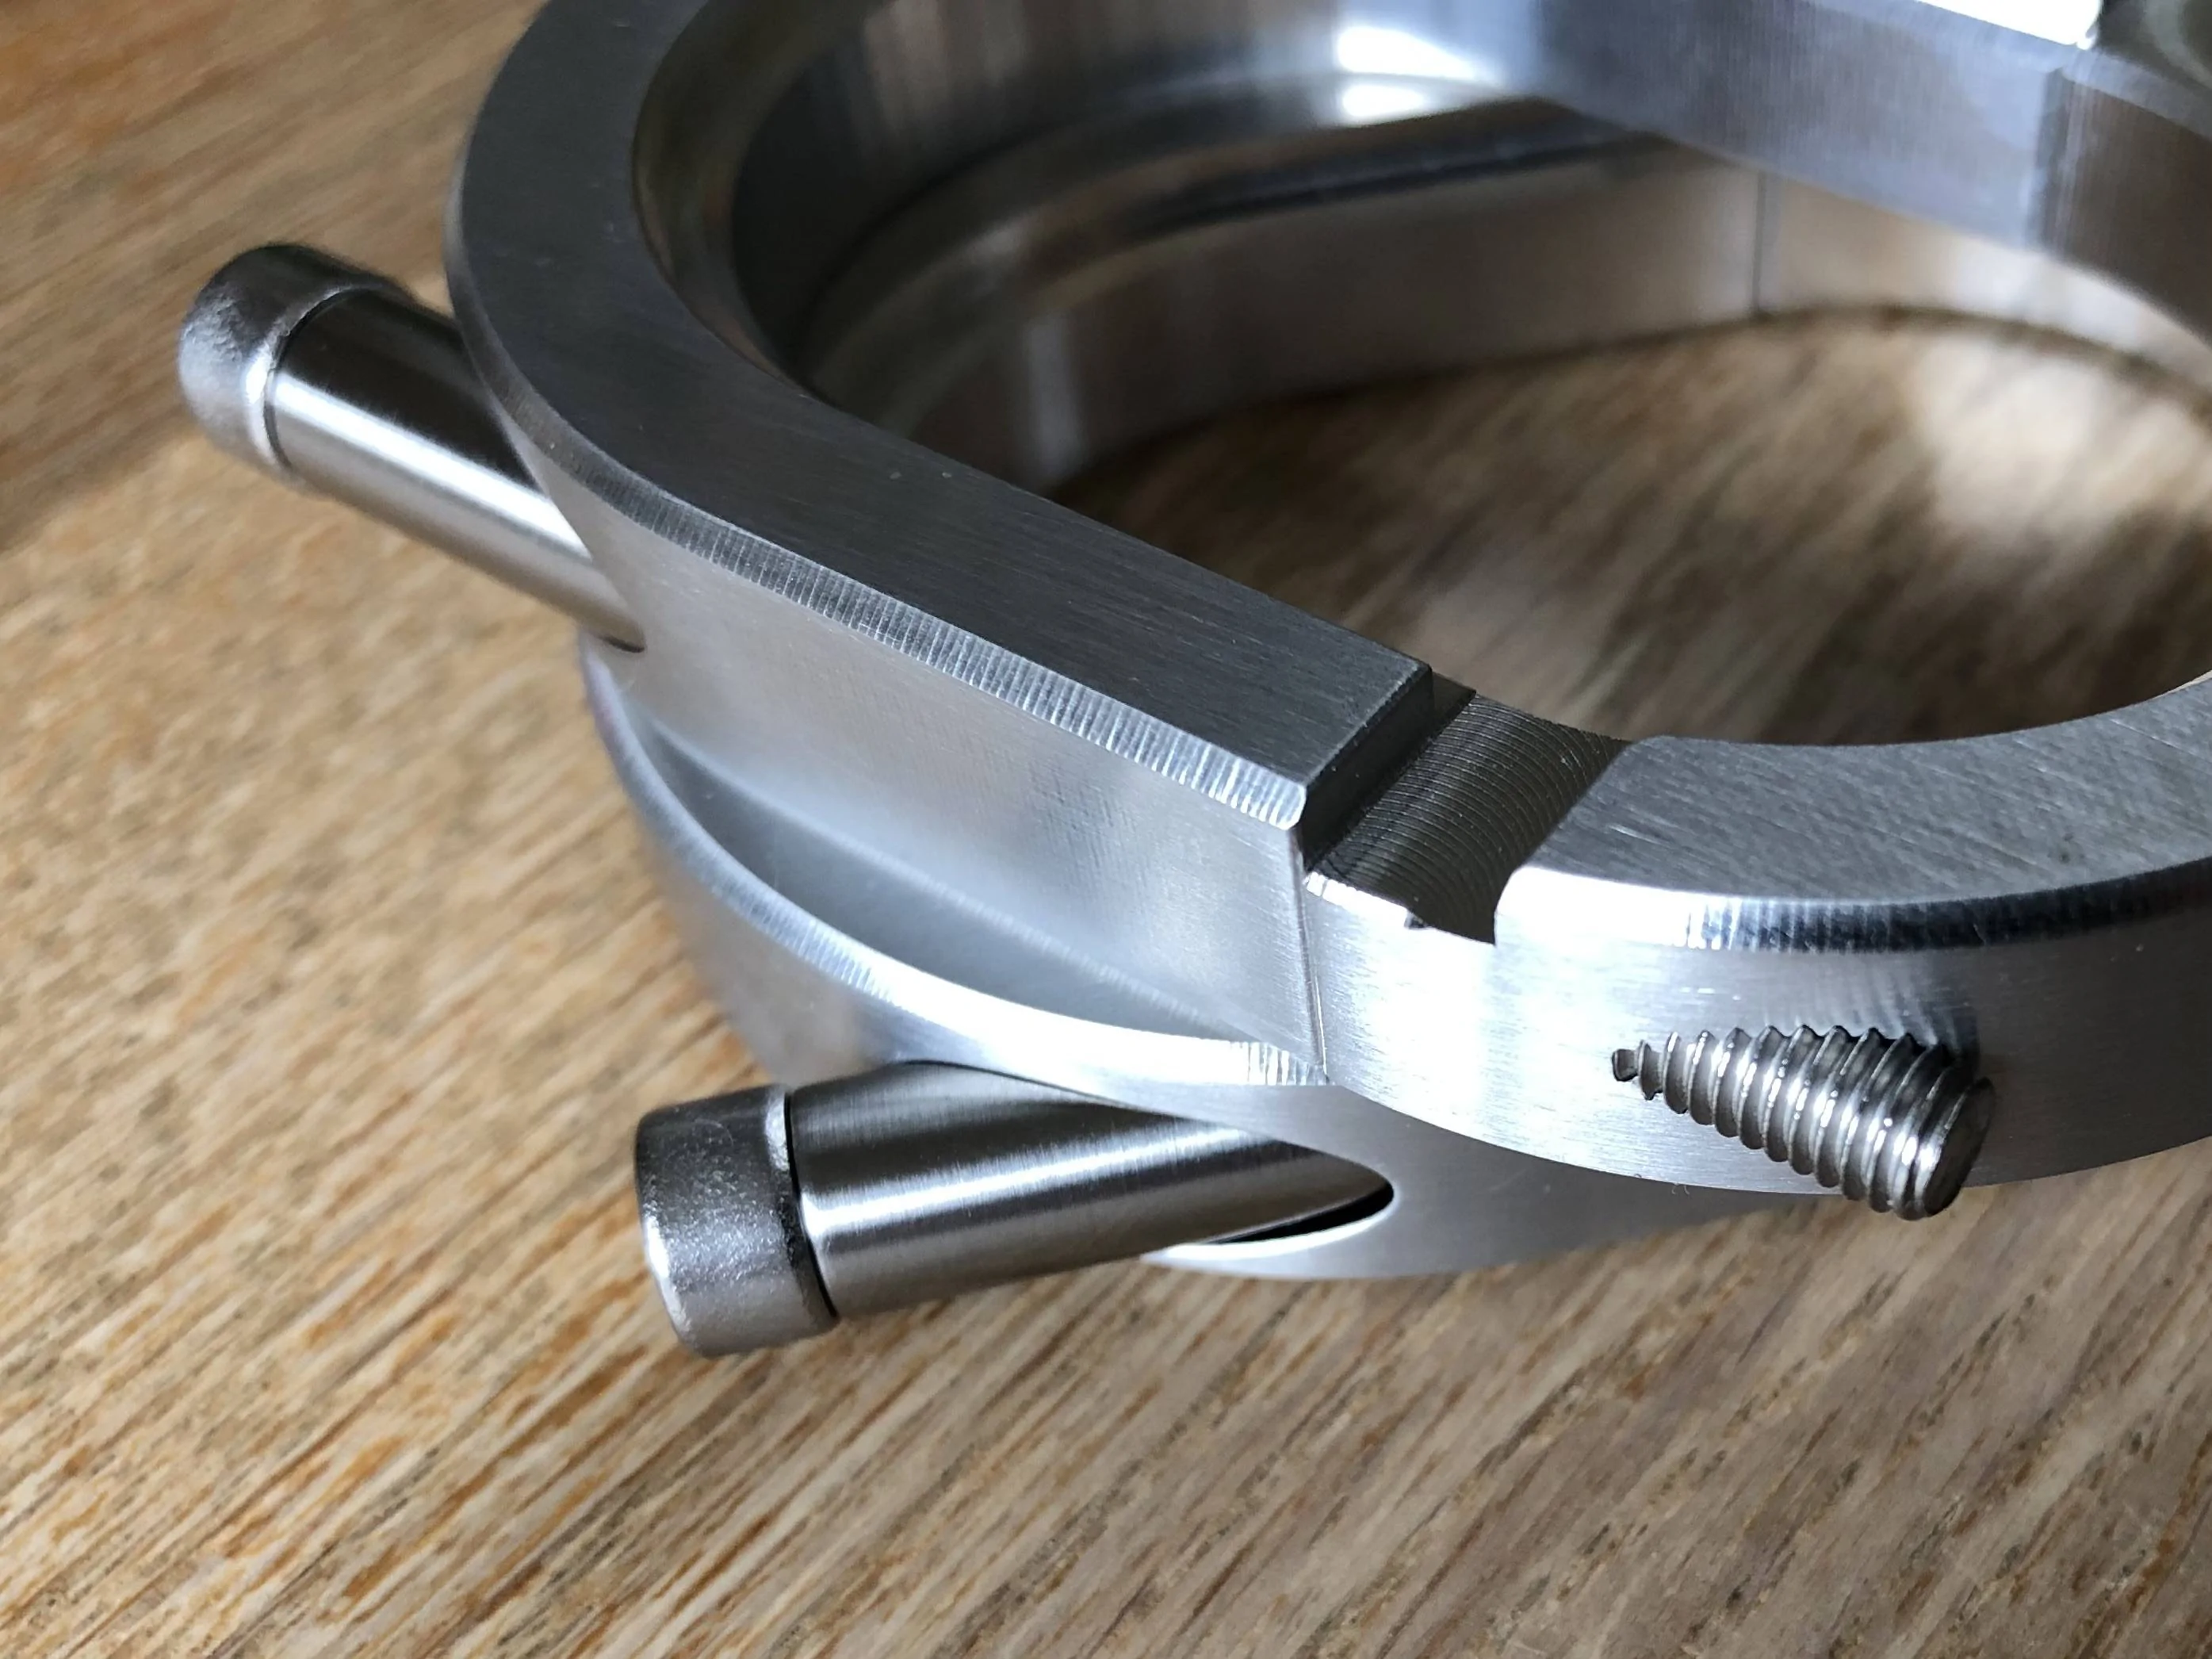
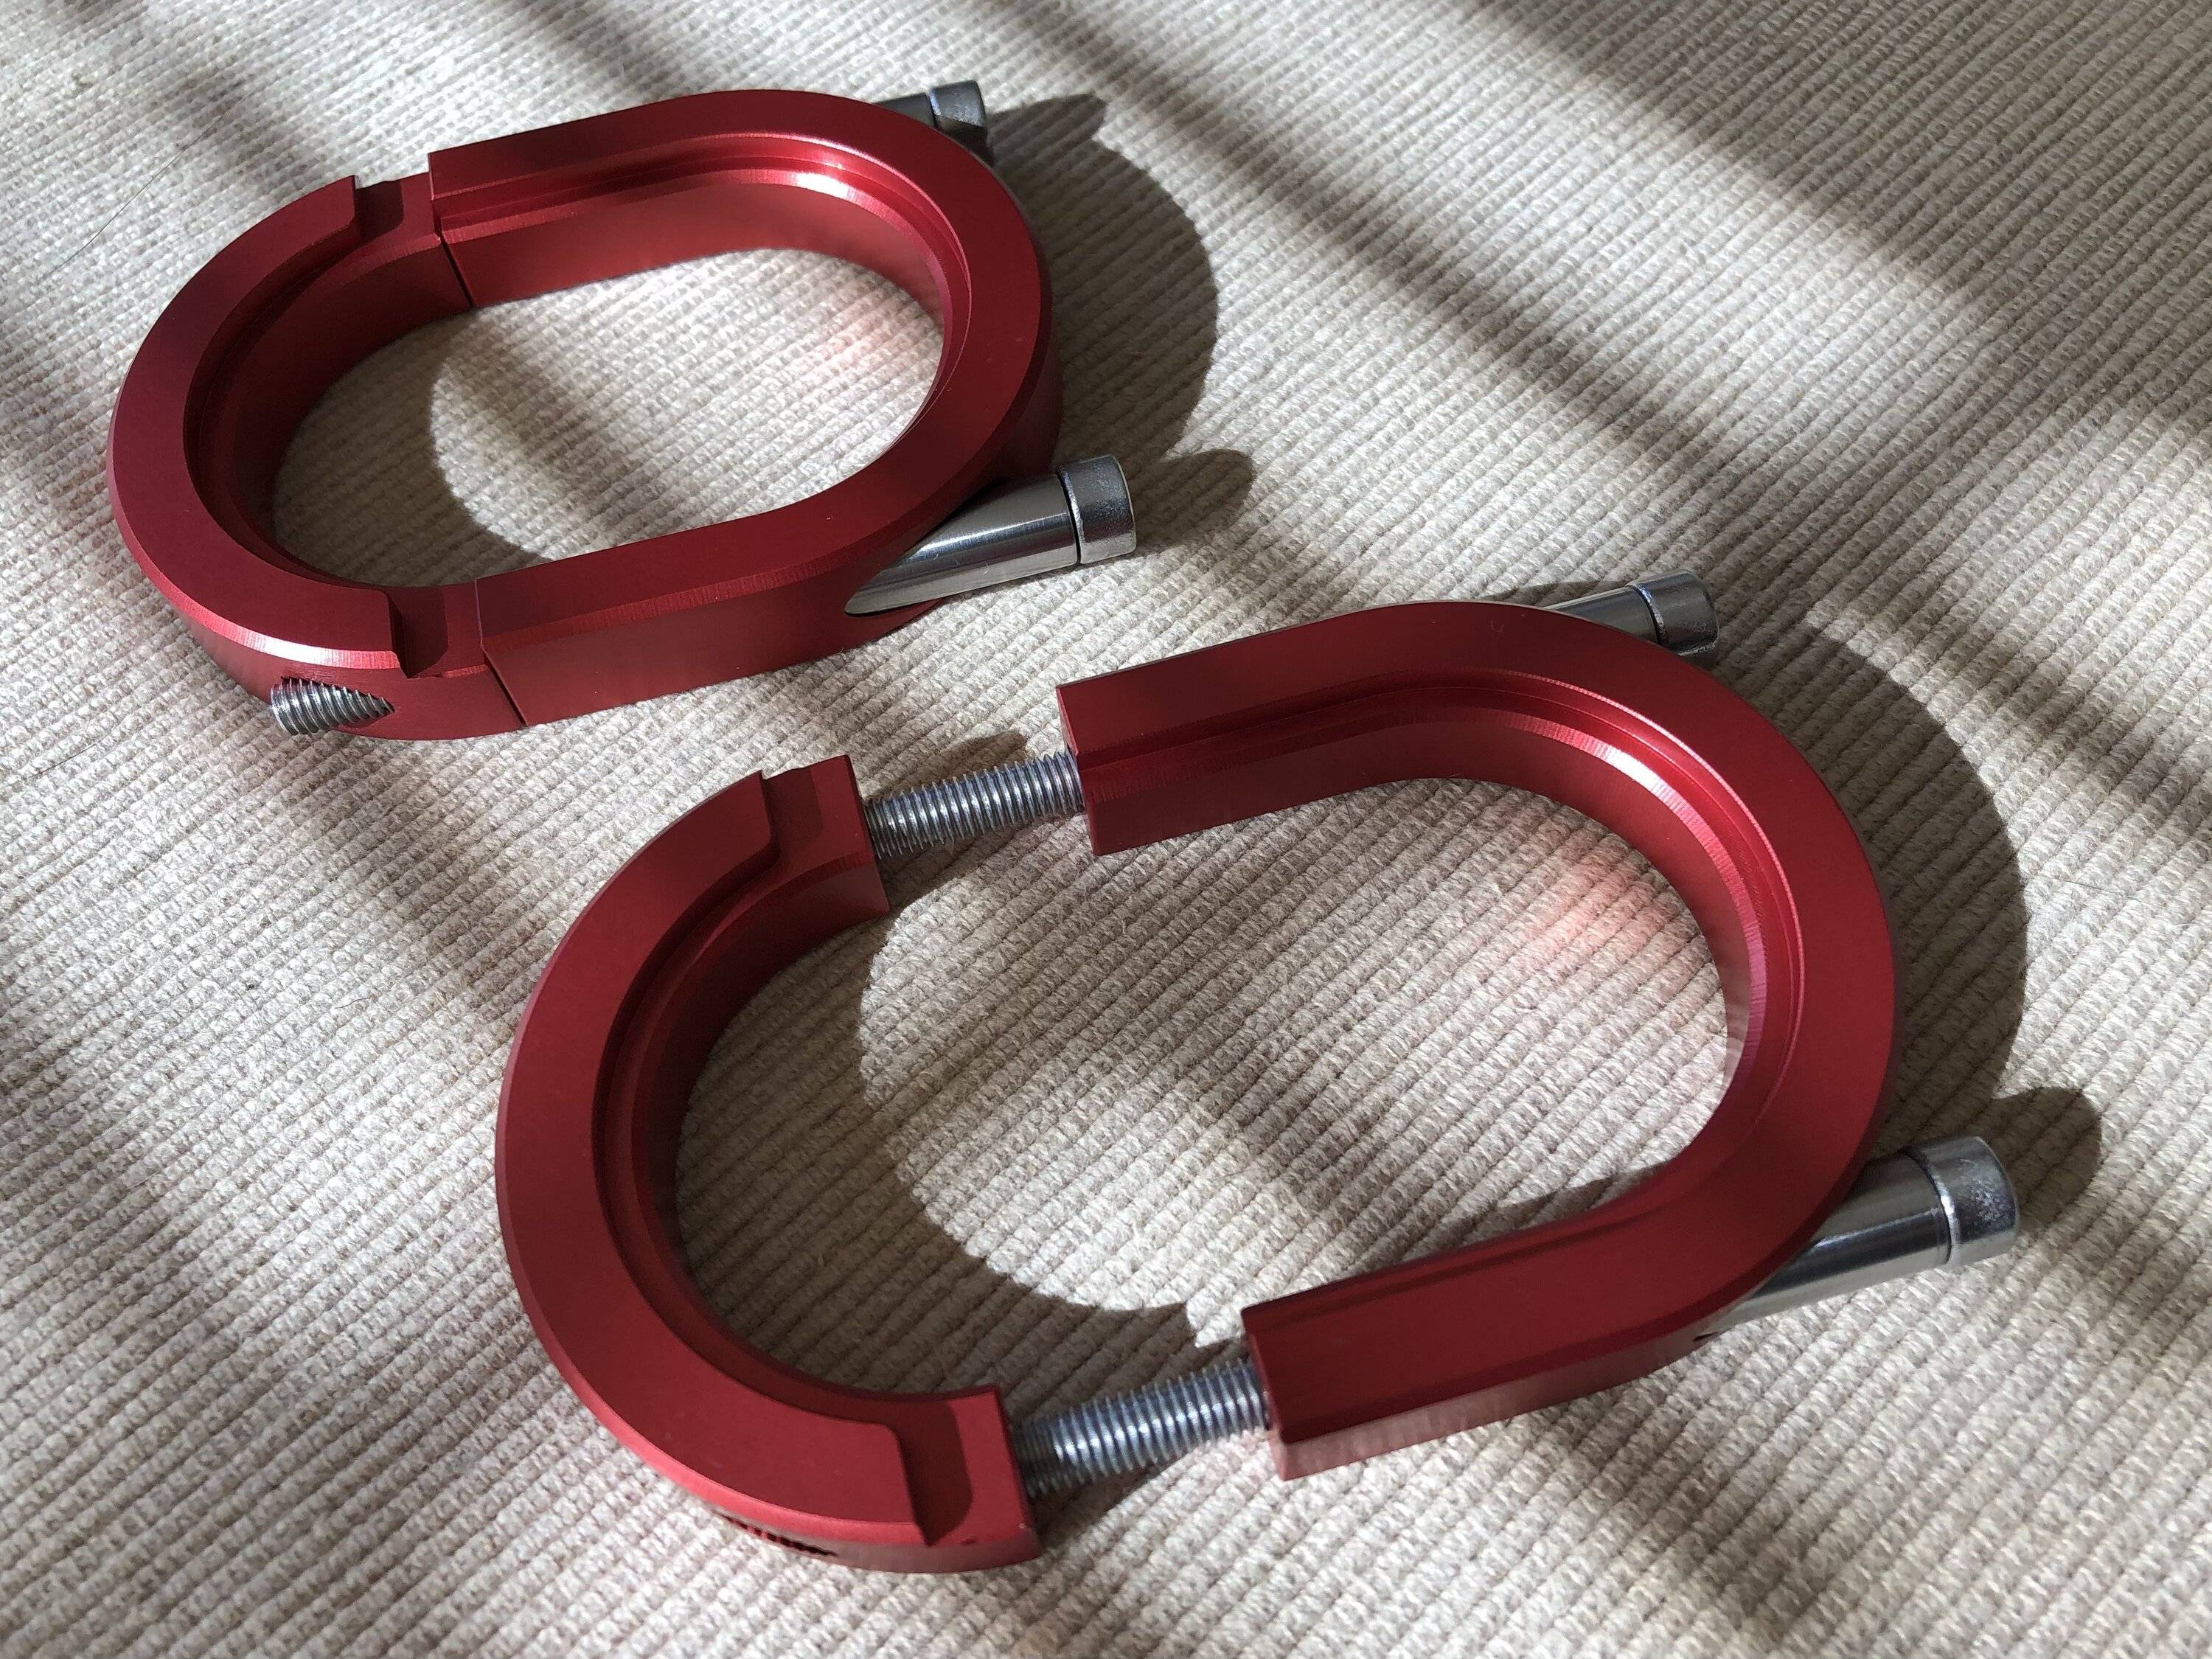
Technically, I don’t think the two piece clamp is designed to work with a Mach or 350, which may explain why you found them to be very tight / difficult to fit ?

I tapped mine right through, and went with longer bolts to help fitment without marking the finish :

1707854948796.webp


1707854819323.jpeg


WD :like:
 

COBRAFREAK1996

Well-Known Member
Joined
Apr 20, 2023
Threads
2
Messages
166
Reaction score
282
Location
MD
Vehicle(s)
2018 Shelby GT350
Technically, I don’t think the two piece clamp is designed to work with a Mach or 350, which may explain why you found them to be very tight / difficult to fit ?

I tapped mine right through, and went with longer bolts to help fitment without marking the finish :


WD :like:
Entirely possible. I could have likely put them on the belt sander and taken just a touch off to solve the tightness issue. However, didn't take too much percussive maintenance to get them into place.

I like the red!
 

Sponsored

ChipG

Well-Known Member
Joined
Jan 27, 2021
Threads
33
Messages
532
Reaction score
590
Location
Nashville TN
First Name
Chip
Vehicle(s)
'20 GT350/'95 F250/'65 Fastback/'96 Cobra Project

Lorne34

Project Hidalgo
Joined
Jun 8, 2016
Threads
71
Messages
3,962
Reaction score
4,474
Location
Wisconsin
First Name
Lorne
Vehicle(s)
2019 GT350
Vehicle Showcase
1
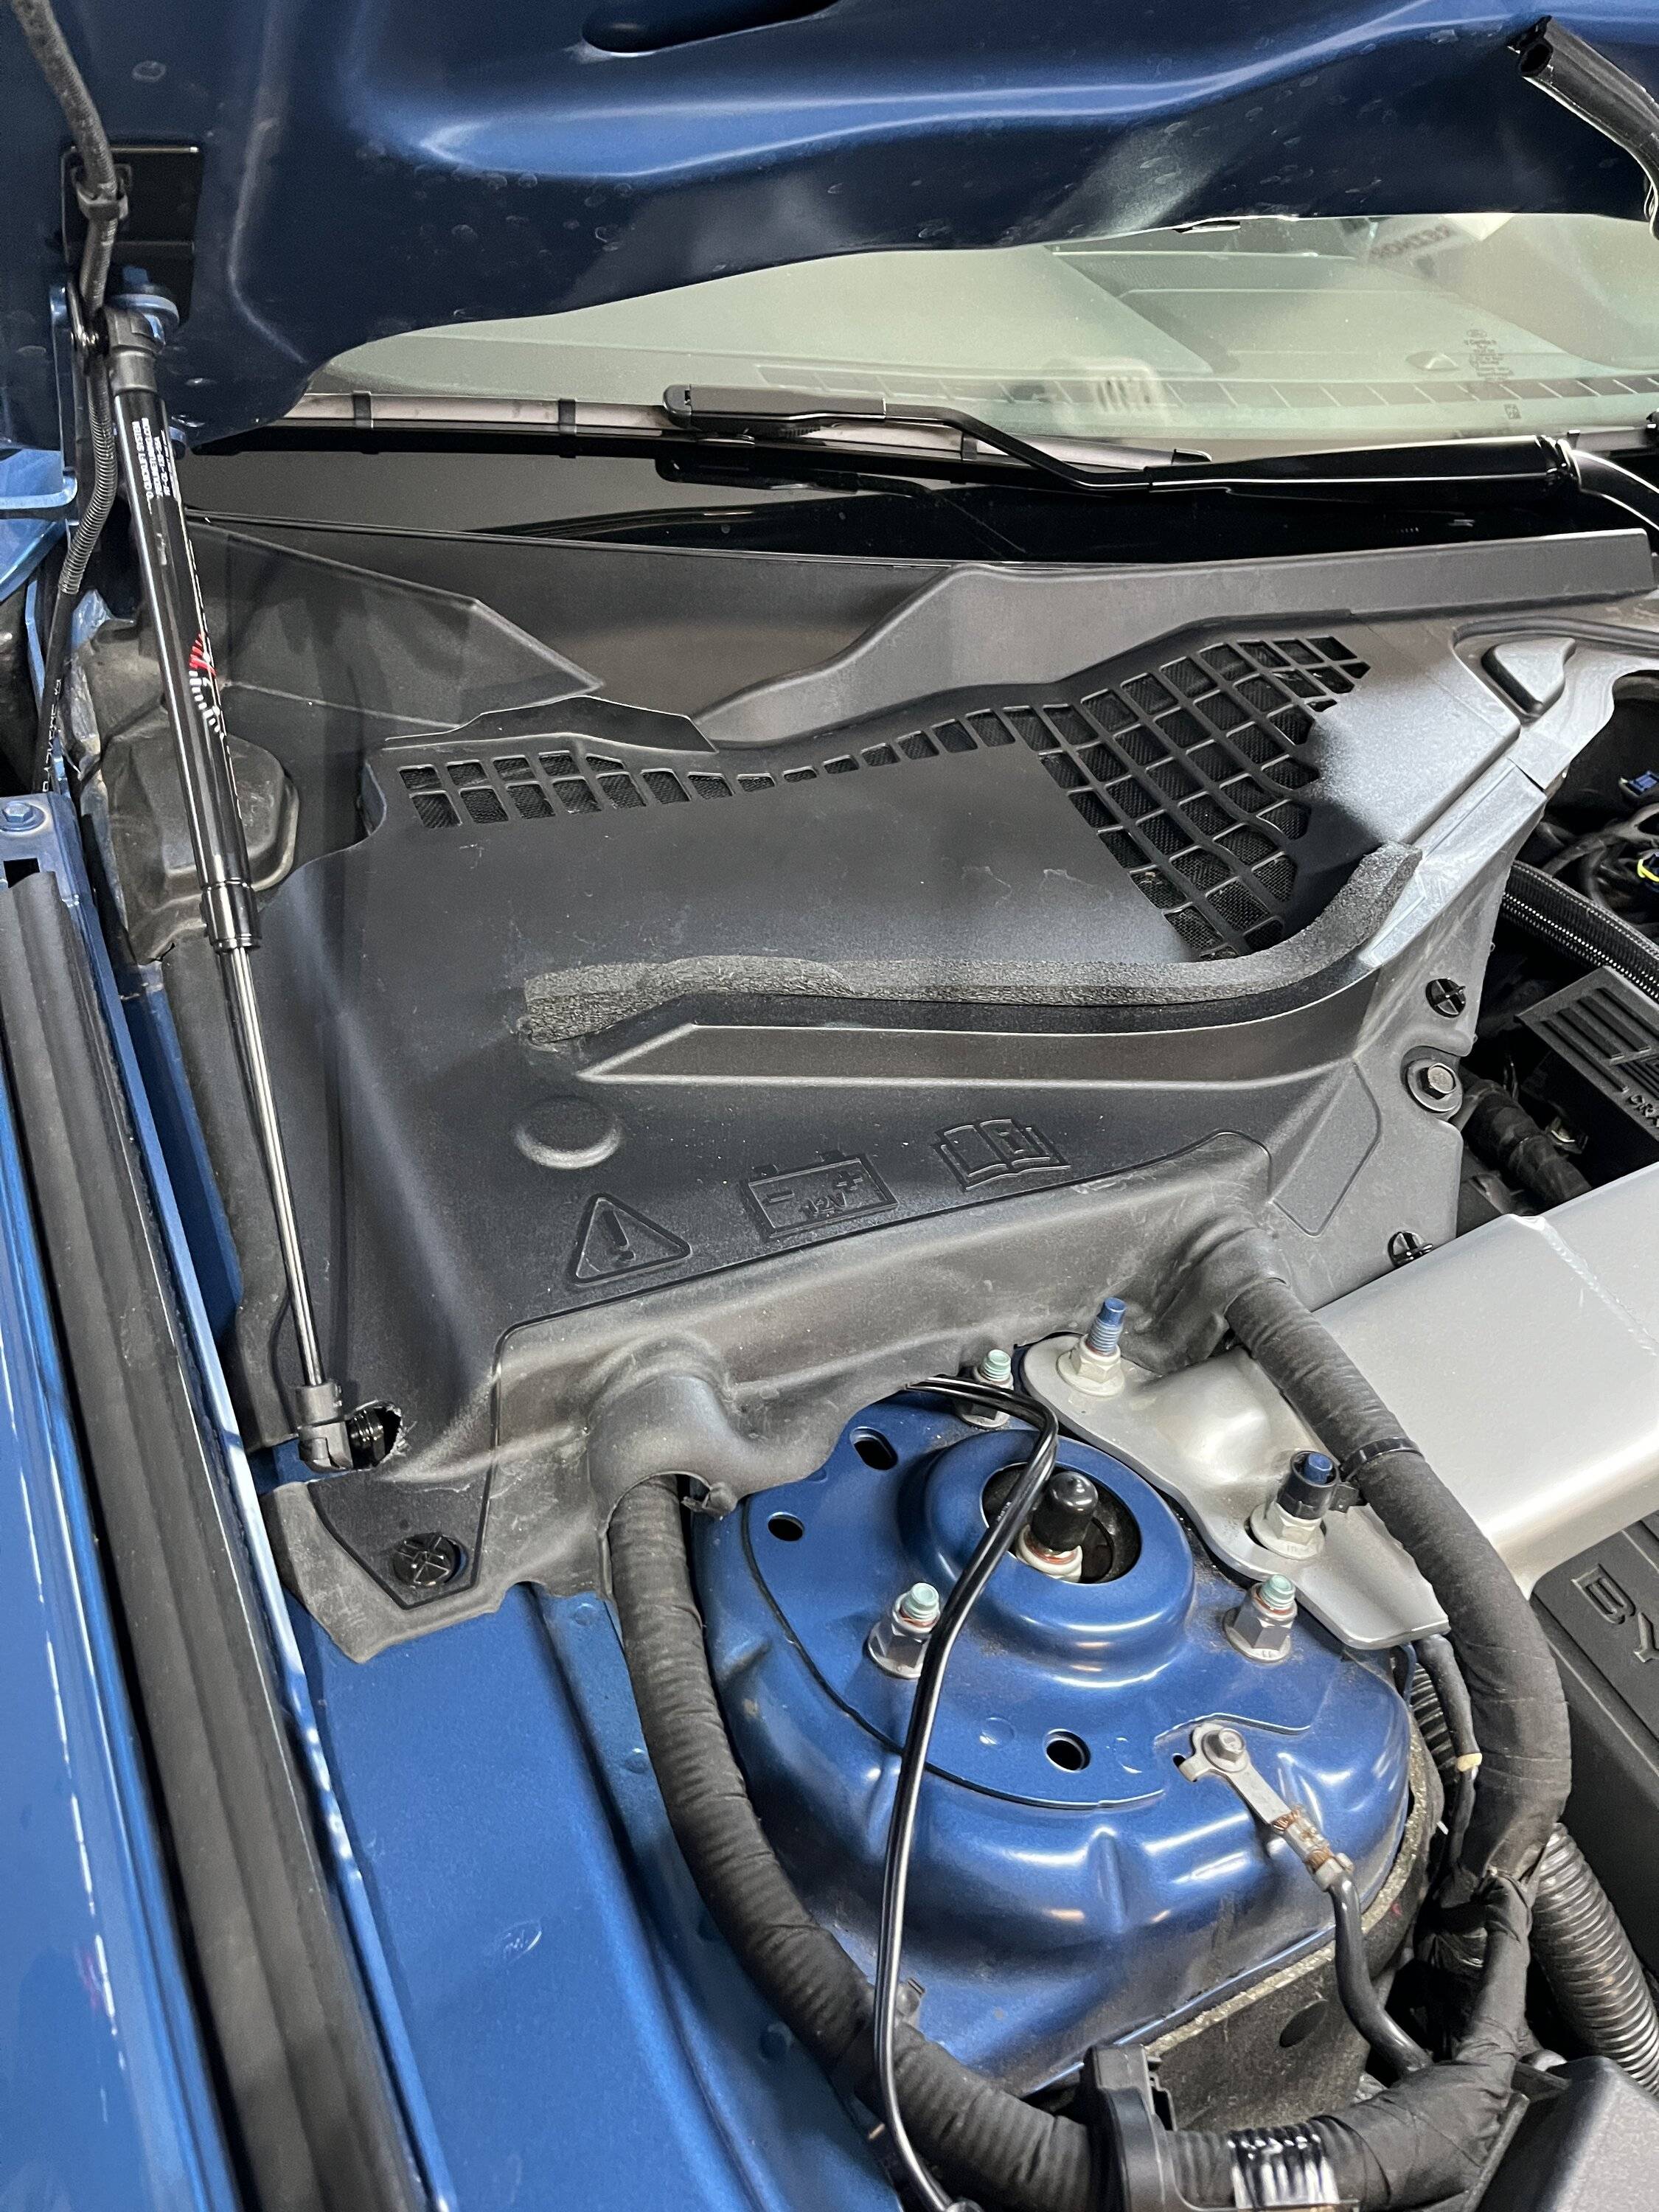
It's February and I starting thinking about all of the work I needed to do on the Shelby.
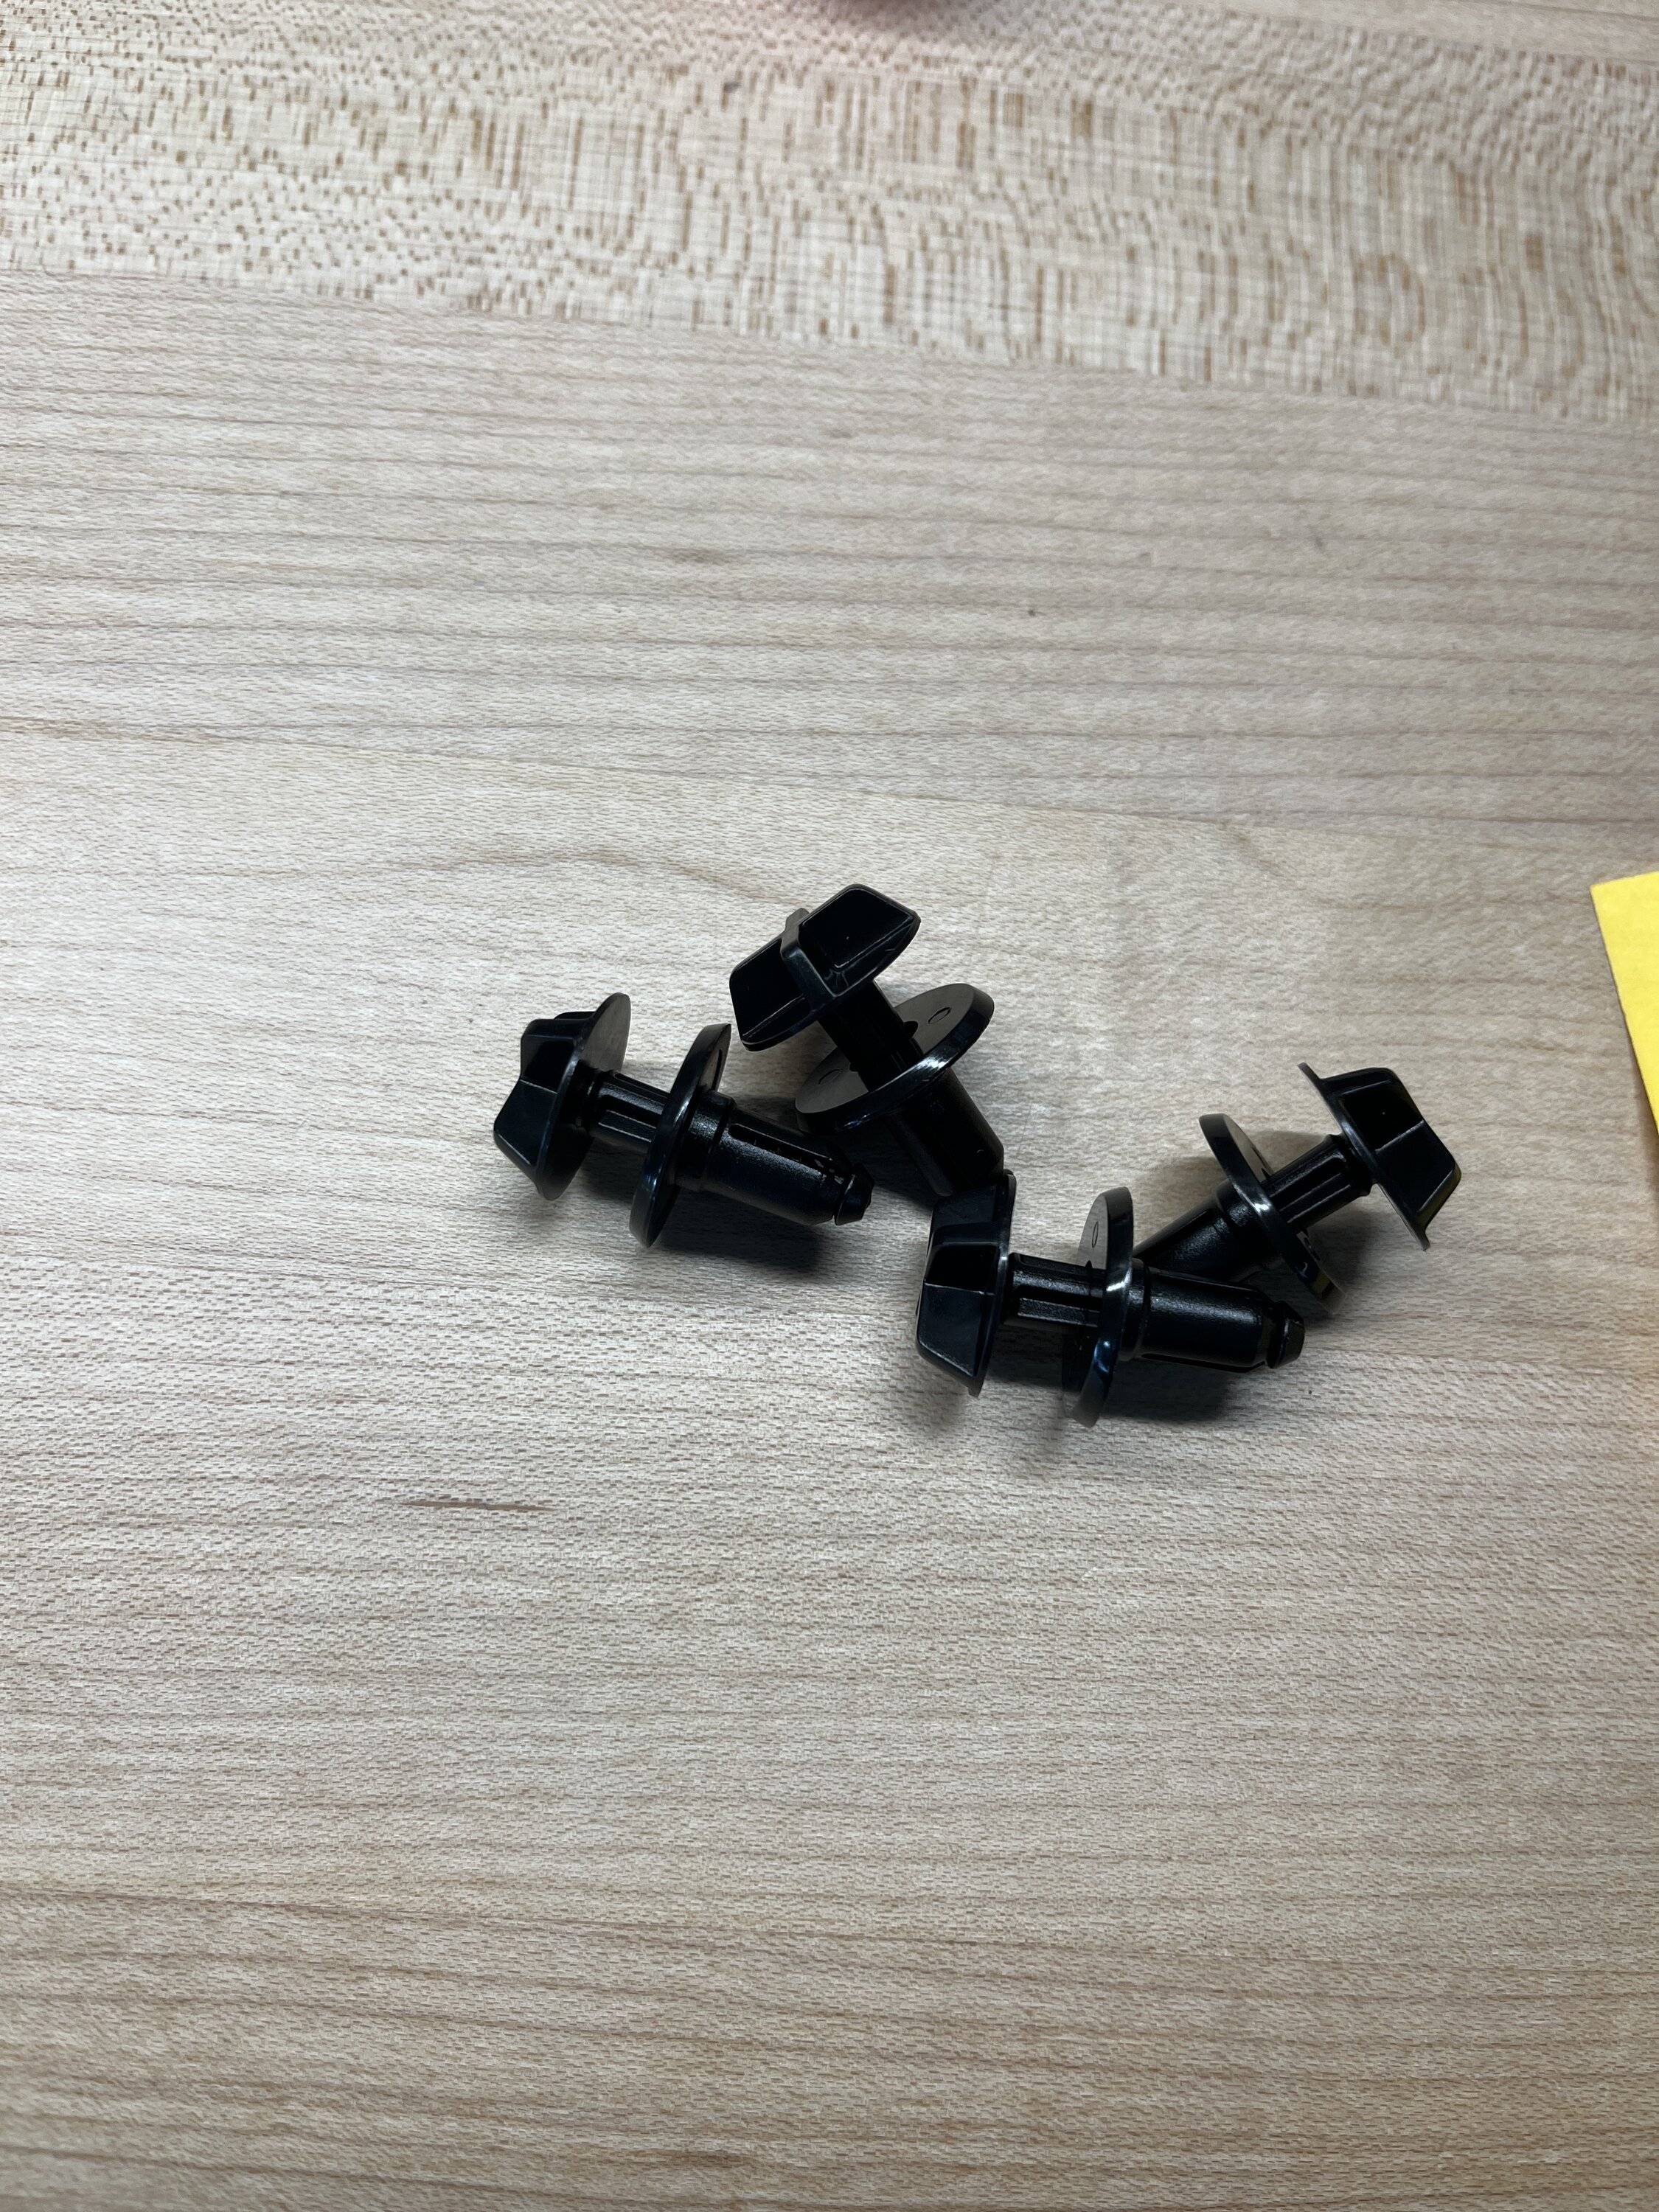
The first step was to fix the battery cover which had been off for months. I kept breaking/losing the plastic fasteners every time I removed the cover. Ended up purchasing some new clips which actually seemed sturdier than the Ford OEM units.
Also had to trim the cover a little more to allow the Redline Hood Strut base to clear.
.
20240217_165445273_iOS.jpg
20240217_165459789_iOS.jpg
Sponsored


Top