OP
OP
NGOT8R
Well-Known Member
- Thread starter
- #211
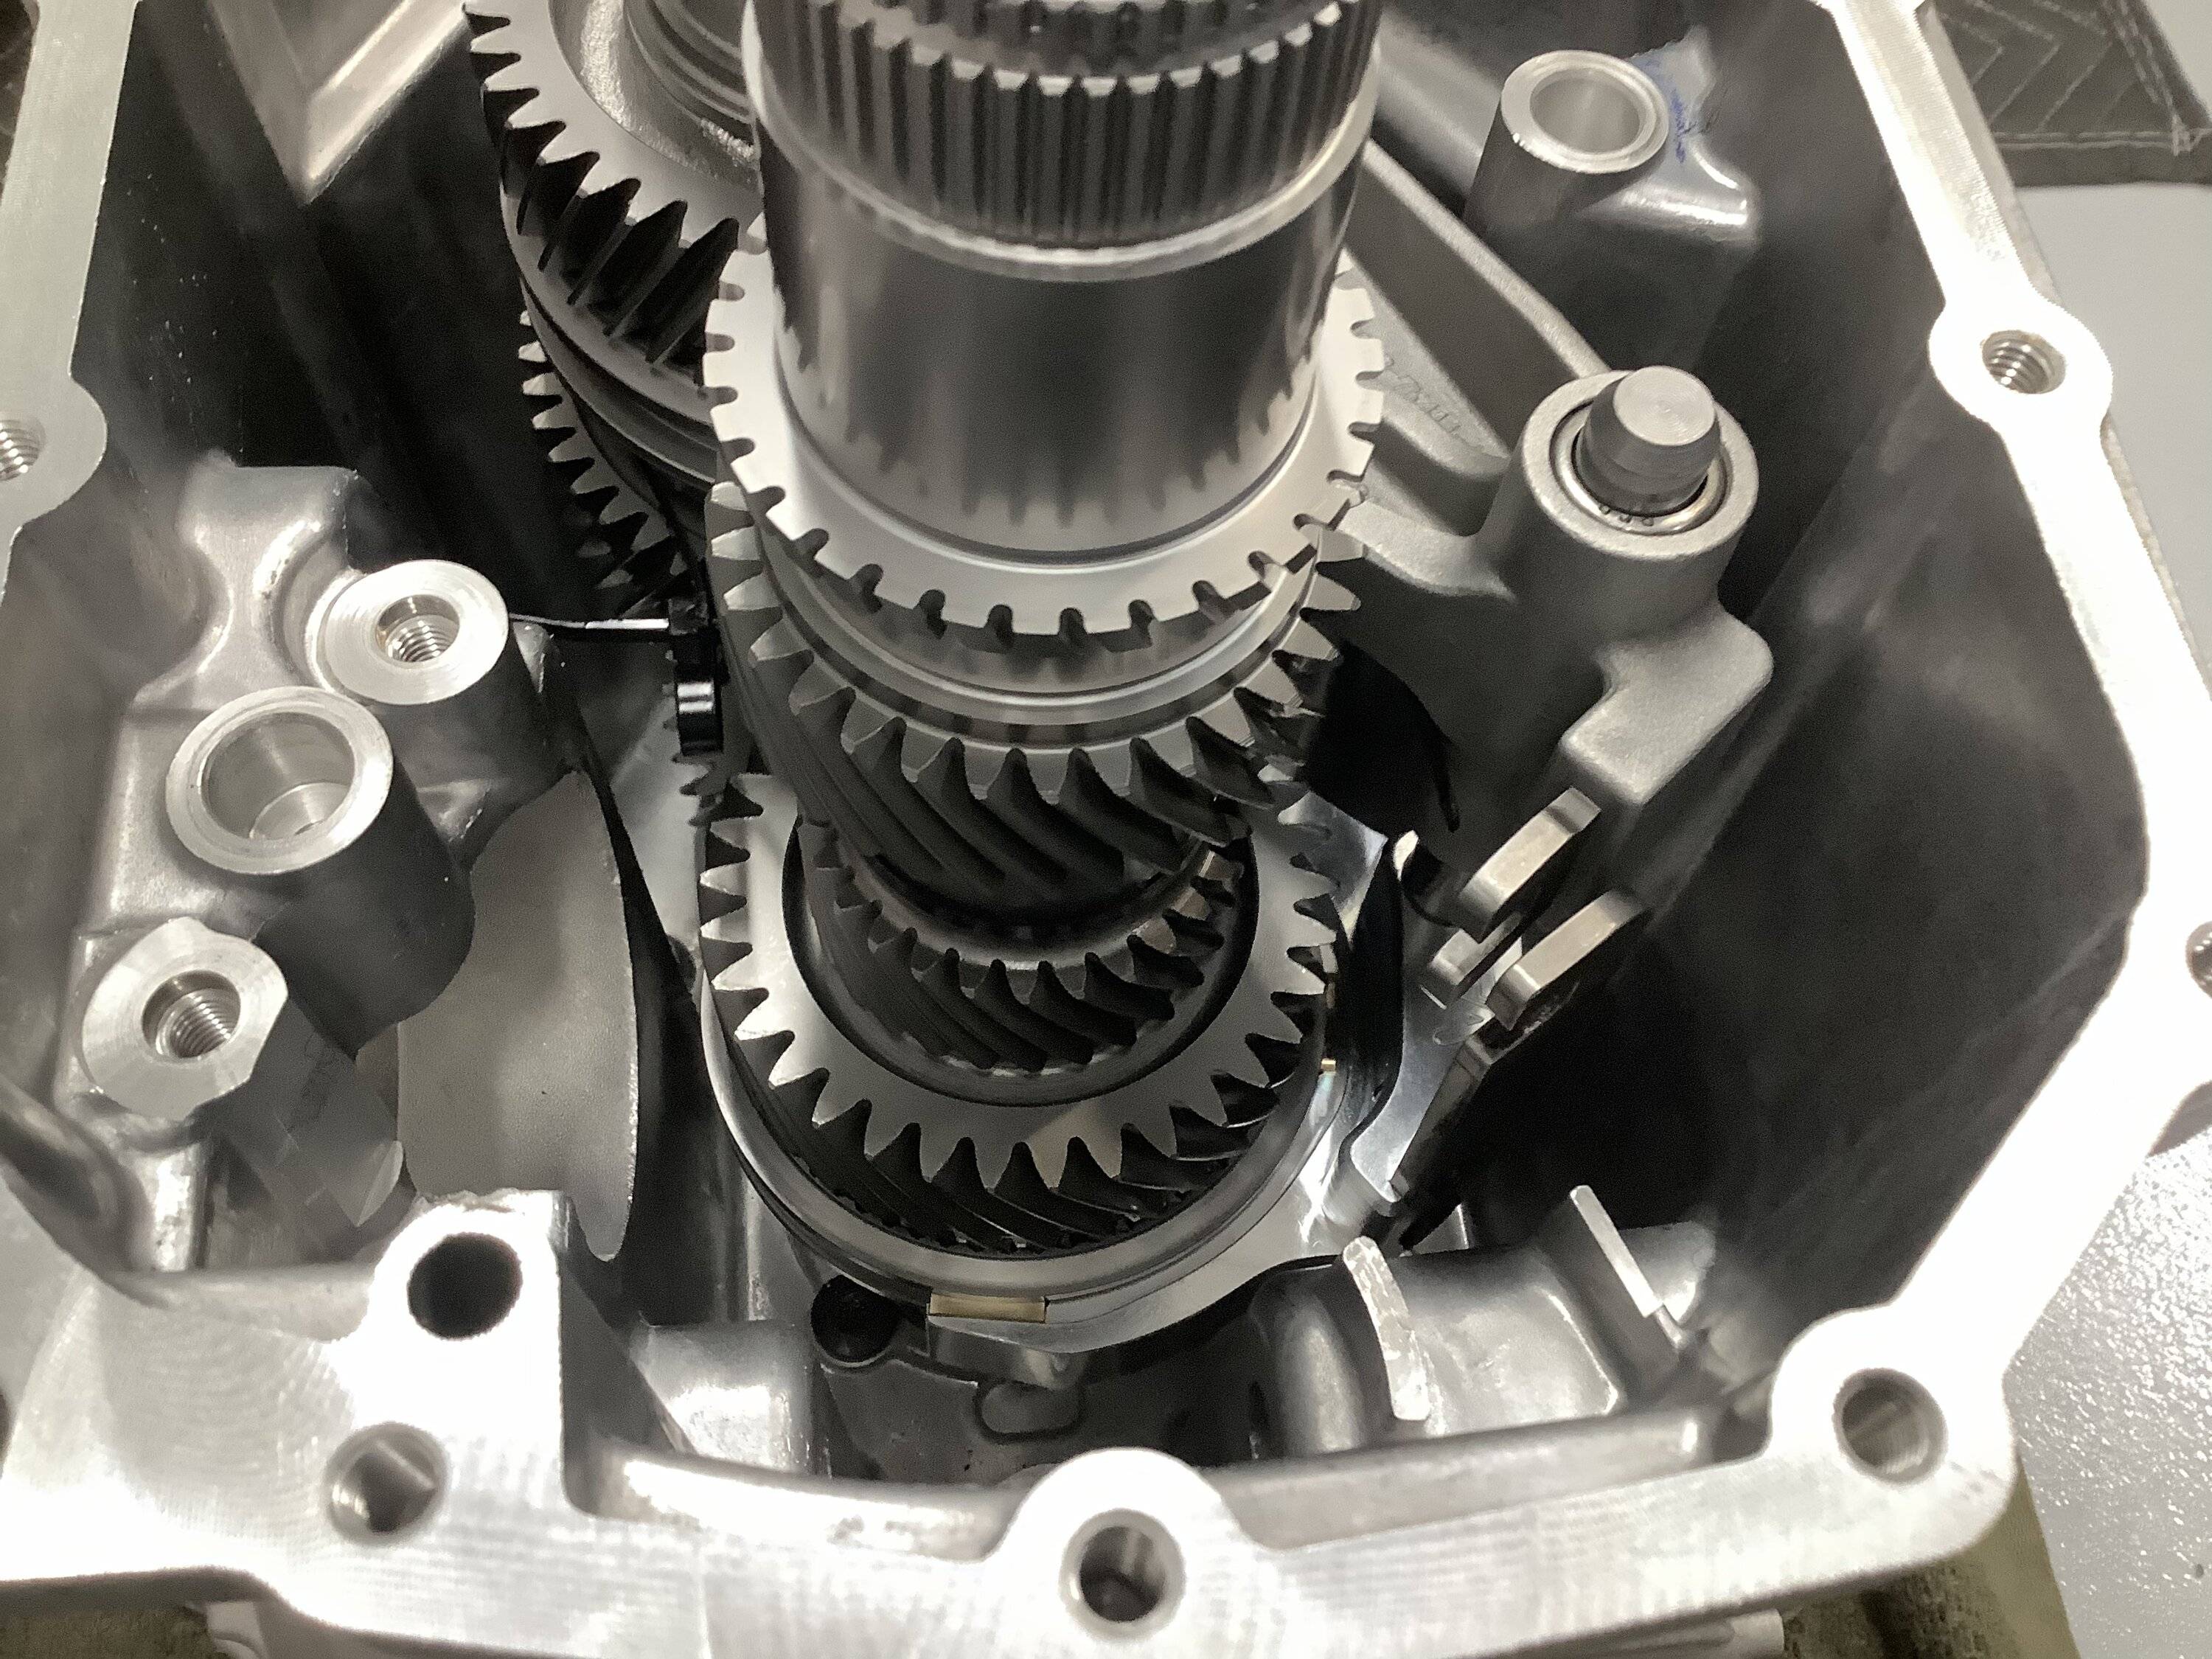
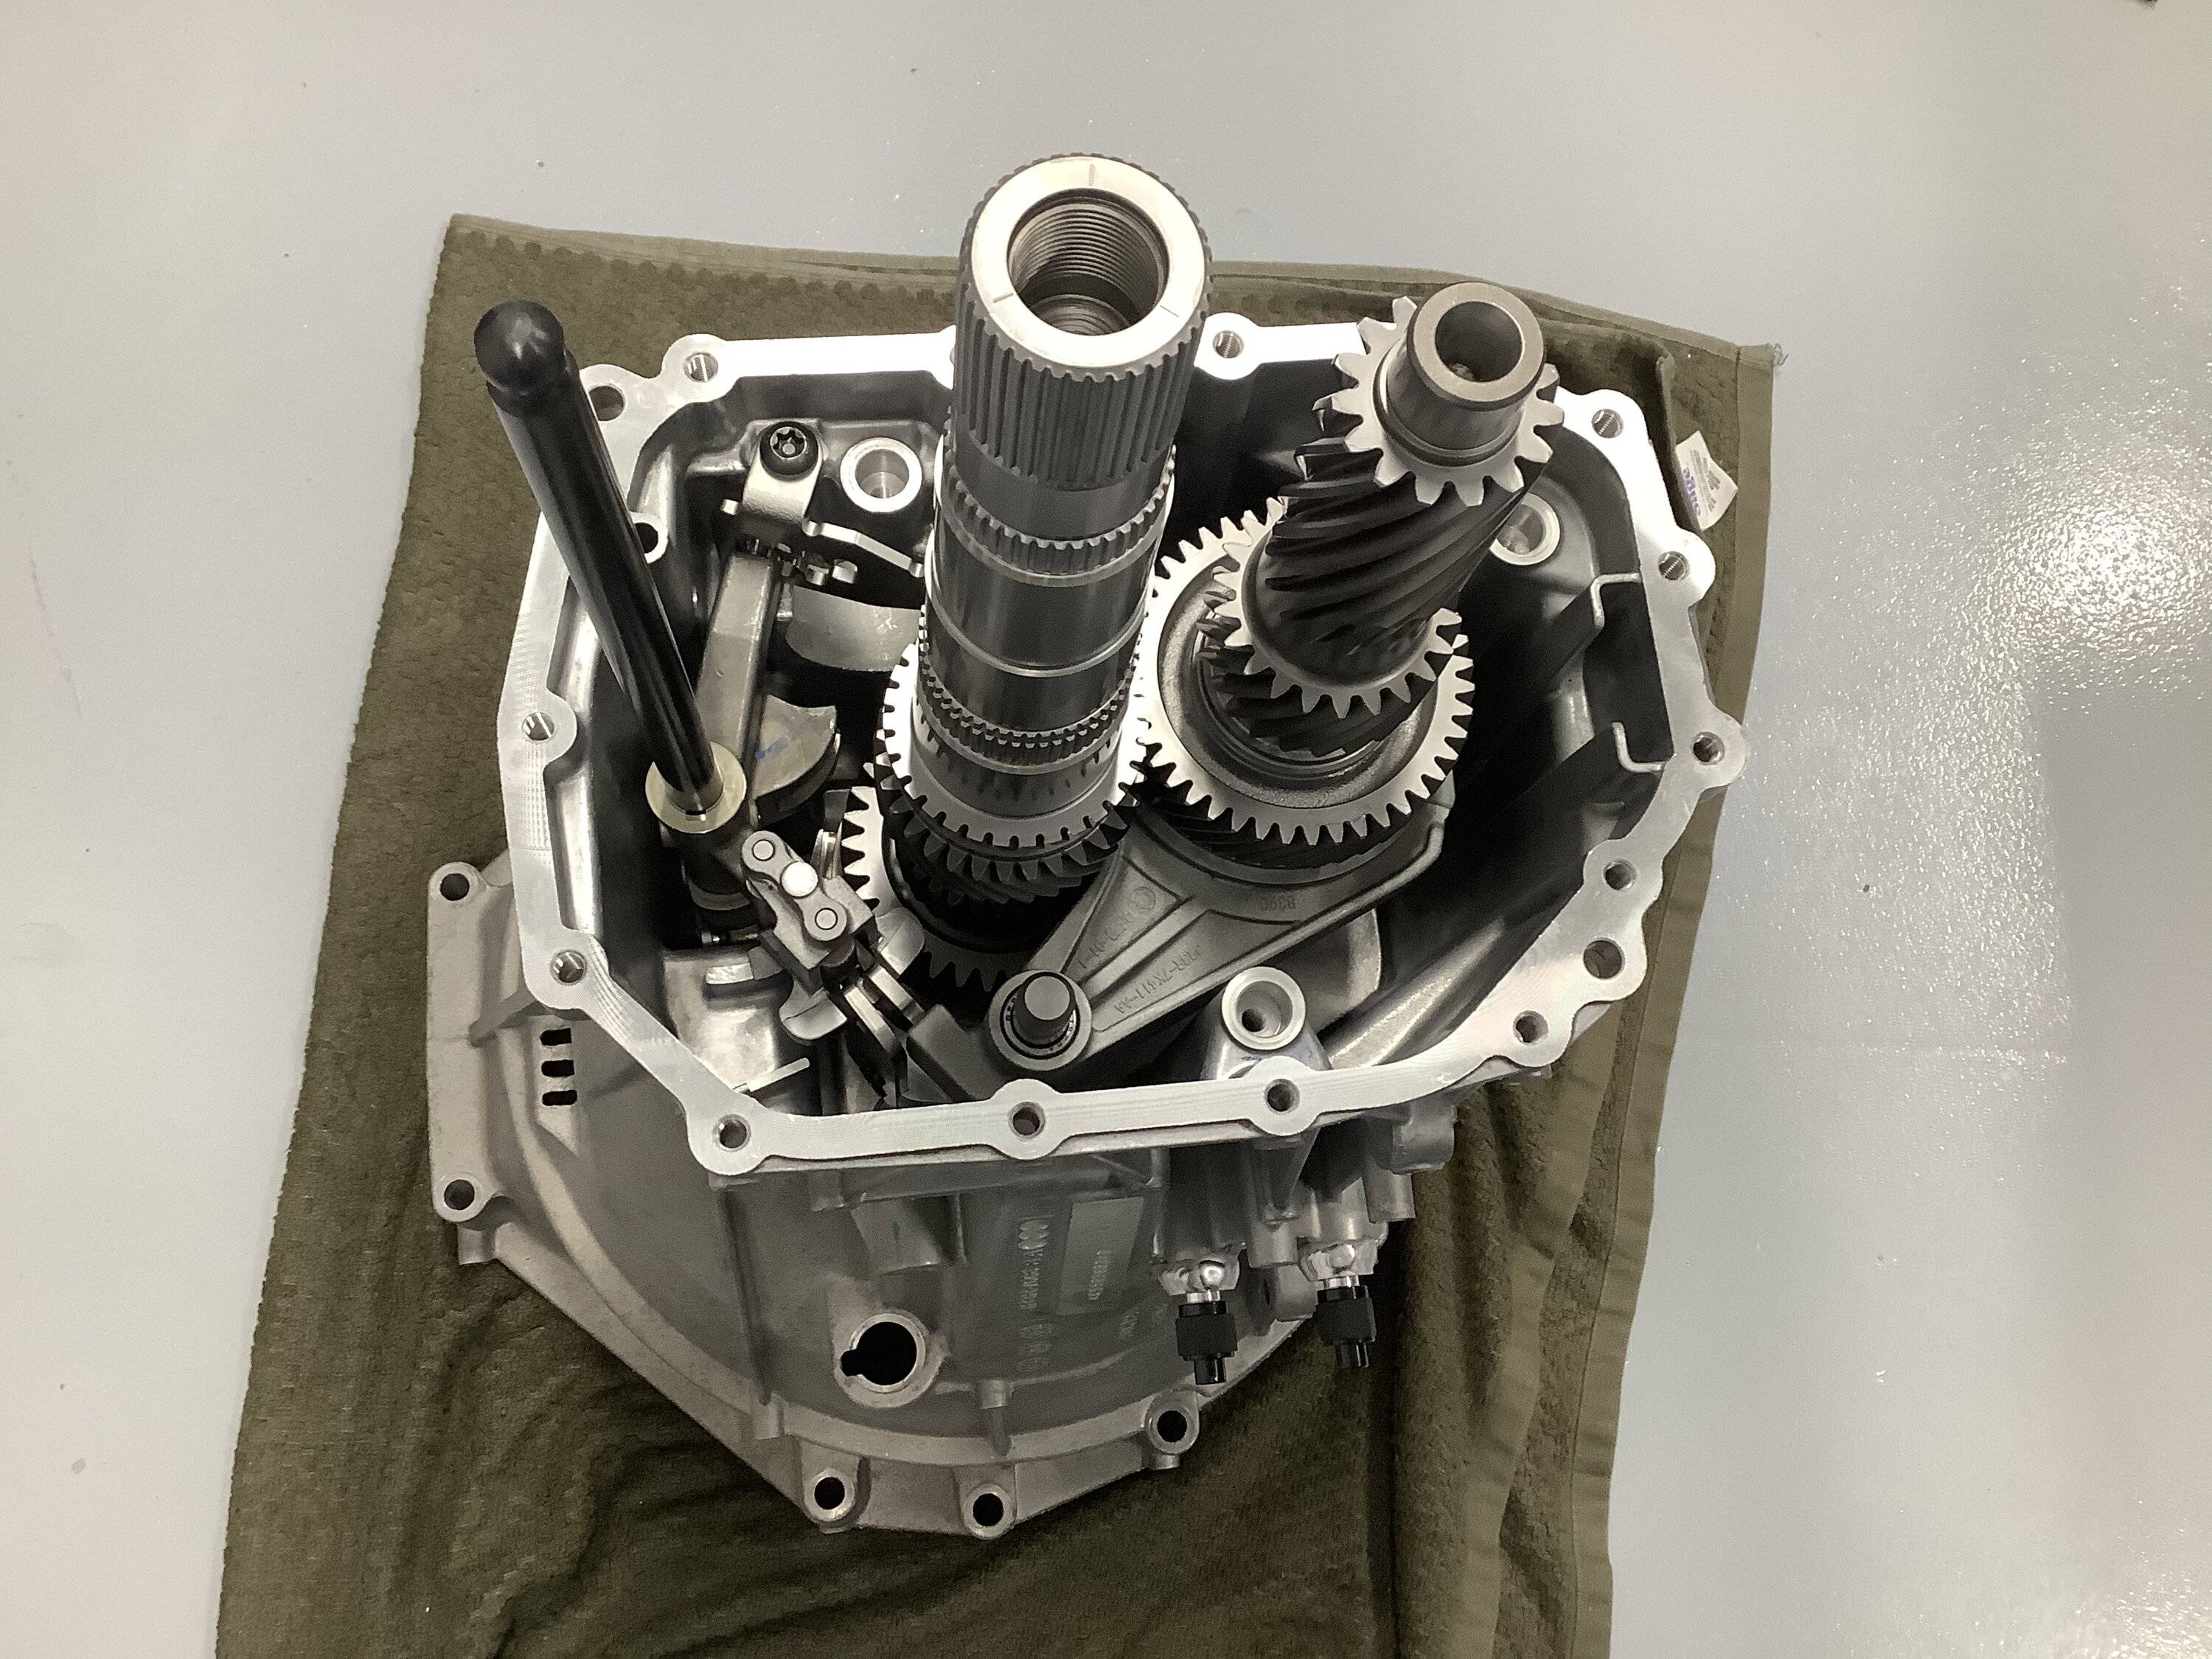
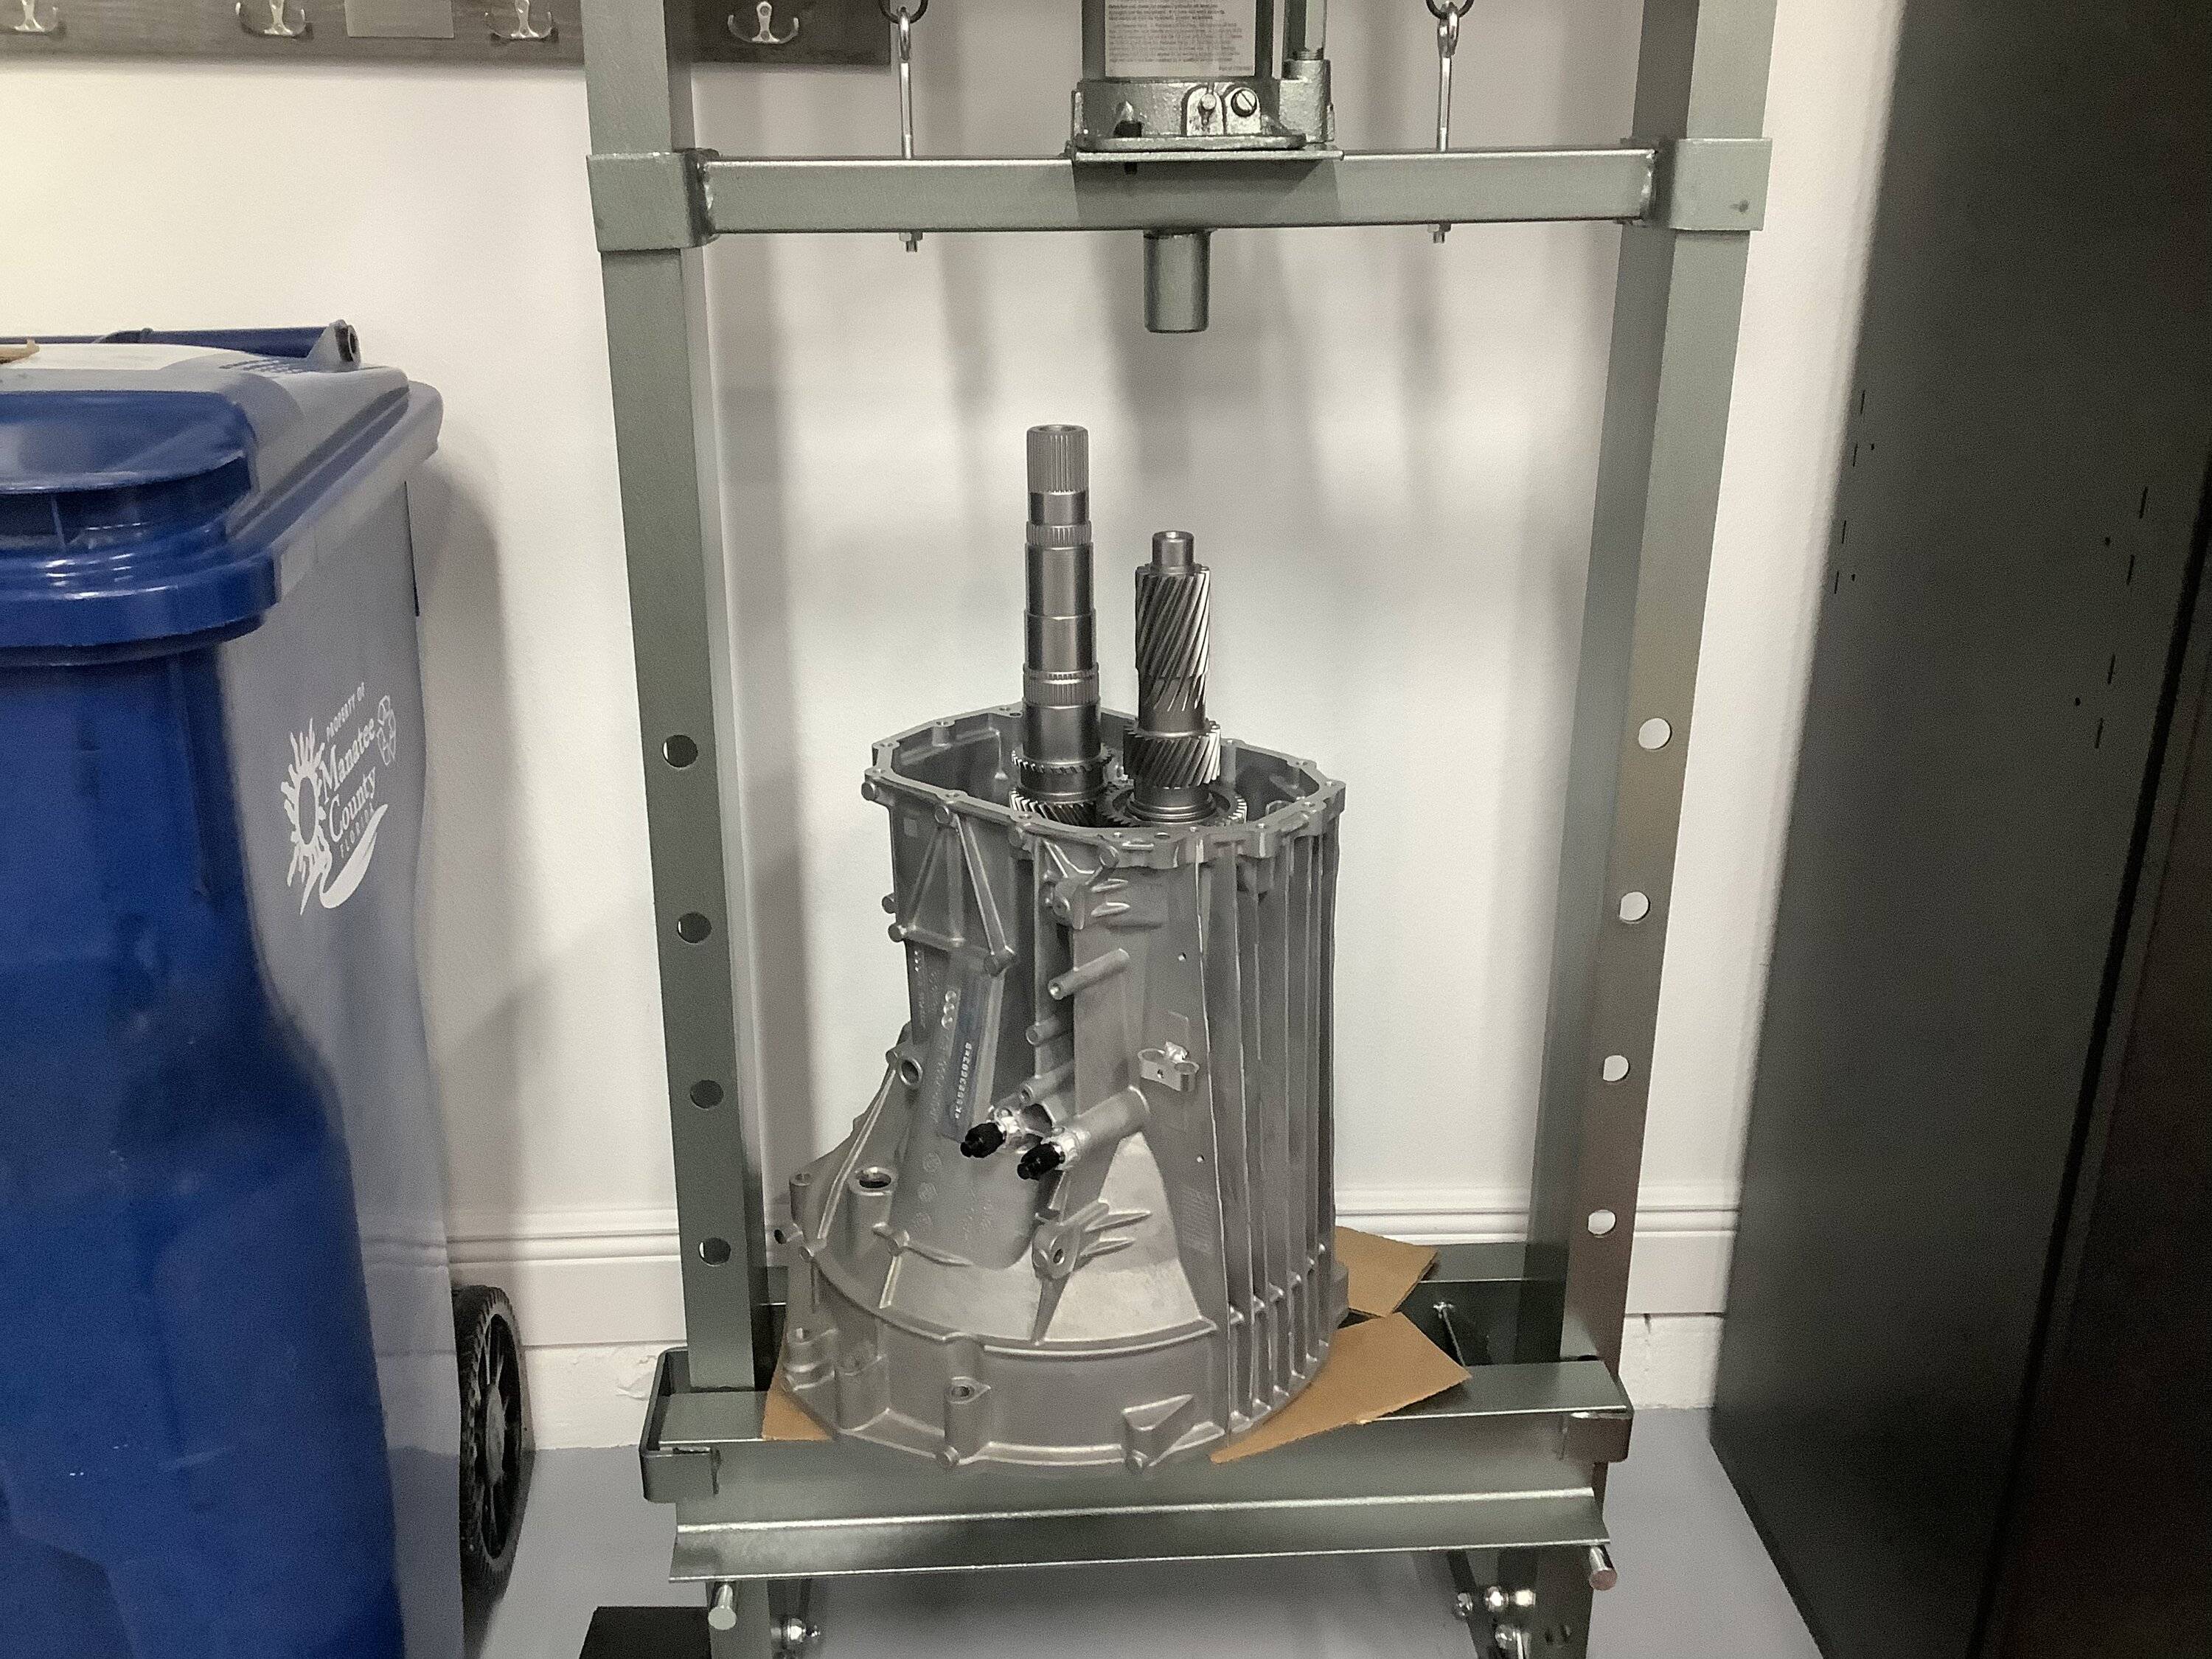
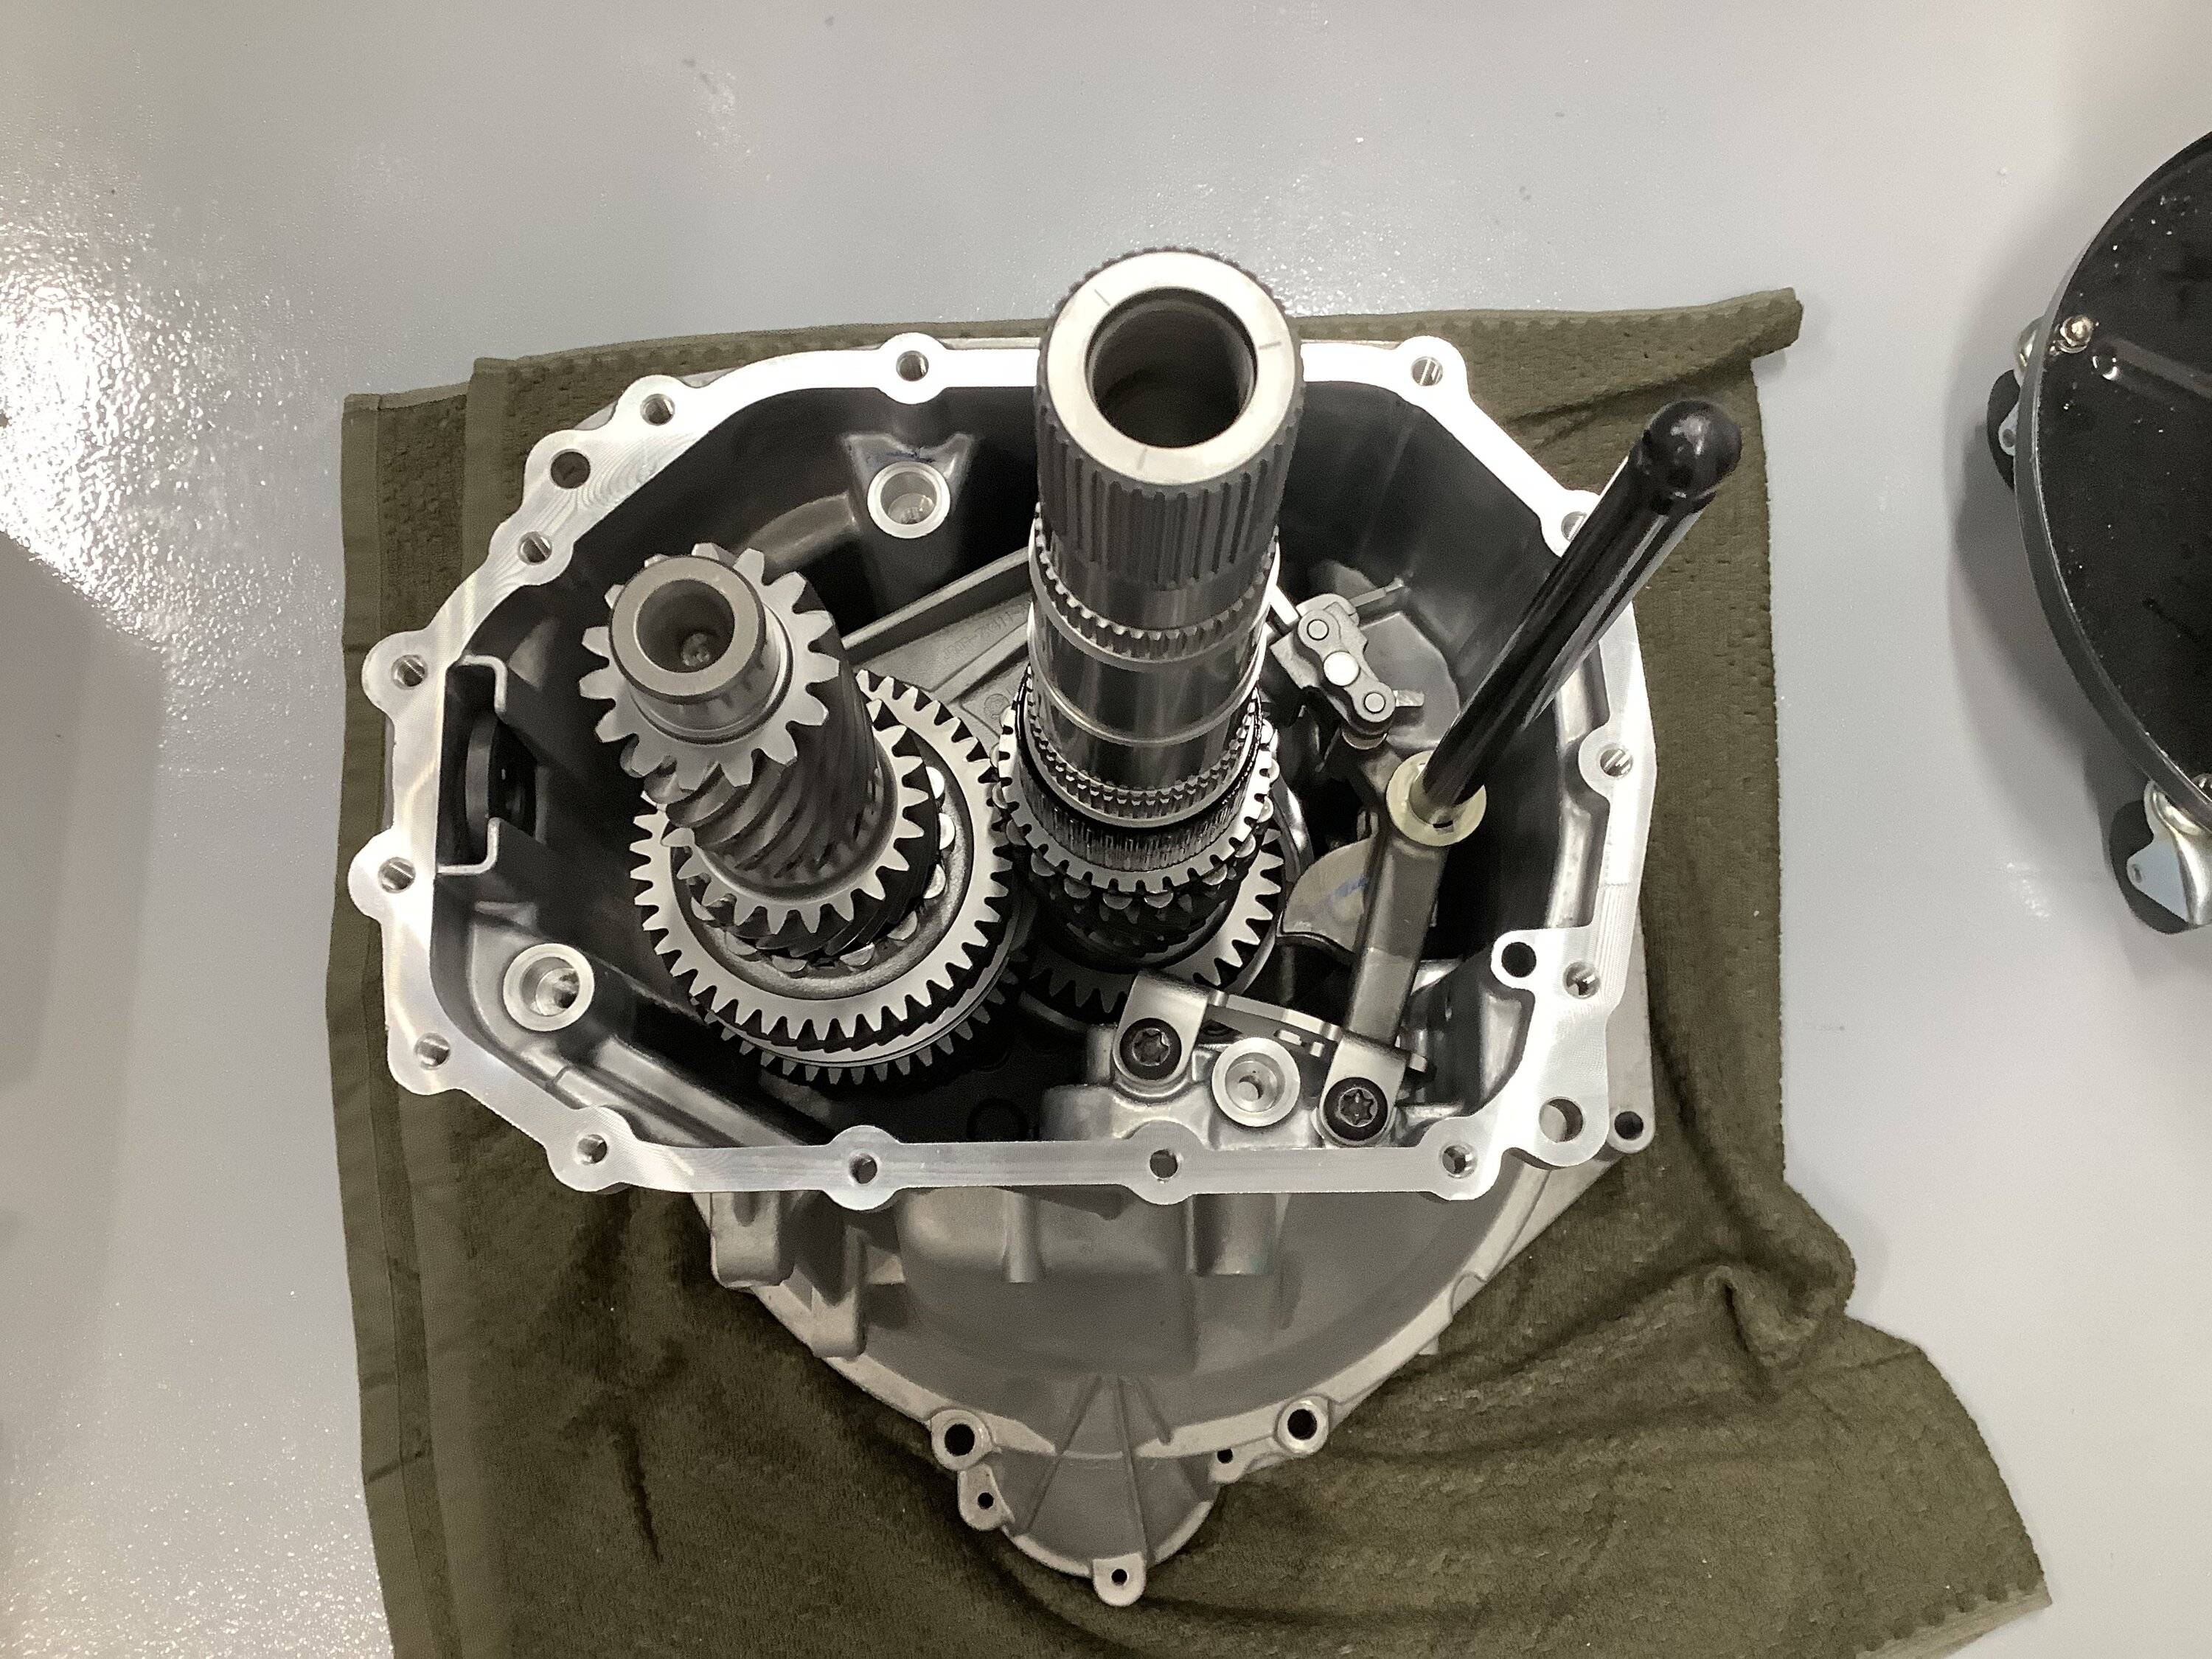
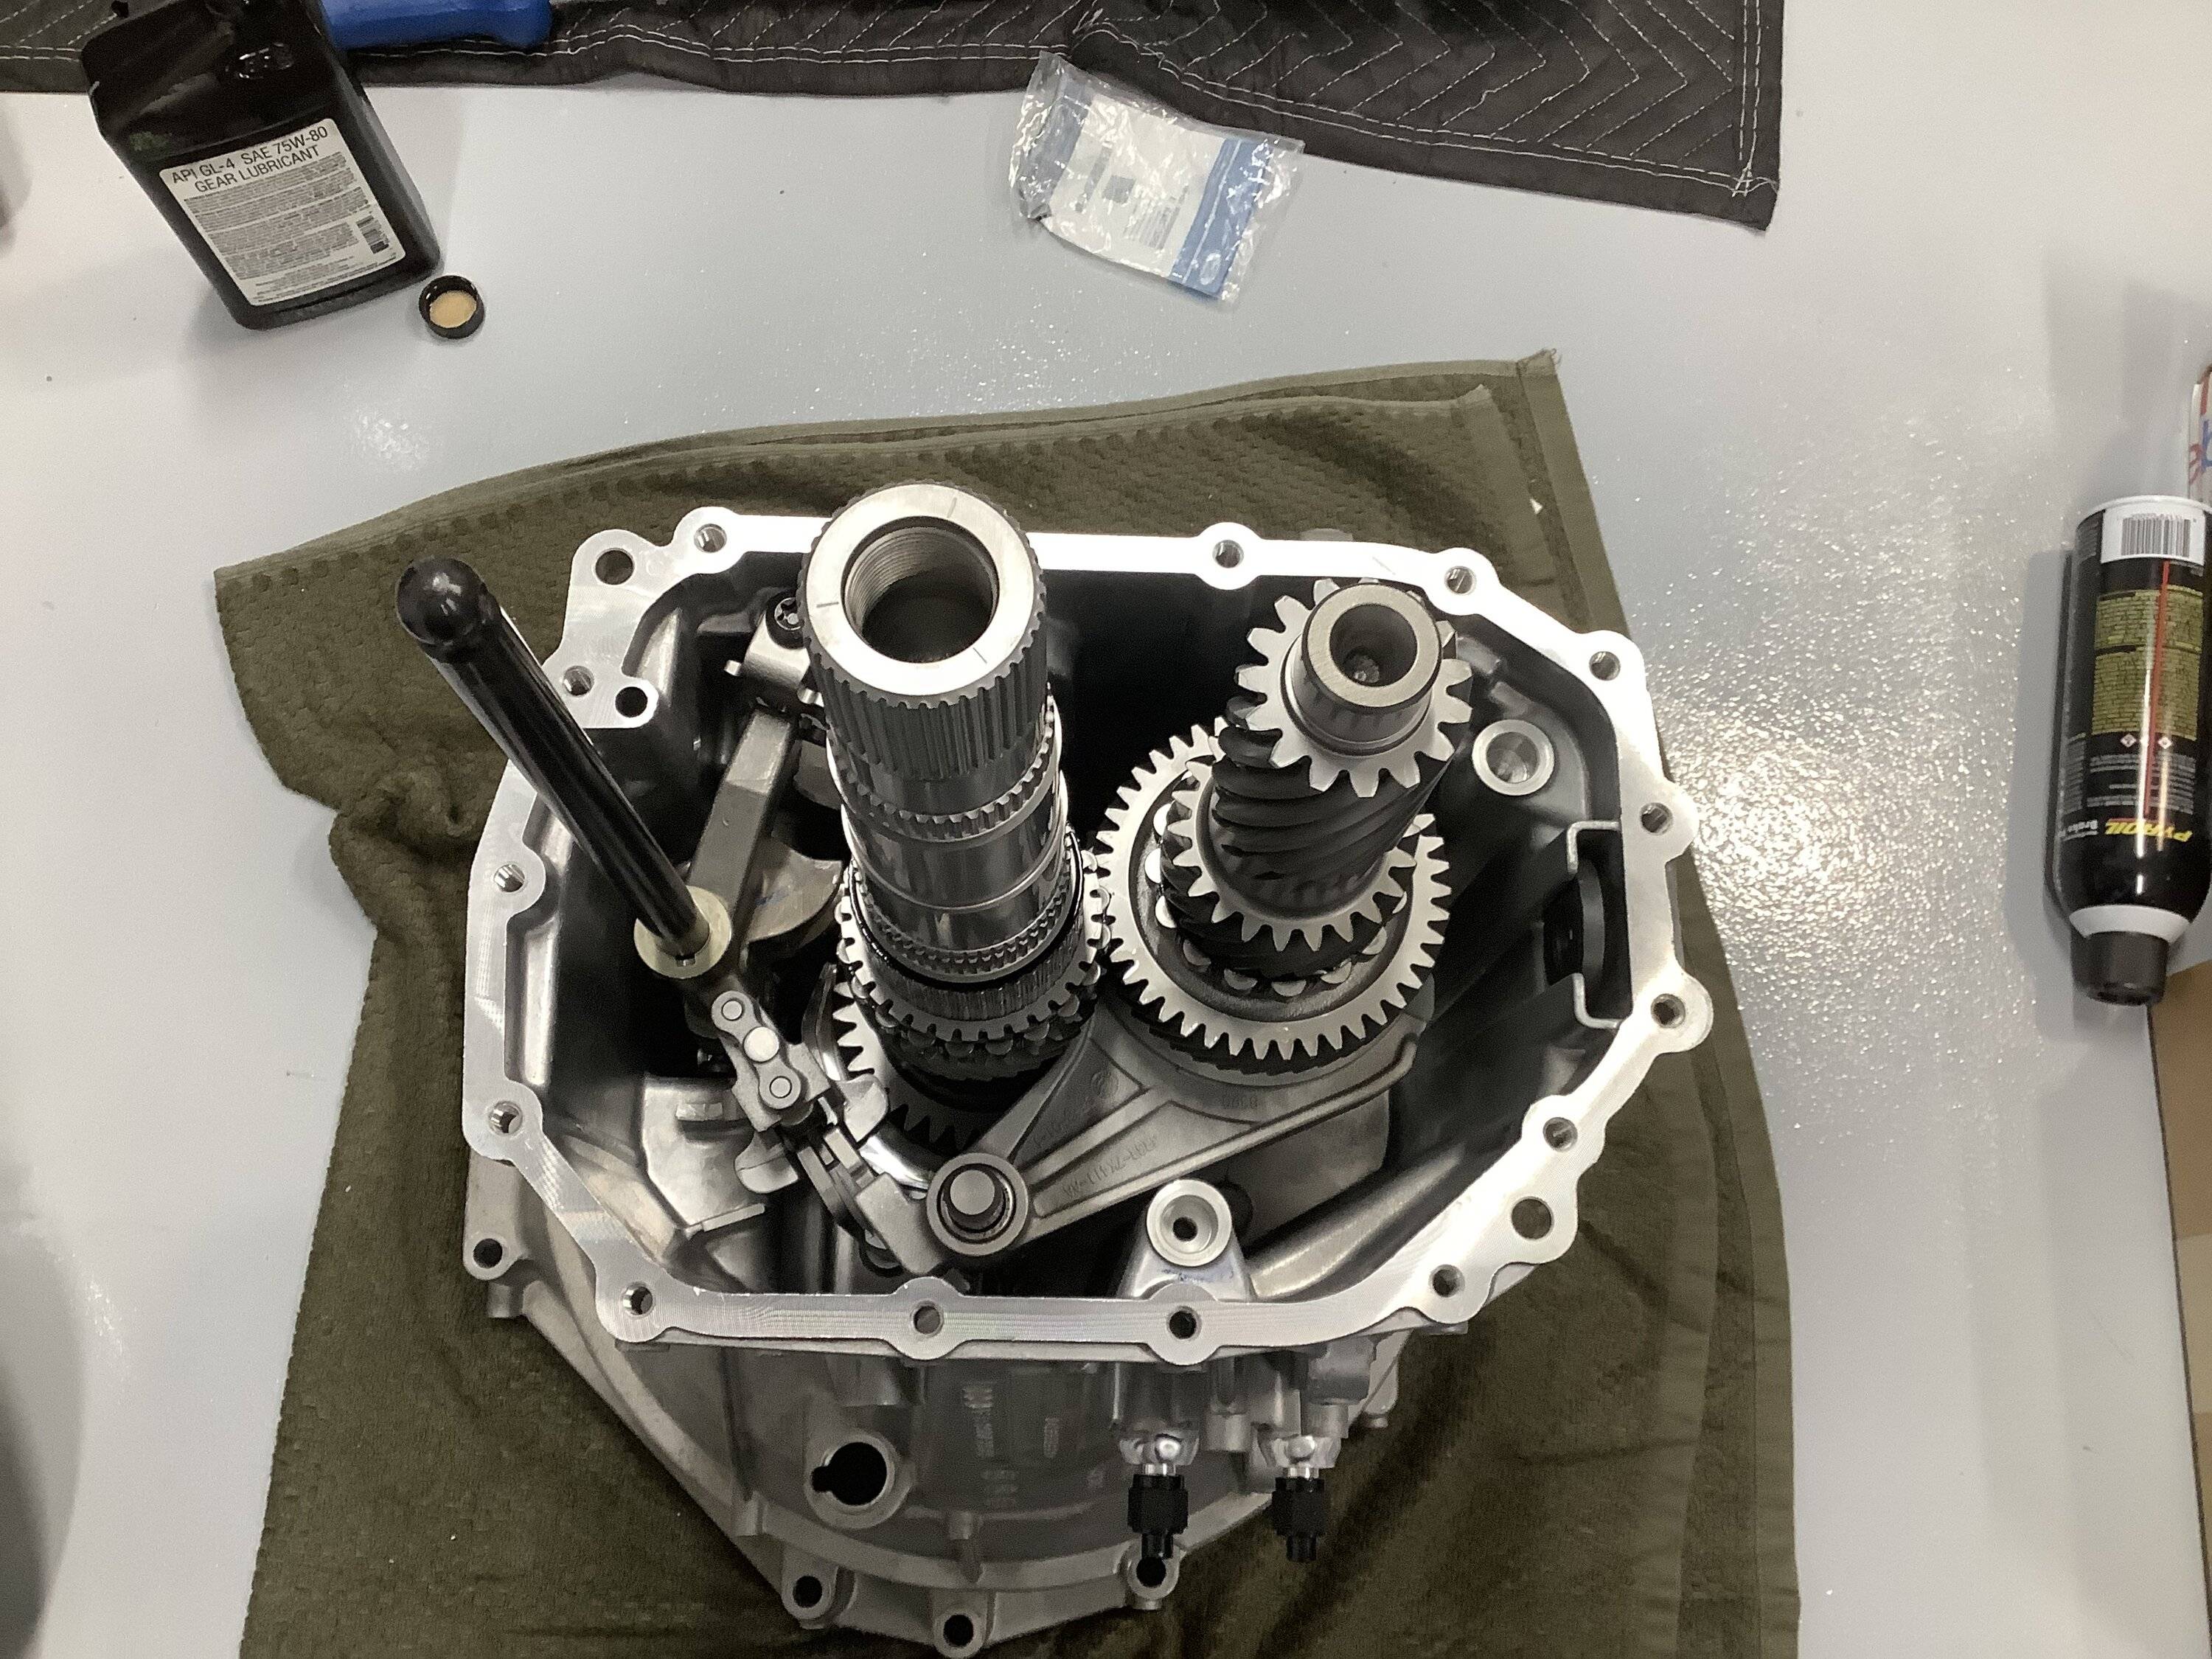
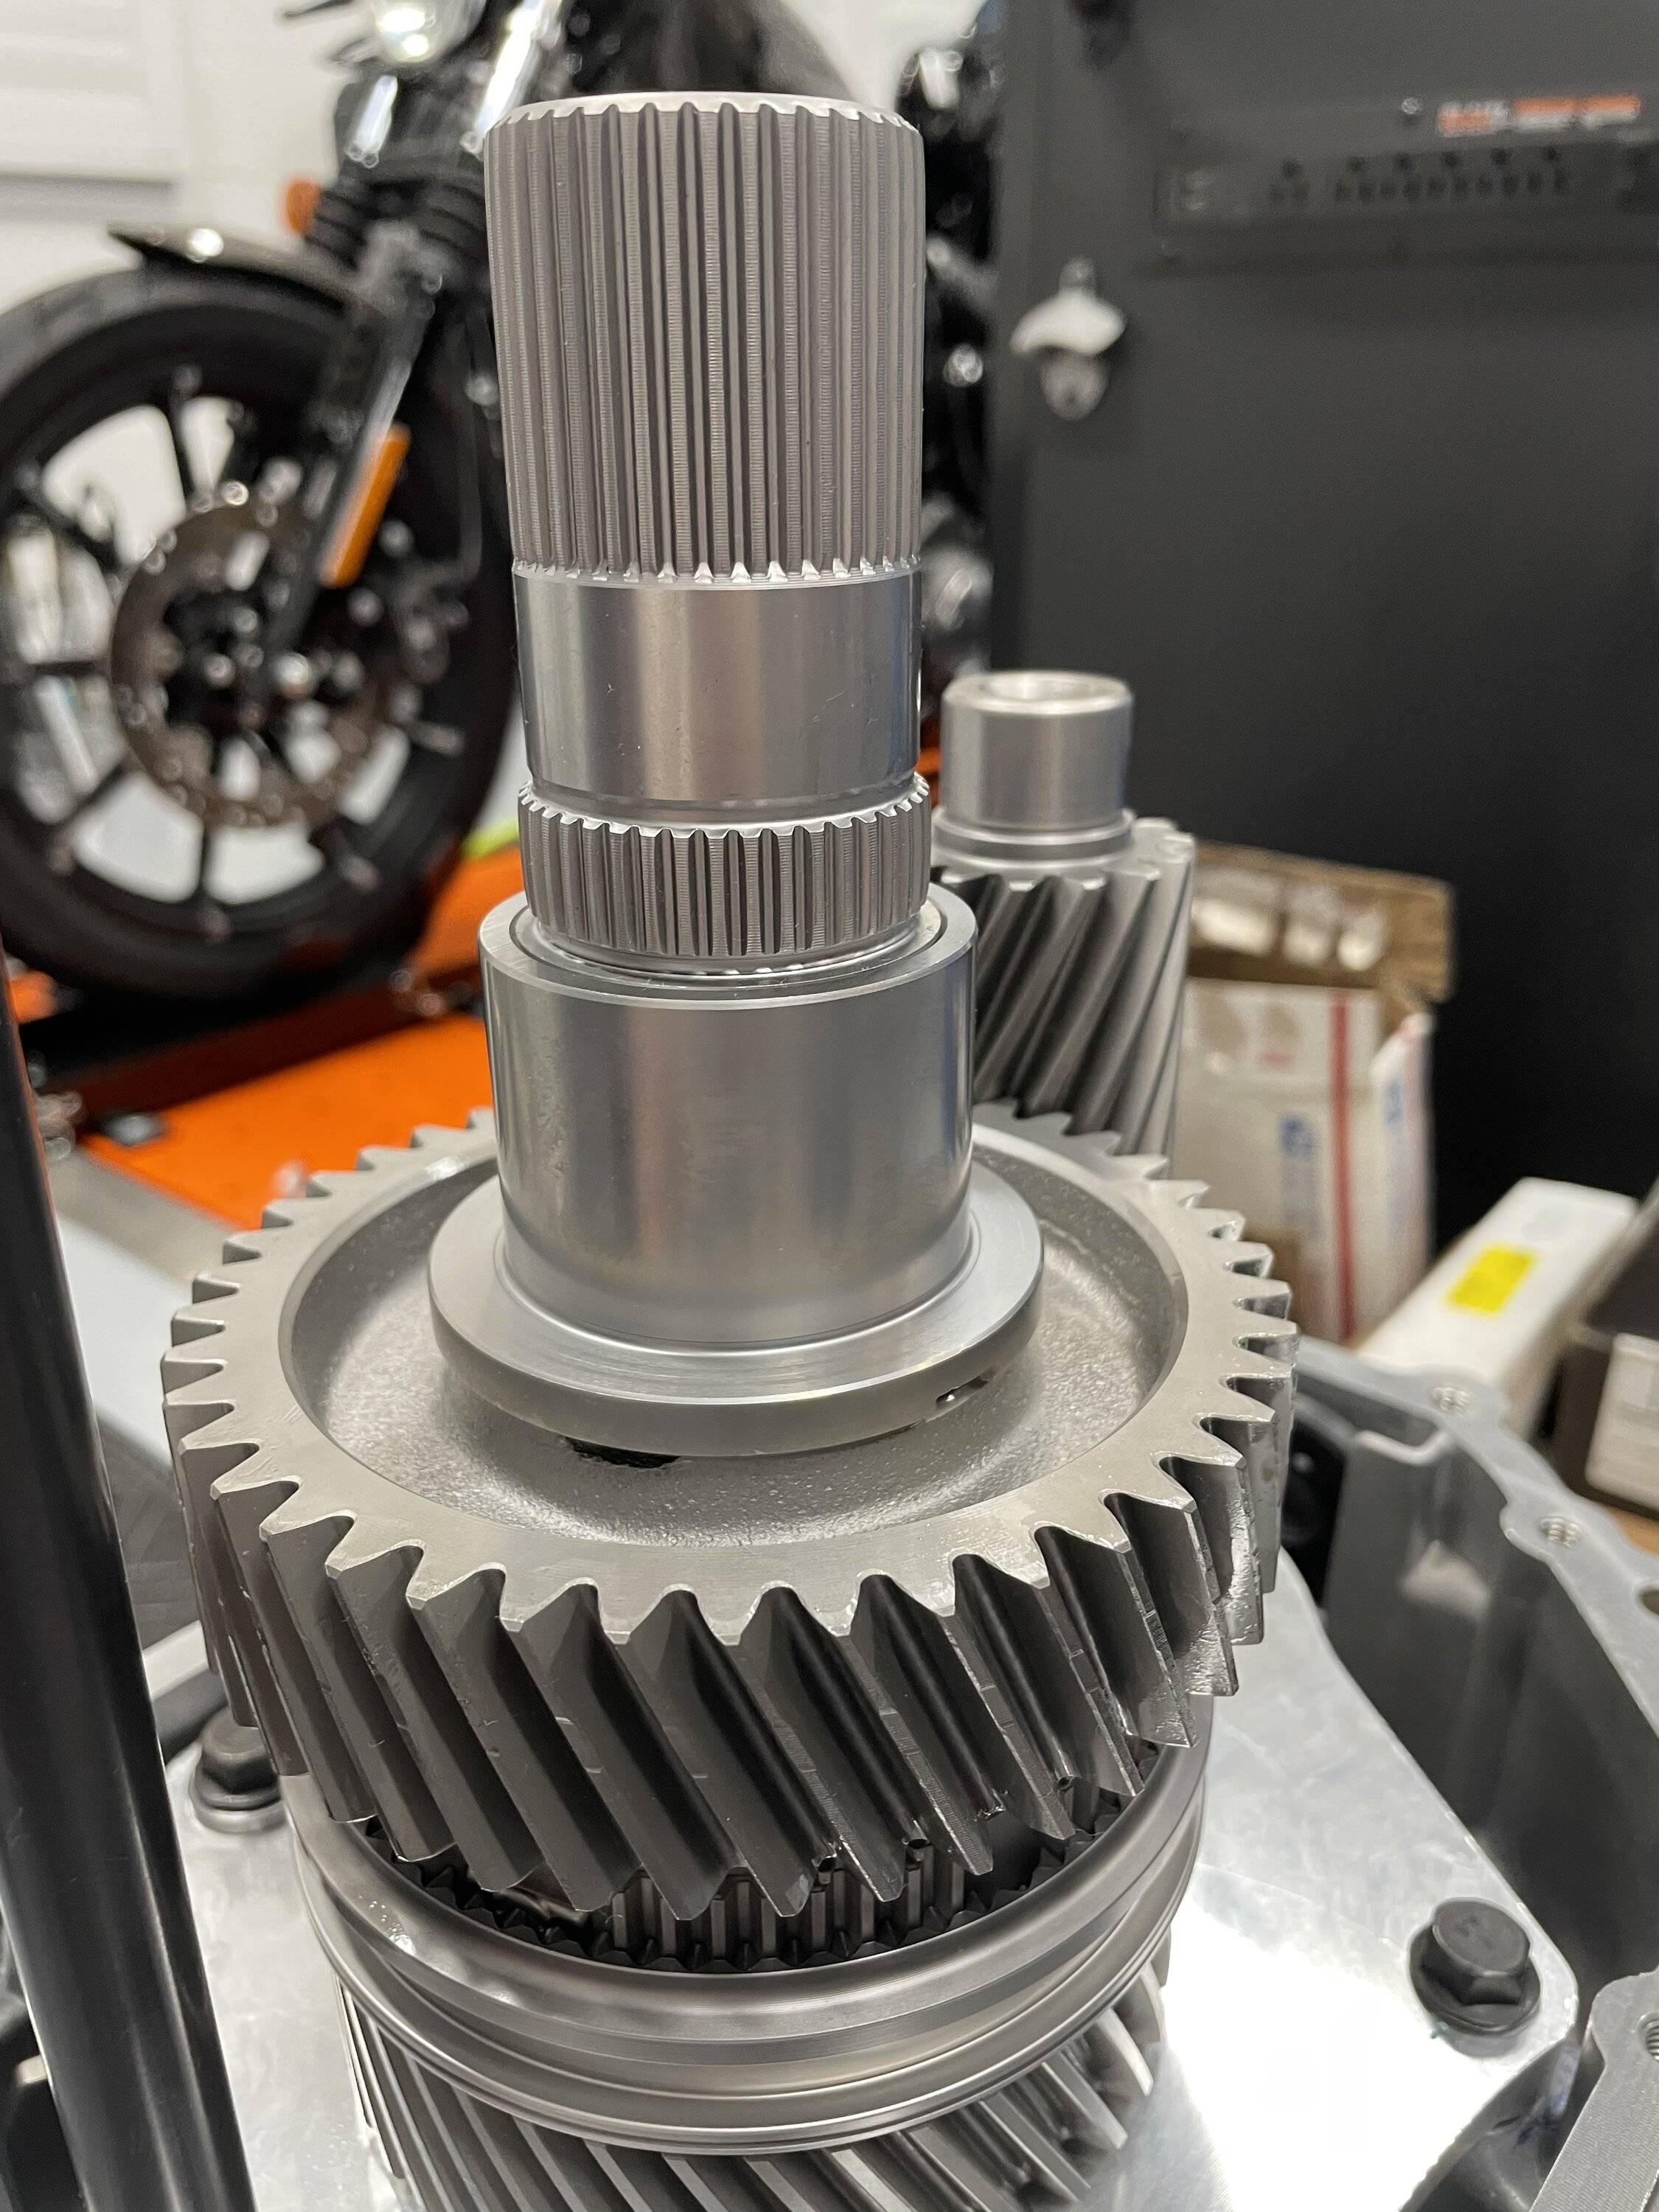
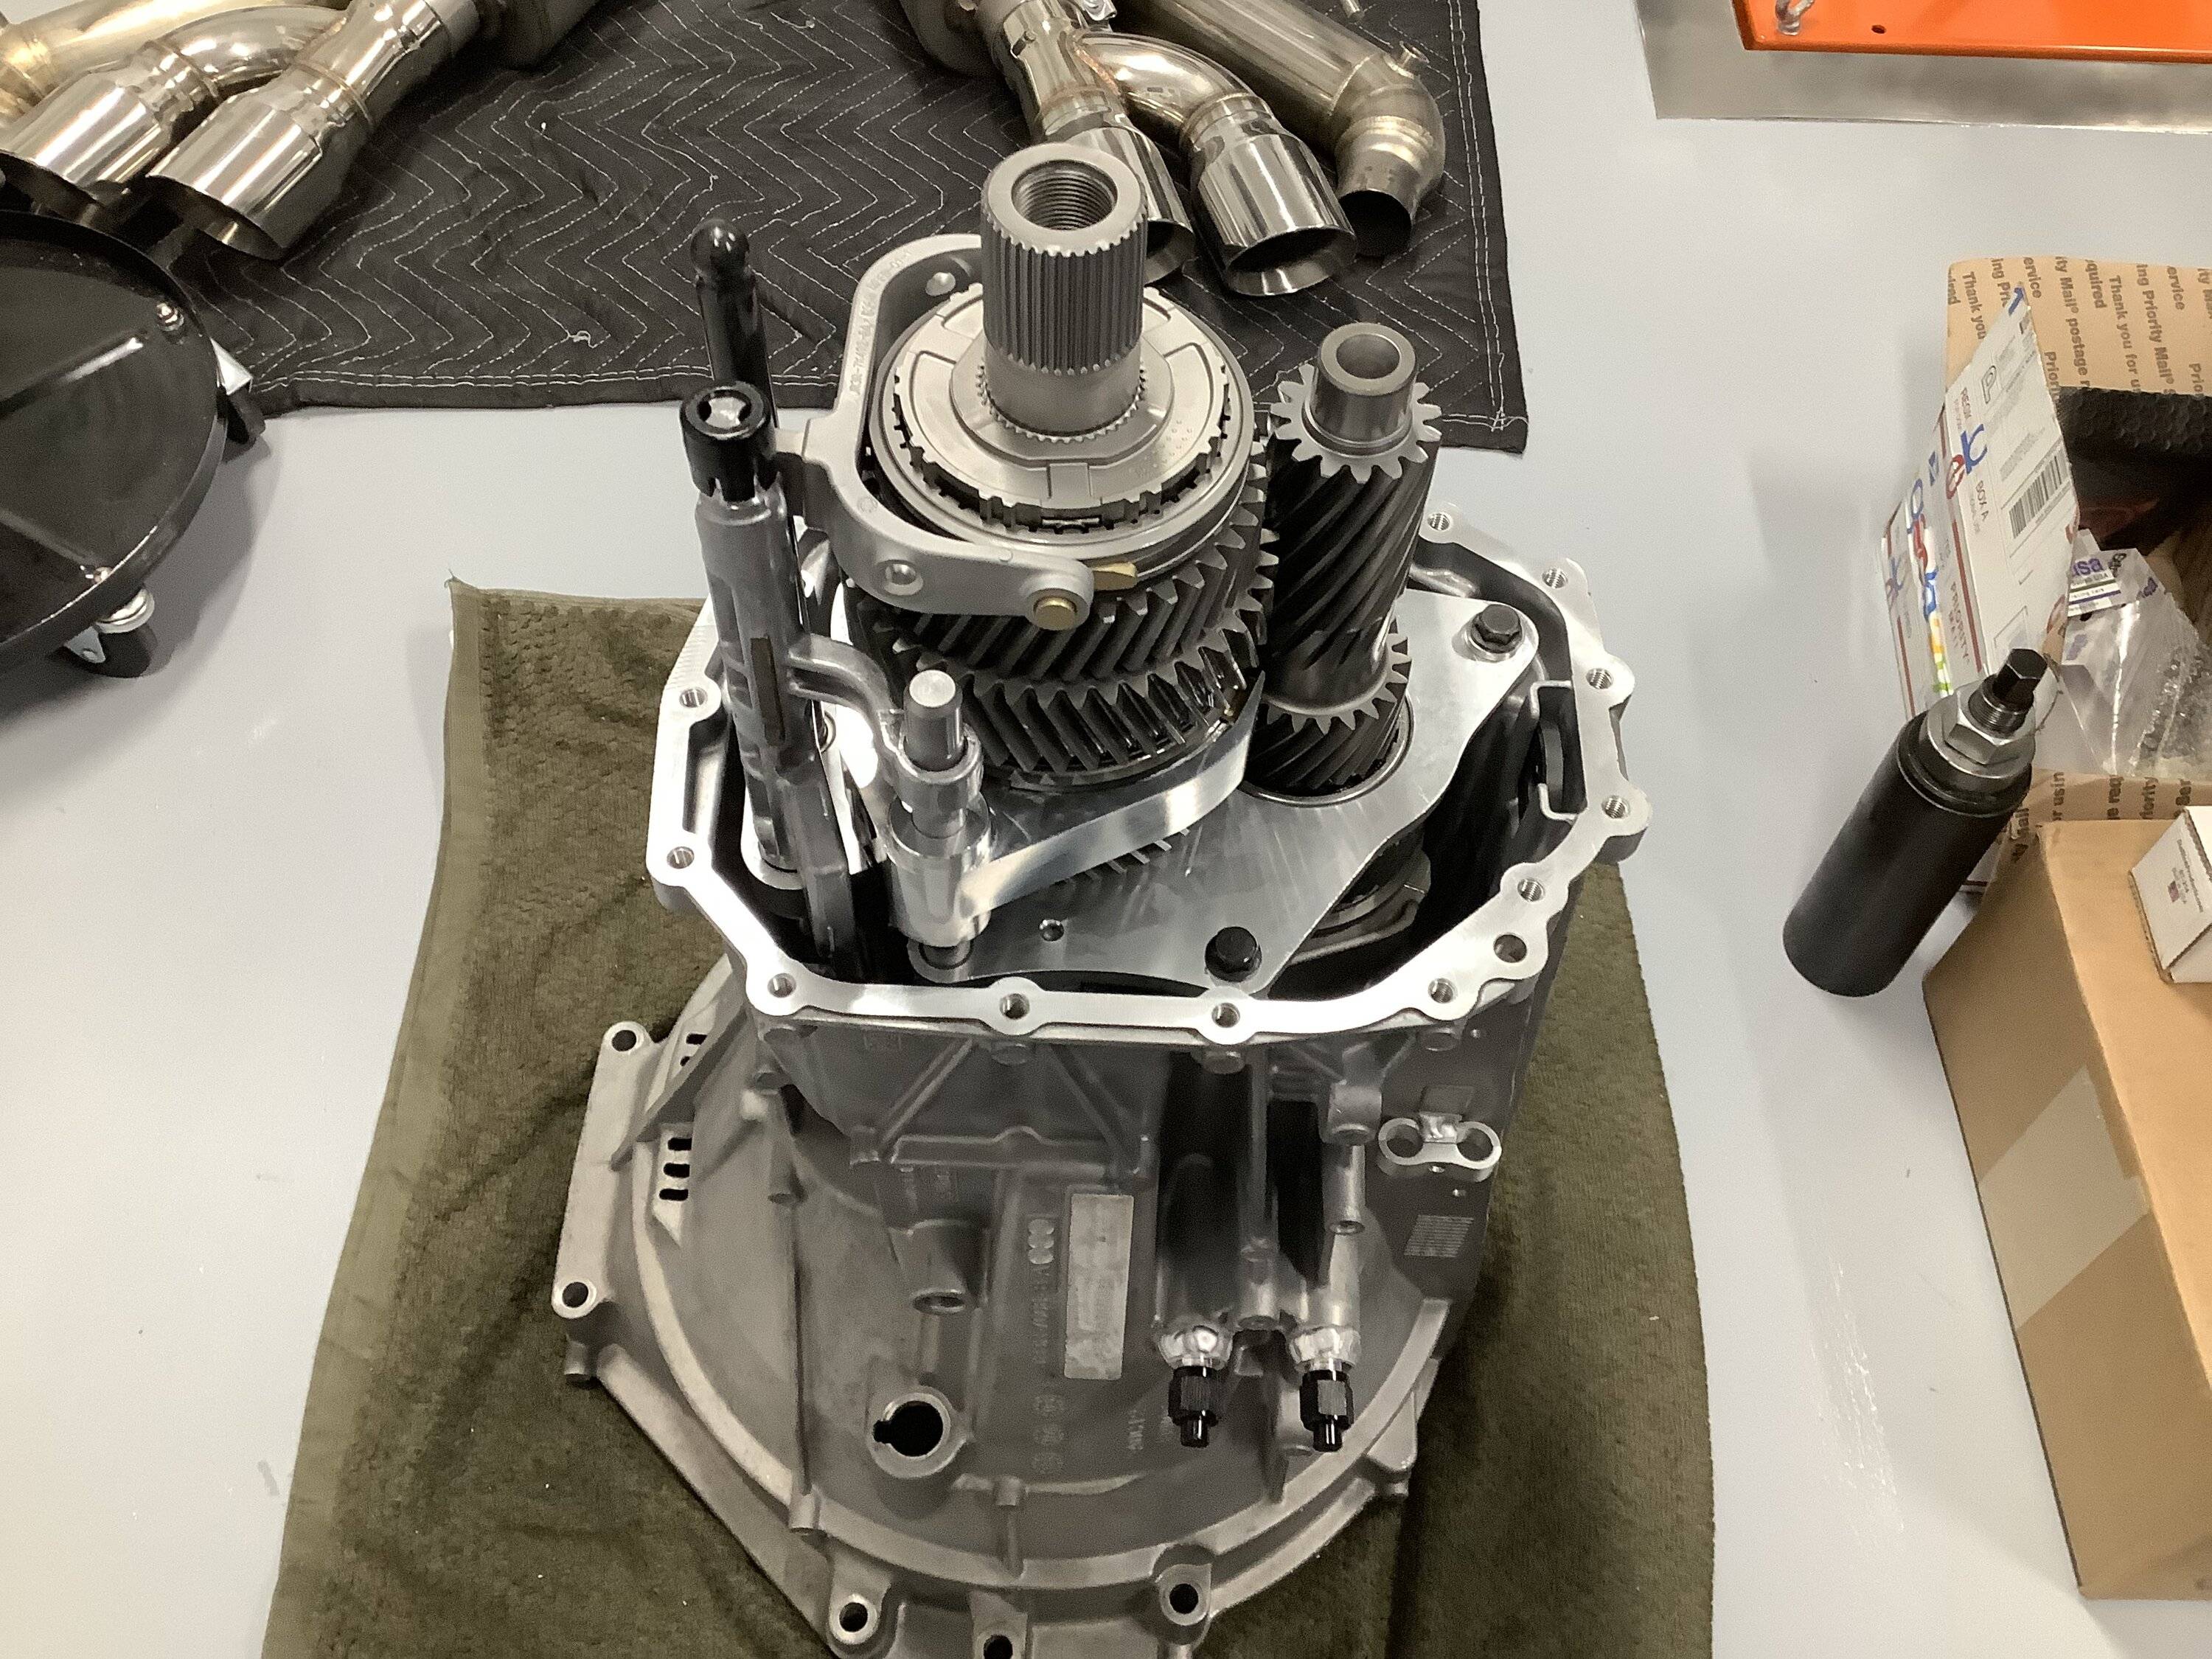
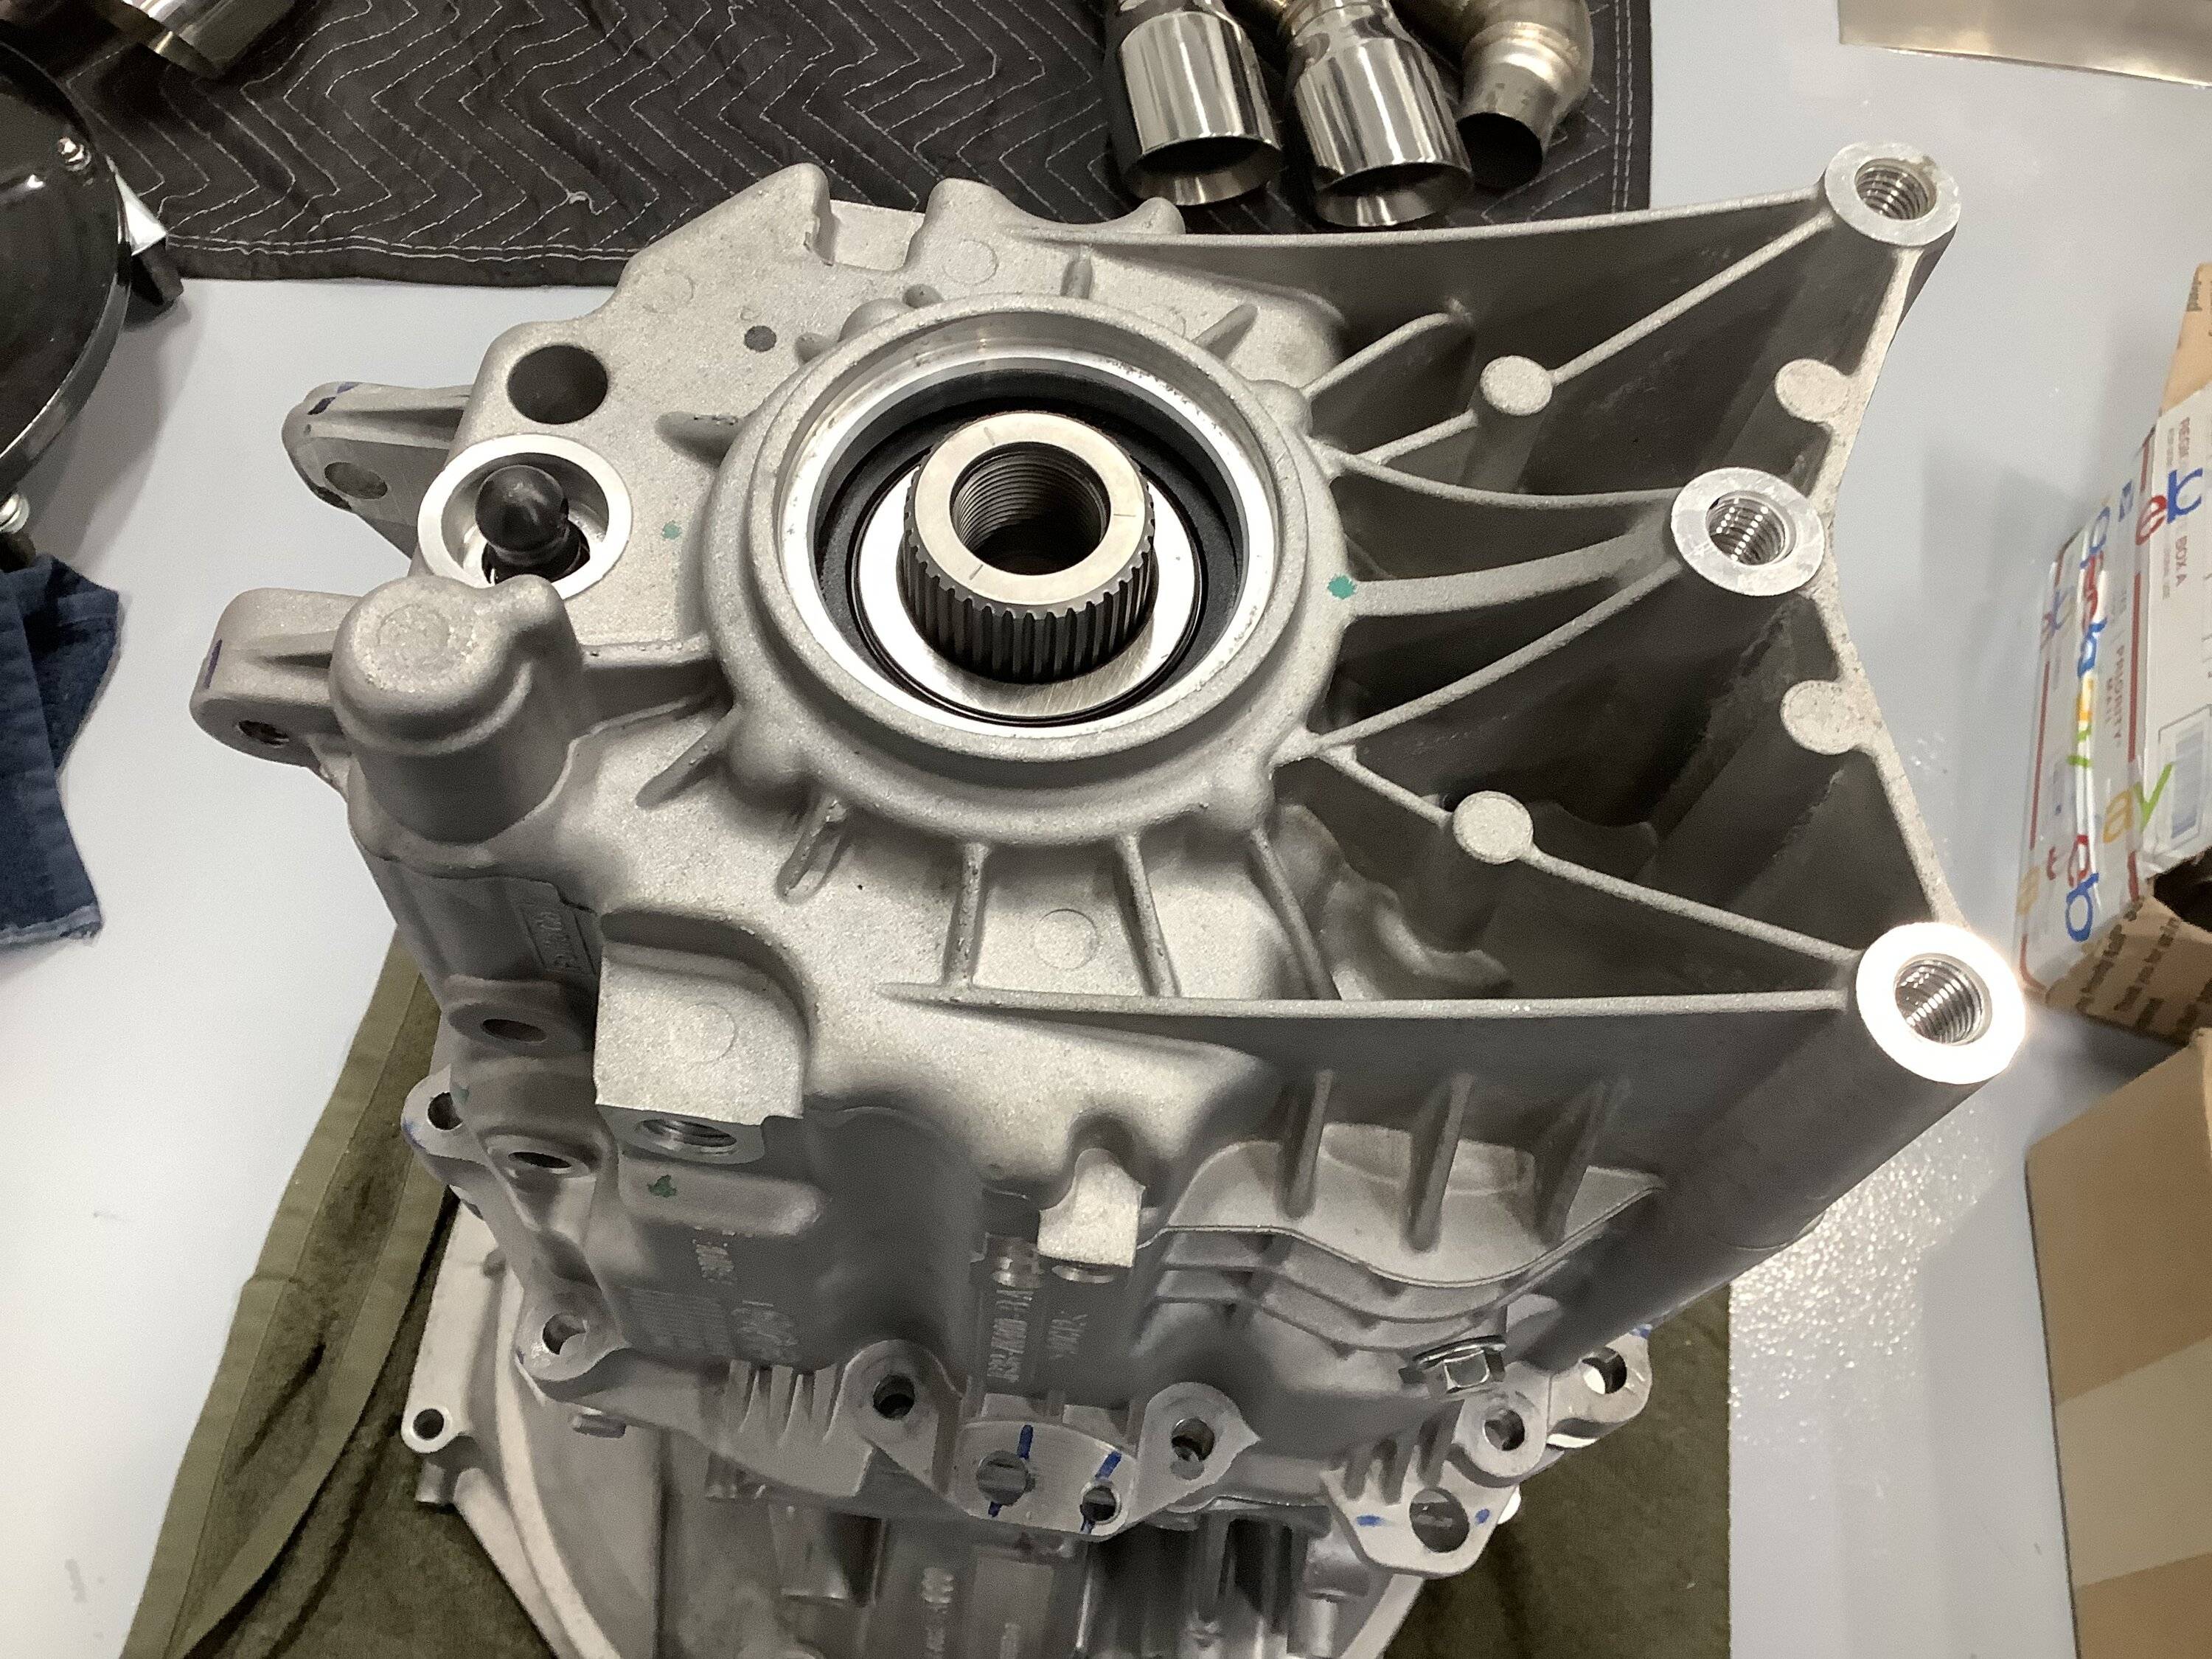
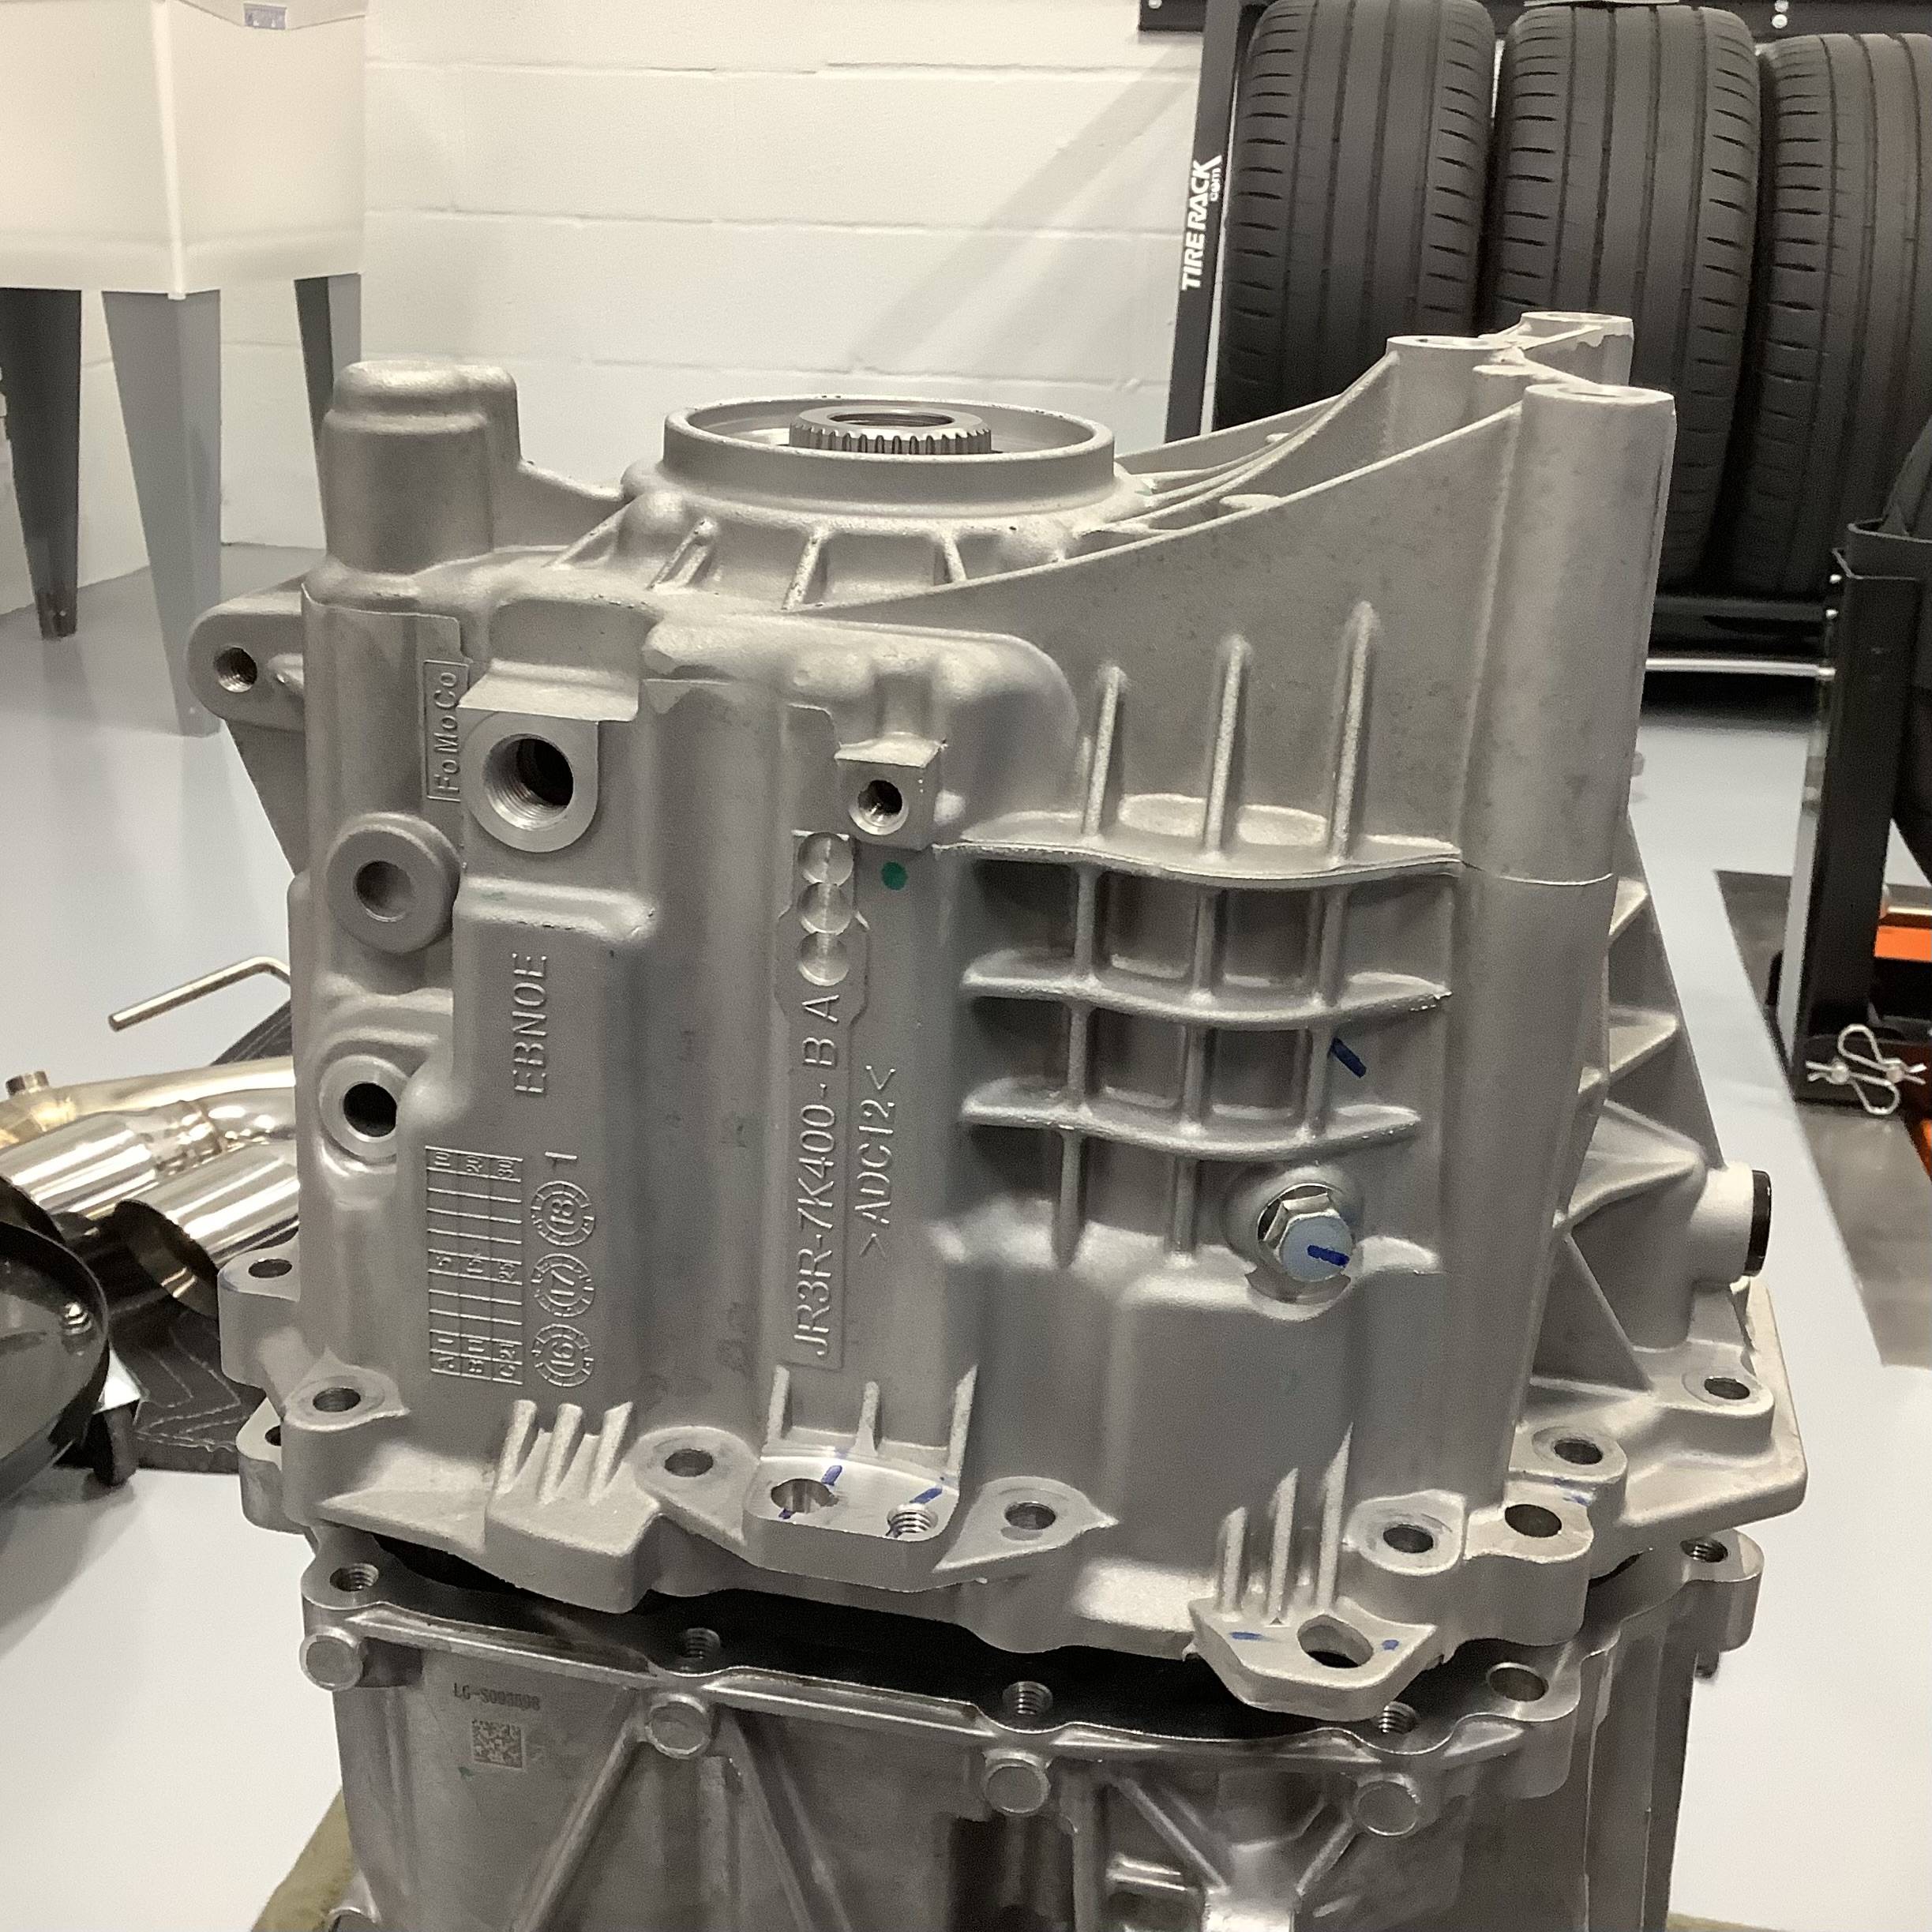
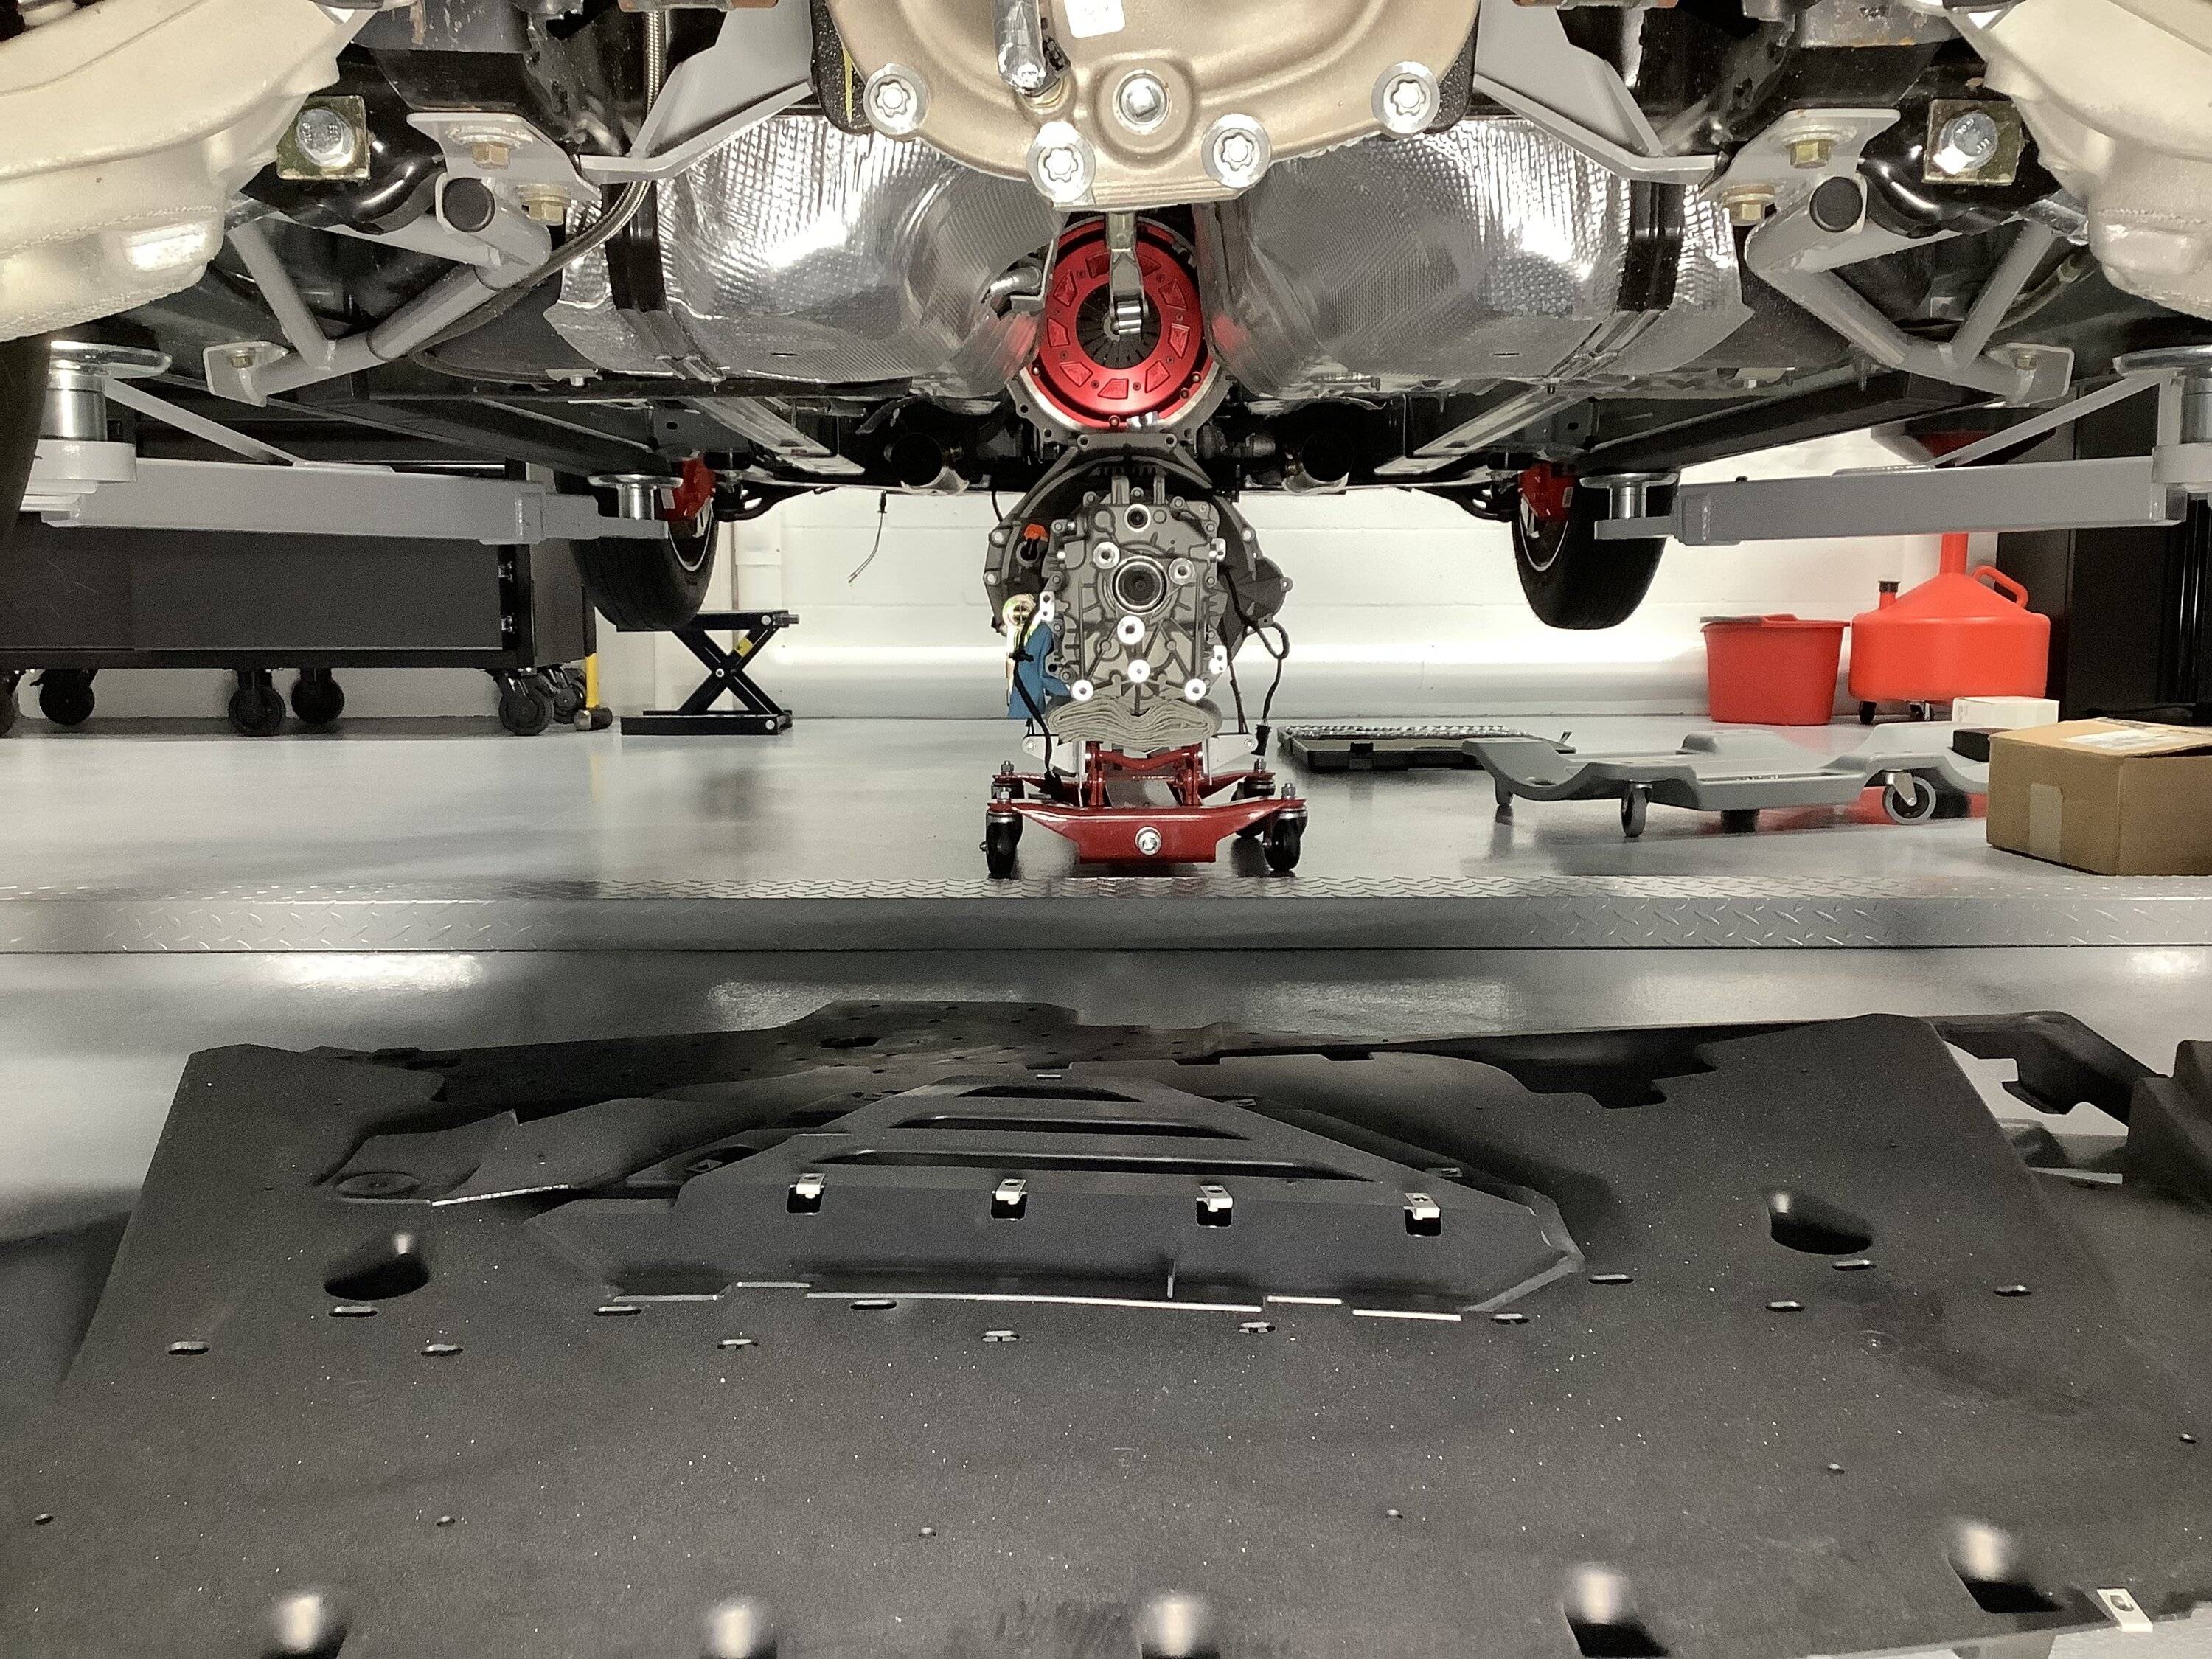
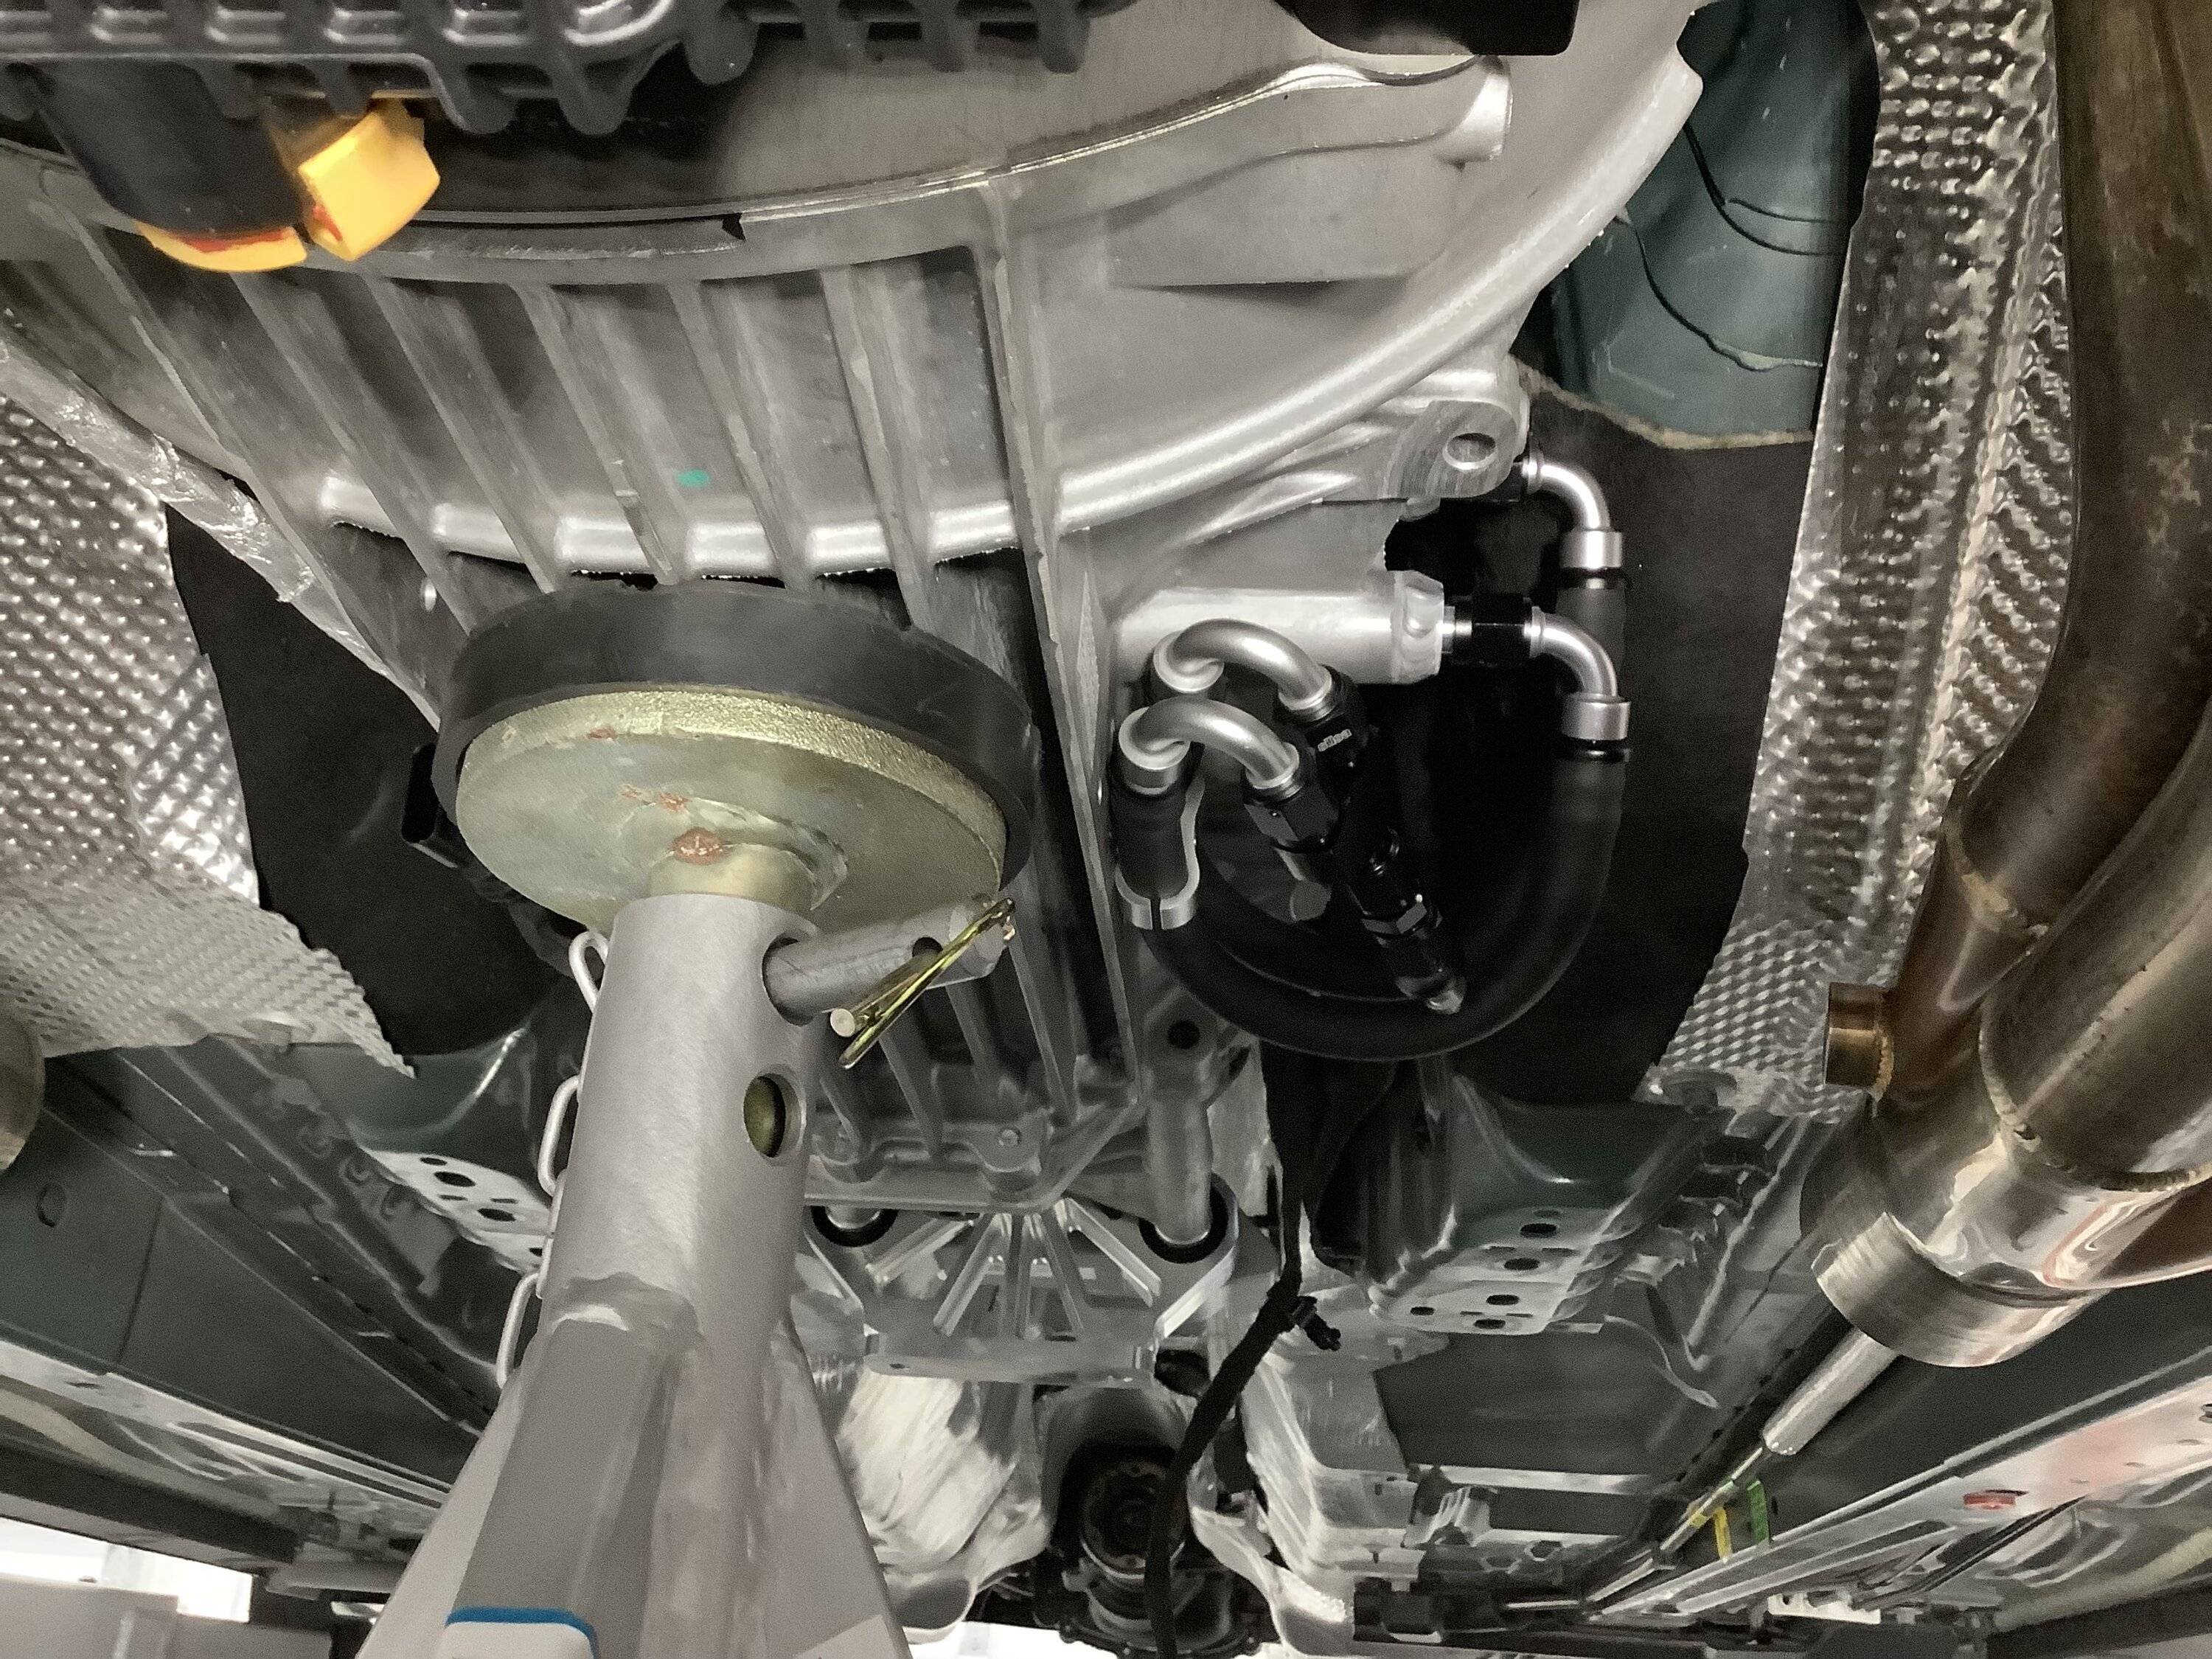
Wow! Today went very smoothly and I’m very happy about that. As you can see, I have made a considerable amount of progress.
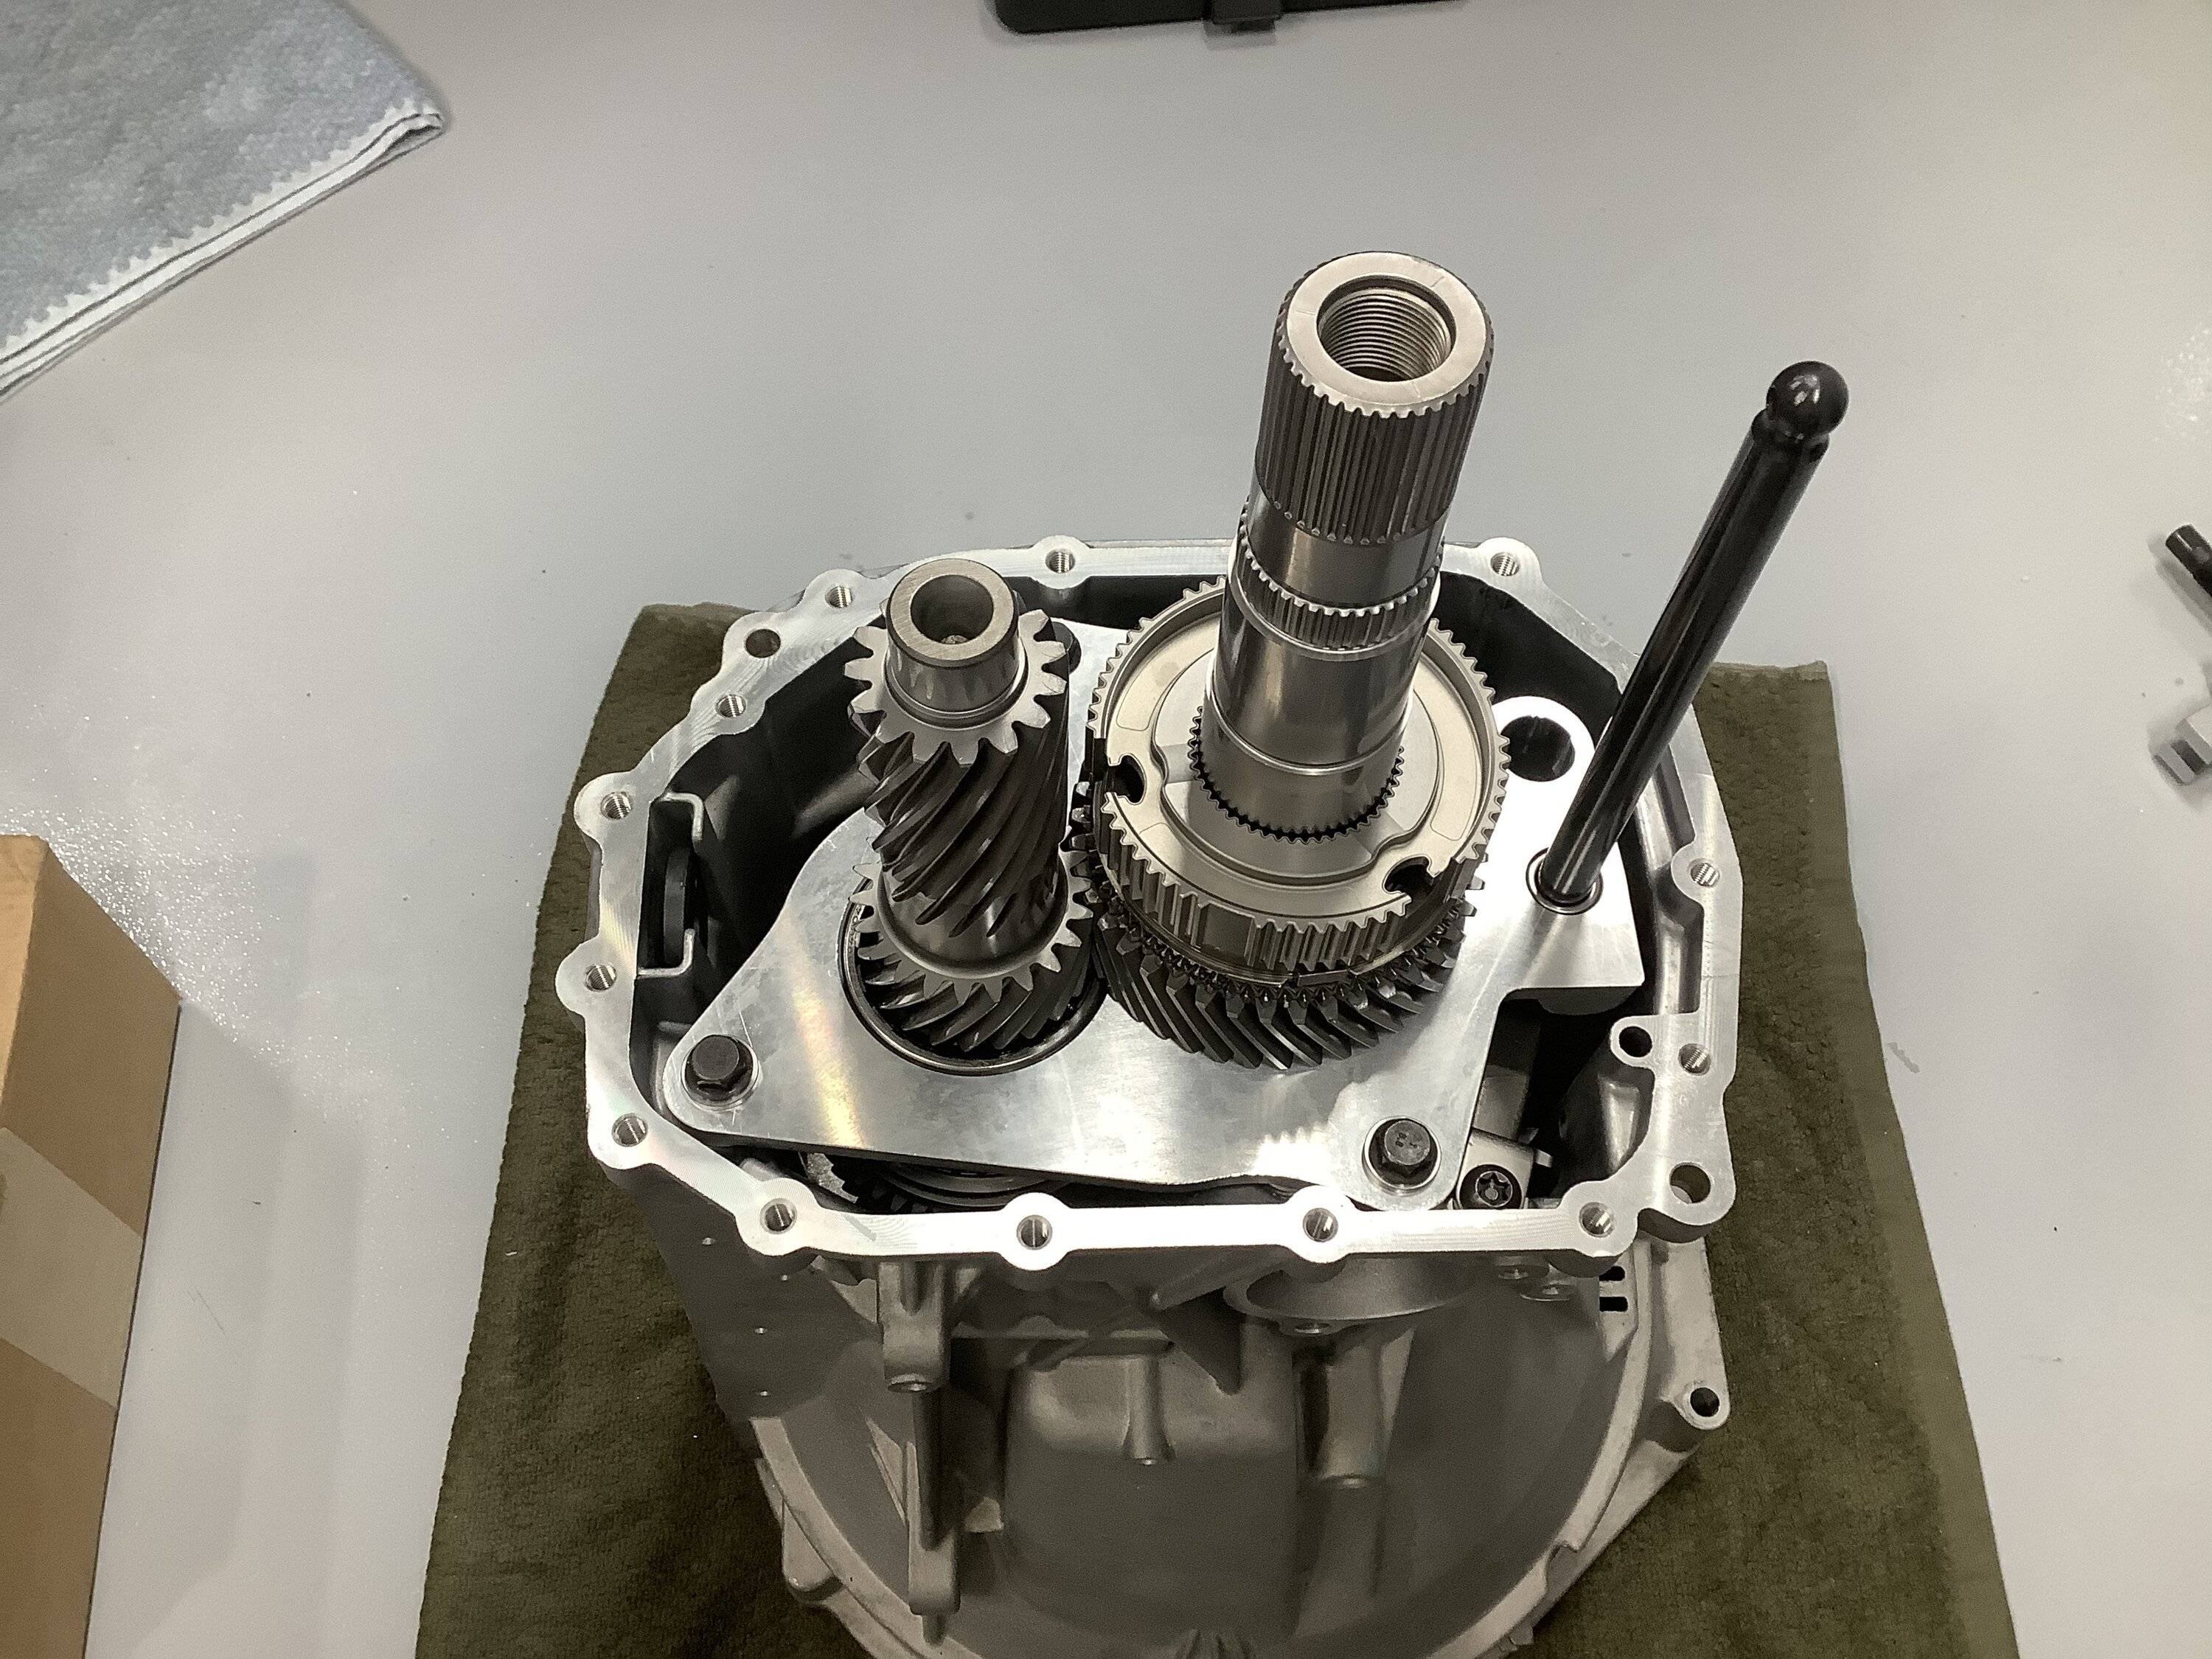
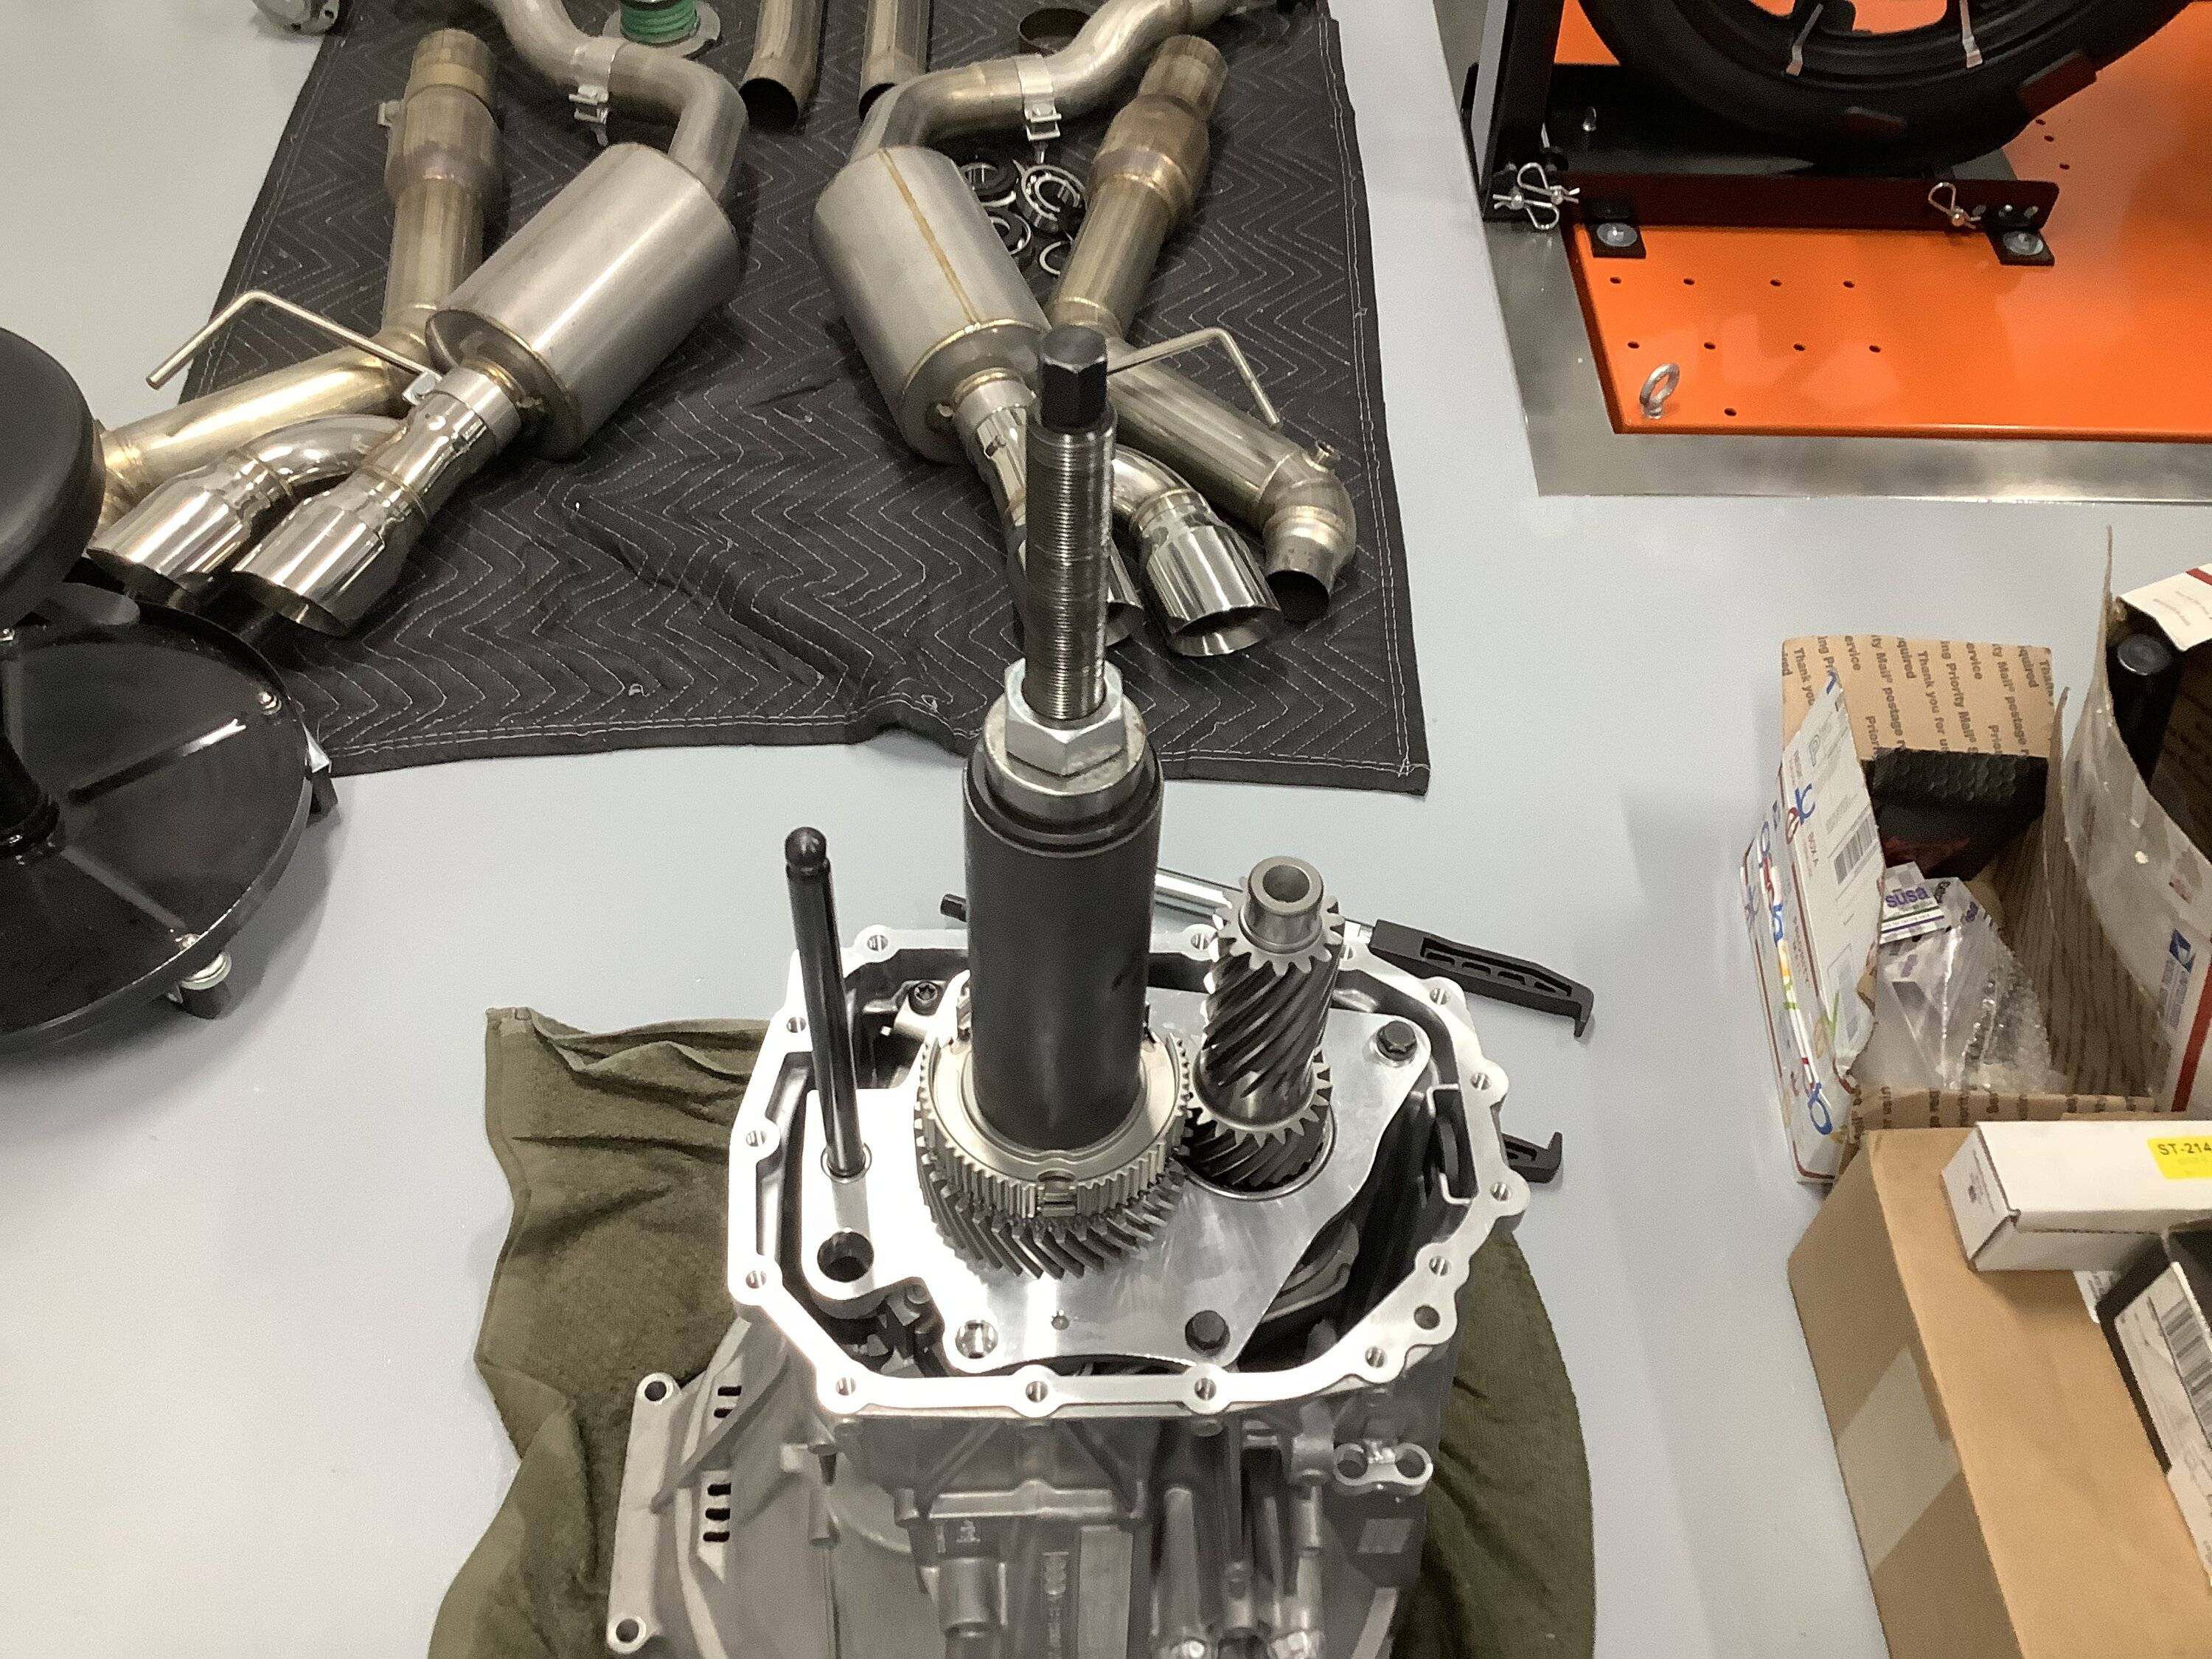
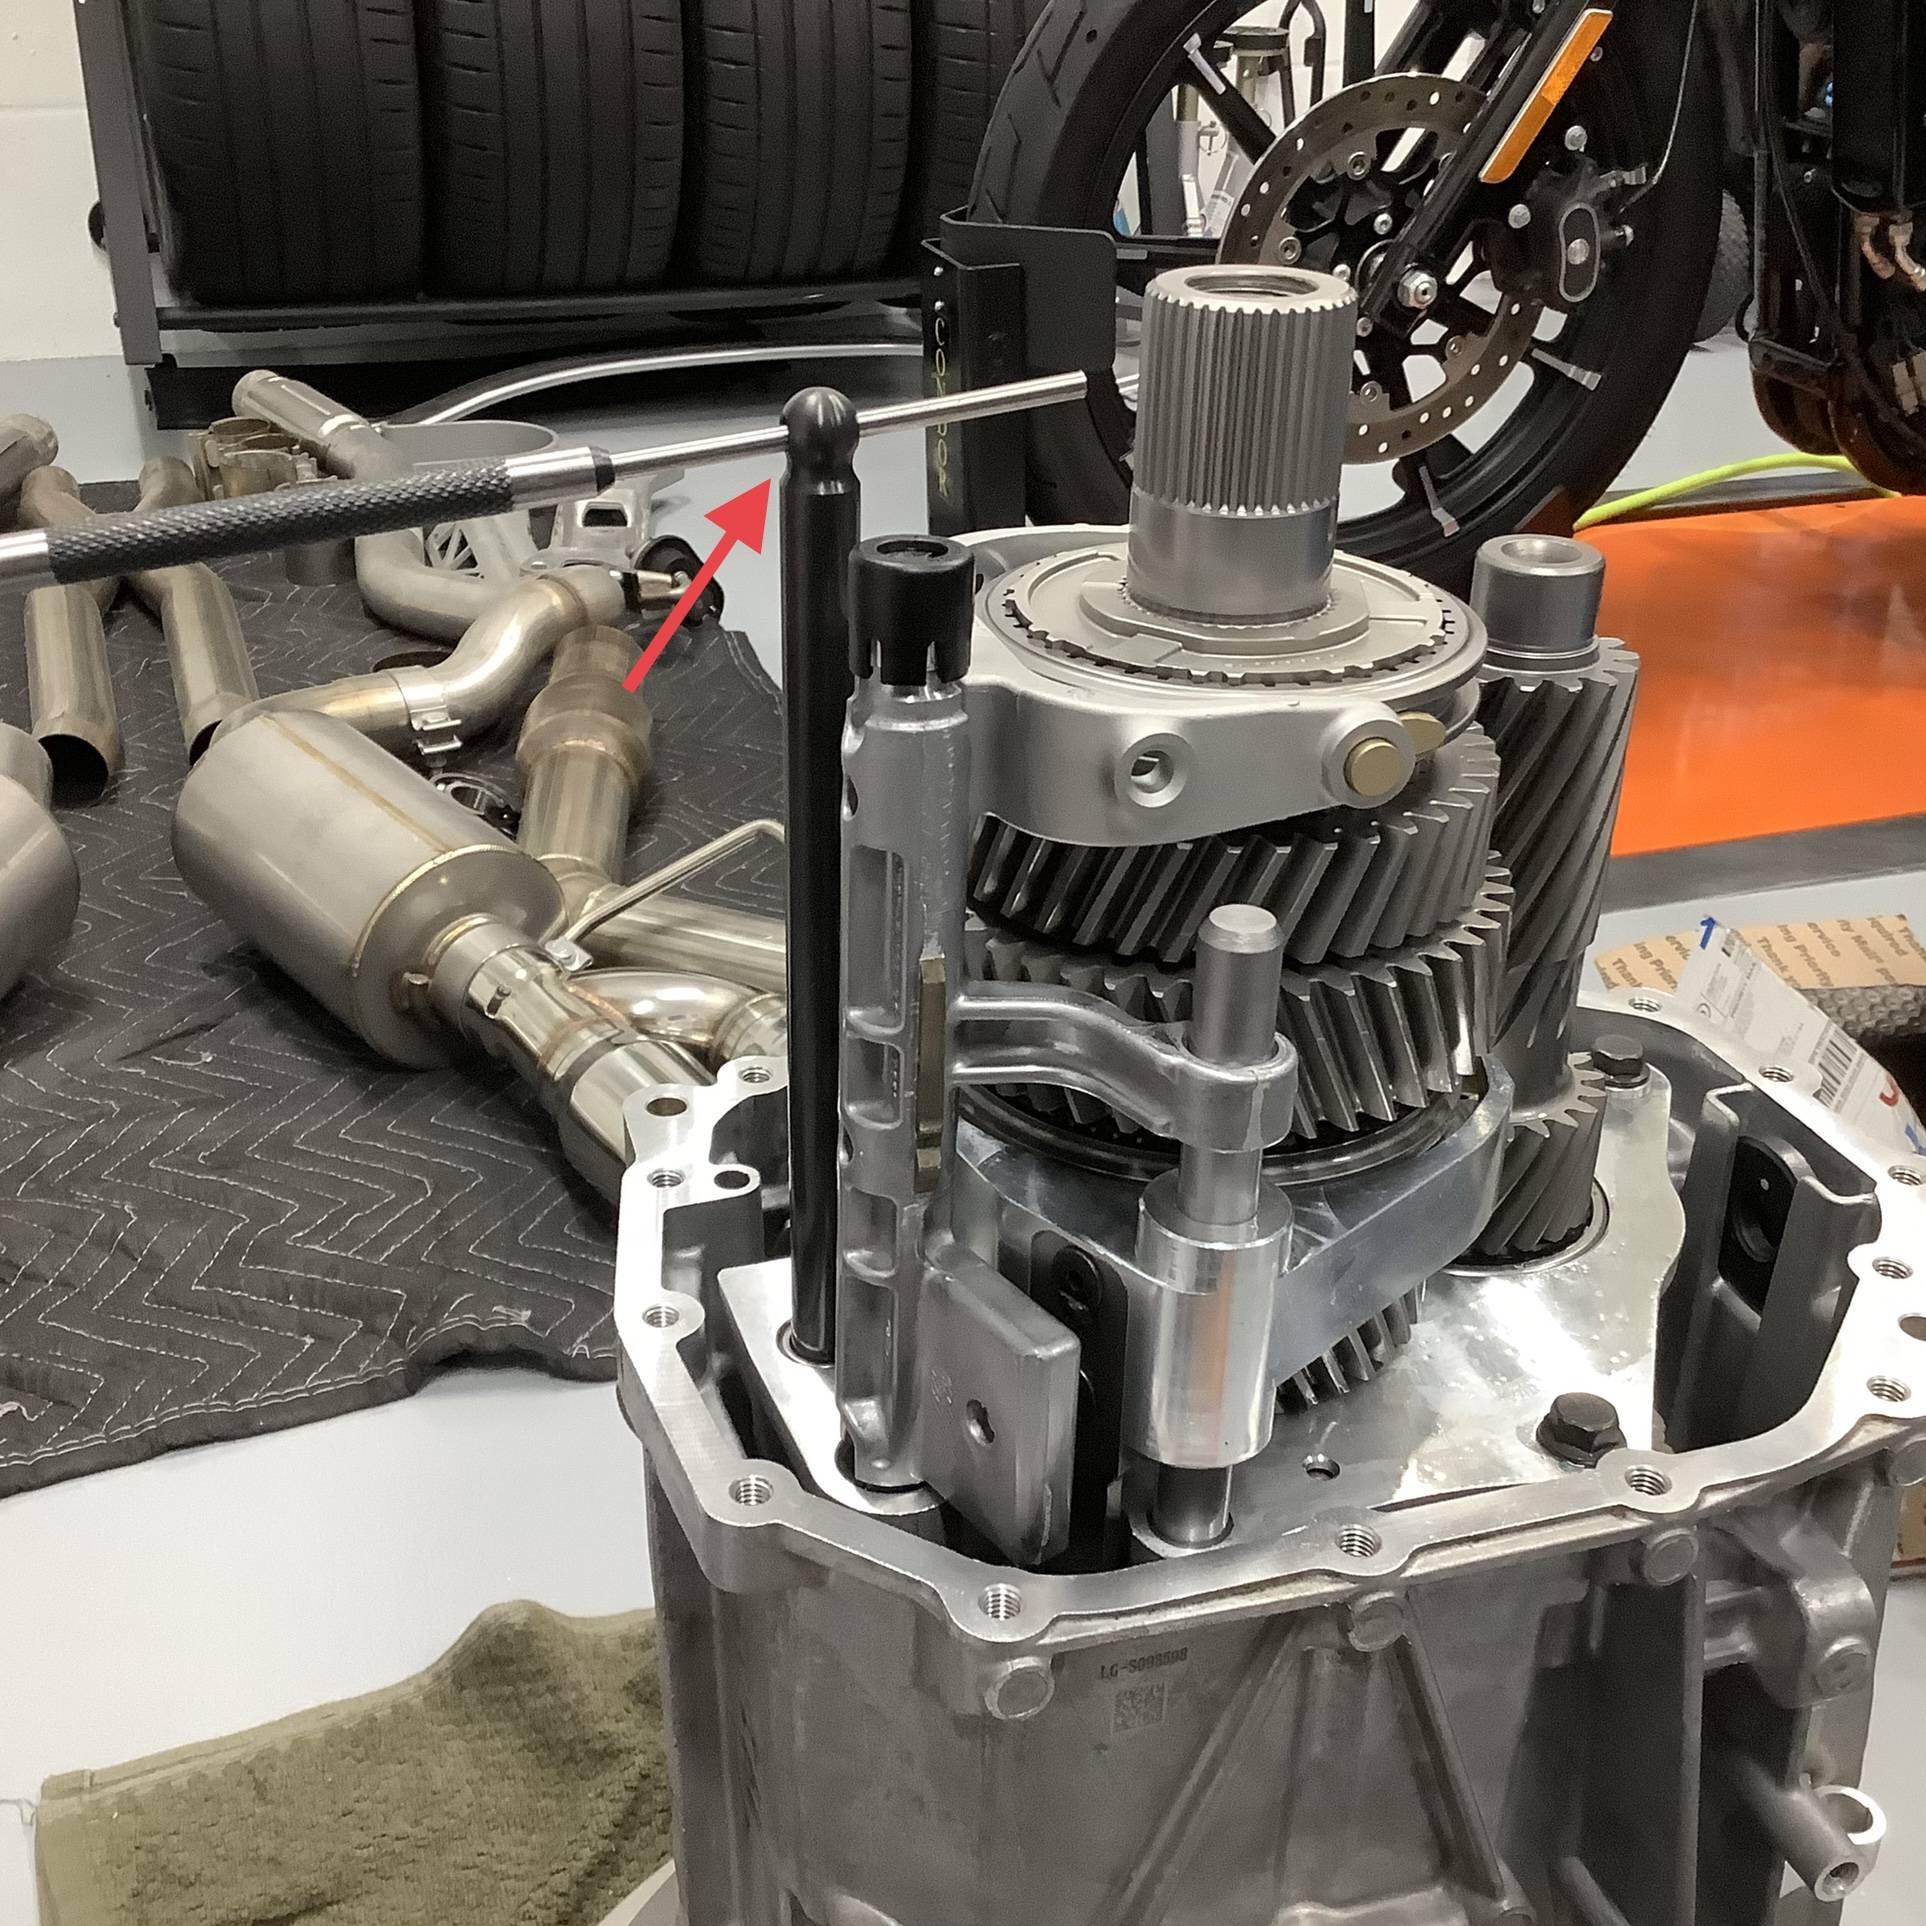
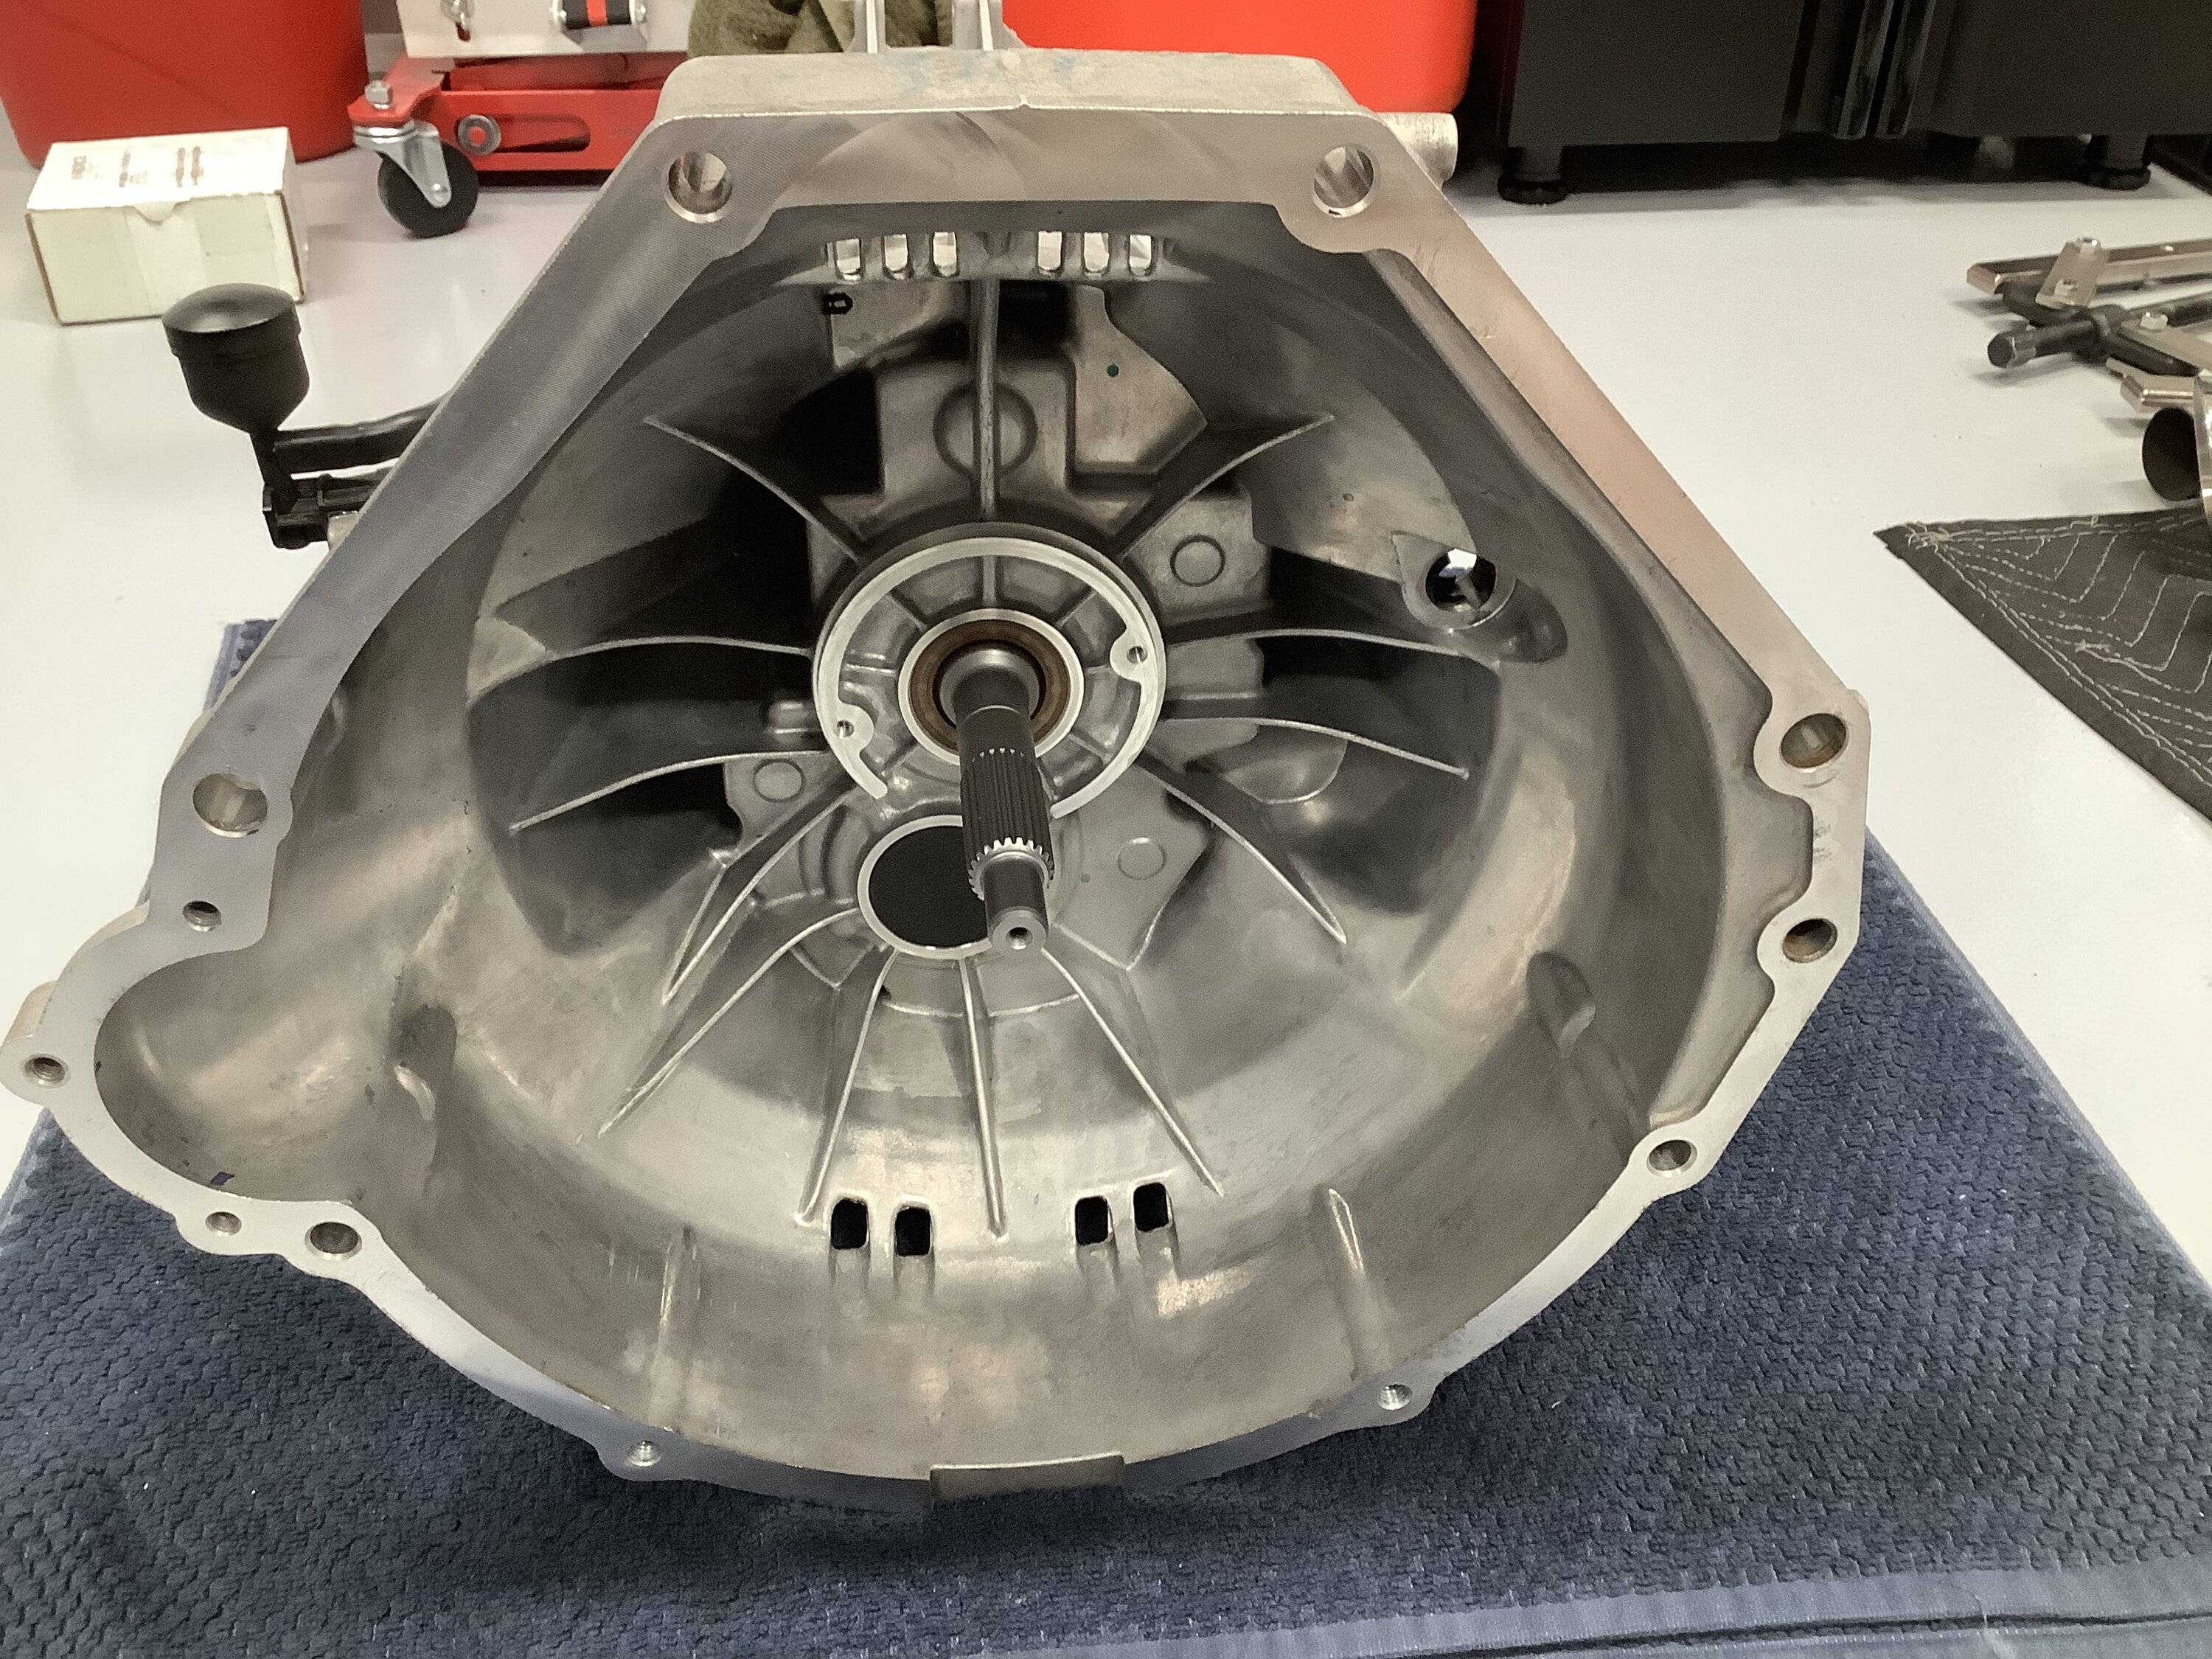
Getting both the output shaft and countershaft, along with 3/4 and 5/6 shift forks was very tricky. I had to hold both shafts (which are heavy) at the same time, as well as both shift forks and the 3/4 synchros and gear that marries the 3/4 synchro and hub assembly to the input shaft. Once that was done, I had to use the shop press to press home the output shaft, while still holding the 3/4 synchros and gear with one hand, as I pumped the press with the other. Thankfully everything went very well!
Note: The service manual says to install both shafts and then the shift forks. Well, that is impossible to do, due to space limitations inside of the case. That may work for the 2015-2017 MT82 because they have different shift forks (steel ones) that look less bulky and are probably easier to work with.
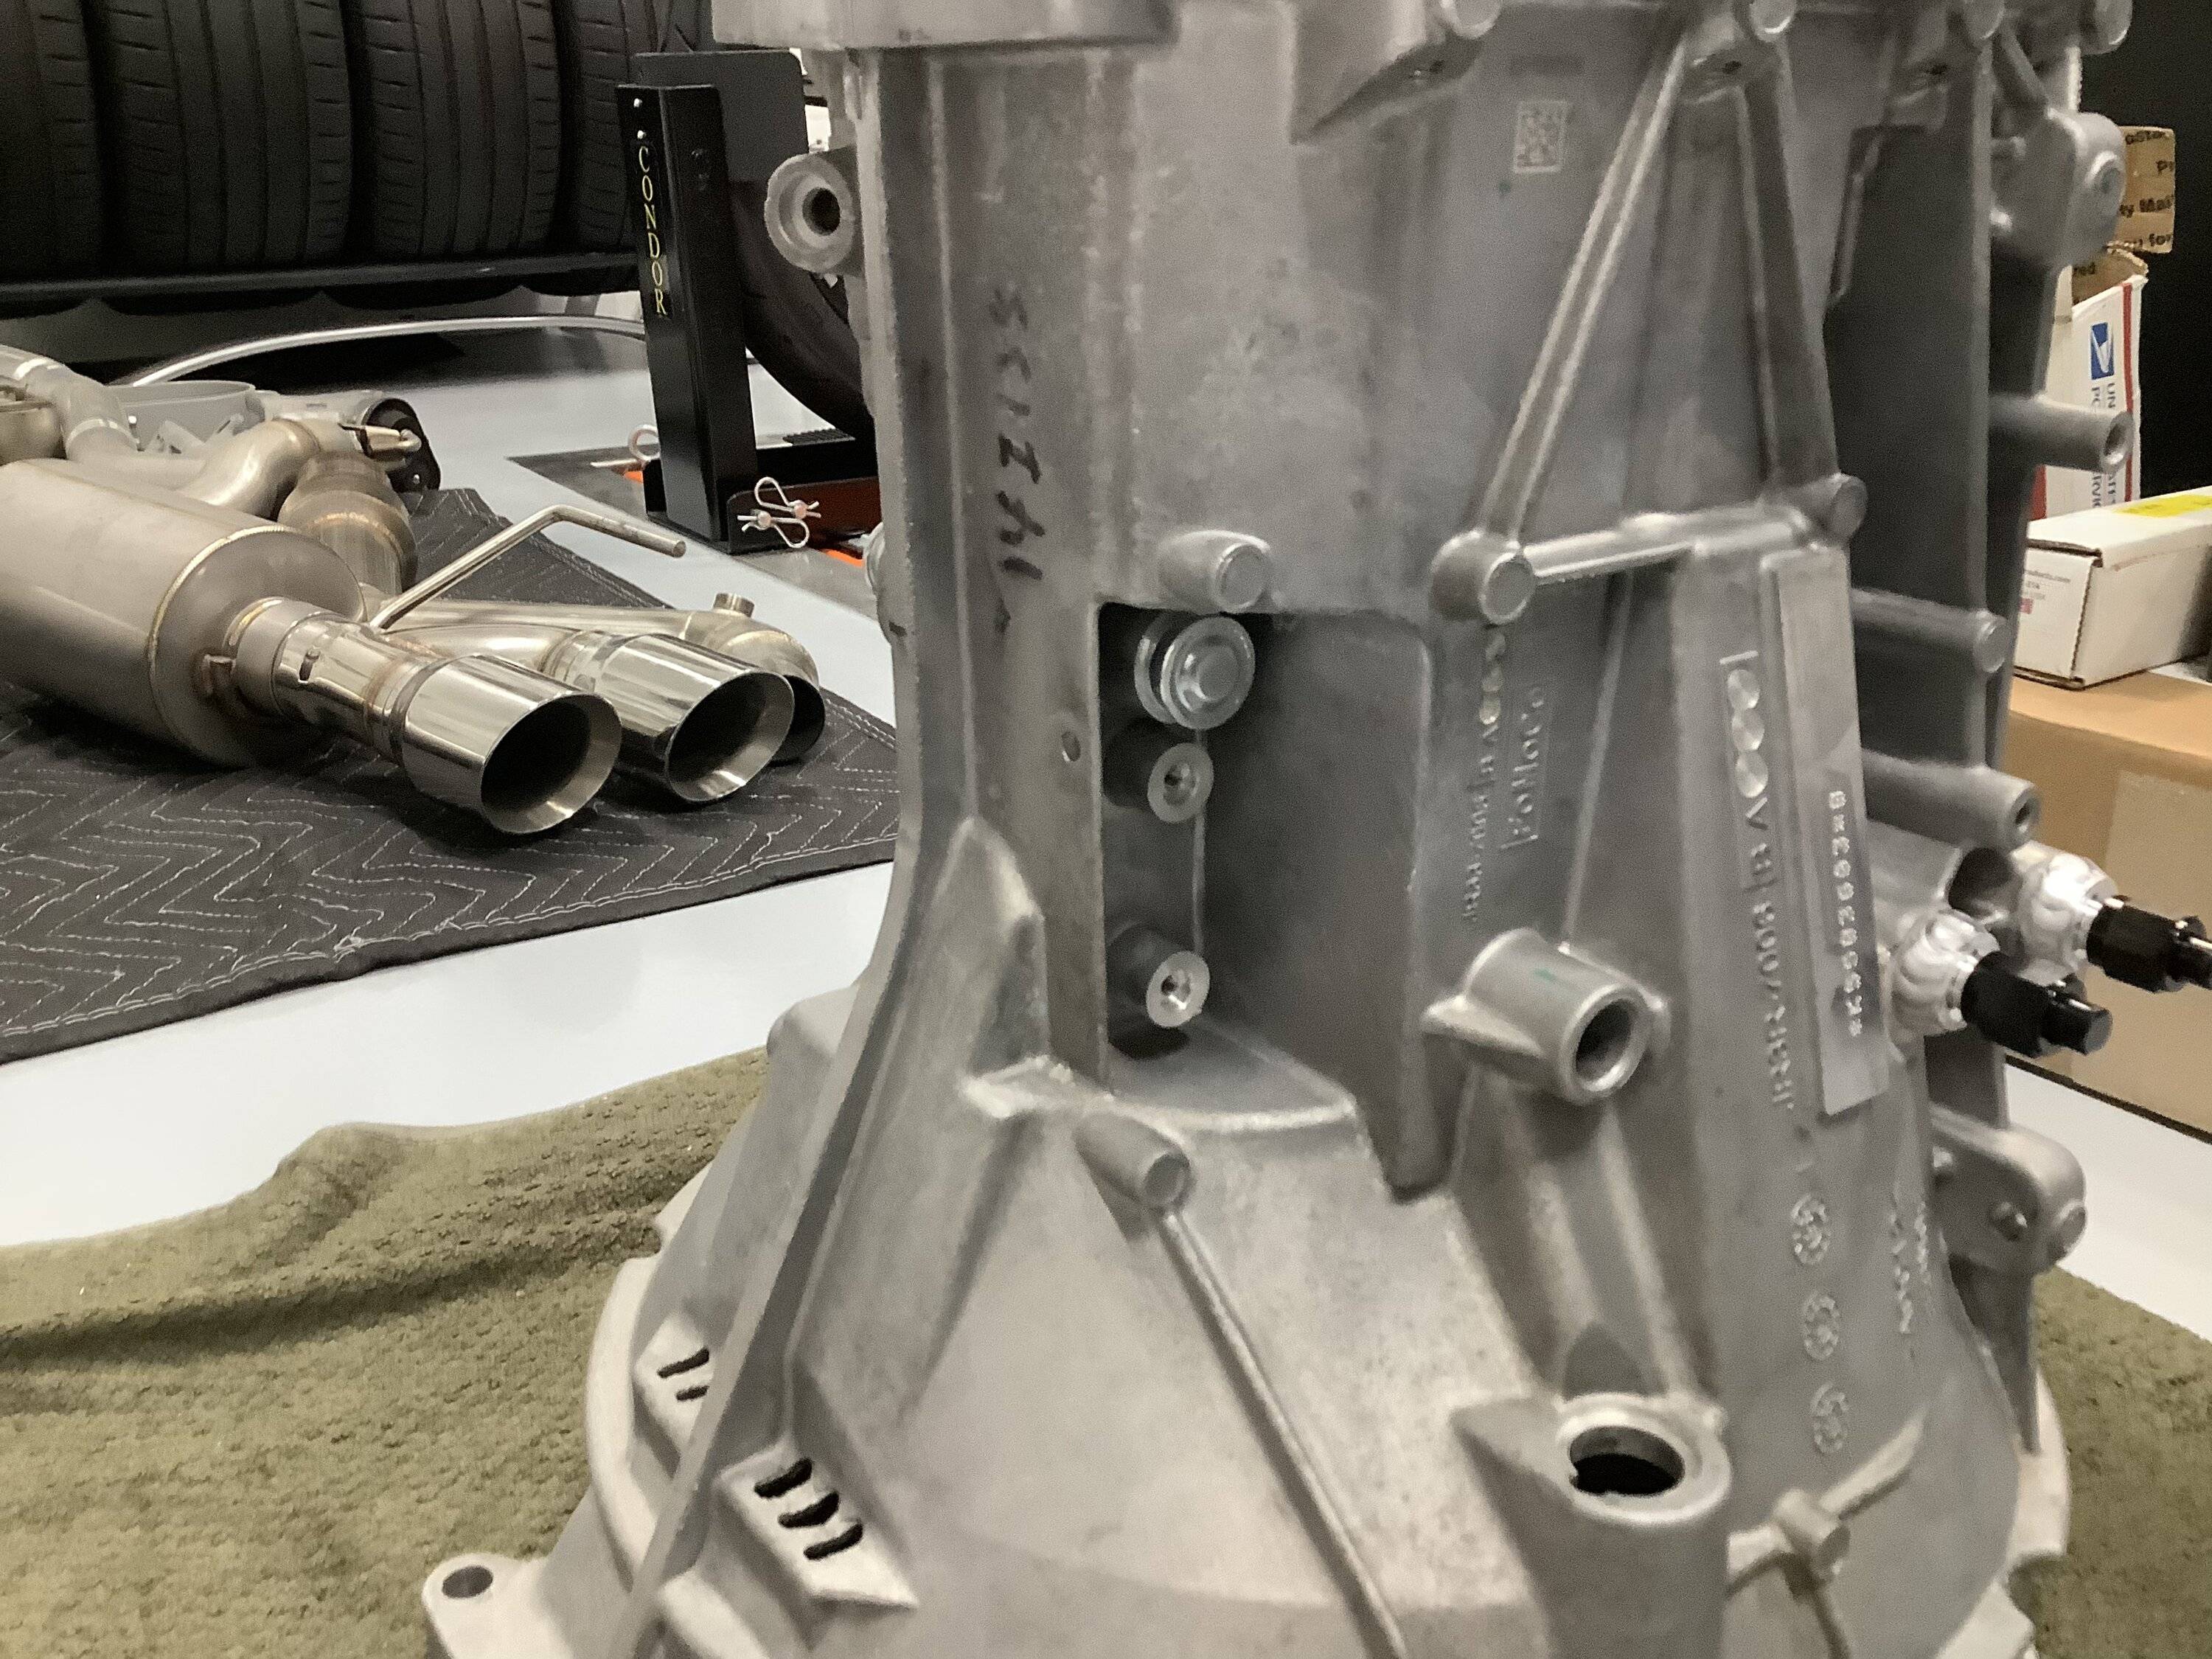
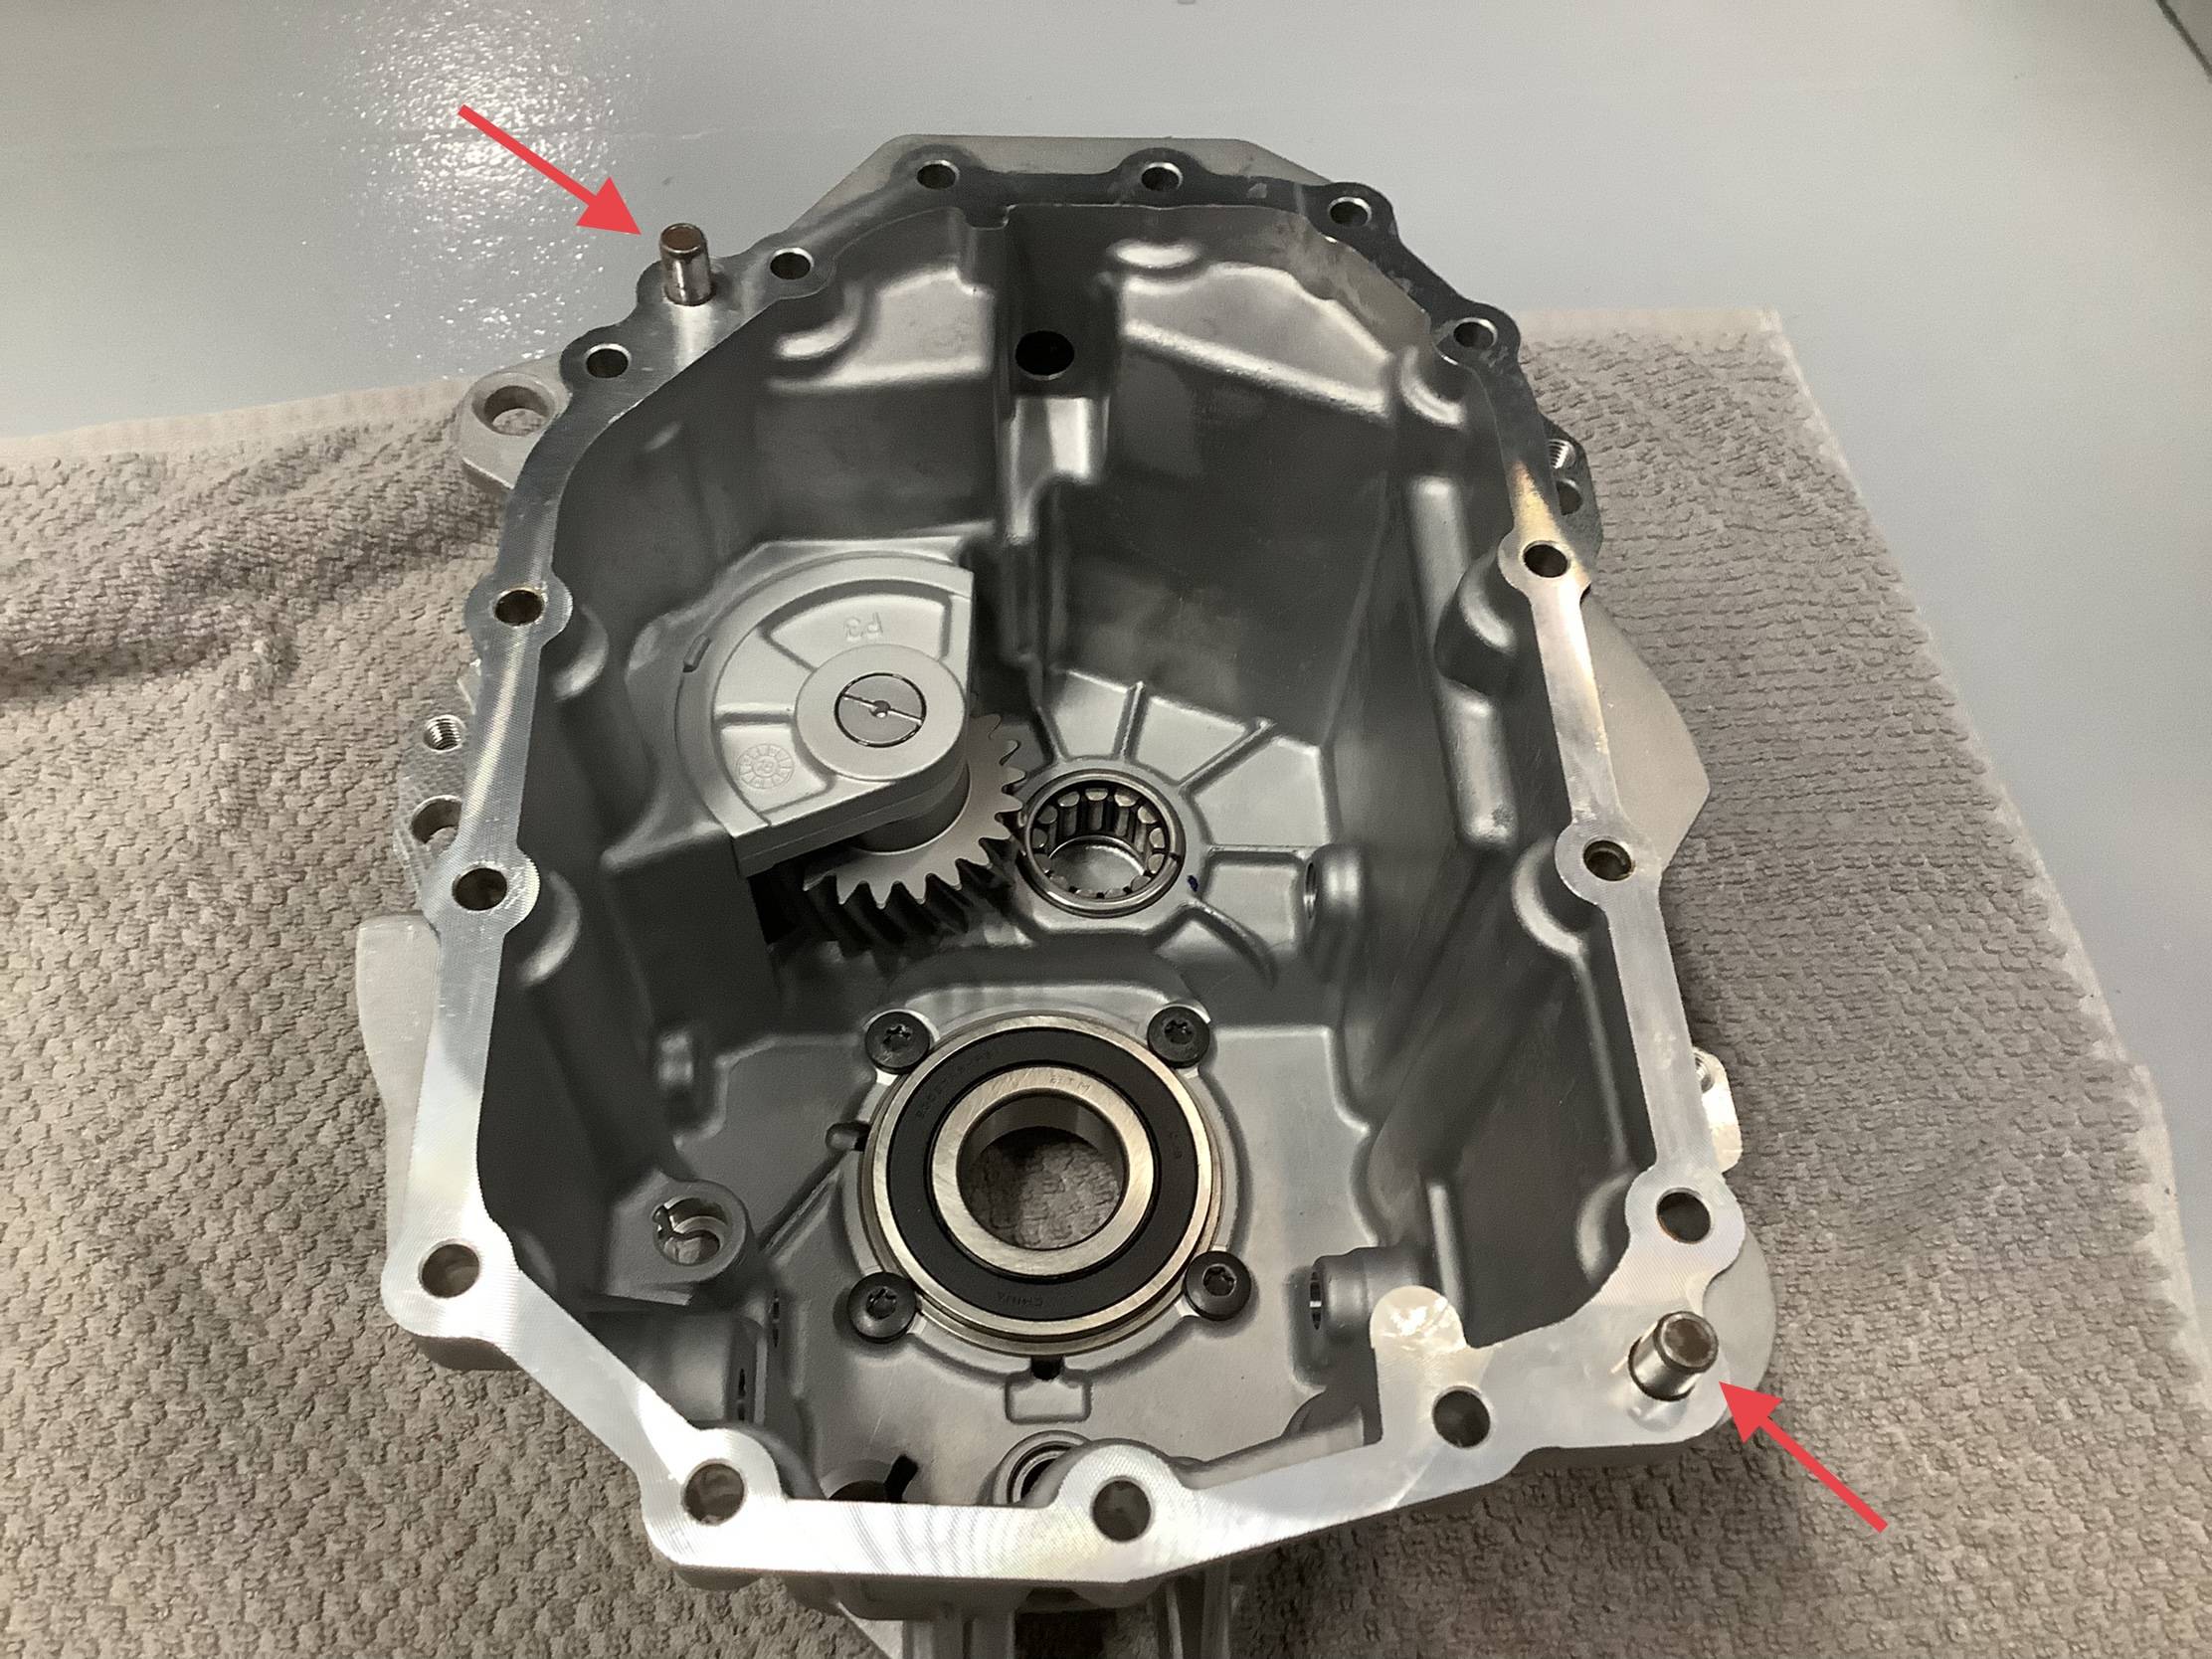
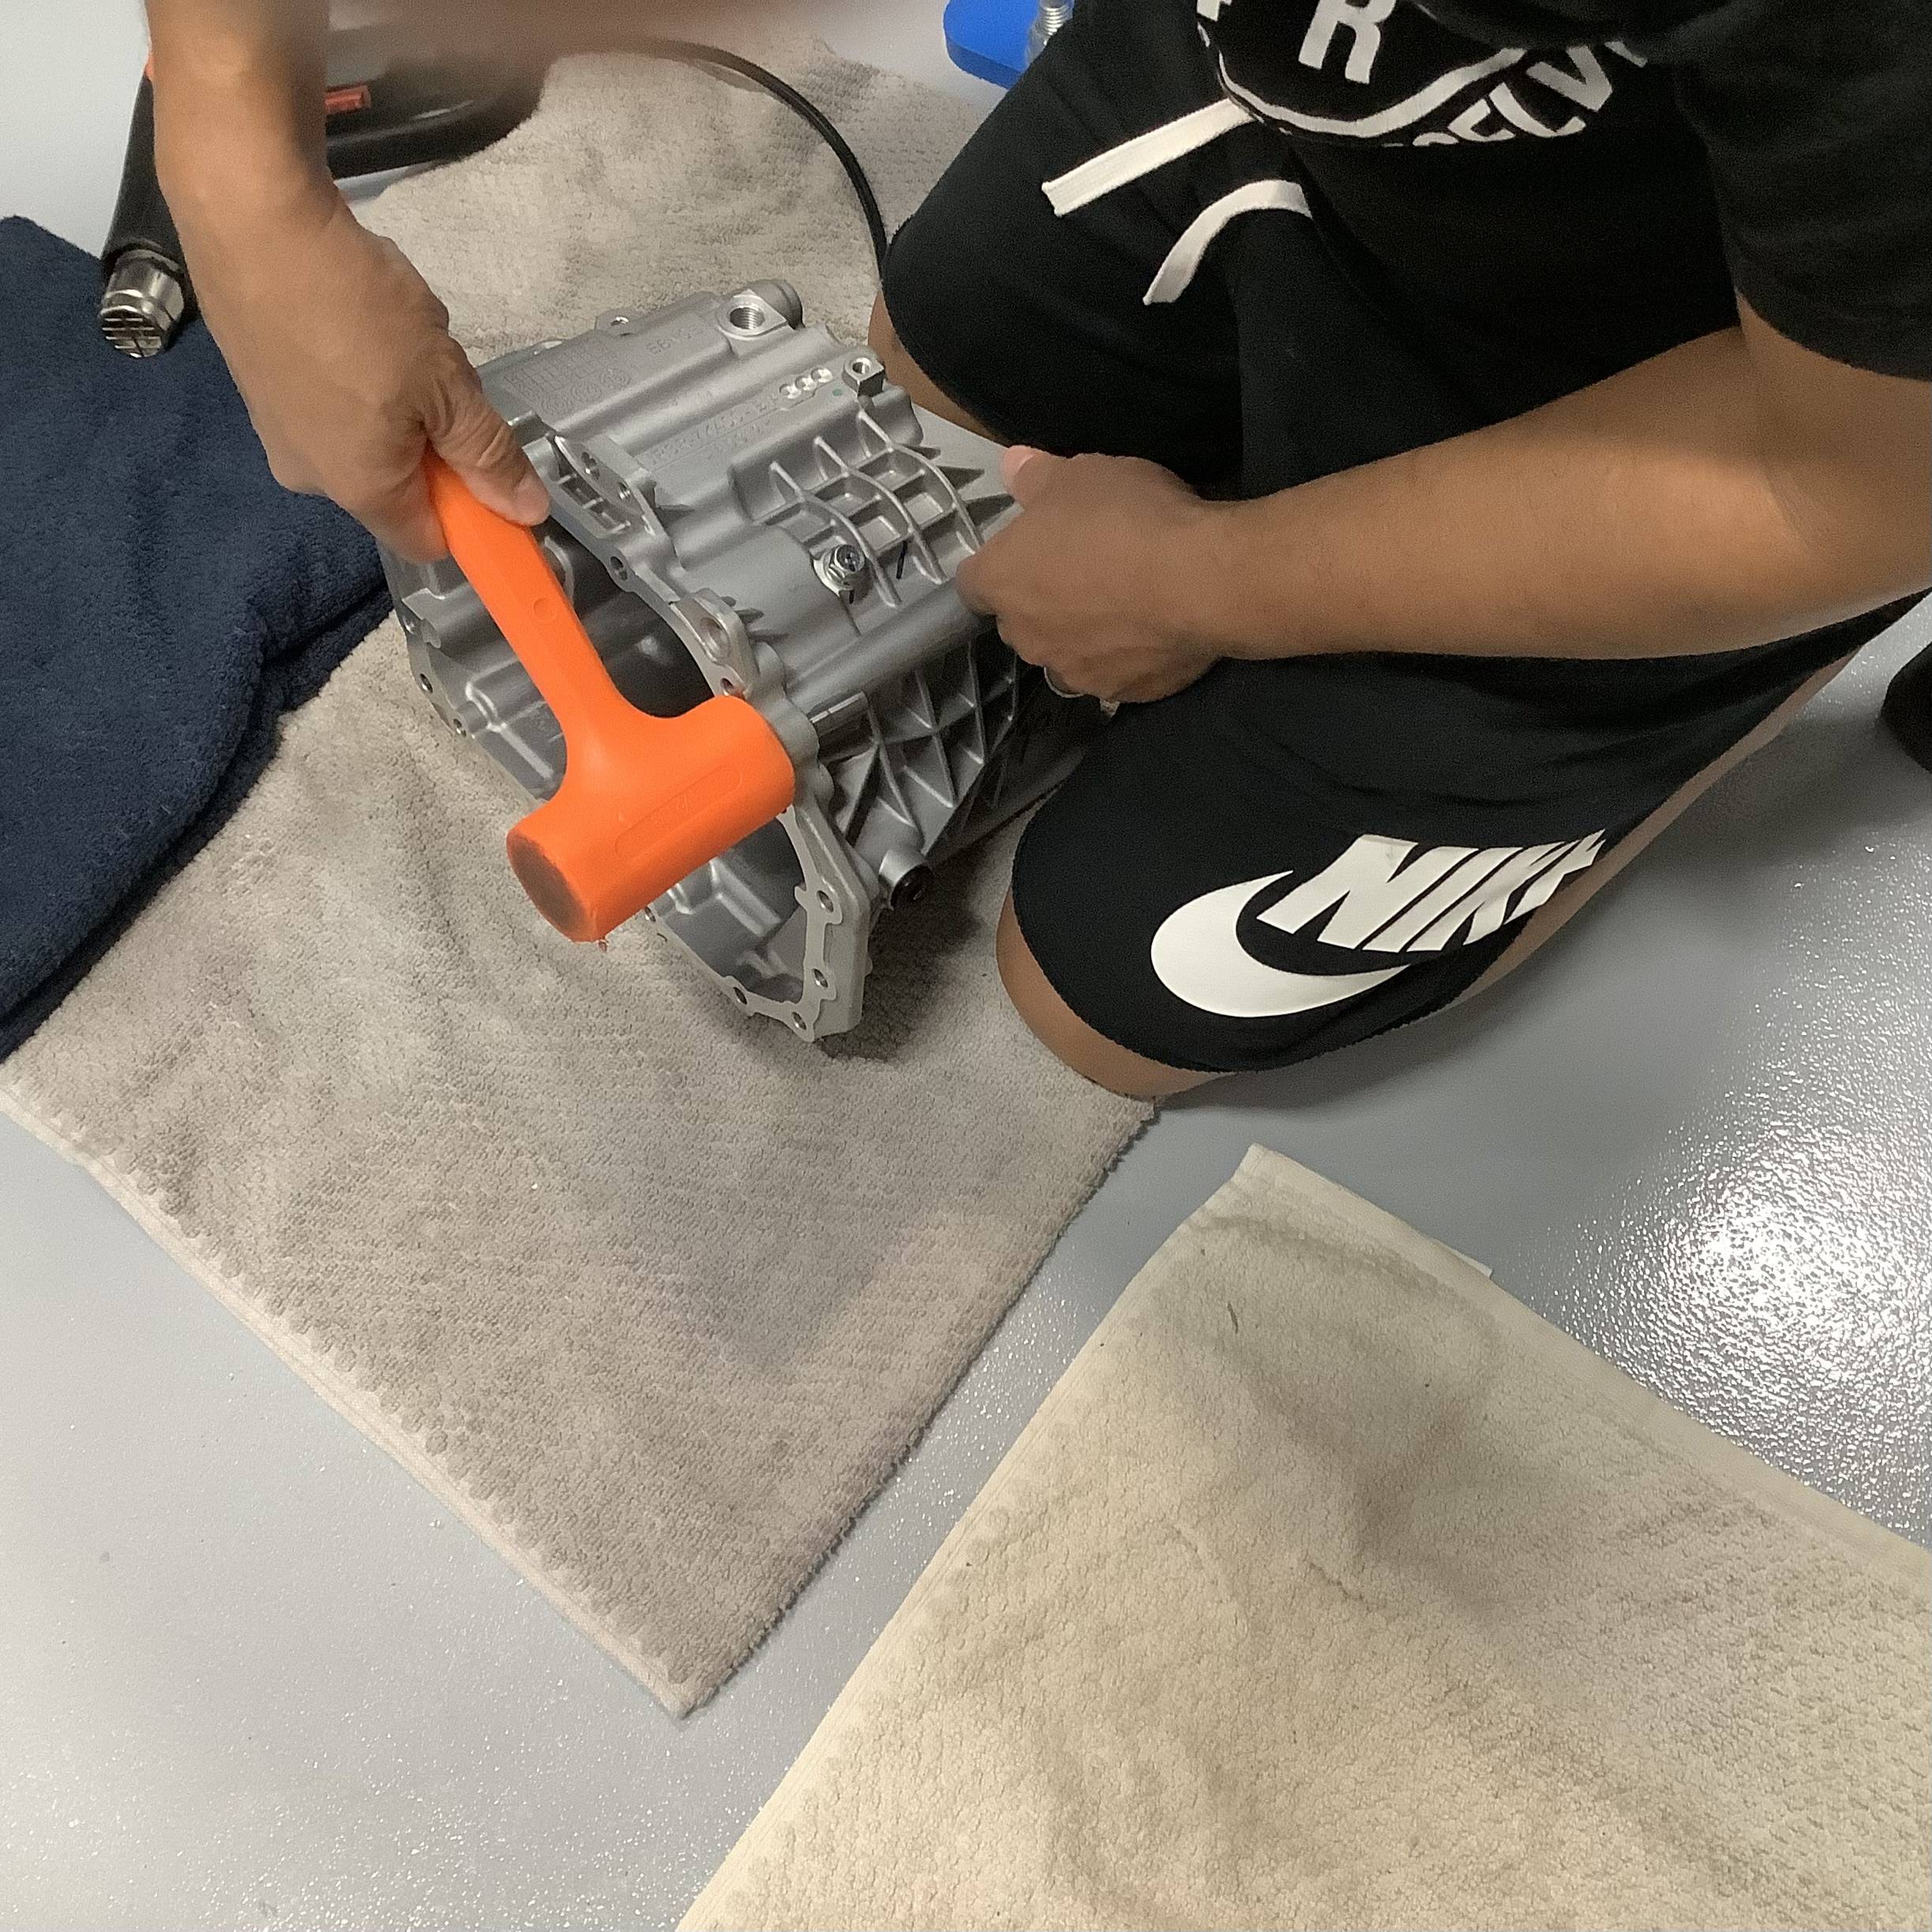
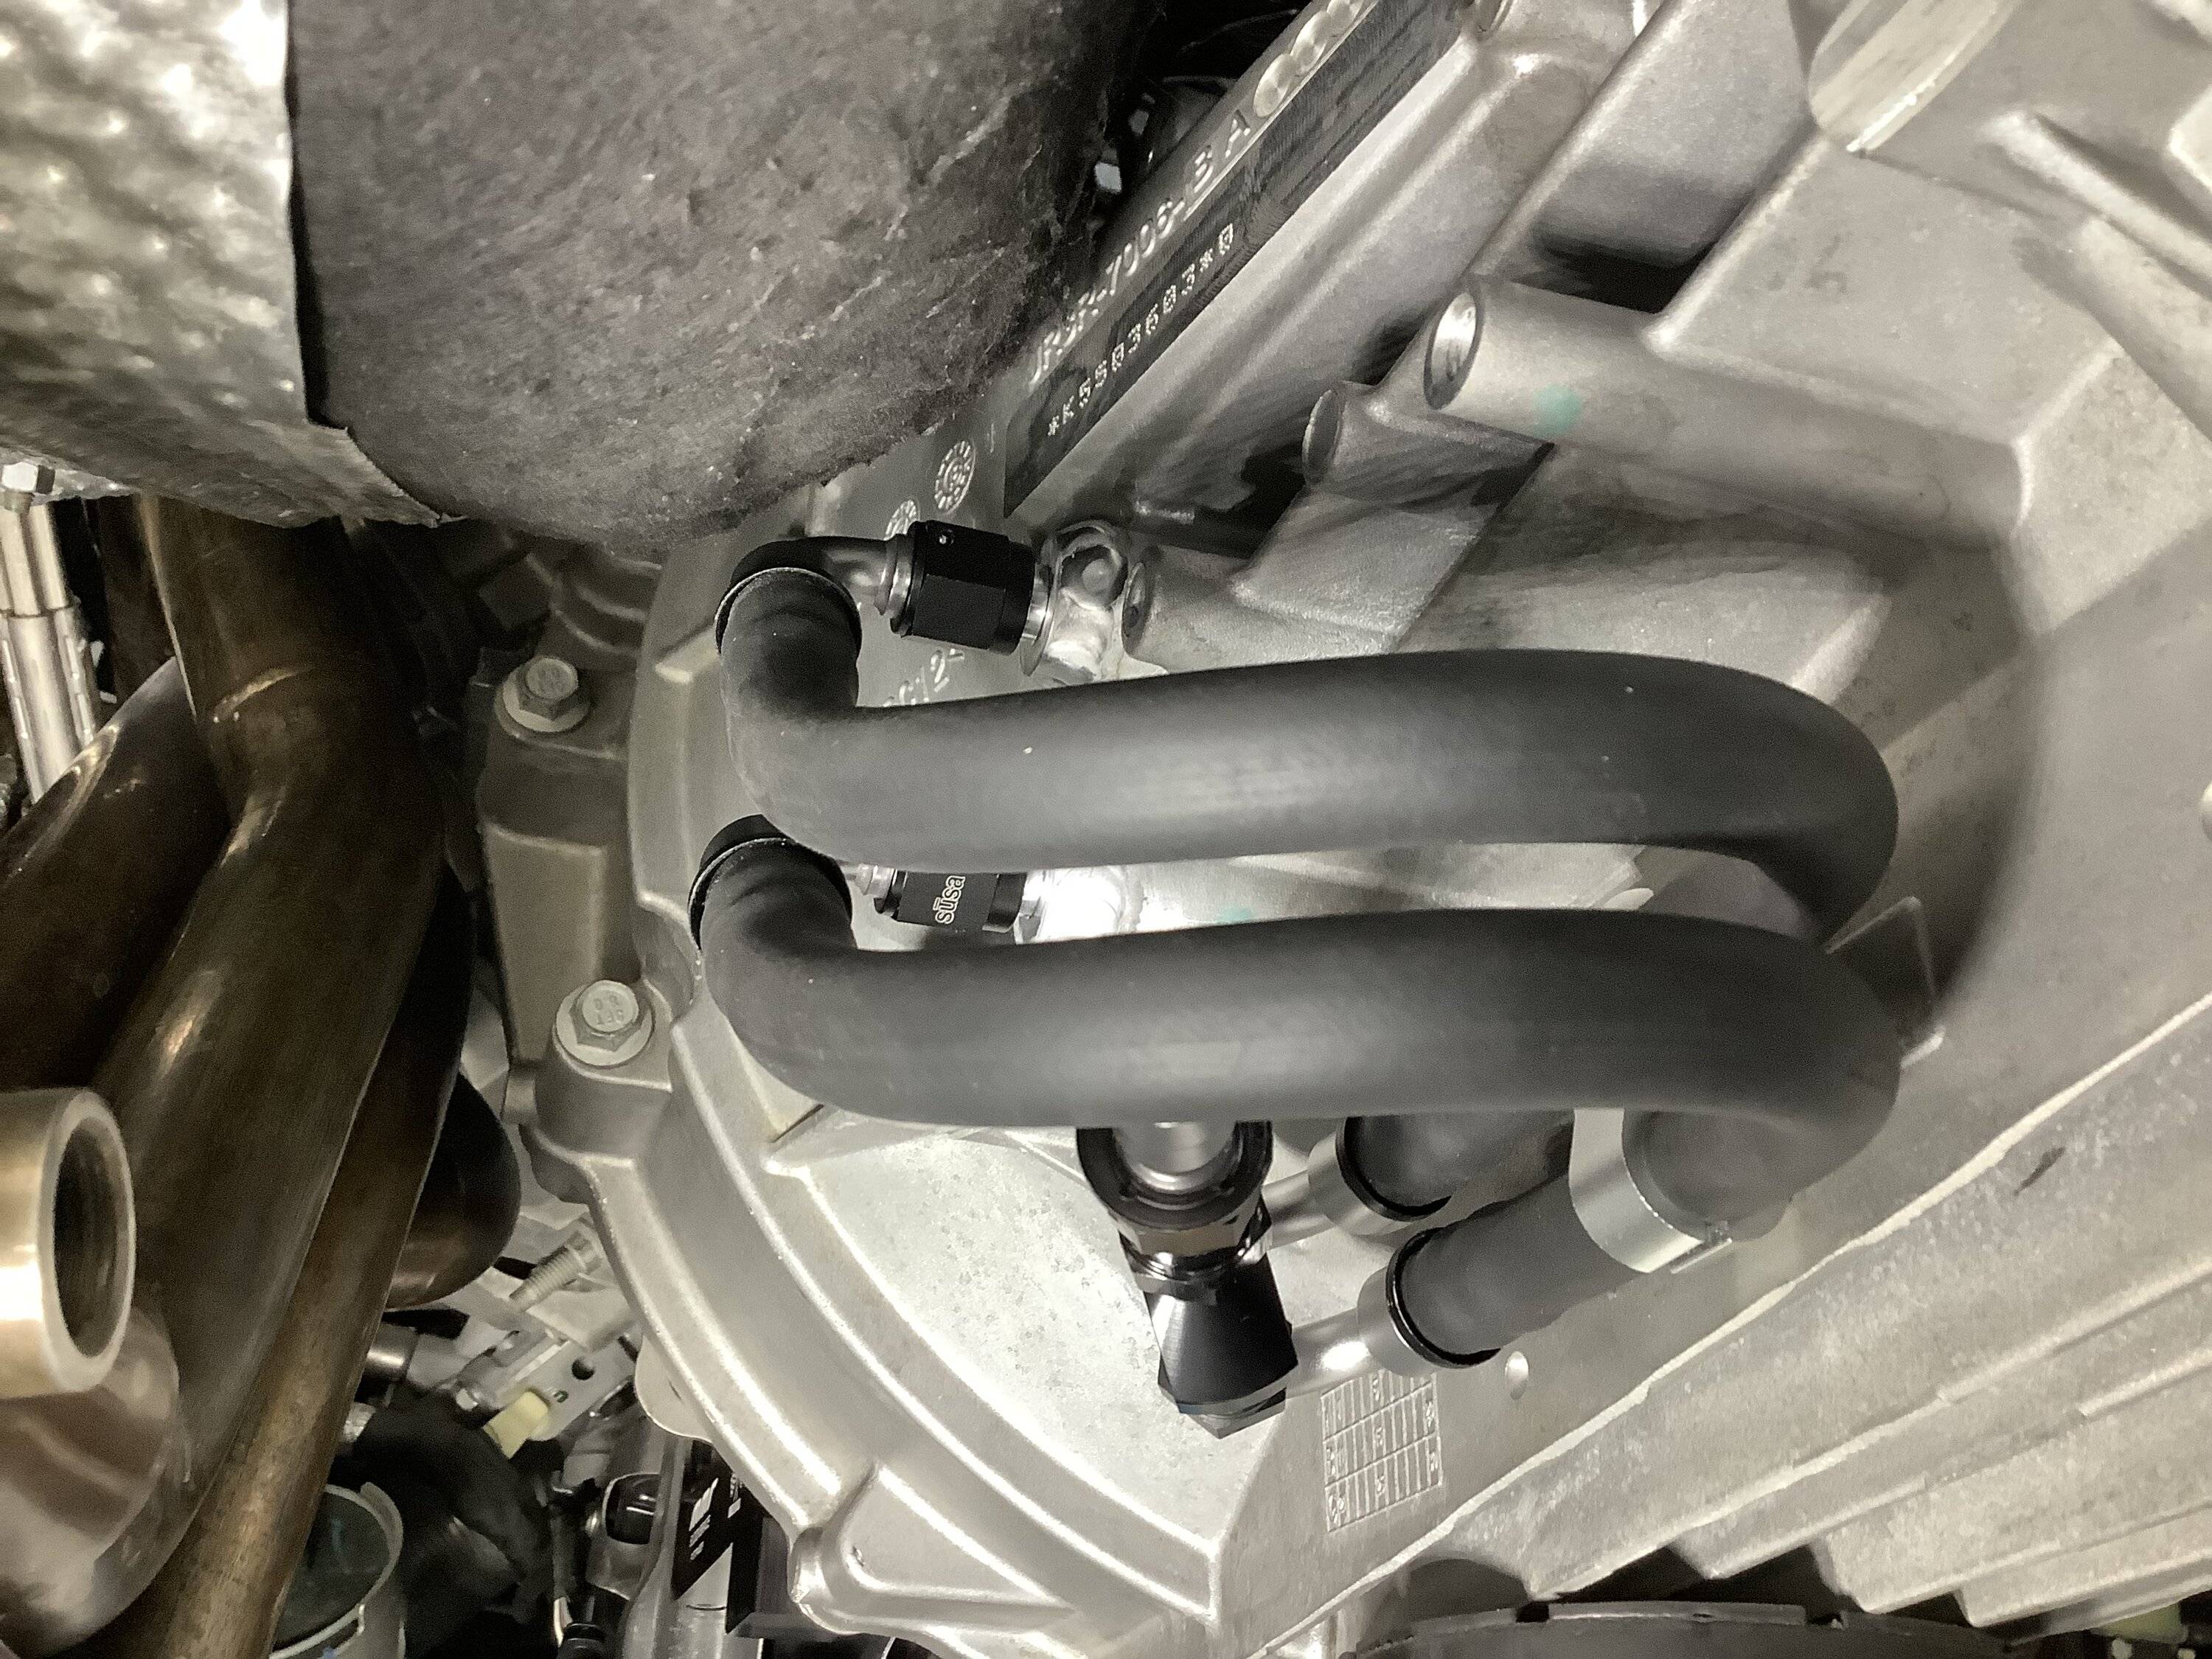
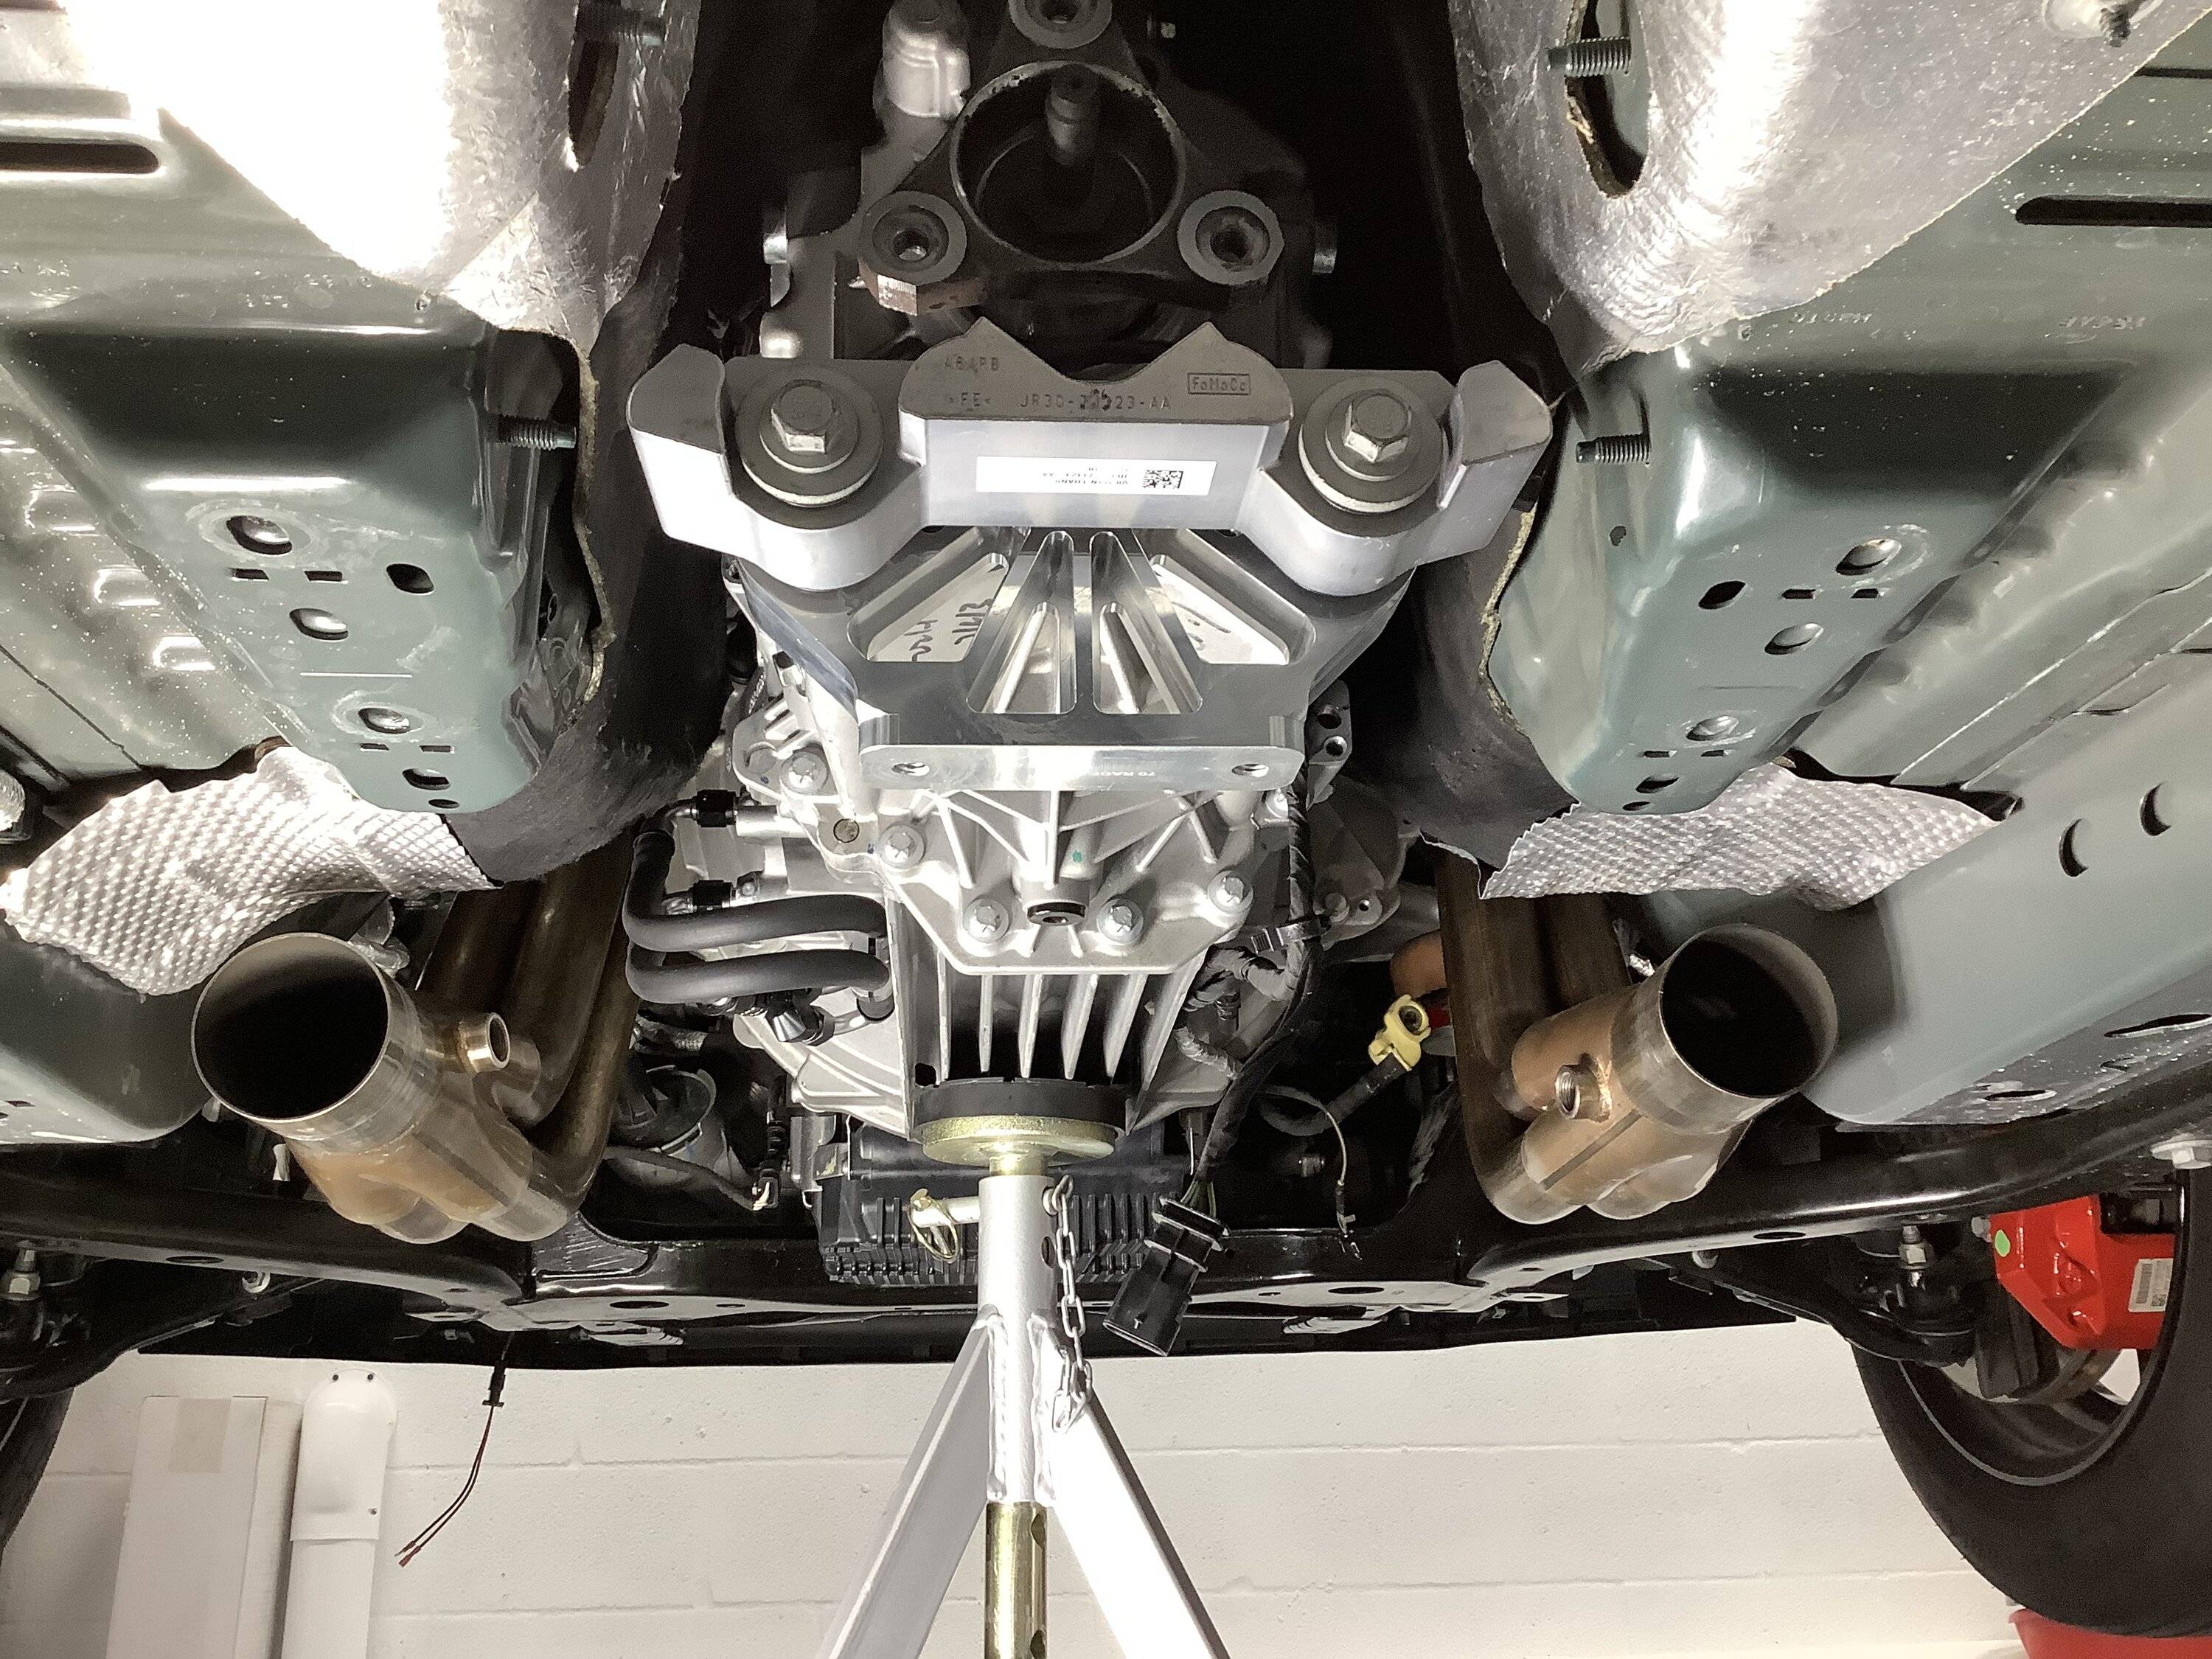
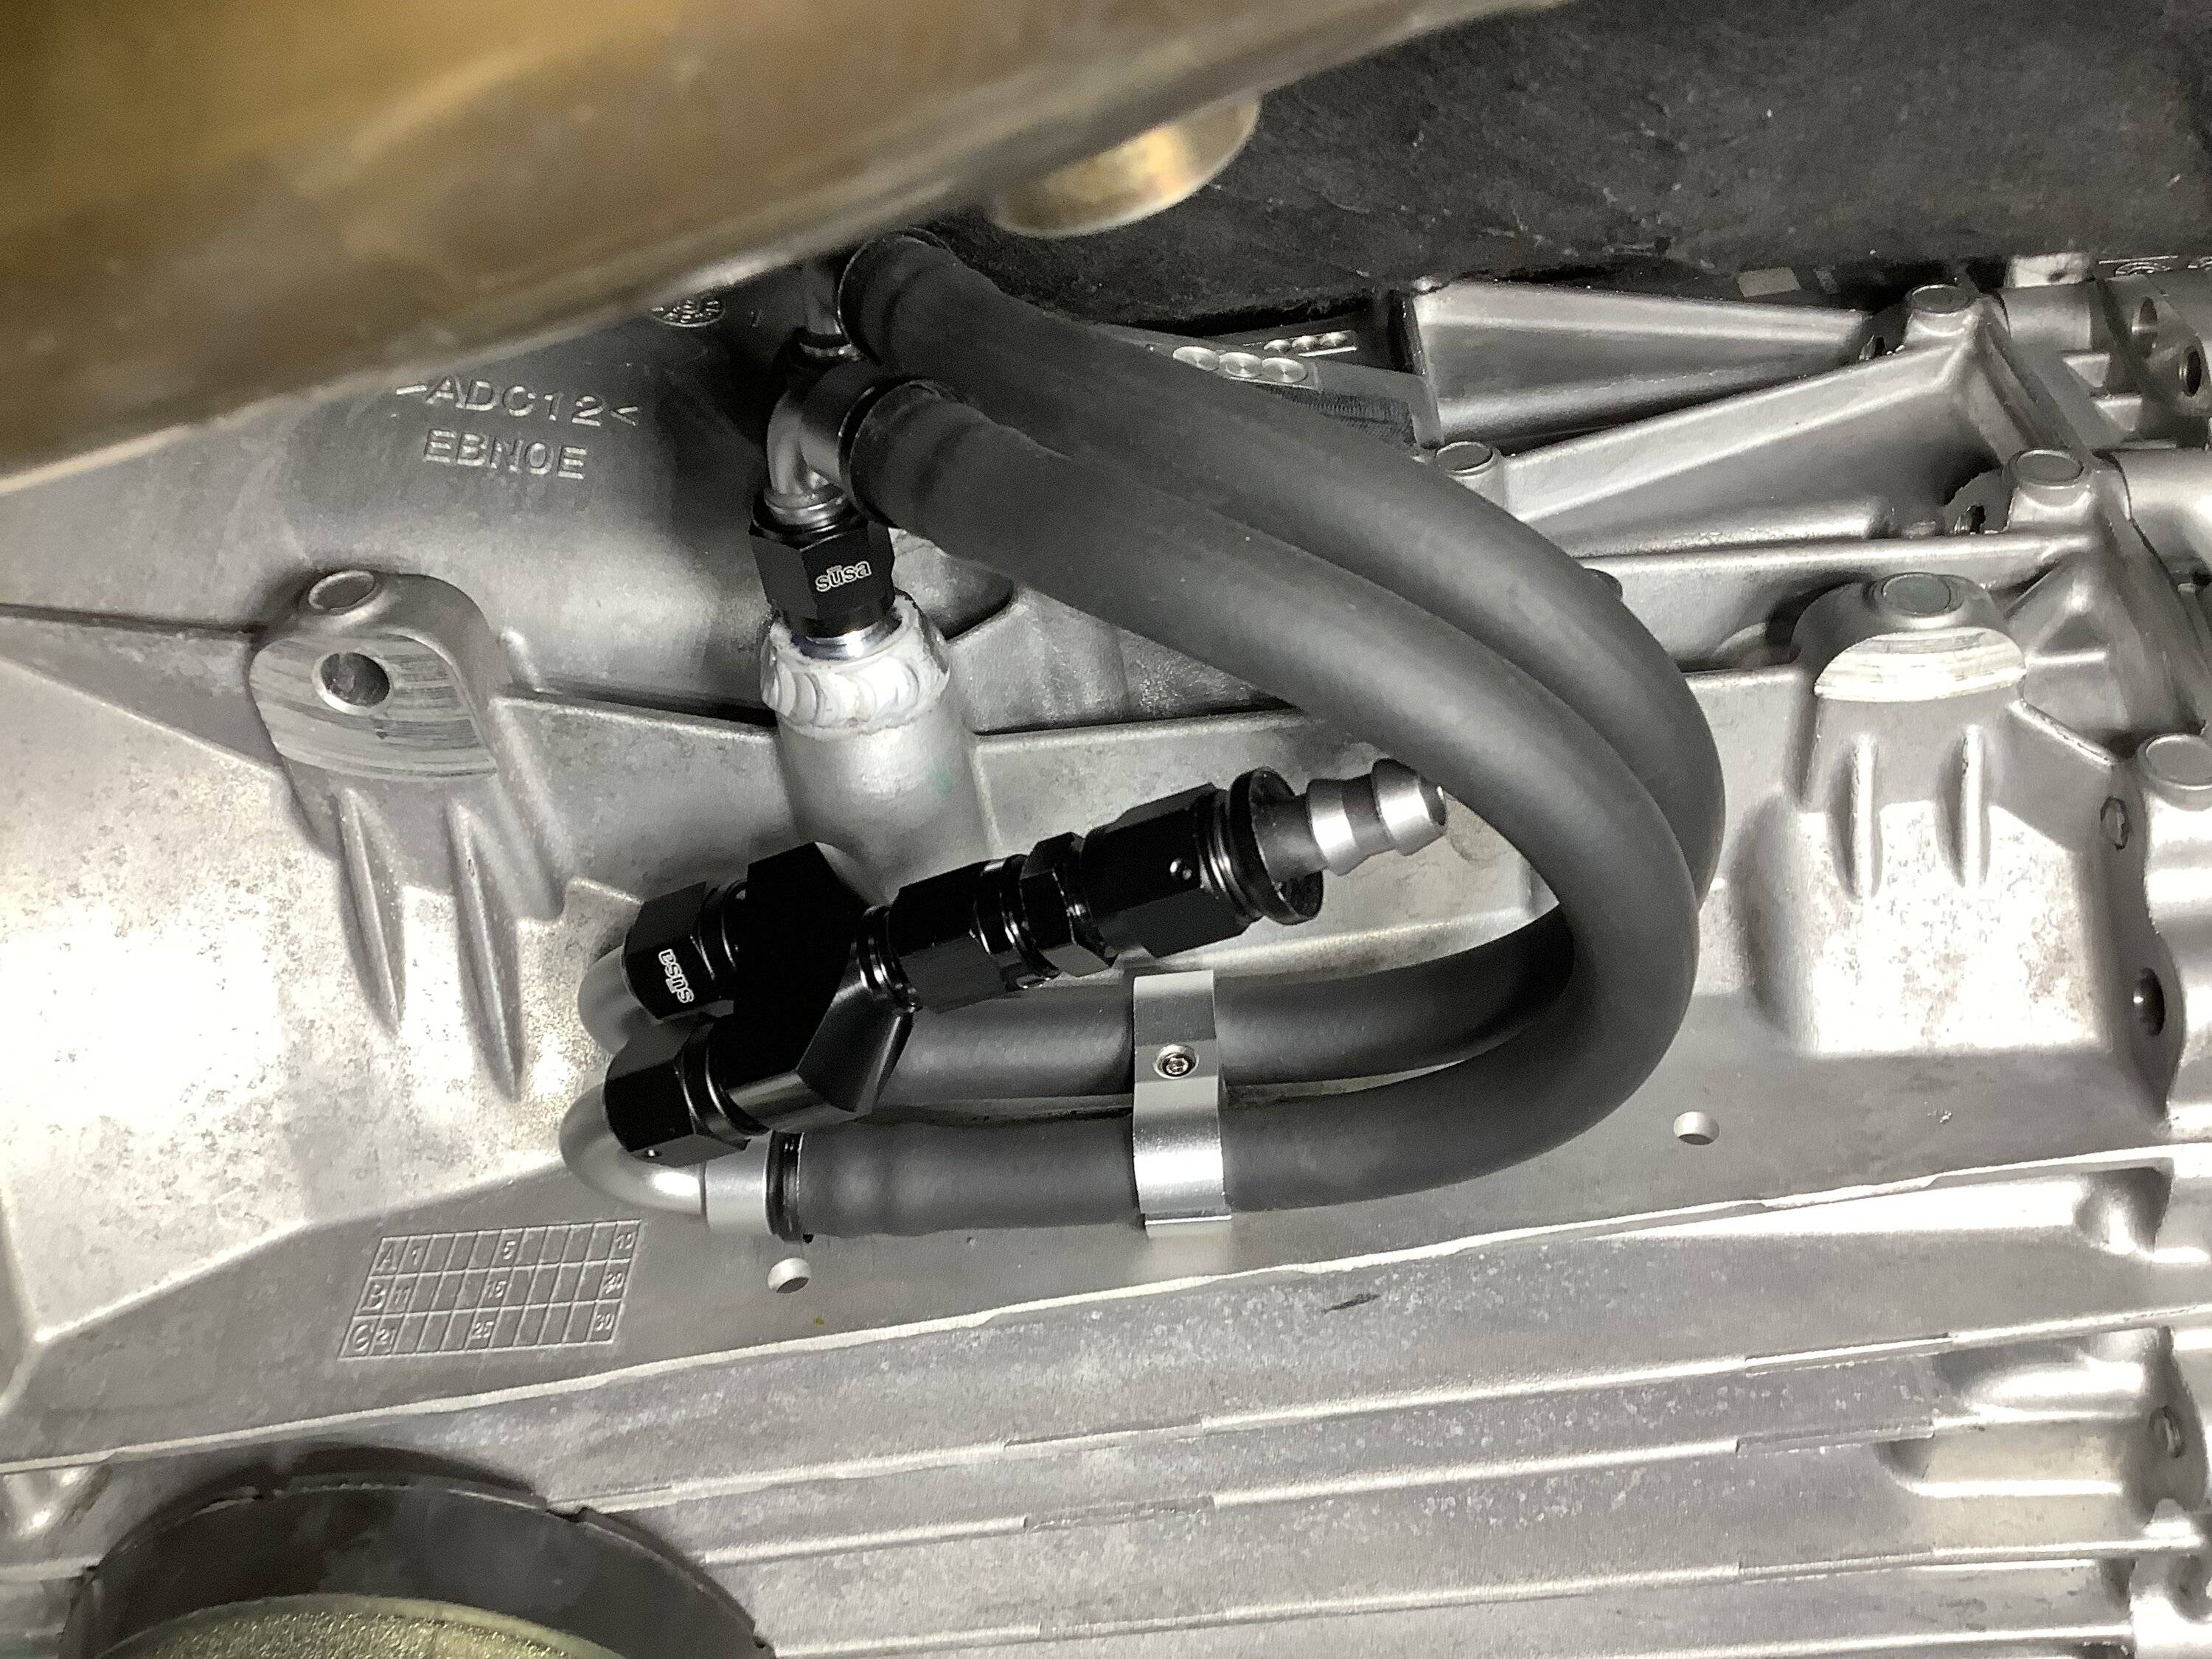
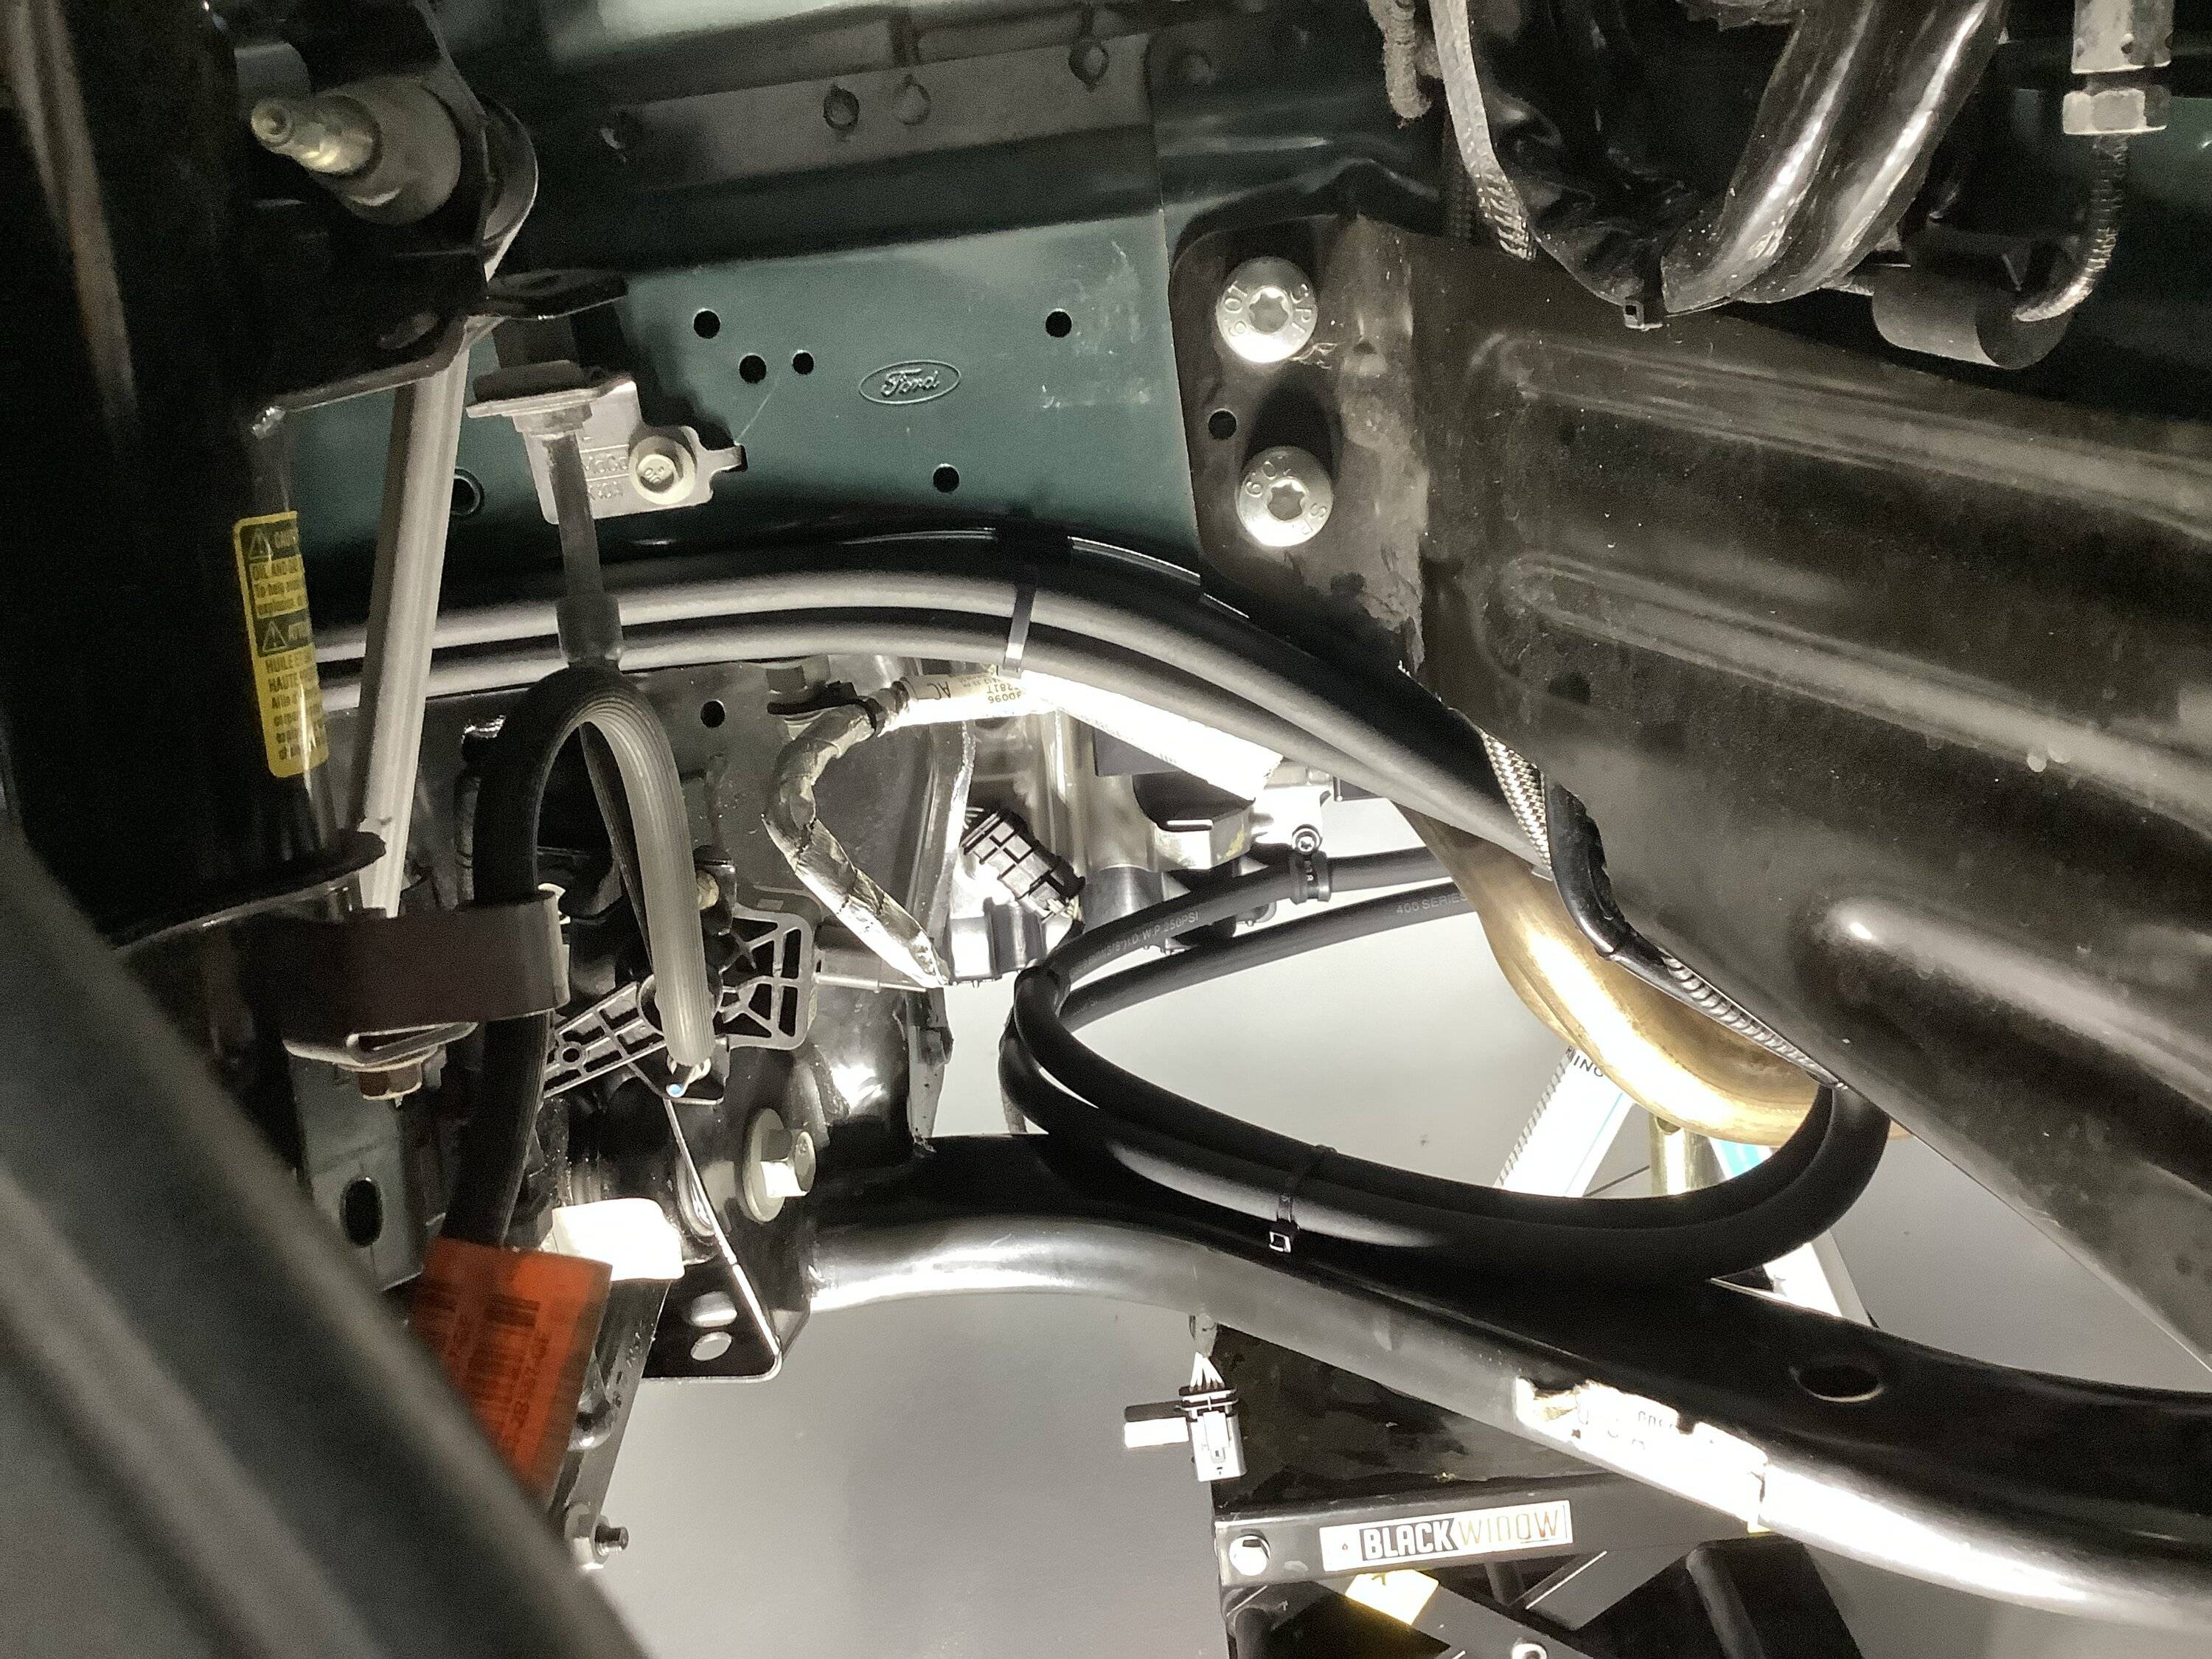
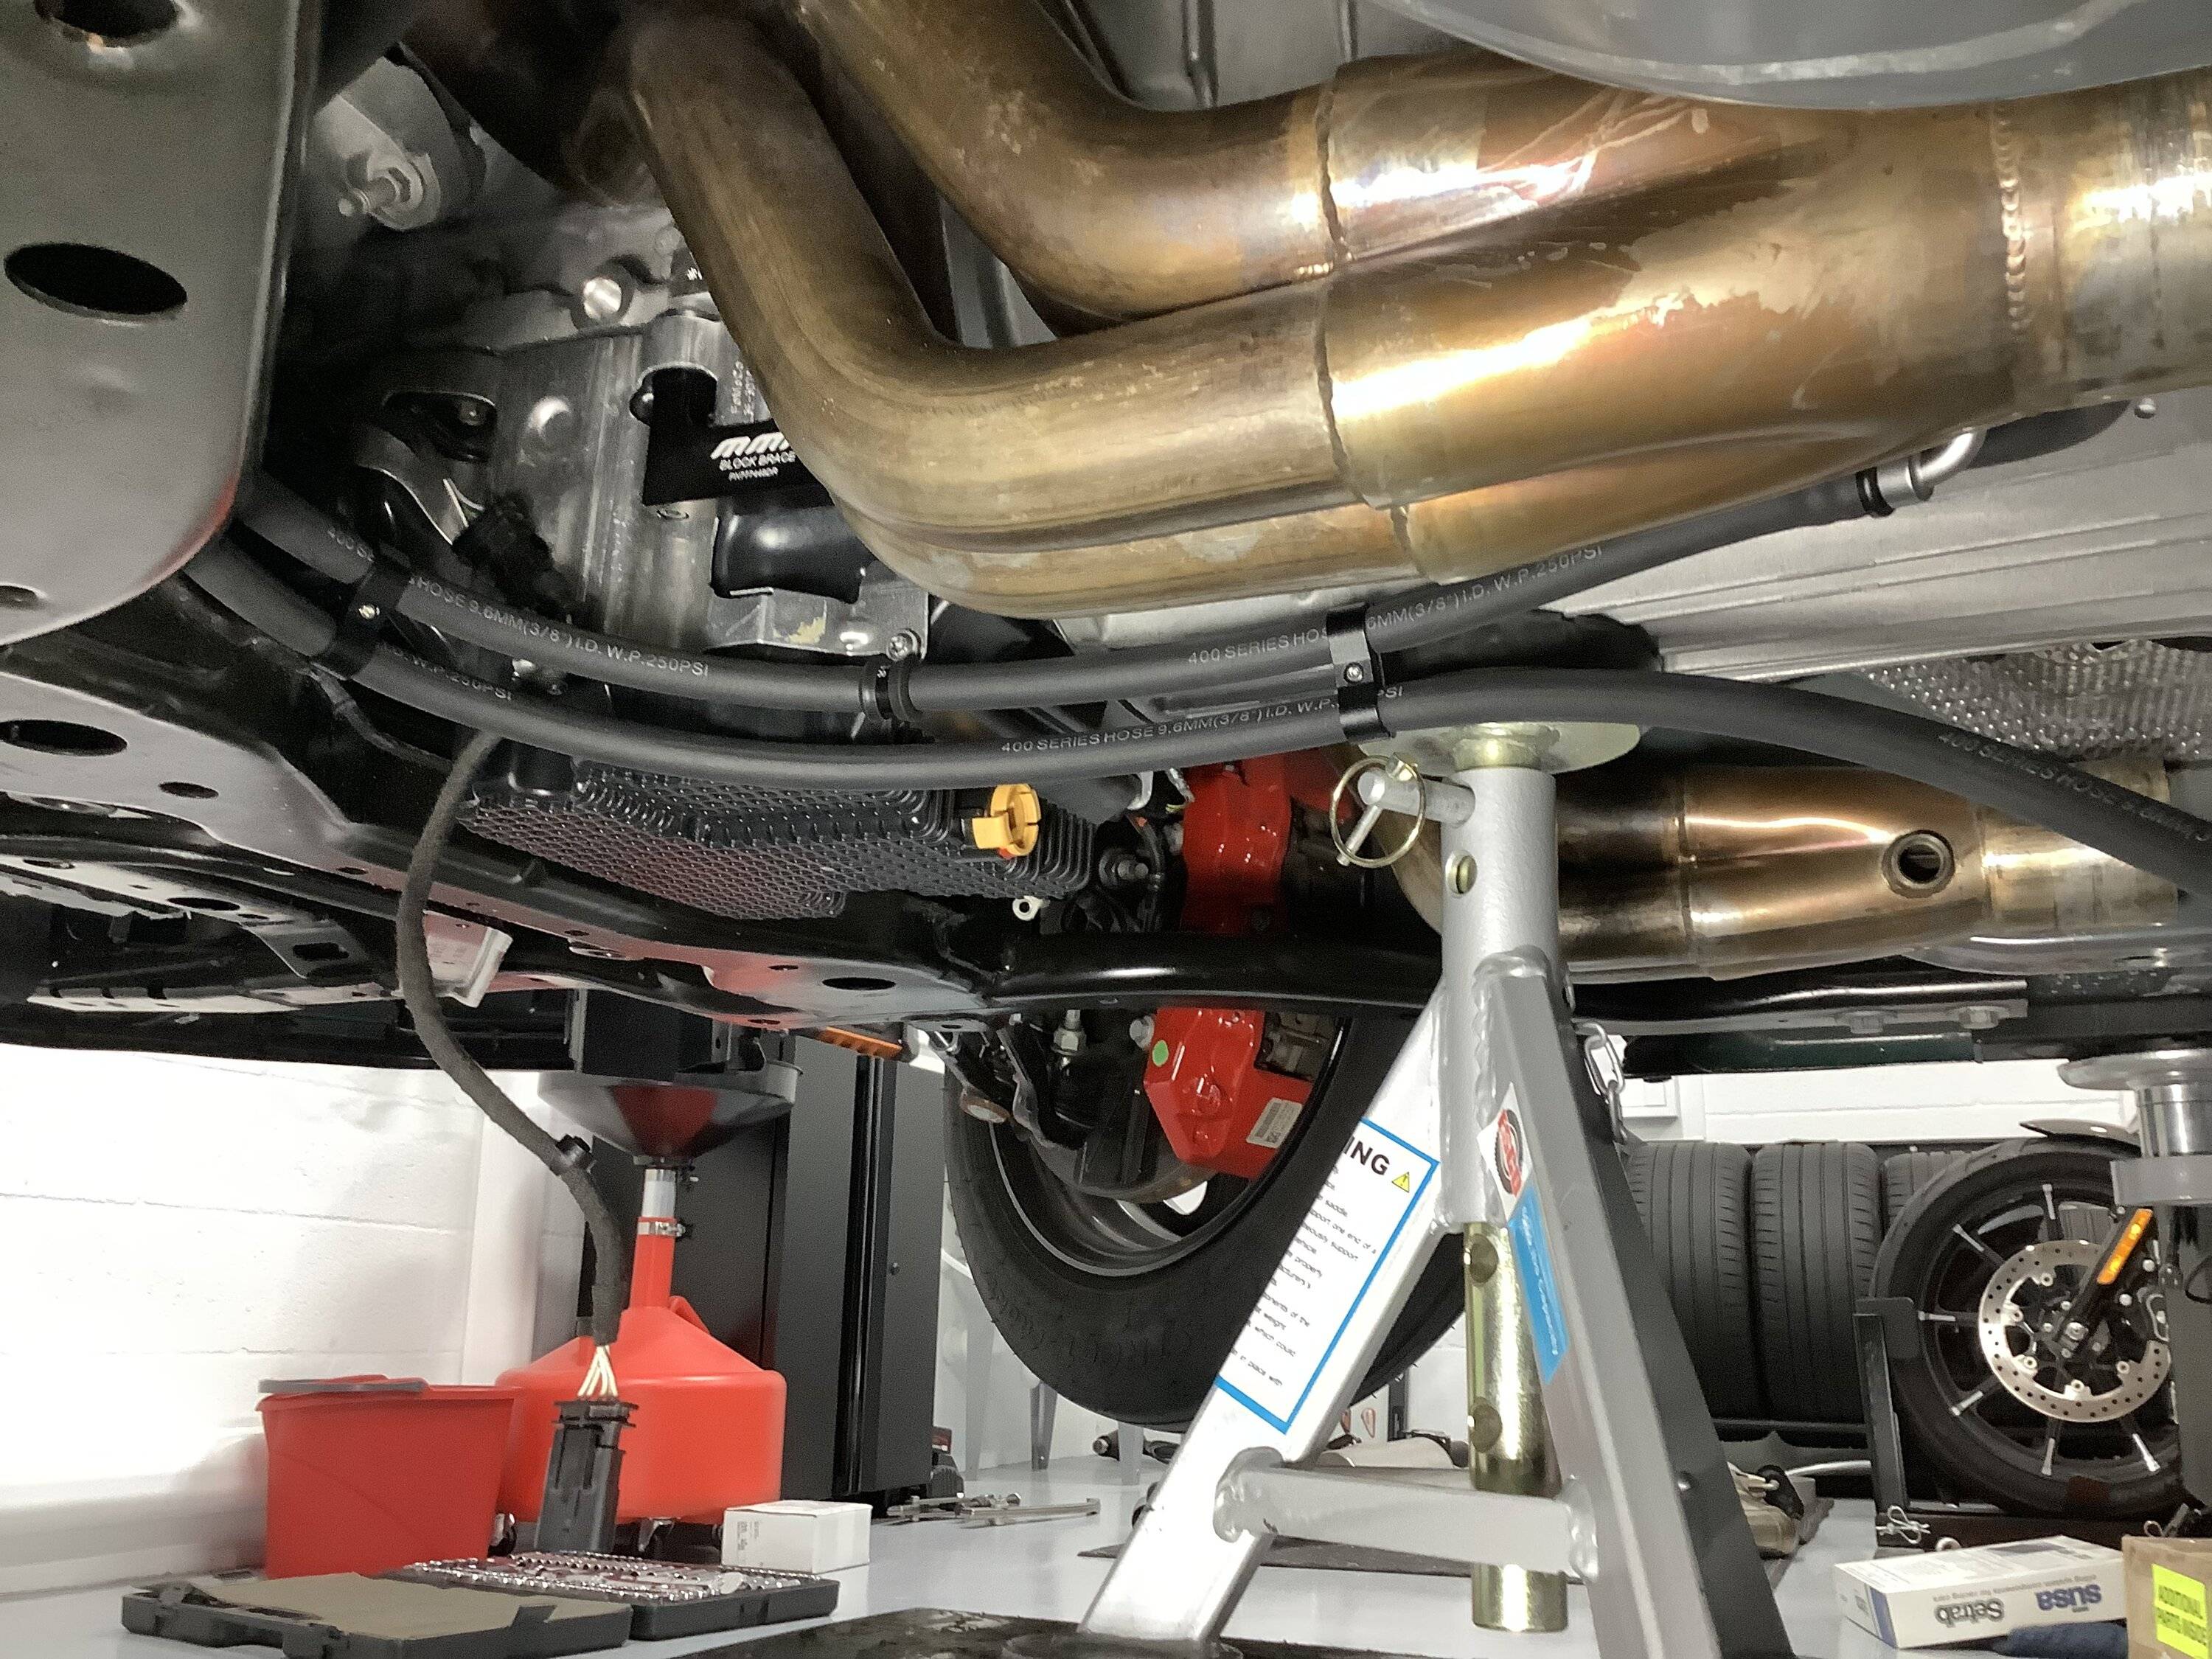
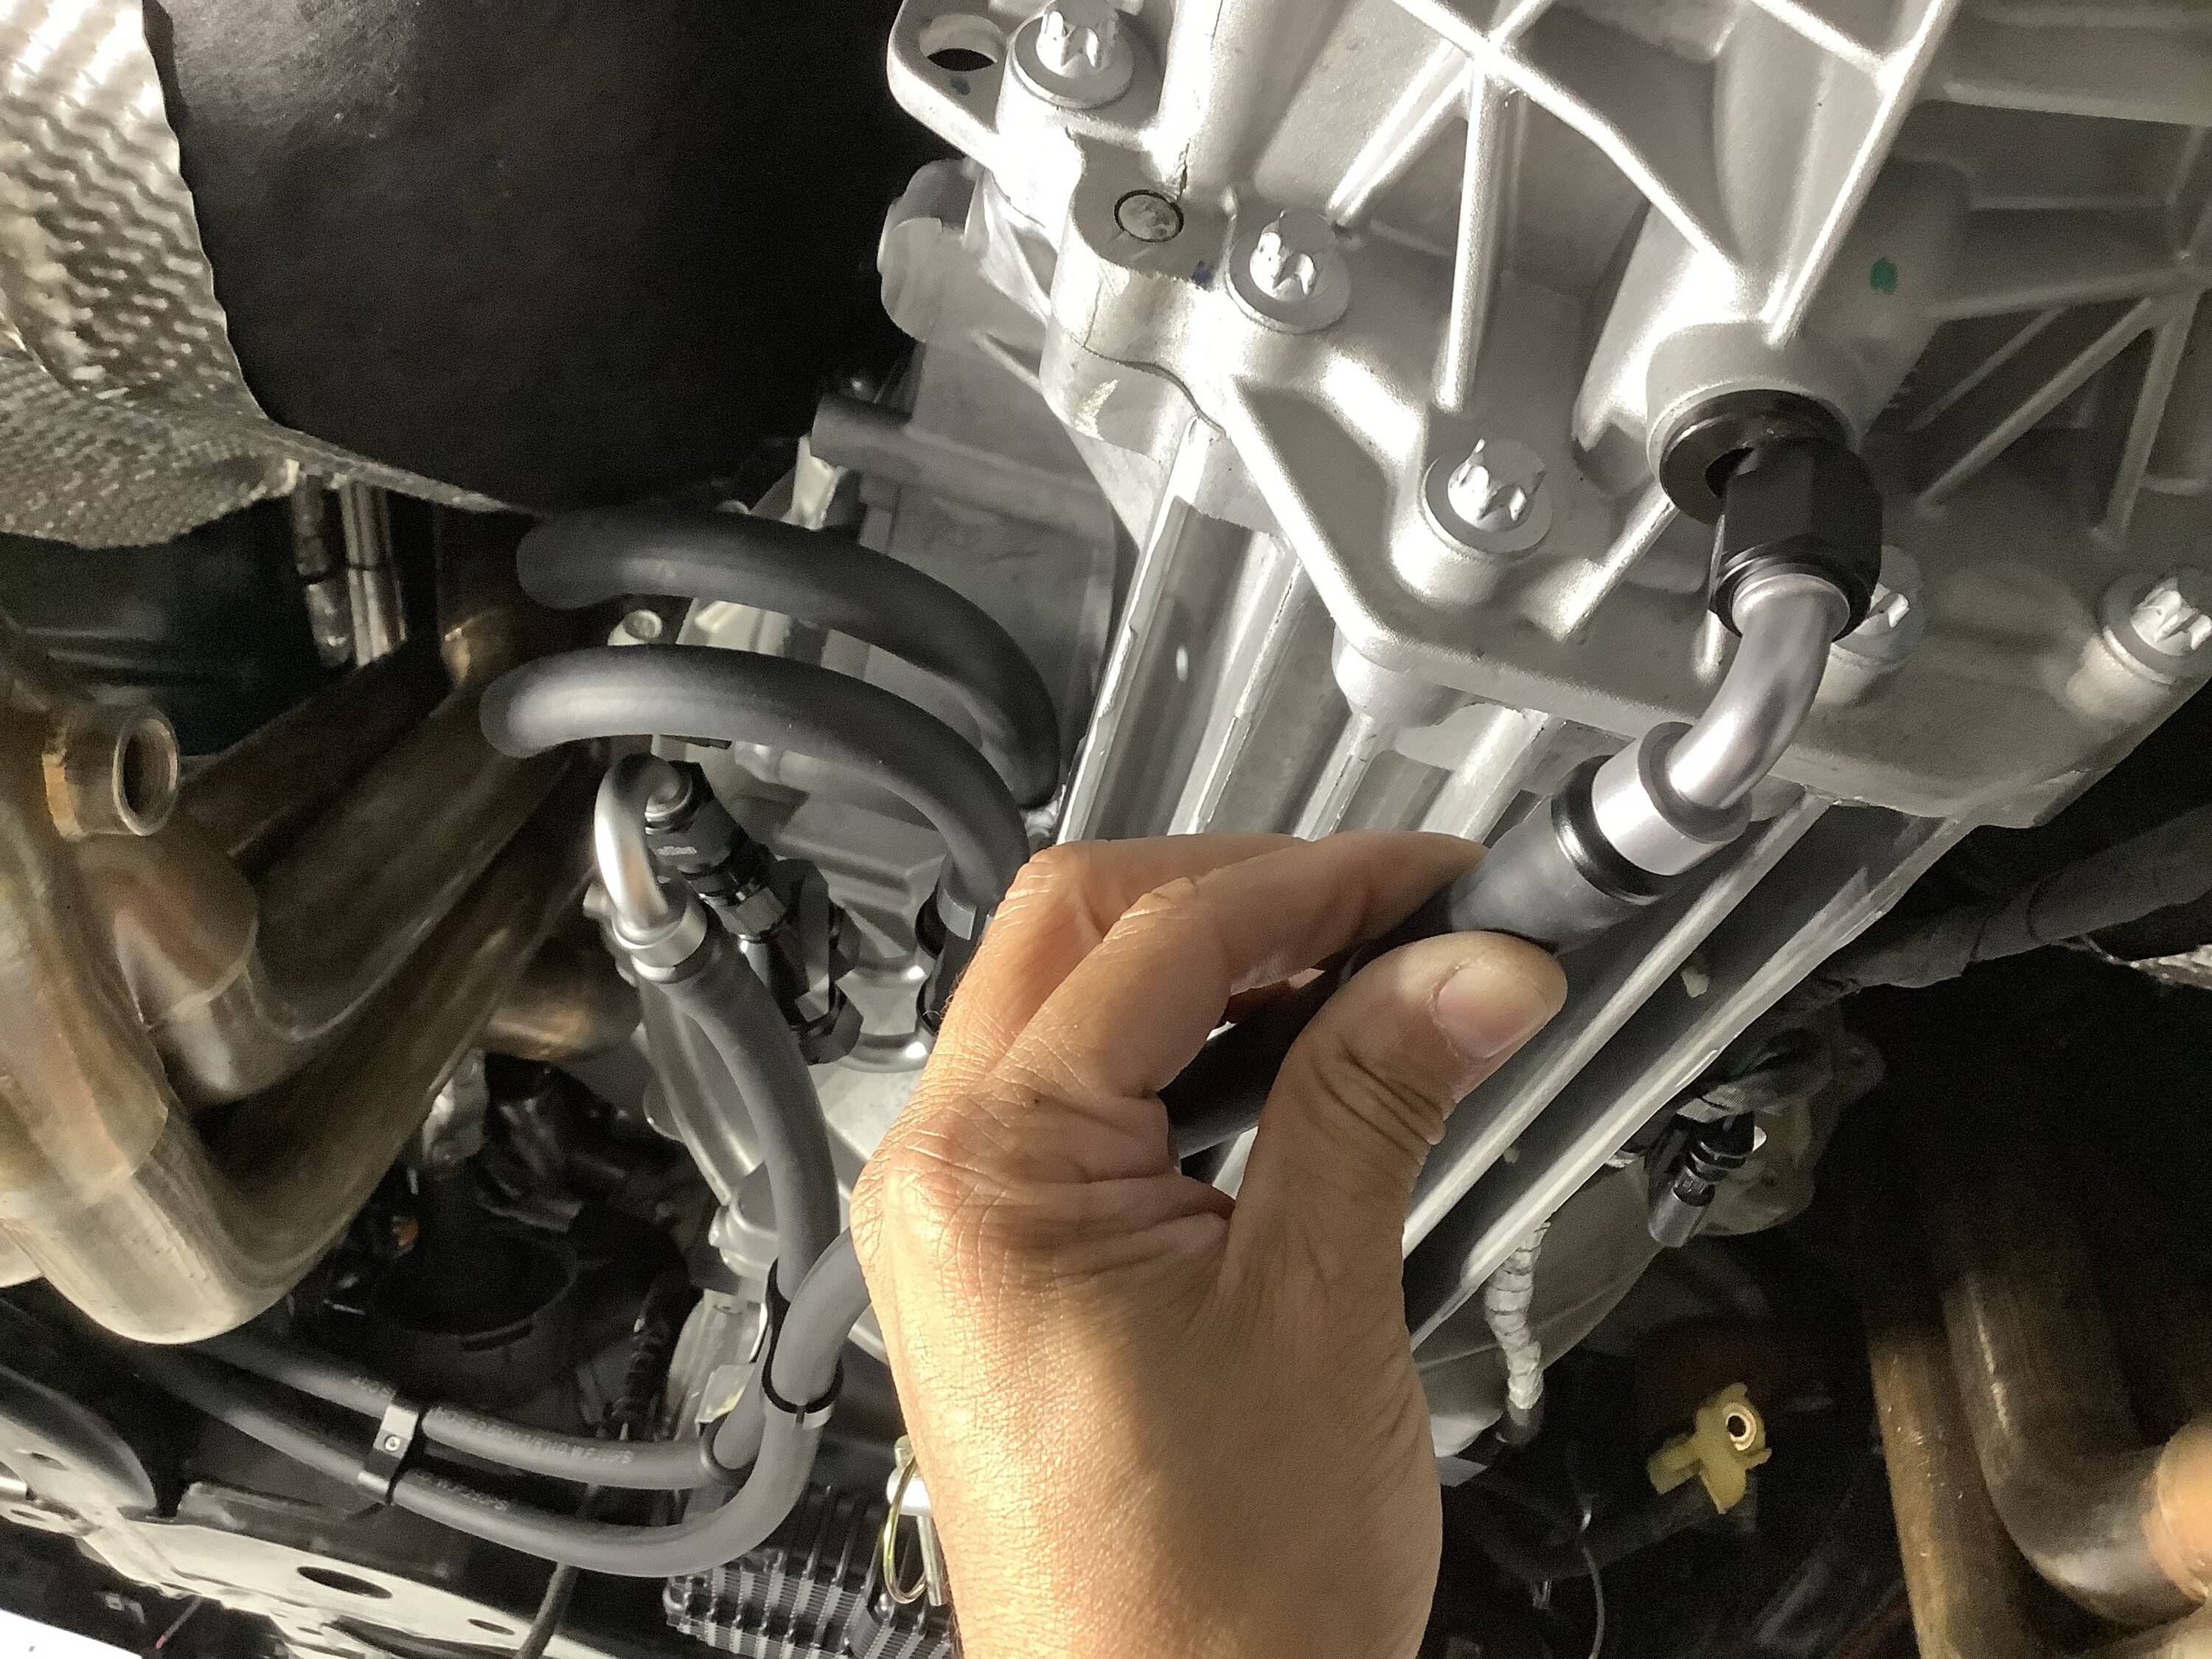
I’m knocking off again for today, but here are some pics of today’s progress (some from different angles to show more).

Getting both the output shaft and countershaft, along with 3/4 and 5/6 shift forks was very tricky. I had to hold both shafts (which are heavy) at the same time, as well as both shift forks and the 3/4 synchros and gear that marries the 3/4 synchro and hub assembly to the input shaft. Once that was done, I had to use the shop press to press home the output shaft, while still holding the 3/4 synchros and gear with one hand, as I pumped the press with the other. Thankfully everything went very well!
Note: The service manual says to install both shafts and then the shift forks. Well, that is impossible to do, due to space limitations inside of the case. That may work for the 2015-2017 MT82 because they have different shift forks (steel ones) that look less bulky and are probably easier to work with.
I’m knocking off again for today, but here are some pics of today’s progress (some from different angles to show more).


Sponsored


")


 j/king - sorta
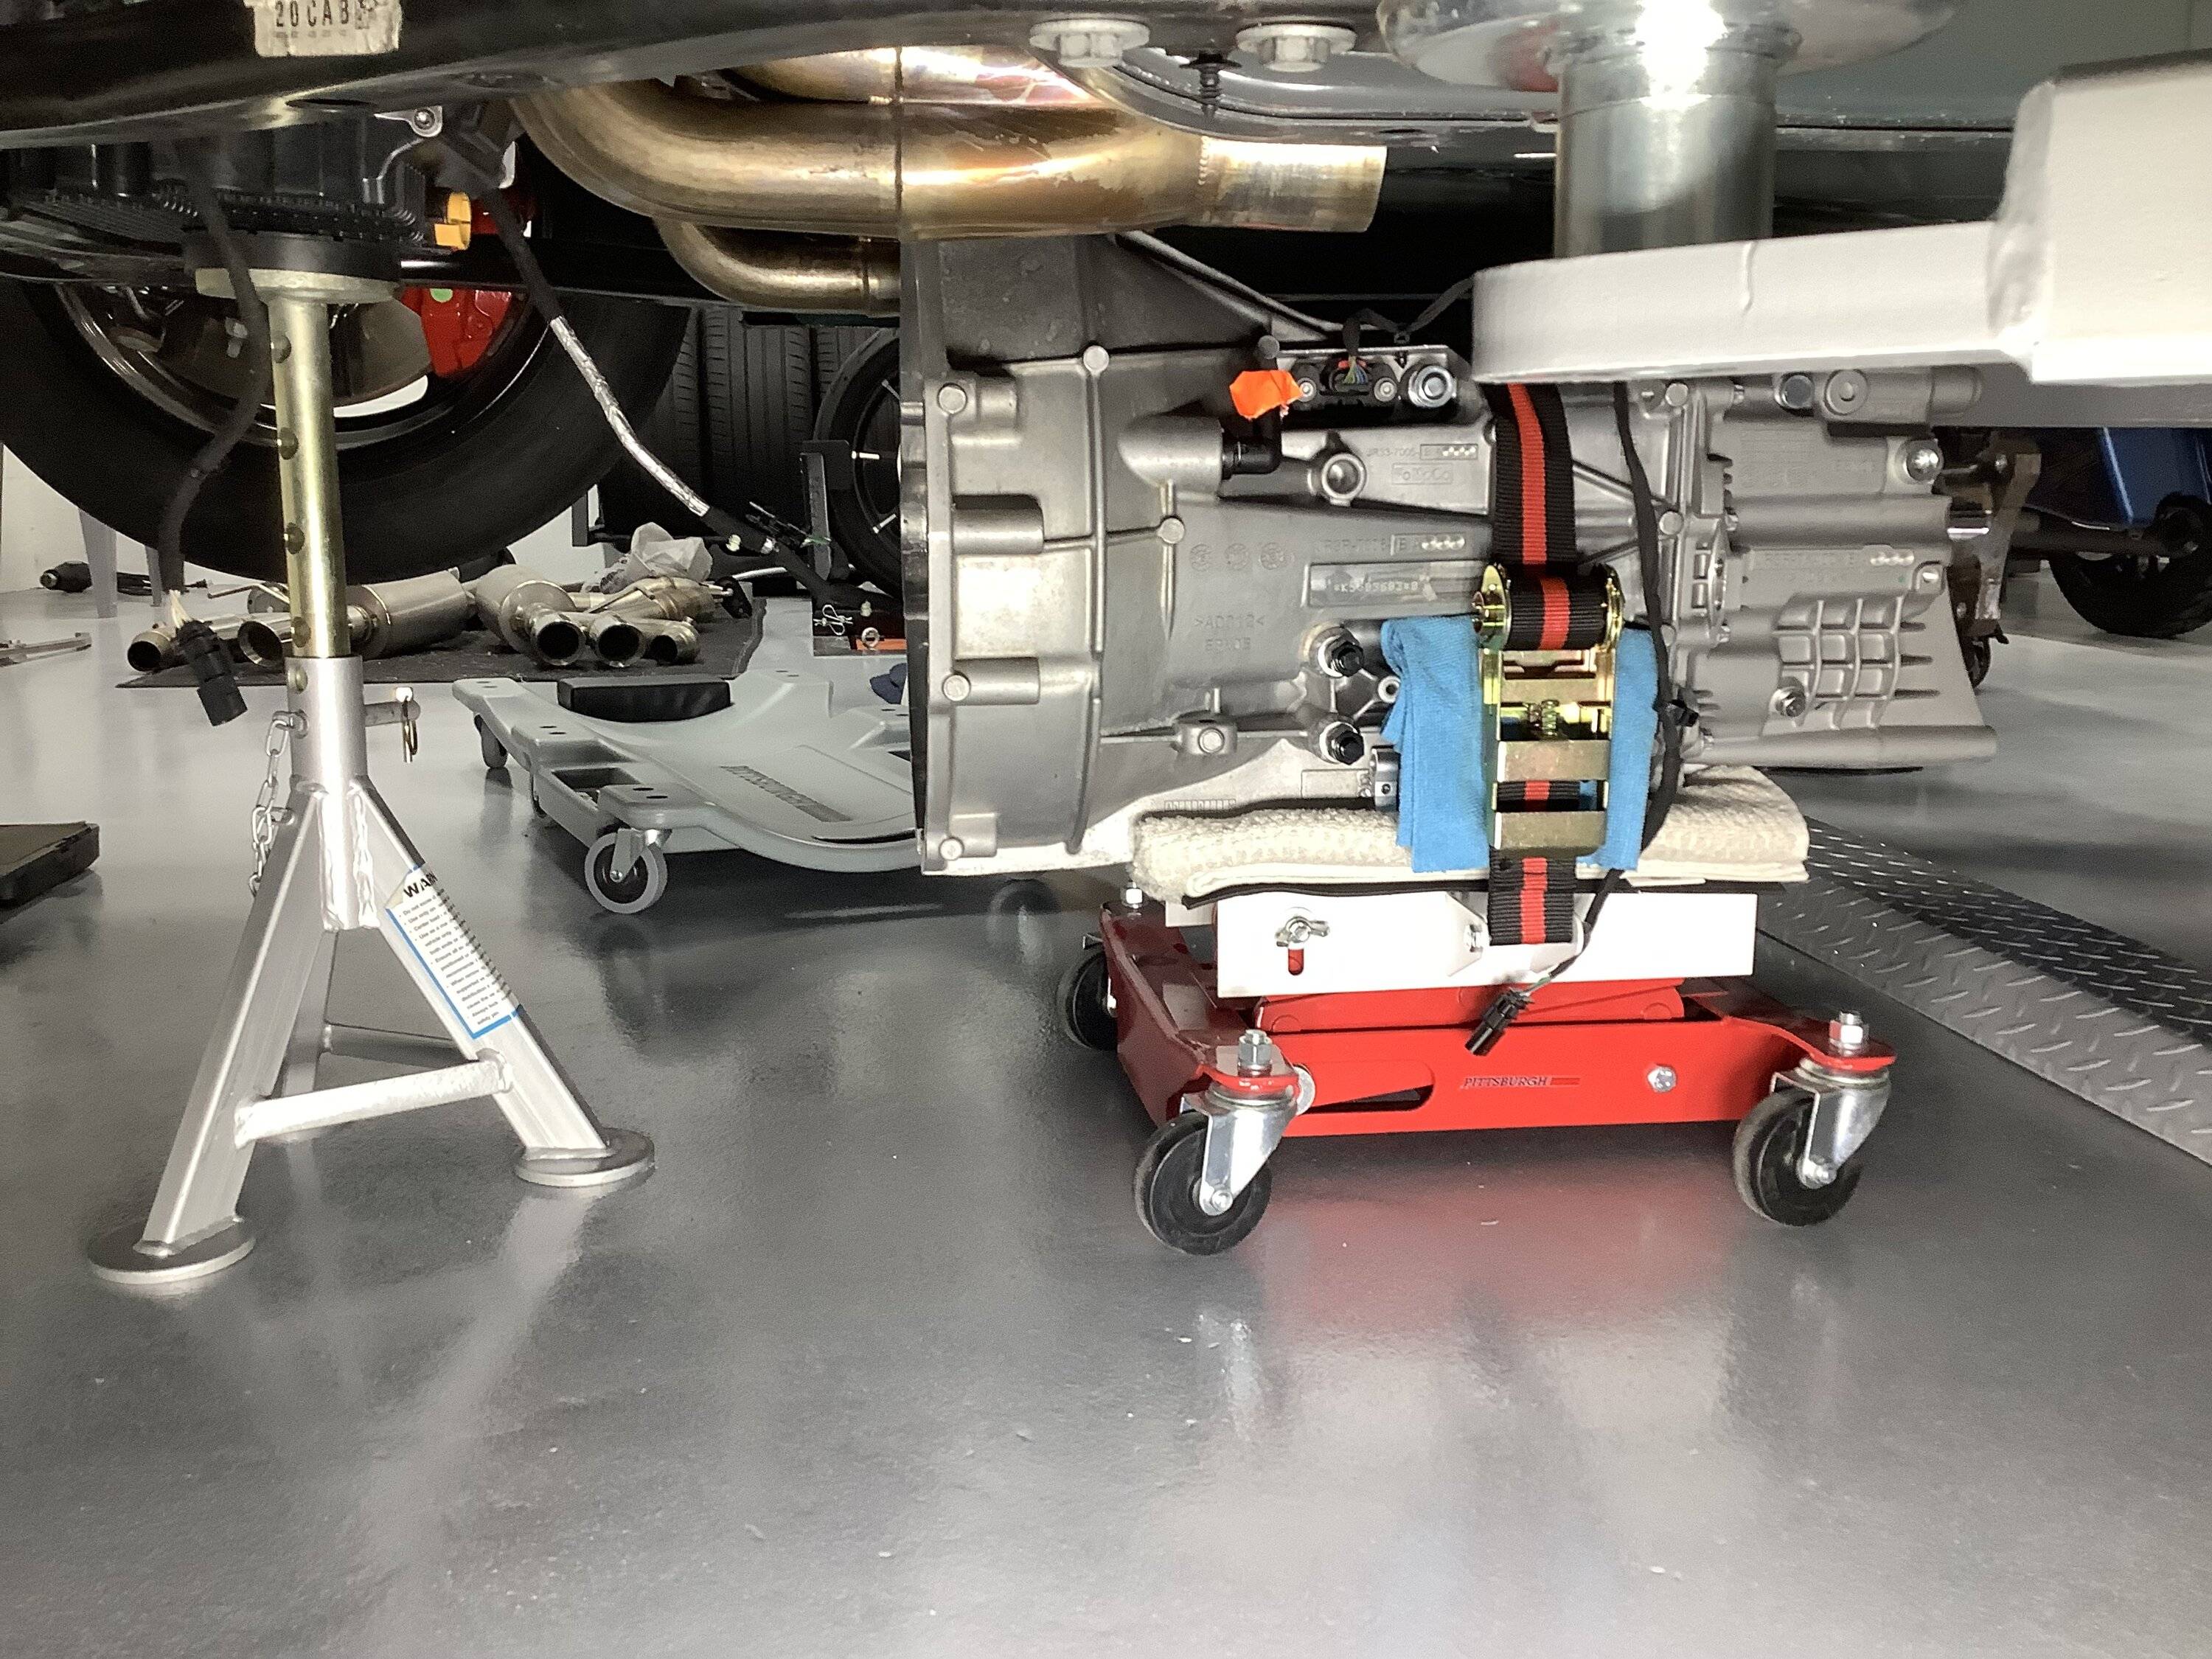


 .
.
 .
.