Sponsored

Grabber Lime 2020 GT Build Thread

KermiStang

Well-Known Member
Joined
Oct 4, 2019
Threads
4
Messages
471
Reaction score
1,140
Location
Australia
First Name
AJ
Vehicle(s)
2019 Mustang GT N4G
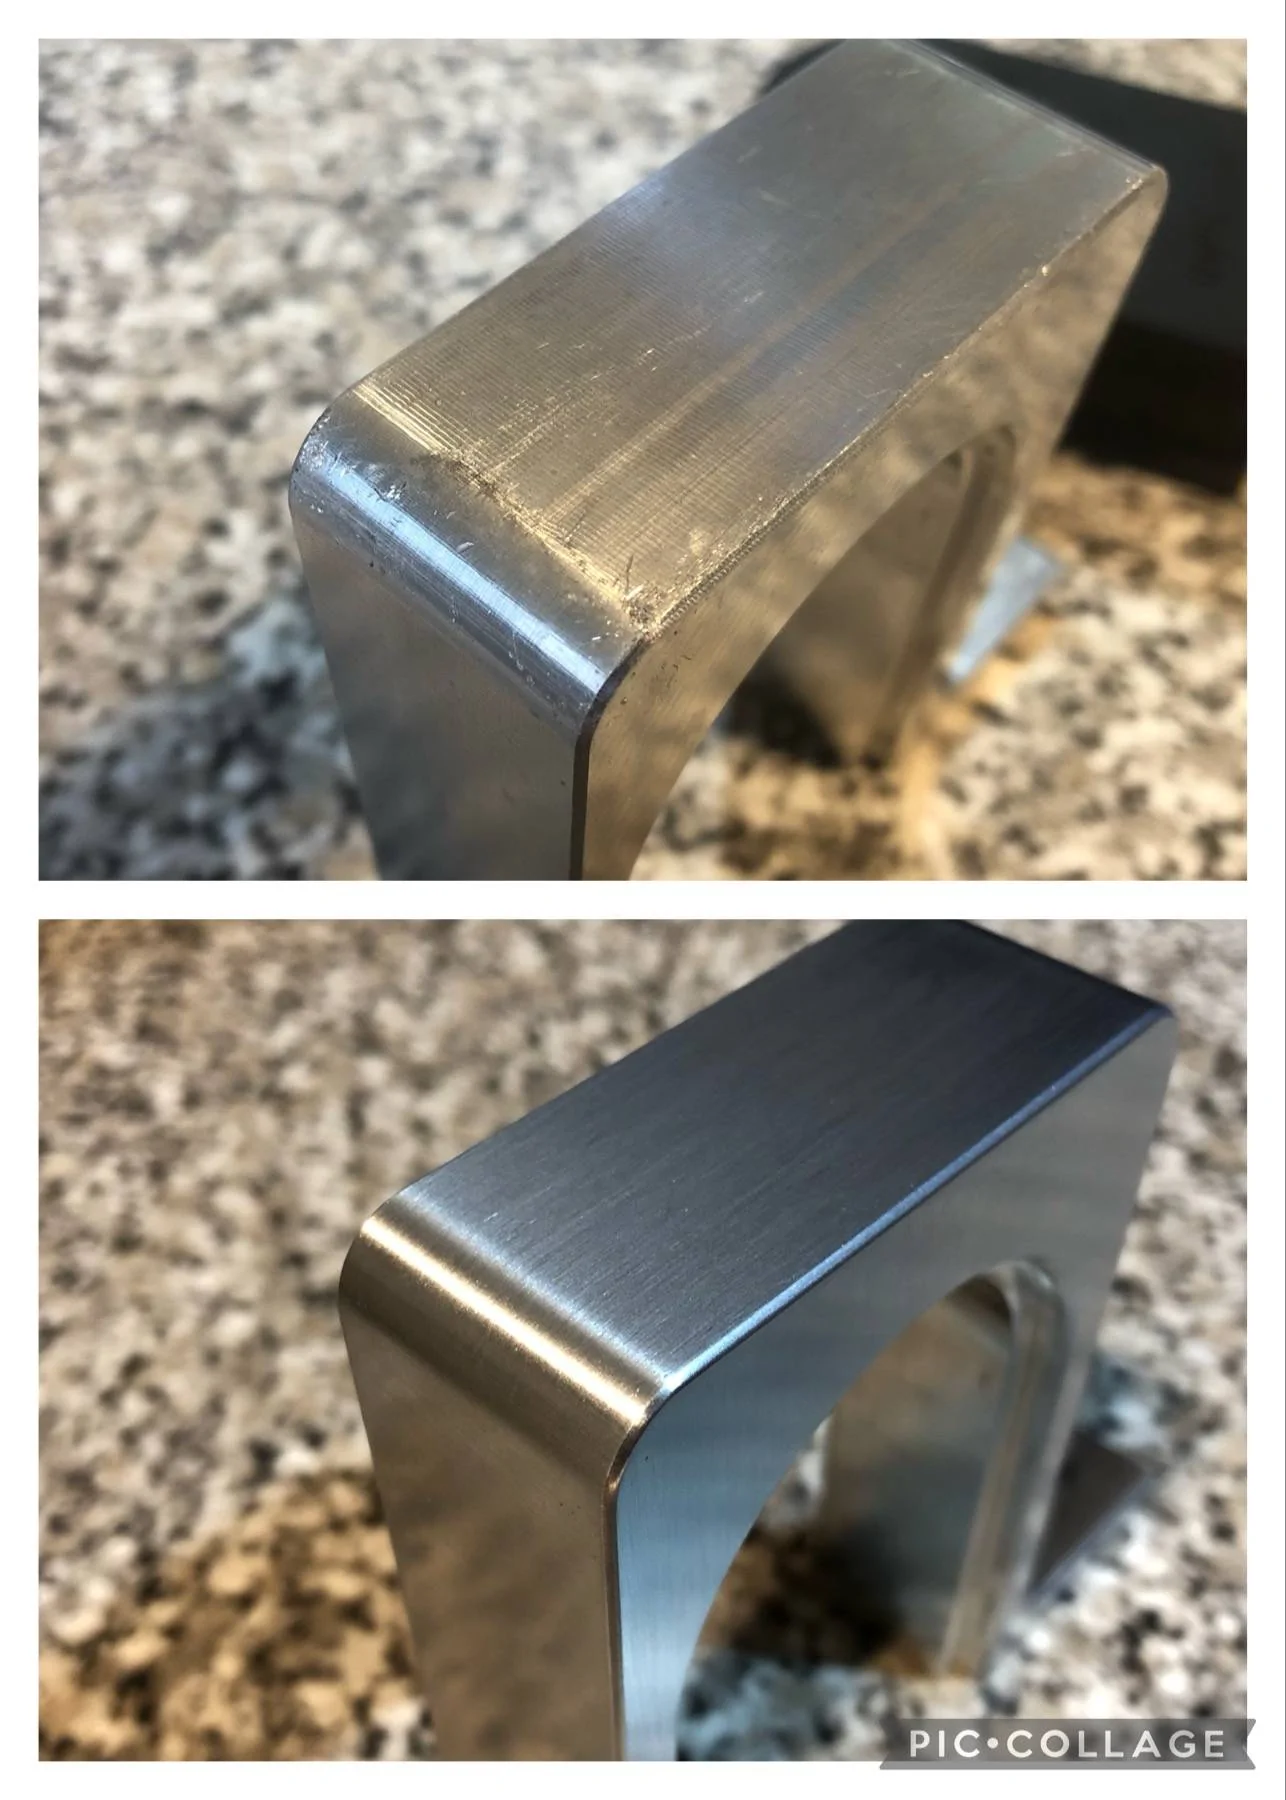
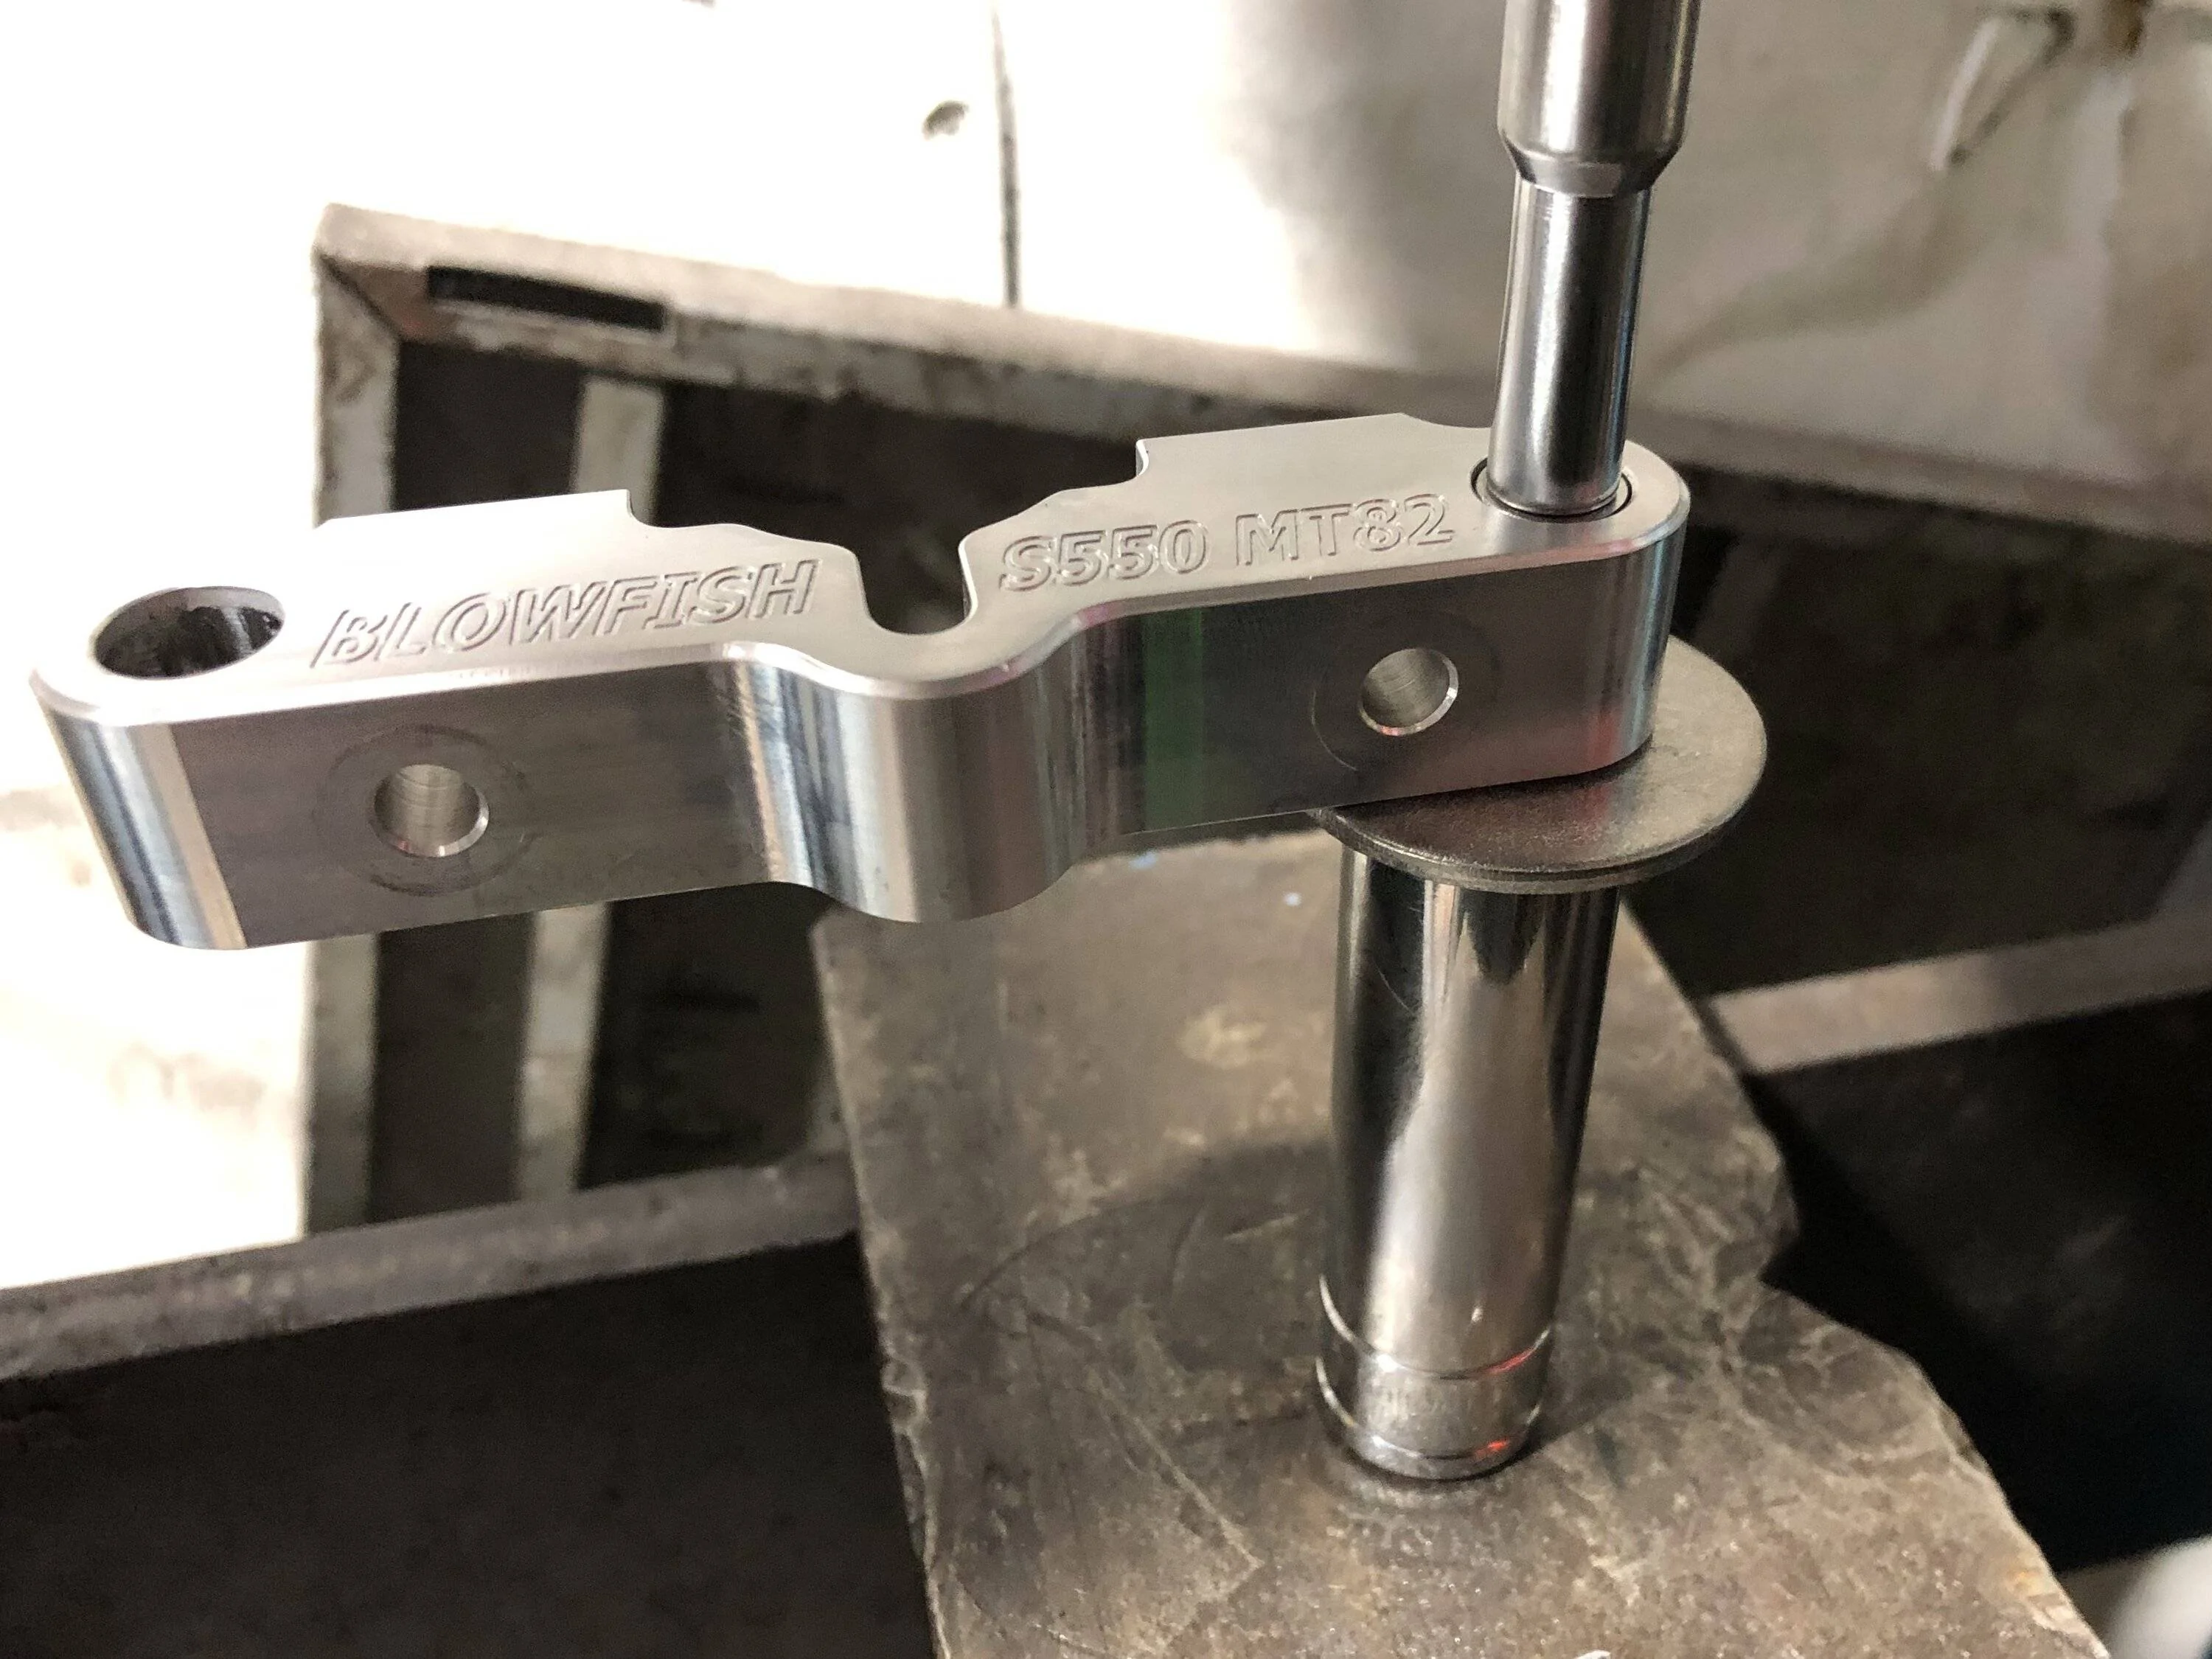
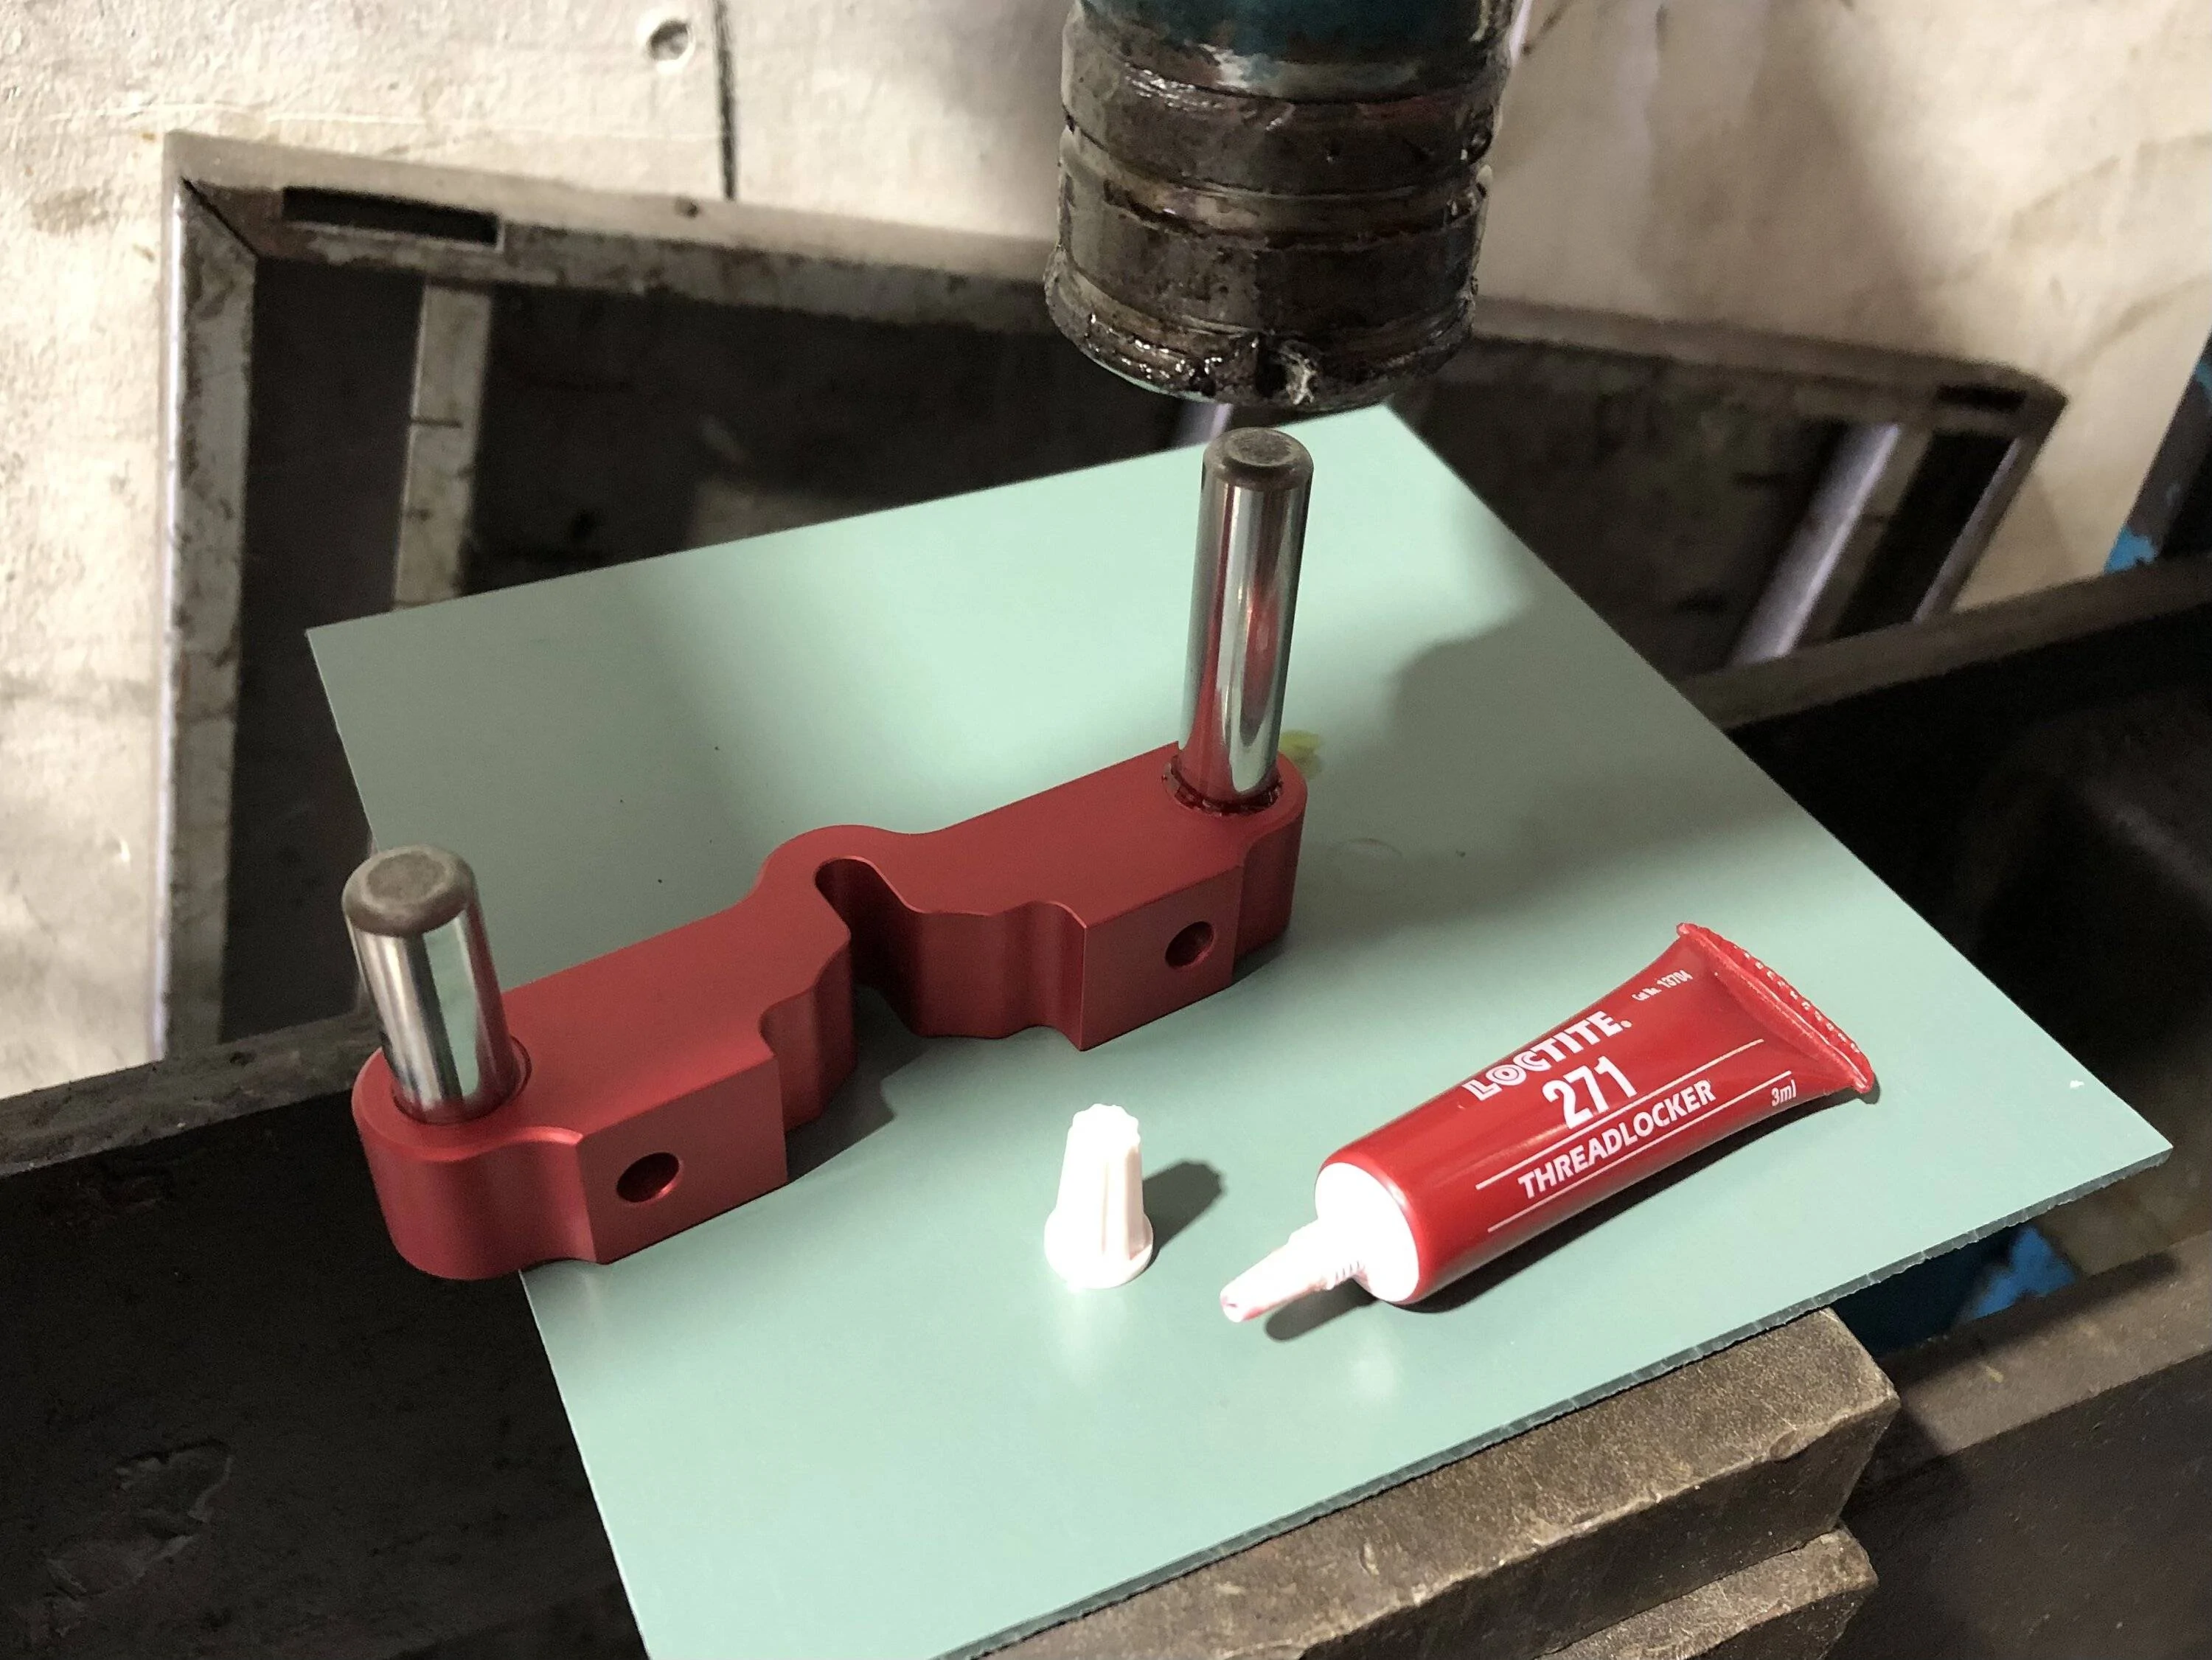
Surprisingly very easy to do at home though, with a bit of nouse. Although you will need a 20 ton press (15 will do) and all the bits and pieces that assist with that. Various steel plates, and dies etc for positioning. TBH my biggest problem was the "wetware." I thought my biggest TQ wrench was enough, but it wasn't, so luckily I could borrow one bigger from @MaxQ, but my hands (physical strength) and the available leverage (lack of space and angles for TQ lever extensions for high TQ bolts) made it difficult. I never considered myself a "girly man" but I sure (inadvertently and unintentionally) overstressed the tendons in my right hand so much on that job, I'm still feeling the effects 12 months later. For most it may not be a problem, but its a reminder it sucks getting older. šŸ˜¢
Sponsored

 
OP
OP
WD Pro

WD Pro

Well-Known Member
Joined
Jan 18, 2018
Threads
121
Messages
5,719
Reaction score
11,039
Location
United Kingdom
Vehicle(s)
Lime GT
Vehicle Showcase
1
Just catching up with other info / updates I had posted in other threads :like:

I picked up a Steeda shifter mount and prepped it for anodising :

1681593521416.jpeg


1681593547635.jpeg


1681593572774.jpeg


By chance, I had also been on the lookout for the original Blowfish bracket / prop loop and one came along at the same time (but this won't be fitted for a while) :

IMG_8940.jpg


The finish on the ally wasn't great :

1683974238896.jpeg


1683974273530.jpeg


Started the prep work for anodising :

IMG_9039.jpg


IMG_9055.jpg


1686212285928.jpeg


Anodising done :

IMG_9168.jpg


IMG_9169.jpg


The red stuff is mine (Vertical link bushes, Steeda bracket and the blowfish bracket).

The gold stuff is @Tinpot 's (Steeda Mach 1 IRS bushes).

Steeda shifter bracket finished :

IMG_9179.jpg


Rebuilt blowfish :

IMG_9255.jpg


1683974341412.jpeg


1683974385837.jpeg


1683974481980.jpeg


I picked up a 2018+ bigmouth to replace my slightly bodged 2015 version. The standard finish isnā€™t great so that made my decision to get it painted or not quite easy :

1683974940630.jpeg


1683974971294.jpeg


I remember the rough edges from prepping my other :

1683975036837.jpeg


1683975089856.jpeg


Although I really wanted it gone (I regretted not doing it on the first), I almost regretted starting this :

1683975317325.jpeg


A few bubbles and porosity left in the matrix, but the paint man should be able to sort those out no problem :

1683978057107.jpeg


Logo free, flatted off, smoothed edges and ready for paint :

1683978158323.jpeg


1683978118151.jpeg


Started yet another mini project ...

Paper template good to go :

1681681890070.jpeg


Stainless :

1683065115541.jpeg


Stainless dressed up, tapped the locking plates, added stainless rivnuts and got it mostly assembled :

1683358939668.jpeg


The bracket is adjustable to counteract the GoPro lens offset from 10mm to 20mm. This covers the full GoPro range past and present, itā€™s currently set at 14mm which suits my old school Hero 2ā€™s ā€¦ lol

1683359077220.jpeg


If itā€™s not red (aluminium) or black (plastic) itā€™s stainless steel, including all the bolts, rivnuts and spacers :

1683359178276.jpeg


My GoPro is proper retro :giggle: :

1684590193904.jpeg


Mounting location (no good for a Mach or Shelby) :

1684590260151.jpeg


Front locking plate :

1684590301779.jpeg


Rear :

1684590346758.jpeg


Mounting assembly order :

1684590382502.jpeg


Done :

1684590440956.jpeg


1684590489591.jpeg


A few sample videos - I'm still messing around finding the best setting for under car use.

M4 Spoilt my fun :


1st, 2nd & 3rd :


I was a little concerned about the strength of the plastic tray I had chosen for the mounting, but it seemed really secure (the camera has already taken a hit from an overly large speedhump), then I recently came across this photo on another thread which shows why those mounts are there (ignore the blue circle, it's where needs trimming to fit a tow hook) :

IMG_9487.JPG


If they can take the stress of an oil cooler and pipework on a Mach or Shelby, I think the GoPro will be just fine :like:

This photo is worth adding just for a laugh, 'smiles per gallon' is a term that I hear quite often ... :giggle:

1681593746017.jpeg


WD :like:
 

NGOT8R

Well-Known Member
Joined
Jul 19, 2020
Threads
117
Messages
6,148
Reaction score
4,192
Location
Florida
First Name
Adrian
Vehicle(s)
2019 Bullitt
Everything looks great WD :thumbsup:
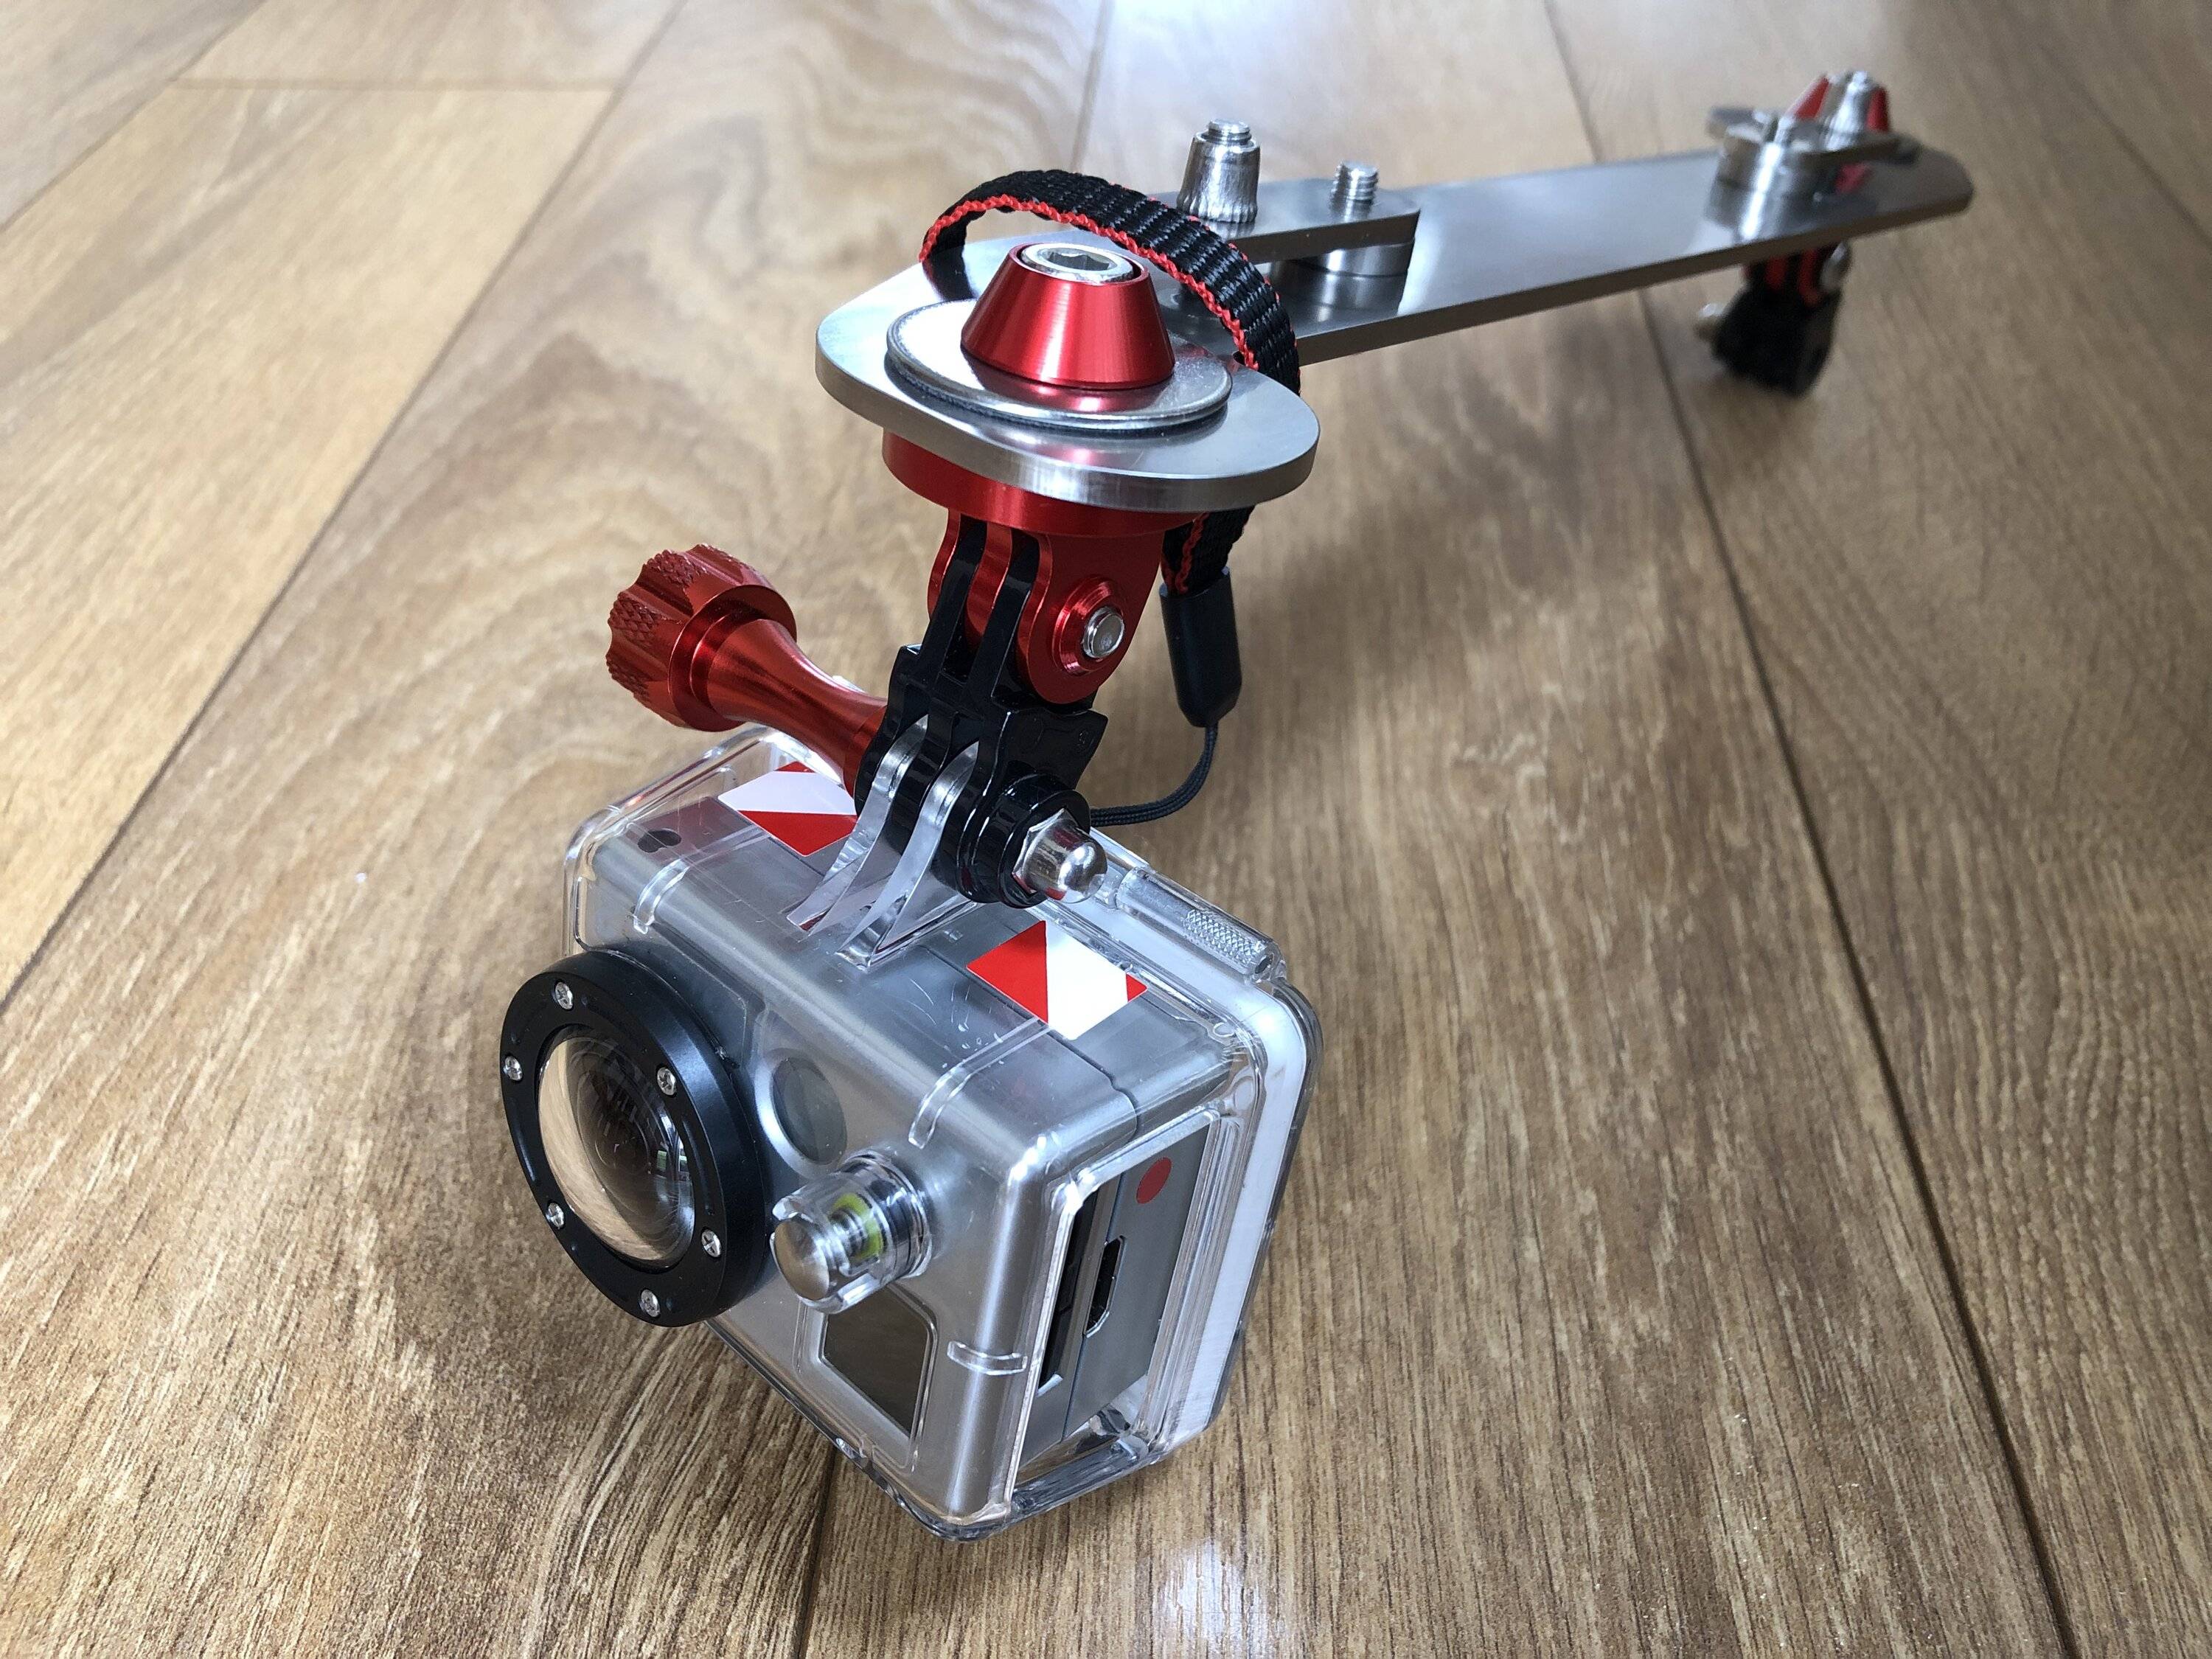
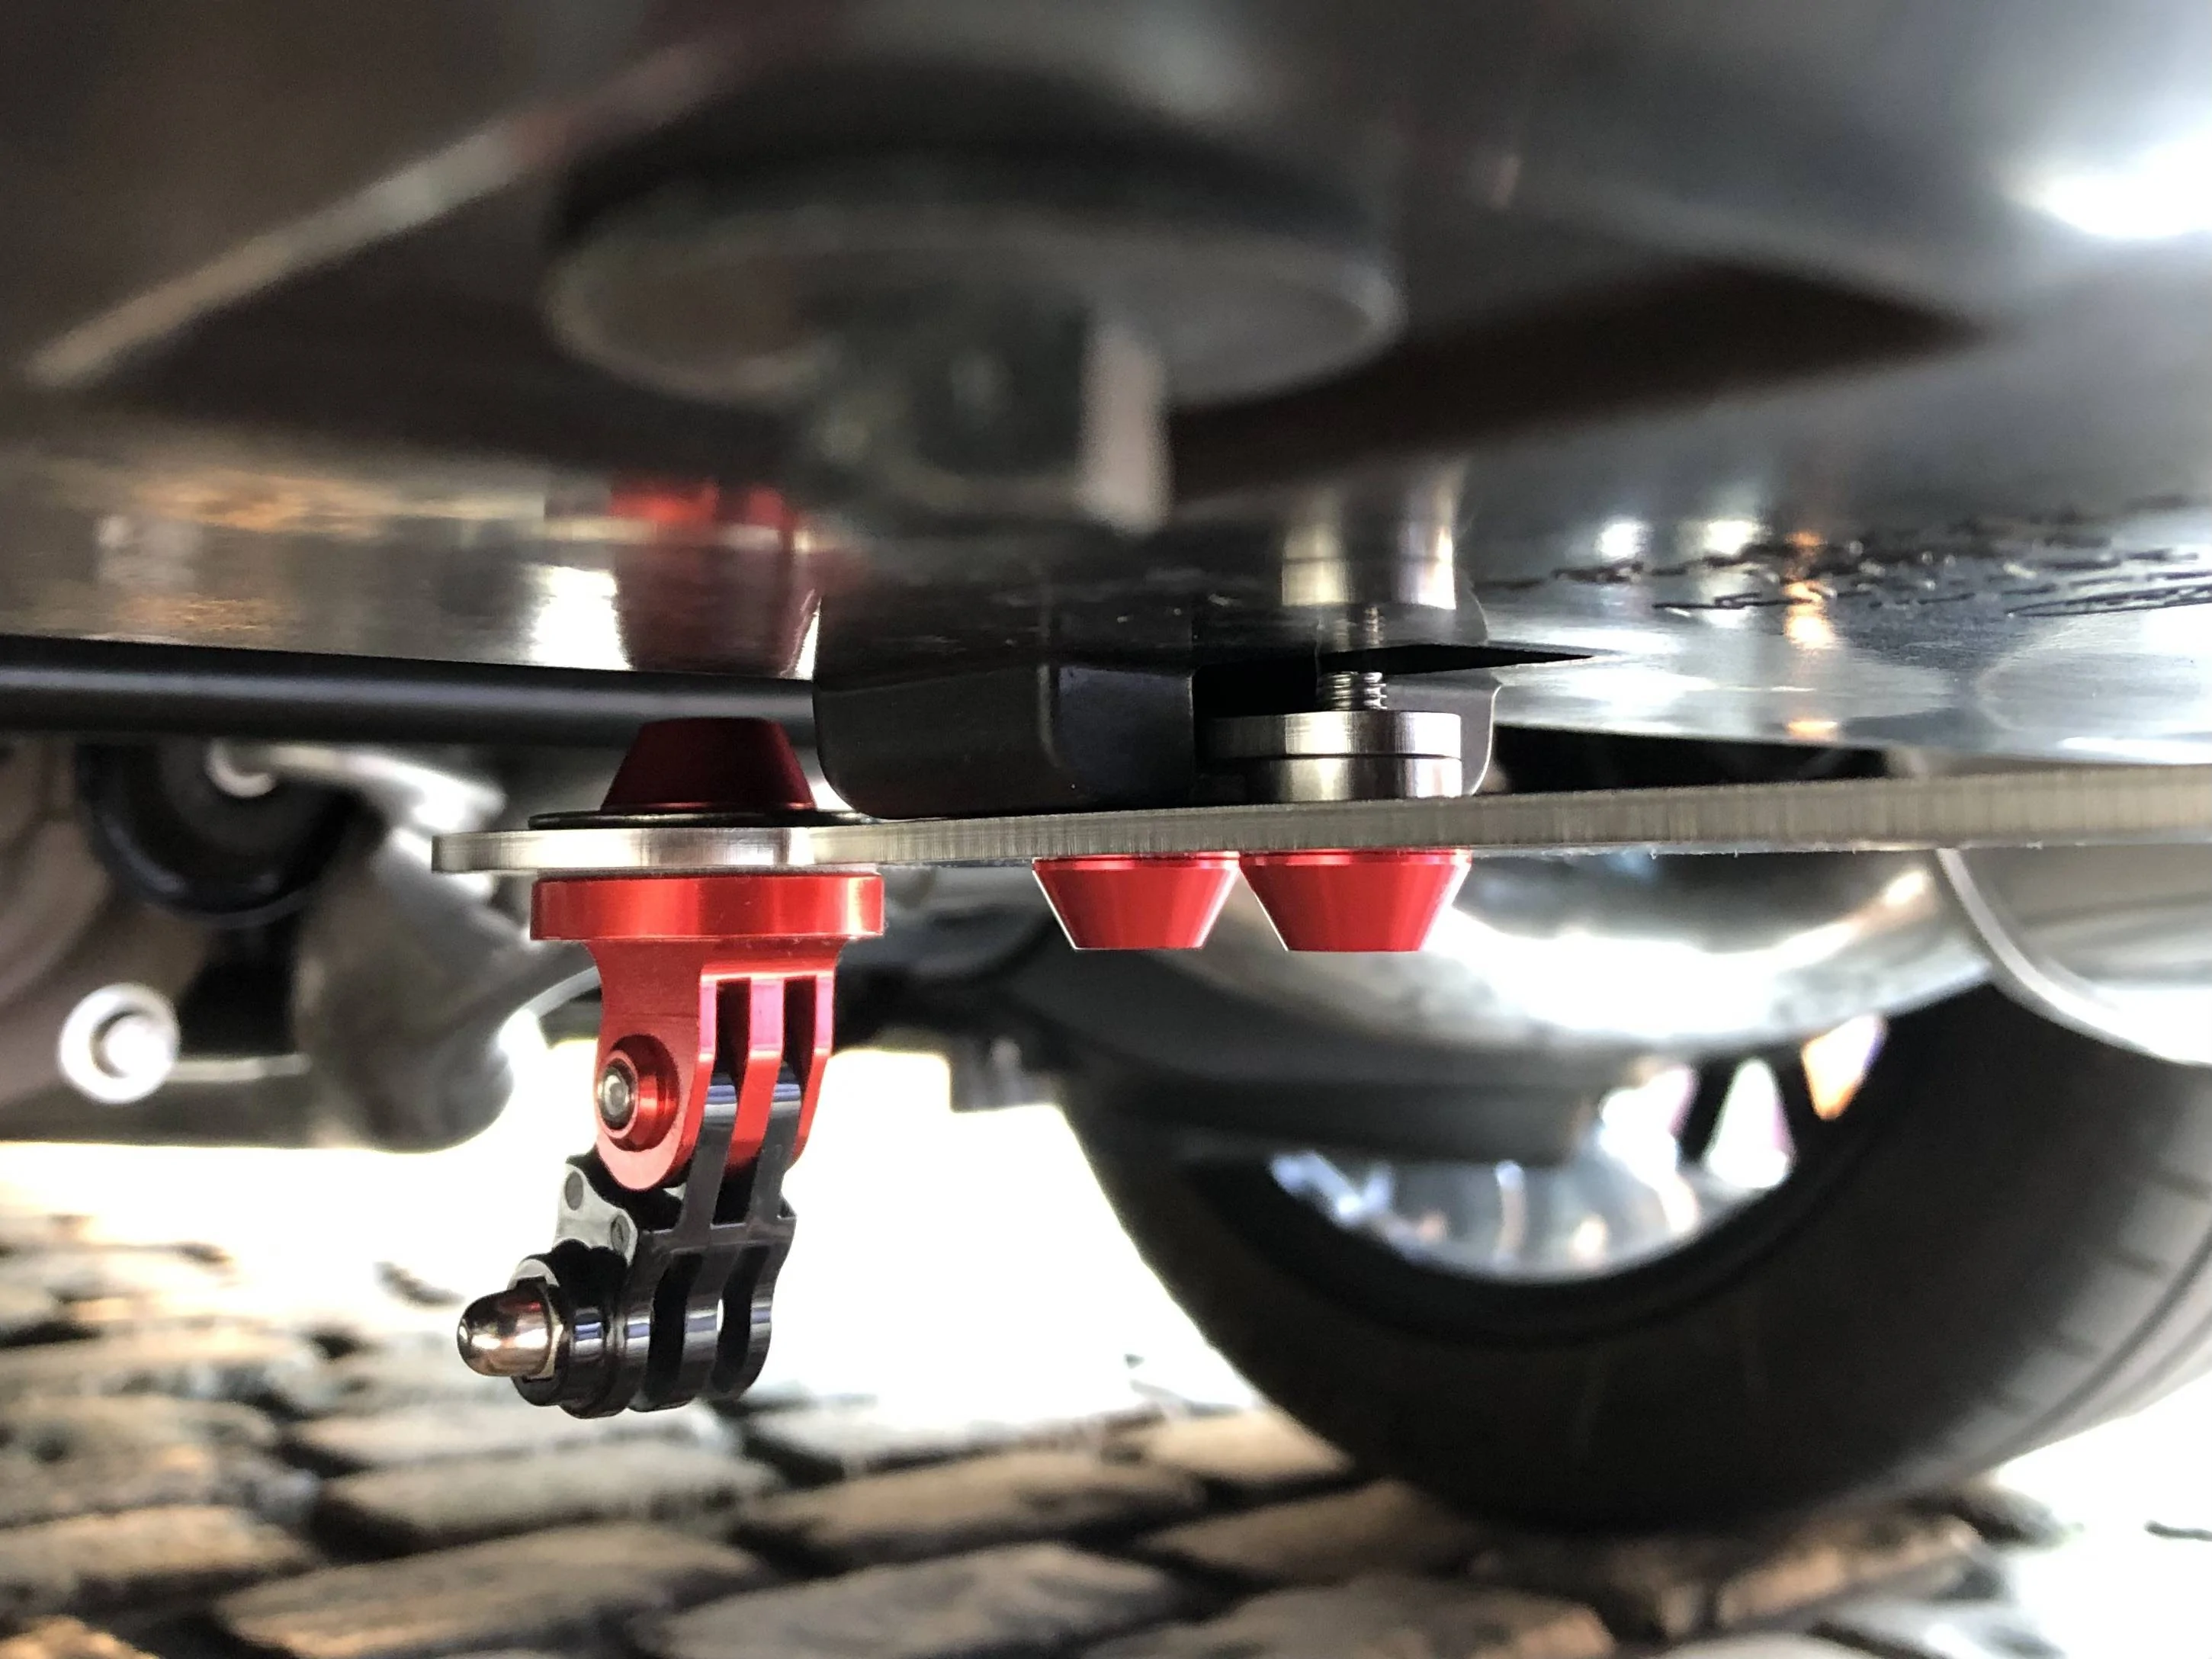
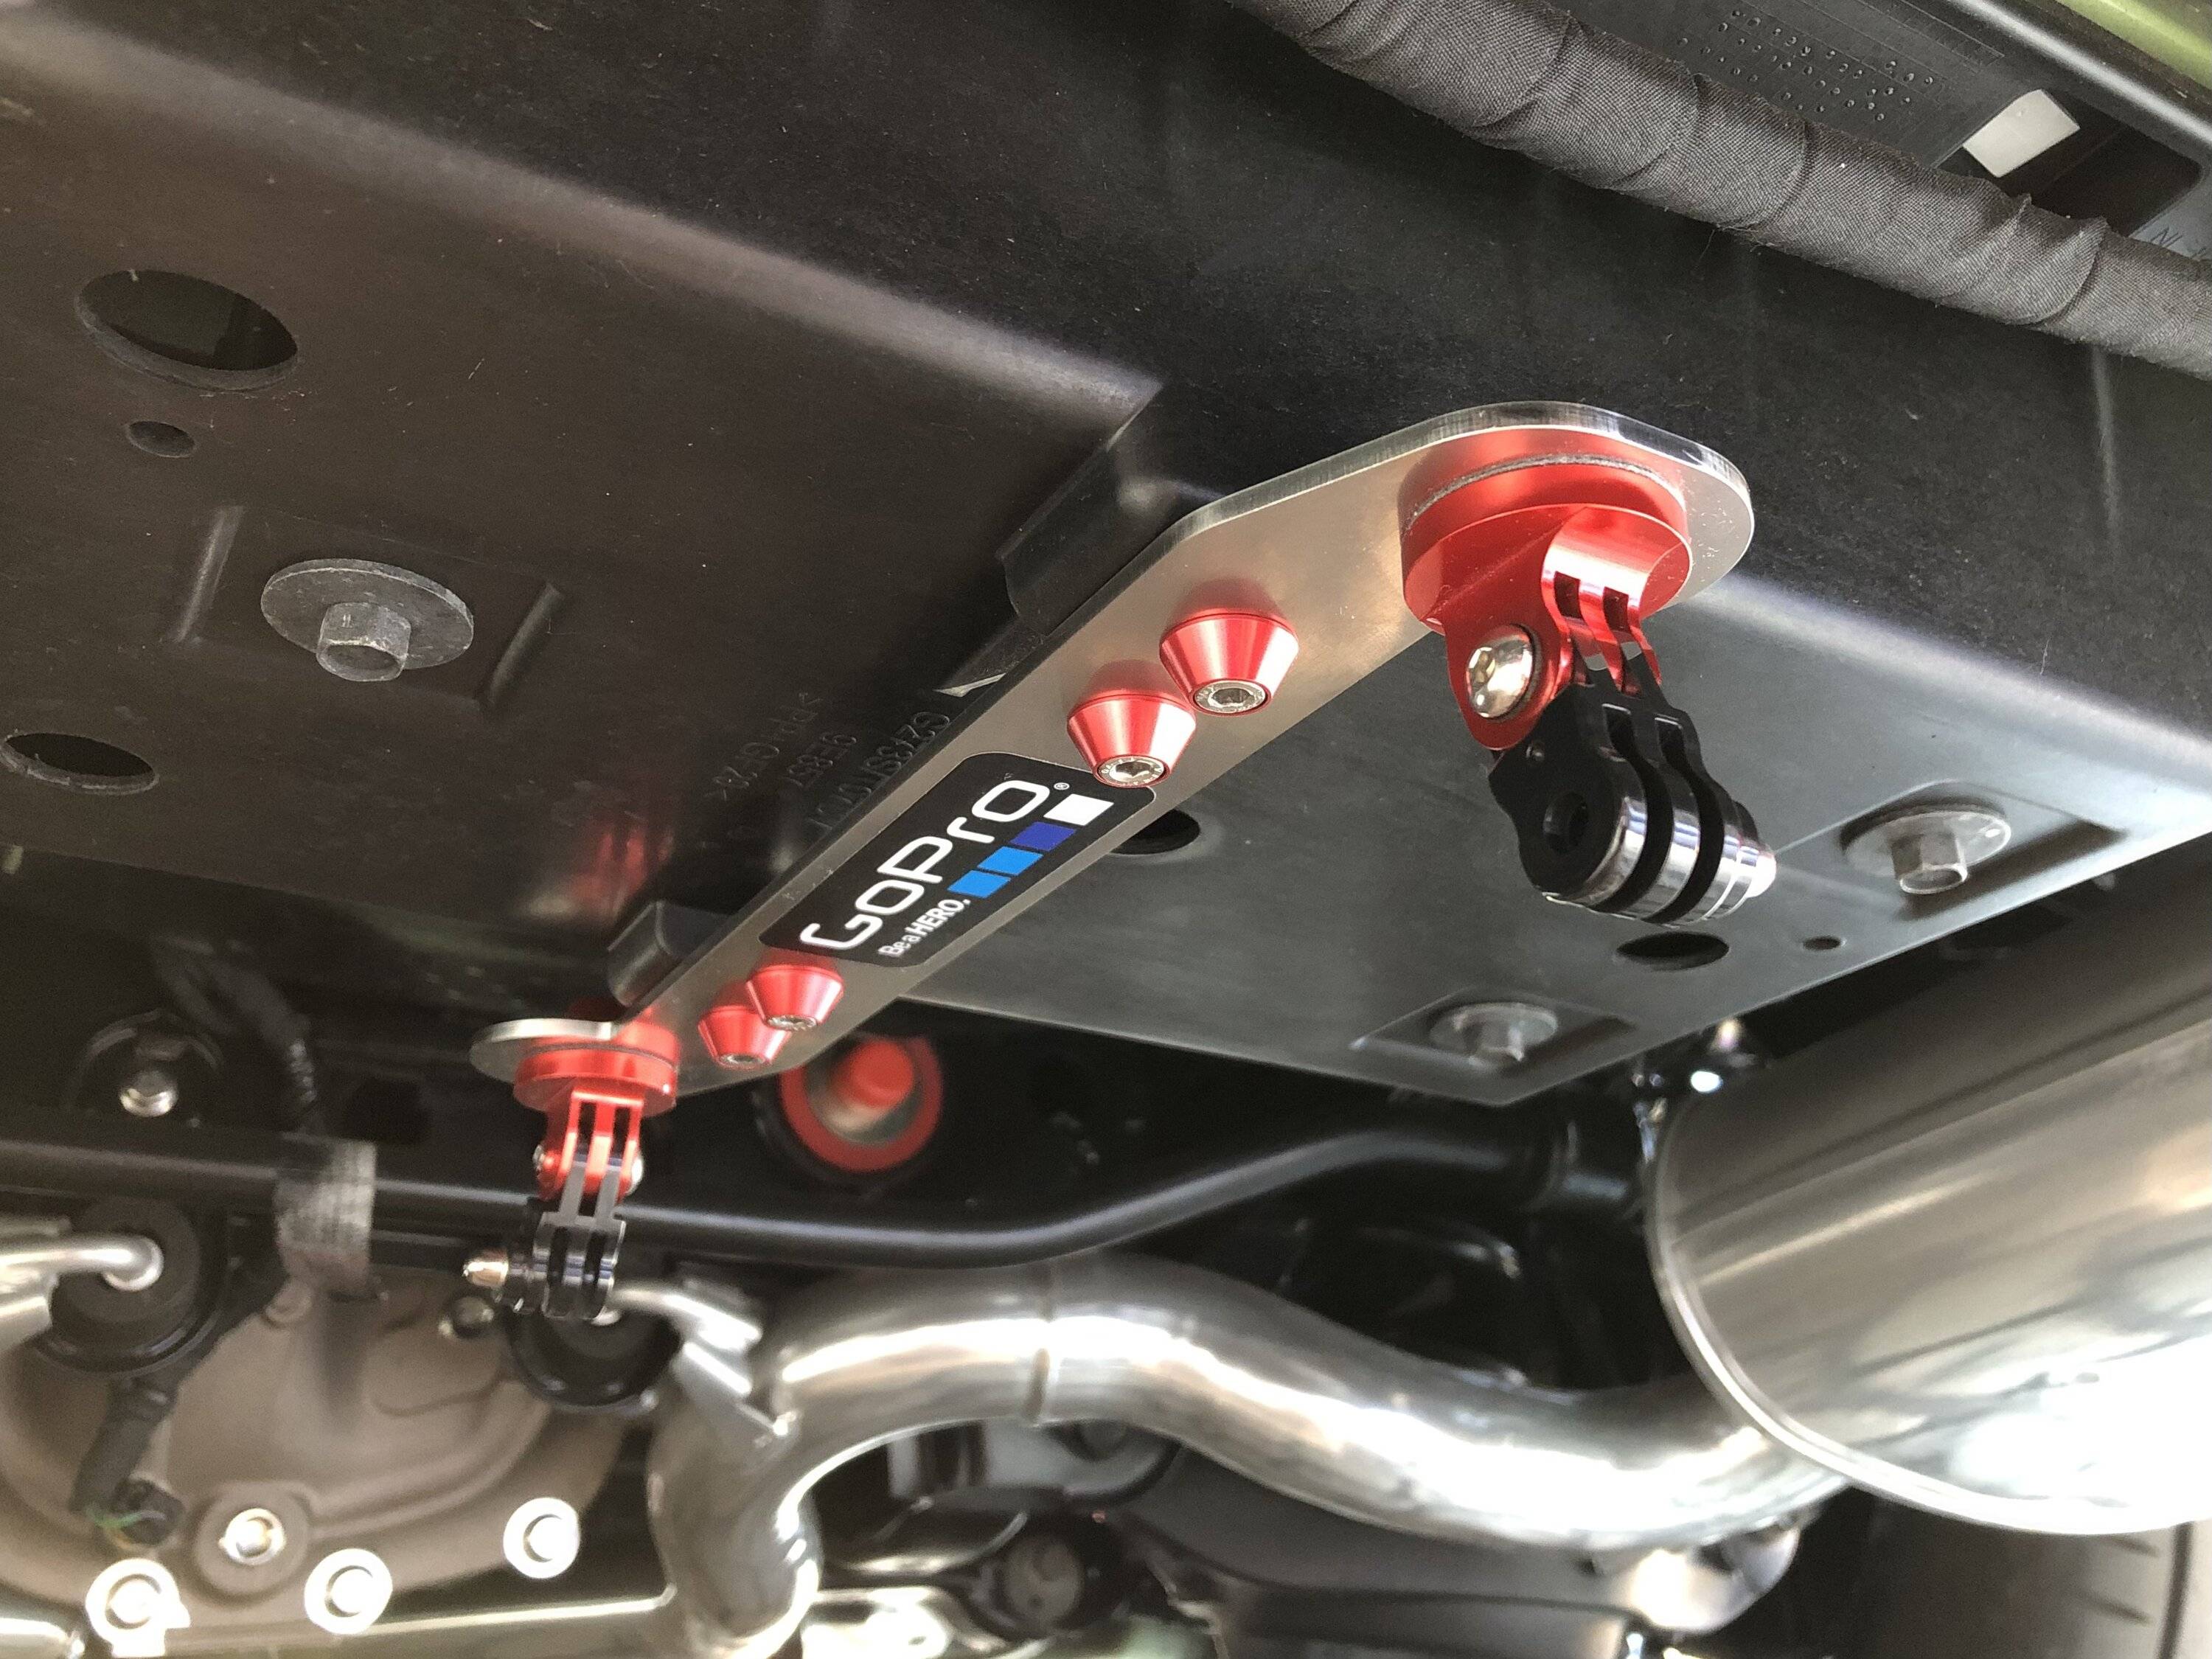
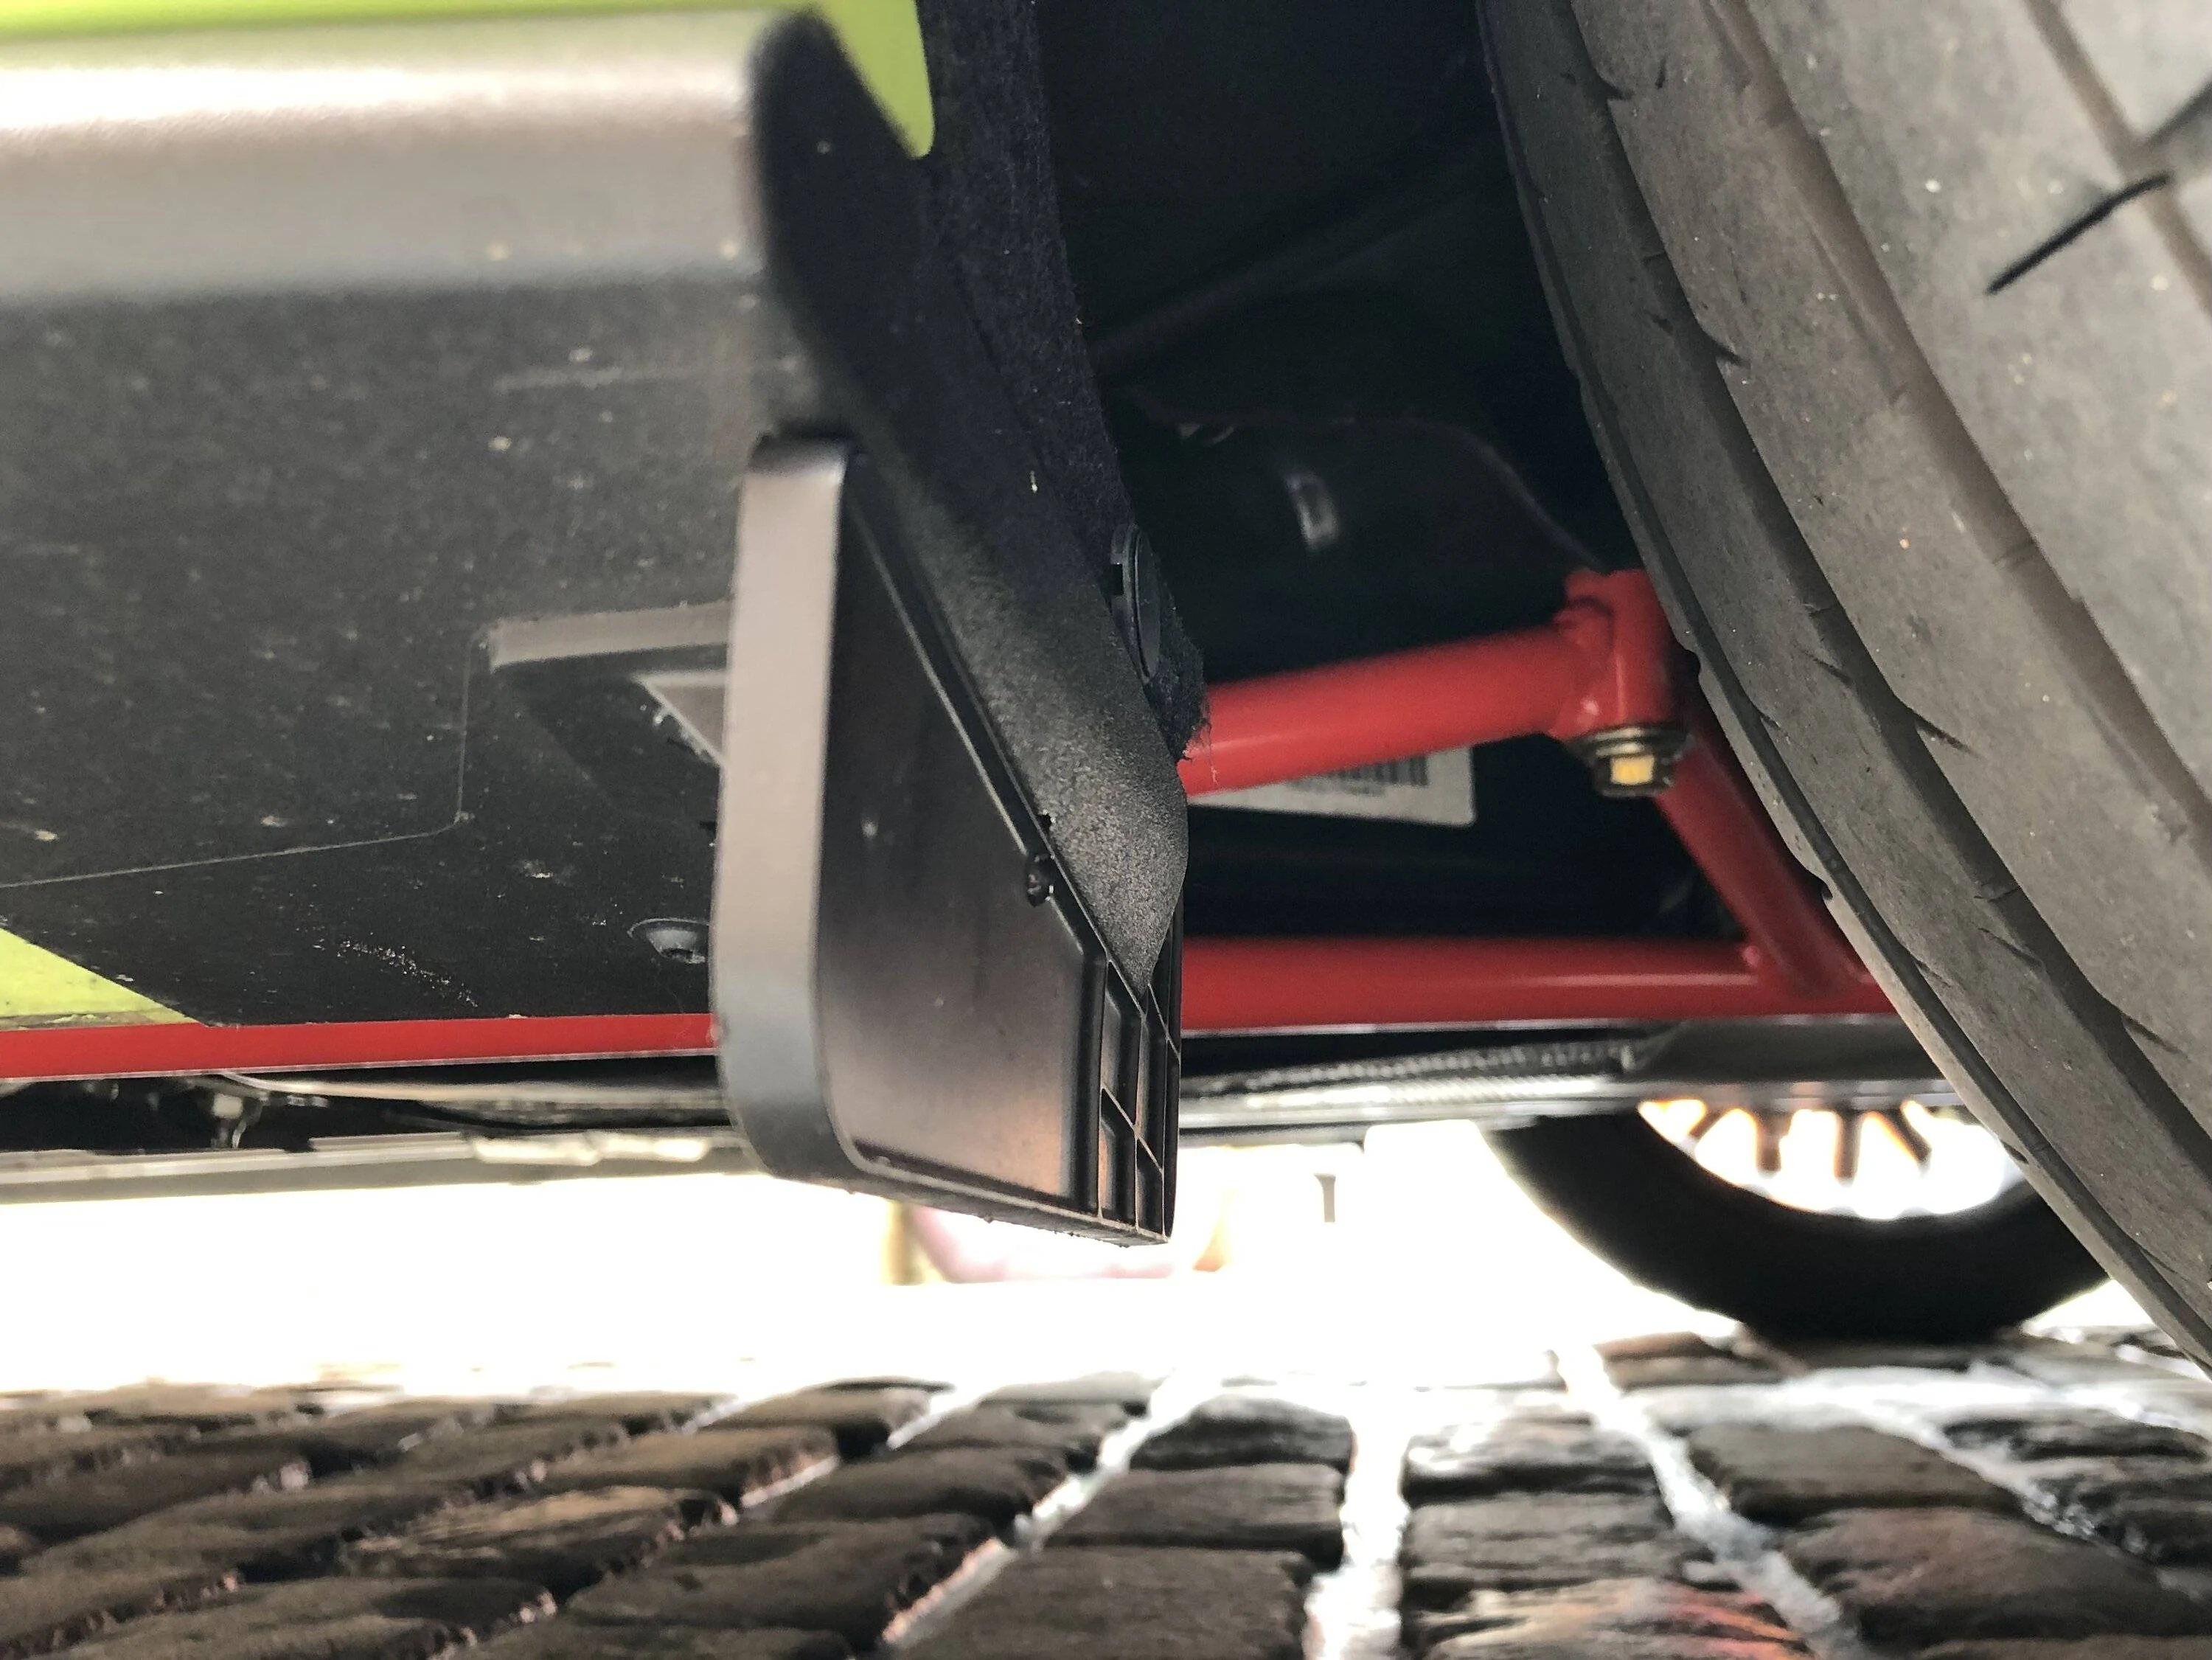
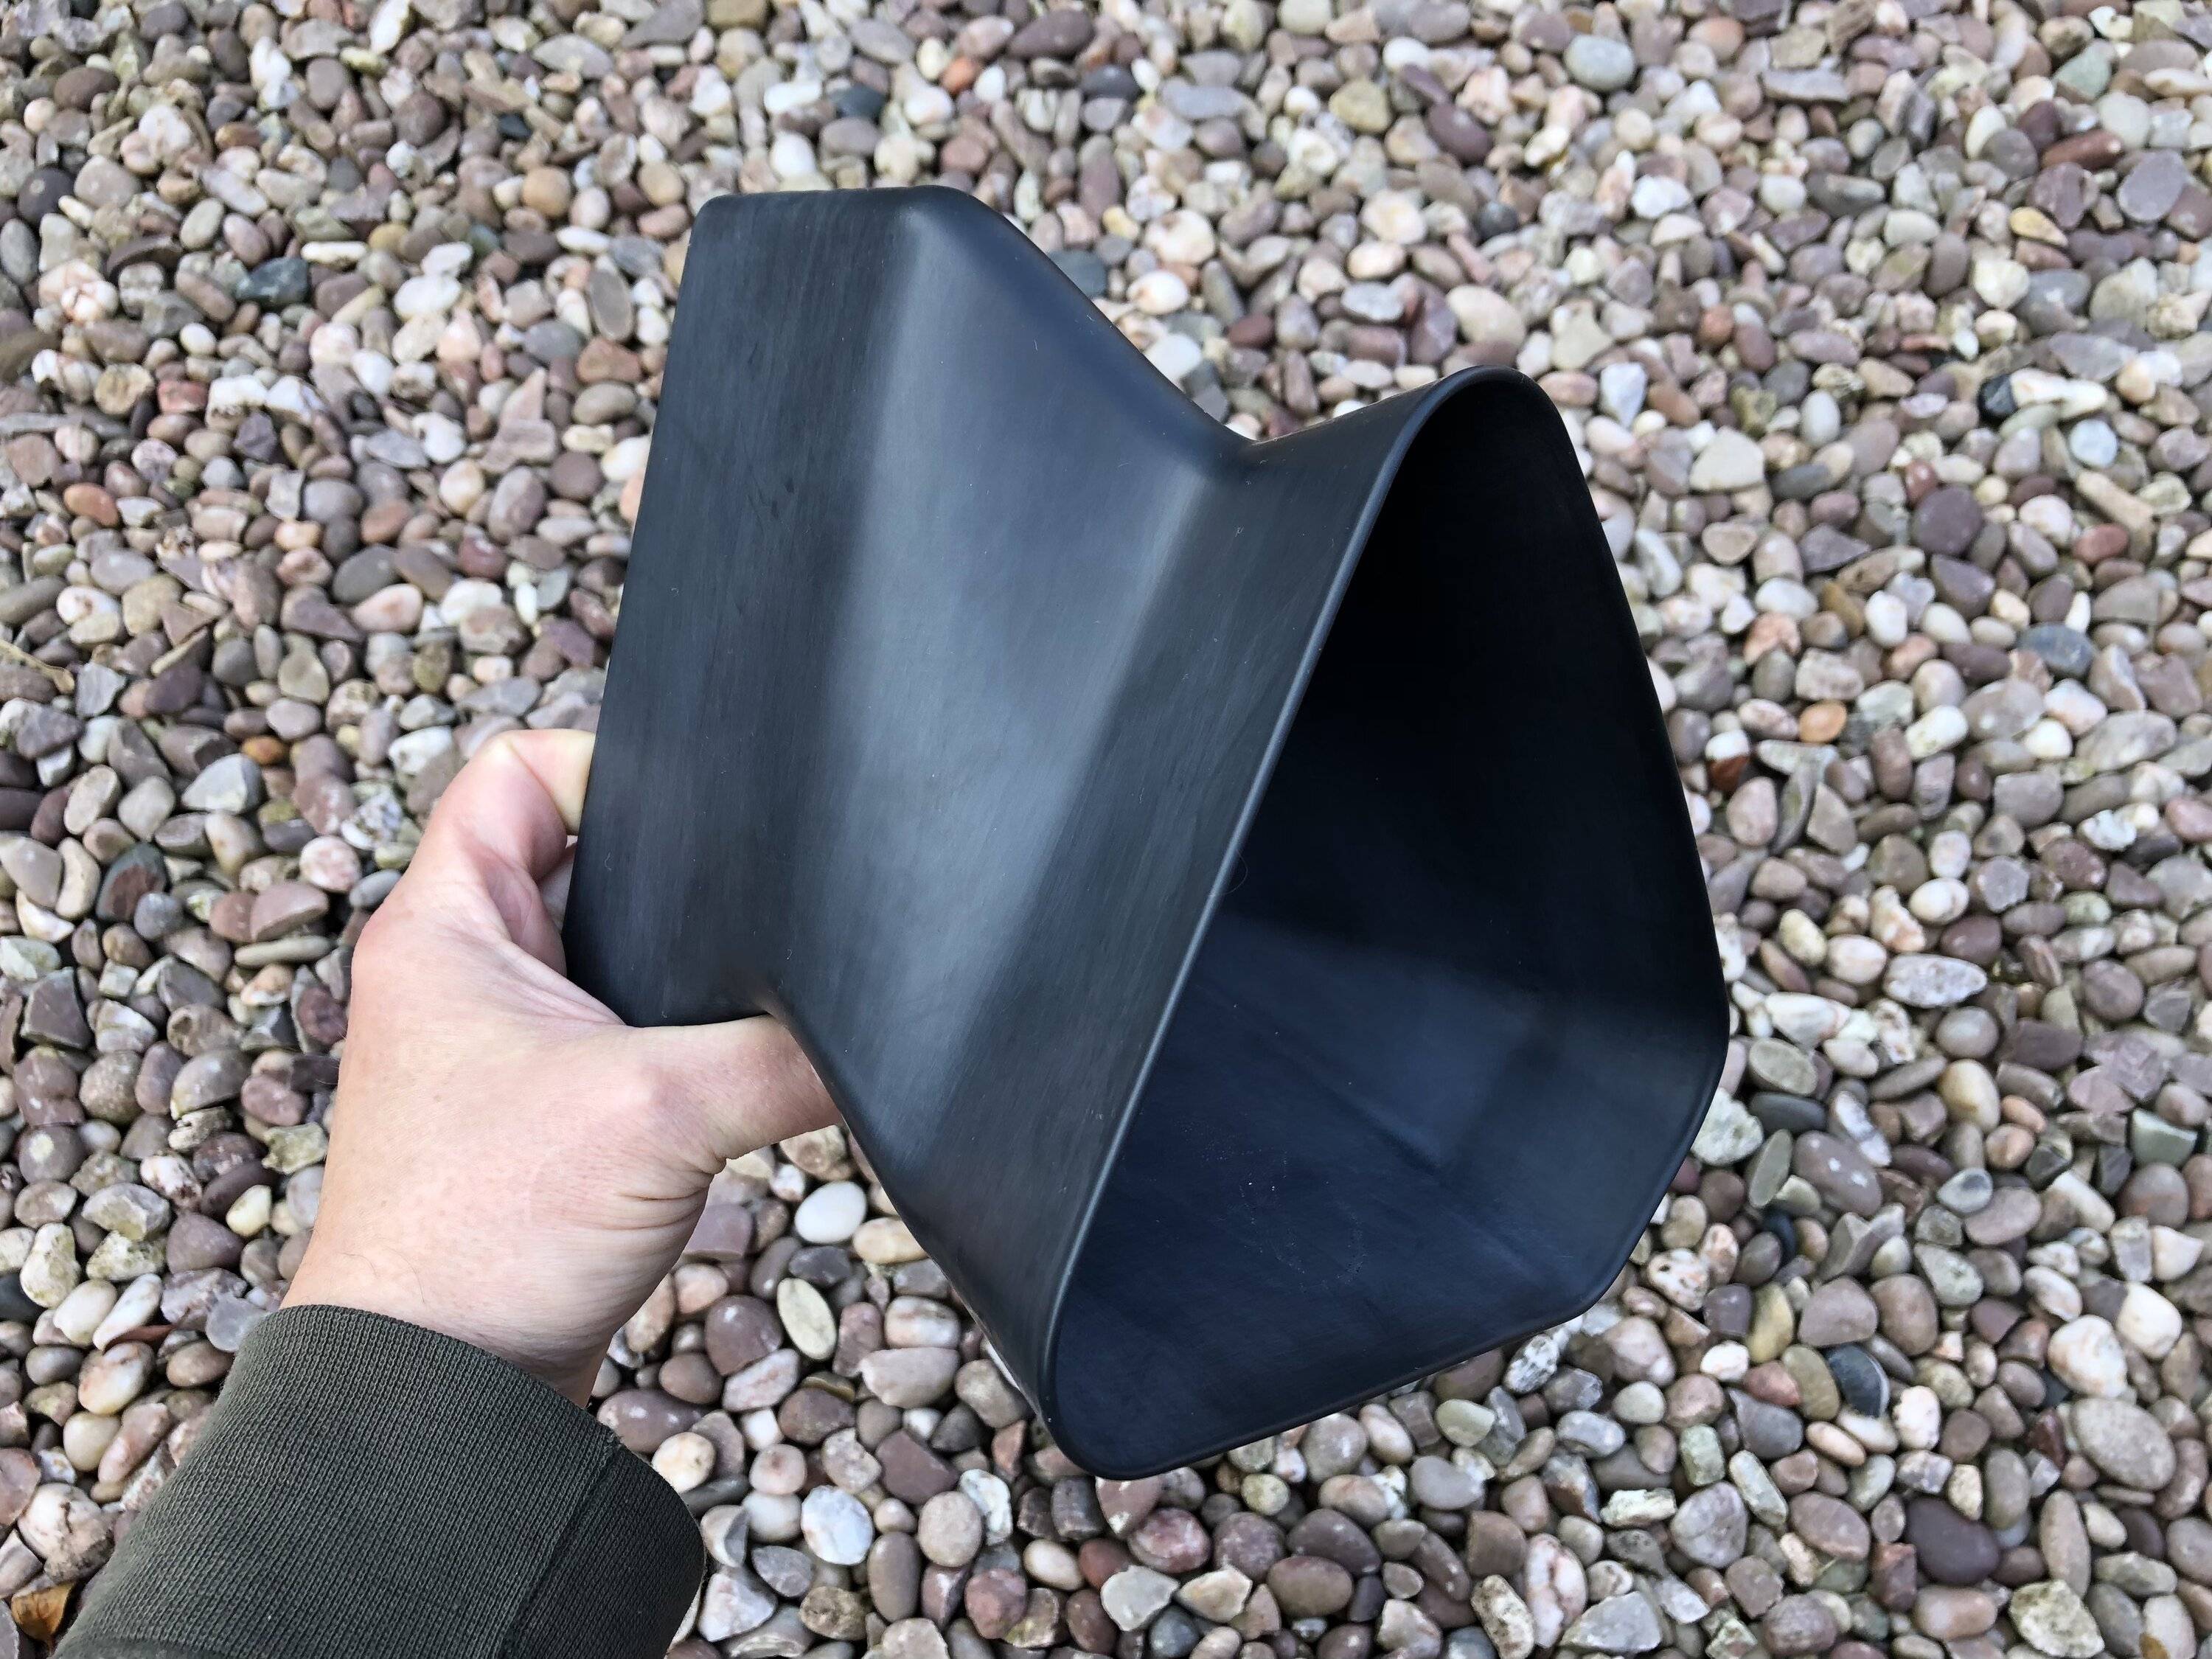
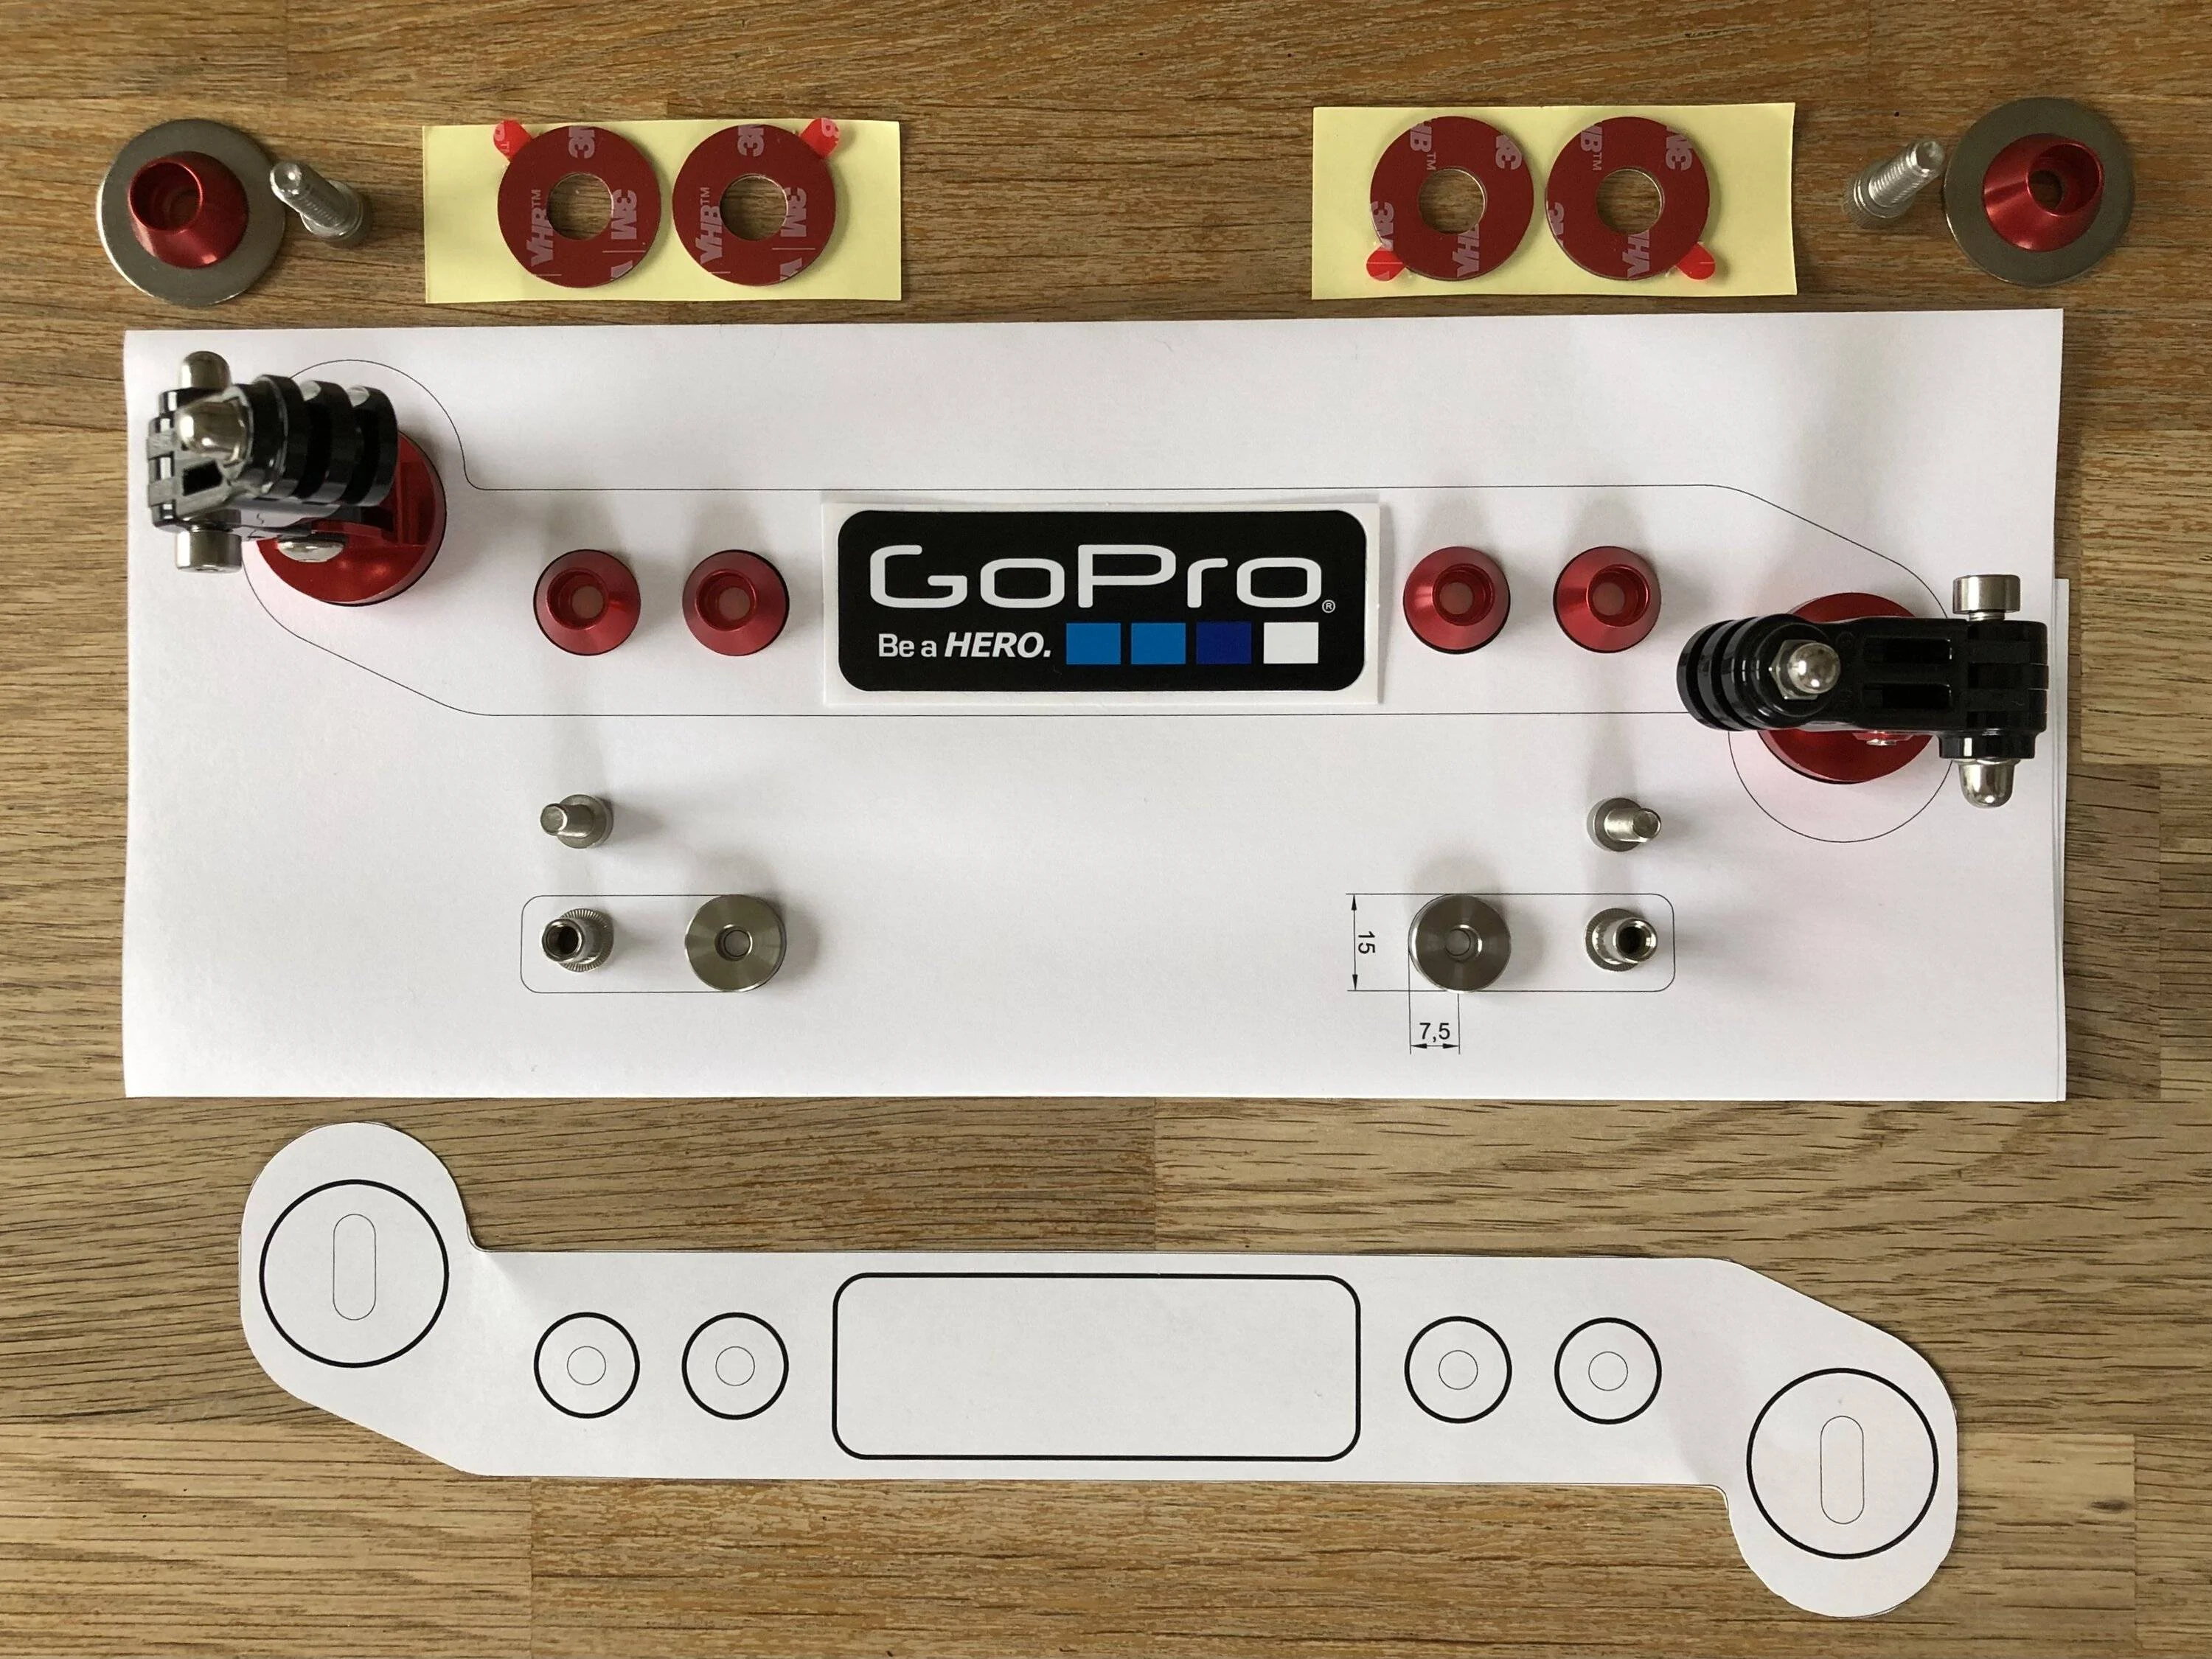
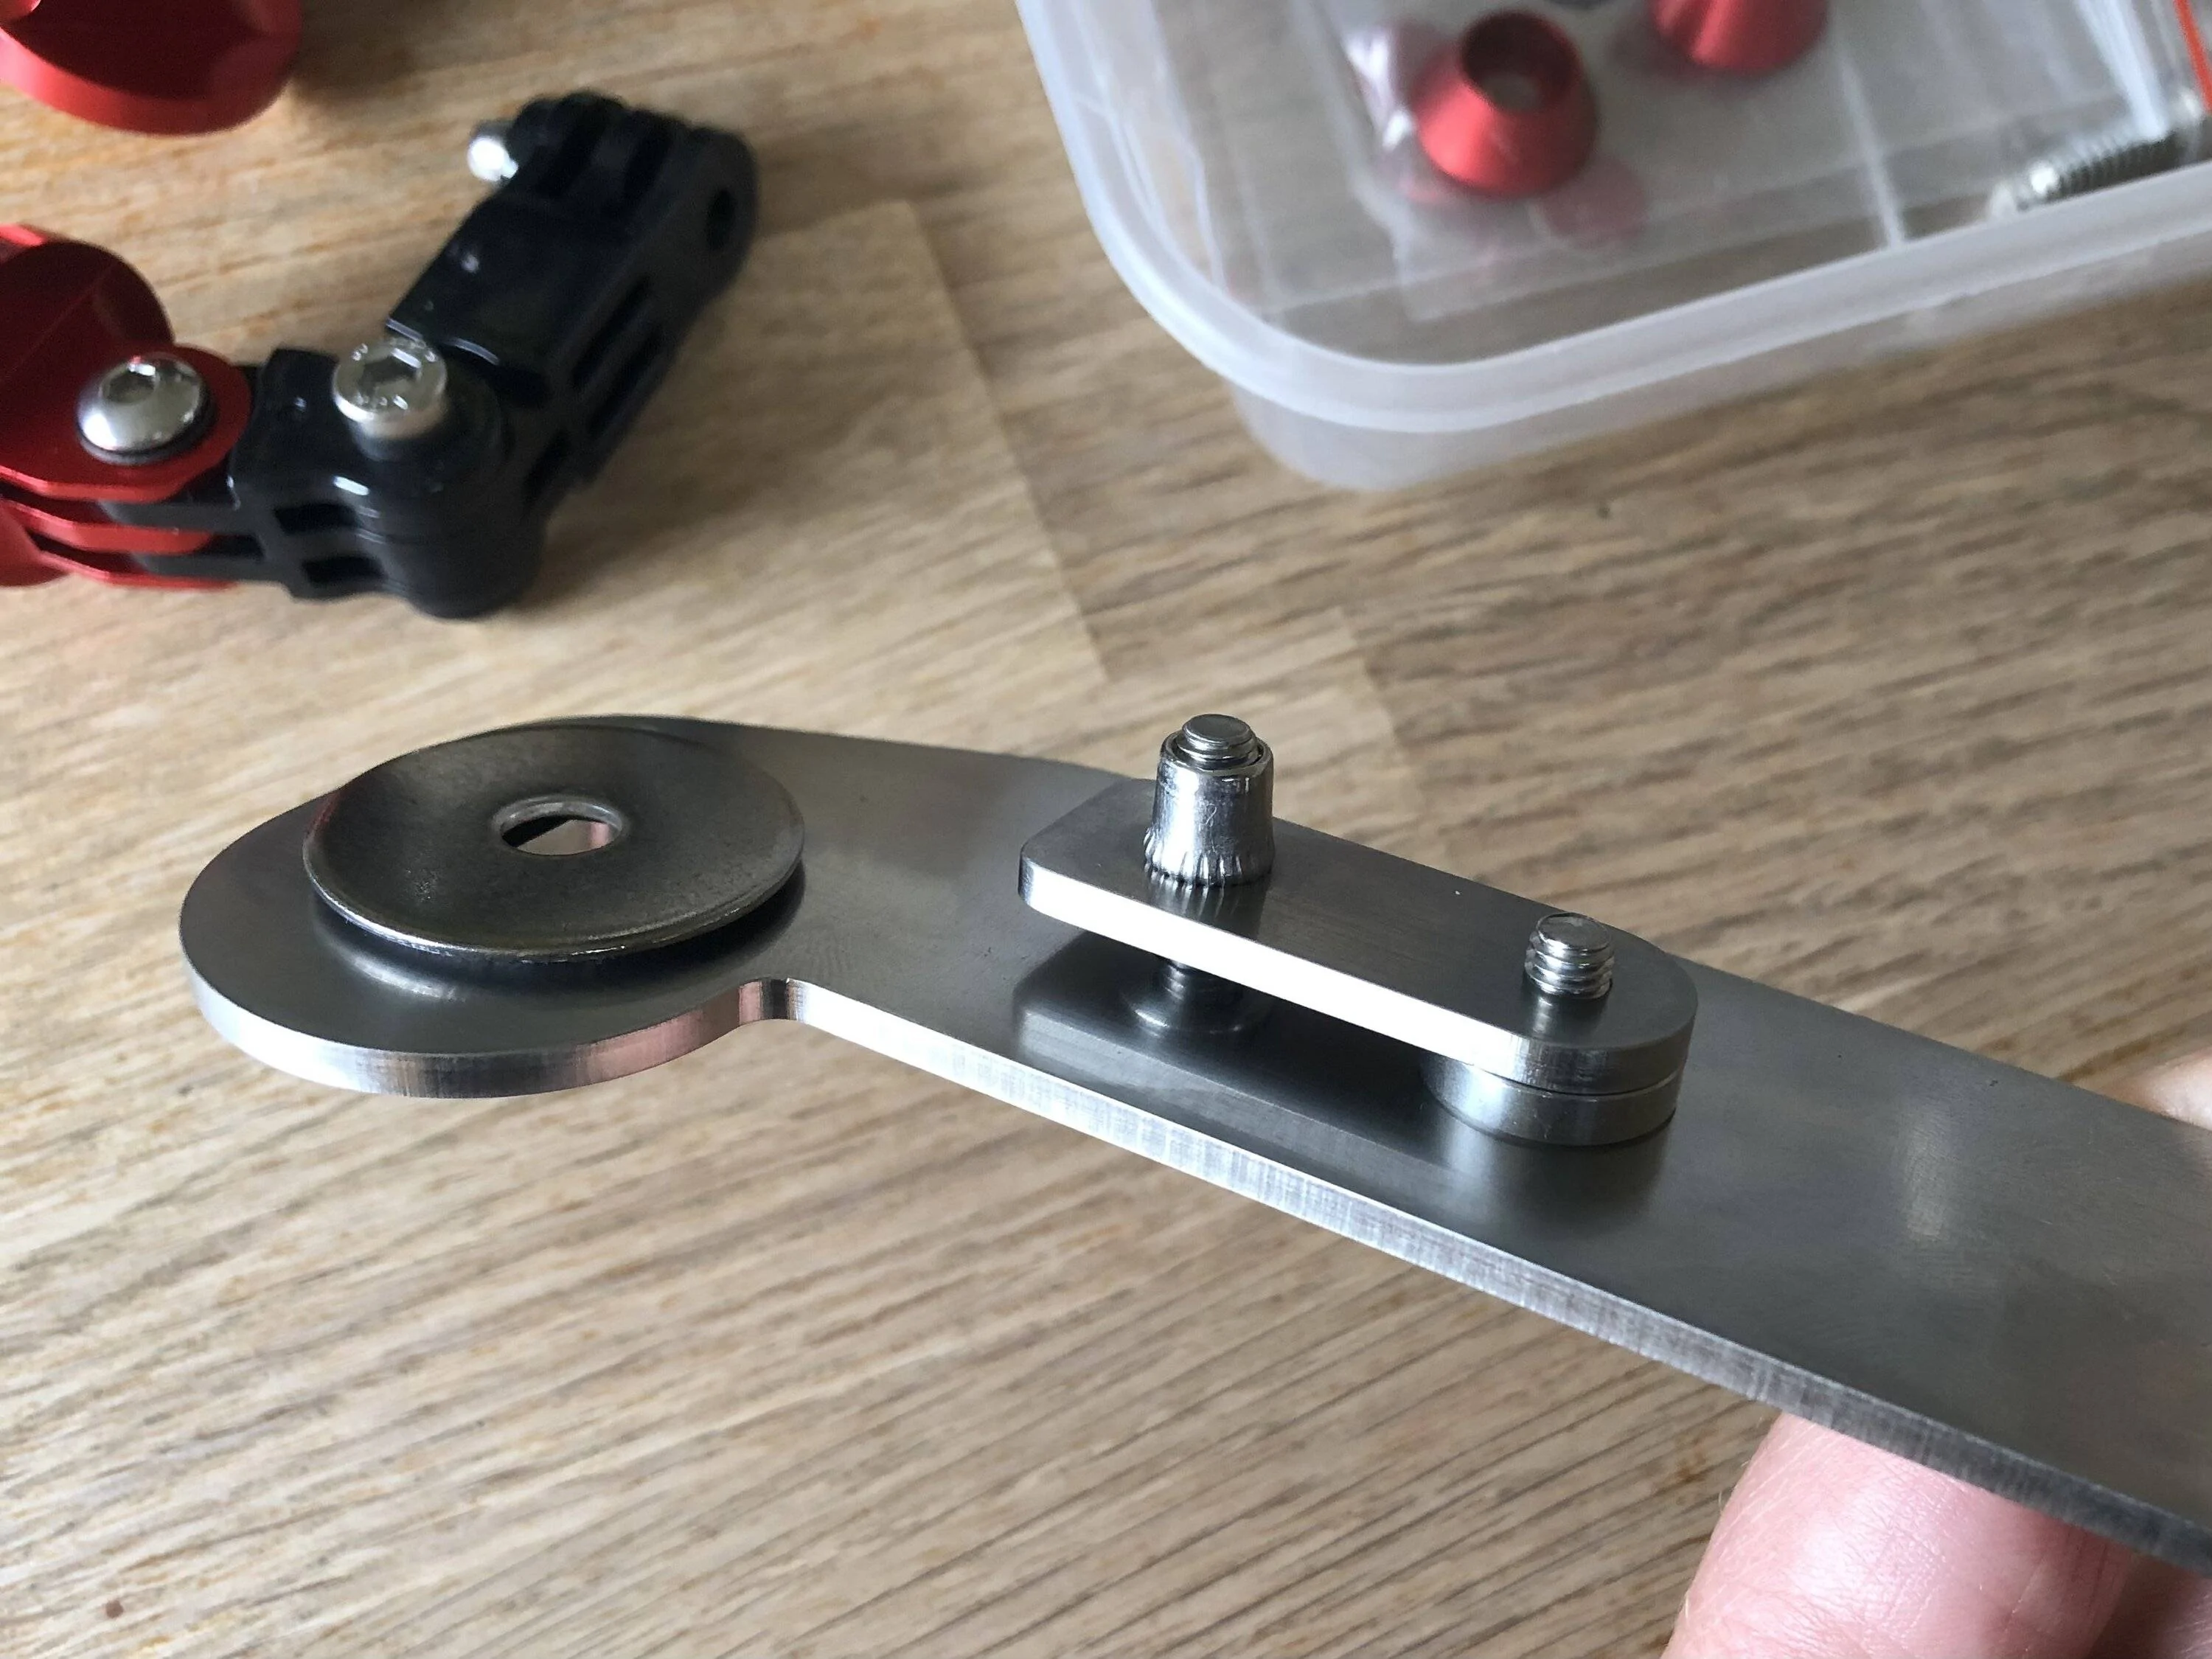
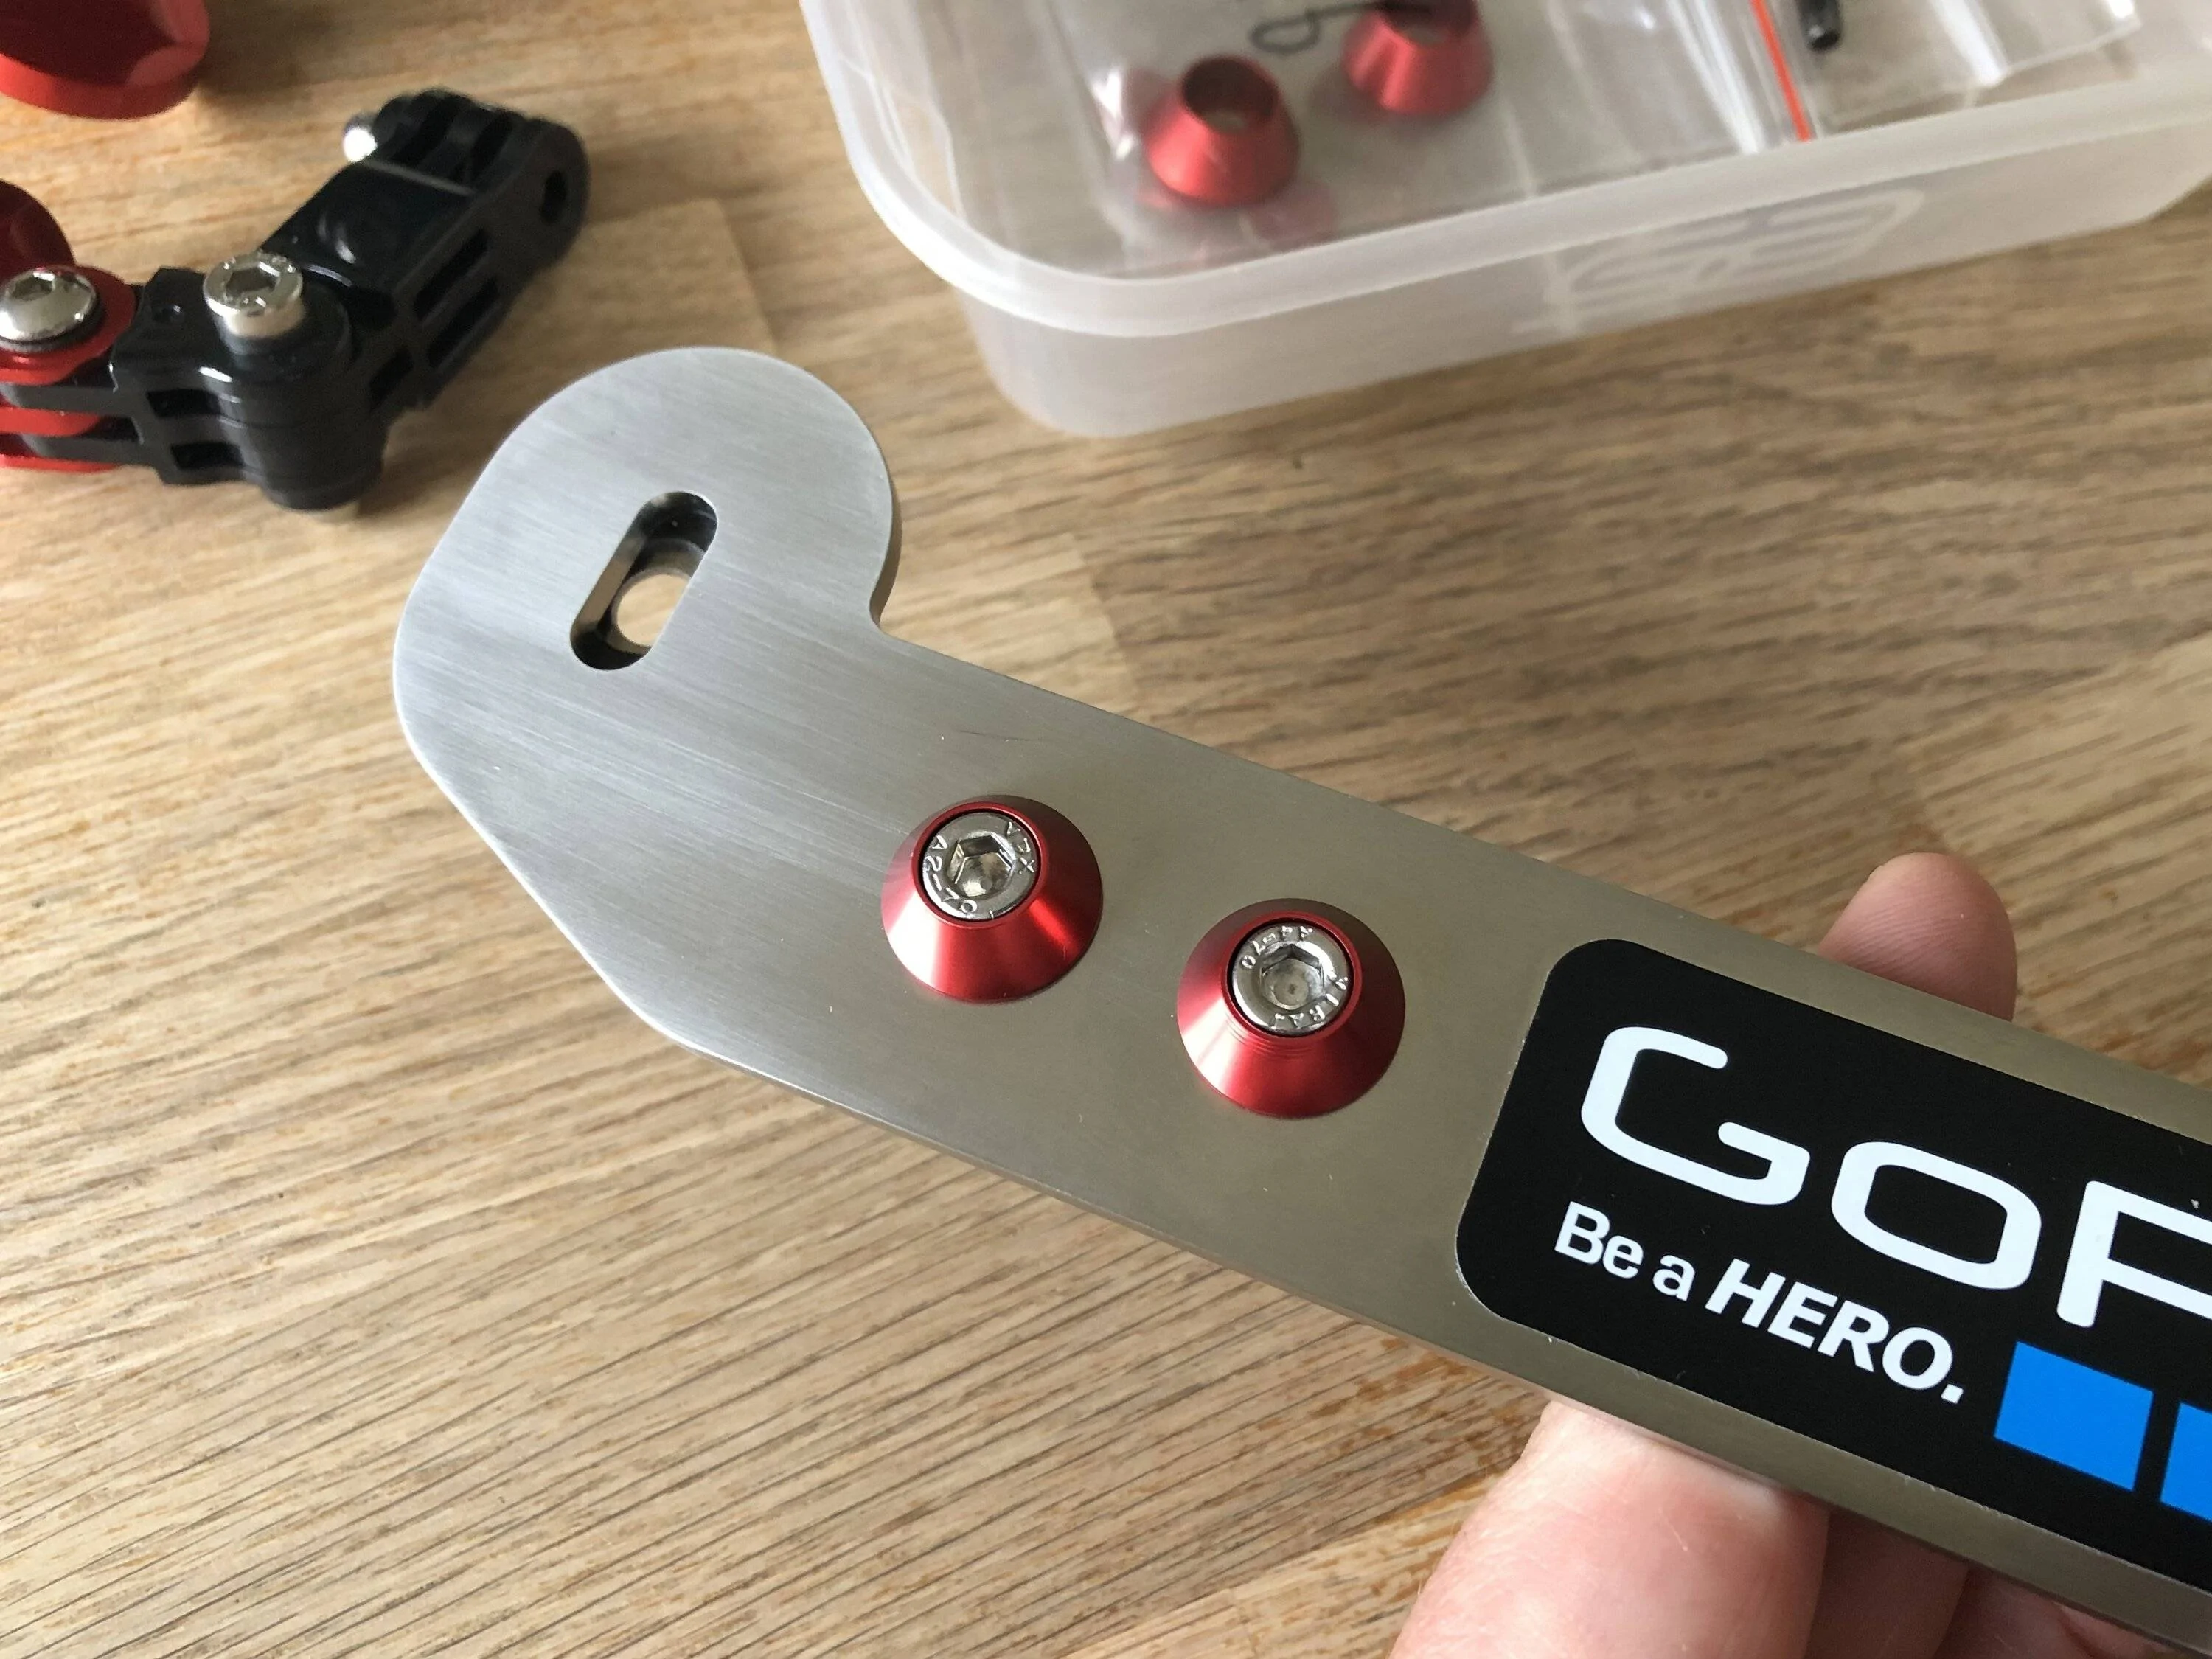
! Prep work looks like it took a lot of time, but it was well worth it. Was that all done by hand? What color is the air scoop going to be? Lastly, the GoPro mount is killer! Can you set the camera to capture suspension articulation as well?
 
OP
OP
WD Pro

WD Pro

Well-Known Member
Joined
Jan 18, 2018
Threads
121
Messages
5,719
Reaction score
11,039
Location
United Kingdom
Vehicle(s)
Lime GT
Vehicle Showcase
1
Everything looks great WD :thumbsup:! Prep work looks like it took a lot of time, but it was well worth it. Was that all done by hand?
Thank you :like: Yes, all done by hand ...

What color is the air scoop going to be?
I was 50/50 on the old version that's on now and I went with lime, this time I think I will go with black so it's a bit more stealth :like:

Lastly, the GoPro mount is killer! Can you set the camera to capture suspension articulation as well?
Yeah that's why I made it double ended, its not like the inward end will get used much, but it seemed daft not to have that option included.

I think the wide angle of the GoPro will capture the suspension with the standard 90Ā° fitting, but if not it's easy to rotate it to where required :like:

WD :like:
 

NGOT8R

Well-Known Member
Joined
Jul 19, 2020
Threads
117
Messages
6,148
Reaction score
4,192
Location
Florida
First Name
Adrian
Vehicle(s)
2019 Bullitt
Great work my friend! I assume the GoPros are remotely operated correct? Believe it or not, I have a brand new (never used) GP2. that Iā€™ve had for about 14 years or so. I imagine the current models are leaps and bounds ahead of my new, but dinosaur GP2.
 

Sponsored

OP
OP
WD Pro

WD Pro

Well-Known Member
Joined
Jan 18, 2018
Threads
121
Messages
5,719
Reaction score
11,039
Location
United Kingdom
Vehicle(s)
Lime GT
Vehicle Showcase
1
I have two HD2ā€™s and on that era they arenā€™t remotely operated, unless you have the WiFi ā€˜backpackā€™ and the remote (which I do).

I havenā€™t bothered with the backpack for under the car though, Iā€™ve just set it recording before Iā€™ve driven and stopped it at the end.

Itā€™s easy to reach when mounted (even without kneeling down with my work pants on lol). Iā€™ve set the button beeps on the loudest setting which helps. I might also experiment with the one button operation mode.

Plenty SD card space and battery to cover most drives and itā€™s quick / easy to find the footage I want afterwards.

On a longer road trip, you would defo need remote switching.

WD :like:
 

2021 Mach 1

Well-Known Member
Joined
Oct 31, 2021
Threads
125
Messages
1,387
Reaction score
1,599
Location
England
Website
www.youtube.com
Vehicle(s)
Mustang Mach 1
Vehicle Showcase
1
Just catching up with other info / updates I had posted in other threads :like:

I picked up a Steeda shifter mount and prepped it for anodising :

1681593521416.jpeg


1681593547635.jpeg


1681593572774.jpeg


By chance, I had also been on the lookout for the original Blowfish bracket / prop loop and one came along at the same time (but this won't be fitted for a while) :

IMG_8940.jpg


The finish on the ally wasn't great :

1683974238896.jpeg


1683974273530.jpeg


Started the prep work for anodising :

IMG_9039.jpg


IMG_9055.jpg


1686212285928.jpeg


Anodising done :

IMG_9168.jpg


IMG_9169.jpg


The red stuff is mine (Vertical link bushes, Steeda bracket and the blowfish bracket).

The gold stuff is @Tinpot 's (Steeda Mach 1 IRS bushes).

Steeda shifter bracket finished :

IMG_9179.jpg


Rebuilt blowfish :

IMG_9255.jpg


1683974341412.jpeg


1683974385837.jpeg


1683974481980.jpeg


I picked up a 2018+ bigmouth to replace my slightly bodged 2015 version. The standard finish isnā€™t great so that made my decision to get it painted or not quite easy :

1683974940630.jpeg


1683974971294.jpeg


I remember the rough edges from prepping my other :

1683975036837.jpeg


1683975089856.jpeg


Although I really wanted it gone (I regretted not doing it on the first), I almost regretted starting this :

1683975317325.jpeg


A few bubbles and porosity left in the matrix, but the paint man should be able to sort those out no problem :

1683978057107.jpeg


Logo free, flatted off, smoothed edges and ready for paint :

1683978158323.jpeg


1683978118151.jpeg


Started yet another mini project ...

Paper template good to go :

1681681890070.jpeg


Stainless :

1683065115541.jpeg


Stainless dressed up, tapped the locking plates, added stainless rivnuts and got it mostly assembled :

1683358939668.jpeg


The bracket is adjustable to counteract the GoPro lens offset from 10mm to 20mm. This covers the full GoPro range past and present, itā€™s currently set at 14mm which suits my old school Hero 2ā€™s ā€¦ lol

1683359077220.jpeg


If itā€™s not red (aluminium) or black (plastic) itā€™s stainless steel, including all the bolts, rivnuts and spacers :

1683359178276.jpeg


My GoPro is proper retro :giggle: :

1684590193904.jpeg


Mounting location (no good for a Mach or Shelby) :

1684590260151.jpeg


Front locking plate :

1684590301779.jpeg


Rear :

1684590346758.jpeg


Mounting assembly order :

1684590382502.jpeg


Done :

1684590440956.jpeg


1684590489591.jpeg


A few sample videos - I'm still messing around finding the best setting for under car use.

M4 Spoilt my fun :


1st, 2nd & 3rd :


I was a little concerned about the strength of the plastic tray I had chosen for the mounting, but it seemed really secure (the camera has already taken a hit from an overly large speedhump), then I recently came across this photo on another thread which shows why those mounts are there (ignore the blue circle, it's where needs trimming to fit a tow hook) :

IMG_9487.JPG


If they can take the stress of an oil cooler and pipework on a Mach or Shelby, I think the GoPro will be just fine :like:

This photo is worth adding just for a laugh, 'smiles per gallon' is a term that I hear quite often ... :giggle:

1681593746017.jpeg


WD :like:
136 miles to E, that's brilliant. Do you have a pic of the GoPro on the mount and how noticeable it is for cars following you? I'm always worried that filming draws the wrong kind of attention.
 
OP
OP
WD Pro

WD Pro

Well-Known Member
Joined
Jan 18, 2018
Threads
121
Messages
5,719
Reaction score
11,039
Location
United Kingdom
Vehicle(s)
Lime GT
Vehicle Showcase
1
136 miles to E, that's brilliant. Do you have a pic of the GoPro on the mount and how noticeable it is for cars following you? I'm always worried that filming draws the wrong kind of attention.
I will get a picture for you next time its on (if I remember ... lol) :like:

Yes, you can see it reasonably easy, but I knew (and needed) that before I made the mount.

I had moved the camera around under the car to find a position I wanted - any further back or higher up really compromised what you could see on the video, you ended up with more car underside and kind of a letterbox view (although seeing the exhausts in the upper corners was nice).

Bear in mind that my GoPros are quite large (newer = smaller), they are silver (newer = black) and at my era, I need the addiotnal case to mount it (adding even more size compared to a new one).

My GoPros also have flashing red LED's to show they are recording. You can customise which LED's flash and you can turn them all off, but I have left the front and rear on (they are on the same circuit) as its the easiest way for me to see I have hit the buttons correctly to start recording. Phone control on a newer model would eliminate my use for the LED's.

I don't think 'most' people would notice a newer GoPro mounted in a similar position with the LED's turned off (if that's still a function on the newer ones) :like:

WD :like:
 

Supersolo

Well-Known Member
Joined
Apr 12, 2018
Threads
25
Messages
500
Reaction score
208
Location
U.K.
Vehicle(s)
Ford Mustang GT
This photo is worth adding just for a laugh, 'smiles per gallon' is a term that I hear quite often ... :giggle:

1681593746017.jpeg


WD :like:

City driving sucks!.... :wink:
 
OP
OP
WD Pro

WD Pro

Well-Known Member
Joined
Jan 18, 2018
Threads
121
Messages
5,719
Reaction score
11,039
Location
United Kingdom
Vehicle(s)
Lime GT
Vehicle Showcase
1
City driving sucks!.... :wink:
I aim never to find out ... lol

I am going to take it on its first city visit soon though. I've found a location that should make for some nice photos, but it's normally very busy so an early Sunday morning trip will be my only option - I guess I will find out just what the neighbours really think about the H pipe when it wakes them up at 6:00 ish on the day of rest ... :giggle:

WD :like:
 

Sponsored

Brazos609

Well-Known Member
Joined
Jan 22, 2018
Threads
23
Messages
717
Reaction score
268
Location
Texas
Vehicle(s)
2015 GT Premium PP Recaro
Has nobody else noticed that he has power Recaros? I knew they got them in Australia but I wasn't sure where else.
 
OP
OP
WD Pro

WD Pro

Well-Known Member
Joined
Jan 18, 2018
Threads
121
Messages
5,719
Reaction score
11,039
Location
United Kingdom
Vehicle(s)
Lime GT
Vehicle Showcase
1
Has nobody else noticed that he has power Recaros? I knew they got them in Australia but I wasn't sure where else.
Oh I noticed! Irritating as hell we don't get them here.
Yeah no heating and cooling though ā€¦

The back is still on a manual tilt, only the drivers seat getā€™s the electric lumbar support, but all the base functions are electric :like:

WD :like:
 
OP
OP
WD Pro

WD Pro

Well-Known Member
Joined
Jan 18, 2018
Threads
121
Messages
5,719
Reaction score
11,039
Location
United Kingdom
Vehicle(s)
Lime GT
Vehicle Showcase
1
Loaded up the boot trunk :

1687730062631.jpeg


Then finally bolted the Steeda IRS braces on :

1687730124230.jpeg


1687730158270.jpeg


Passenger side went straight on with no issue.

The drivers side seemed way off (like half bolt hole covered on the rear mounting), but complete slackening of the IRS mounting plate (the middle mount of the Steeda bracket) gave plenty of adjustment.
  • Loosen up the IRS mount plate (so you can move it by hand).
  • Position the IRS bracket and secure the middle mount (but not tight).
  • Adjust the position or the IRS plate and bracket so it all lines up nicely.
  • Nip up the two small bolts.
  • Remove the IRS brace.
  • Torque up the two small bolts.
  • Torque up the main IRS bolt.
  • Refit the IRS brace.
All mounts ended up like this :

1687730196146.jpeg


i.e. the clearance holes in the IRS brackets could be a lot smaller, if time is taken to align everything OK (older versions of the IRS brackets have smaller holes so I can only guess Steeda made them bigger to stop complaints of them not aligning correctly / being made wrong ā€¦).

Ford bolts on the front, Steeda boots on the back, large stainless washers on all to cover the large clearance holes :

1687730239699.jpeg


1687730267565.jpeg


A little more visible than I expected when back on the ground (although the camera doesnā€™t capture it or focus well) :

1687730300844.jpeg


1687730334507.jpeg


1687730367685.jpeg


Bigger, more open wheels would show them off a lot more.

1687730406480.jpeg


1687730445790.jpeg


I did think about fitting these lay on my back but Iā€™m glad I didnā€™t, especially having to move one of the IRS plates, I ended up on a friends ramp which was a good decision.

Quite a quick job - he opened at 8:00, we chatted, he did a tyre for a customers car before I could get on the ramp, I was back home at 10:30.

I take all my own tools and just use his ramp with my labour, he never wants anything in return, but I pay him back with beer :giggle:

WD :like:


Top