OP
OP
WD Pro
Well-Known Member
- Joined
- Jan 18, 2018
- Threads
- 132
- Messages
- 6,783
- Reaction score
- 13,591
- Location
- United Kingdom
- Vehicle(s)
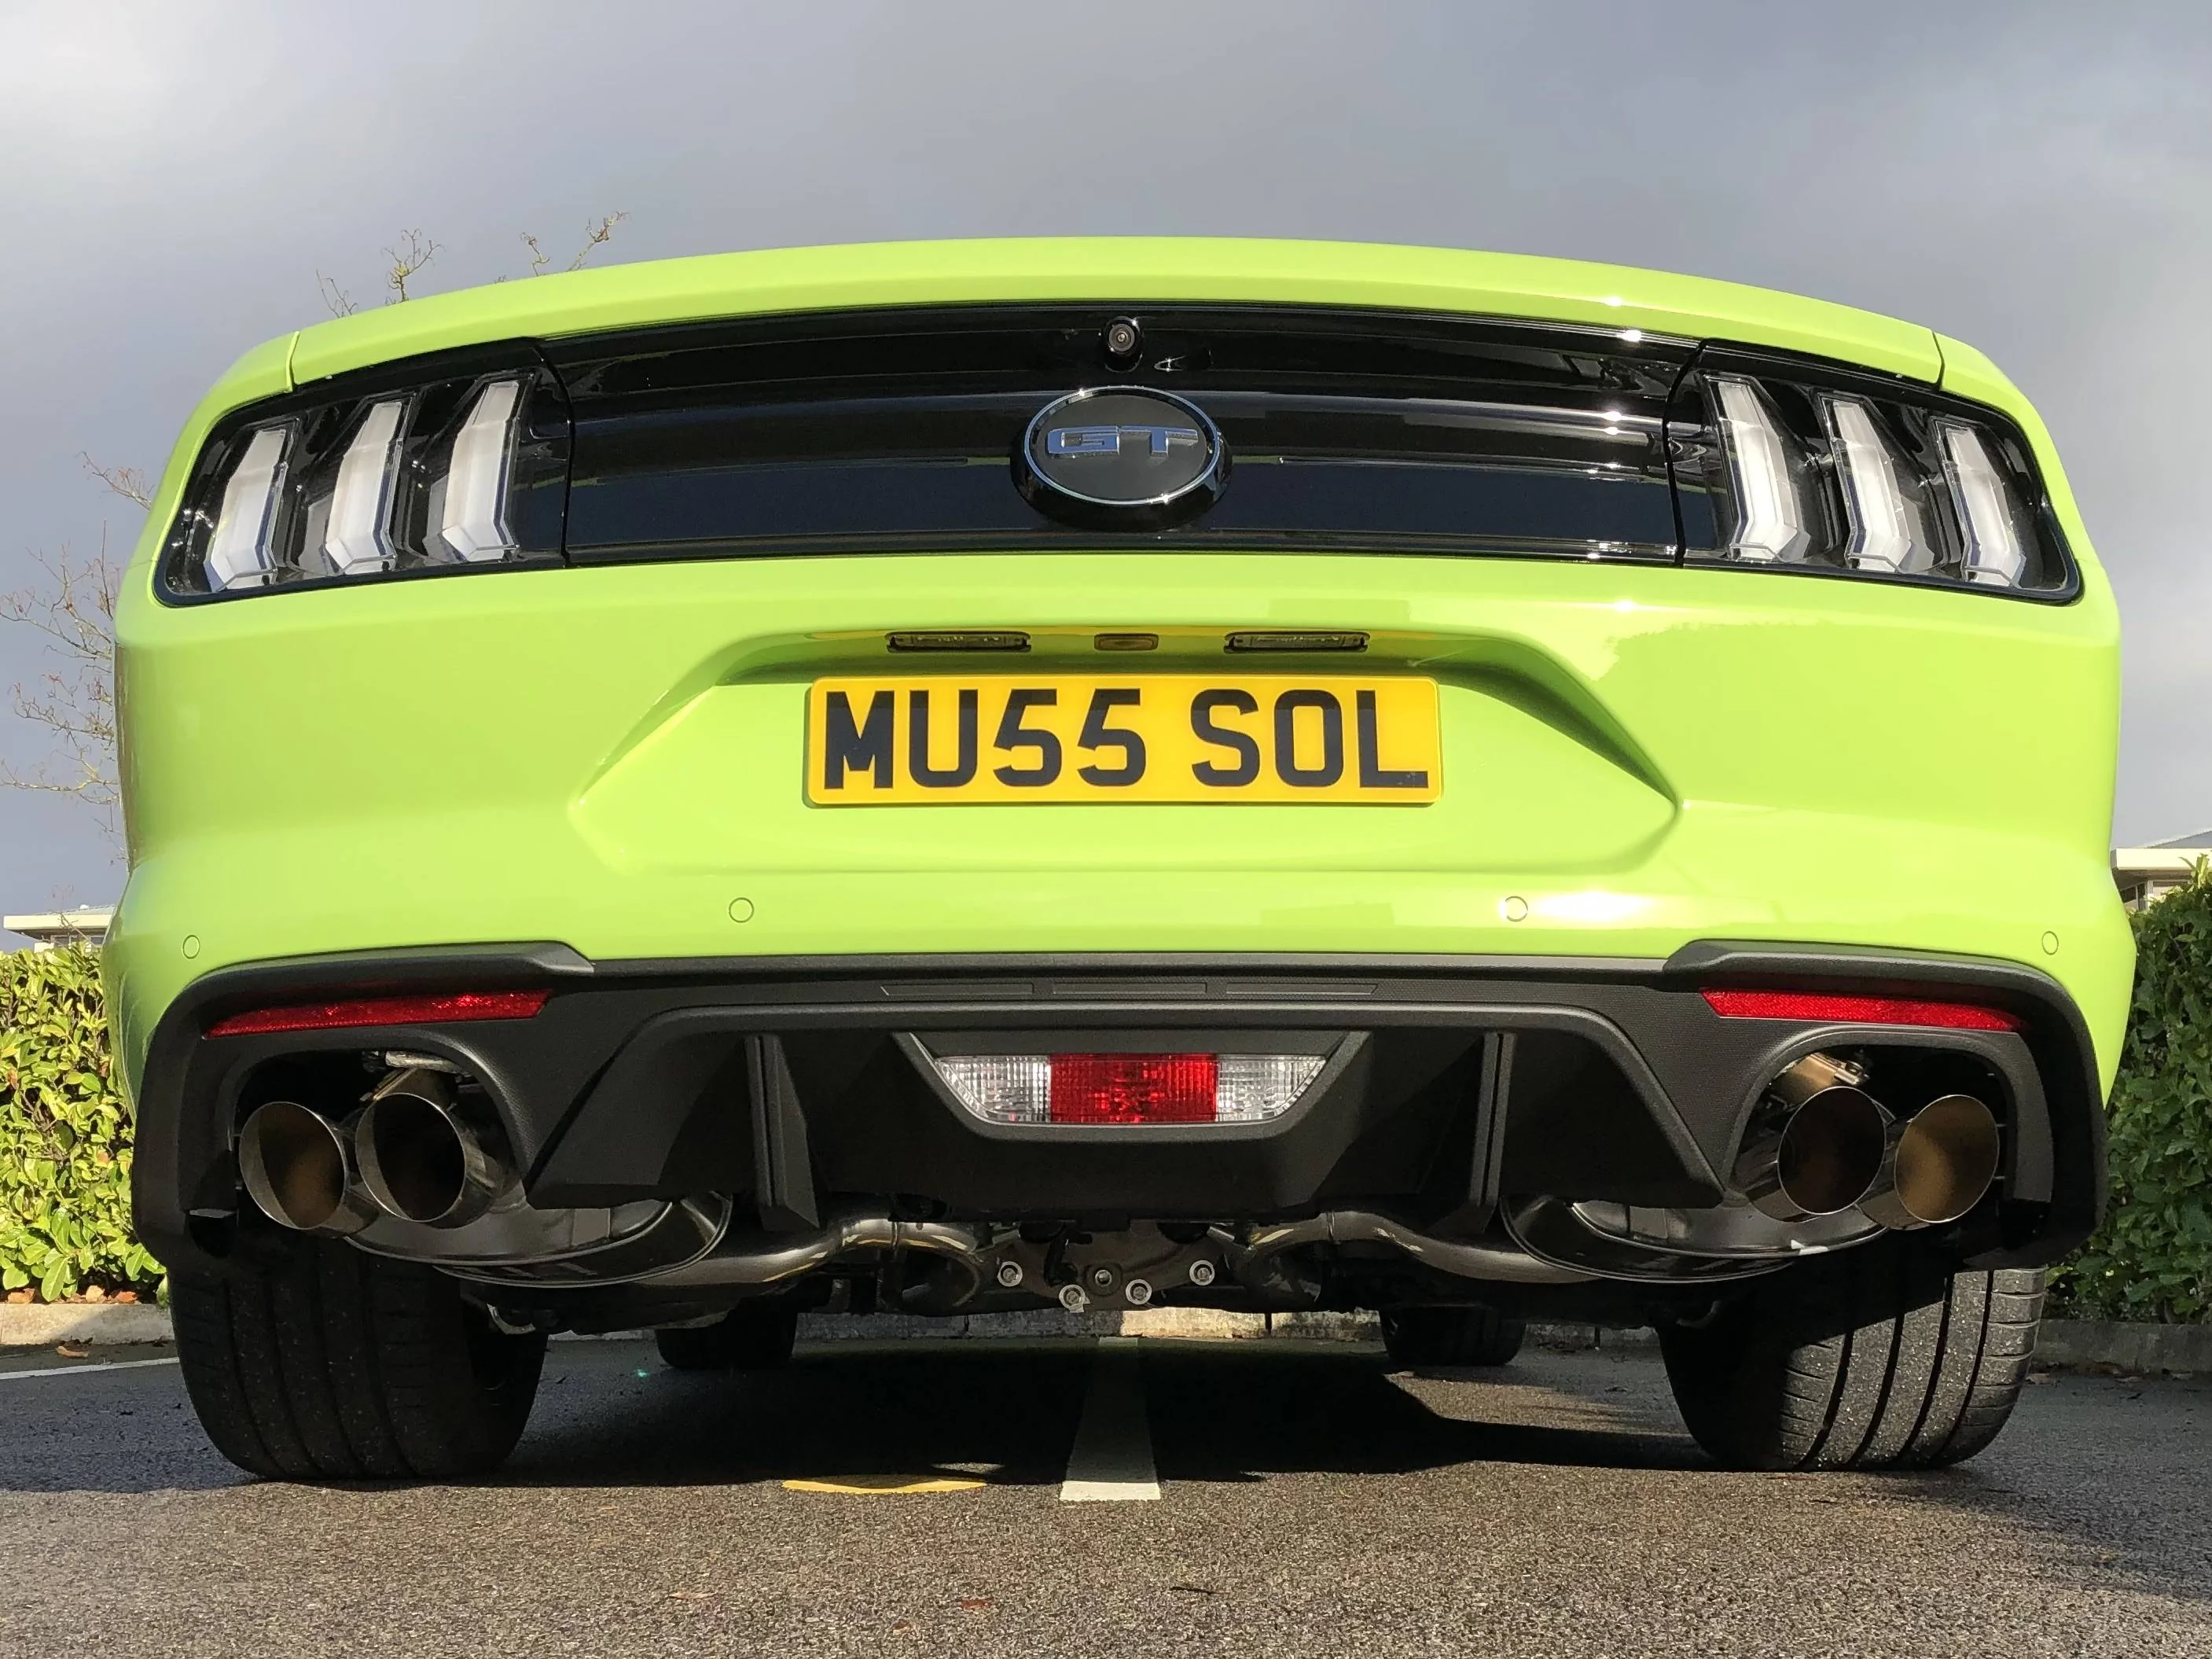
- Lime GT
- Vehicle Showcase
- 1
- Thread starter
- #466
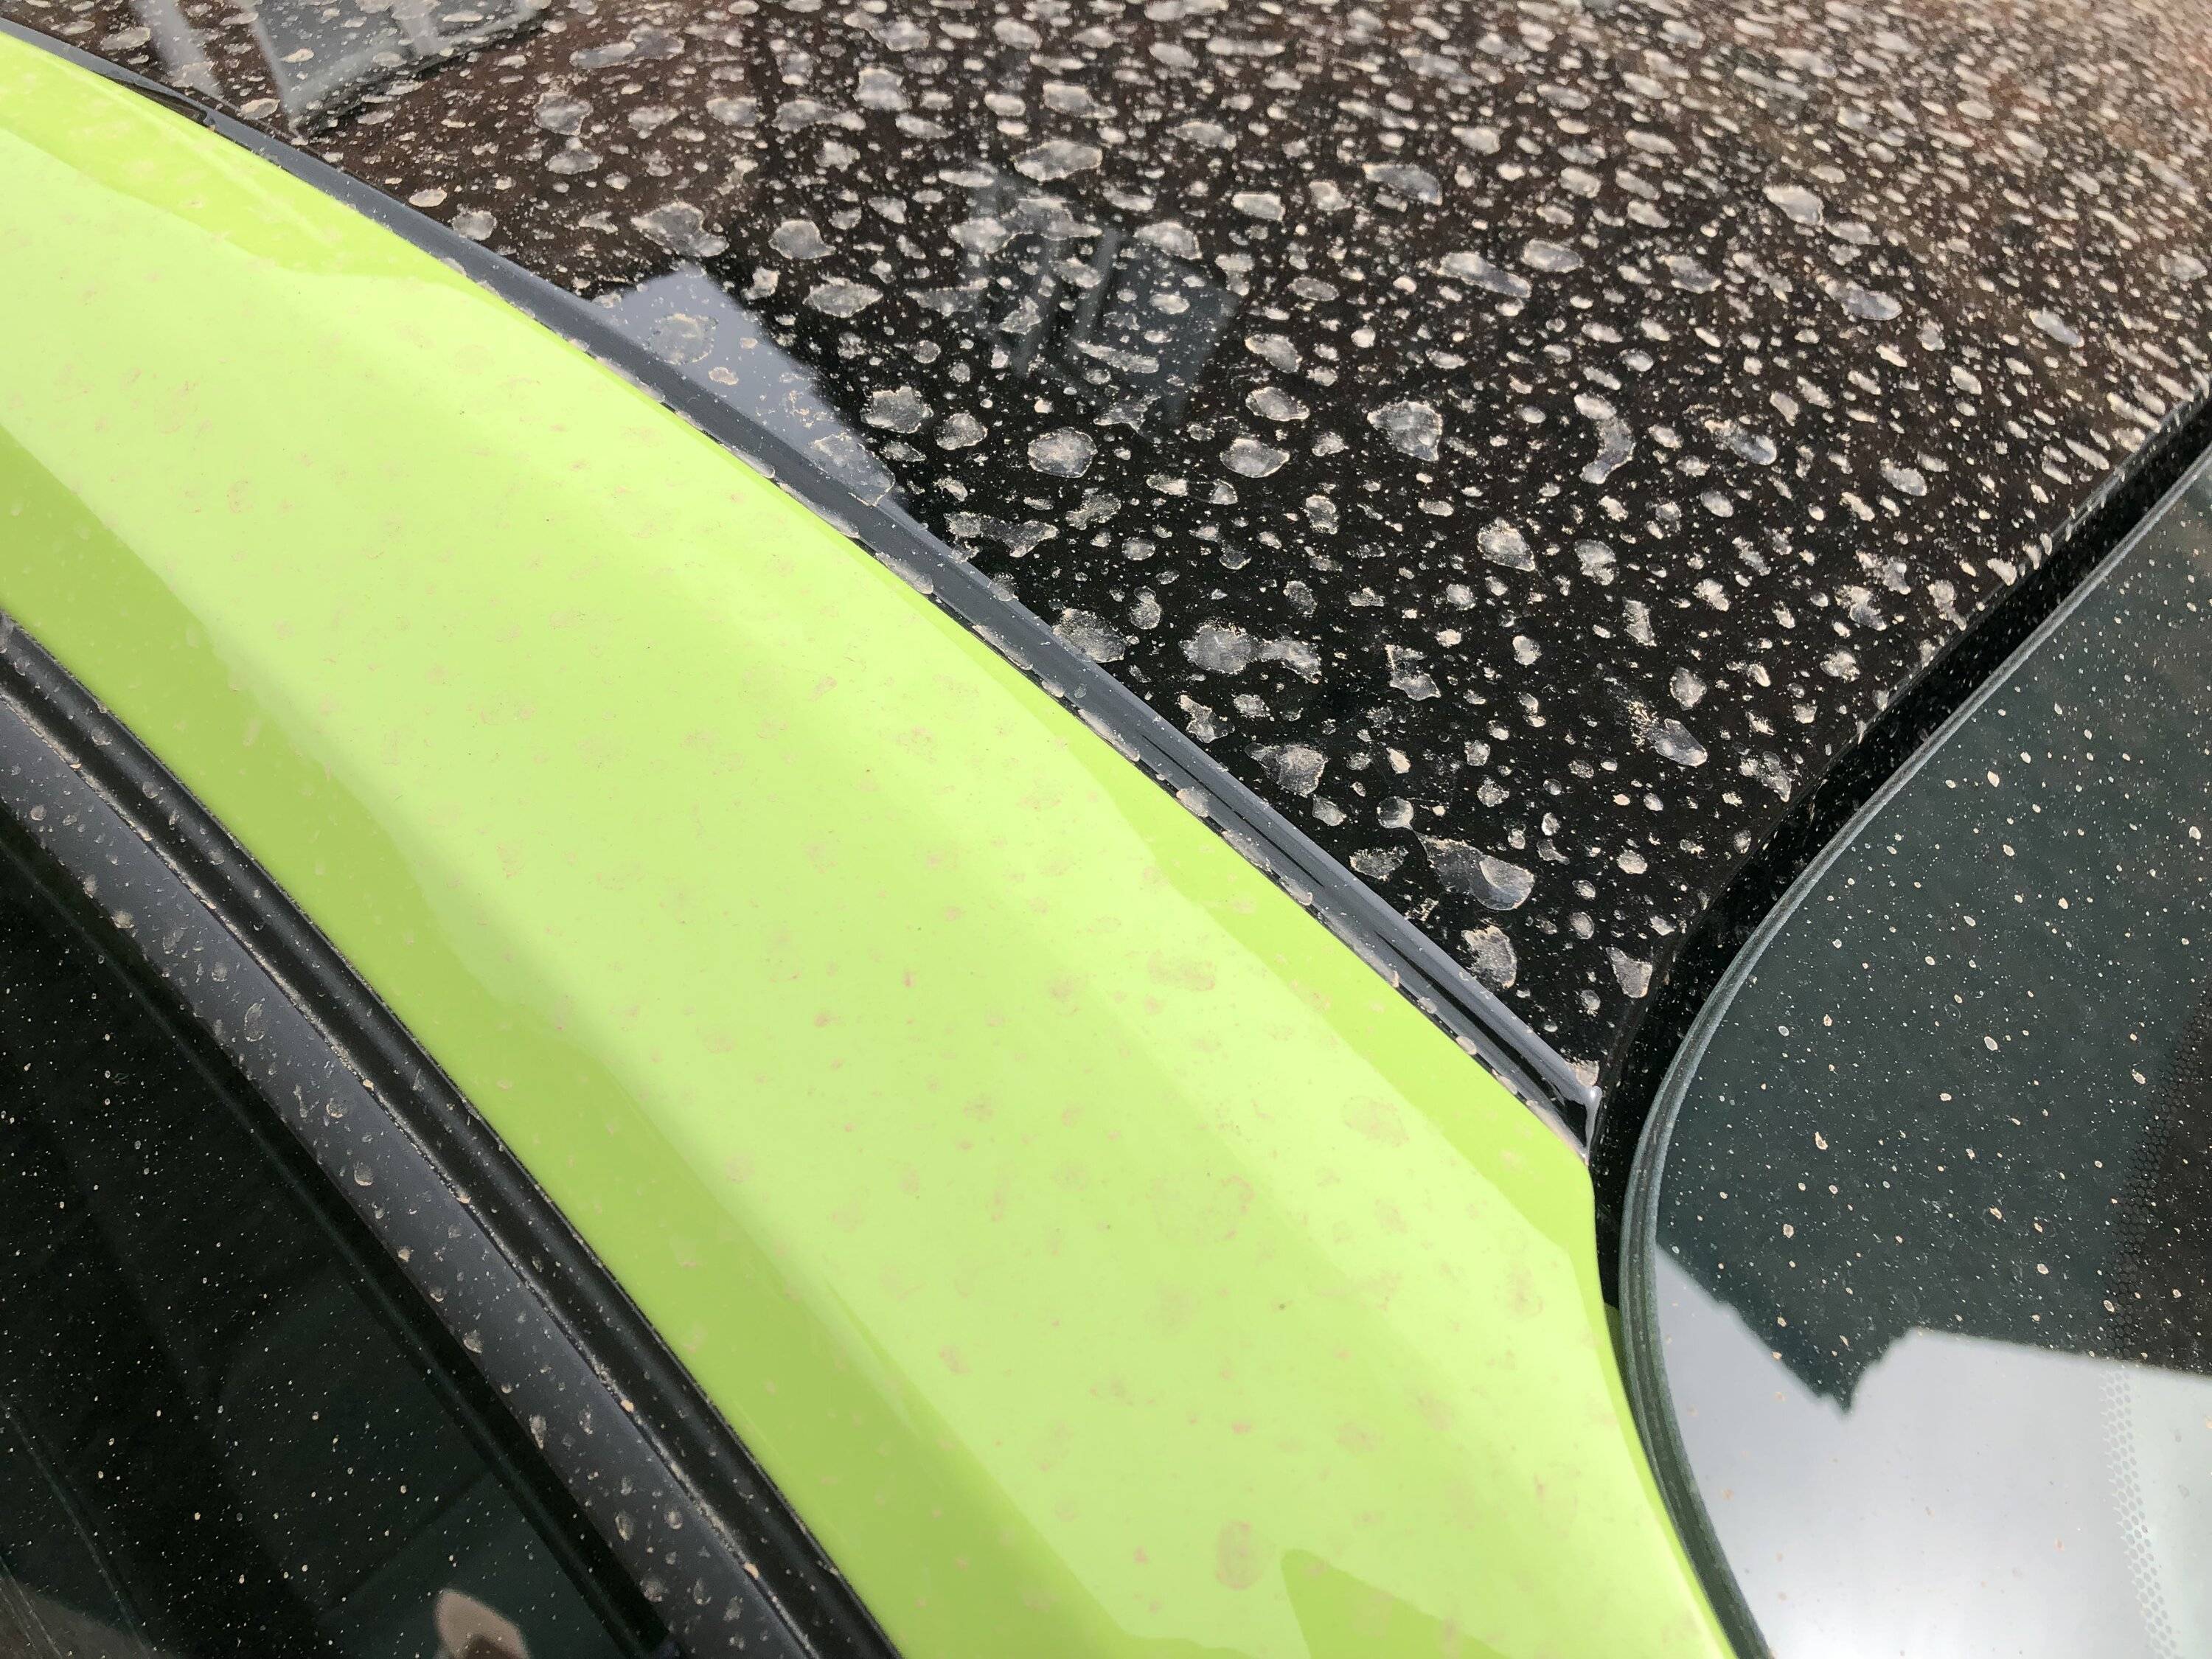
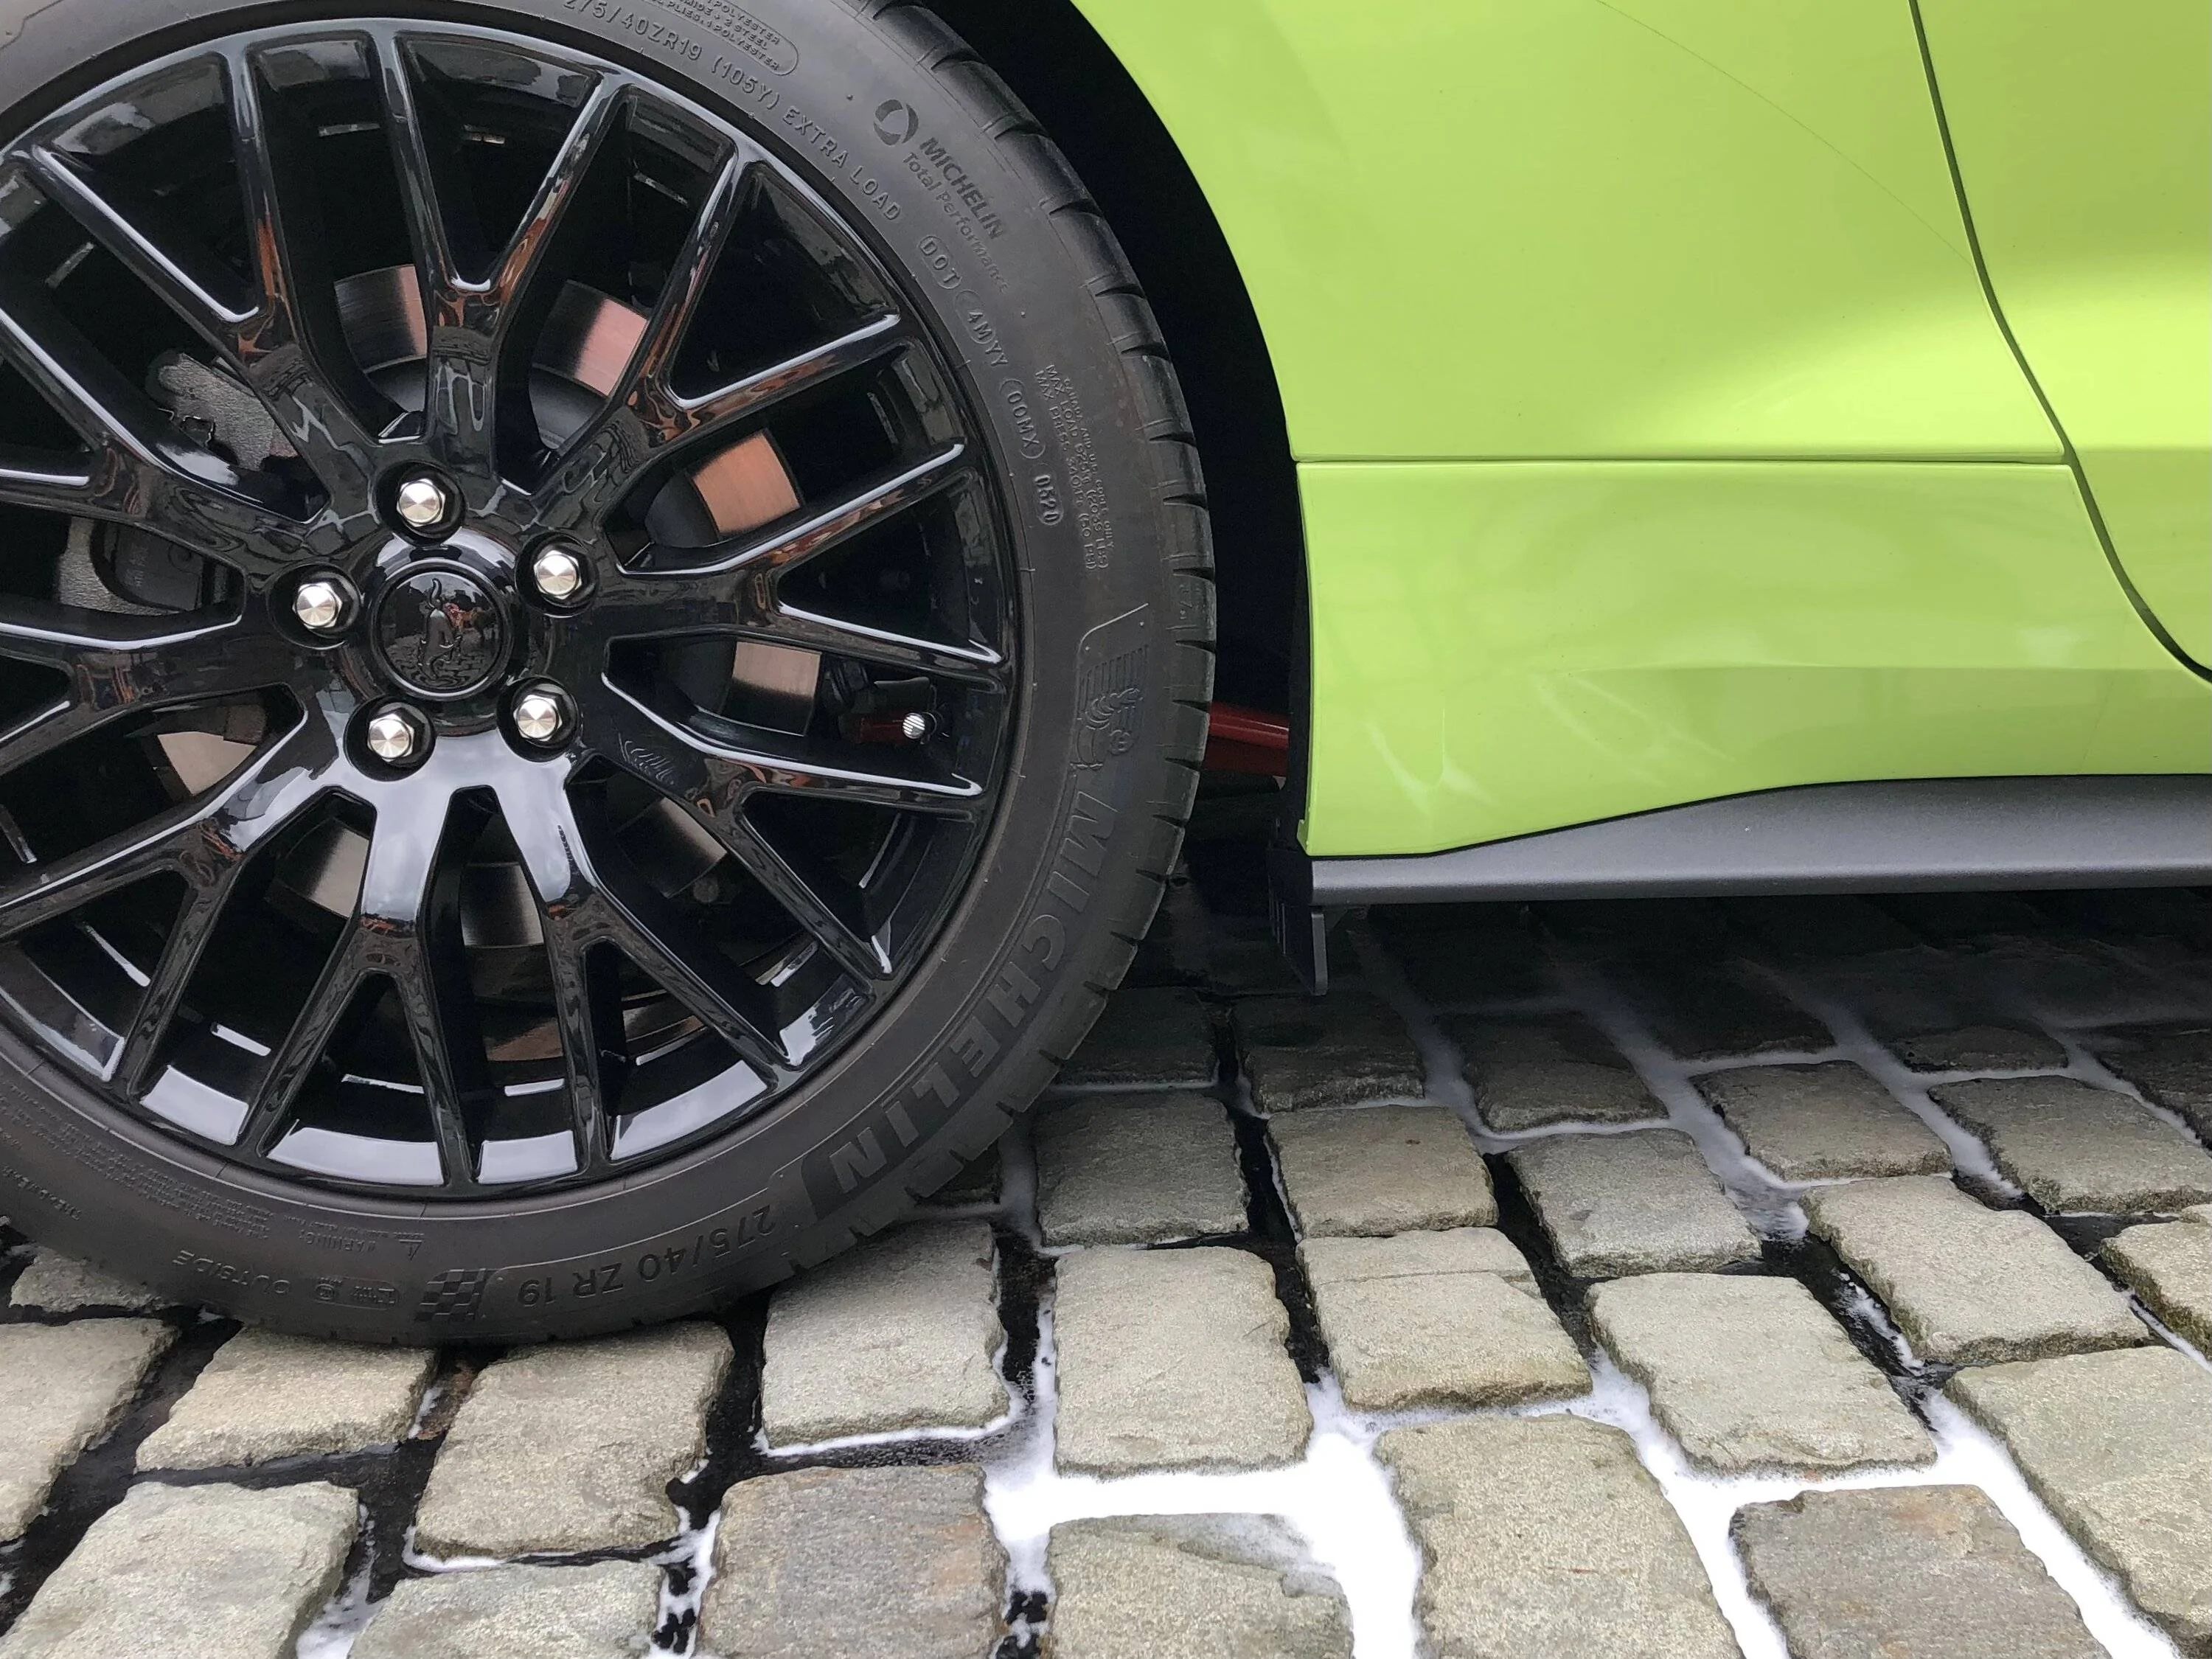
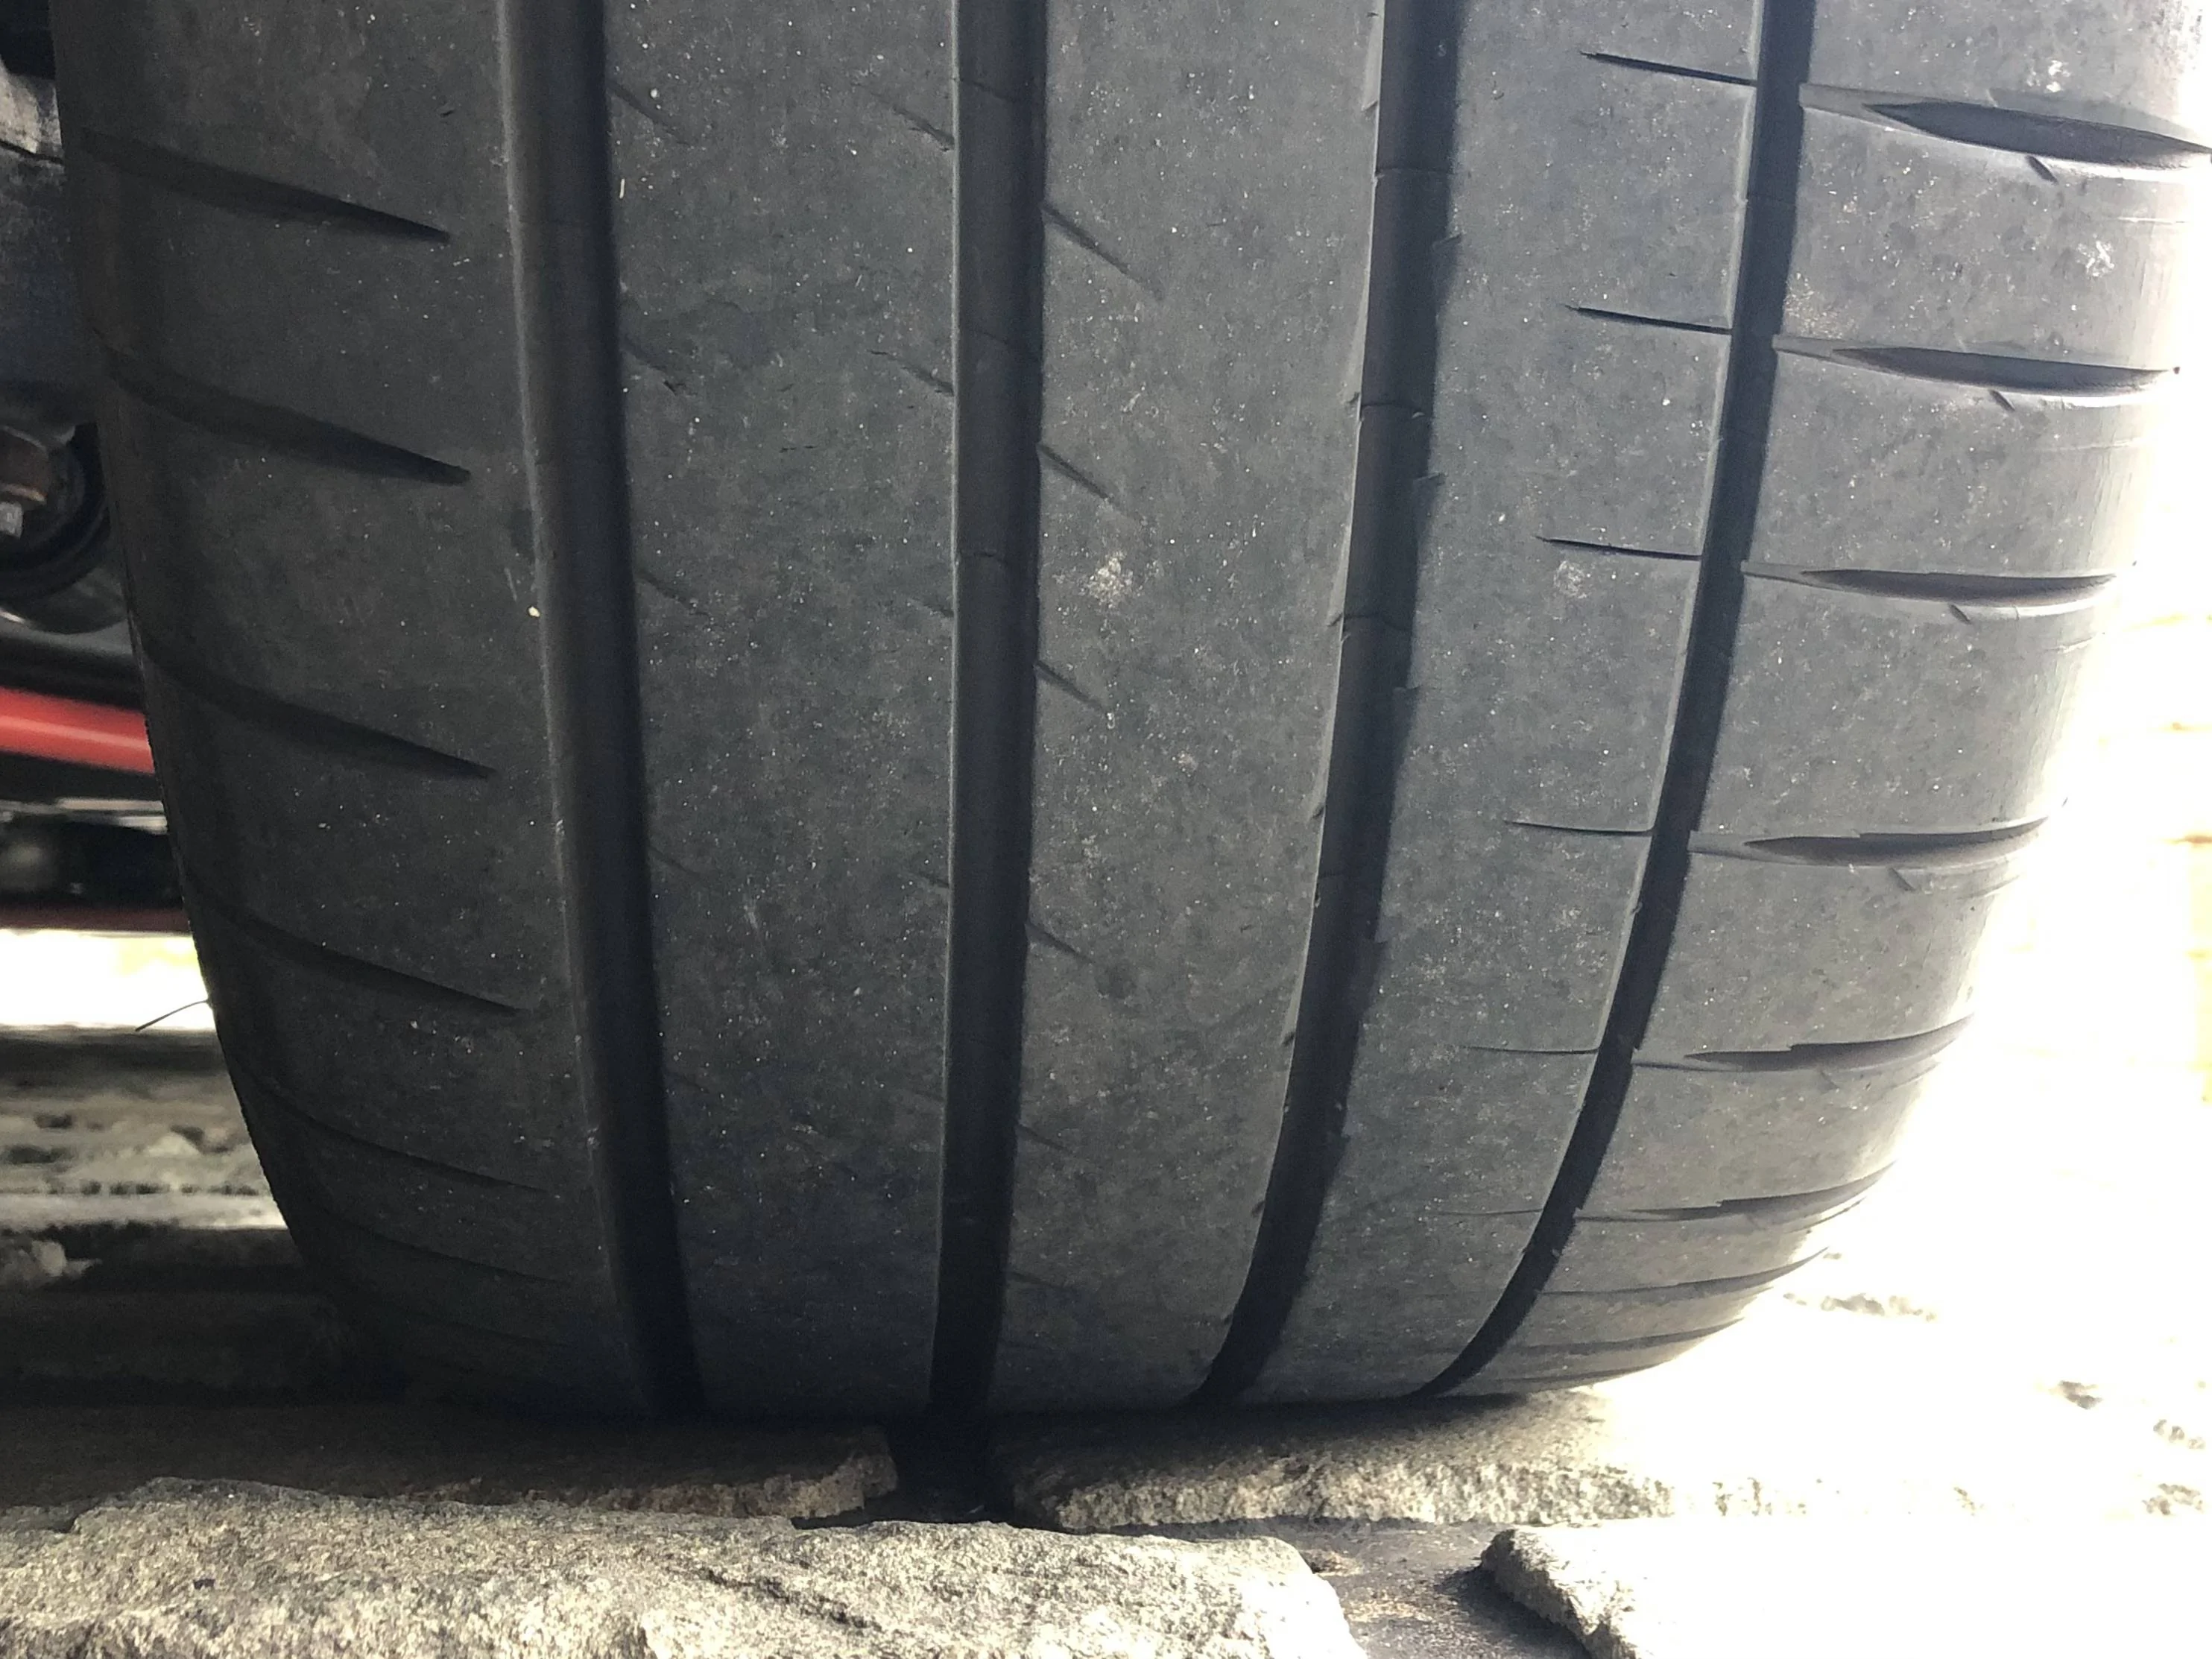
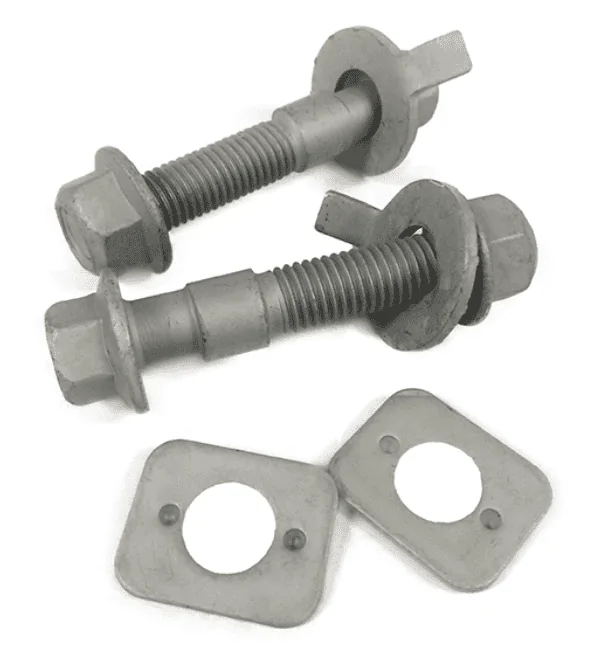
I will check but I think it’s good - I suspect it’s just the angle (although an alignment is coming to the top of the jobs list now)Looks like possibly uneven tire wear on the inside of this tire? Sorry if mistaken, just thought I should mention it just incase...

Thanks for the heads up
WD
Sponsored


")