VictorH
Well-Known Member
- Joined
- Mar 4, 2021
- Threads
- 31
- Messages
- 649
- Reaction score
- 932
- Location
- South Carolina
- First Name
- Victor
- Vehicle(s)
- 2021 Mach 1
- Thread starter
- #1
Was to have my Ford Performance Toe bearings installed at my Ford shop, but since I needed the car back same day they said they wouldn't have time. Their approach is to remove the whole lower rear arm. I'm sure someone has posted this approach but couldn't find it, so I thought I'd post in case this is helpful to anyone considering this install. (This will be a "work in progress so this is part 1).
!) Remove rear wheels
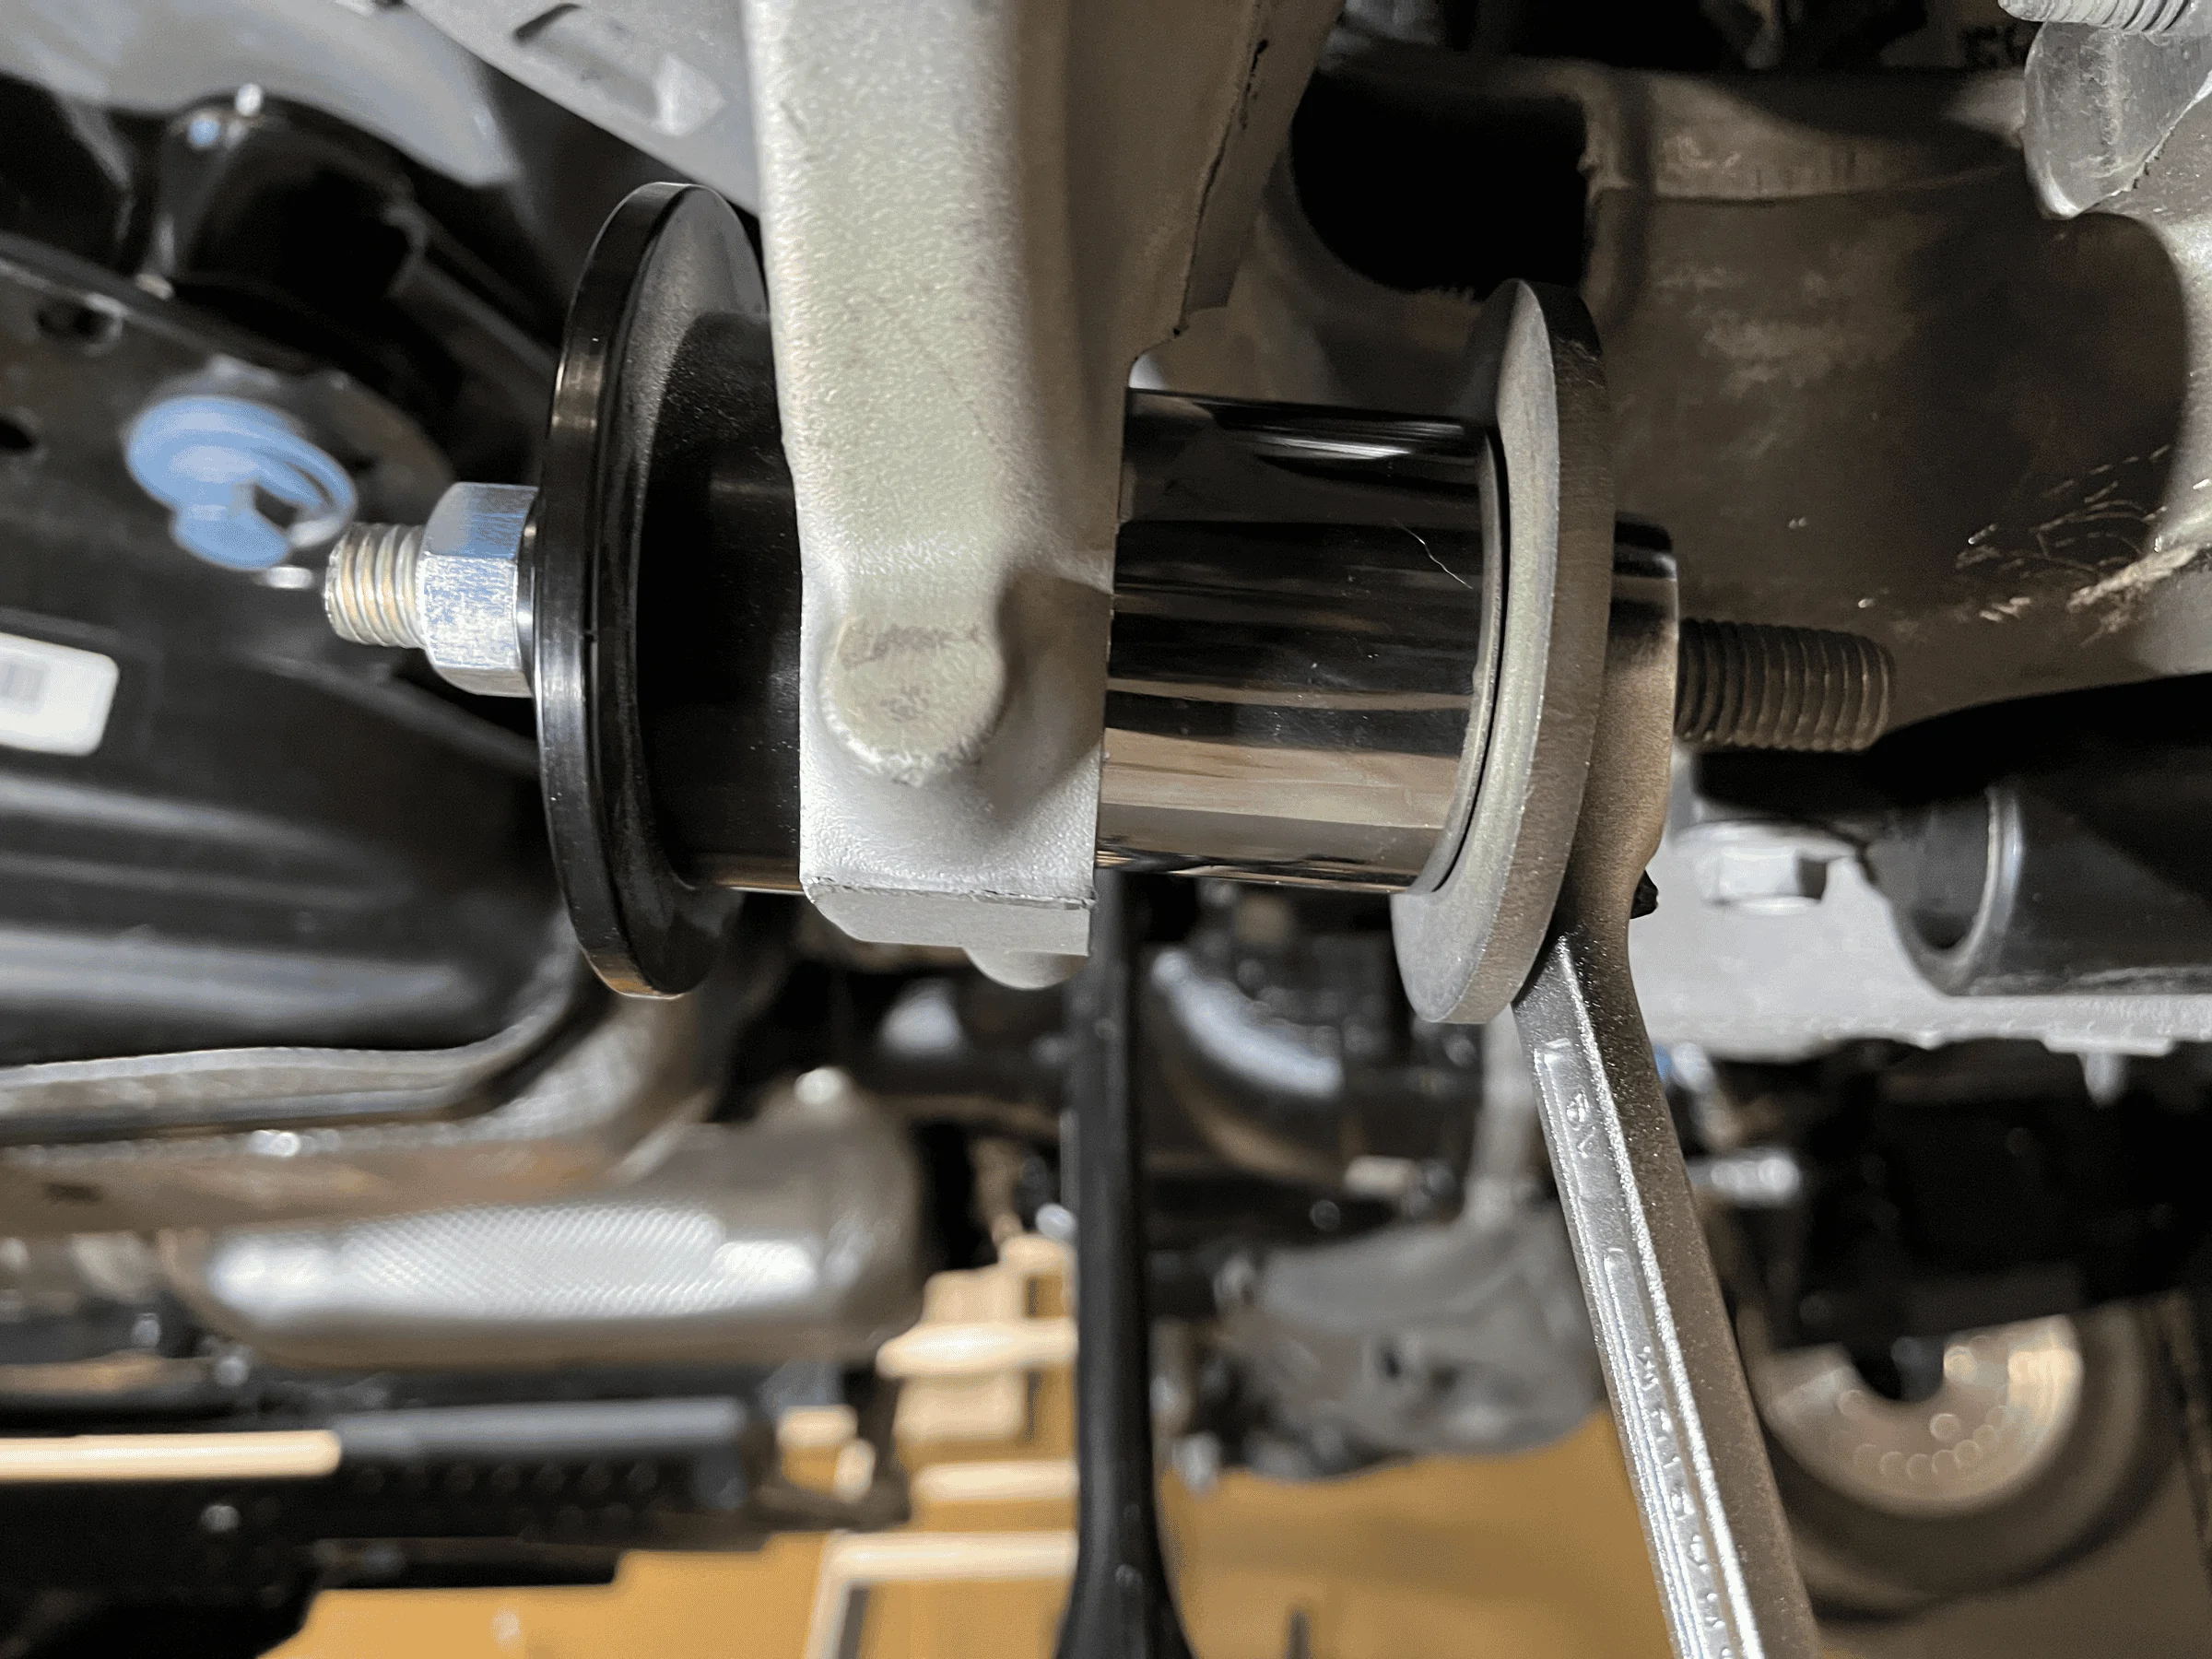
2) Removed outer rear toe adjuster, swing it down.
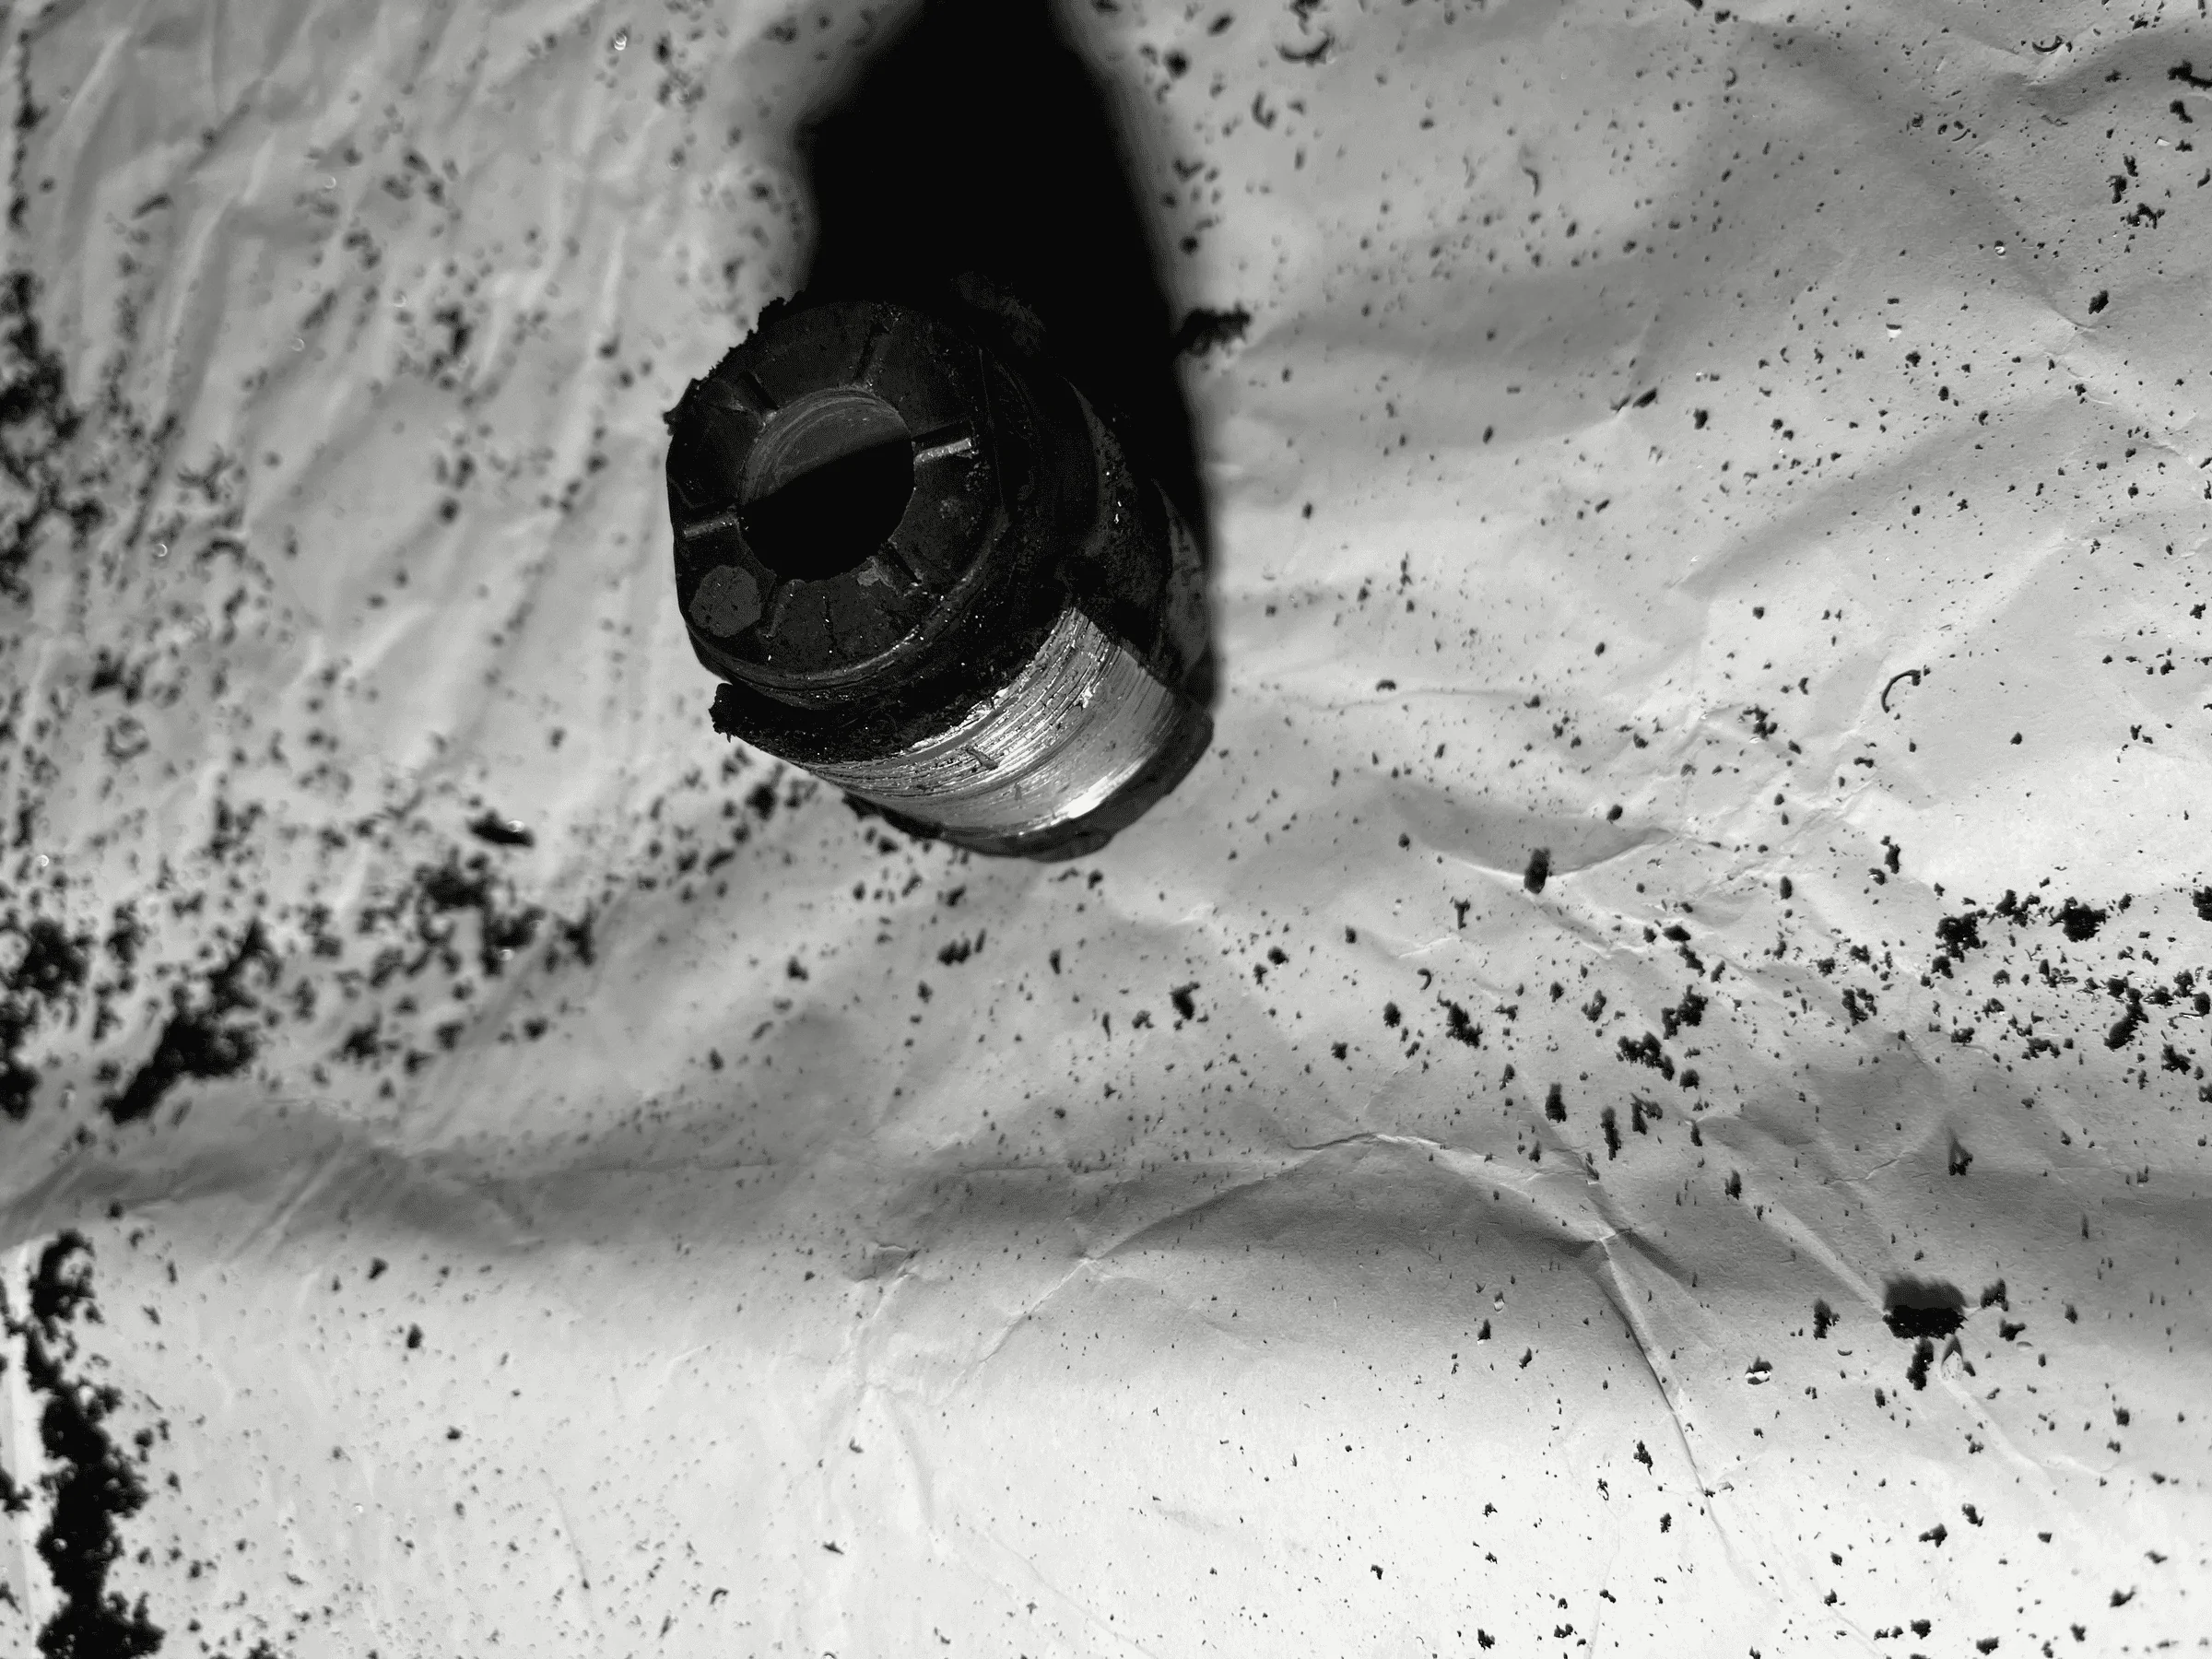
Now your ready. I purchased a 1 5/8 BiMetal hole saw which is just about right and doesn't risk any misadventures into the lower control arm.

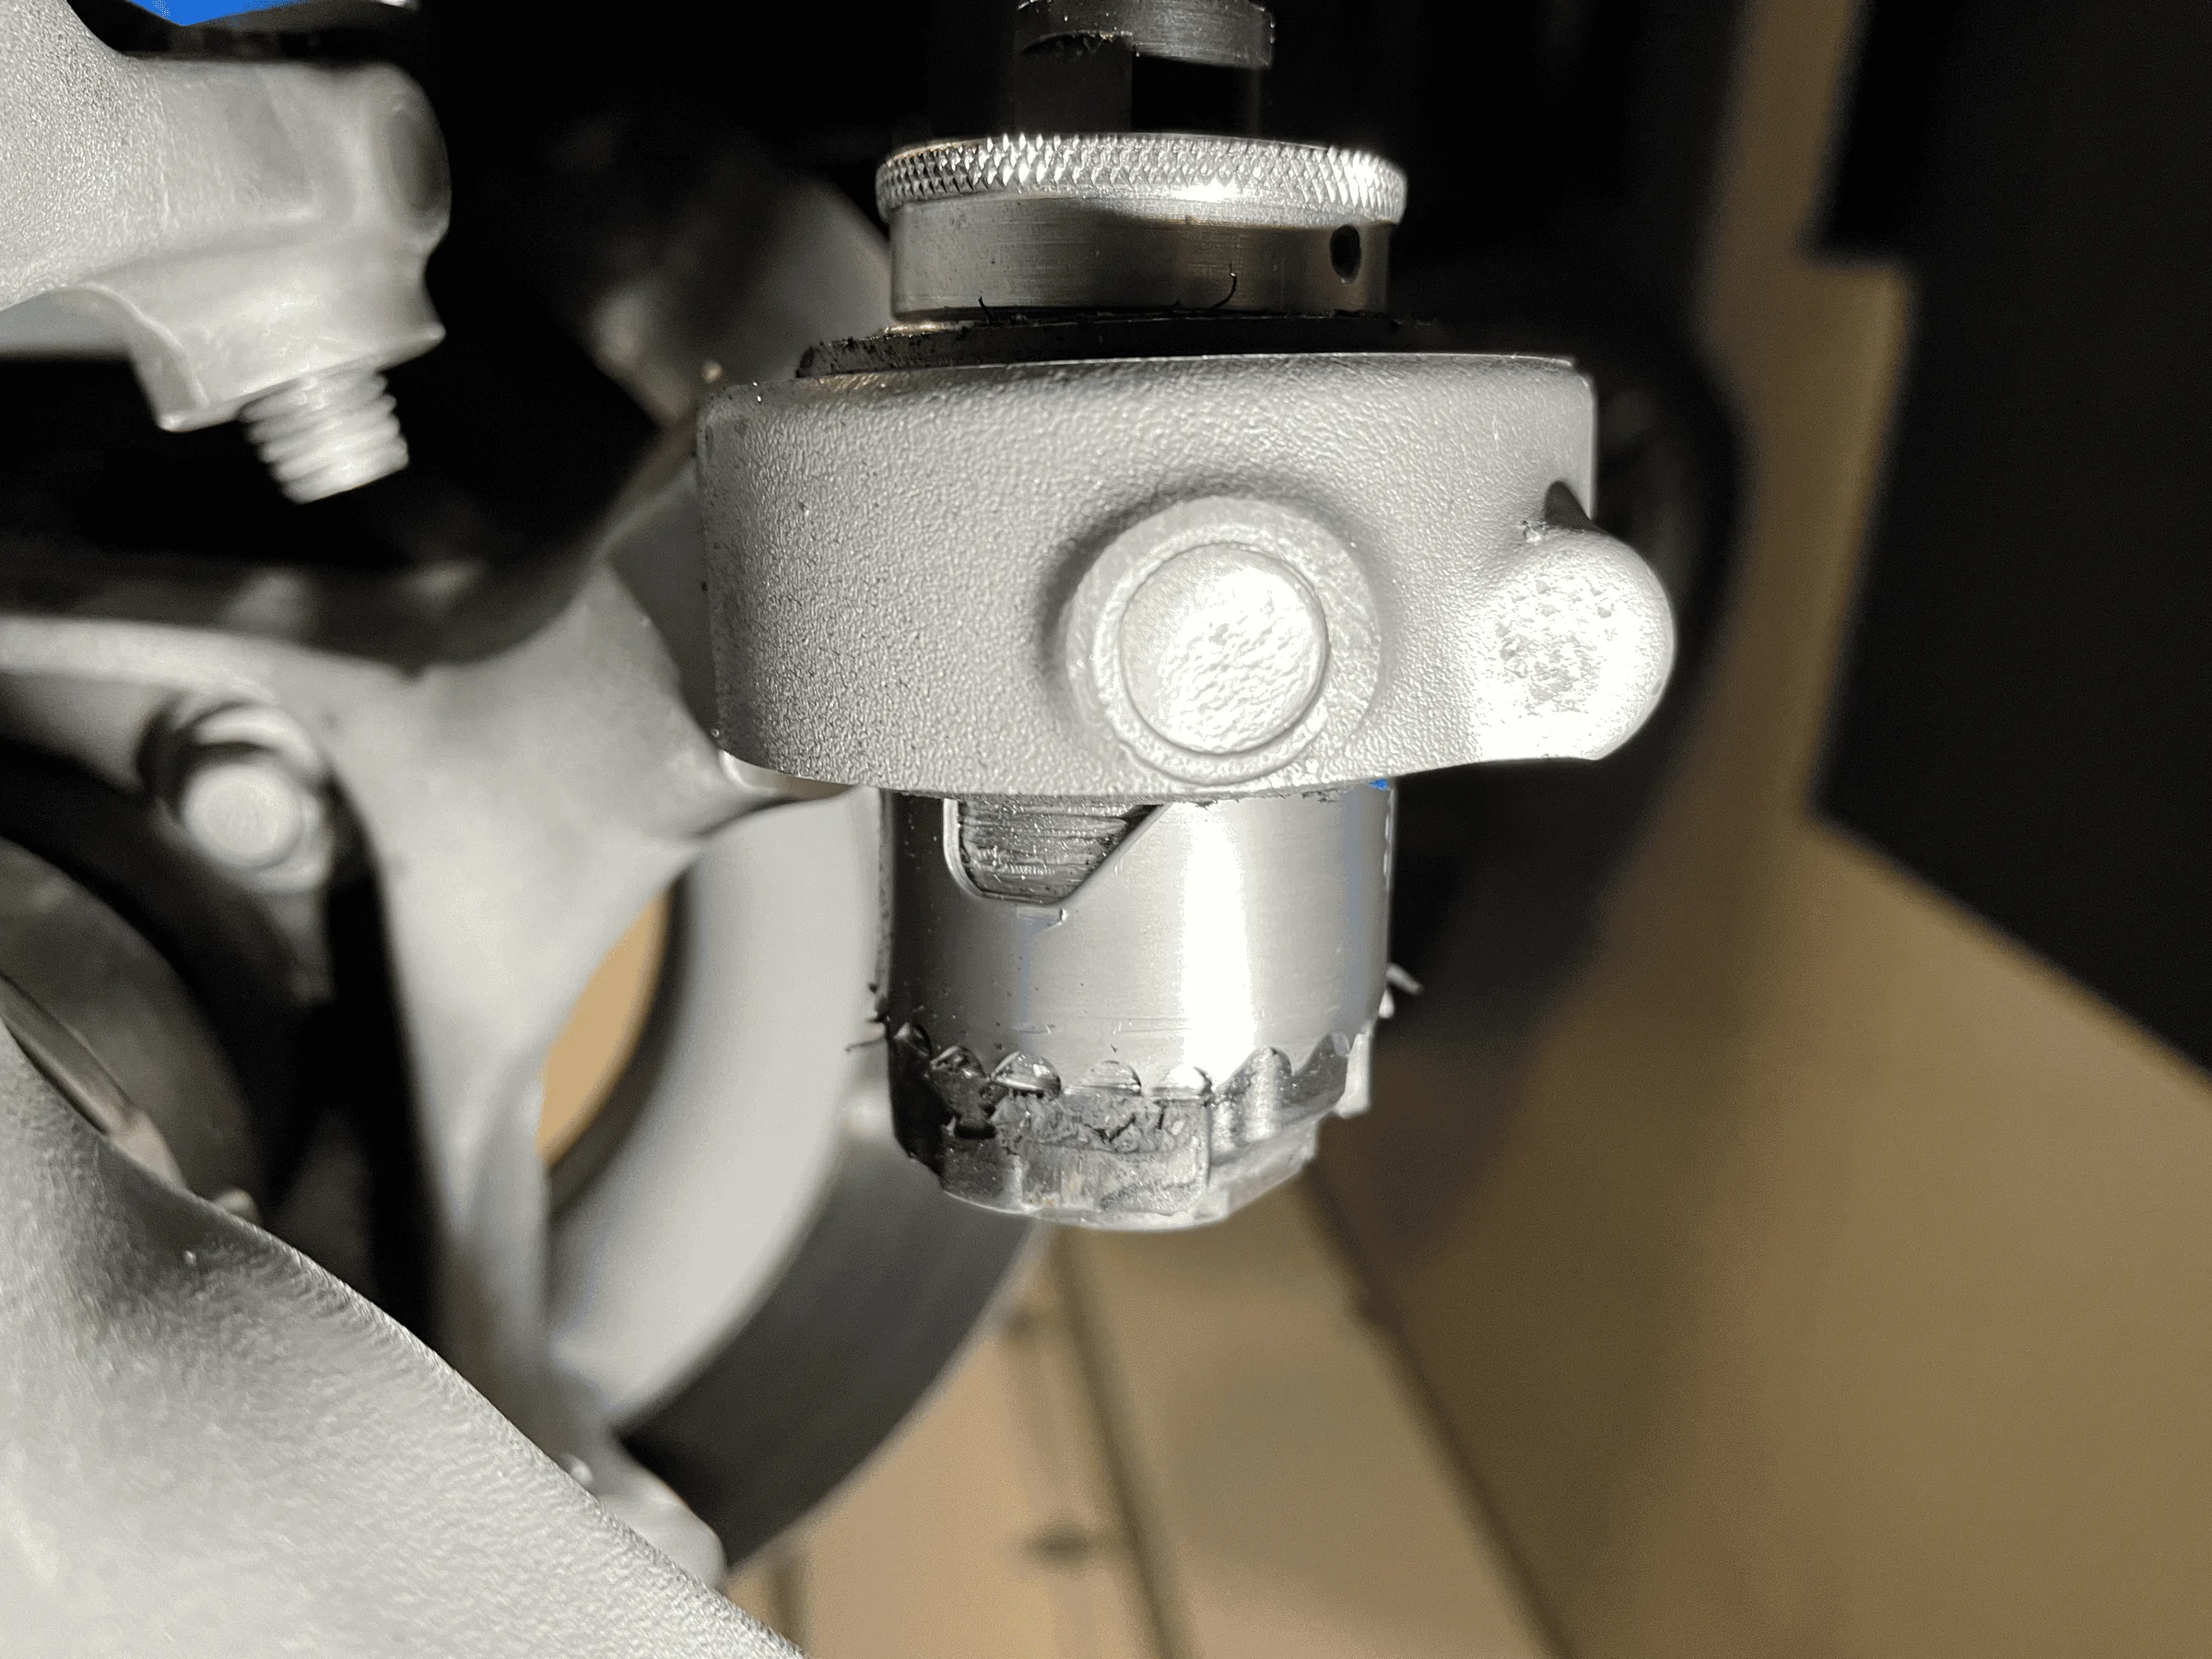
Take your time and drill all the way through. Take about 10 minutes per side. Don't forget safety glasses as small metal particles will be flying around.
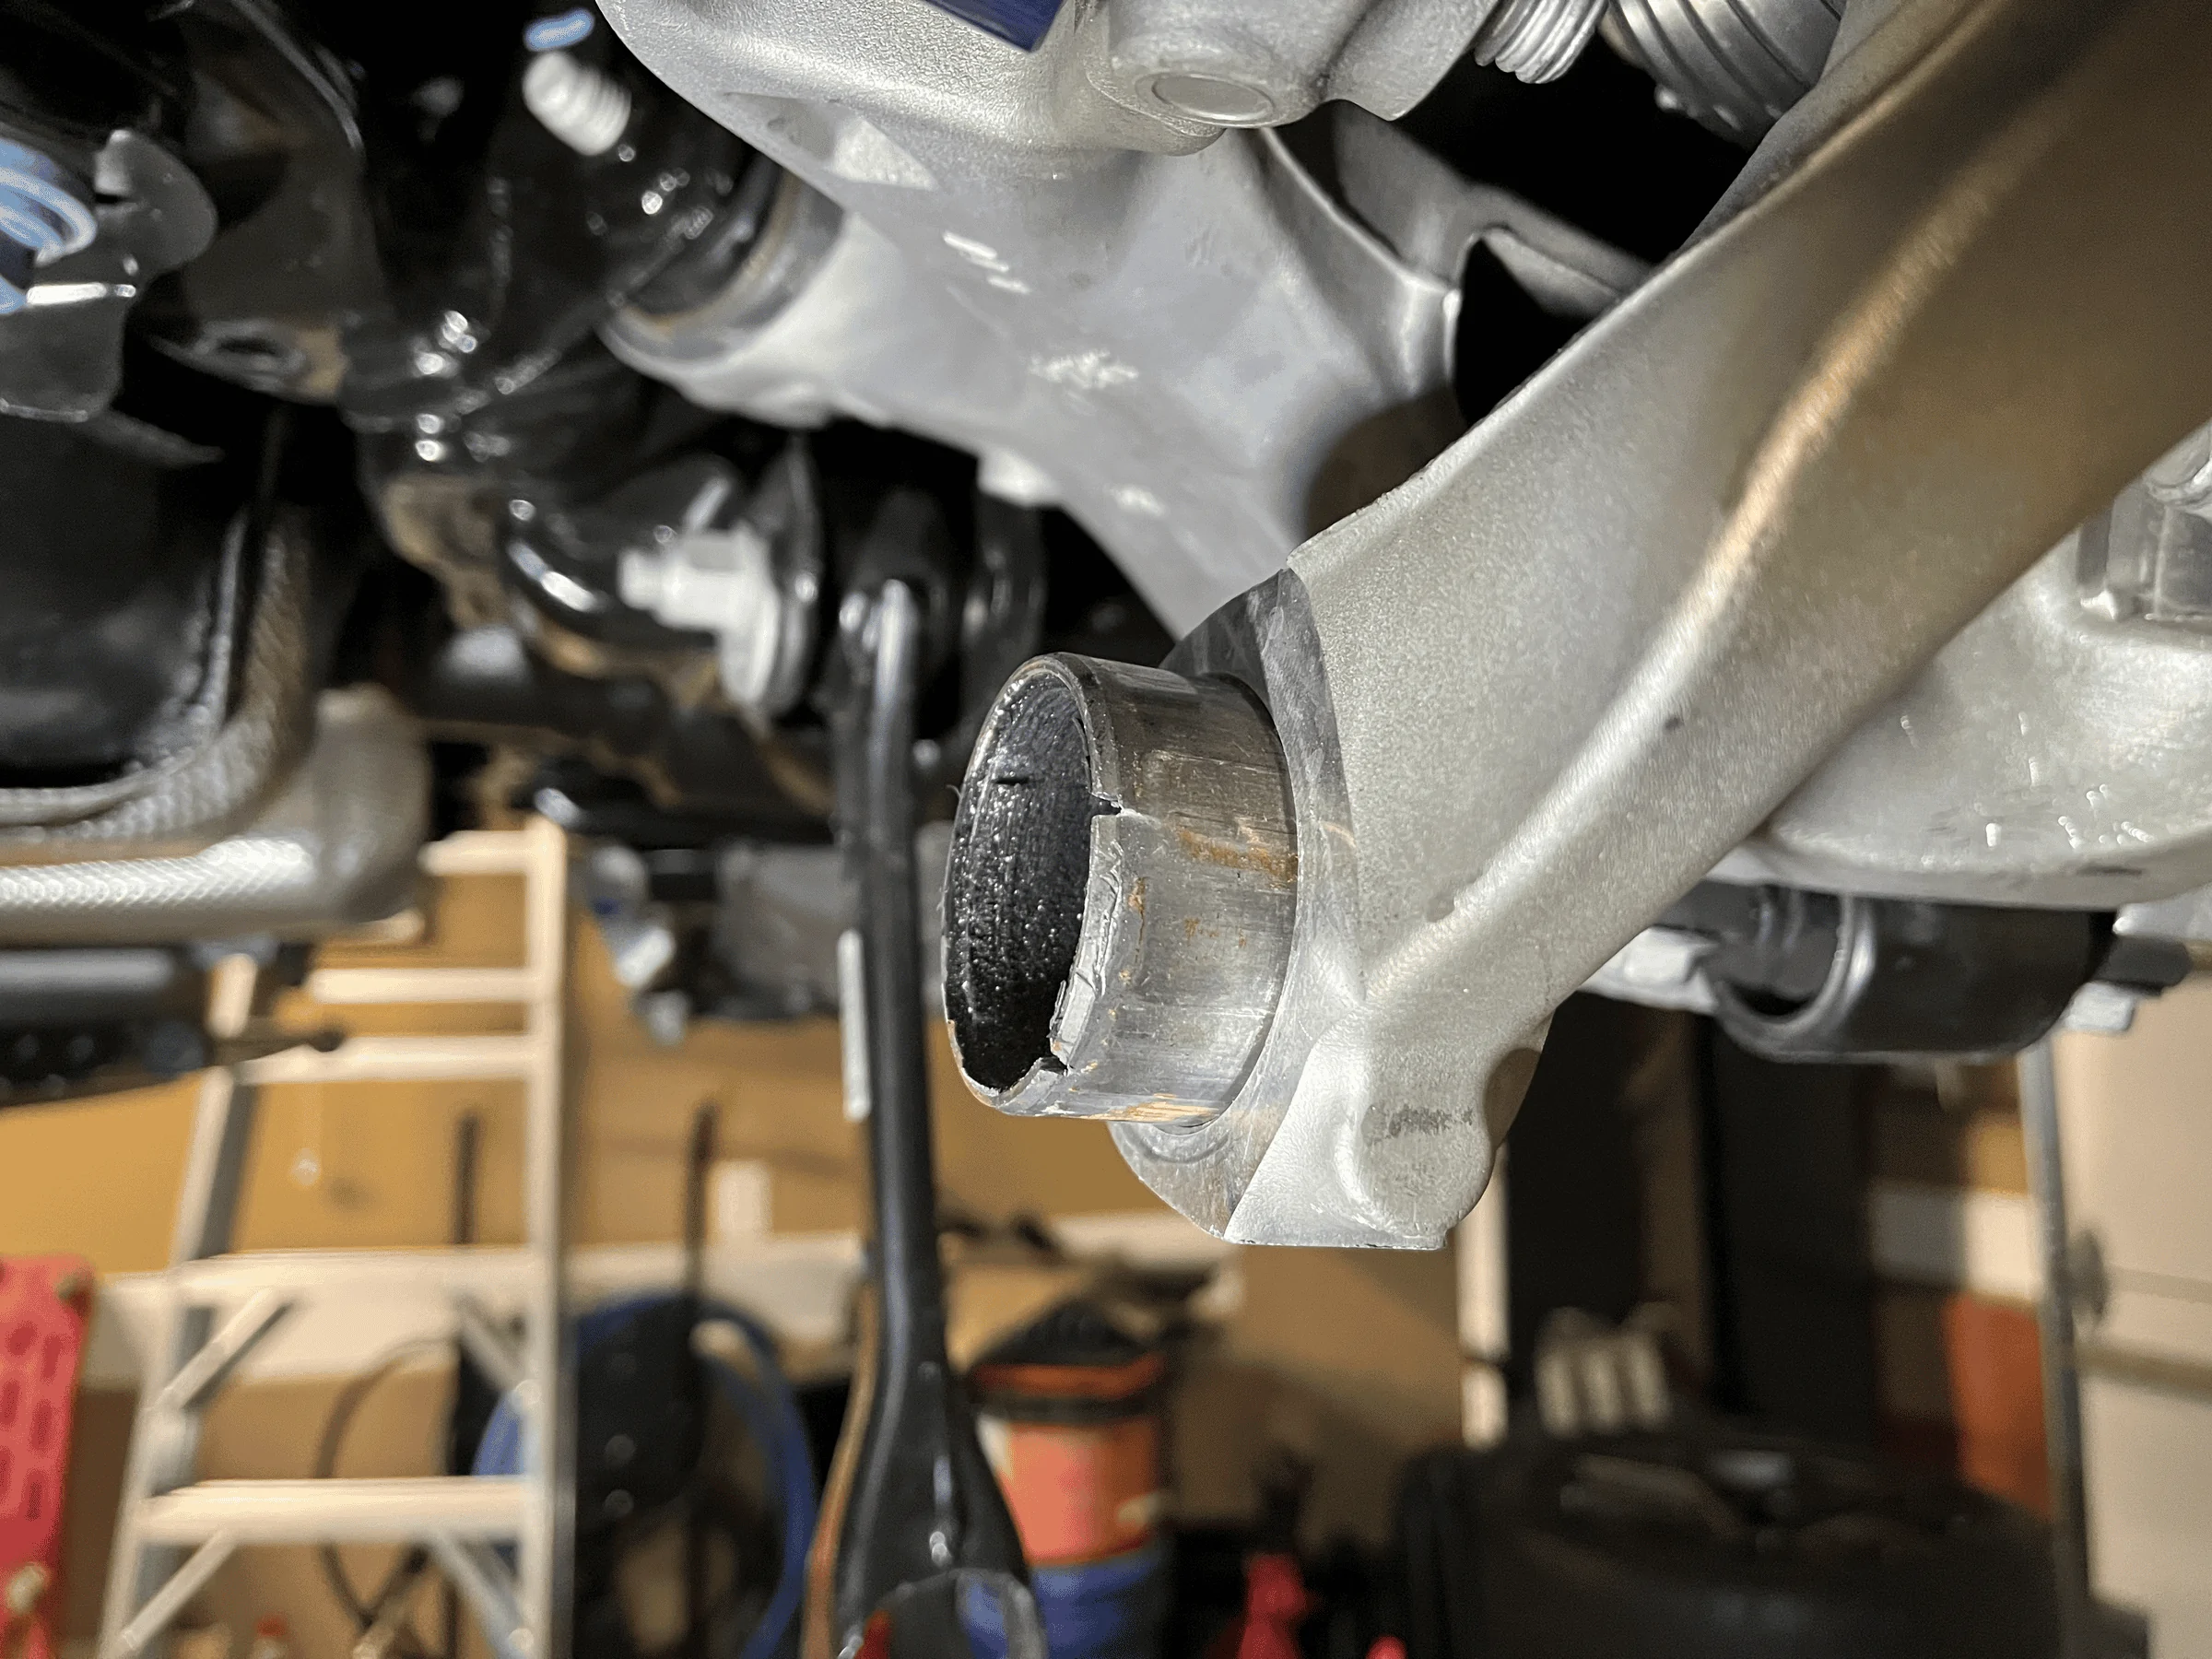
Tomorrow I'll use a hacksaw to cut the outer metal flange in a couple of spots and then hammer it out with a drift. Should be ready for install then.
!) Remove rear wheels
2) Removed outer rear toe adjuster, swing it down.
Now your ready. I purchased a 1 5/8 BiMetal hole saw which is just about right and doesn't risk any misadventures into the lower control arm.
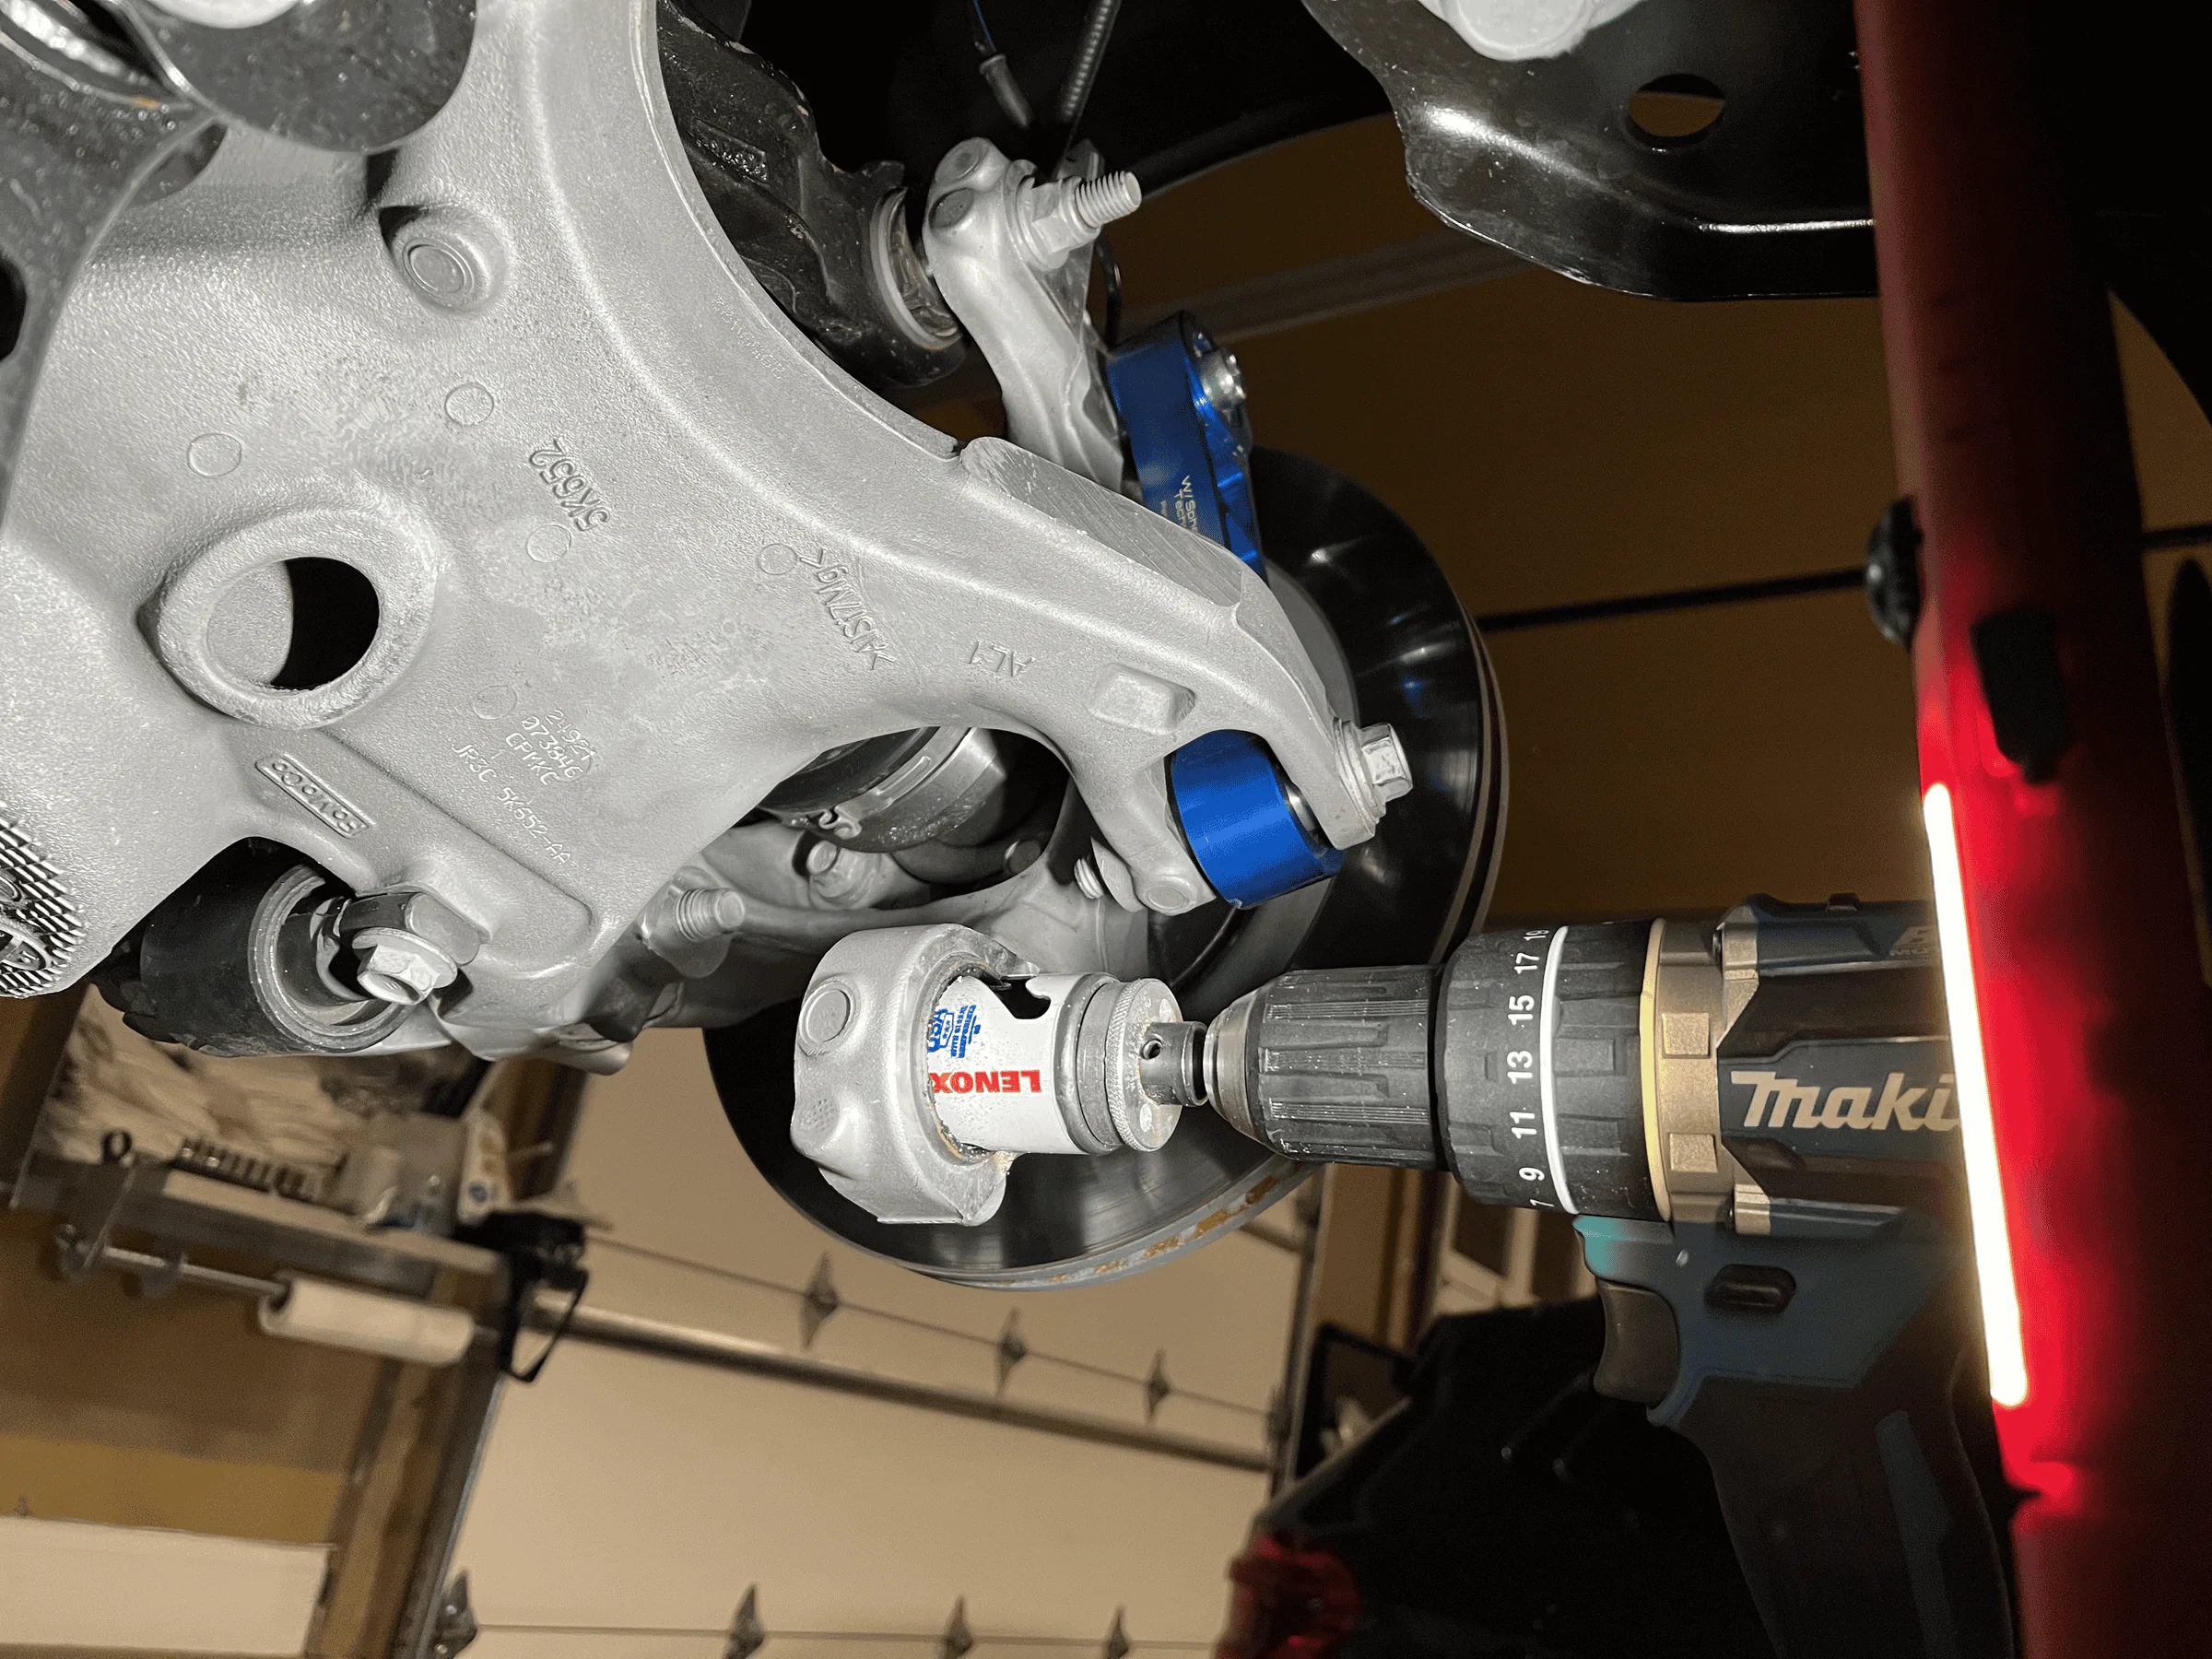
Take your time and drill all the way through. Take about 10 minutes per side. Don't forget safety glasses as small metal particles will be flying around.

Tomorrow I'll use a hacksaw to cut the outer metal flange in a couple of spots and then hammer it out with a drift. Should be ready for install then.
Sponsored