ChipG
Well-Known Member
- Joined
- Jan 27, 2021
- Threads
- 33
- Messages
- 532
- Reaction score
- 590
- Location
- Nashville TN
- First Name
- Chip
- Vehicle(s)
- '20 GT350/'95 F250/'65 Fastback/'96 Cobra Project
- Thread starter
- #1
Hi all,
A few weeks ago, I installed my MGW shifter. First off, the MGW installation video (here) is excellent - if you're going to install their shifter, watch it, and follow it! I took photos anyway, but since the video is out there, I took fewer and my write-up will be leaner.
First fun step is getting the knob off. I struggled with it, as many do - I was initially able to get it moved maybe an eighth of a turn by hand, then nothing. I tried a strap wrench around a towel without luck. Then, I found and followed the advice from Auto Fanatic. I used a heat gun to heat the knob and was then able to remove the knob by hand. It still took effort and grip (I used mechanic's gloves) but it worked. If you're trying to get your shift knob off, I highly recommend this - I assume the heat breaks down the red loctite. Twisting off by hand should avoid any damage.
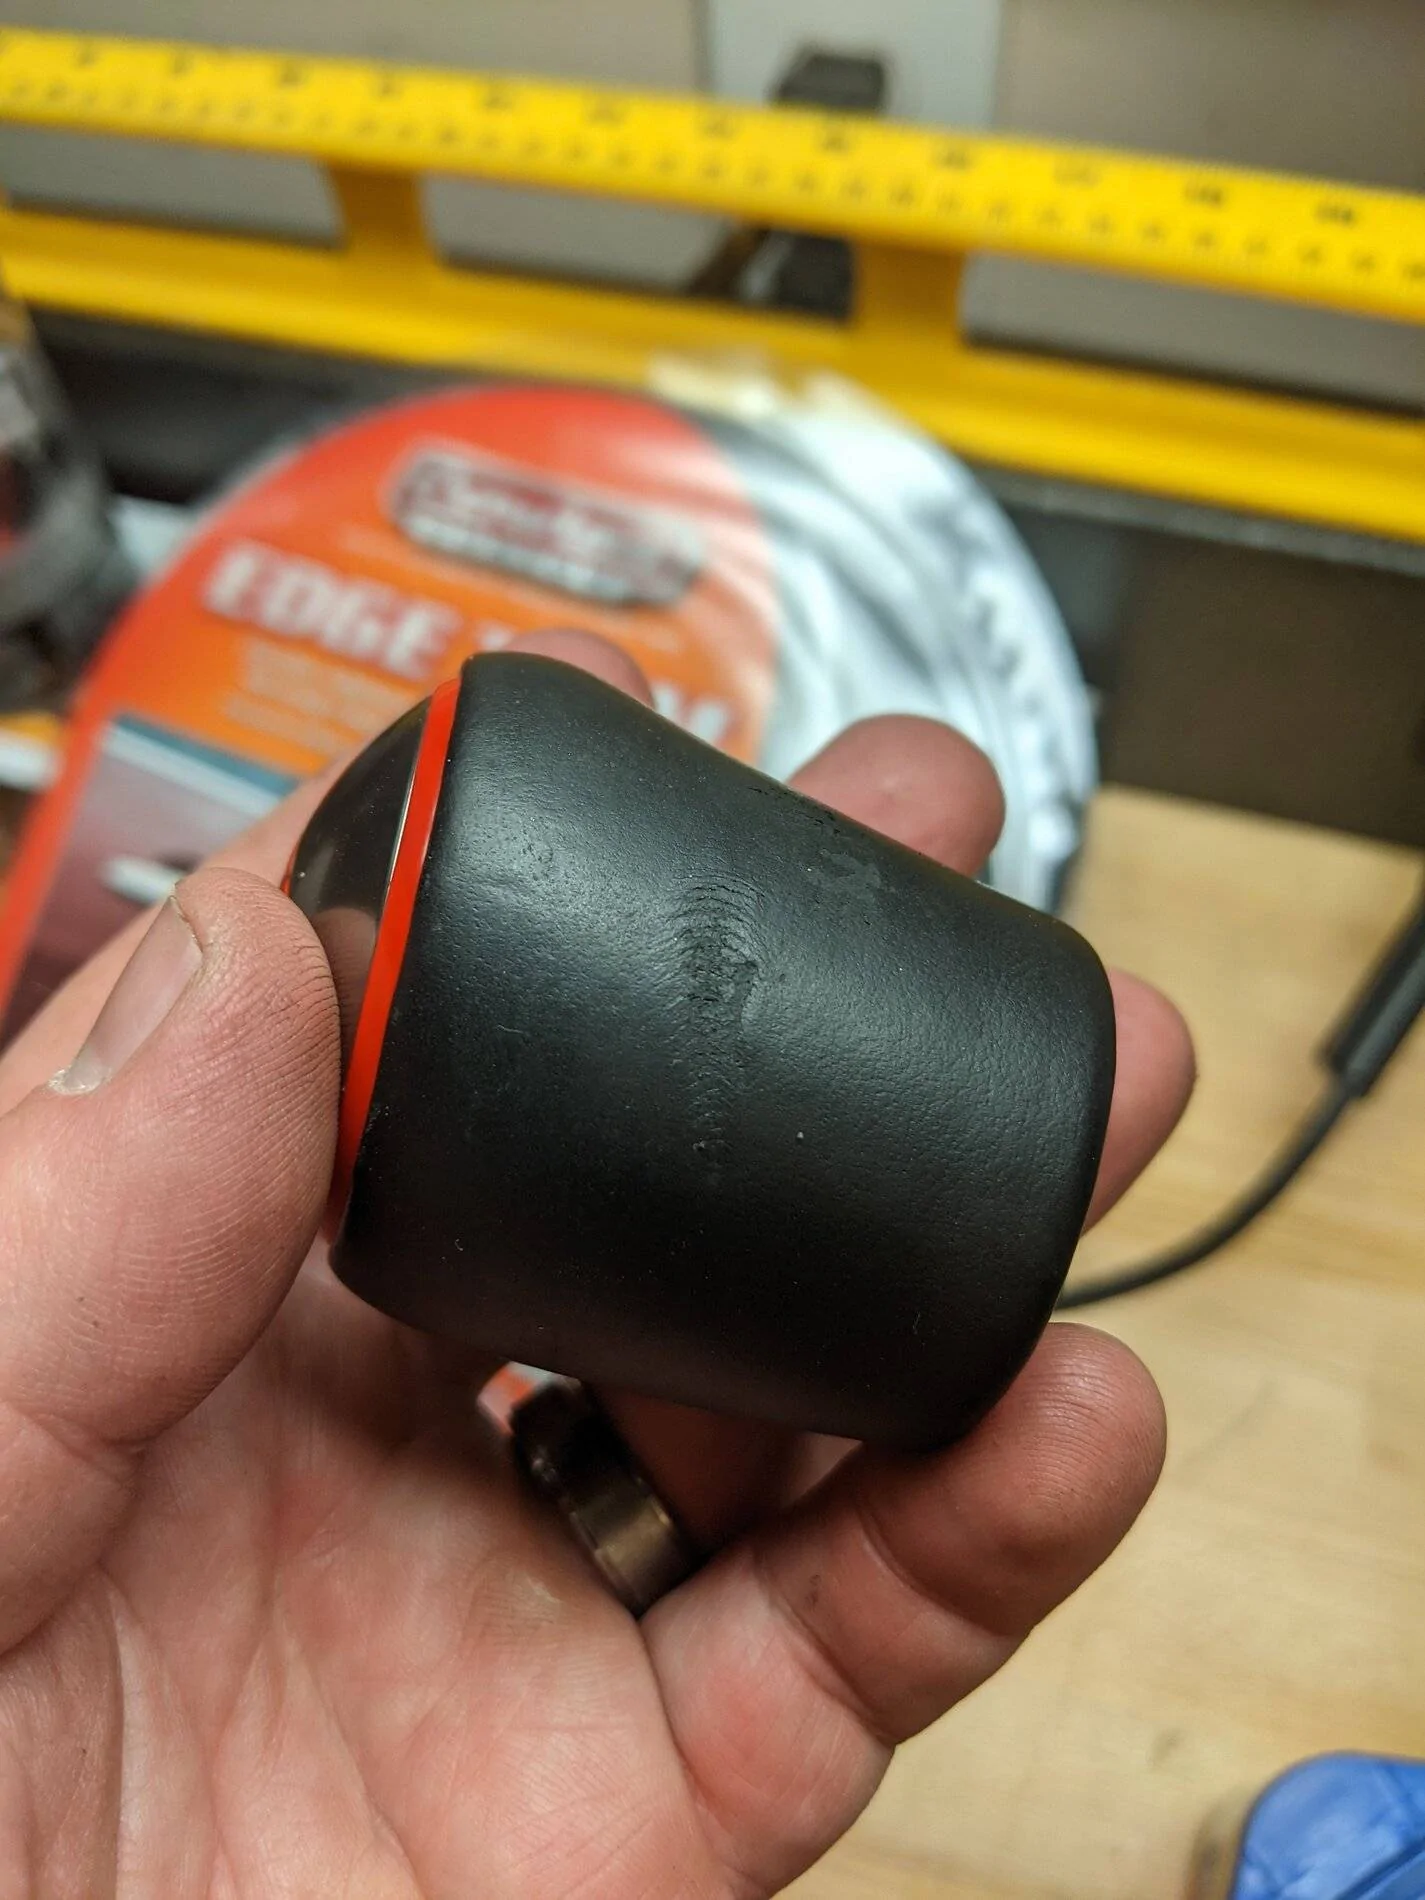
Here's the knob removed:

You can see the red loctite on the handle and inside the knob.
I did have some minor damage to the knob from my attempts with the strap wrench - I wish I had used heat earlier!
Ok, with knob removed, time to pull the console. First, removal of the side panels. One note is that they have magnets in slots on the inside to hold to the transmission tunnel. In my case, for one panel the magnet stayed behind.

No big deal, it just slides back in.
Now take the console off - mine came off with shifter boot still attached. There are a number of clips, and one of the clips on mine was lost to the inside of the car someplace never to be found again, but there's been no noticeable impact to fit of the replaced console nor any movement or rattling.
Remove the shifter boot from the console. The blue clips you can see below are the ones I referred to earlier - one of which is apparently gone forever like a lost sock in the dryer.
With this out of the way, remove the dust boot and sound padding.
Remove the reverse lockout.
and take off the lower boot.
Ok, time to get dirty! As my brother hasn't freed up time yet to build my detached garage mahal, I'm stuck doing this in the driveway, so up on jackstands she goes.
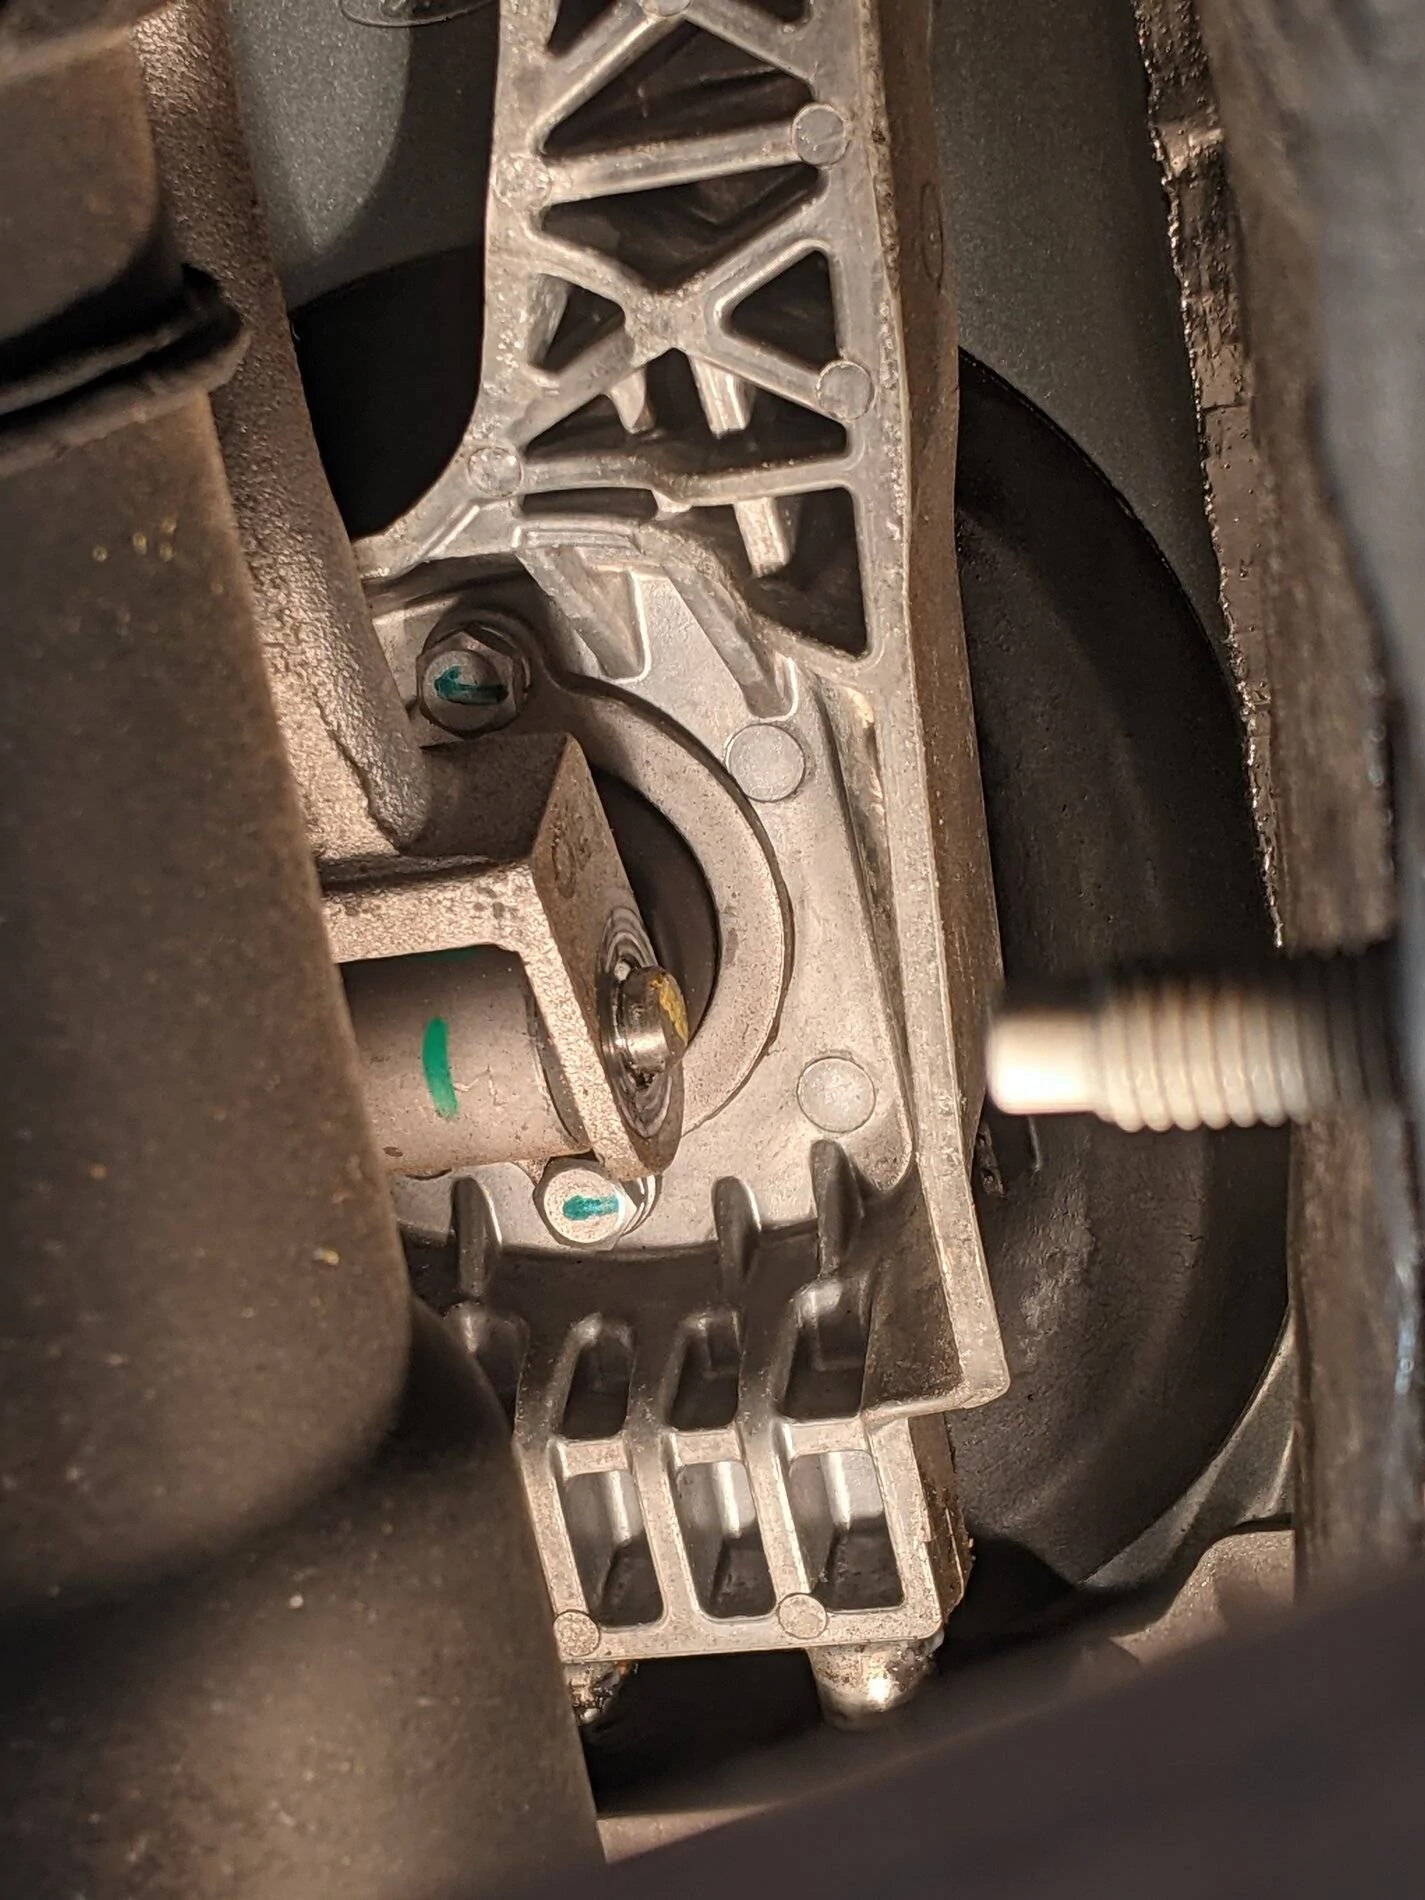
Get the clip off of the linkage pin.
Remove the linkage pin.
Now remove the rear bracket nuts.
And now it's time to drop the transmission. I don't have a transmission jack, and my floor jack doesn't have quite a long enough throw with the car up on jackstands, so I used press plates from my shop press to make up the difference.
I marked the transmission brace so I could get it back to the same position, and lowered the transmission.
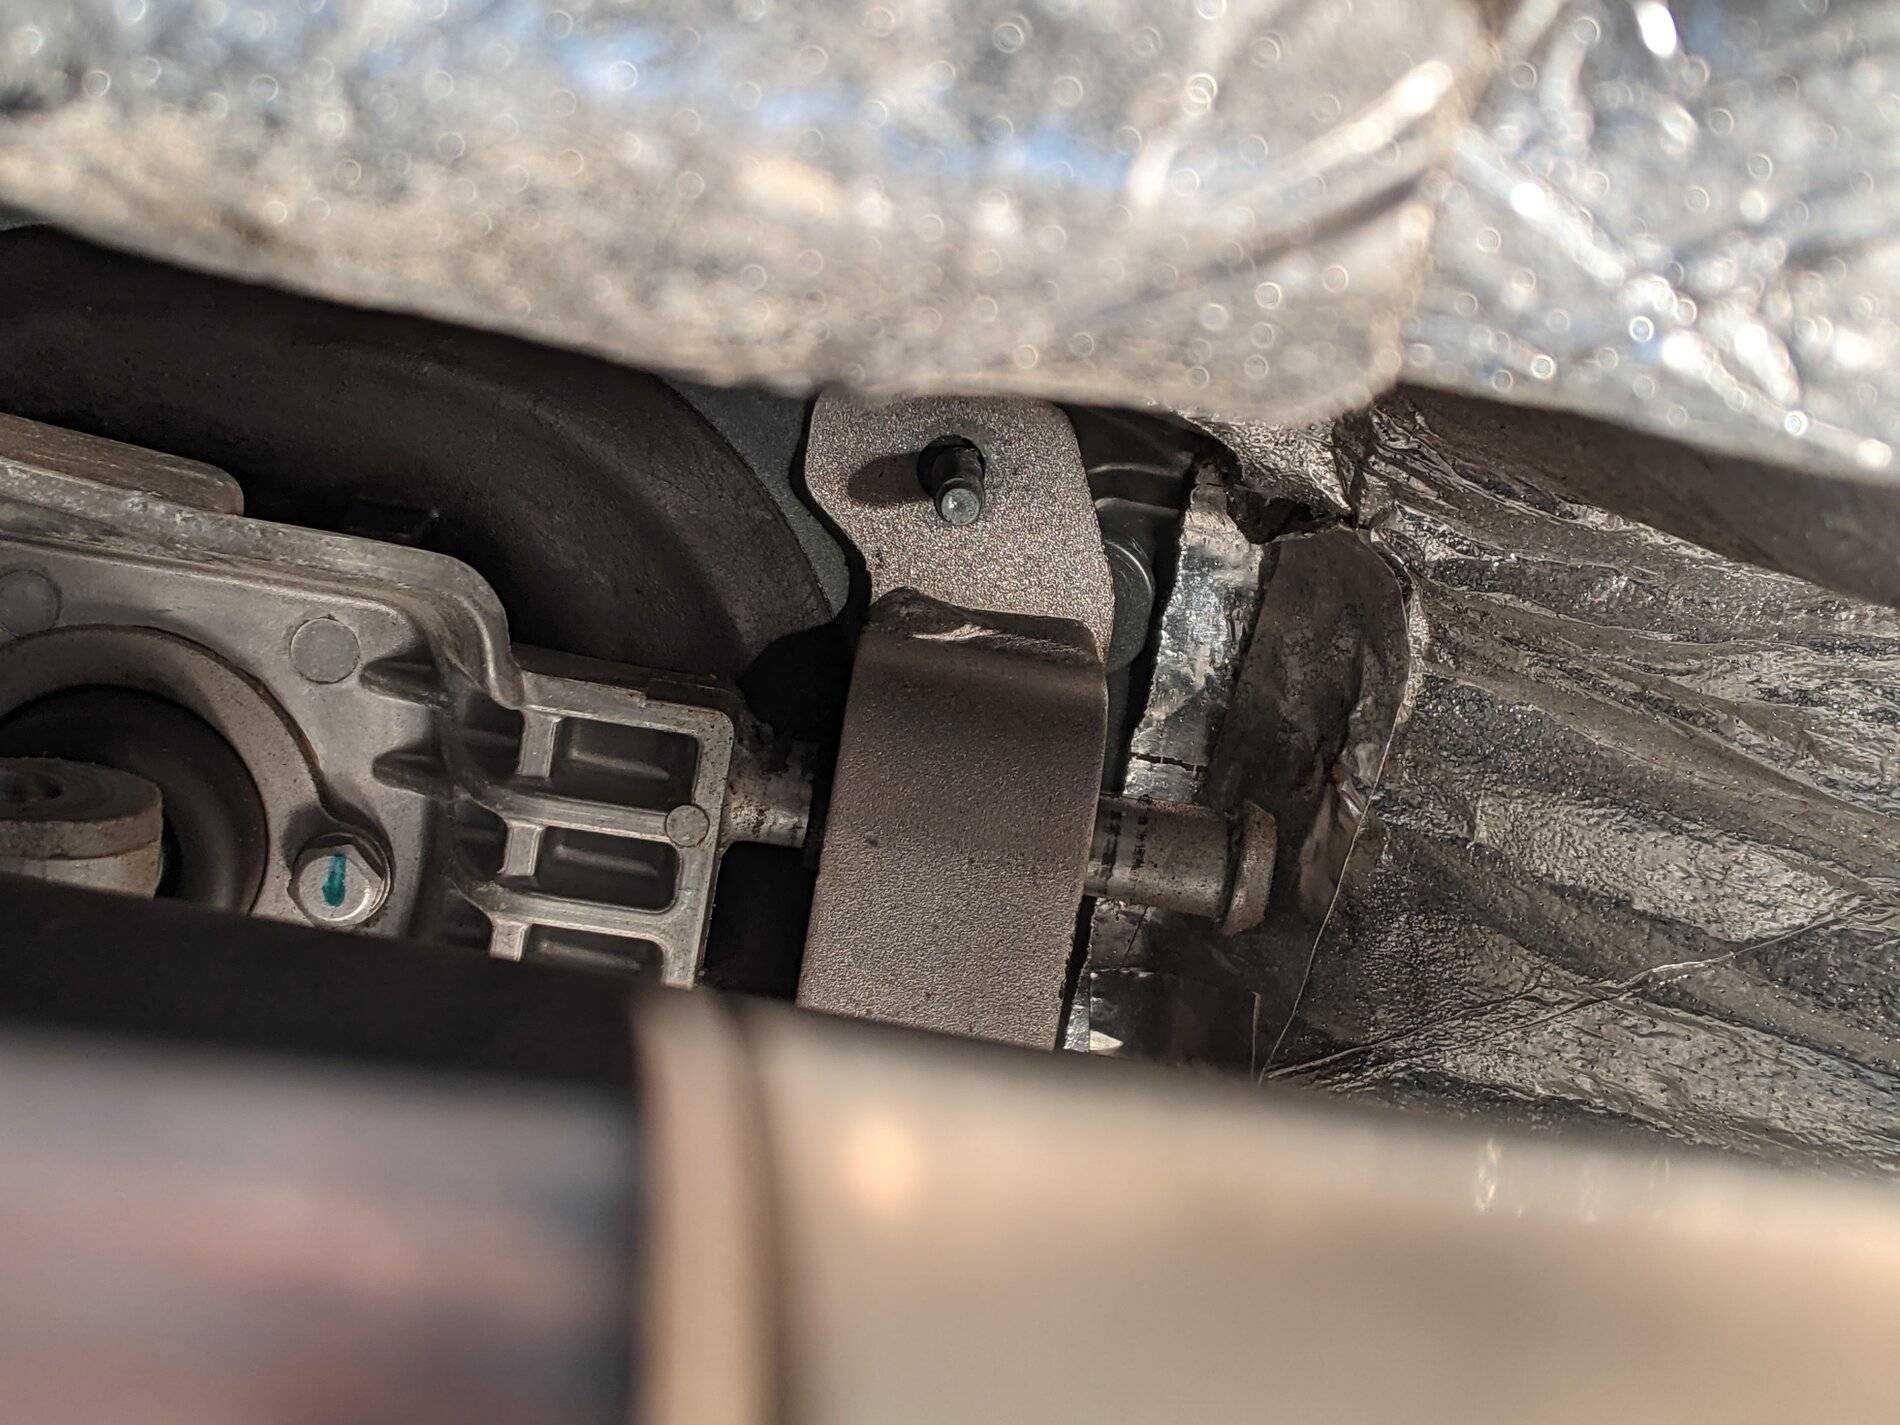
With the transmission lowered, the rear bracket can be removed.
Next is the top arm bolt, which can be awkward to get to. I don't have skinny forearms or slender hands, but was able to get to it by coming at it along the driveshaft from the back rather than up from underneath. Just be ready for some scratches and bruises - typical wrenching damage.
Next is removal of the linkage arm bolt.
Then it's time to disconnect the center shaft so you can fish the stock shifter out in two pieces, one from below and one from above. Here's the stock shifter out of the car. It certainly looks a lot less beefy than the MGW!
Ok, "out with the old" accomplished, time for "in with the new"! First is installing the MGW linkage. This was the most frustrating step for me, which was surprising as it doesn't seem like it should be. However, it took me FOREVER to be able to get the linkage bolt to engage with the threads and get started. I probably wasted 30+ minutes just cussing this one up one side and down the other as it spun merrily without tightening. However, once it magically managed to grab a couple of threads, all was once again right with the world.
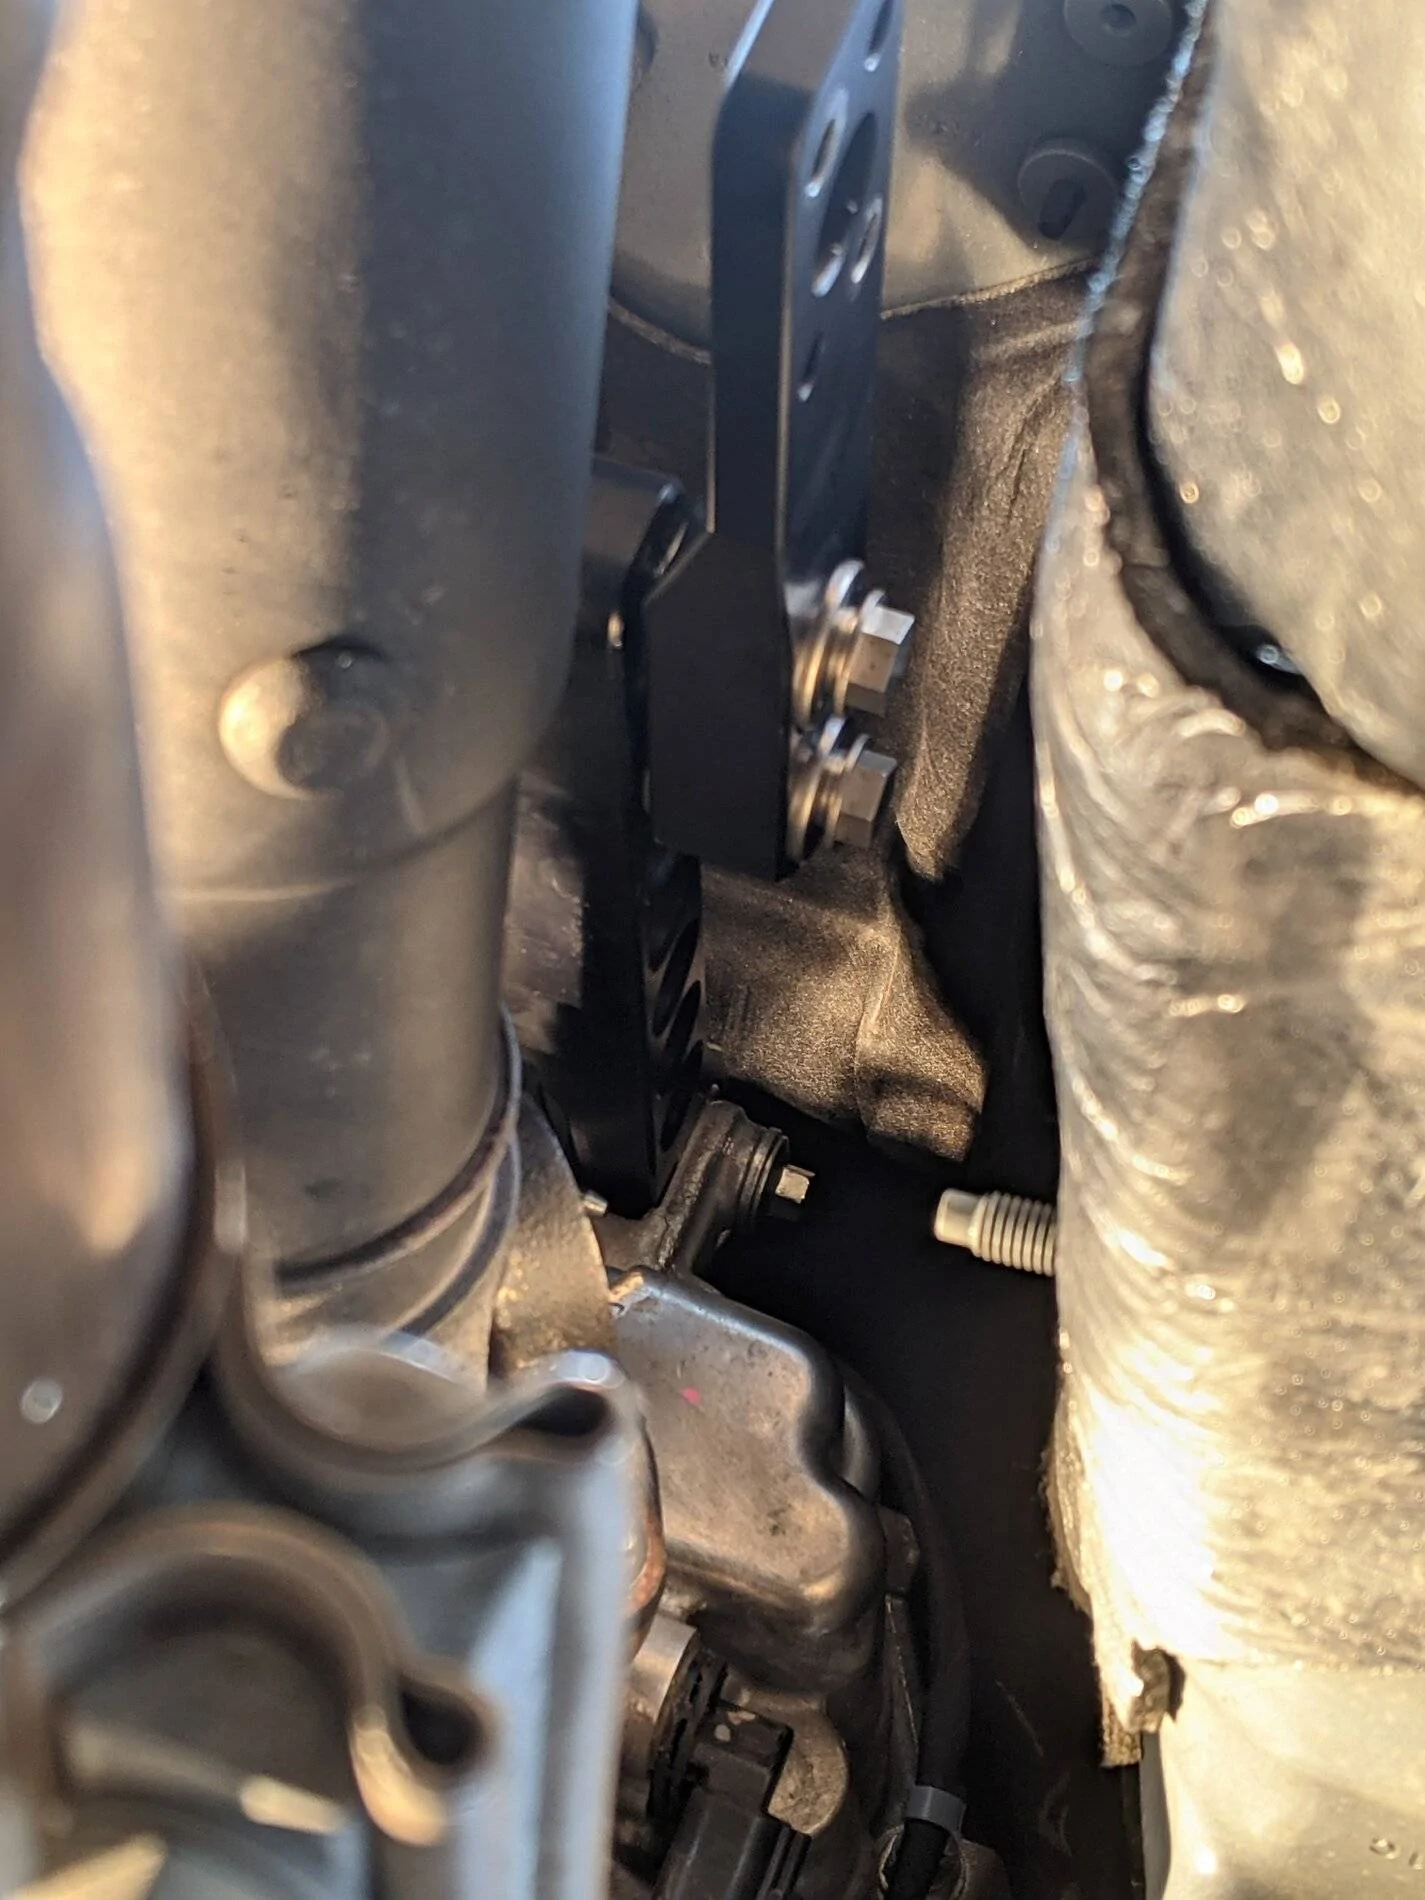
Next, in goes the top arm.
Then drop in the shifter body from the top and install the support pins.
Connect the linkage.
And slip the rear support bracket on.
At this point, raise the transmission, bolt the crossmember up (mine went back in the same position, no problem), then install the rear bracket nuts and tighten all the fasteners, apply the MGW-supplied heat barrier, then put the car back on the ground. Dirty part complete!
Now, one thing that isn't mentioned in the install video is that BEFORE you put everything back together, you should adjust the reverse lockout and ensure good 1-2 shift. THIS IS THE TIME TO DO THAT. They do have a good simple video how-to here.
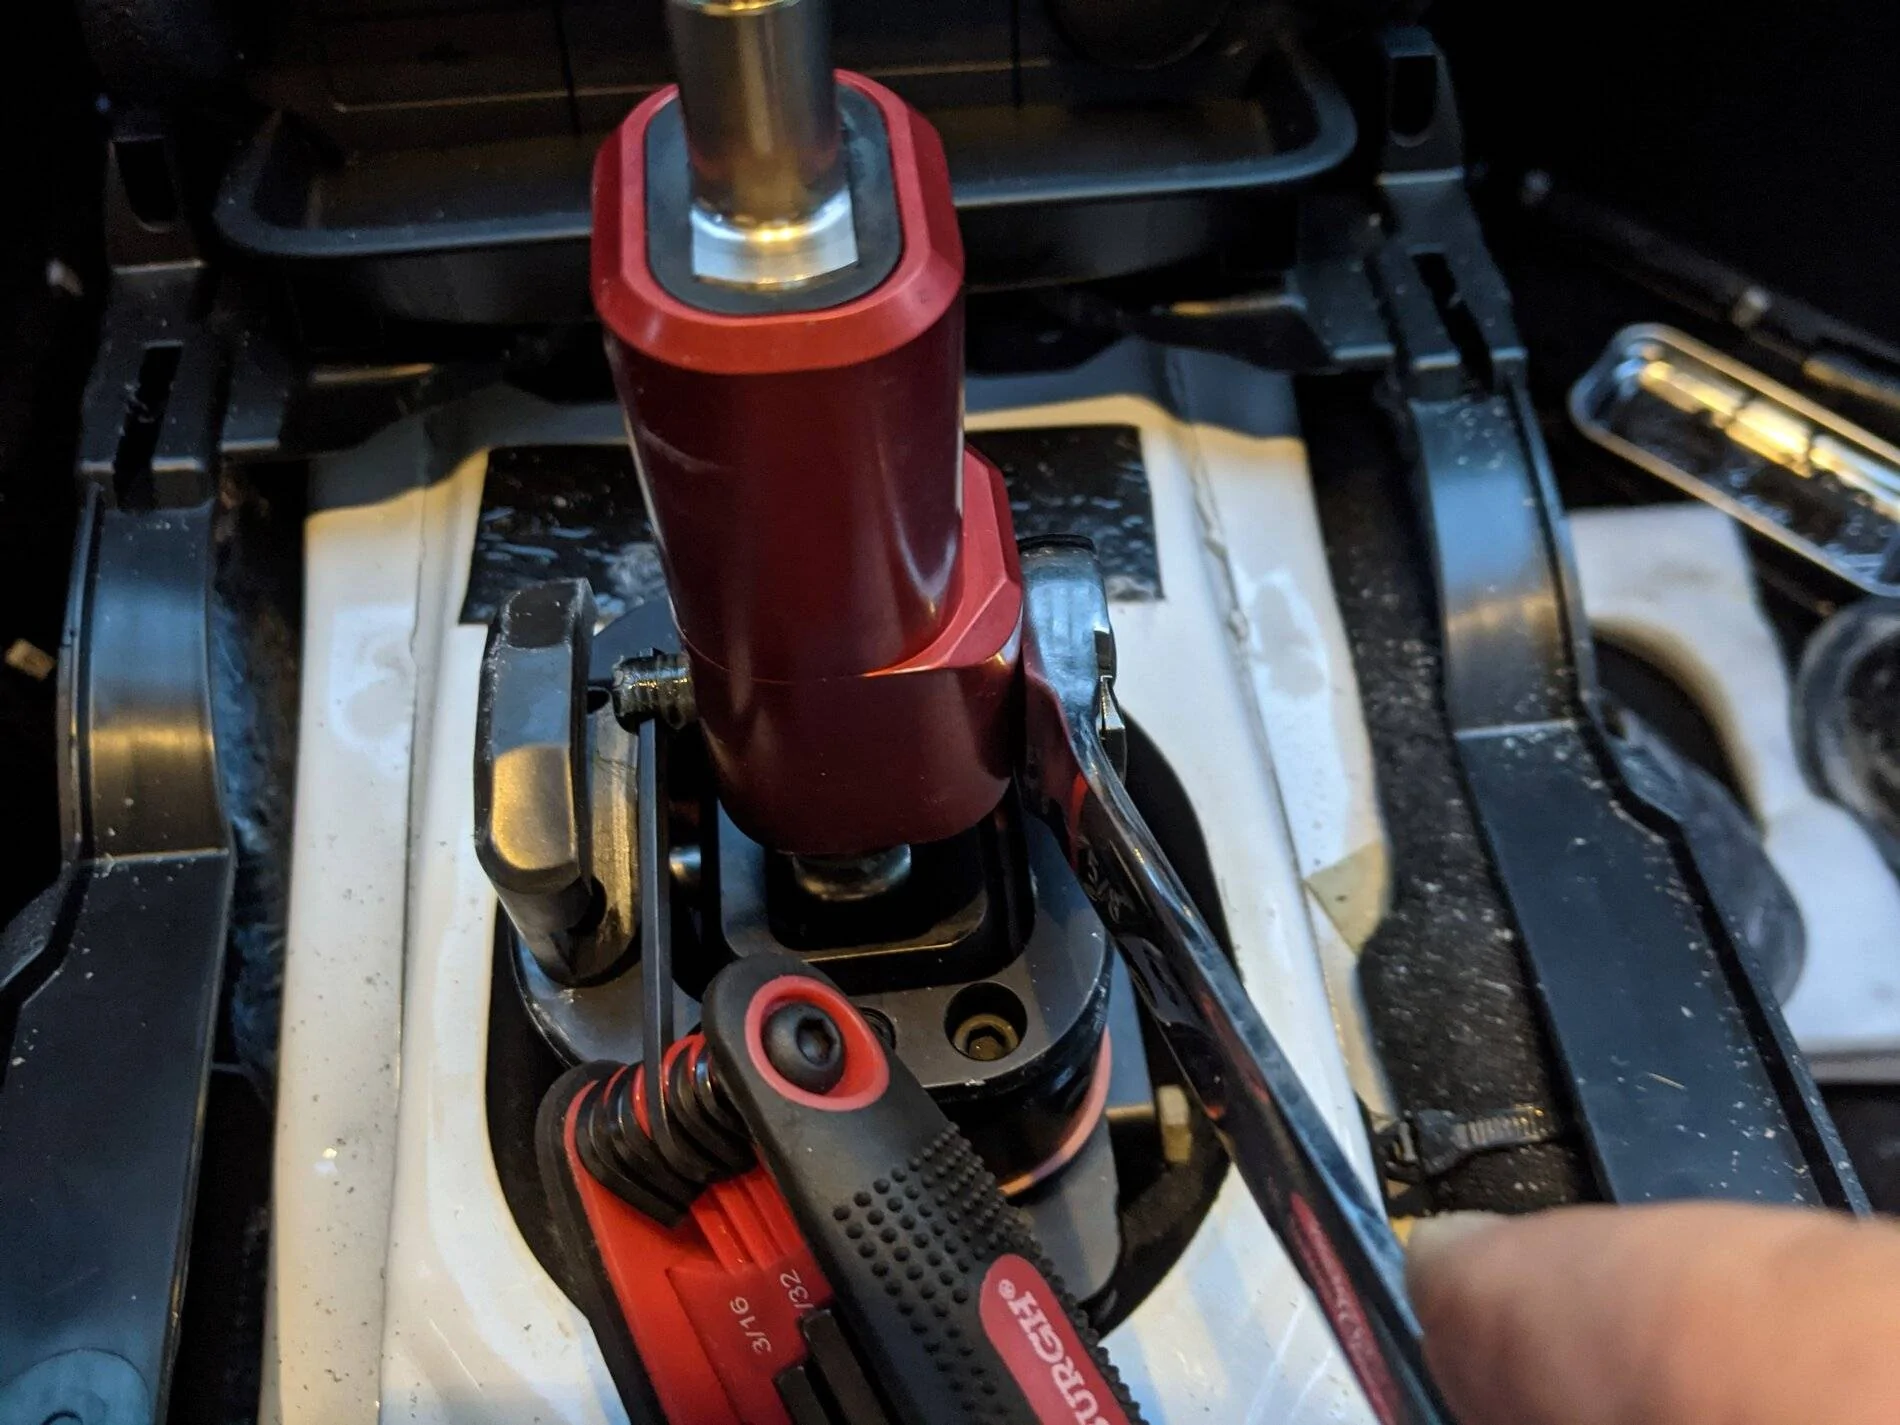
Get the adjustment completed.
and it's time to start buttoning things up. Put on the dust boot - I stretched it out by hands for a few minutes before installing which made it much easier.
Put on the MGW pad and OEM sound pad.
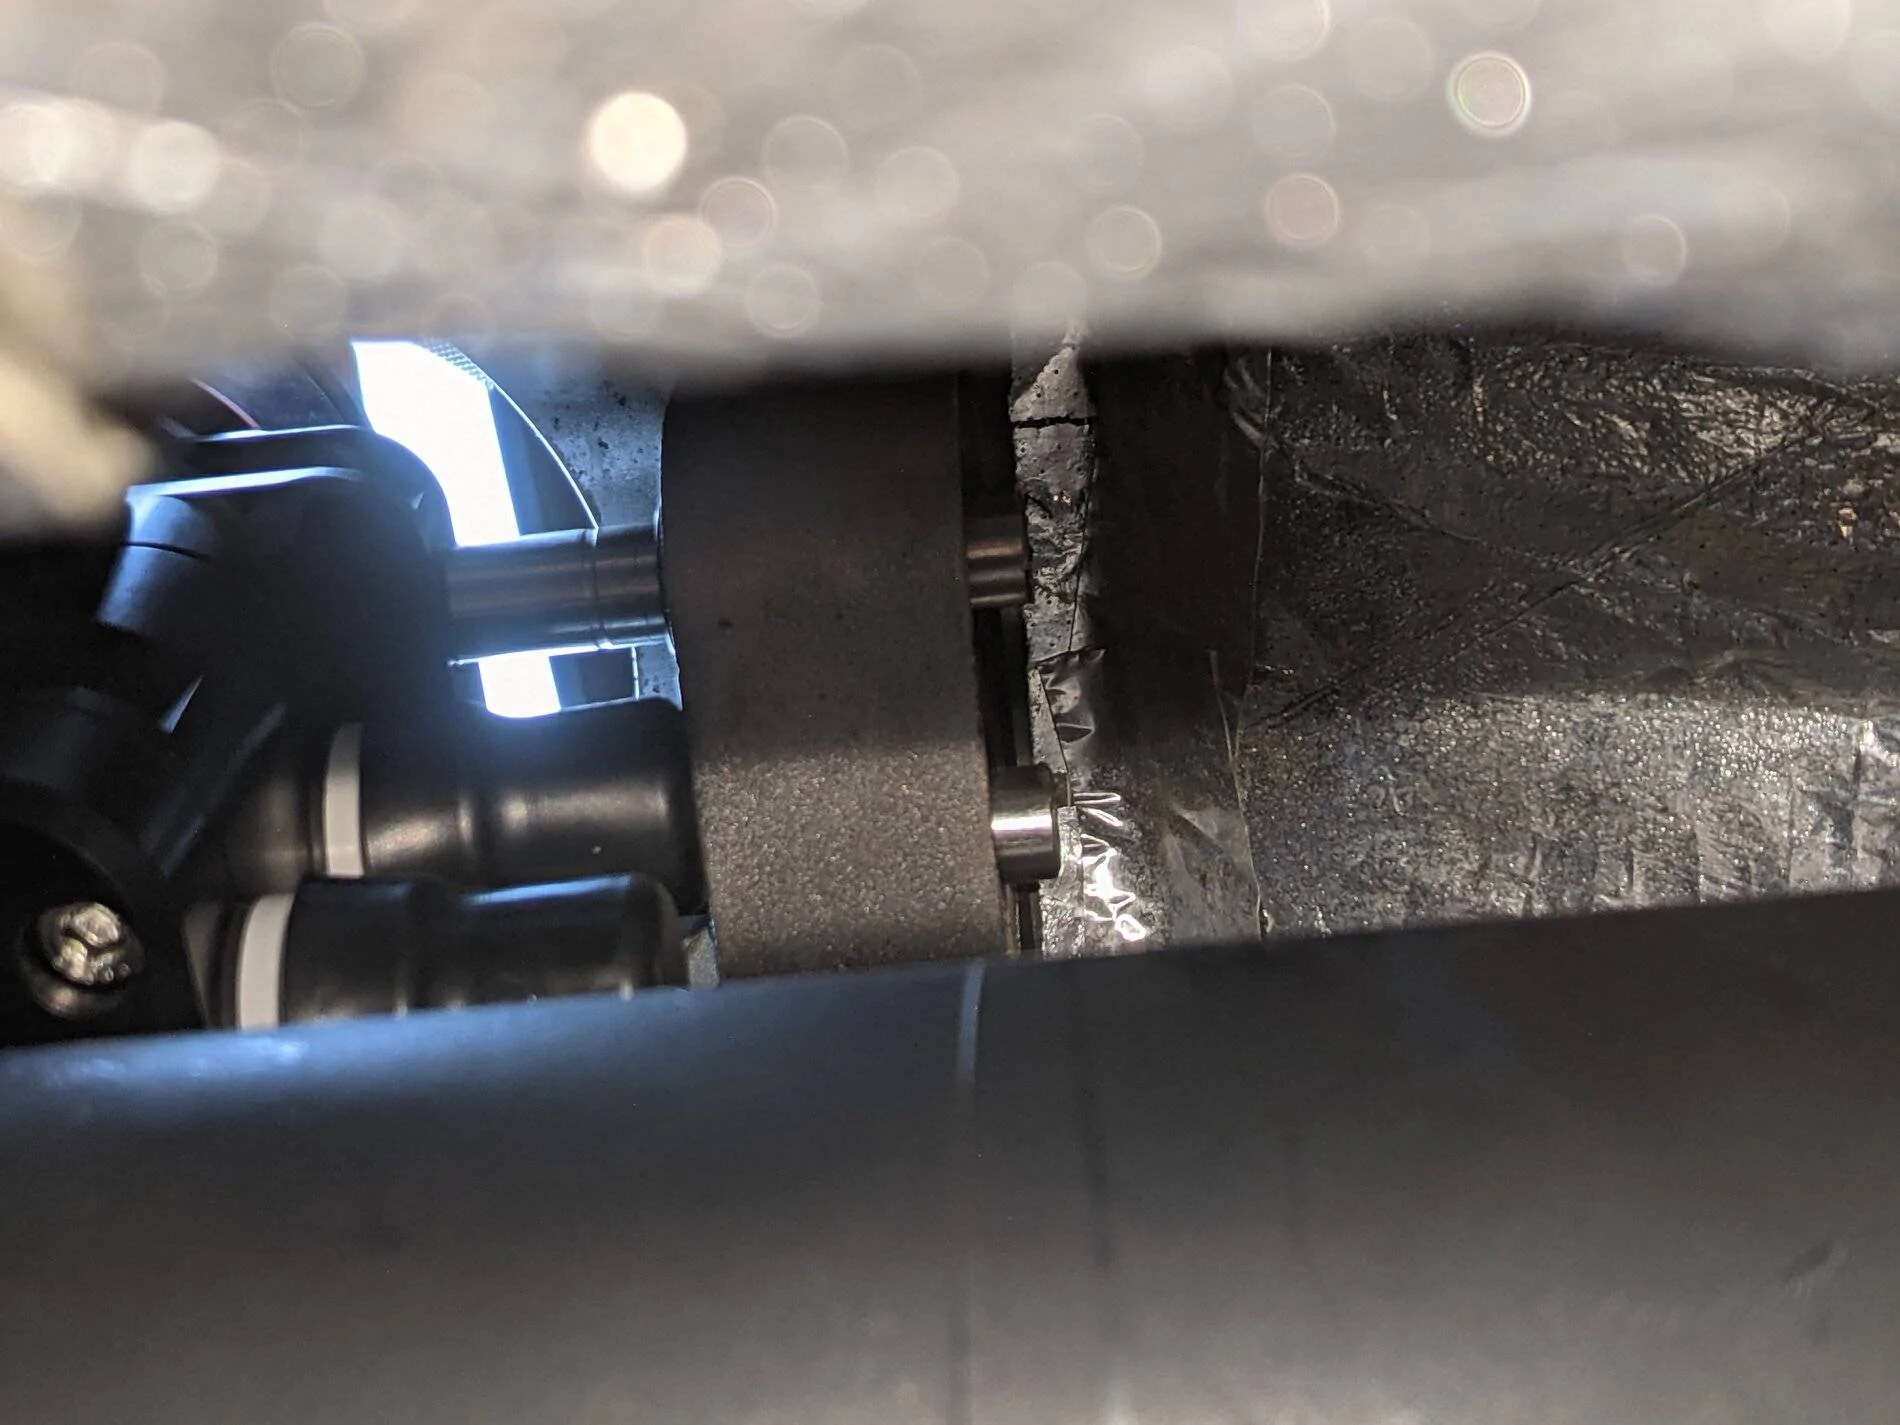
Before the last few steps, a couple of tweaks. First, I decided to line my console with head shielding before putting it back in.
Then in it goes.
and then you need to remove the reverse lockout piece from the shifter boot and replace with a grommet.
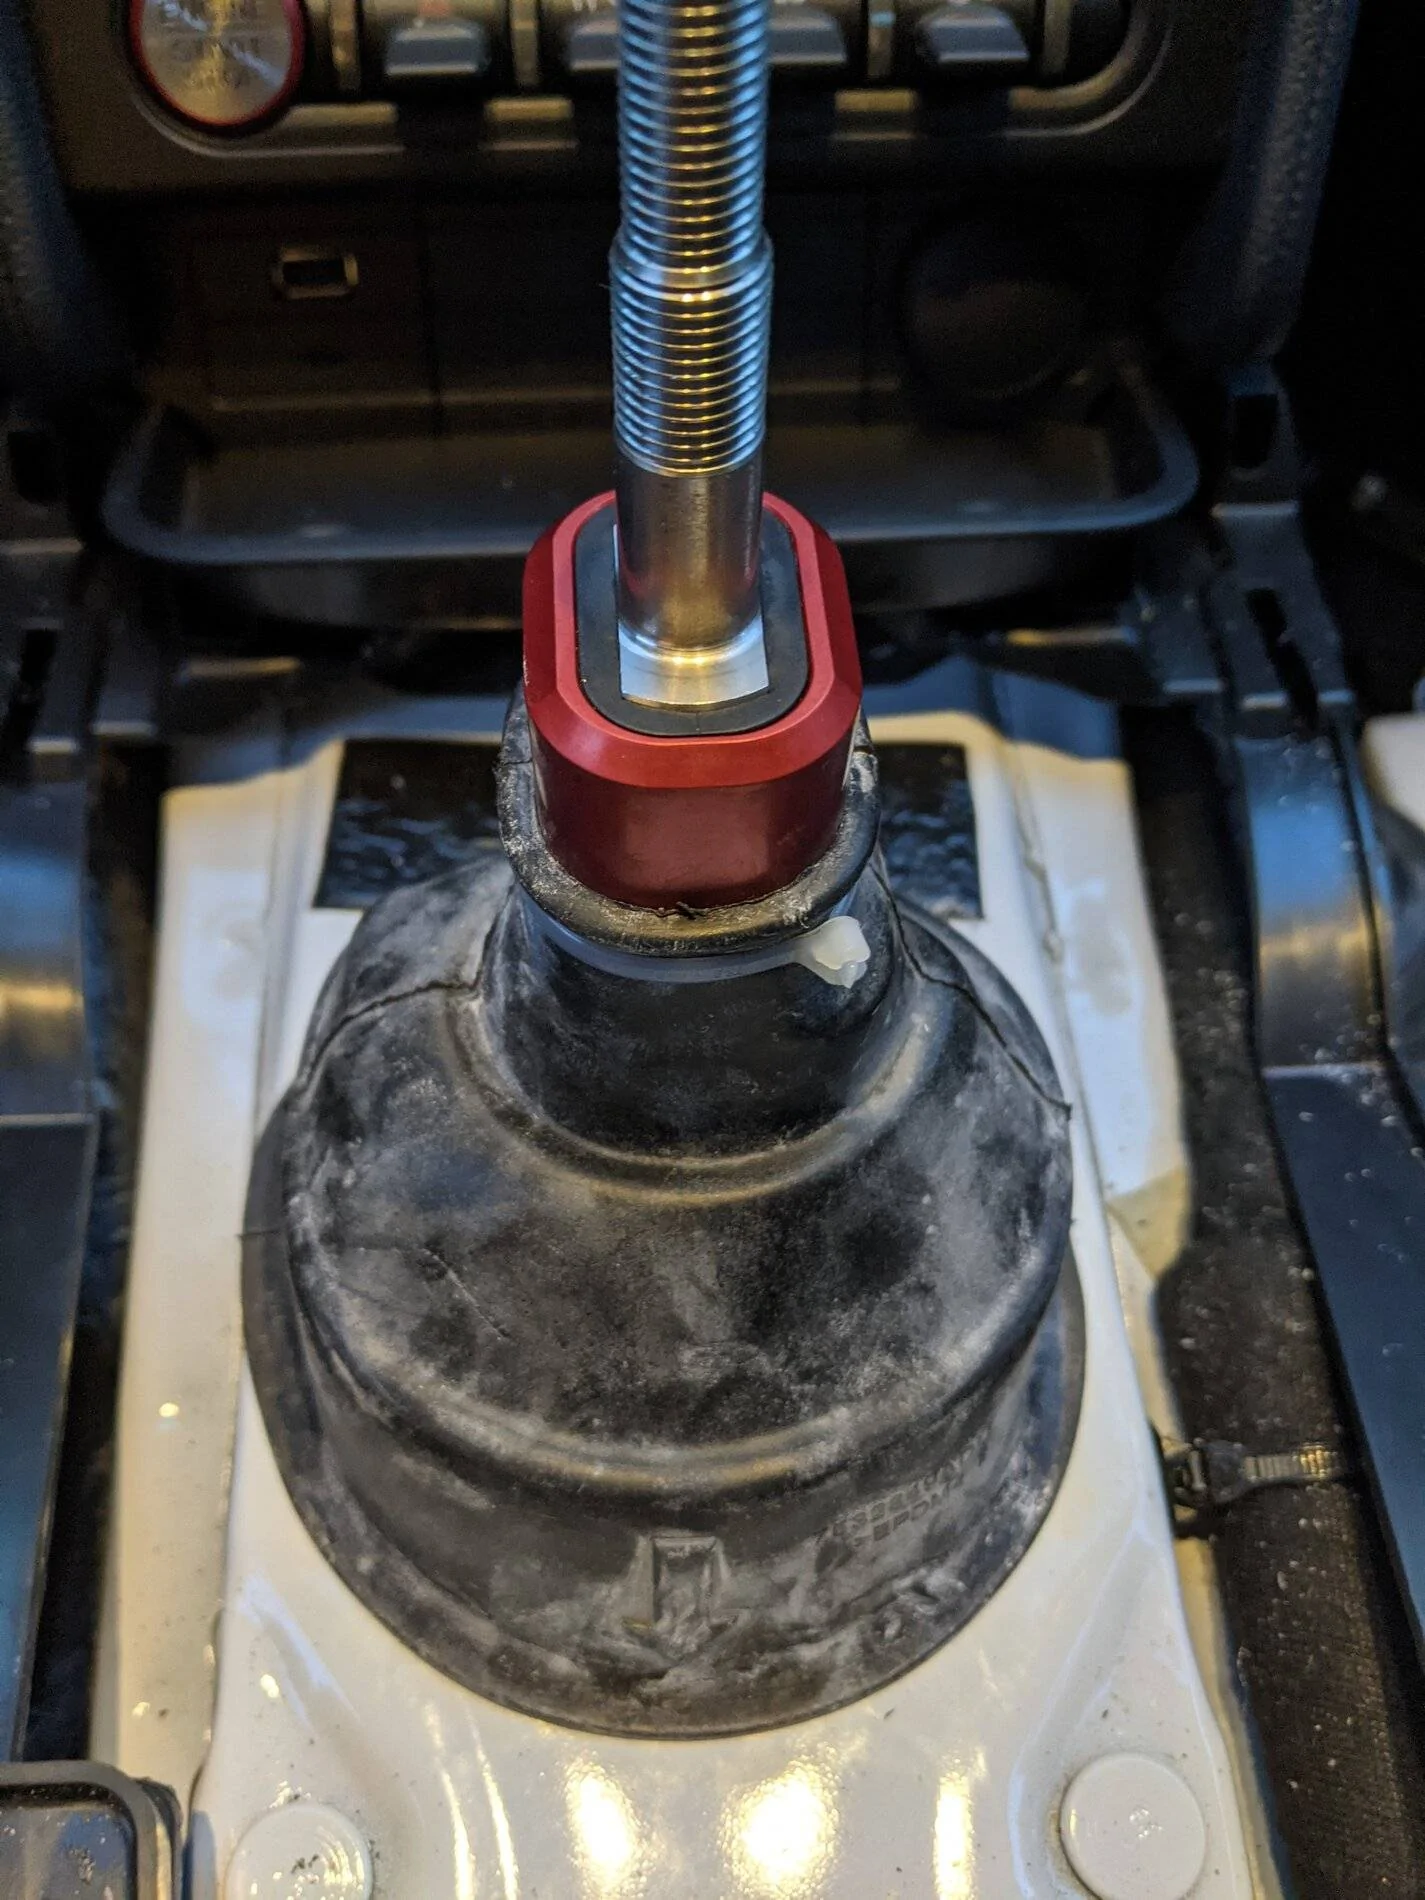
Finally, put the boot back on...
Install the knob, and finished!
Now that I've had some time driving it, throws are shorter, more positive, and MUCH firmer - it definitely takes more force to move the shifter, and especially to get it into reverse. That said, you can really bang into the next gear with confidence.
A good project with not too many snafus, hope this is helpful for anybody considering it.
Next up, a few more installs I hope to get to before my first track day in this car at Road Atlanta in two weeks - front and rear ZL1 tow hooks, and Xineering downshift blip module.
Oh, and an exciting one - my Signature wheels arrived today! Can't wait to see them on the car!
A few weeks ago, I installed my MGW shifter. First off, the MGW installation video (here) is excellent - if you're going to install their shifter, watch it, and follow it! I took photos anyway, but since the video is out there, I took fewer and my write-up will be leaner.
First fun step is getting the knob off. I struggled with it, as many do - I was initially able to get it moved maybe an eighth of a turn by hand, then nothing. I tried a strap wrench around a towel without luck. Then, I found and followed the advice from Auto Fanatic. I used a heat gun to heat the knob and was then able to remove the knob by hand. It still took effort and grip (I used mechanic's gloves) but it worked. If you're trying to get your shift knob off, I highly recommend this - I assume the heat breaks down the red loctite. Twisting off by hand should avoid any damage.
Here's the knob removed:

You can see the red loctite on the handle and inside the knob.

I did have some minor damage to the knob from my attempts with the strap wrench - I wish I had used heat earlier!
Ok, with knob removed, time to pull the console. First, removal of the side panels. One note is that they have magnets in slots on the inside to hold to the transmission tunnel. In my case, for one panel the magnet stayed behind.


No big deal, it just slides back in.

Now take the console off - mine came off with shifter boot still attached. There are a number of clips, and one of the clips on mine was lost to the inside of the car someplace never to be found again, but there's been no noticeable impact to fit of the replaced console nor any movement or rattling.

Remove the shifter boot from the console. The blue clips you can see below are the ones I referred to earlier - one of which is apparently gone forever like a lost sock in the dryer.

With this out of the way, remove the dust boot and sound padding.

Remove the reverse lockout.

and take off the lower boot.

Ok, time to get dirty! As my brother hasn't freed up time yet to build my detached garage mahal, I'm stuck doing this in the driveway, so up on jackstands she goes.

Get the clip off of the linkage pin.
Remove the linkage pin.

Now remove the rear bracket nuts.
And now it's time to drop the transmission. I don't have a transmission jack, and my floor jack doesn't have quite a long enough throw with the car up on jackstands, so I used press plates from my shop press to make up the difference.

I marked the transmission brace so I could get it back to the same position, and lowered the transmission.

With the transmission lowered, the rear bracket can be removed.

Next is the top arm bolt, which can be awkward to get to. I don't have skinny forearms or slender hands, but was able to get to it by coming at it along the driveshaft from the back rather than up from underneath. Just be ready for some scratches and bruises - typical wrenching damage.

Next is removal of the linkage arm bolt.

Then it's time to disconnect the center shaft so you can fish the stock shifter out in two pieces, one from below and one from above. Here's the stock shifter out of the car. It certainly looks a lot less beefy than the MGW!


Ok, "out with the old" accomplished, time for "in with the new"! First is installing the MGW linkage. This was the most frustrating step for me, which was surprising as it doesn't seem like it should be. However, it took me FOREVER to be able to get the linkage bolt to engage with the threads and get started. I probably wasted 30+ minutes just cussing this one up one side and down the other as it spun merrily without tightening. However, once it magically managed to grab a couple of threads, all was once again right with the world.

Next, in goes the top arm.
Then drop in the shifter body from the top and install the support pins.

Connect the linkage.

And slip the rear support bracket on.
At this point, raise the transmission, bolt the crossmember up (mine went back in the same position, no problem), then install the rear bracket nuts and tighten all the fasteners, apply the MGW-supplied heat barrier, then put the car back on the ground. Dirty part complete!
Now, one thing that isn't mentioned in the install video is that BEFORE you put everything back together, you should adjust the reverse lockout and ensure good 1-2 shift. THIS IS THE TIME TO DO THAT. They do have a good simple video how-to here.
Get the adjustment completed.
and it's time to start buttoning things up. Put on the dust boot - I stretched it out by hands for a few minutes before installing which made it much easier.
Put on the MGW pad and OEM sound pad.


Before the last few steps, a couple of tweaks. First, I decided to line my console with head shielding before putting it back in.

Then in it goes.

and then you need to remove the reverse lockout piece from the shifter boot and replace with a grommet.


Finally, put the boot back on...

Install the knob, and finished!

Now that I've had some time driving it, throws are shorter, more positive, and MUCH firmer - it definitely takes more force to move the shifter, and especially to get it into reverse. That said, you can really bang into the next gear with confidence.
A good project with not too many snafus, hope this is helpful for anybody considering it.
Next up, a few more installs I hope to get to before my first track day in this car at Road Atlanta in two weeks - front and rear ZL1 tow hooks, and Xineering downshift blip module.
Oh, and an exciting one - my Signature wheels arrived today! Can't wait to see them on the car!
Sponsored
Last edited:


