Sponsored

Grabber Lime 2020 GT Build Thread

Hammer Time

Well-Known Member
Joined
Aug 15, 2015
Threads
5
Messages
261
Reaction score
90
Location
Suffolk England
First Name
Neil
Vehicle(s)
2020 GT Auto
Congratulations Where did you get the wheel nut covers & key cover from ?
Sponsored

 
OP
OP
WD Pro

WD Pro

Well-Known Member
Joined
Jan 18, 2018
Threads
121
Messages
5,716
Reaction score
11,026
Location
United Kingdom
Vehicle(s)
Lime GT
Vehicle Showcase
1
Congratulations Where did you get the wheel nut covers & key cover from ?
Both from eBay, I will find you the item numbers.

I only bought one key cover as I wasn’t sure it would fit but it does - I couldn’t find the correct button pattern, but it will do. I will buy another now I know it fits :like:

Hang fire on the nut covers. I bought three different sets between two cars (my sportage uses the same hex size). One of the plastic sets fits the sportage perfect. One plastic set fits the Mustang well, but not the locking nut. The rubber set is on now and looks well, but I’m not sure if they will survive a jet wash. They’ve held on well at speed but when water gets between rubber and metal it can get slippery - time will tell ... :like:

WD :like:
 
OP
OP
WD Pro

WD Pro

Well-Known Member
Joined
Jan 18, 2018
Threads
121
Messages
5,716
Reaction score
11,026
Location
United Kingdom
Vehicle(s)
Lime GT
Vehicle Showcase
1
More cheap tat from eBay, the brackets were painted in super troll prior to putting them on :

AEF8-CF1-F-7-AAD-4822-B671-F49-DD50-A60-C0.jpg


DDDA56-E0-C37-C-494-B-9-B0-E-6-DD89-A9-C8-C43.jpg


151-F2898-6427-4-B91-B59-C-BABFEE335-B05.jpg


CF6-FC730-3-C46-4-F7-C-A998-98433-FDF4-EFA.jpg


Plenty cavity wax in these doors ...

1-C98-A0-DC-1173-4404-87-D2-7-FA5348994-CC.jpg


I found where they put the modem on the 2020’s :

D89-A0-CFF-BD27-4140-A0-F3-4-C7-DCD50-B6-B4.jpg


That was whilst putting in the sequencers from exotic pony mods, you can see where I’ve secured the extra wiring plug so I don’t strain the wires. The other side was secured to the sub box mount.

Managed to get the trim ring off the sub box without breaking it (it’s supposedly very easy to crack it and it’s not available separately). I will buy some fibre fill now as it’s recommended for the standard mustang sub :

2-E600-DC7-7212-4839-8-A32-1-BC2907-E3-AAC.jpg


This area was looking a bit bare :

BDF5-E41-B-6696-40-CC-A7-D0-92-A57-BBA5-DD8.jpg


Bracket installed easily and torqued you correctly :

1-C827070-60-AC-45-D6-9-A38-62-F4962-A1-E7-E.jpg


That’s better :

5868-E825-EAFC-4-C04-8852-FCC0-E5-CBD6-EB.jpg


Some more eBay tat :

C0-FE4-CCE-4-D11-49-DD-B0-B3-8-E737962-BFC1.jpg


Drilled these from a template I made the day before my car arrived thanks to @Mikthehun1 :

4-D066284-D789-4029-961-F-EB2343-D3323-A.jpg


I can fish them out now without the dreaded screwdriver marks that will inevitably come in later life. Just need some small rubber bungs now.

Lime puddle lights now thanks to @Zombie :

B85-F157-D-5-BA9-47-B9-9-CB1-6659590-CD418.jpg


92215982-A82-D-45-F1-B6-E6-5064-AA7-F2-CC7.jpg


0865-A8-CA-B411-4-C4-D-B740-5-EAD7-AFD7-FDF.jpg


FA0-BC6-BE-8789-45-E6-8-EE6-FF14-BCFEC386.jpg


You can just about see the black mirror caps on the puddle light lens pictures, I forgot to photo those :like:

WD :like:
 
OP
OP
WD Pro

WD Pro

Well-Known Member
Joined
Jan 18, 2018
Threads
121
Messages
5,716
Reaction score
11,026
Location
United Kingdom
Vehicle(s)
Lime GT
Vehicle Showcase
1
Ctek battery connection added, took the opportunity to cover the terminals in battery pole grease after looking at some of the horror corrosion pictures on here :

7522911-E-72-CC-4-CAF-89-CF-C7-DE5-BE75963.jpg


I’m not even going to guess how many photos it took to catch the LED flashing :

1-E1515-F1-56-AF-4-BCA-909-D-B13-D9-ADFE4-D6.jpg


Wasn’t looking forward to this job :

3-B55-D37-D-0-F0-F-4194-B73-A-EAE6-ABDBEBB9.jpg


Easier than expected (it came off in one piece), left a slight shadow of where it was but that’s only visible in direct sunlight :

ADA13935-BFC7-405-B-AE5-F-83-C767836824.jpg


52-D02-B4-C-DE53-4522-A8-D3-7-E2-EF5-A8-FE07.jpg


Things are going well, managed to get the screen saver on dead square and without a single bubble / flaw :

702-C9-F9-B-2099-440-A-B8-E1-B3-A126-C7264-B.jpg


Update on the visor decal removal - I left it soaked in goo gone and went back to it a couple of times over the day with an old toothbrush and a micro fibre, it seems to be slowly fading / dissolving the shadow. Although it’s not in direct sunlight anymore it’s getting much harder to spot and I really had to work to get the camera to capture it in the second picture :

E9-BBB837-D883-418-F-8-BE1-AB90-B8-A2-FBE5.jpg


13517-CC2-6-CB7-4-CC2-9-A84-7-BAA9135-FCB7.jpg


WD :like:
 

Entai

Well-Known Member
Joined
Aug 15, 2017
Threads
1
Messages
204
Reaction score
90
Location
Bedfordshire
First Name
Chris
Vehicle(s)
2019 GT kona Blue, A10, Magneride, CP 2. Daily Driver
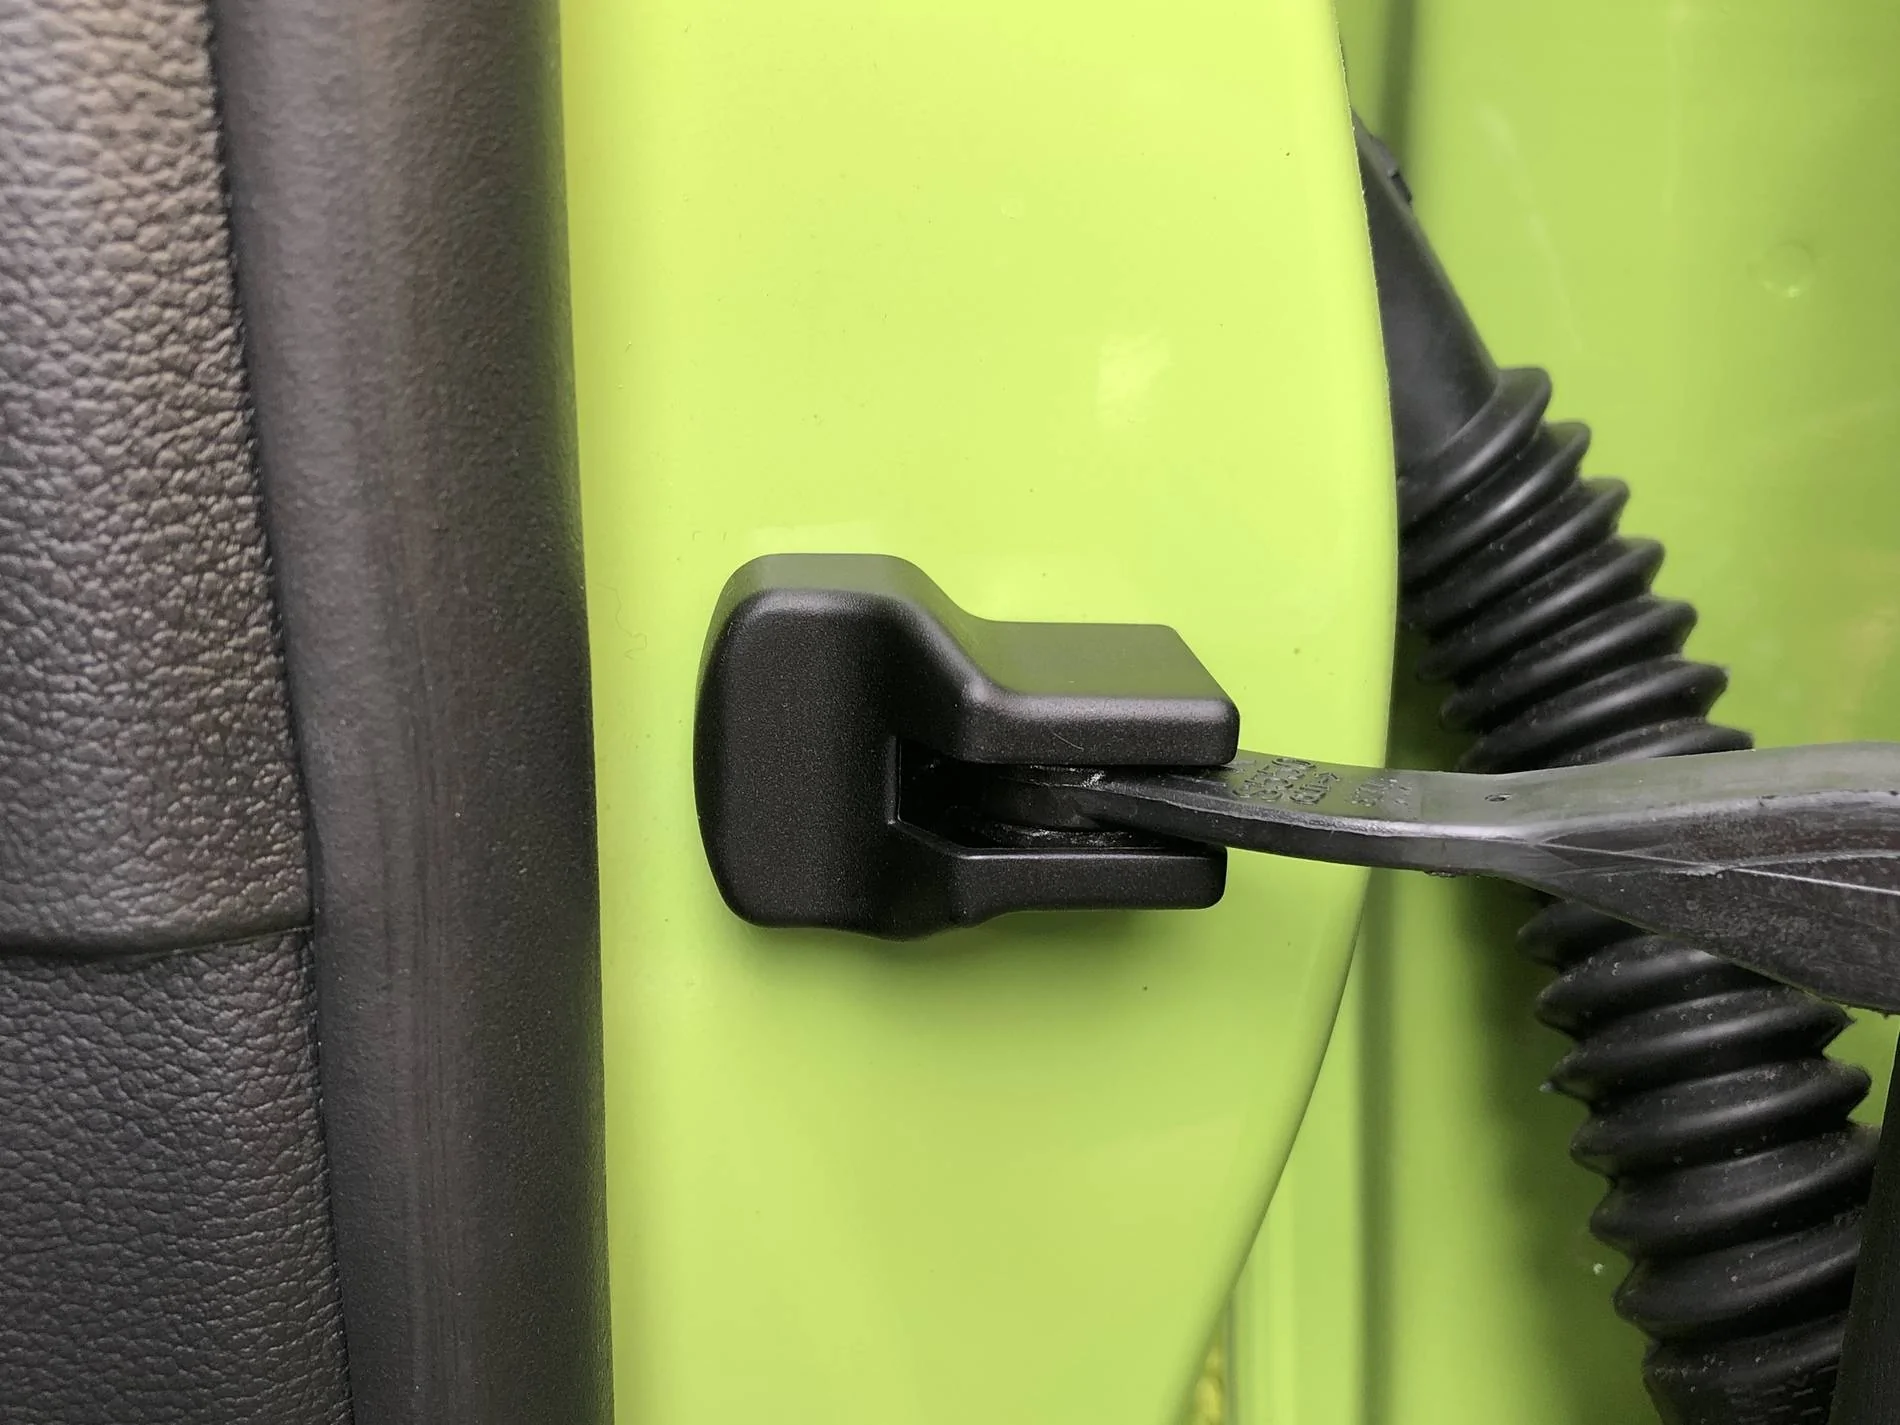
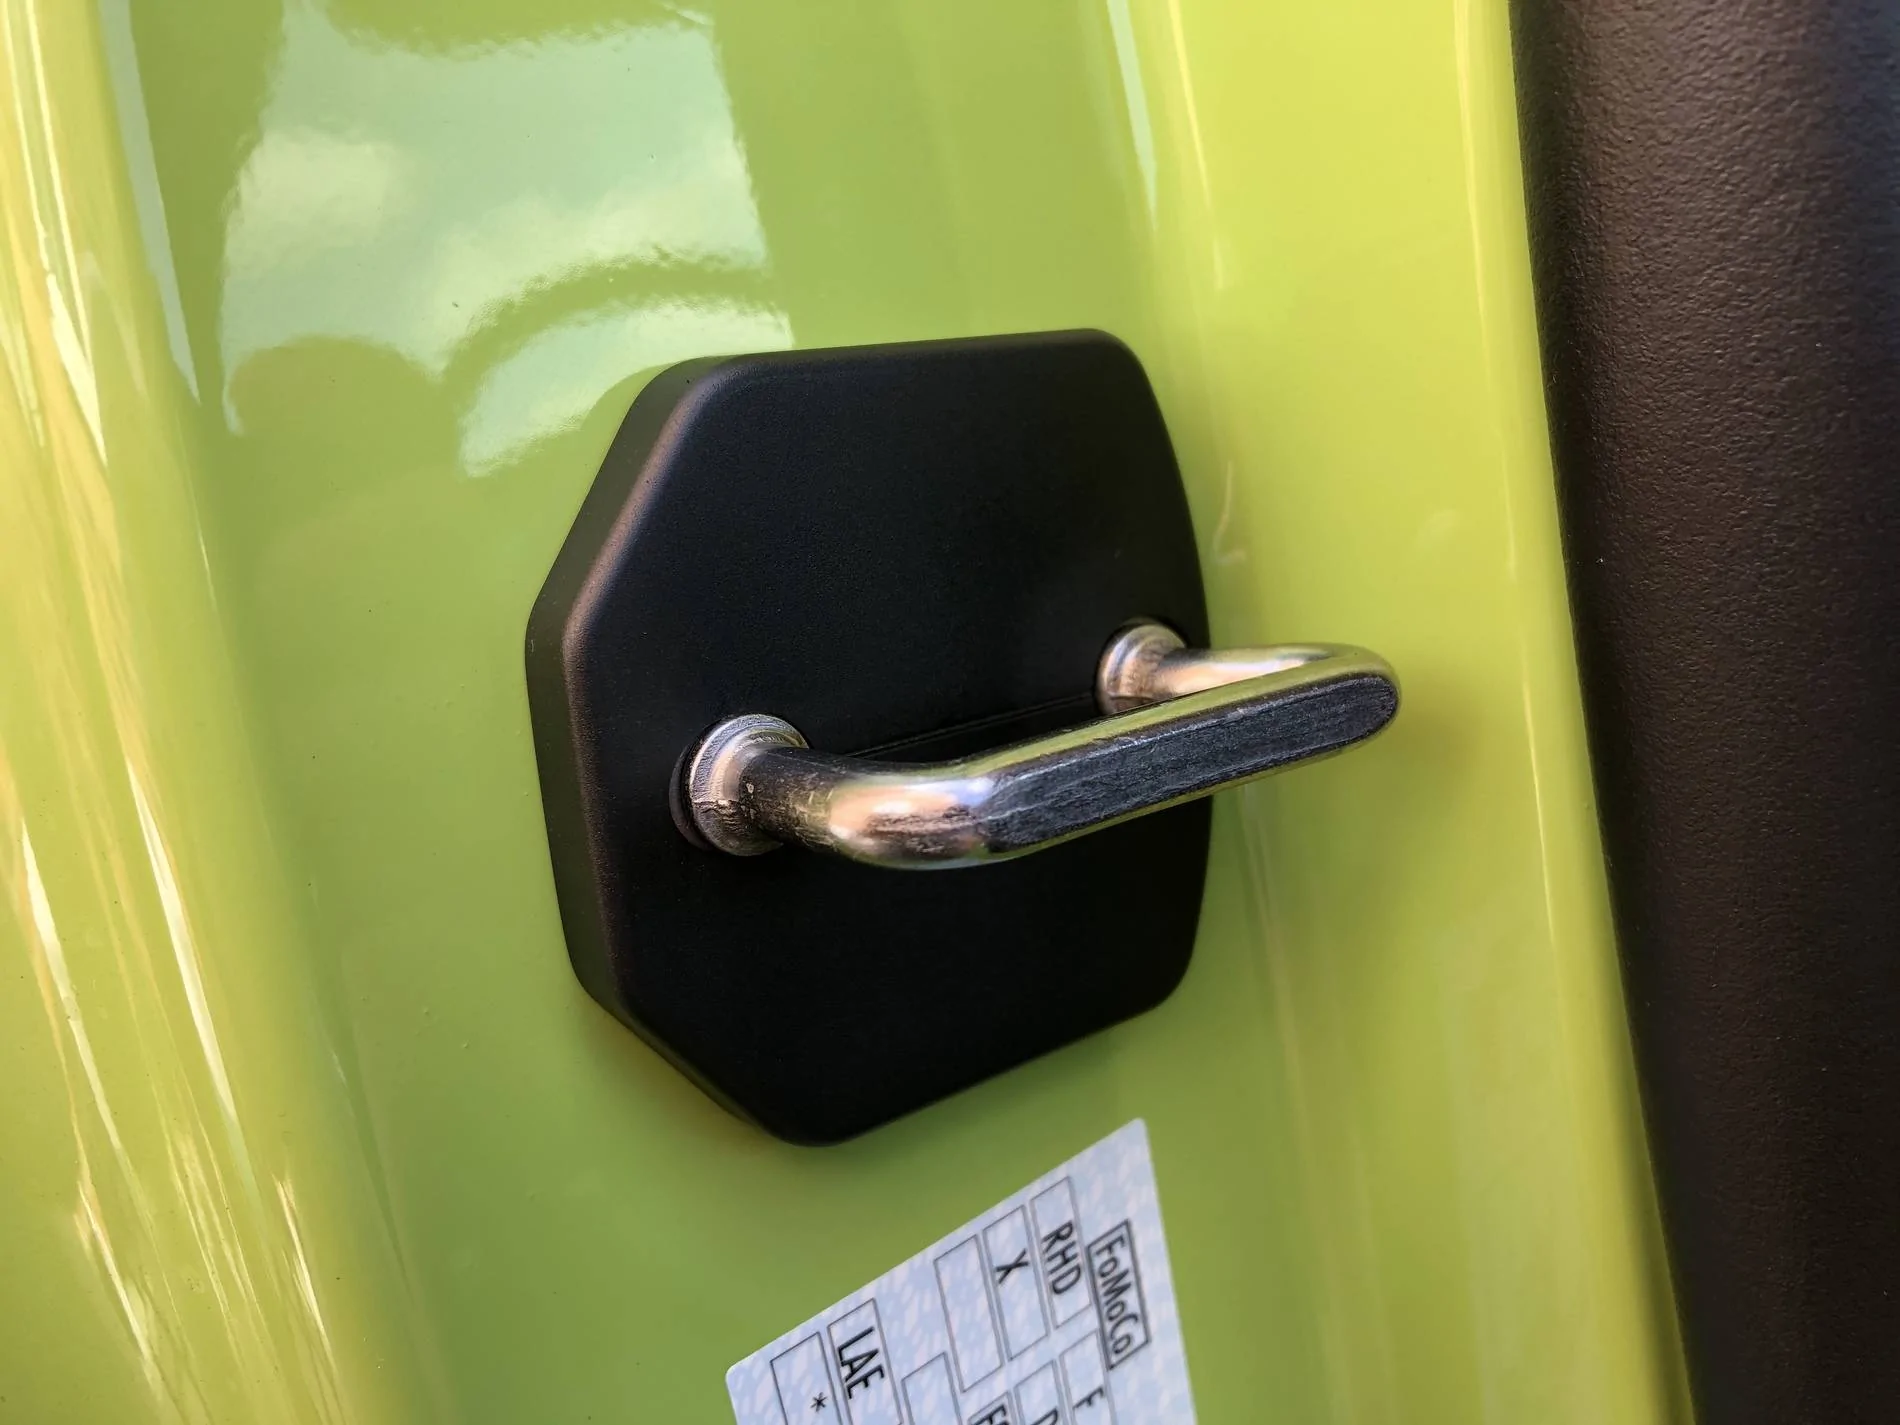
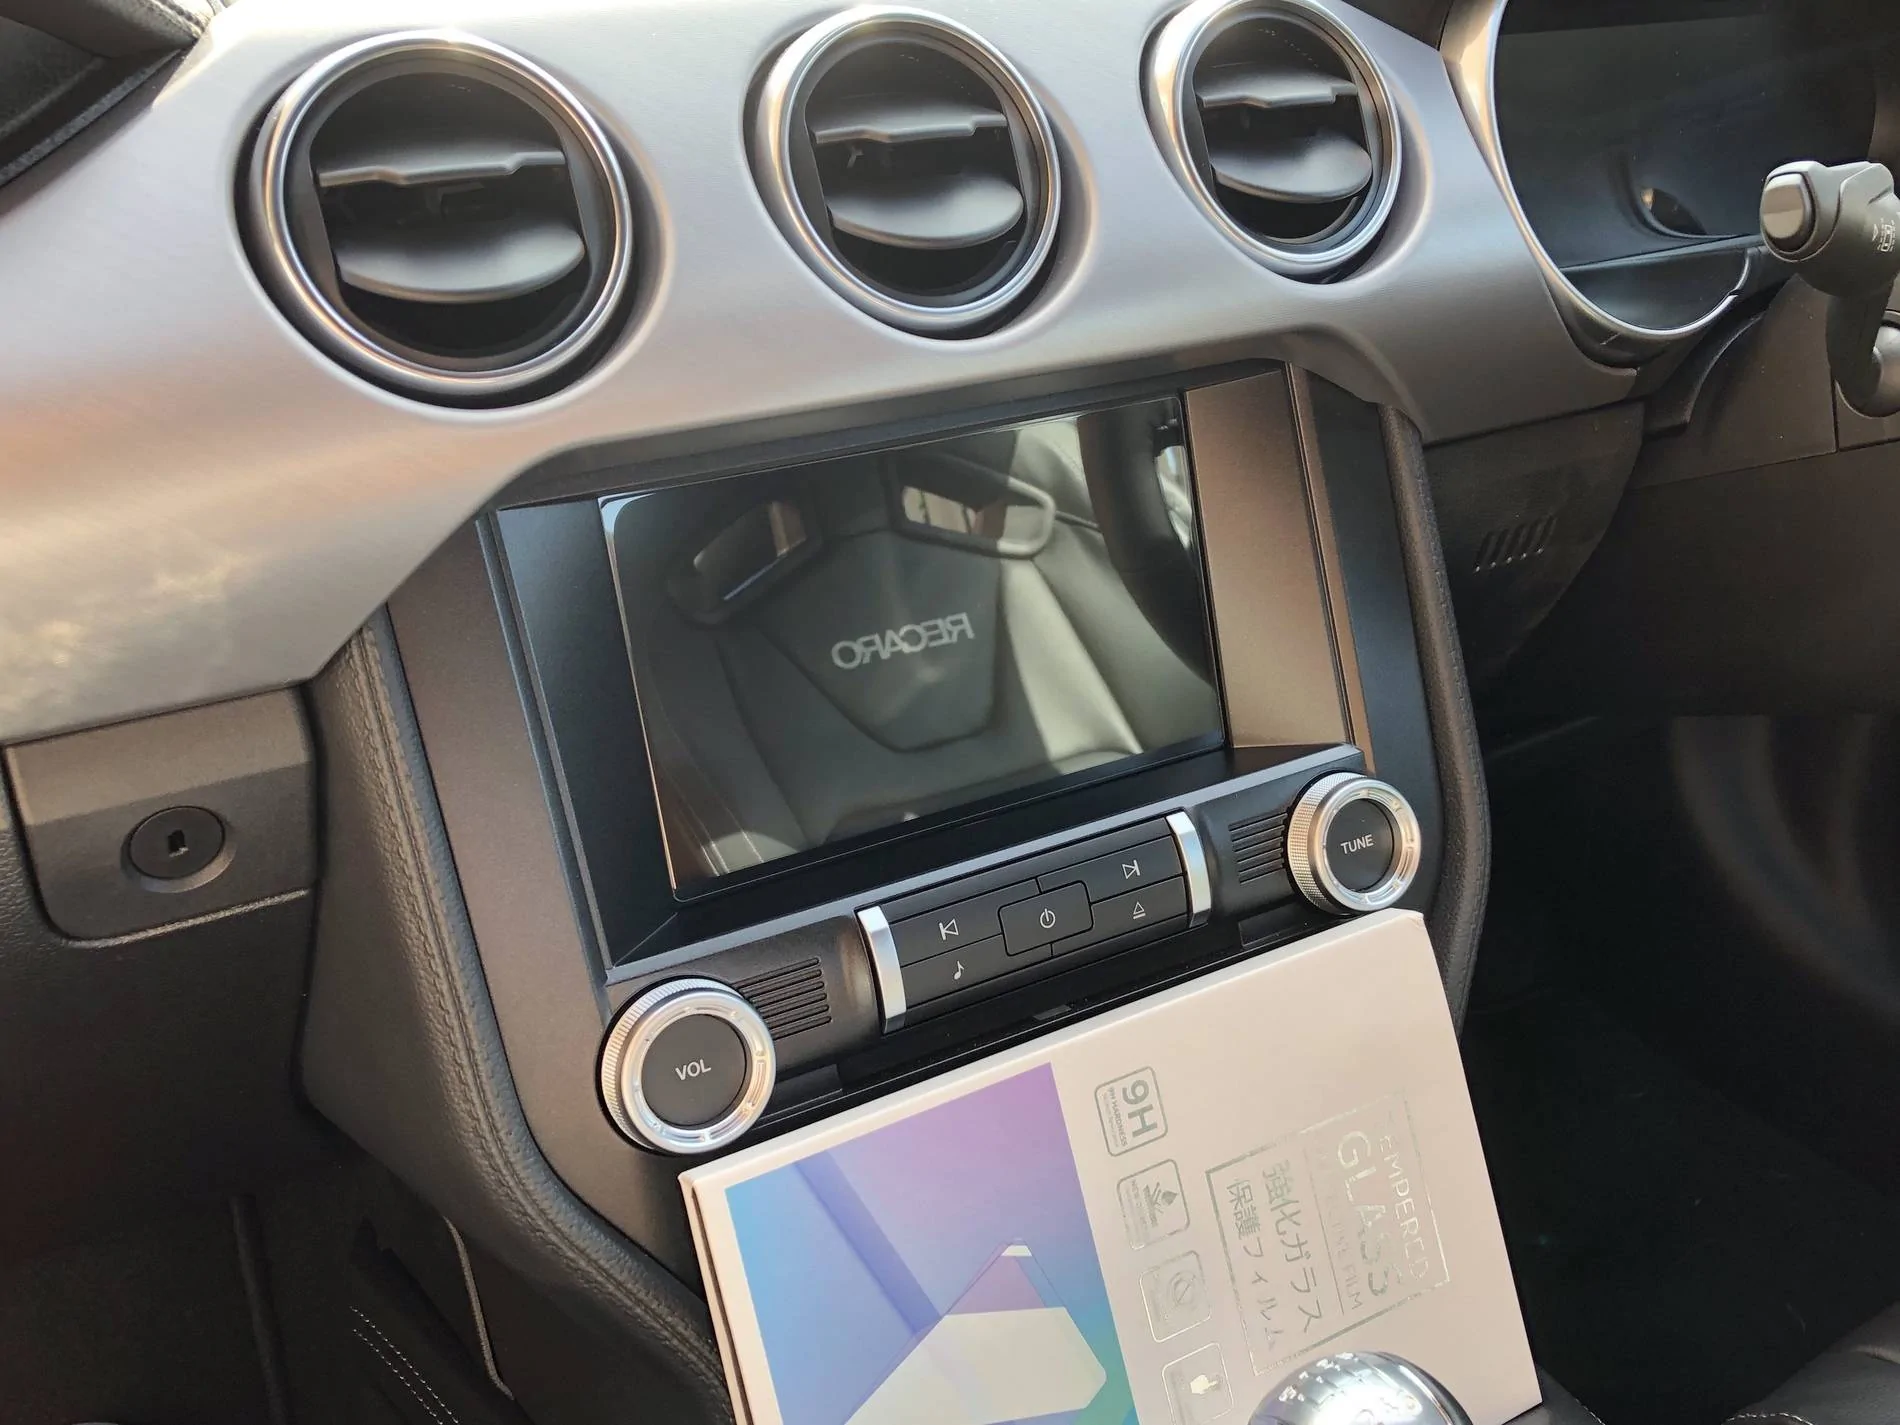
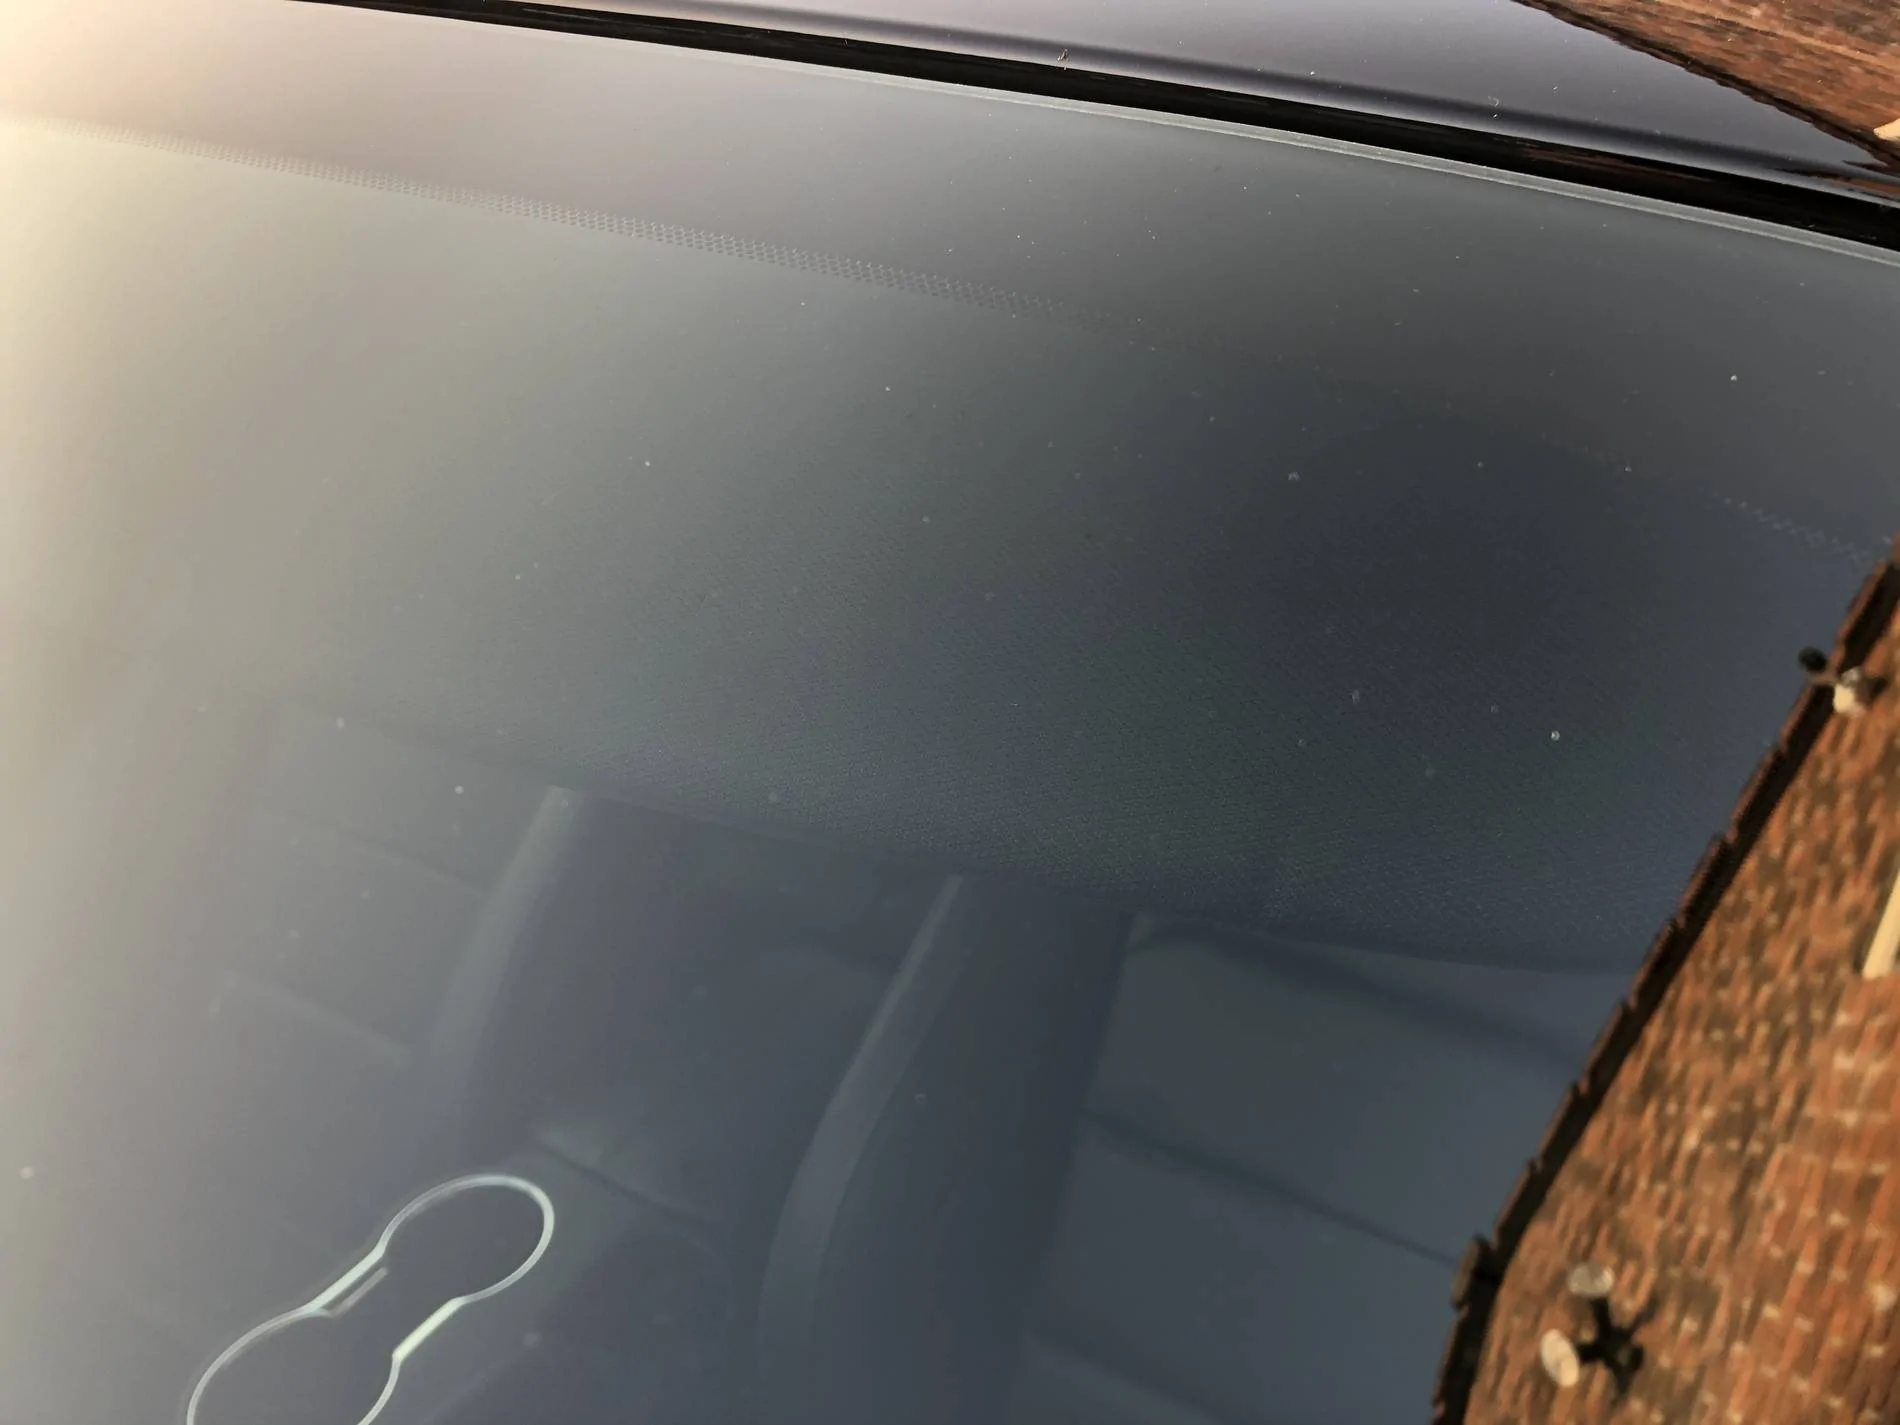
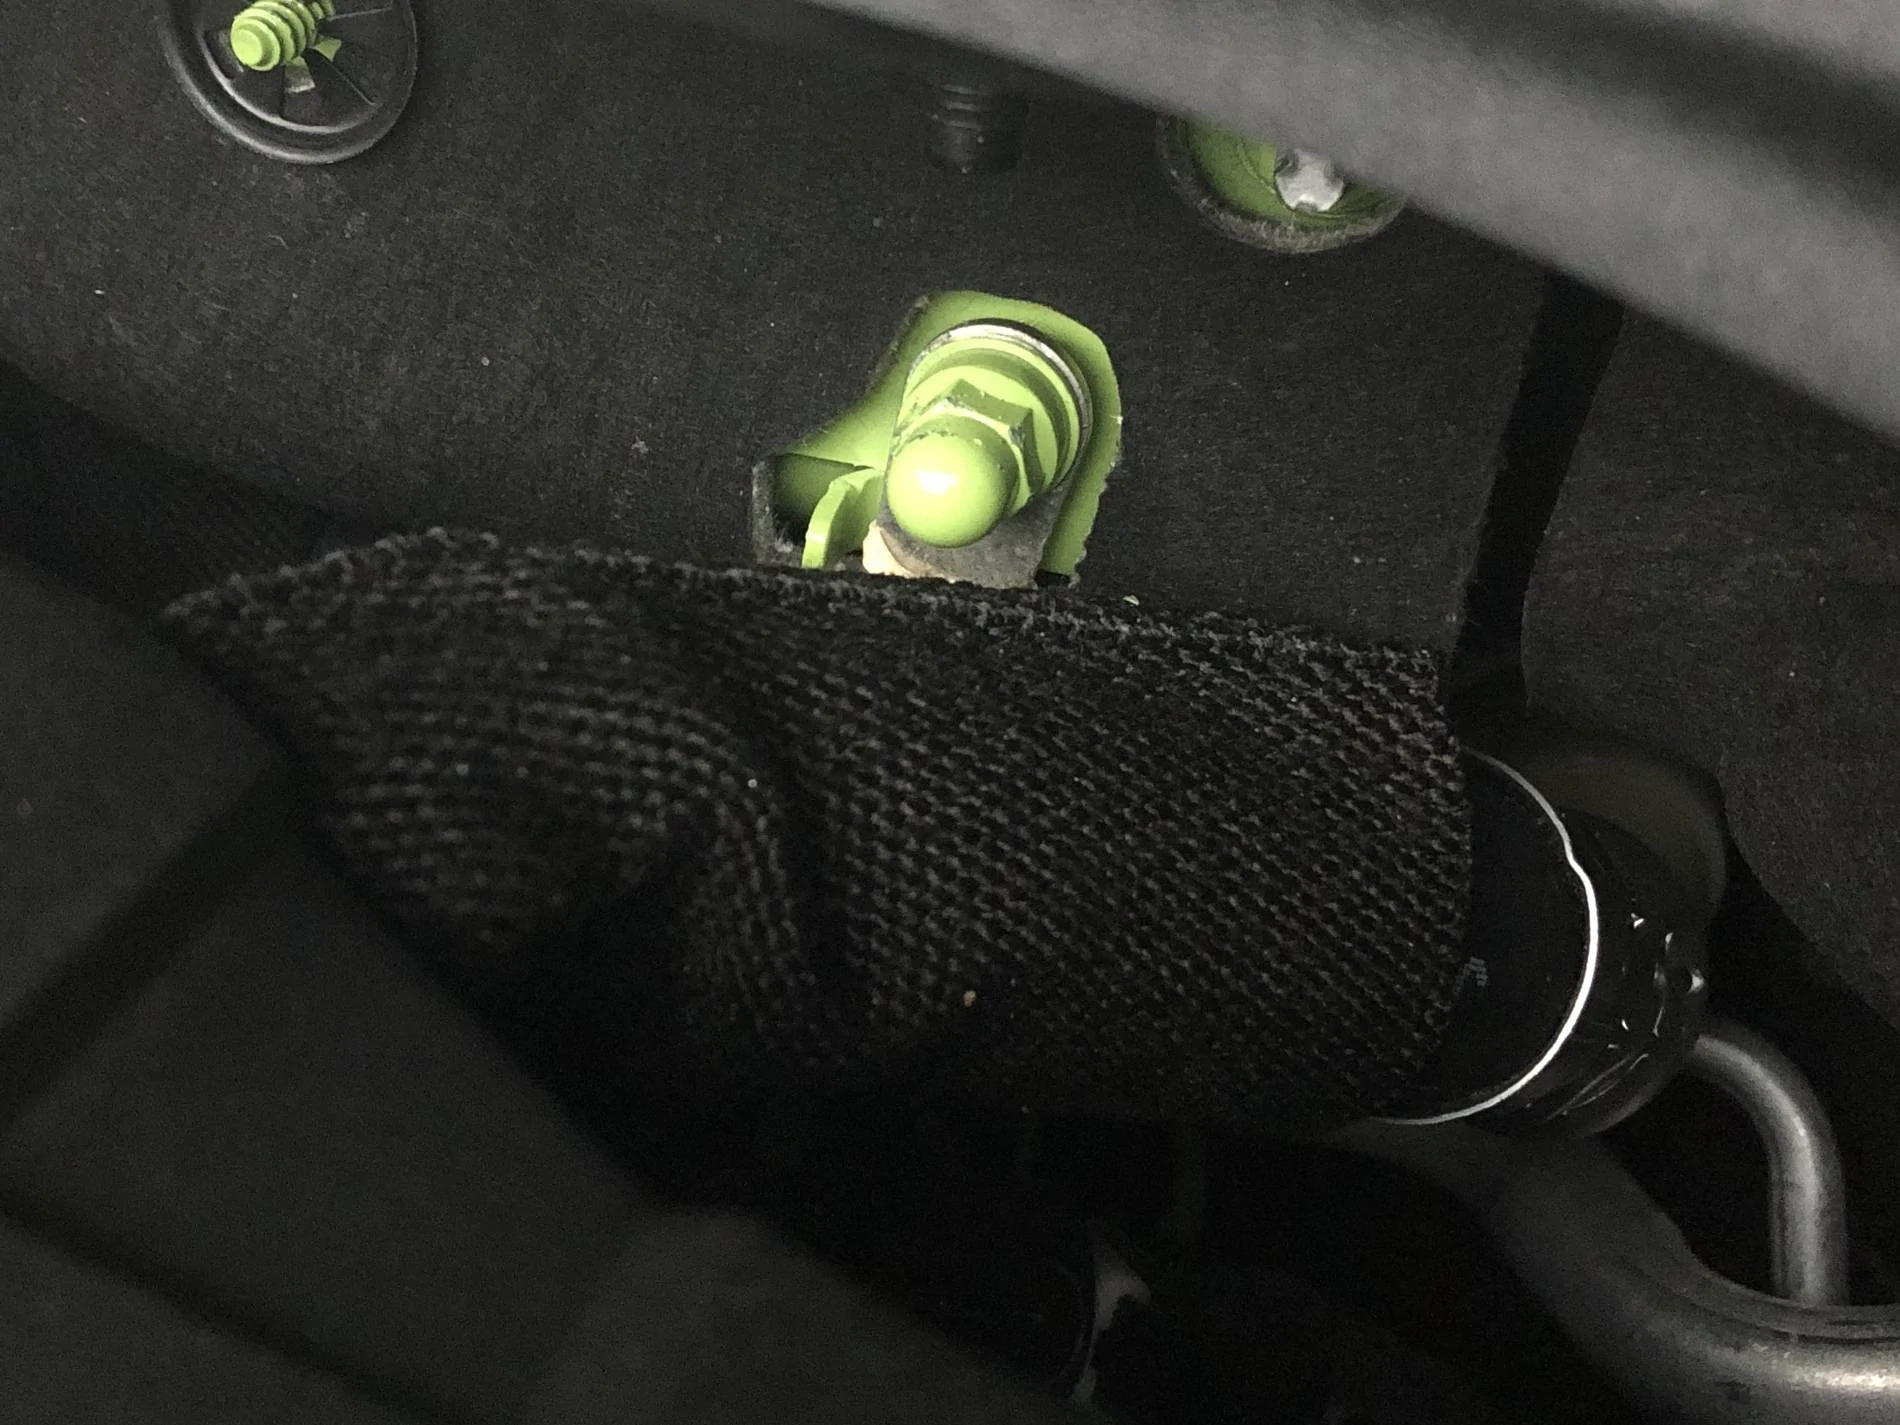
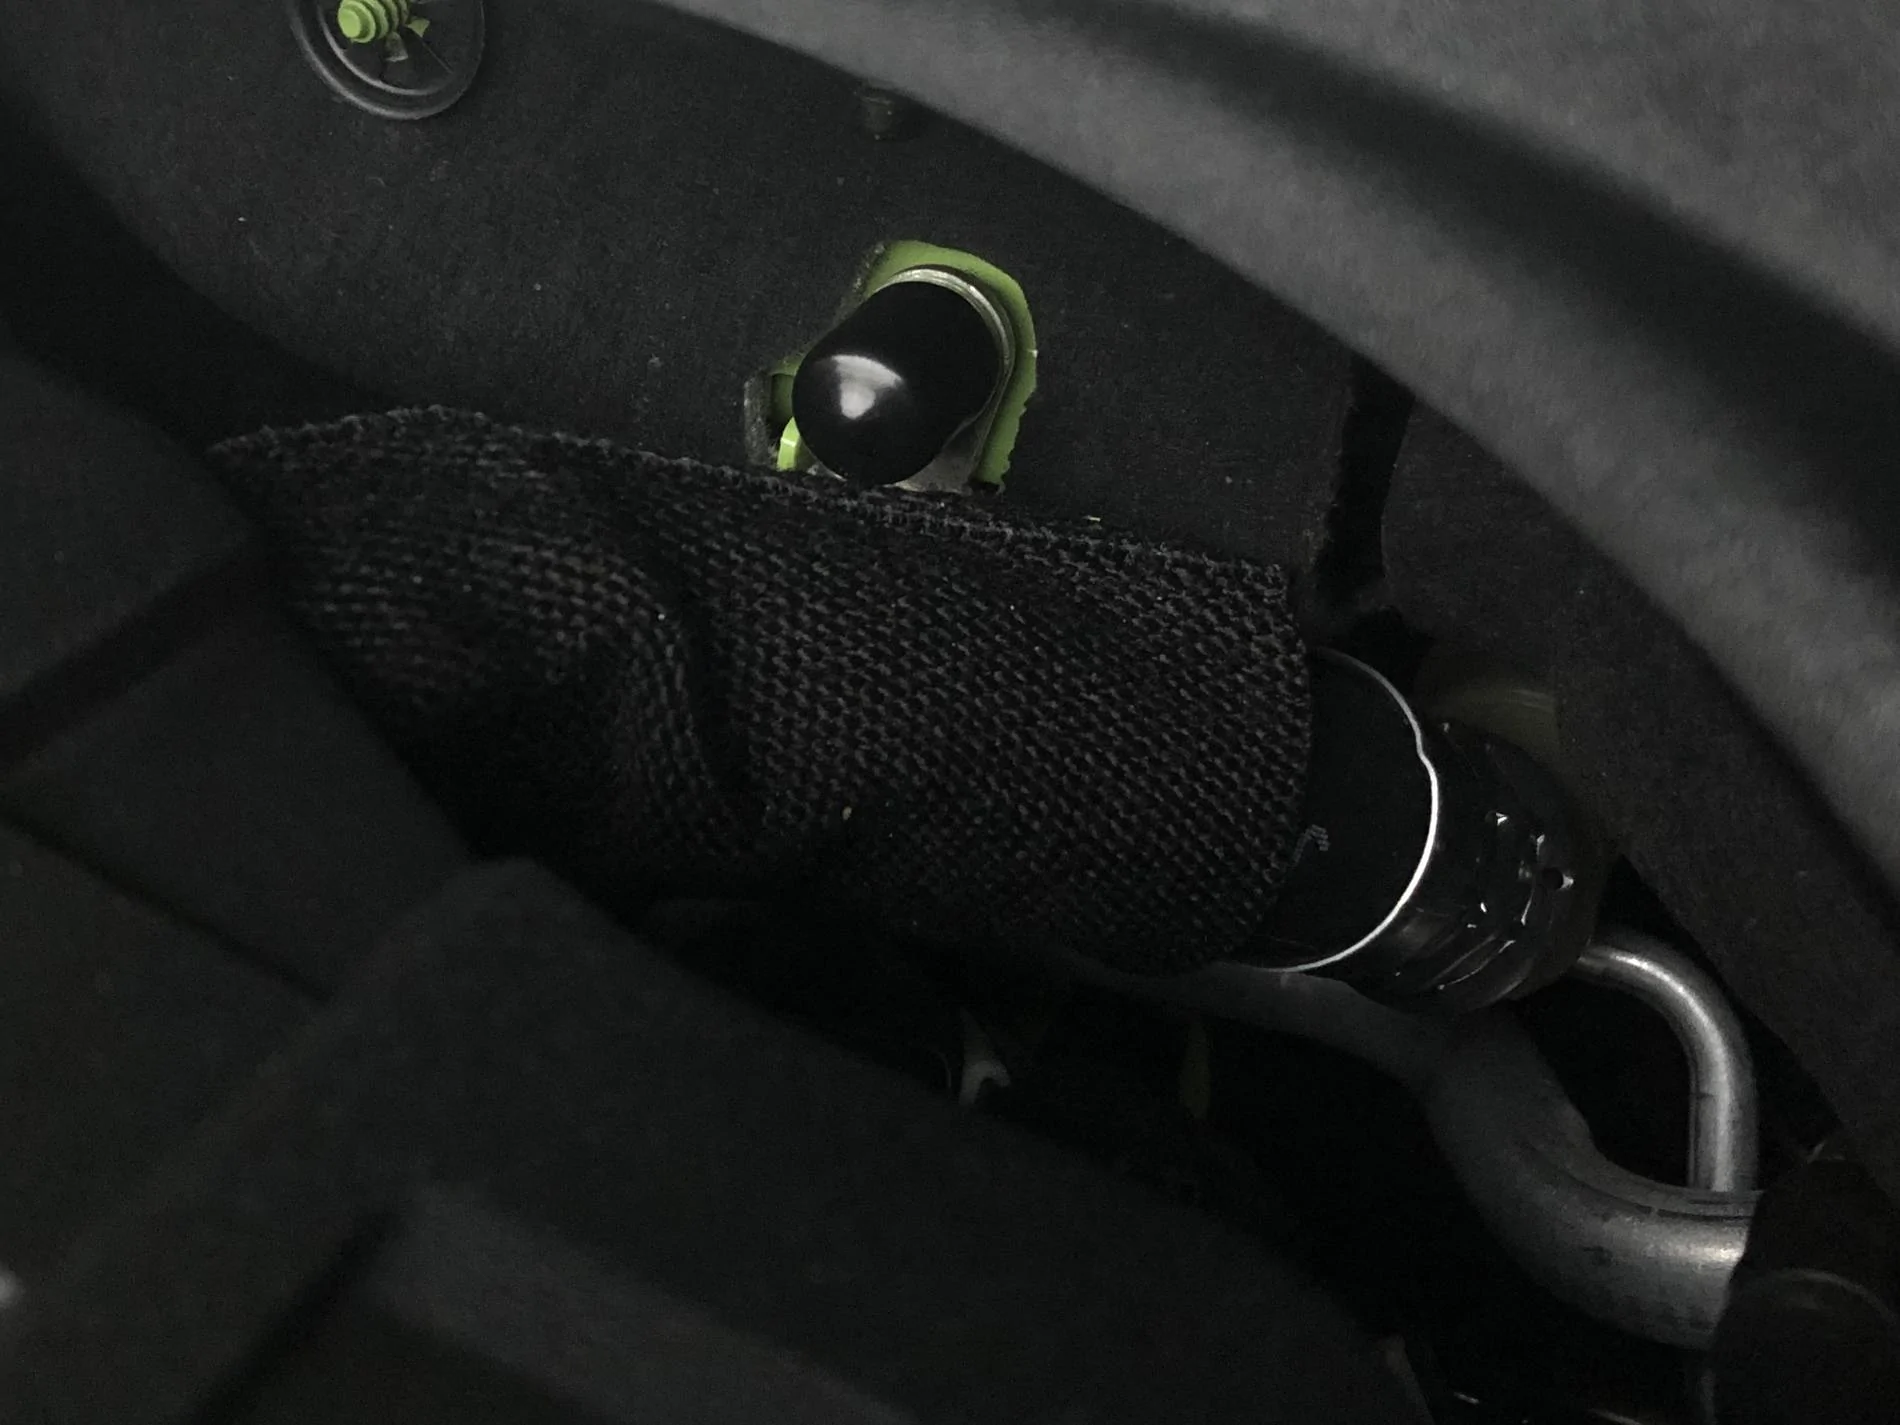
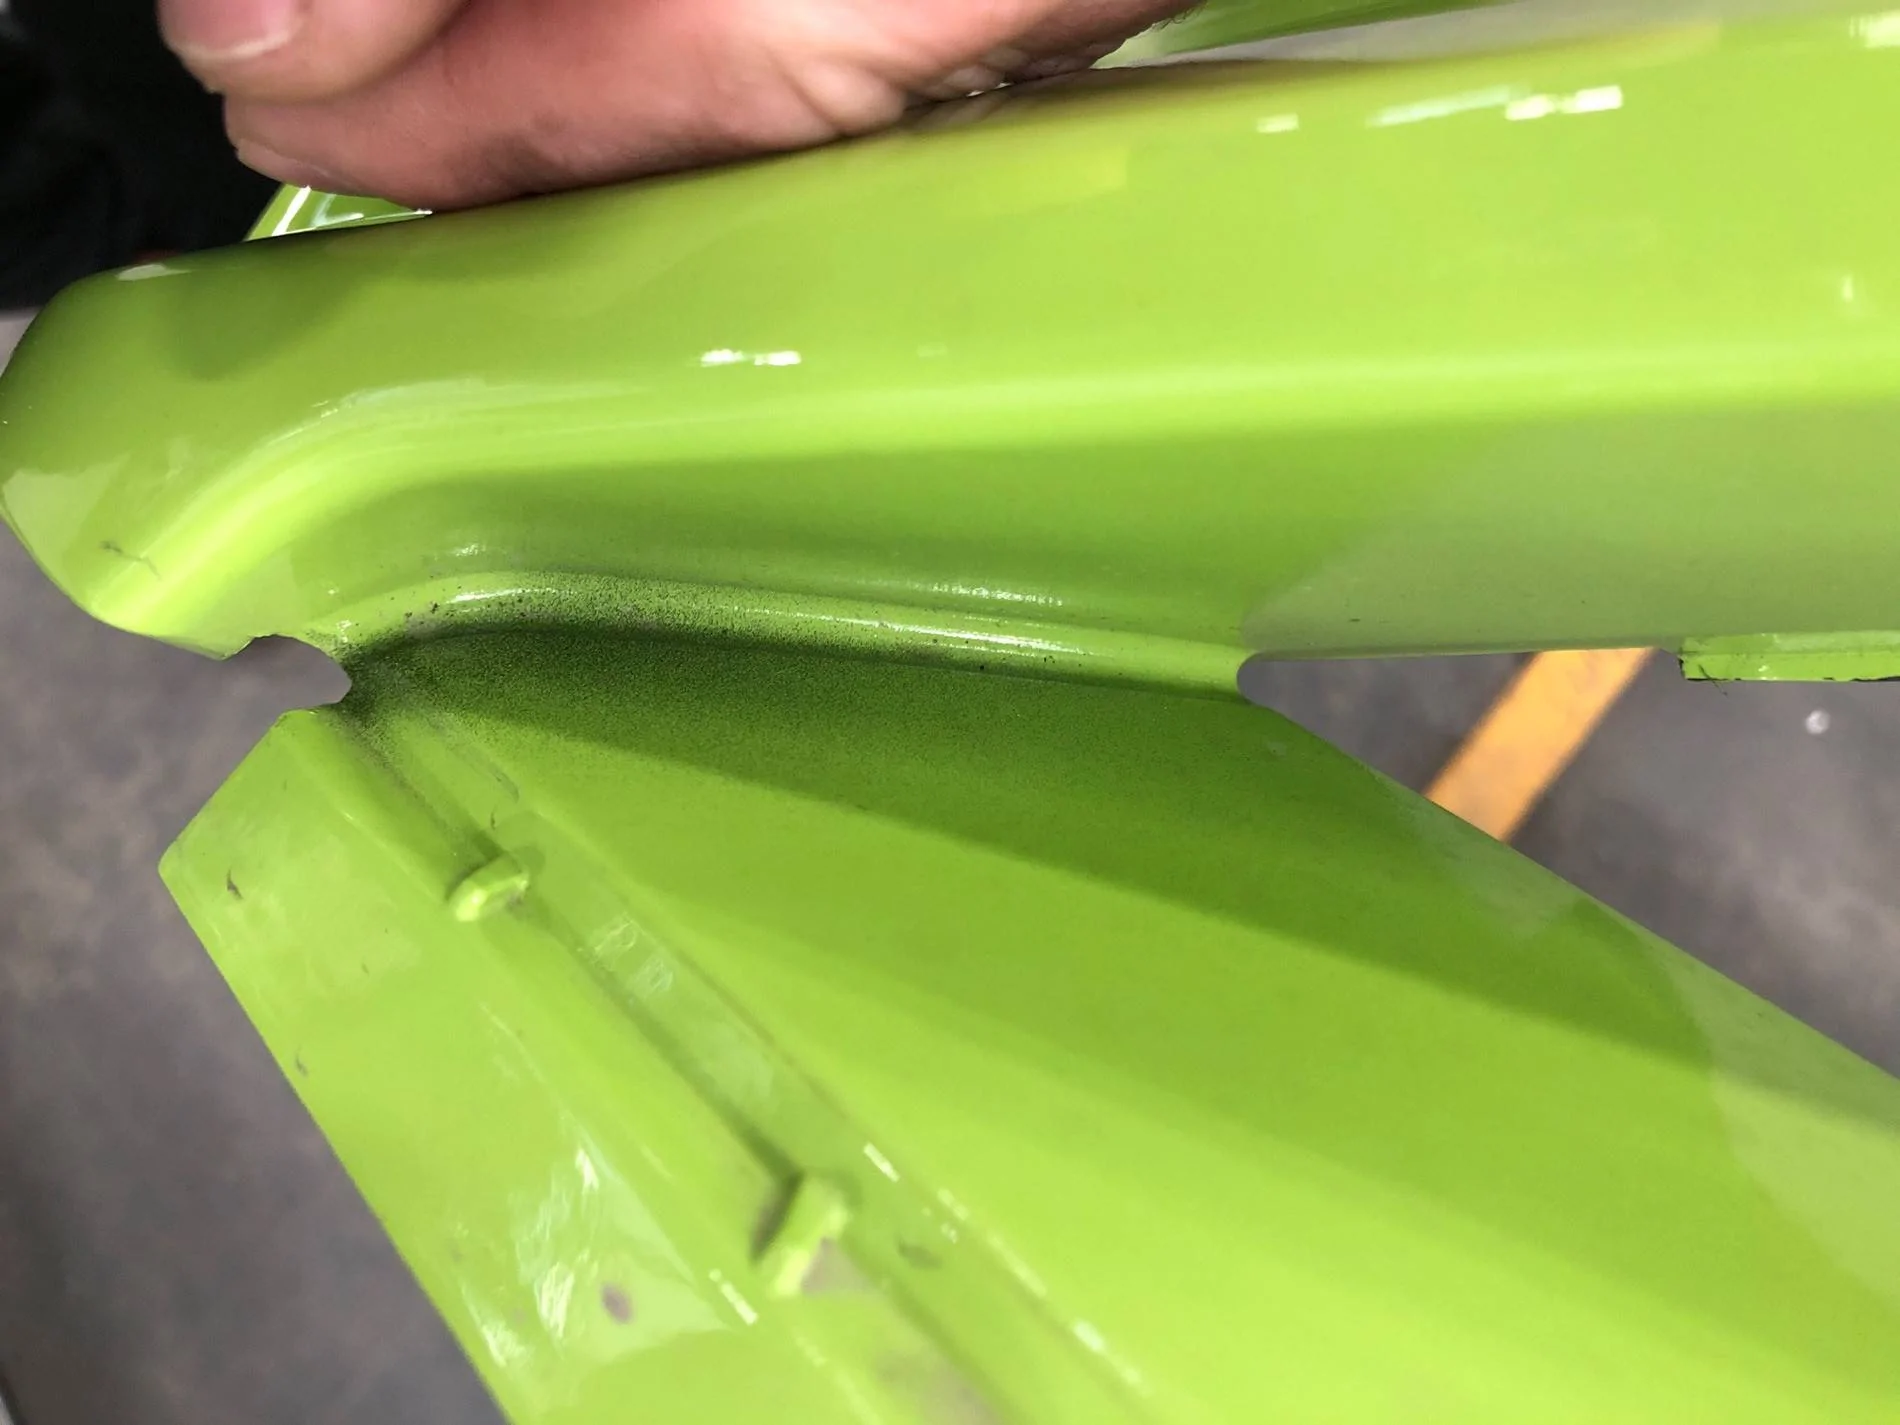
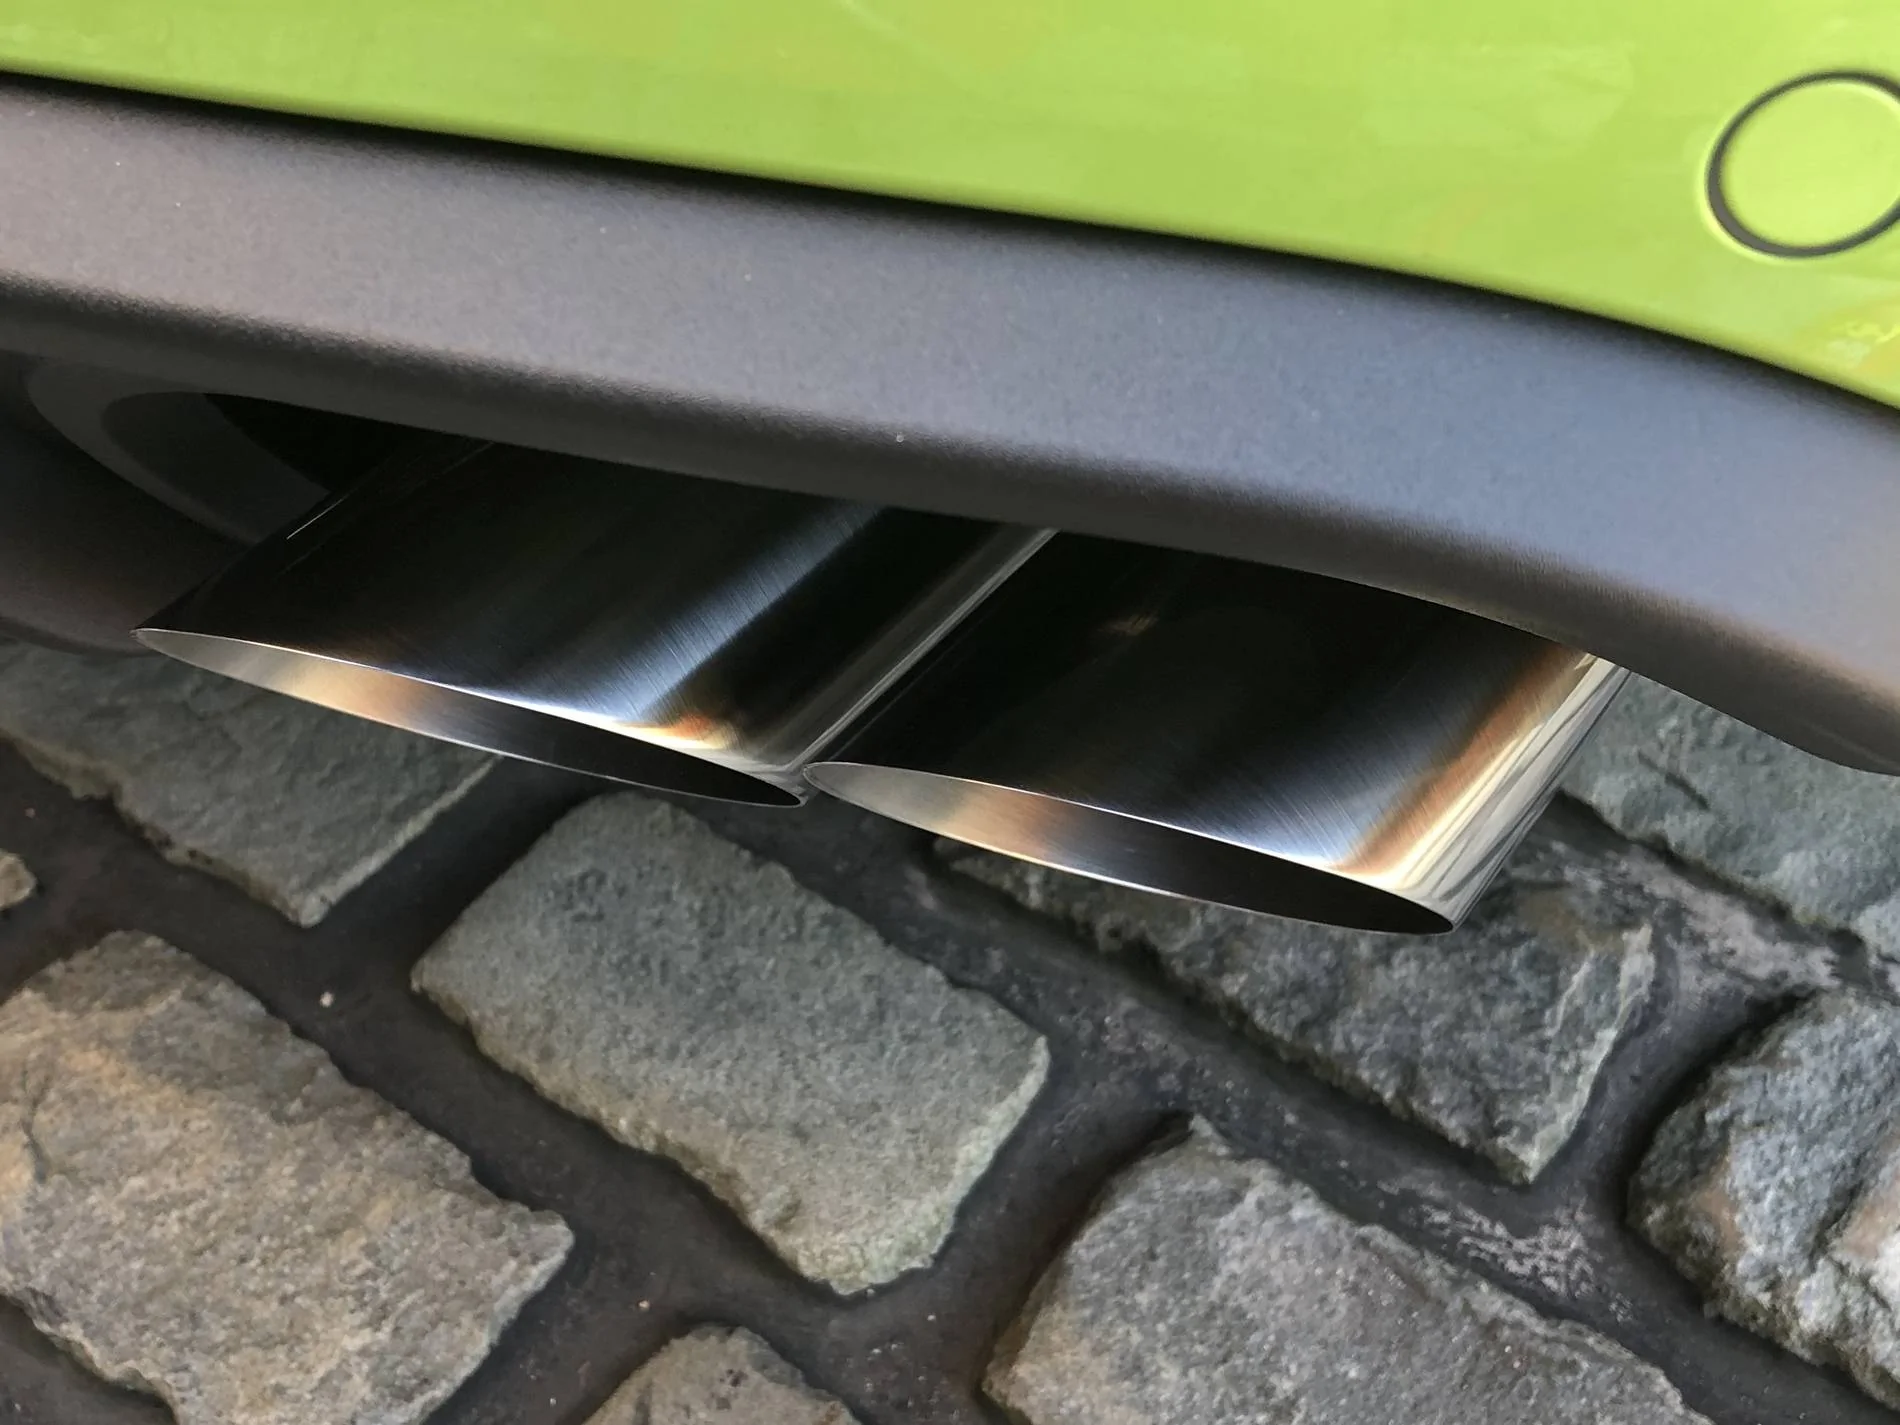
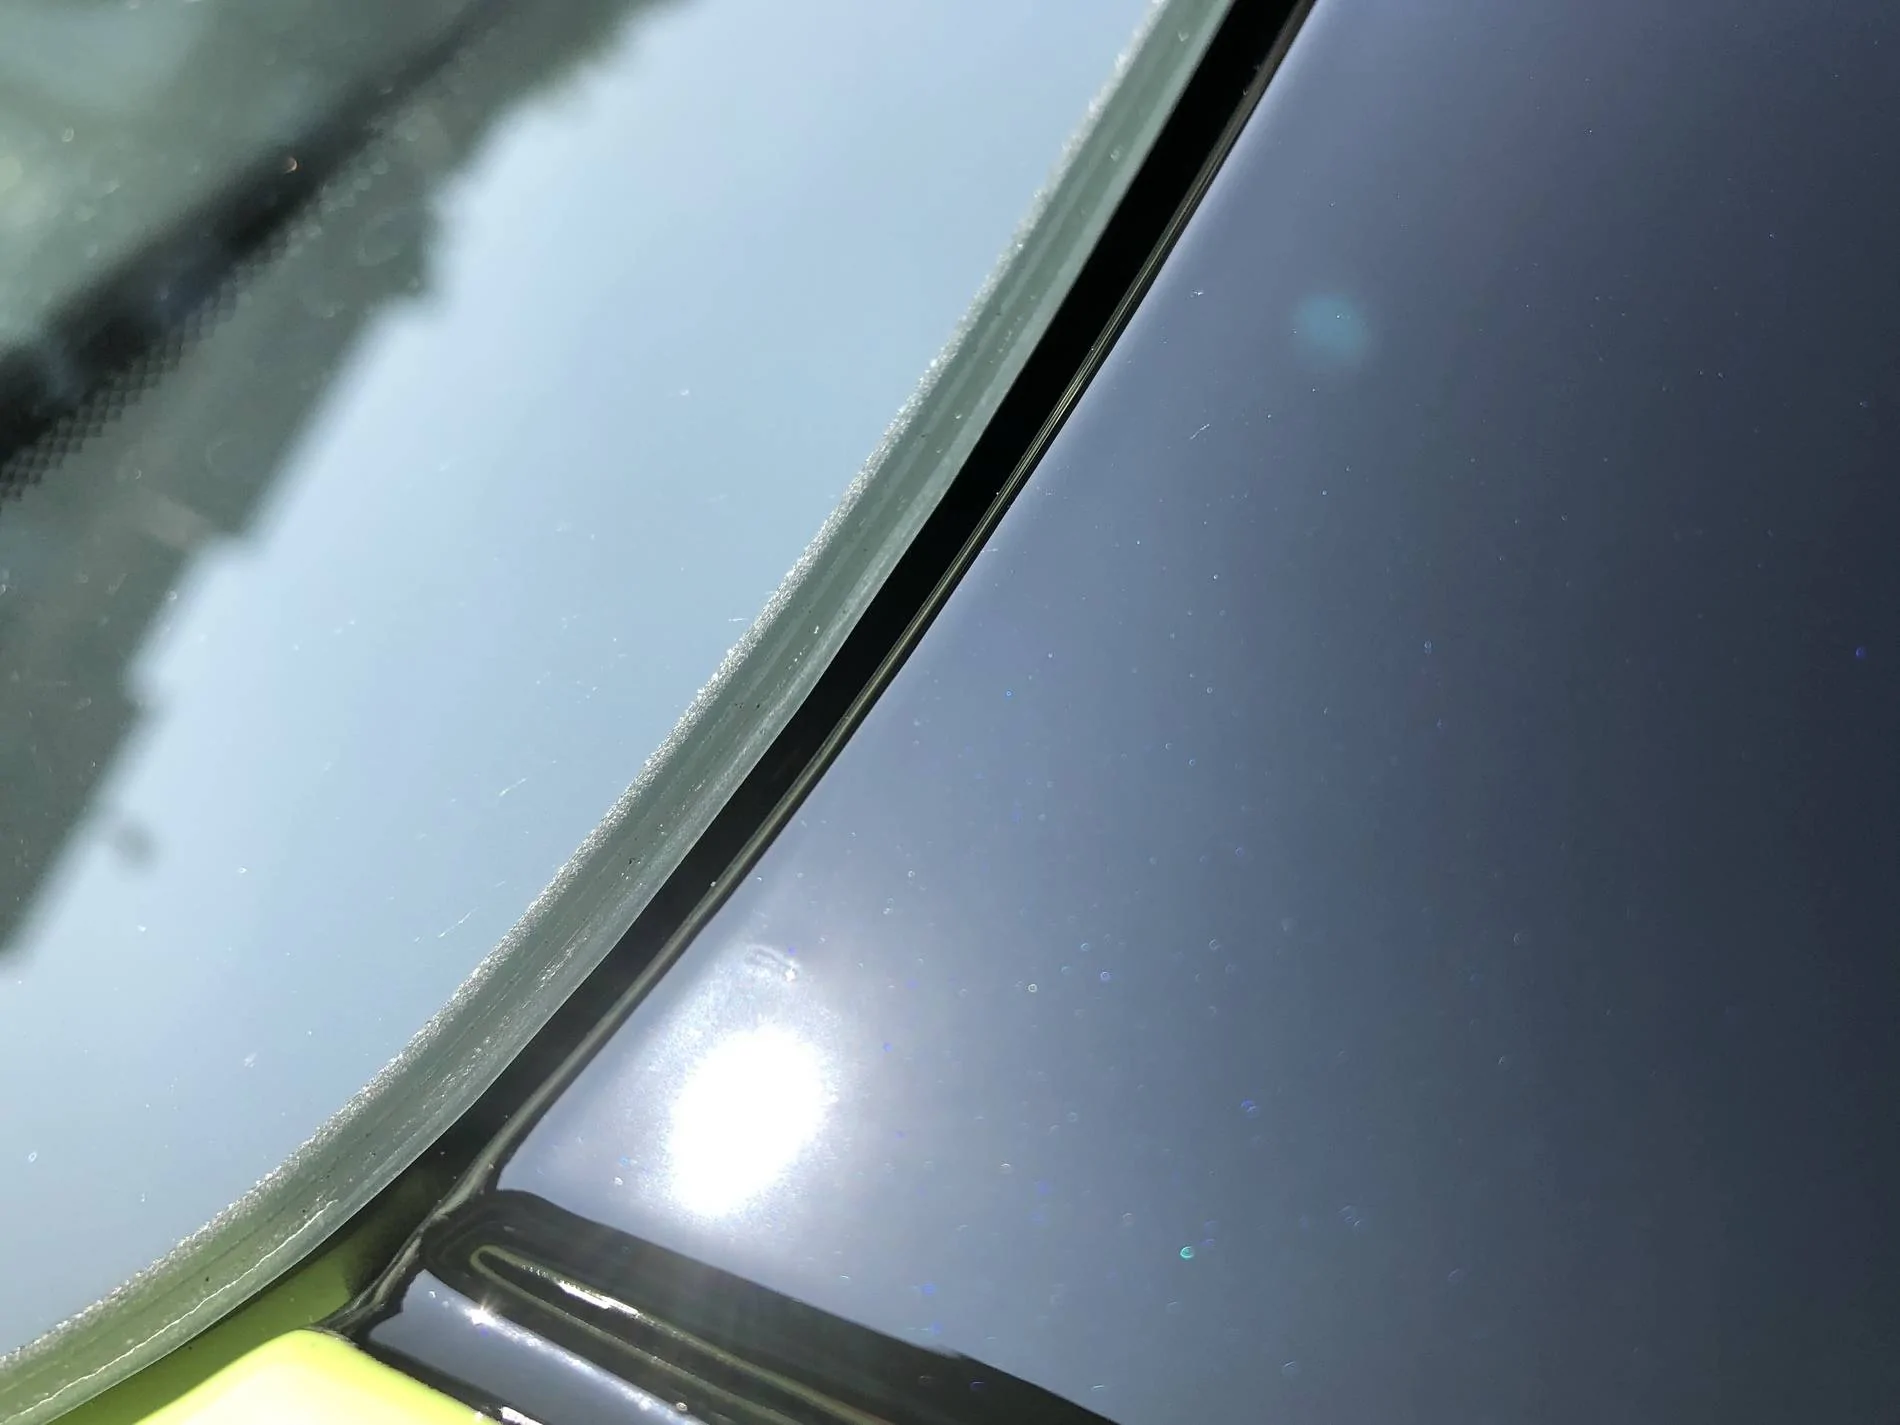
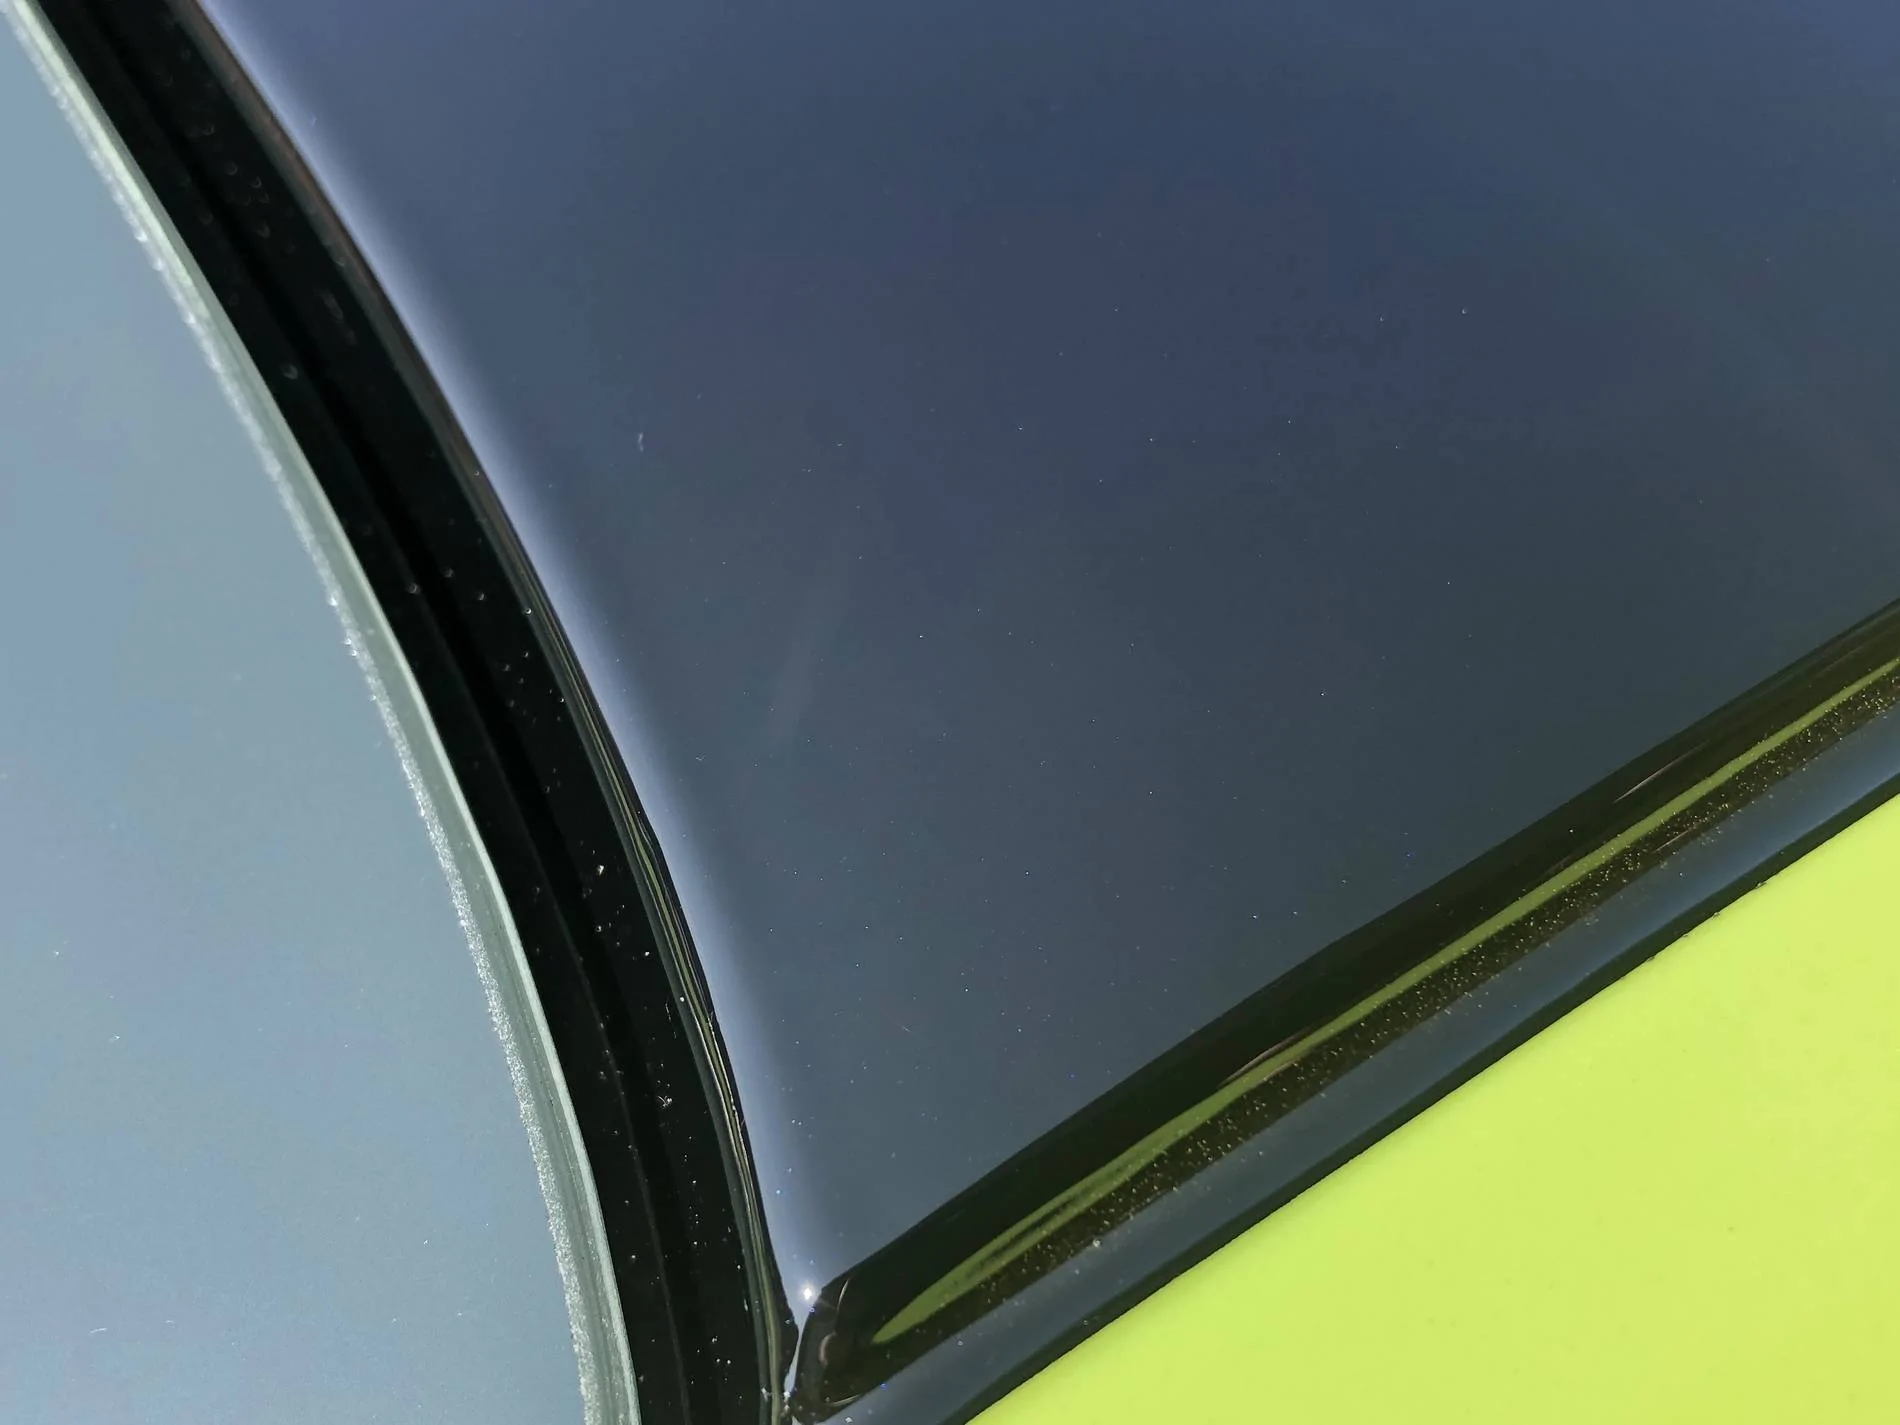
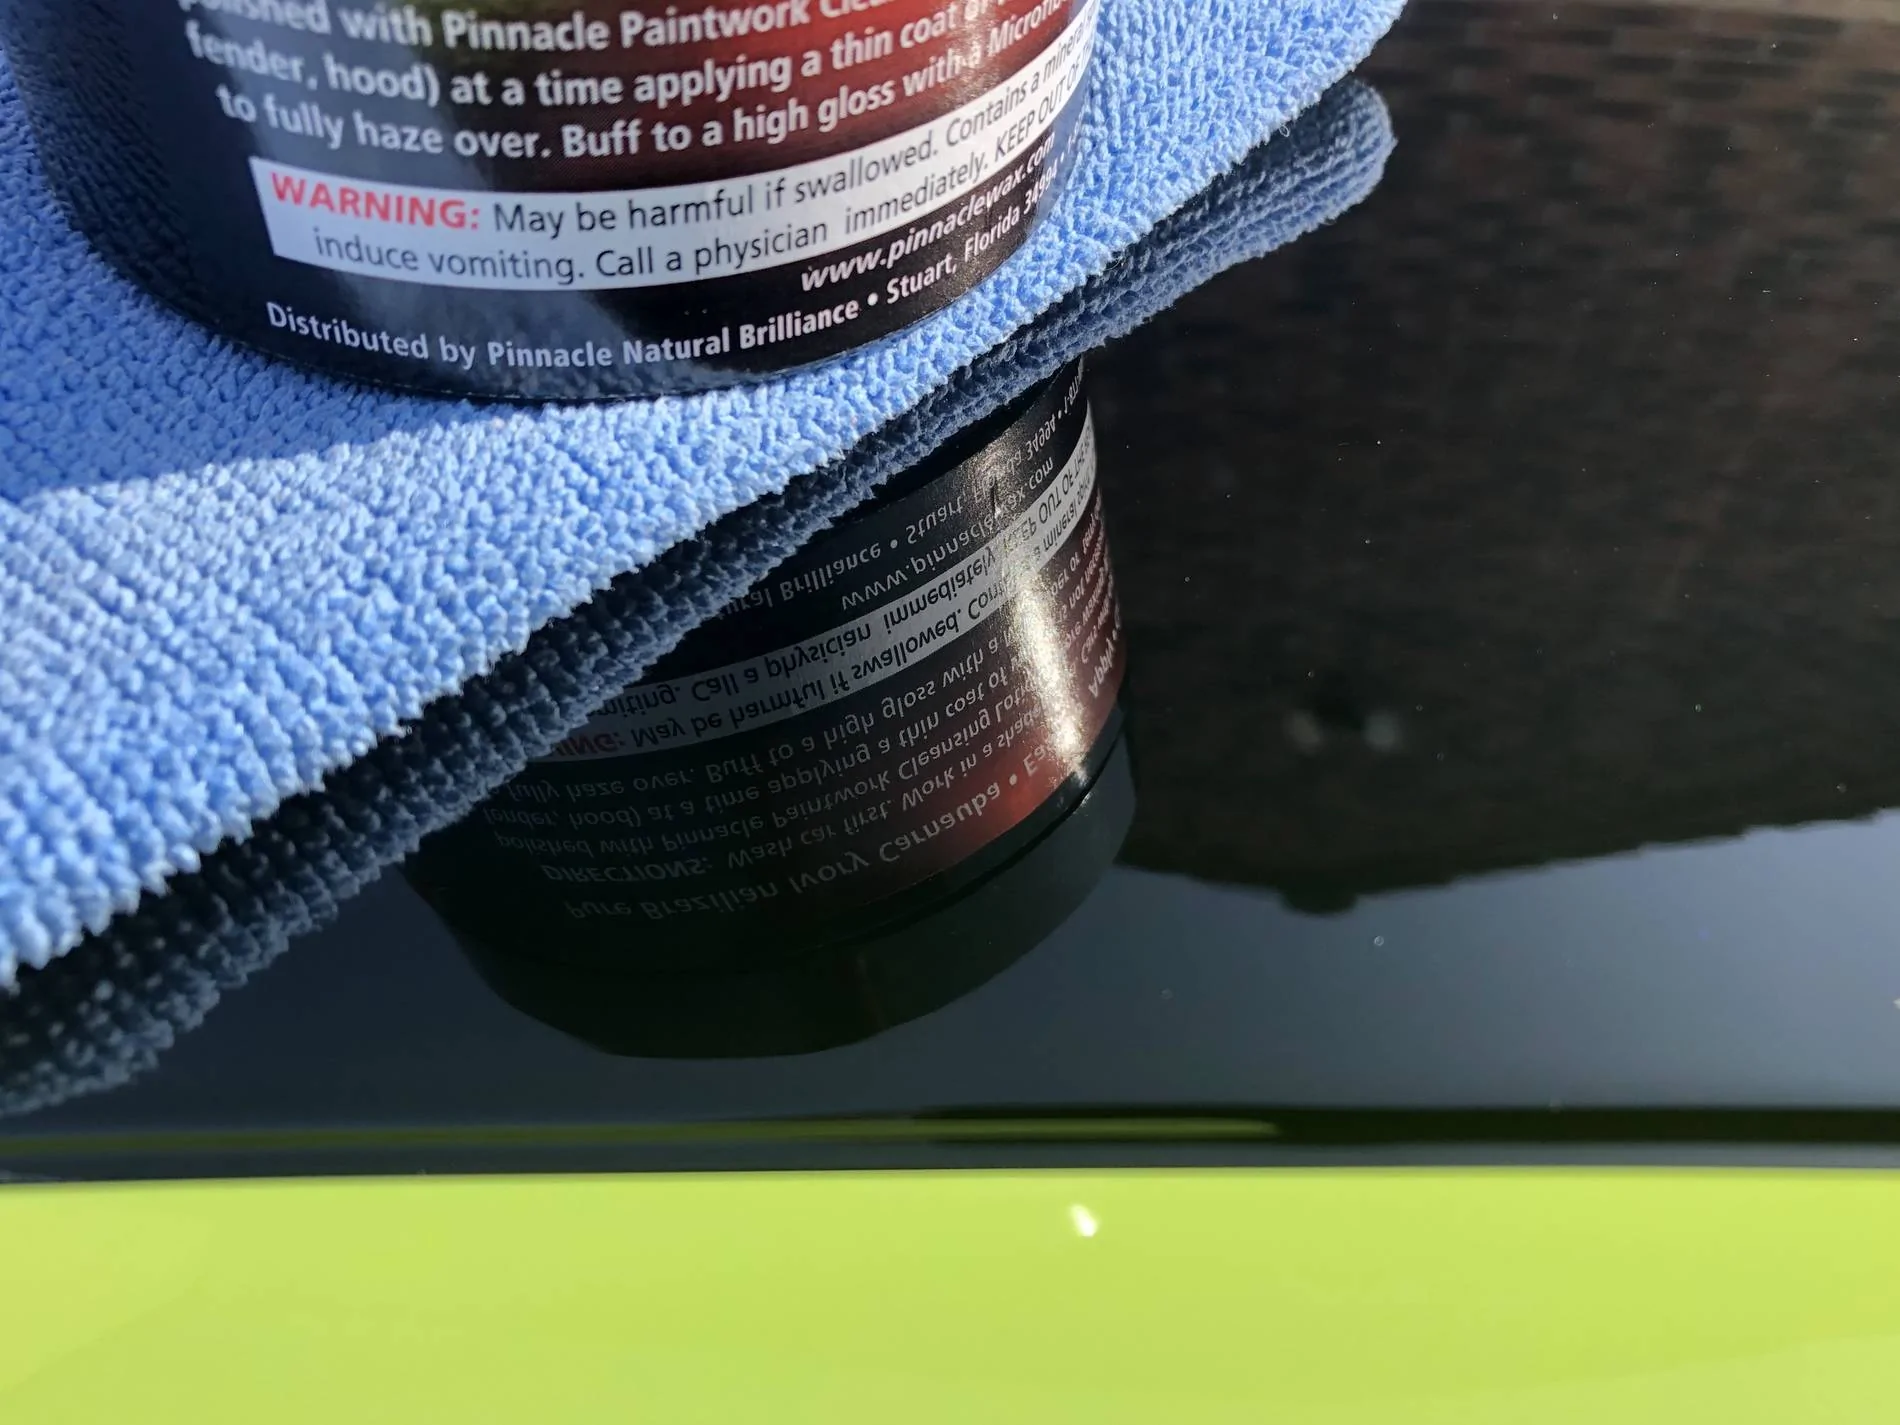
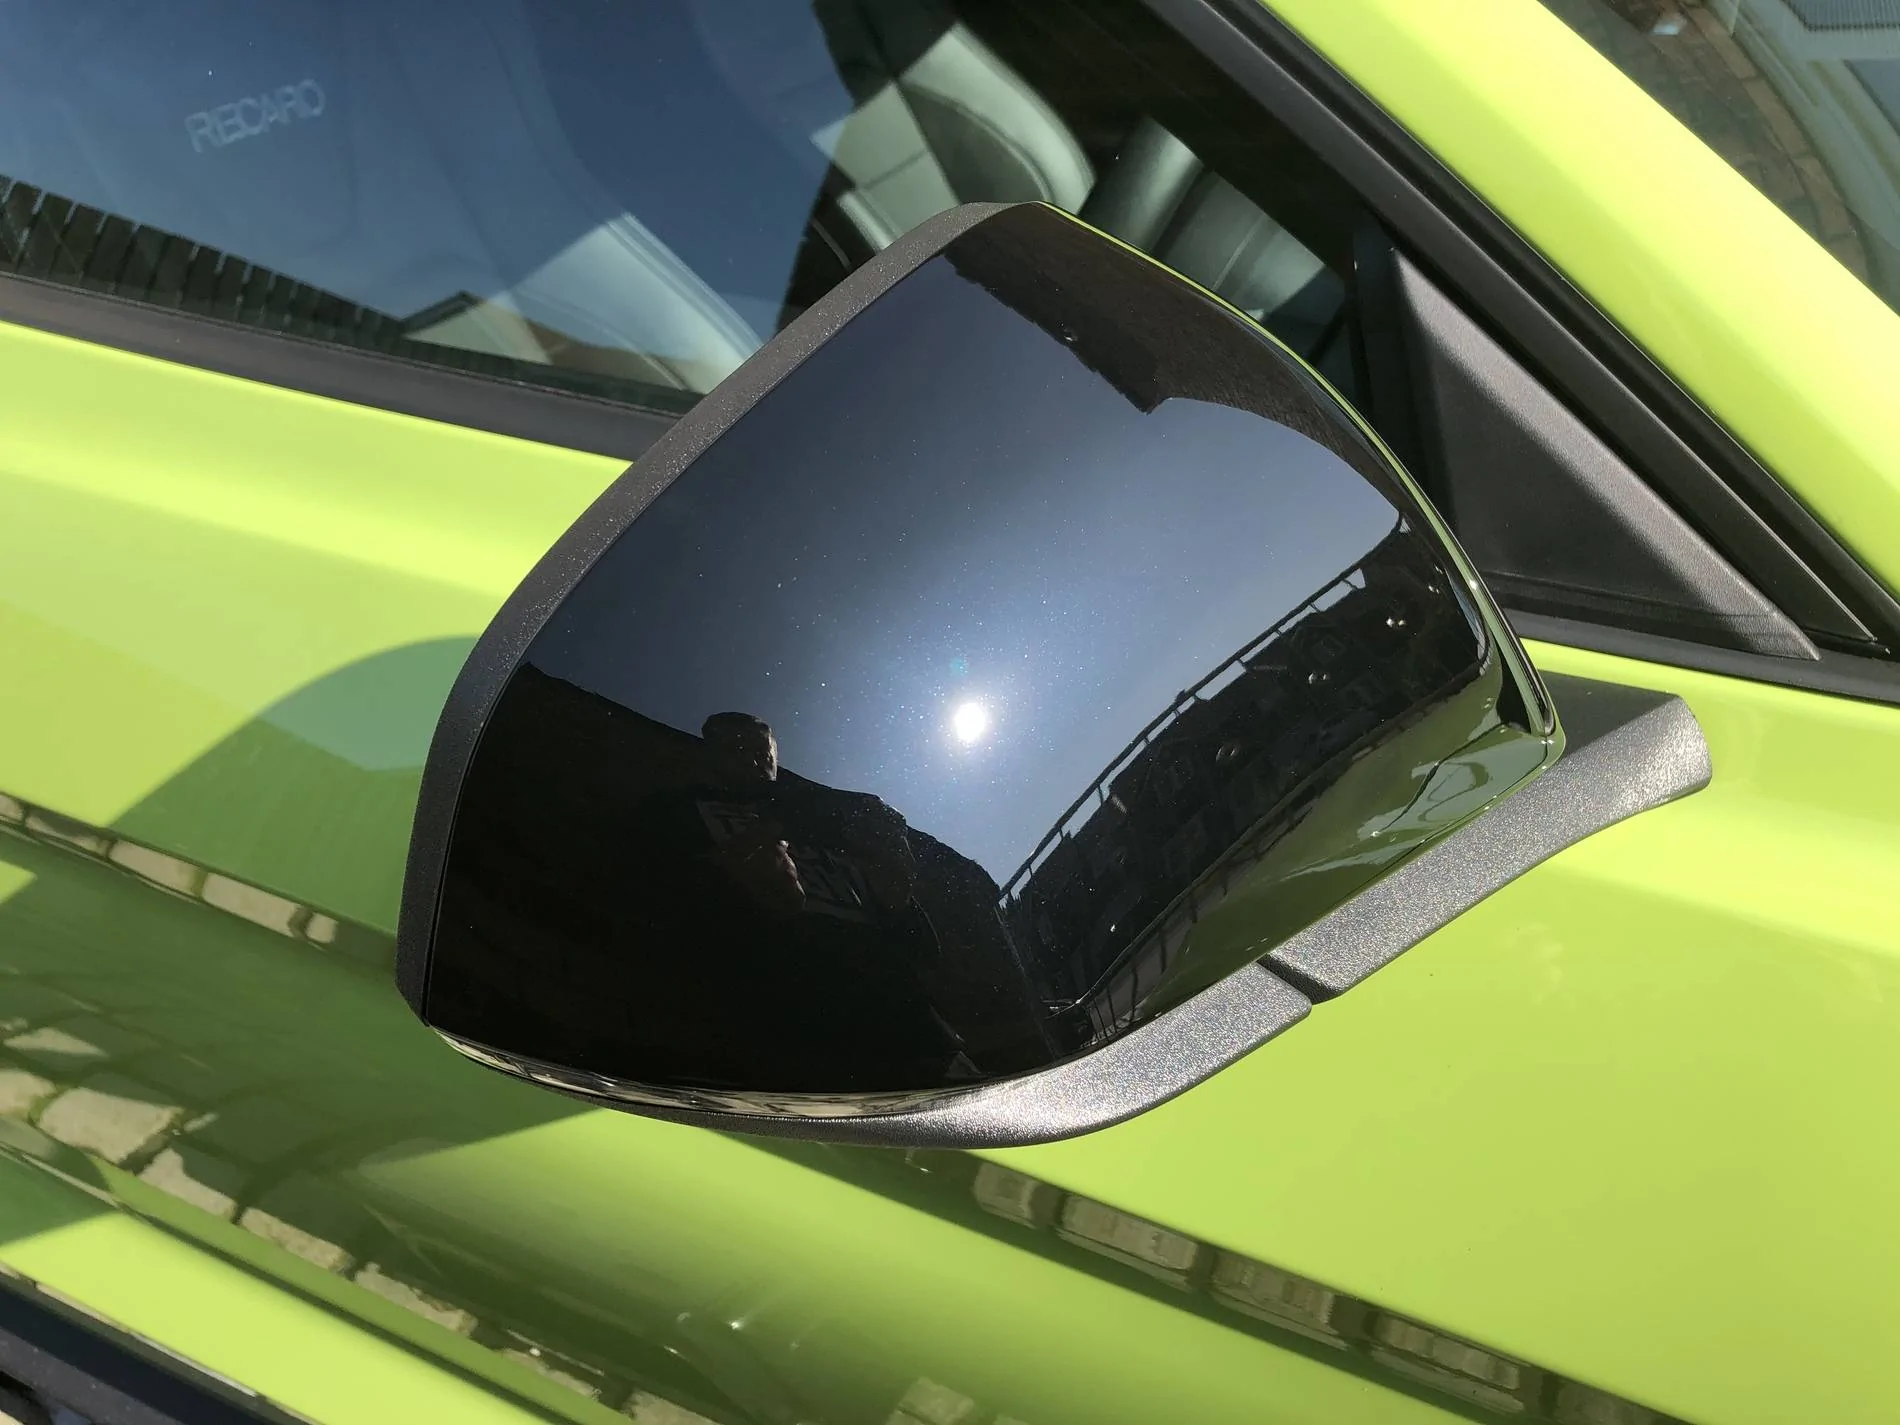
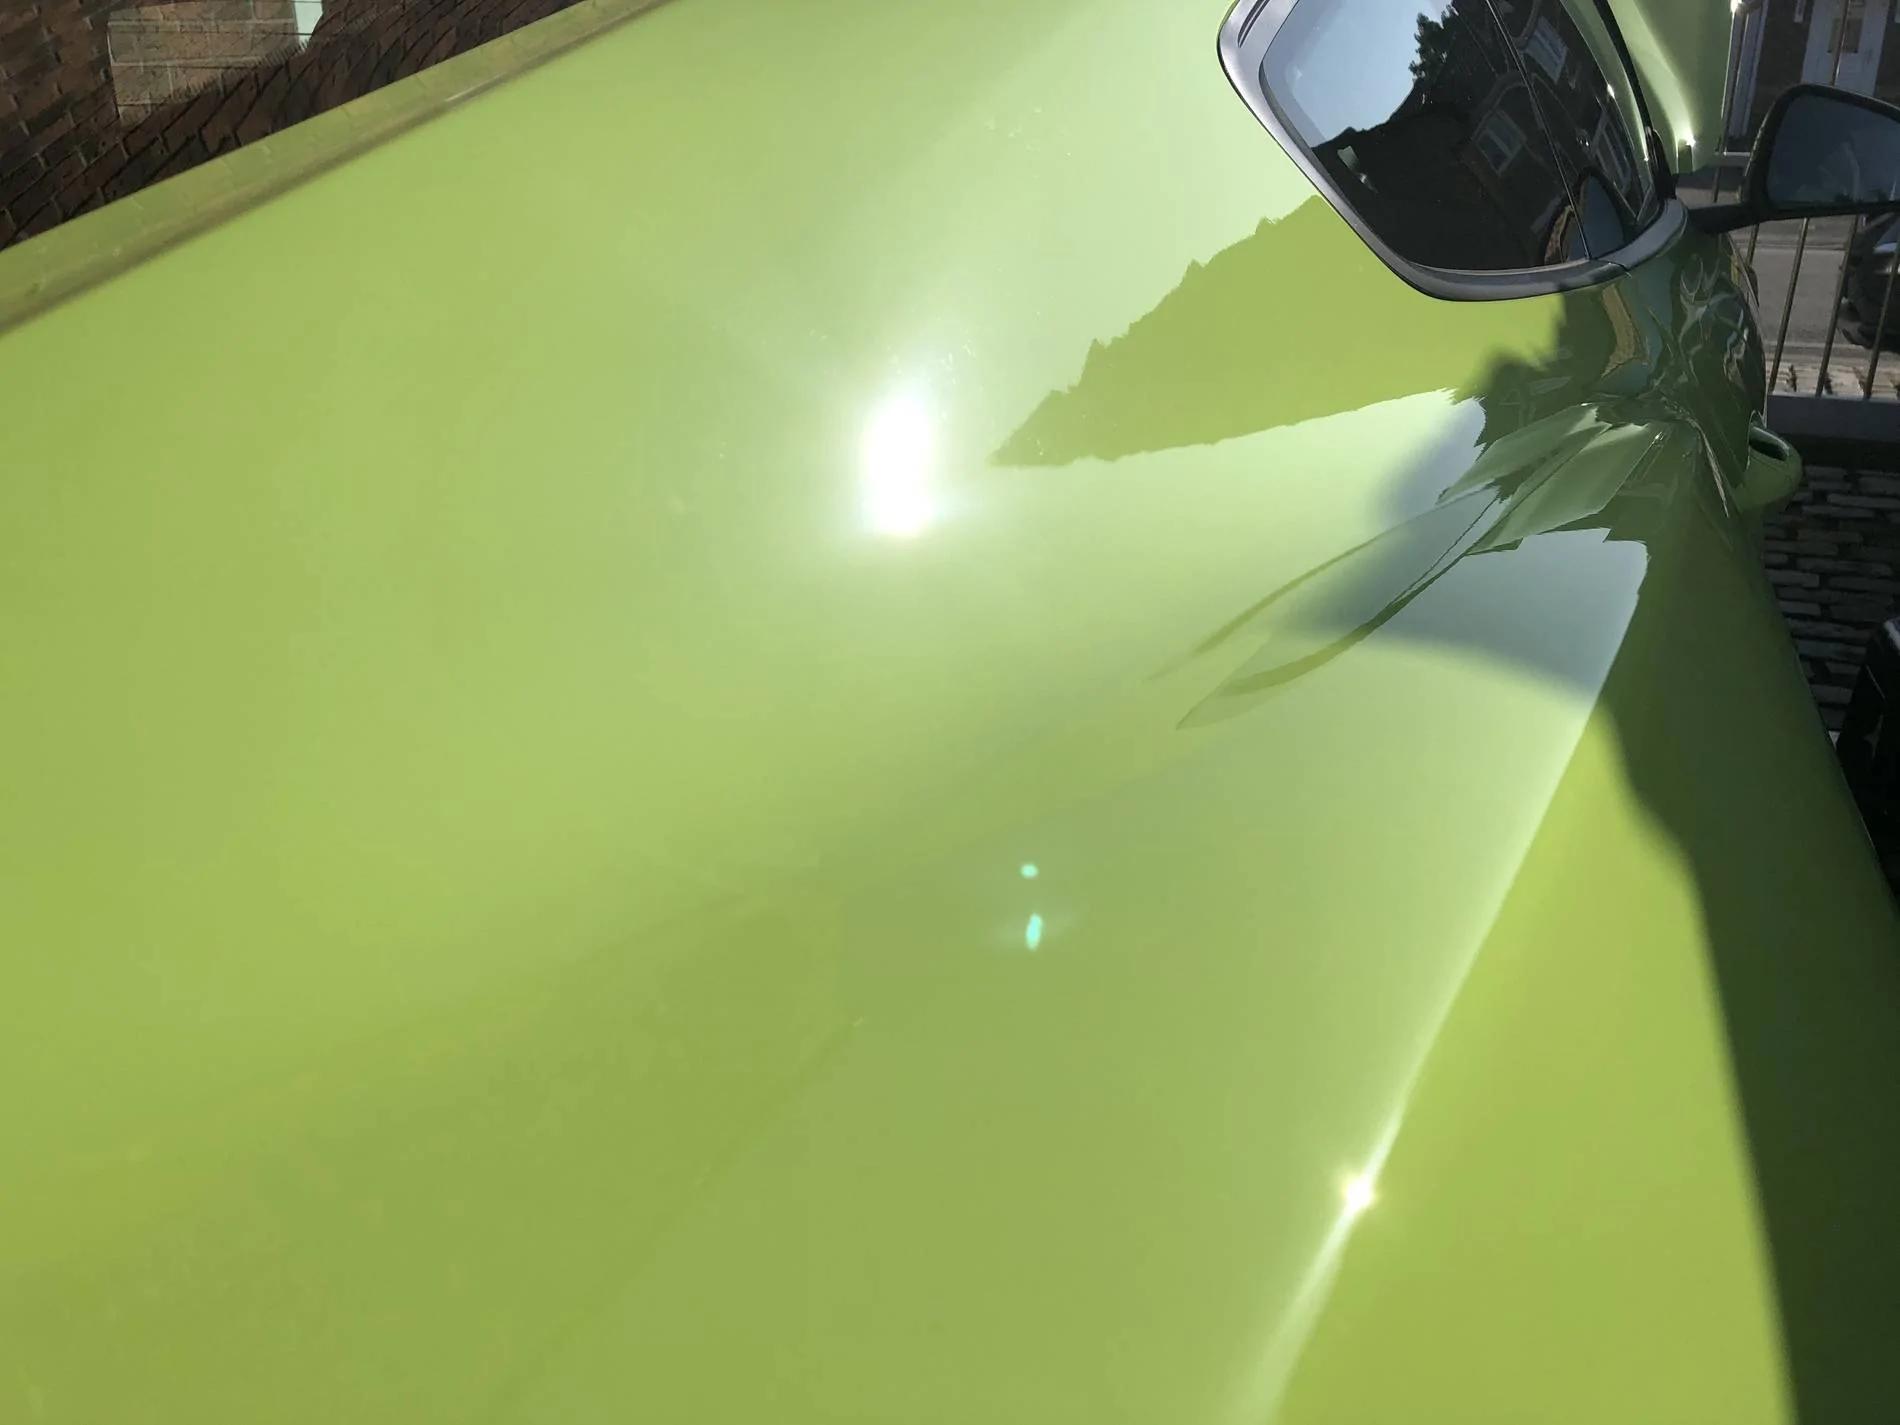
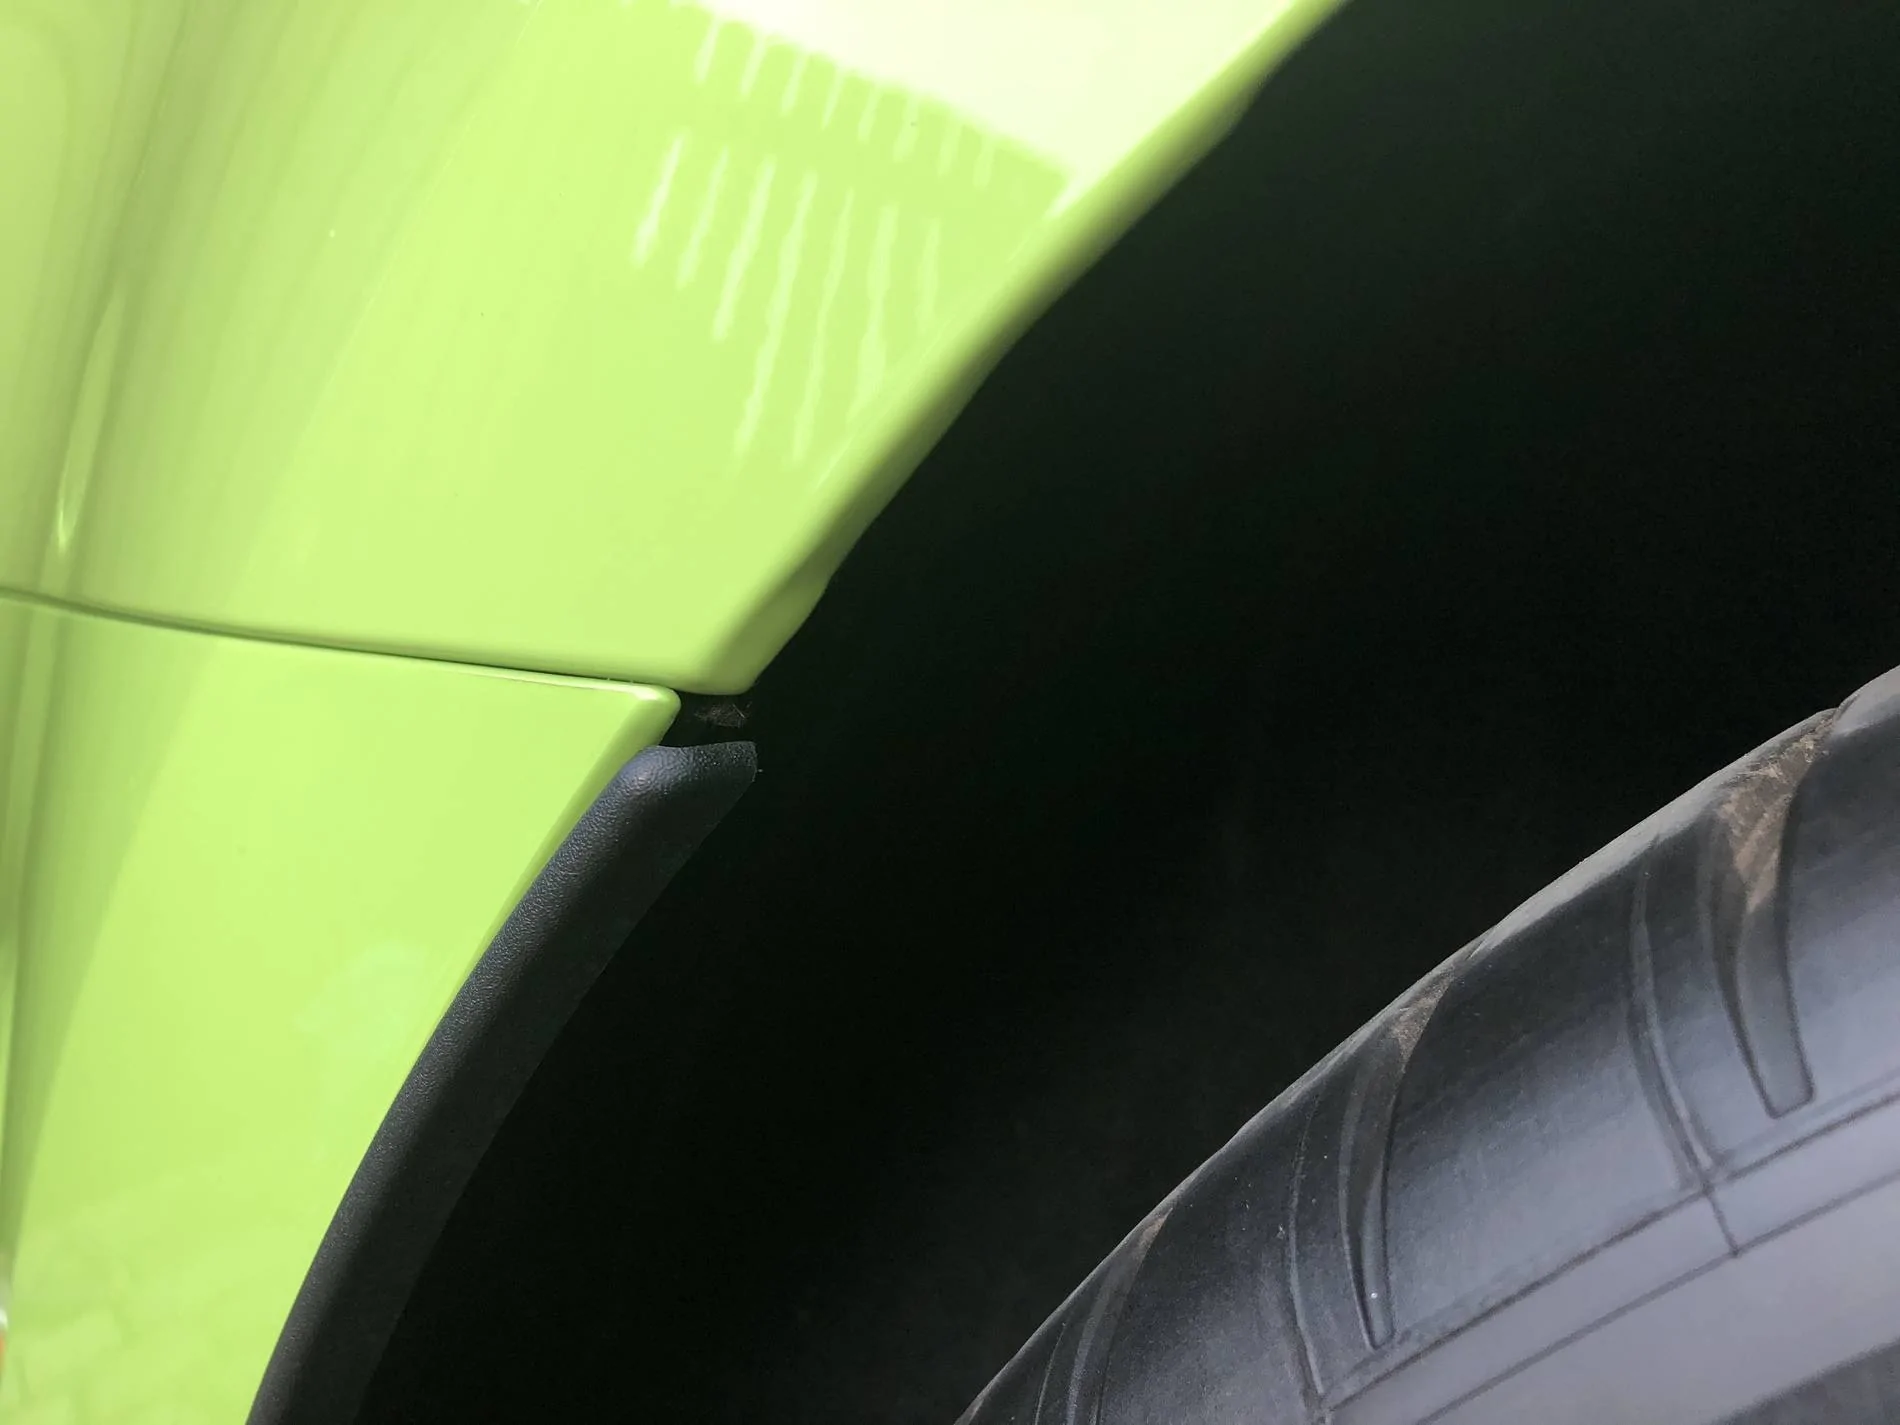
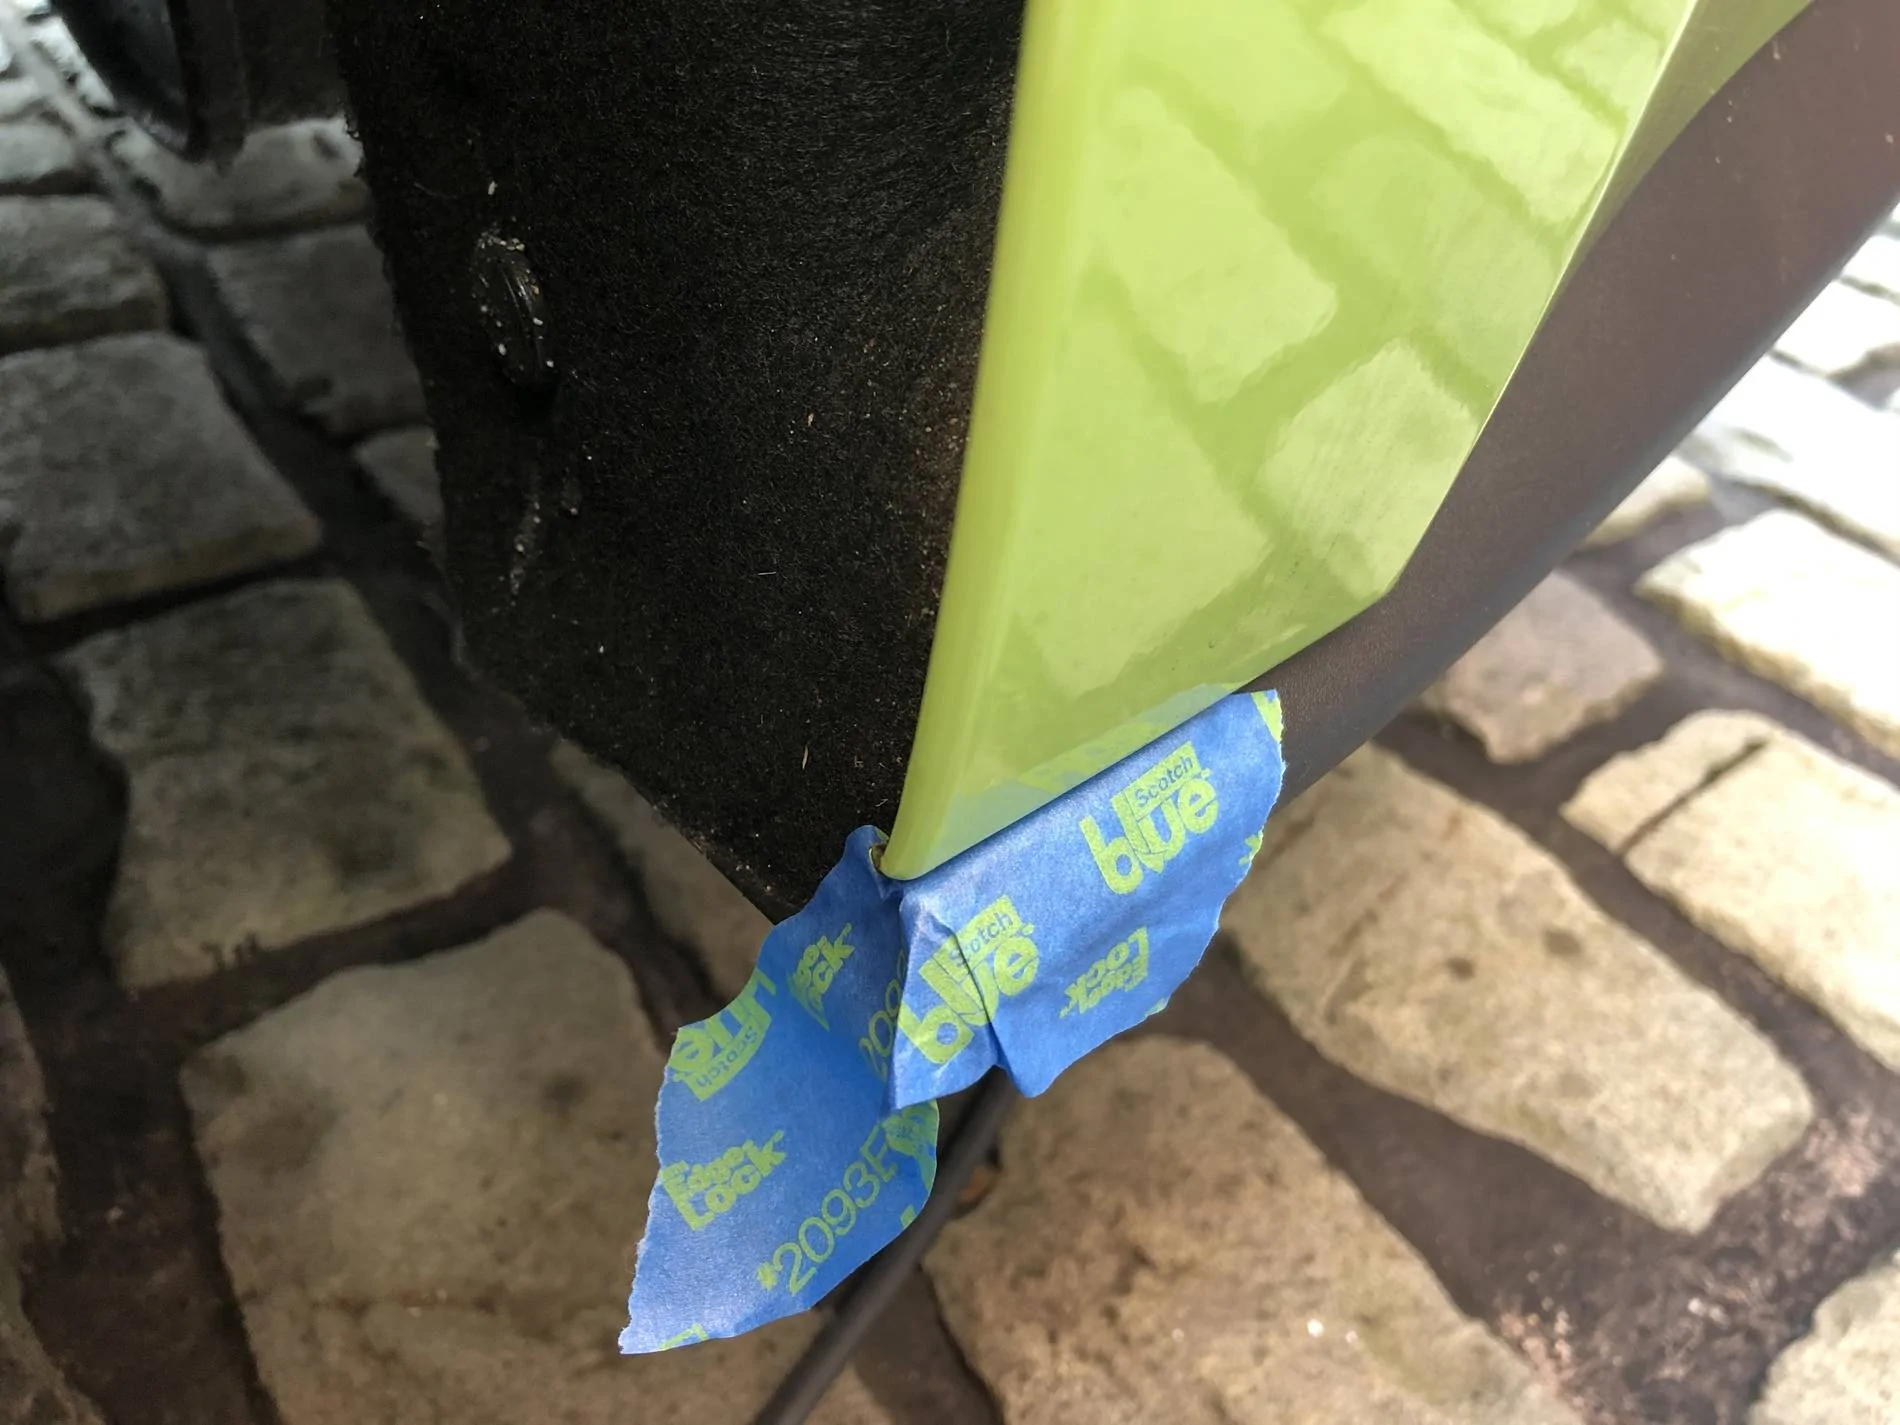
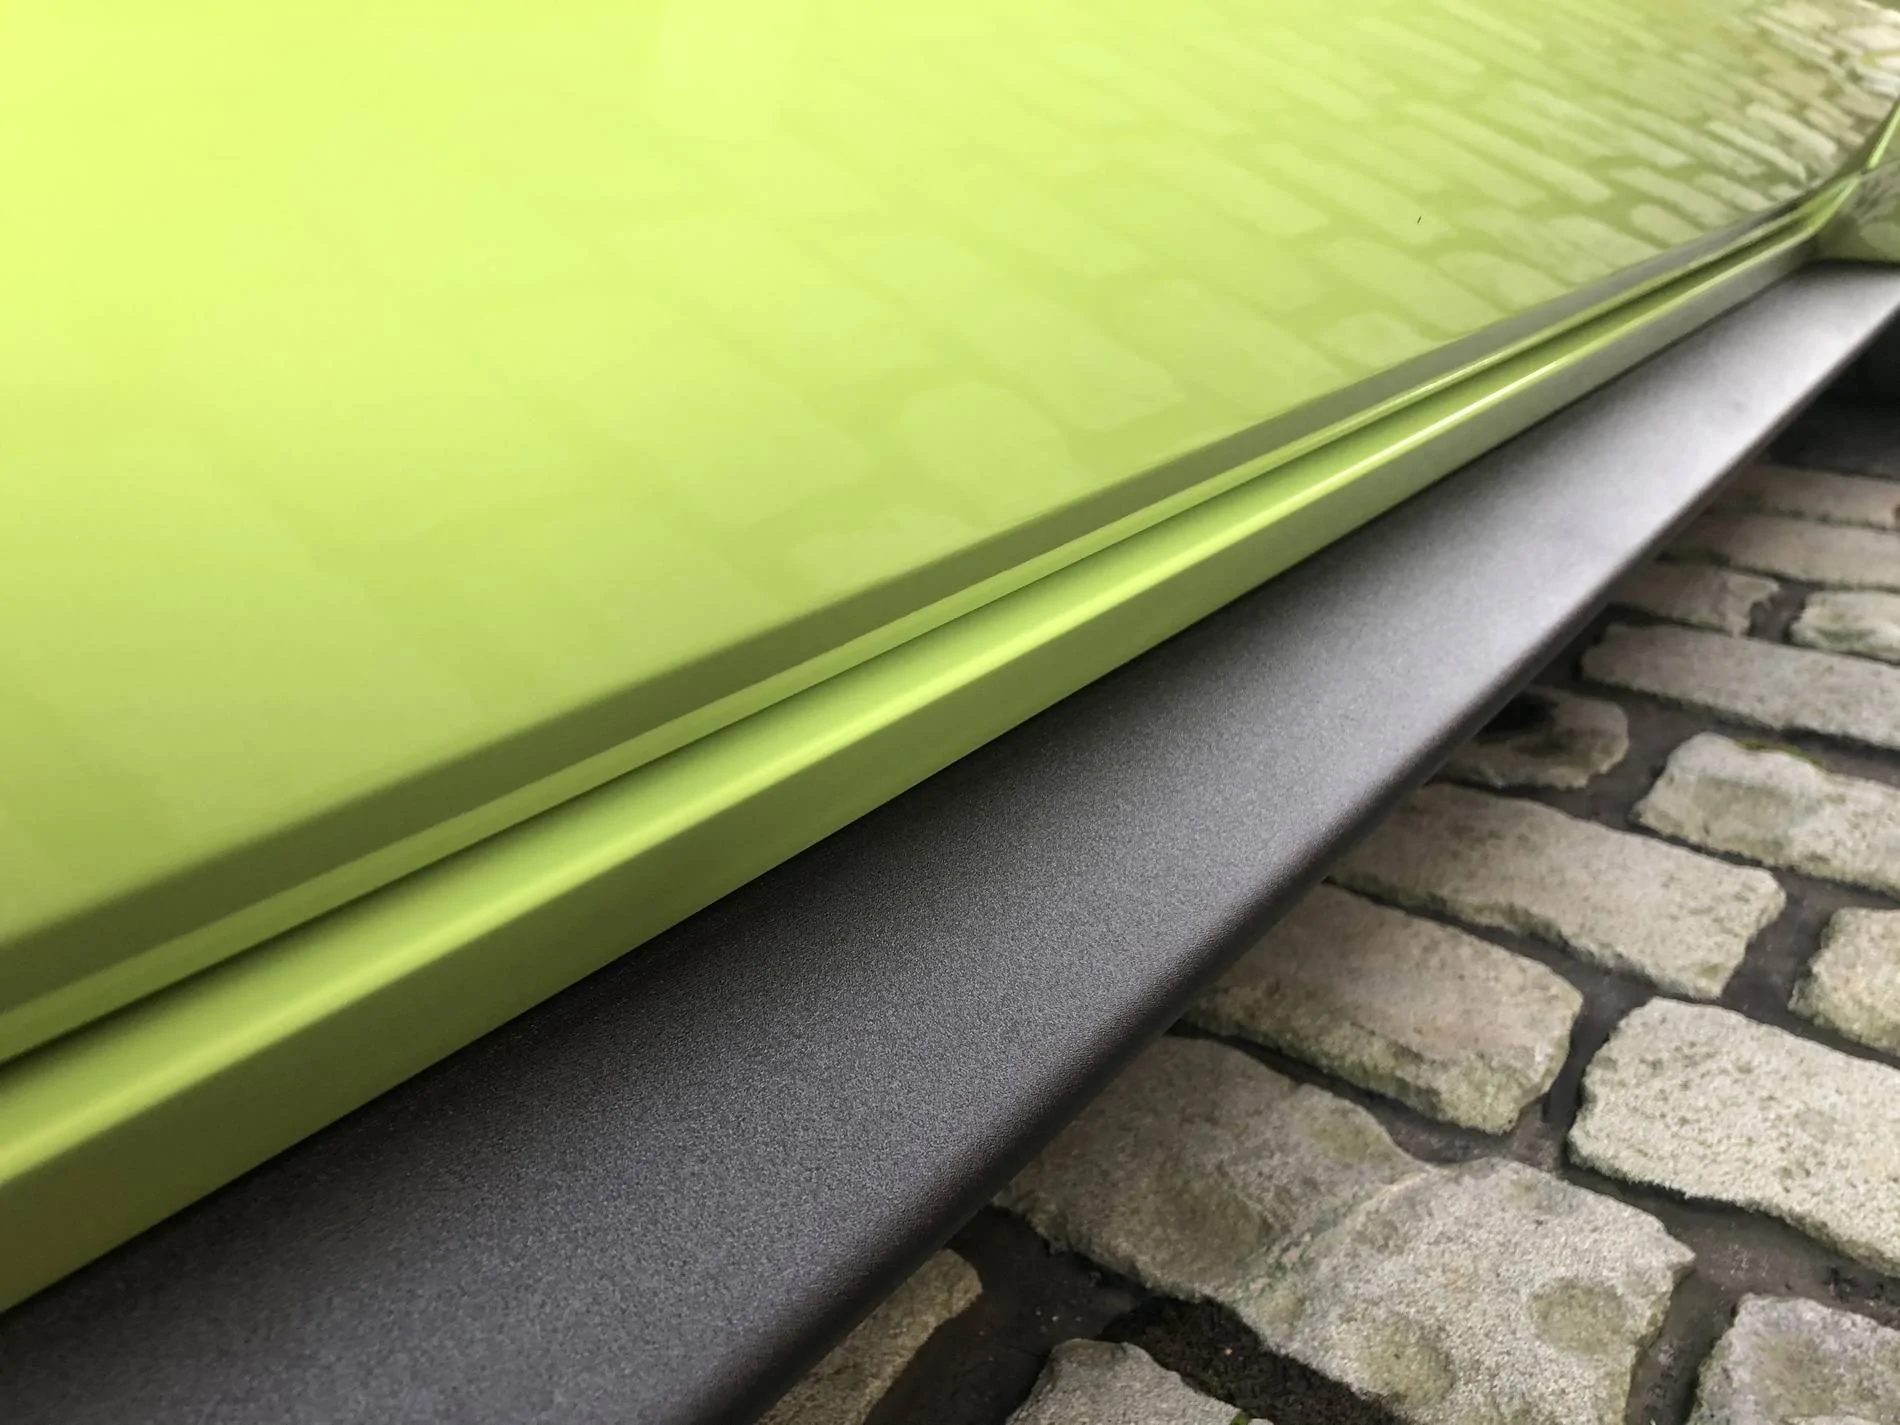
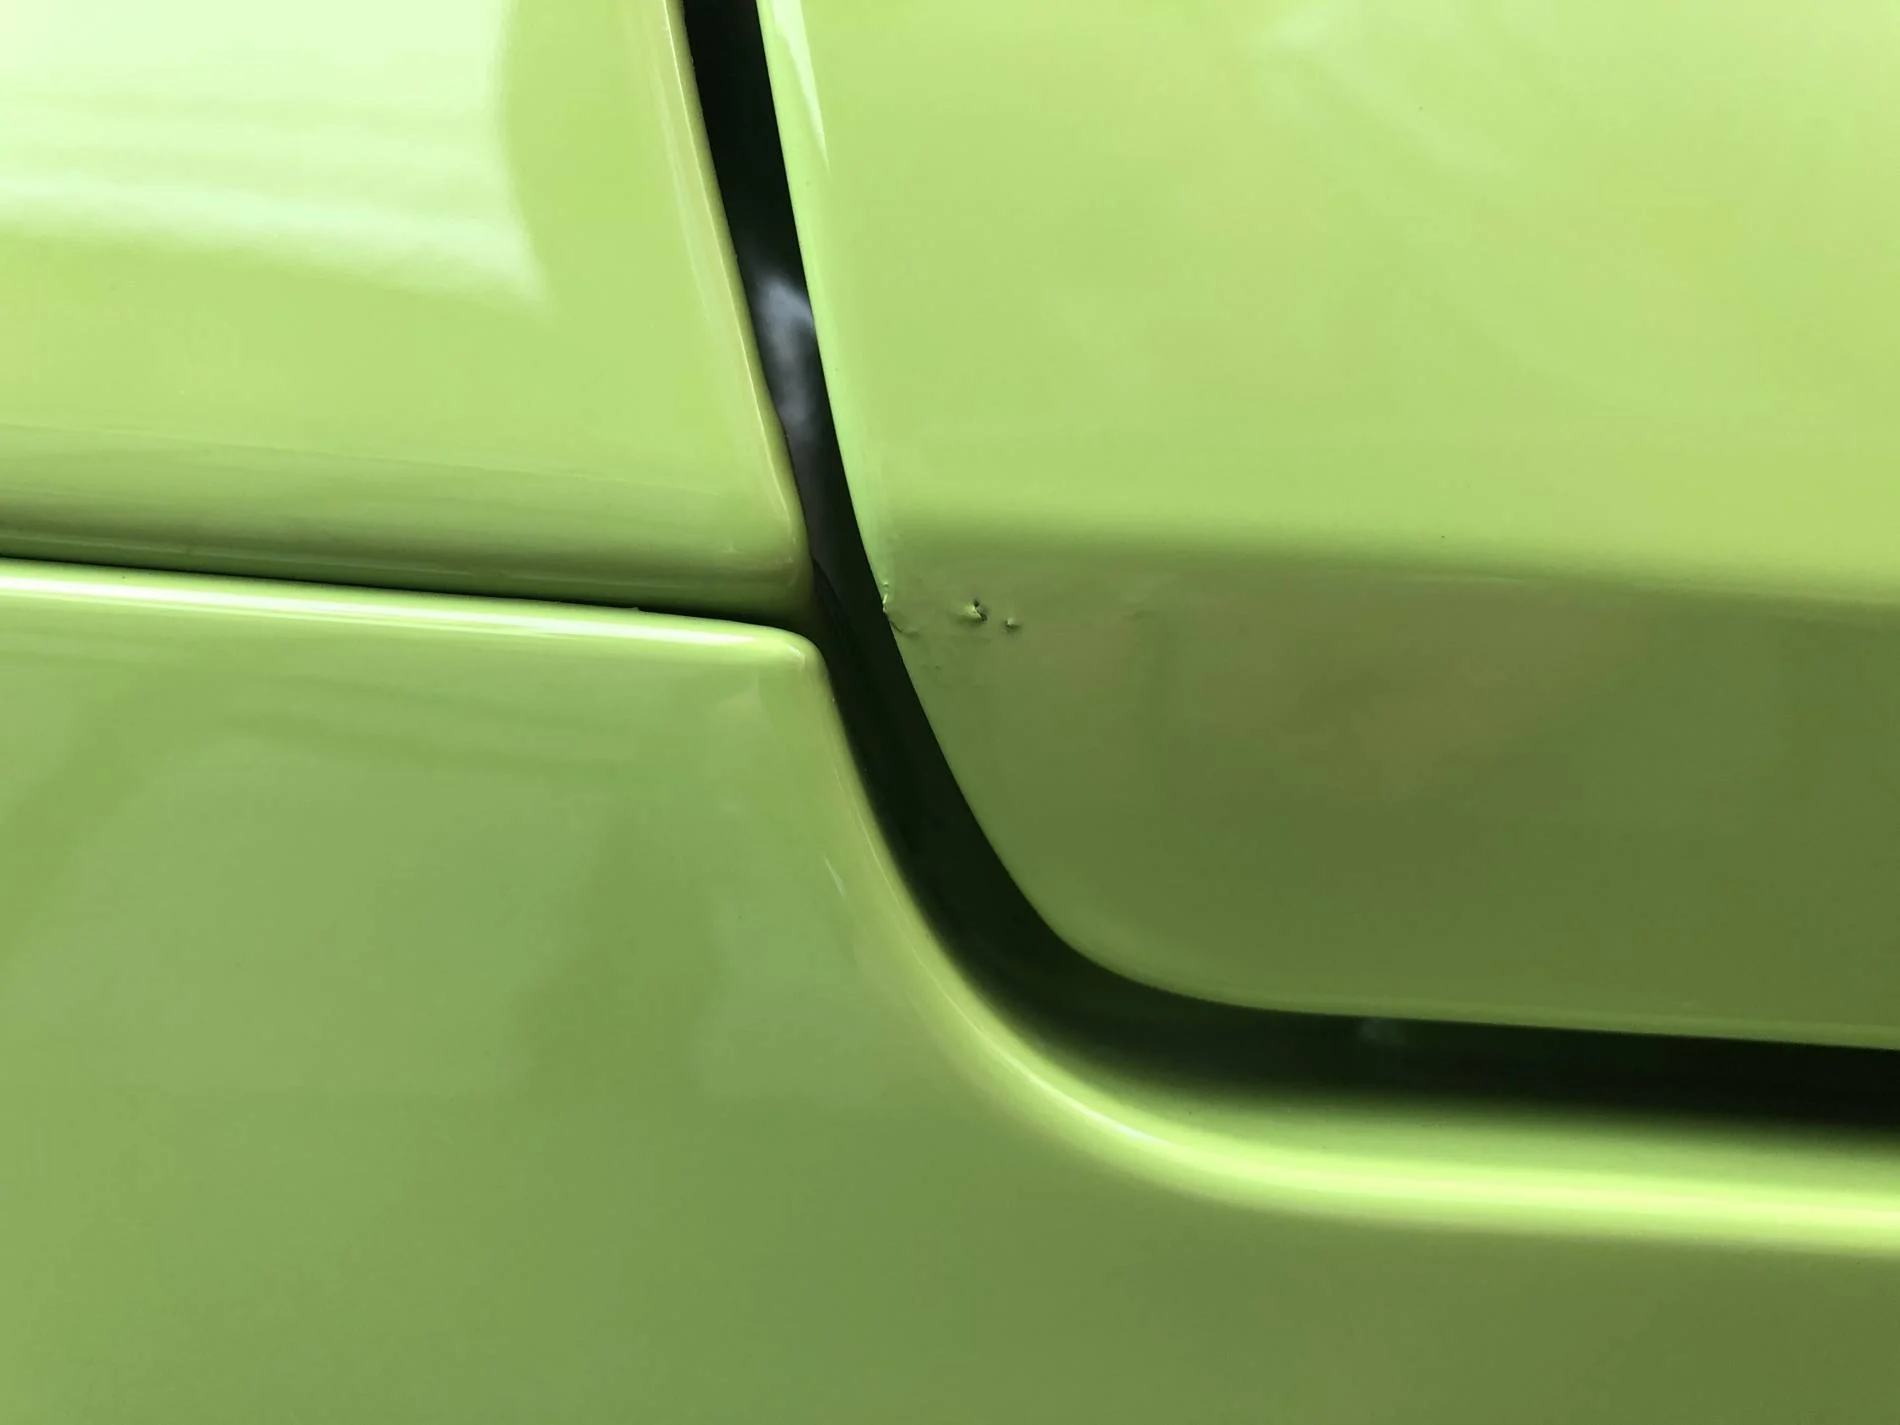
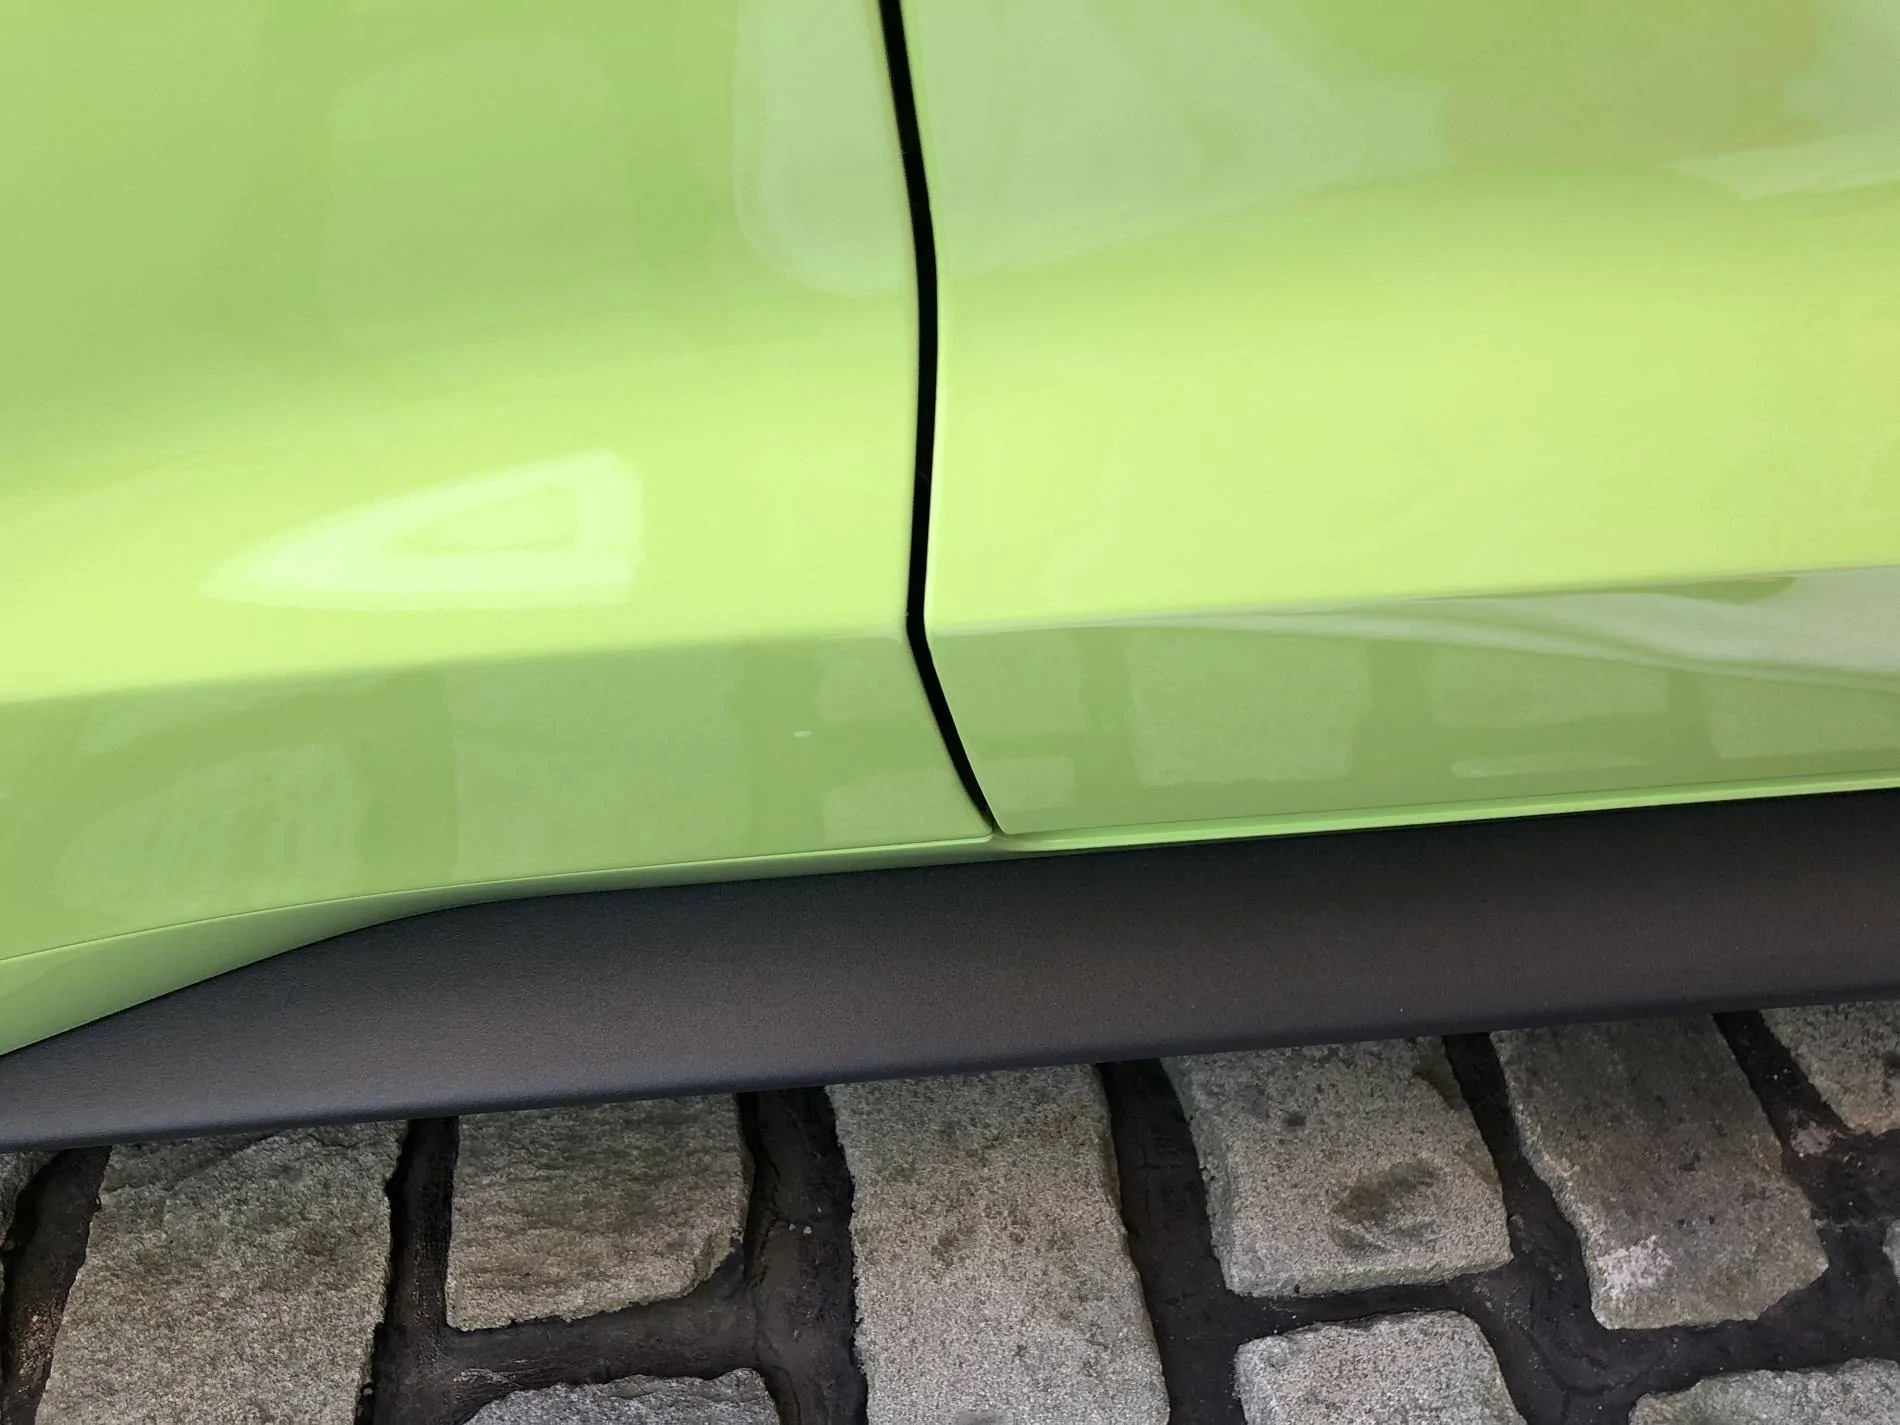
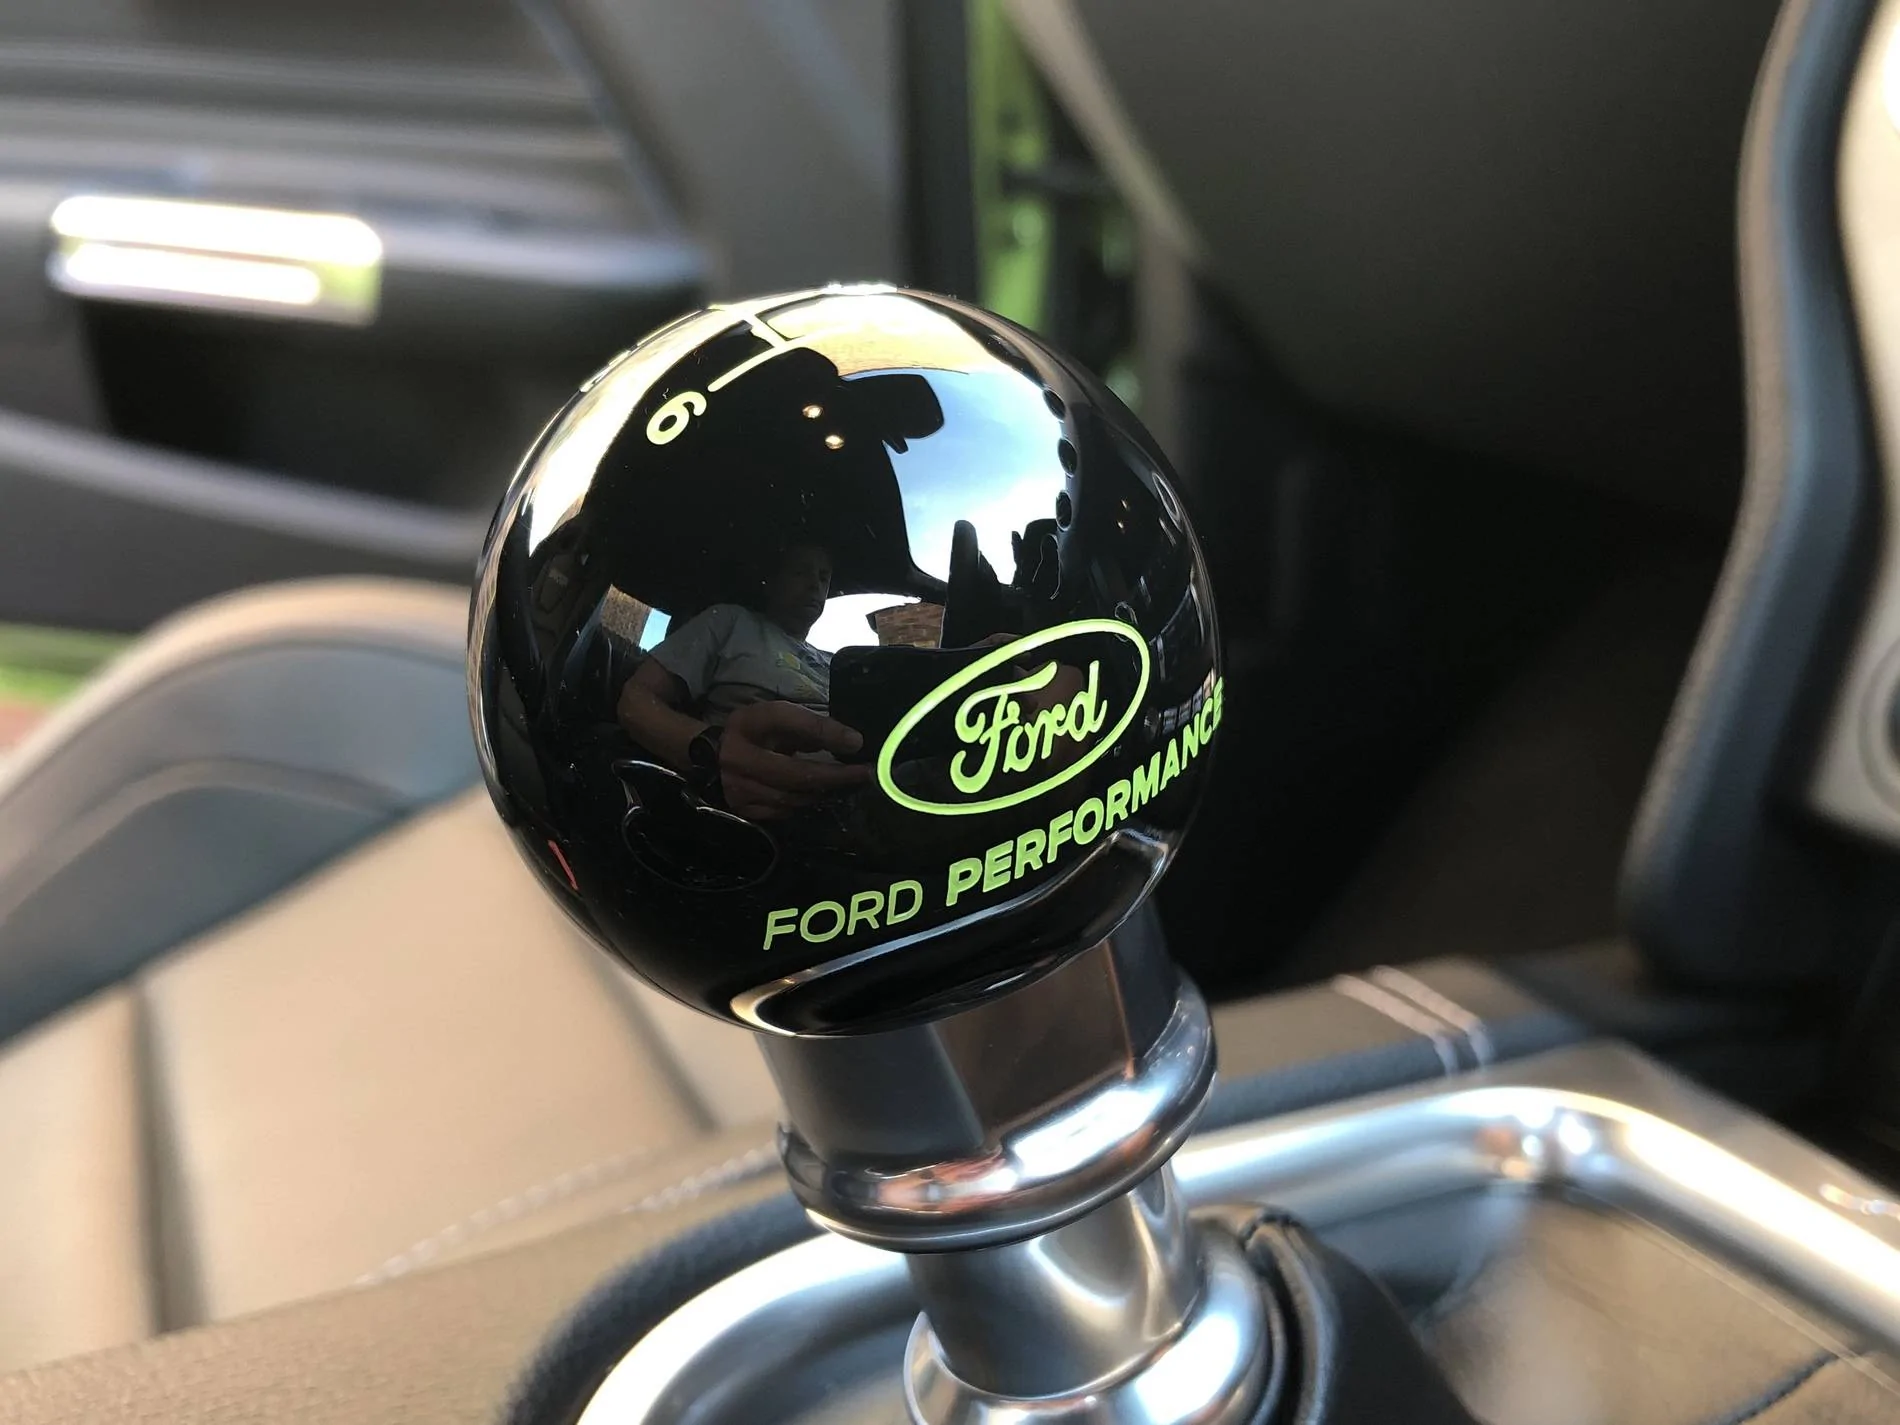
Other than that I’ve started the big clean up and assessing what needs doing on the body (the dealer was instructed not to touch it externally - hence the dirt in some of the pictures above).

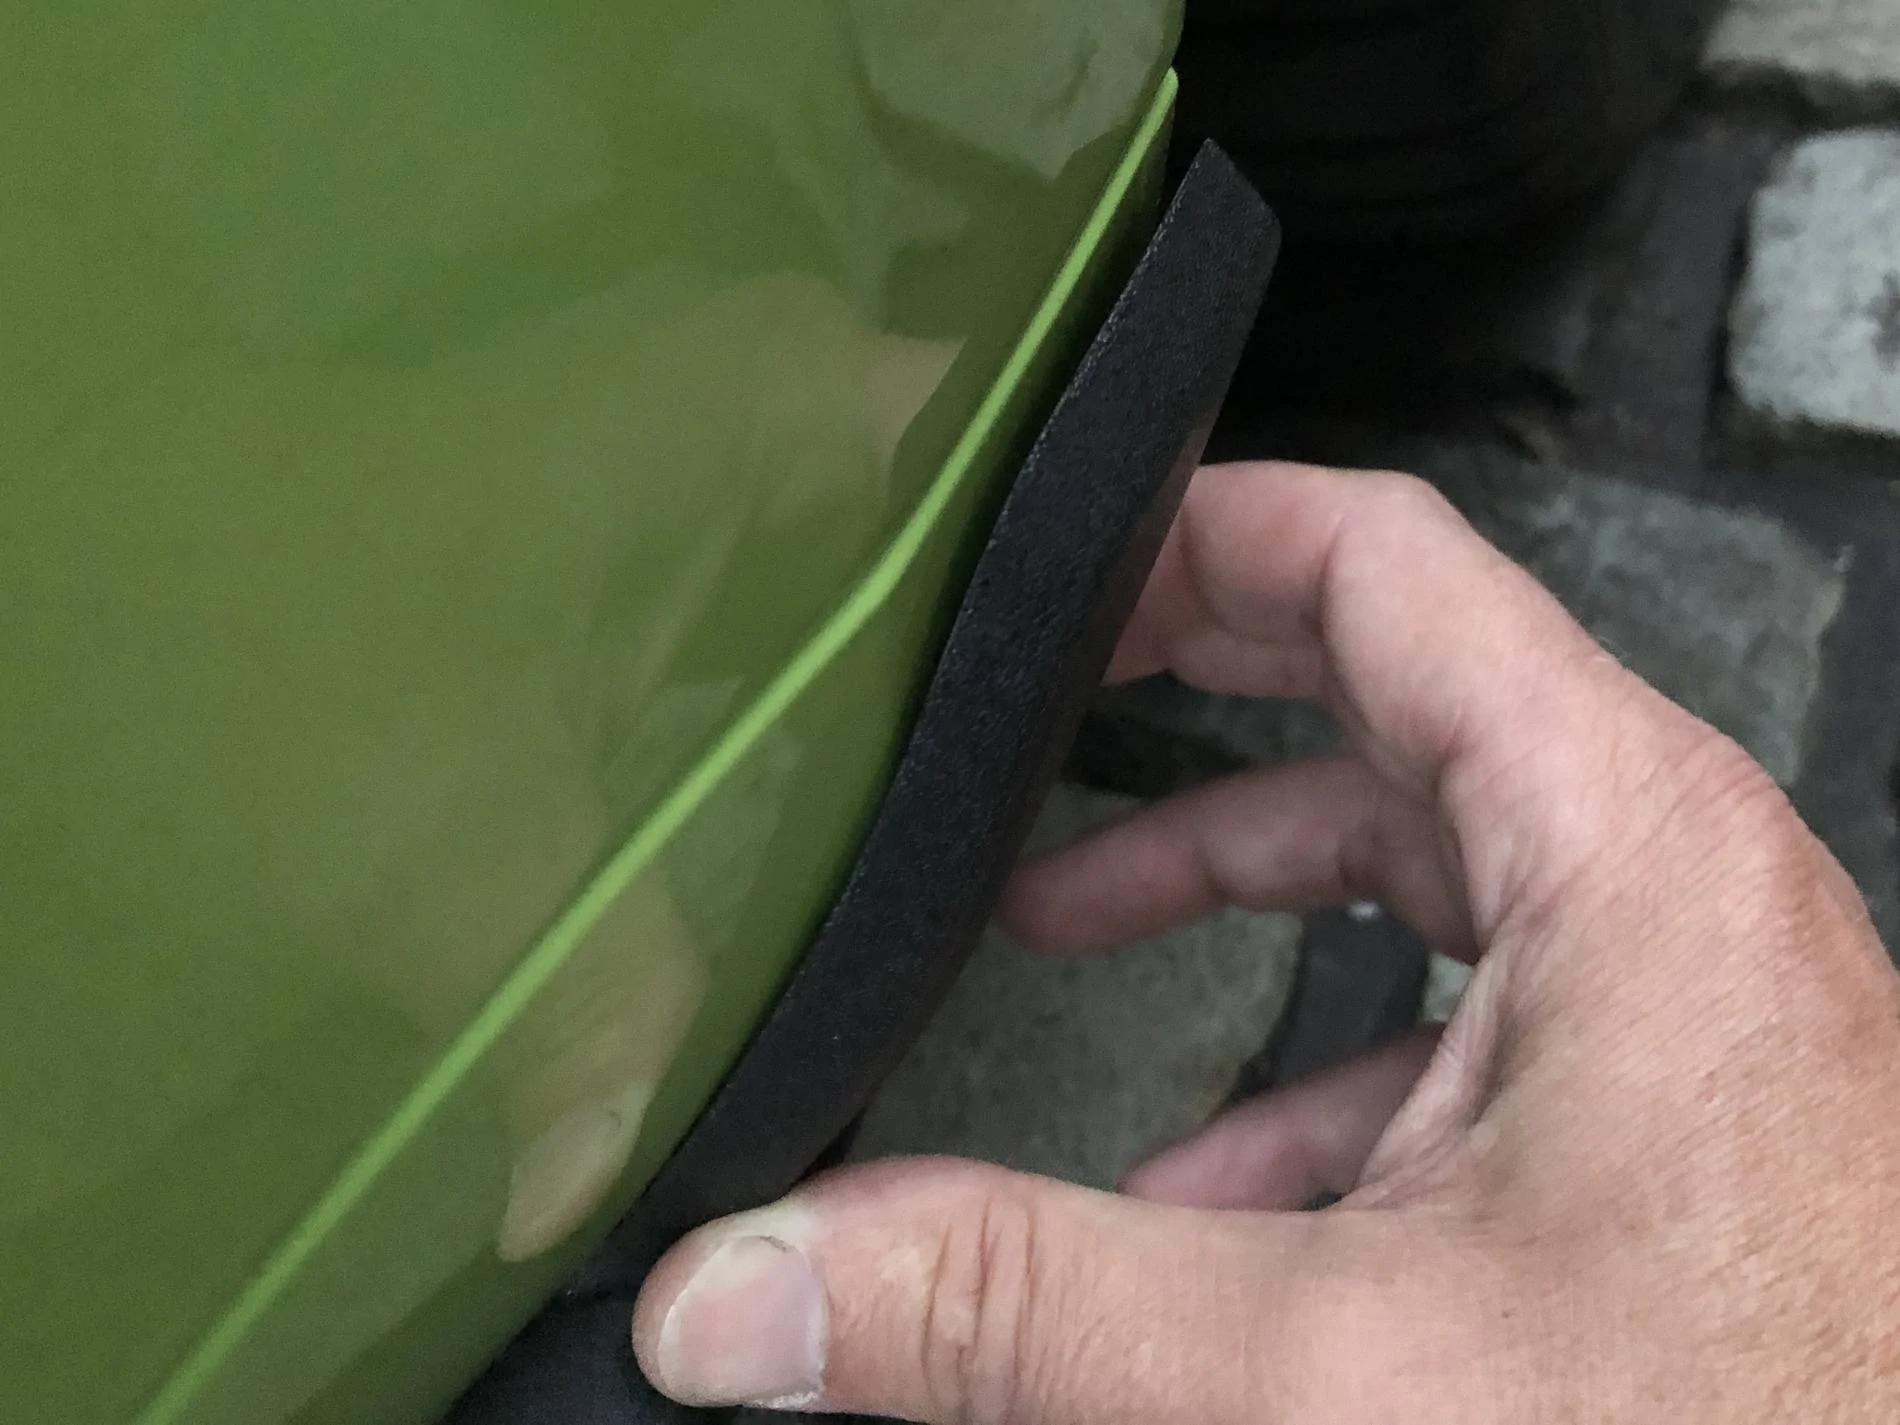
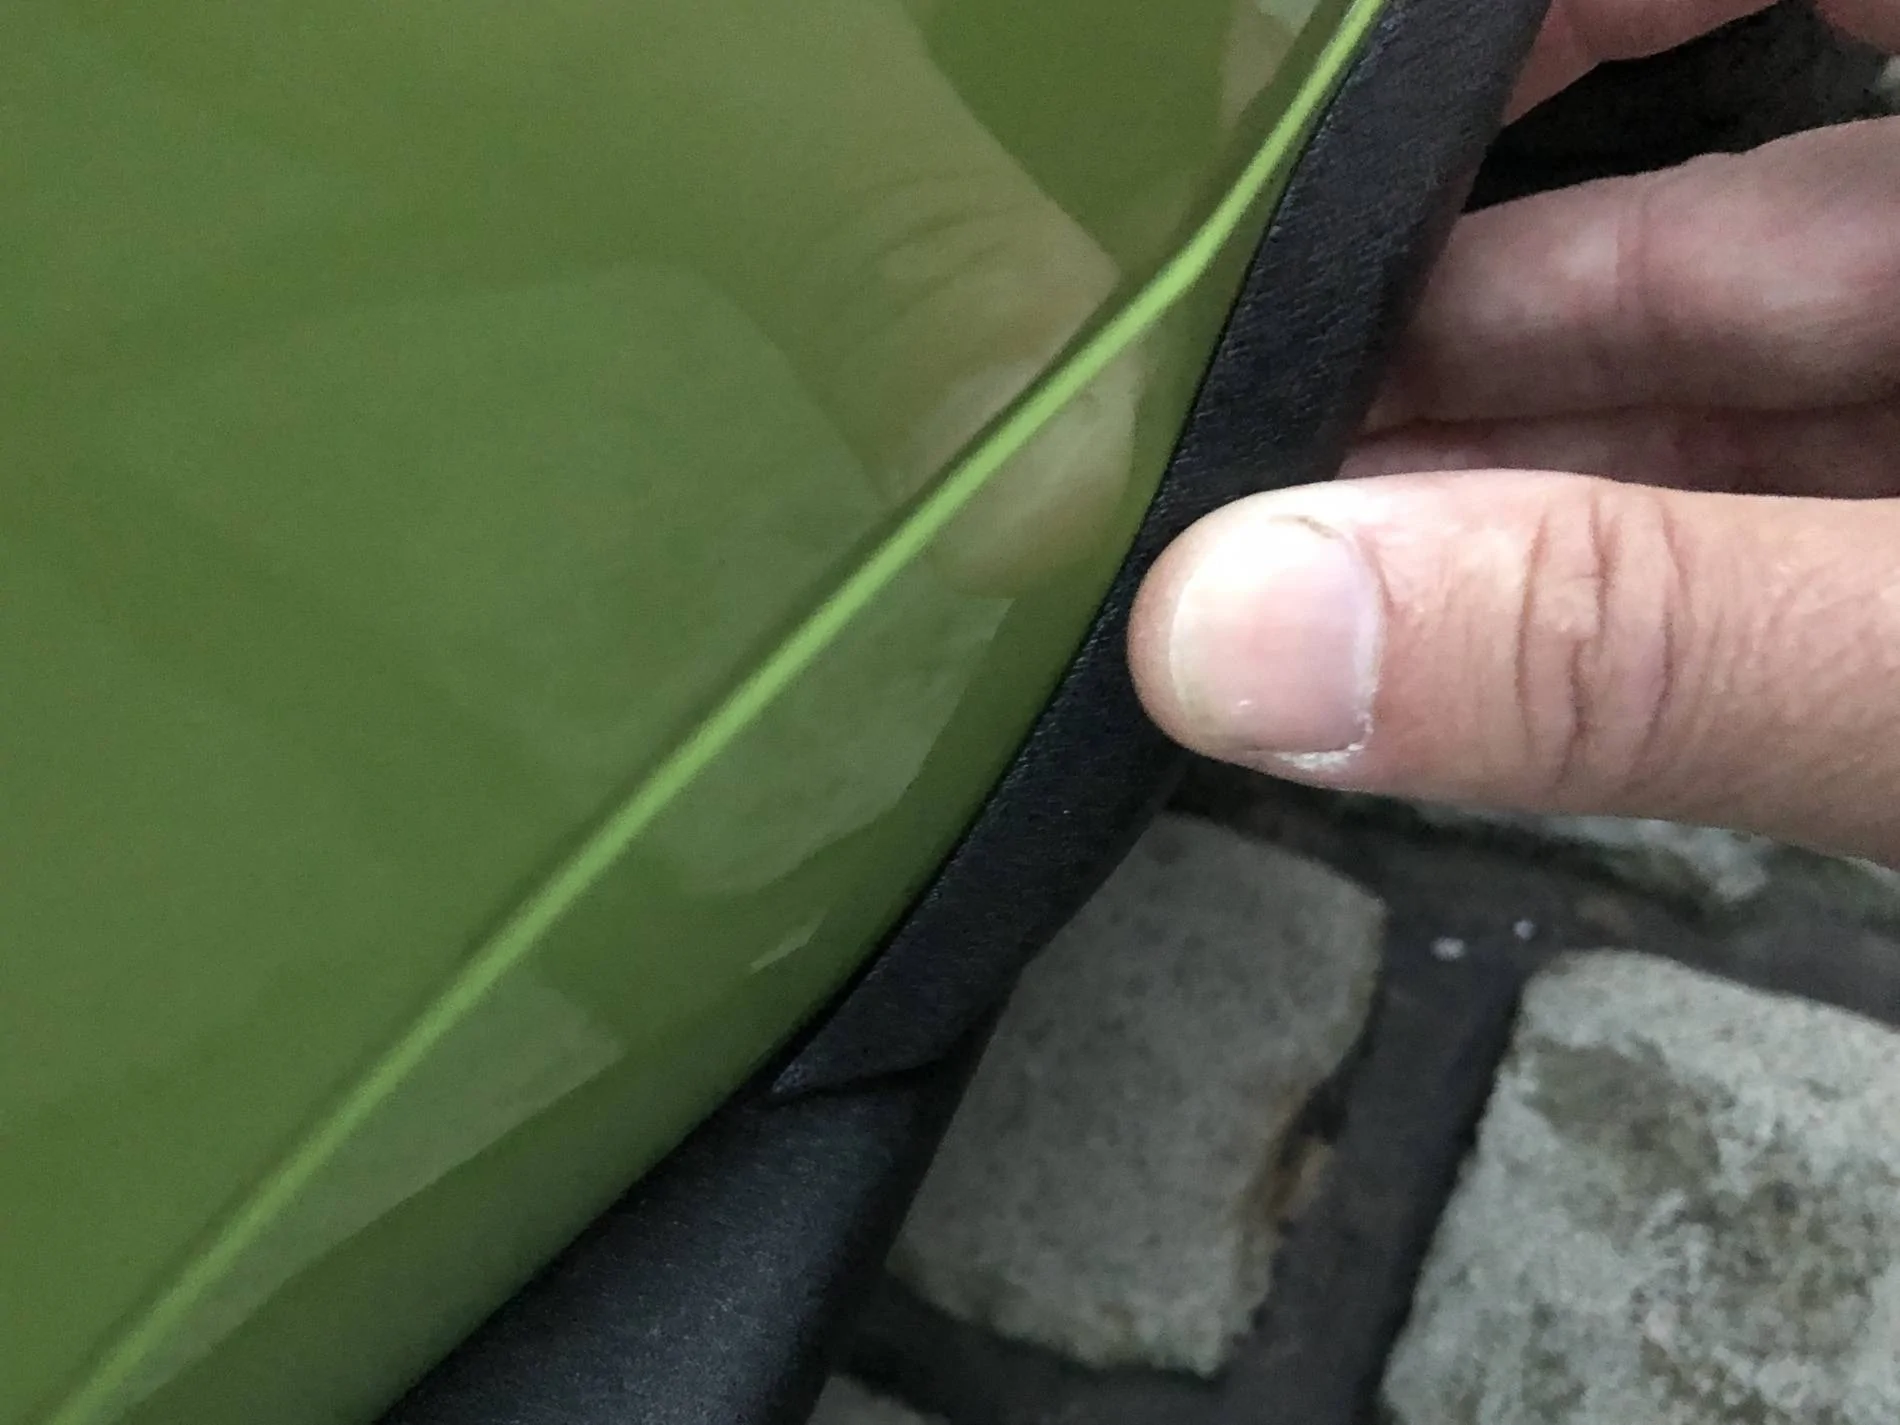
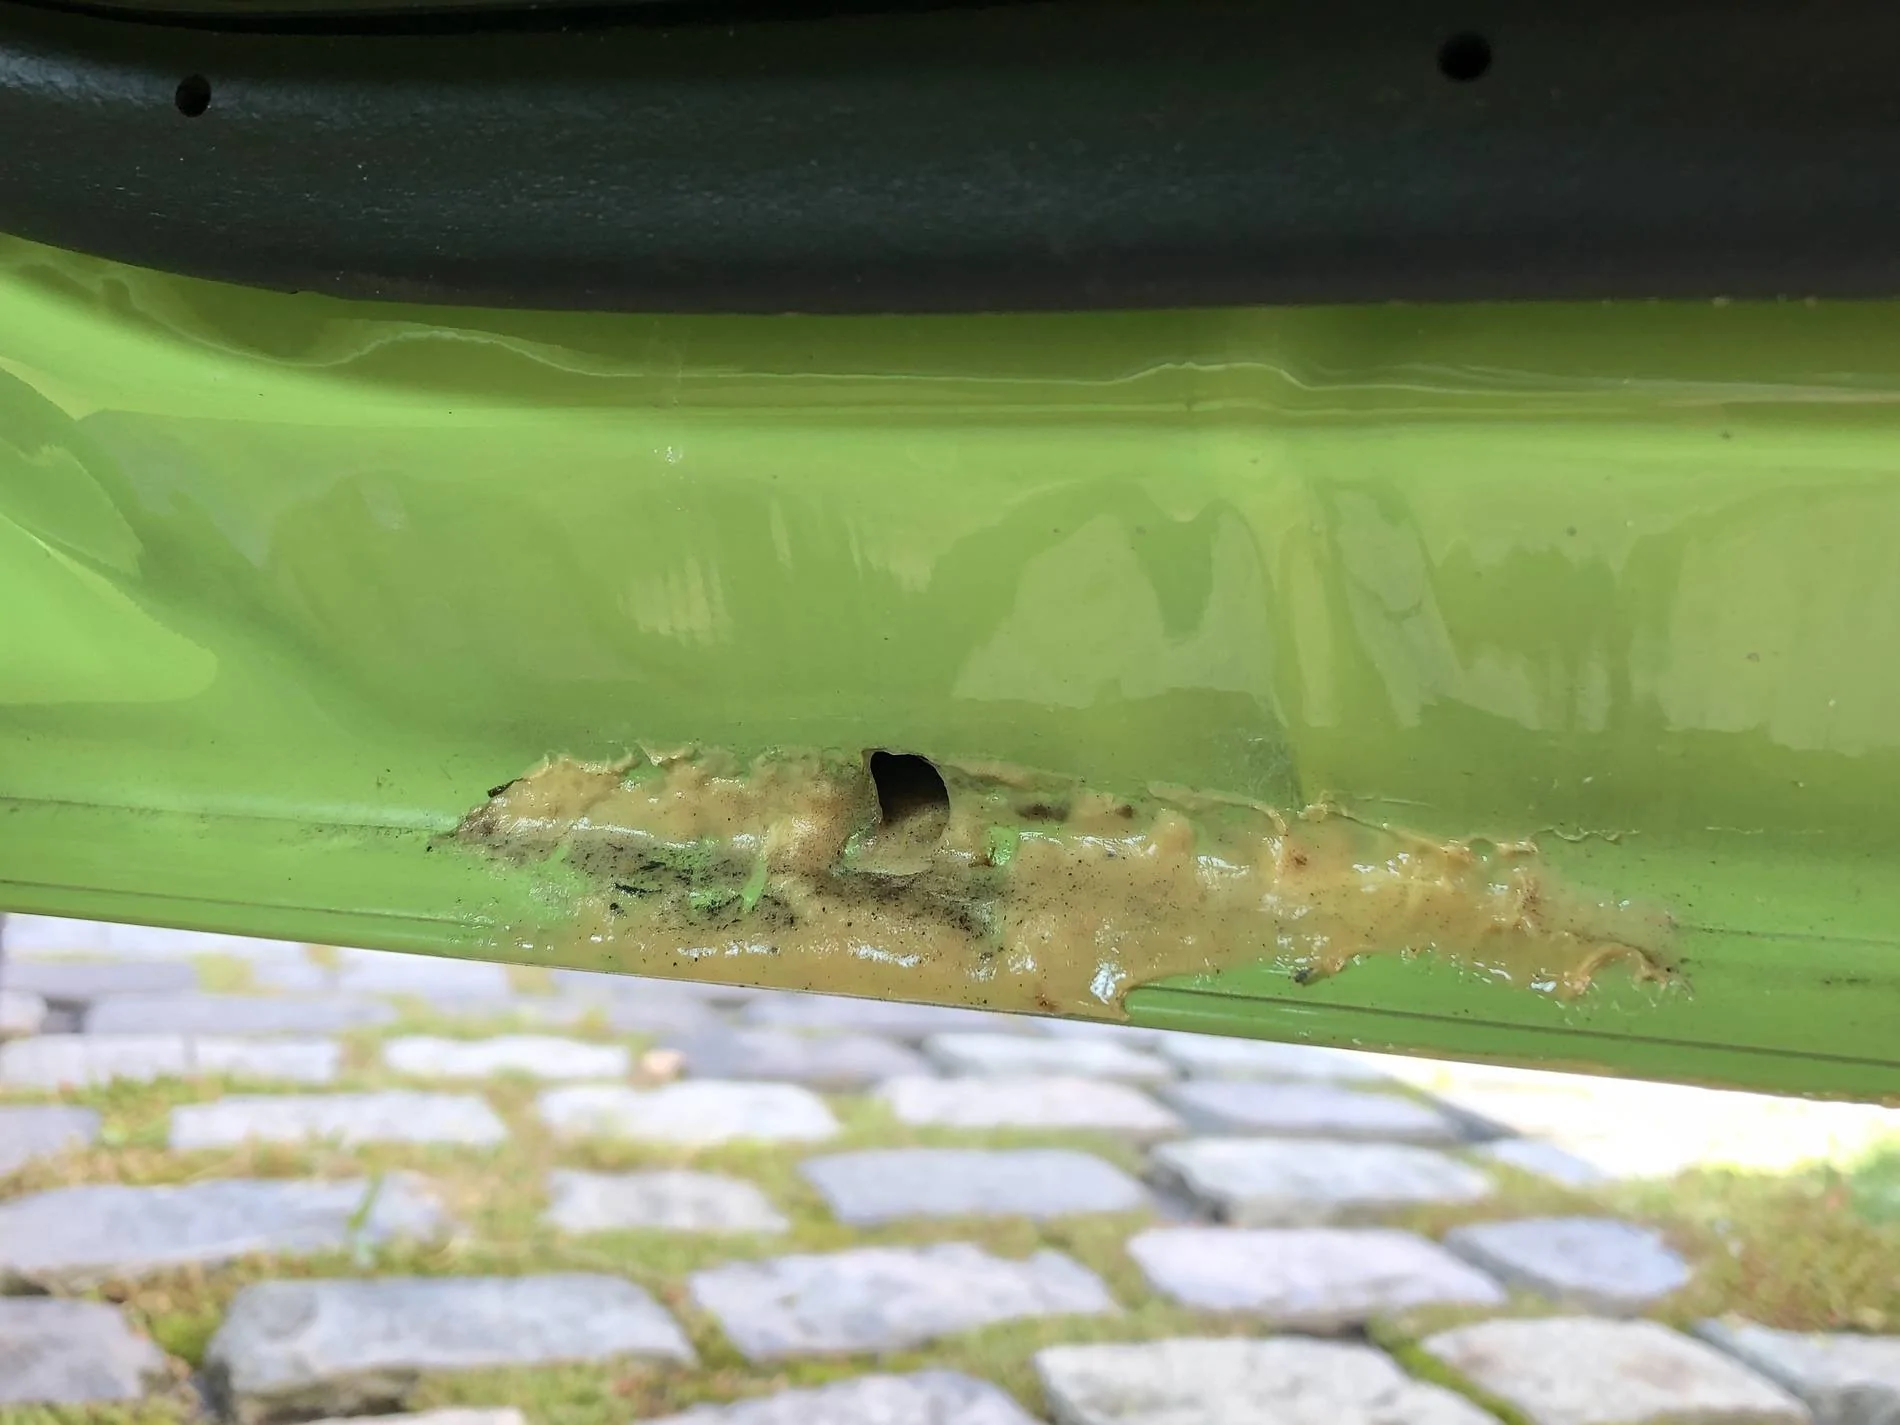
There’s the odd patch of underseal overspray and some iron contamination on the passenger rear quarter but in general it looks pretty good. Zero swirls and only one (very small) paint defect in the black roof found to date. I think I’ve been quite lucky as the dealer has a Bullitt in which isnt great and black 55 which is absolutely shocking ... :crying:

WD :like:

That is massively lucky.

My car was collected from the dealer by the detailer, again with instructions to the dealer to leave all wrapping on and not touch it in any way whatsoever.

The detailer took 5 days JUST to do the paint correction, it was the single worst brand new car he had ever seen.


Otherwise, personally not keen on the loss of detail in the puddle lights, if it had been me I would most likely have taken the assembly apart and painted the bulb direct to give the lime coloured light shining through the template to keep the detail.

Also IMO actual black wheel nuts gives a better look, and without the risk of loosing the plastic caps.

But as with all mods, it's your car so do what you are happy with. :like:

Congrats on a gorgeous car, in a beautiful colour and here's to many miles of smiles
 

Sponsored

OP
OP
WD Pro

WD Pro

Well-Known Member
Joined
Jan 18, 2018
Threads
121
Messages
5,716
Reaction score
11,026
Location
United Kingdom
Vehicle(s)
Lime GT
Vehicle Showcase
1
Thanks :like:

I’m not counting my chickens just yet with the paintwork - I’m sure I will find more when I really get into the detail, but initial impression is very good and a walk around the car is encouraging. The 55 I looked at in the showroom had flaws on it that could be seen from two car lengths away ...

The loss of clarity on the pony lamps is nominal and in most circumstances it would probably go unnoticed. The photos taken are with gloss white paper under them as my drive is cobbled and they look a mess when projected onto that. Even with a good tarmac surface I’m guessing the edges of the light would be blurred a little due to the uneven surface to a greater extent than the small loss of clarity from the overlays. Anyhow, it’s a easily reversed mod and the girls will probably want me to swap them for pink next week ... :cwl:

I take your point on the wheel nuts and they are only a cheap place holder until something better comes along. Gorillas don’t seem to last in the UK, Mc guards are expensive and hard to get hold of, @Kristian87 is out guiana pig for the black ford nuts ... :sunglasses:

WD :like:
 
OP
OP
WD Pro

WD Pro

Well-Known Member
Joined
Jan 18, 2018
Threads
121
Messages
5,716
Reaction score
11,026
Location
United Kingdom
Vehicle(s)
Lime GT
Vehicle Showcase
1
Spent a bit of time with the dremal to deburr the pipes and then put a nice brushed finish on them, at least they look like they were assembled with a bit of care and attention now :

28476-F58-46-BD-4-B18-B485-E77-A4-C1-A034-B.jpg


8334811-D-BC5-A-426-A-9-C58-A06020-DDE00-F.jpg


OK, on with the paintwork and time to find out what I’m really dealing with ...

This shot is after washing, drying, cleaning off the sticky marks from the protective wrap and an alcohol wipe down :

83-D0-E569-07-F9-4920-BCB7-7-C3-C87634-EF1.jpg


That’s a pretty good start. It’s easy to make black look good in a photo, but not with a direct sun shot - hence the photo above.

Here’s the flaw I found in the roof, directly above the reflection of the sun :

DA9-C76-FA-31-A5-4670-B019-DA47-AAE7-CCE7.jpg


But to put that into reality ...

9-A32-B1-AA-CBA7-4680-9010-686435840263.jpg


Whilst the suns out, here’s how the visor ended up :

E0-A07-CA7-D9-E9-4100-96-A4-23-F001954-B15.jpg


The paintwork only needed hitting with NXT (it has mild cleaners) and then one of the best carnauba’s :

161-F2621-F8-EA-4184-8902-CCBAD9-EA918-D.jpg


The neighbour must have agreed with my choice as he asked to come around to have a look at what been making all the noise, he complemented the car saying it looked great with the glass roof ... :cwl:

I knew the mirrors would look OK with the same wax as I had already put the time in to wet sand and hand polish them up :

9445-B985-98-E0-4-F2-B-8958-B076033-AB348.jpg


2-DB6913-A-2875-4-DA8-82-C5-9-E187383579-E.jpg


Here’s what the lime looks like (zero prep), much harder to photo but it’s in equally good condition :

63-F04102-F096-49-B6-852-A-36-B067-FA5-FC2.jpg


Now it’s all been checked out I know I don’t need to get the DA out to get this looking good - I’m happy about that A) because of the time and B) more paint left on the car for future paint correction if it required.

Spent some time removing the underseal overspray, it was worse near the back of the car, on the lower edges and particularly on the return lips :

CACB80-AA-5-C50-4-B9-B-B139-D0989-D9-ABE14.jpg


CC6-C296-D-9-F60-4938-900-B-AF7-B3-D77-F064.jpg


This lip had a flaw, but it sanded out with only a slight trace (about 15mm up from the tape) :

40-E44-BD4-A544-43-CE-AD09-330-B4-E1203-F6.jpg


Bottoms prepped, 303 on the sills after removing the dried cavity wax :

BF6961-F5-8-DAF-4119-AC27-A075515-F7-F3-A.jpg


As this is a build thread and not an Instagram thread, here’s a bad bit I found under the left door :

5-E9195-F8-BA39-4909-86-C3-3-A40-FA959-DE1.jpg


But in reality it’s hidden, even when kneeling down :

BC2843-A1-4-F4-E-4-E9-D-B8-F5-970211690-A6-B.jpg


I don’t want to tackle fixing this as I suspect it’s one of those jobs that could go wrong, I’m simply going to seal it up with a bit of touch up.

Father Christmas isn’t coming this year kids, your dads bought a mustang instead - and just to make sure, I’ve disposed of him and hidden his beard in the sub box ... :cwl:

C41-EE2-F3-2-B91-4455-BA4-D-9-B9-E1985-C34-B.jpg


Nice knob ... :cwl:

16728375-6042-4044-8350-4-A70918387-DF.jpg


Back in work now, let’s hope for some nice weekend weather ...

WD :like:
 

Kristian87

Super Moderator
Moderator
Joined
Mar 3, 2015
Threads
85
Messages
3,822
Reaction score
3,056
Location
Newbury, UK
Vehicle(s)
Mustang GT
Excellent work! Love seeing a well cared for pristine example...
Curious to know what carnauba you are using? Thought you may have gone with more than just a wax too? Not tempted by a paint sealant under the wax, or a ceramic coating?
Curious to know what you used to get rid of the cavity wax too, i remember stressing about that lol
 

Alfa Male

Well-Known Member
Joined
Mar 2, 2018
Threads
31
Messages
583
Reaction score
436
Location
Worcestershire Sauce Country
Vehicle(s)
Alfa Giulia
Father Christmas isn’t coming this year kids, your dads bought a mustang instead - and just to make sure, I’ve disposed of him and hidden his beard in the sub box ... :cwl:

C41-EE2-F3-2-B91-4455-BA4-D-9-B9-E1985-C34-B.jpg

...
WD :like:
I’m enjoying this thread a lot.

Does the wool in the sub make any noticeable difference ? If so do you have any details on what to use and how much etc
 
OP
OP
WD Pro

WD Pro

Well-Known Member
Joined
Jan 18, 2018
Threads
121
Messages
5,716
Reaction score
11,026
Location
United Kingdom
Vehicle(s)
Lime GT
Vehicle Showcase
1
Thank you :like:

@Kristian87

The wax is pinnacle sovereign paste. It’s not cheap, but I have had it years and paid a lot less than current prices. Before it could be easily sourced in the UK, I jumped in on a mini group buy where a number of tubs were imported and we shared the shipping costs etc.

Wax v sealant … hhhmmm …

I will start this by saying I have been out of the detailing game for a number of years now so my thoughts and experiences may be dated.

On the right colour car (i.e. dark), I don’t think a quality wax can be beaten if you only consider aesthetics. There, I’ve said it … lol.

Sealants are very shiny and longer lasting, but I don’t think they look as deep. Remember, don’t be swayed by car forum photo’s as I see so many pics that have been very obviously enhanced, I sometimes wonder if they also waxed the tree / house / neighbours cat etc that may be in the background :cwl:

I also need to consider that I’ve got a fridge full of wax in the garage so I don’t really want to be spending on more products at this moment in time.

NXT was chosen as its quick and easy to use (just keep it off trim), it is a mild cleaner / polish and offers some protection. The sovereign went on top as it’s my best wax in my fridge and its awesome on black – the car deserves it. It’s also so easy to apply and smells that good it makes my mind wonder off to bronzed bodies / Hawaiian tropic etc, it’s made from Brazilian carnauba after all … :inlove:

Light colour cars are a different story and the best waxes don’t reap the same benefits – shine wins on lighter colours. On the lime I will probably just stick with my bottle of NXT and top it up periodically. Once the NXT has gone I will probably look at one of the consumer spray on sealants / ceramics – probably from Meguiar’s as I’ve used their stuff for years, it normally does what it says on the tin and its cheap / easy to get hold of.

The excess cavity wax under the doors was initially wiped away (warm day, it’s still quite fresh and it was still soft) and then cleaned up with white spirit. Don’t be scared of using white spirit on cured automotive paint, it’s a great cleaner prior to polishing waxing etc and it’s cheap. It destroys wax / oil / tar based stains very quickly and easily.

Cavity wax splashes on the external paint wiped away real easy with white spirit.

Cavity wax splashes / runs (from the door drains) on the plastic sills had set hard, almost like the plastic had leached the oil out of the wax, that could be scraped off carefully with a finger nail, then a cocktail stick (another great detailing aid) to get it out of the grain in the plastic and then white spirit to get it really clean.

@Alfa Male

I had picked up the fibre wading trick from reading on here, it seems to be a favourable option for the mustang sub box.

It’s cheap to do, £9 for a 12 oz bag from amazon and you need about 8 oz for the mustang box. I’m sure using the stuffing from an old pillow would also do.

It was only something that was an idea rather than part of my plan, but once the box was out to do the sequencers, the challenge of the B&O trim ring removal got the better of me … (I think the shaker trim ring is much easier to remove). Once the trim ring came off amazon prime came to the rescue for the fibre (I used brand ‘Poly-fil’).

I’m probably not the best reference for how much it helps / changes the sound, remember that the car is new for me and I’m still messing around with stereo setting etc. No one has ever said anything bad about the mod though so I guessed I had nothing to lose :like:

WD :like:
 

Sponsored

Entai

Well-Known Member
Joined
Aug 15, 2017
Threads
1
Messages
204
Reaction score
90
Location
Bedfordshire
First Name
Chris
Vehicle(s)
2019 GT kona Blue, A10, Magneride, CP 2. Daily Driver
As far as polyfil in a sub box goes, When it is added to your enclosure, the airspring within the box begins an isothermal process. When the air passes through the Polyfill it is scattered and dissipated by the fibers, causing the air to be less dense. The speaker then interacts with the enclosure as if it is larger than it really is, thus changing the sound for the better.

A lot of enclosures in stock factory cars are smaller than they actually should be for the size of driver used, the usual compromise over space vs sound where space will win in the manufacturers mind.

On a more negative note, too much Polyfill can prevent your speakers or sub from producing audio at their full potential. Obviously overstuffing the enclosure will restrict the linear movement of the sub and make the quality of the audio sound extremely muffled.
Too much also decreases the effective dampening of the speaker which would allow it to bottom out.

Finally Polyfill is also not appropriate for every application – if your enclosure is already bigger than the driver manufacturer suggests, polyfill is not needed at all and could actually negatively impact the sound.

To that end, and to be perfectly honest, in my opinion, I would imagine as B&O signed off the system in the new mustang, and allowed it to wear their name, I highly doubt that size will have been sacrificed, so I would say adding packing will not be a good idea in this particular circumstance.
 
OP
OP
WD Pro

WD Pro

Well-Known Member
Joined
Jan 18, 2018
Threads
121
Messages
5,716
Reaction score
11,026
Location
United Kingdom
Vehicle(s)
Lime GT
Vehicle Showcase
1
Well isn’t work boring after having four days off with the car ... :frown:

Not much to report, the little cap turned up to hide the rather scabby nut on the bulkhead :

C7-D32267-F9-C5-4826-AC87-8-F29-AD427314.jpg


I spotted that on the initial pdi and it bugged me, looks like it’s been adjusted or had something added after initial assembly ? Anyhow, looks better now and matches the ford supplied caps on the top of the struts :

60980507-2-F81-4269-8198-1-F2-B16-BA20-C9.jpg


I quite liked the little winglets for behind the front wheels but after checking their fitment the curvature is a bit out :

F332652-E-6918-4-E19-9-BD6-F418-F130-E0-F5.jpg


06-E26-A85-DA9-A-4-D51-90-AB-E93-C57-C97-FF7.jpg


I reckon that’s to much for the tape to hold without lifting with age and there is zero give in the plastic.

So if anyone wants to give a set a go, drop us a PM and you can have them for postage :like:

I wanted to start the PPF tonight but I feel a bit shit (probably being back in work lol) and if it went wrong I would blame myself for trying it whilst feeling off. It can be a job for another day, but theres probably still a high chance I will mess it up ... :facepalm:

WD :like:
 
OP
OP
WD Pro

WD Pro

Well-Known Member
Joined
Jan 18, 2018
Threads
121
Messages
5,716
Reaction score
11,026
Location
United Kingdom
Vehicle(s)
Lime GT
Vehicle Showcase
1
The only good thing when it rains on your freshly waxed paintwork ...

B2-E7185-B-DEB9-4062-B8-D1-B77-CF55-B4-AD6.jpg


I thought some of you may find this interesting - the body shop has just sent me this picture from their records, I'm not sure who paints the bumper covers for Ford but they need an eye test (the other side was identical) ...

20200907-090028-In-Repair-Strip-2.jpg


WD :like:
 
OP
OP
WD Pro

WD Pro

Well-Known Member
Joined
Jan 18, 2018
Threads
121
Messages
5,716
Reaction score
11,026
Location
United Kingdom
Vehicle(s)
Lime GT
Vehicle Showcase
1
Interior detail day today, all went well now I’ve cleaned glue off trim and fitted the carpet correctly ... lol.

A couple of plastic bits for Ford to replace (hopefully) and an anomaly with the door cards - more info soon ...

Done the legwork for easy fitting of a boot pull.

Boot trim off, rivnut (threaded insert) and a stainless washer for the back. The strings so I can get them to mate without loosing the washer inside the boot :

58-A861-E4-60-AC-4-BA7-B152-630-D220976-DA.jpg


For anyone that doesn’t know what a rivnut setting tool looks like :

79-E34814-3-E9-C-47-DE-BB5-A-287-C7-F588-B2-C.jpg


Fitted with a bit of red loctite under the head of the rivnut :

F232-DDFE-F73-A-4-F9-A-AB72-F79-FFEFCD9-C2.jpg


Replaces the push pins :

11092-D51-3-EE2-40-B2-8780-A643-AC01-D415.jpg


For anyone that’s interested, an M5 rivnut fits the factory push pin holes perfectly. The washer was an M6 repair washer drilled out to 8mm to provide a snug fit on the rivnut :like:

WD :like:
 

MAD MATT

Well-Known Member
Joined
Feb 21, 2020
Threads
2
Messages
89
Reaction score
57
Location
Detroit, MI
First Name
Matt
Vehicle(s)
2018 Mustang GT Convertible PP1
Vehicle Showcase
1
Did you just peel the stickers off the visors or did you do something special to get them off? Definitely doing this on mine.
Sponsored


Top