OP
OP
TicTocTach
Well-Known Member
- Thread starter
- #31
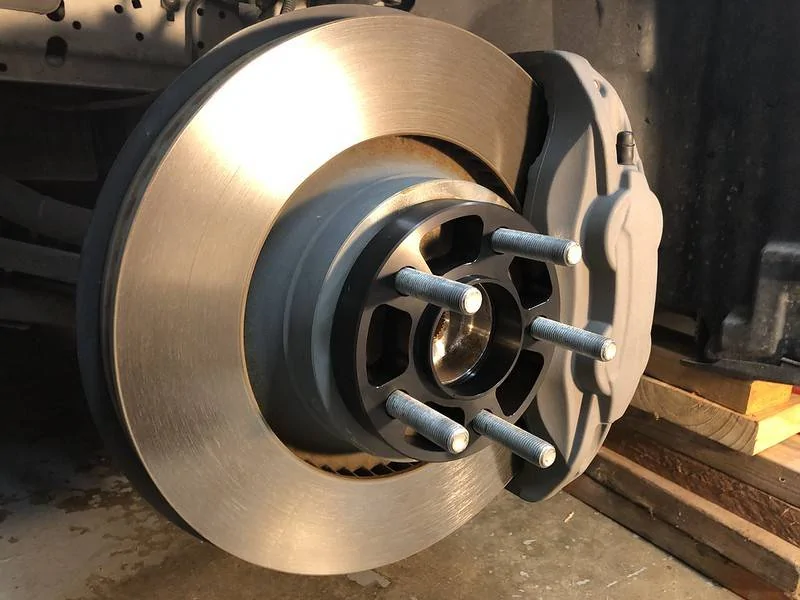
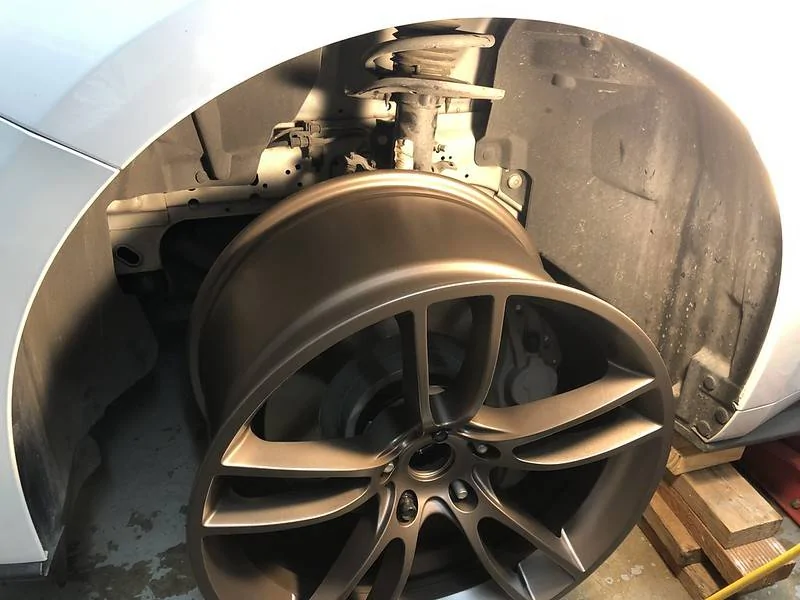
Wheel spacers for the 19x11 setup ordered today.
In a plot twist, I also ordered camber plates in anticipation of not being able to get the alignment I need with the 11" wheels and 305 tires.
Camber plates will put me into the non-stock AutoX classes, but I'm having less heartburn over that now than I was in the beginning. It takes a huge effort to really extract the best performance from the stock suspension, and I really want to end up with a great driving car more than a great race car that I can drive to work. I may never be competitive in CAM-C, but I can do whatever I want with my car and fit in there just fine.
More on these items as they come in.
Sponsored