Redcruzer
Well-Known Member
- Joined
- Jun 23, 2015
- Threads
- 10
- Messages
- 776
- Reaction score
- 470
- Location
- Redwood City
- First Name
- Chris
- Vehicle(s)
- 2015 eco boost premium convertible, Ruby red
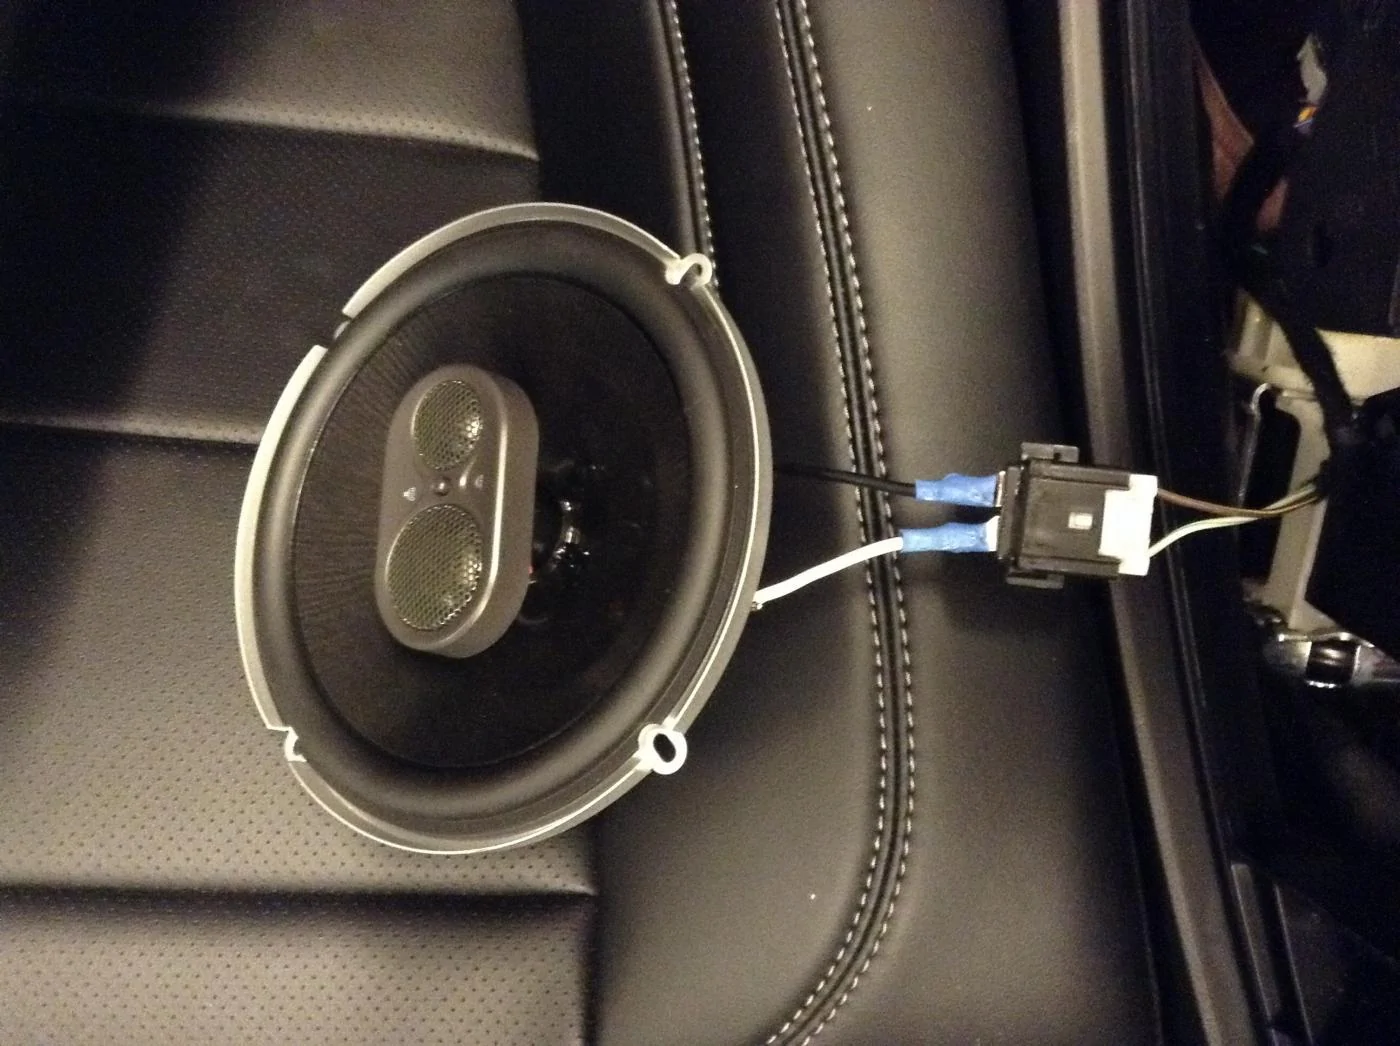
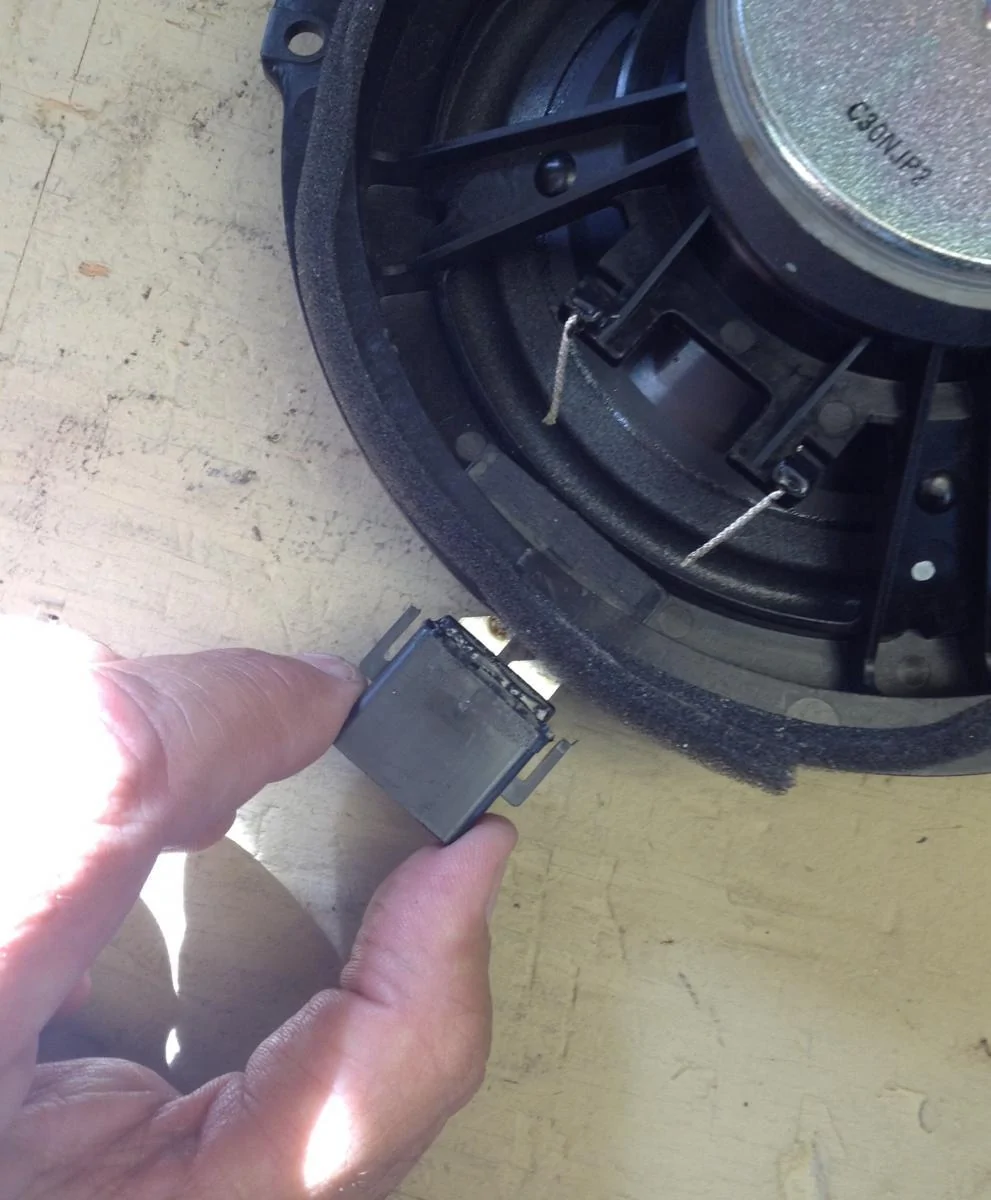
On the 6.5 inch speakers, the connectors are pressed into the speaker casing and can be removed and reused. Simply cut the retaining tabs and press out the connector.I responded to a different original post but the Metra 72-5602 harness kit seems to be a good alternative (after light modifications) to cutting the stock 6.5" speaker connectors for now. It doesn't seem like the usual suppliers have plans to release plug & play kits any time soon.
Sponsored


")