Sponsored

Steeda Mustang Adjustable Differential Bushing install hiccups

Esset

Well-Known Member
Joined
Jul 2, 2021
Threads
5
Messages
68
Reaction score
172
Location
Czech
First Name
Steven
Vehicle(s)
2021 MACH 1
Hi folks,

I just installed Steeda's differential bushings (555-4443), and while they’re also meant for the Mach 1, I ran into some issues that I’d like to share with you.

This is on the EU version of the Mach 1, which has a limited-slip diff instead of a Torsen, but I believe the casing is the same as the US version.

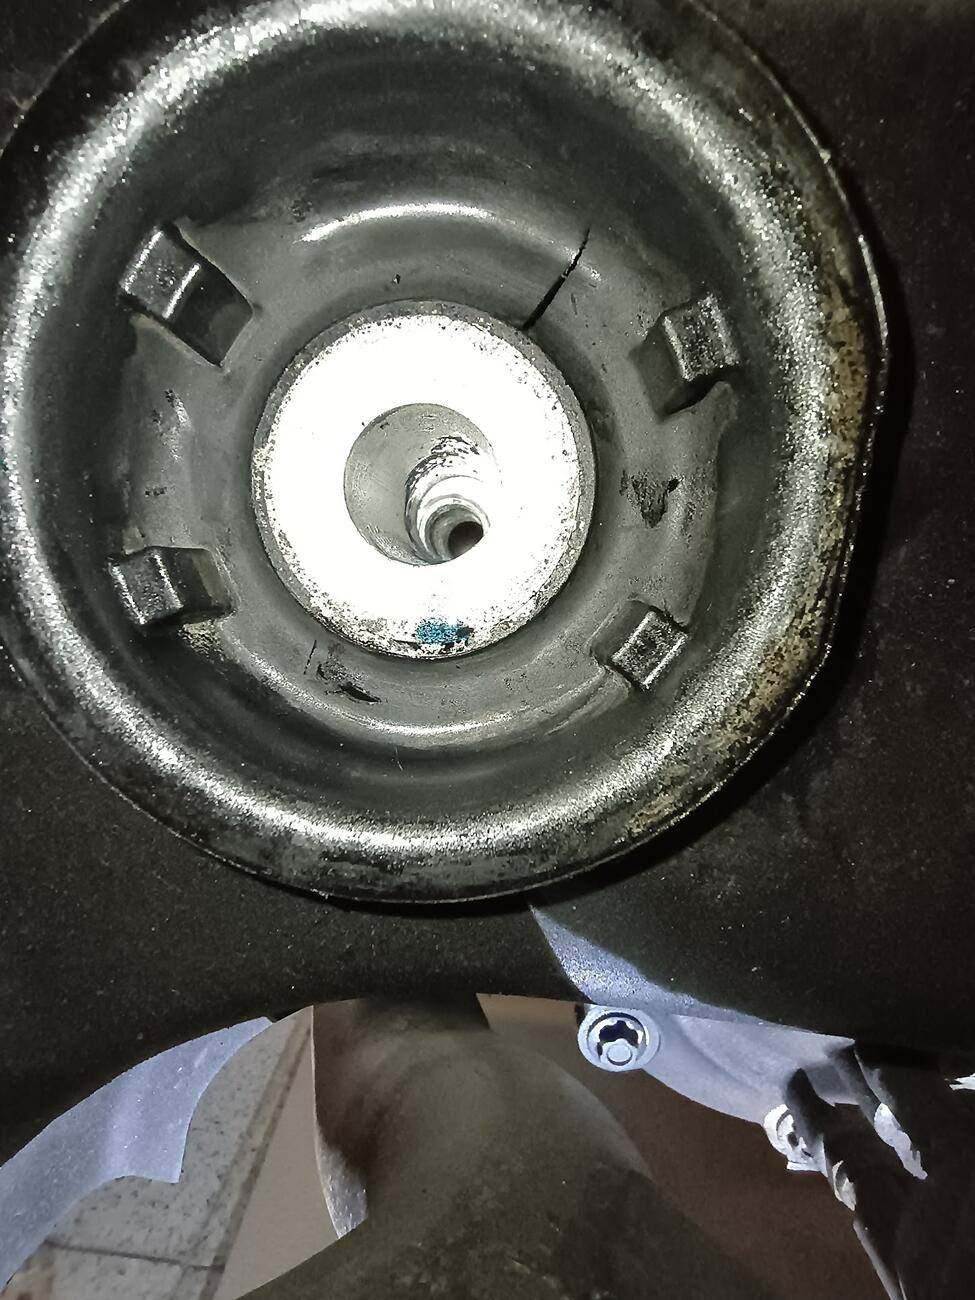
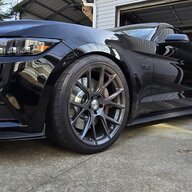
First issue: the front driver-side bushing was different (see picture 1). I ended up using an extra bushing from the package. I’m guessing Steeda included it for this reason, but there’s no mention of it in the installation instructions.

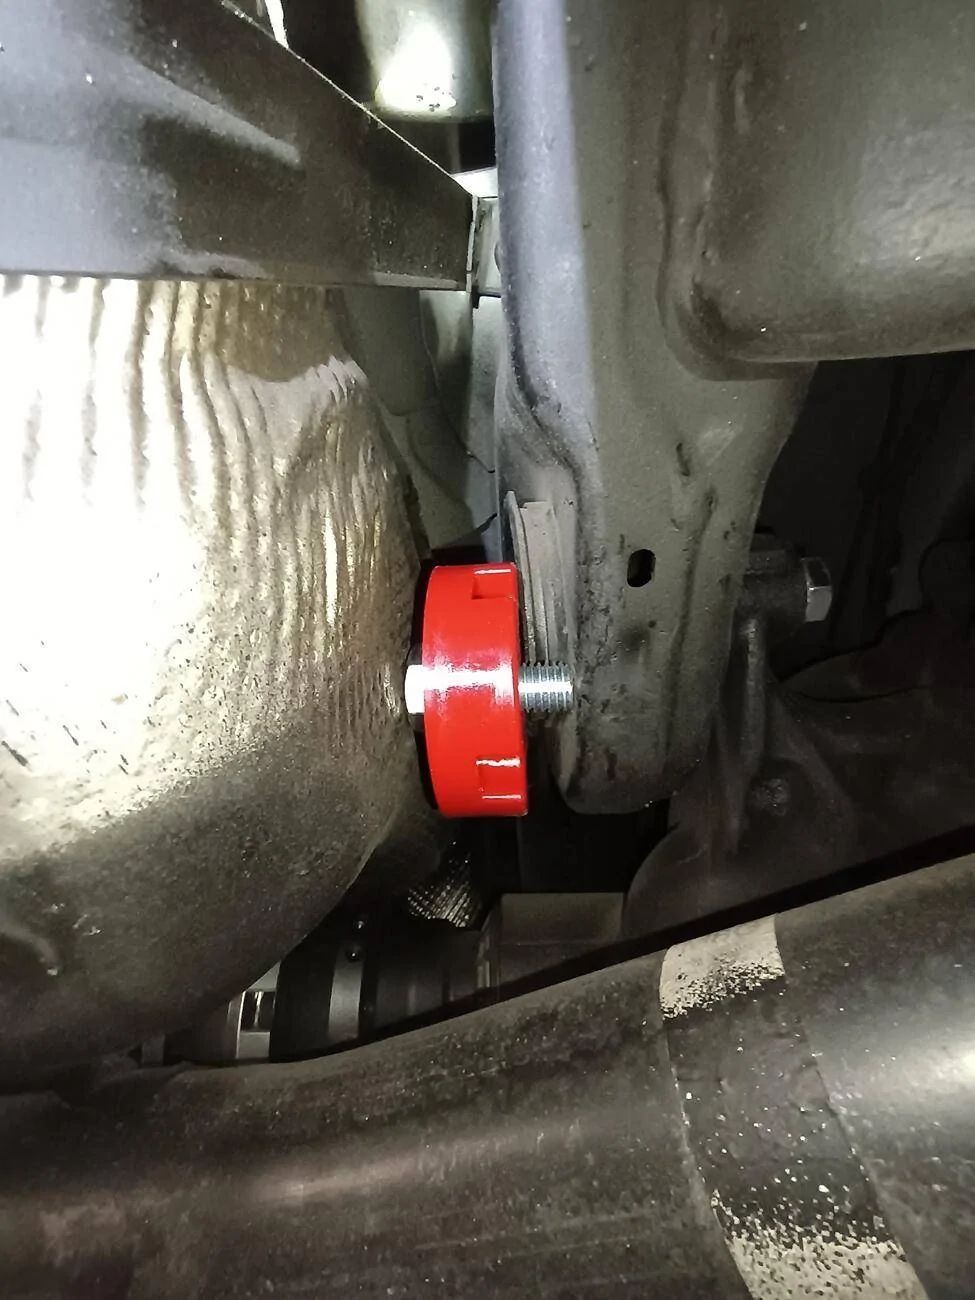
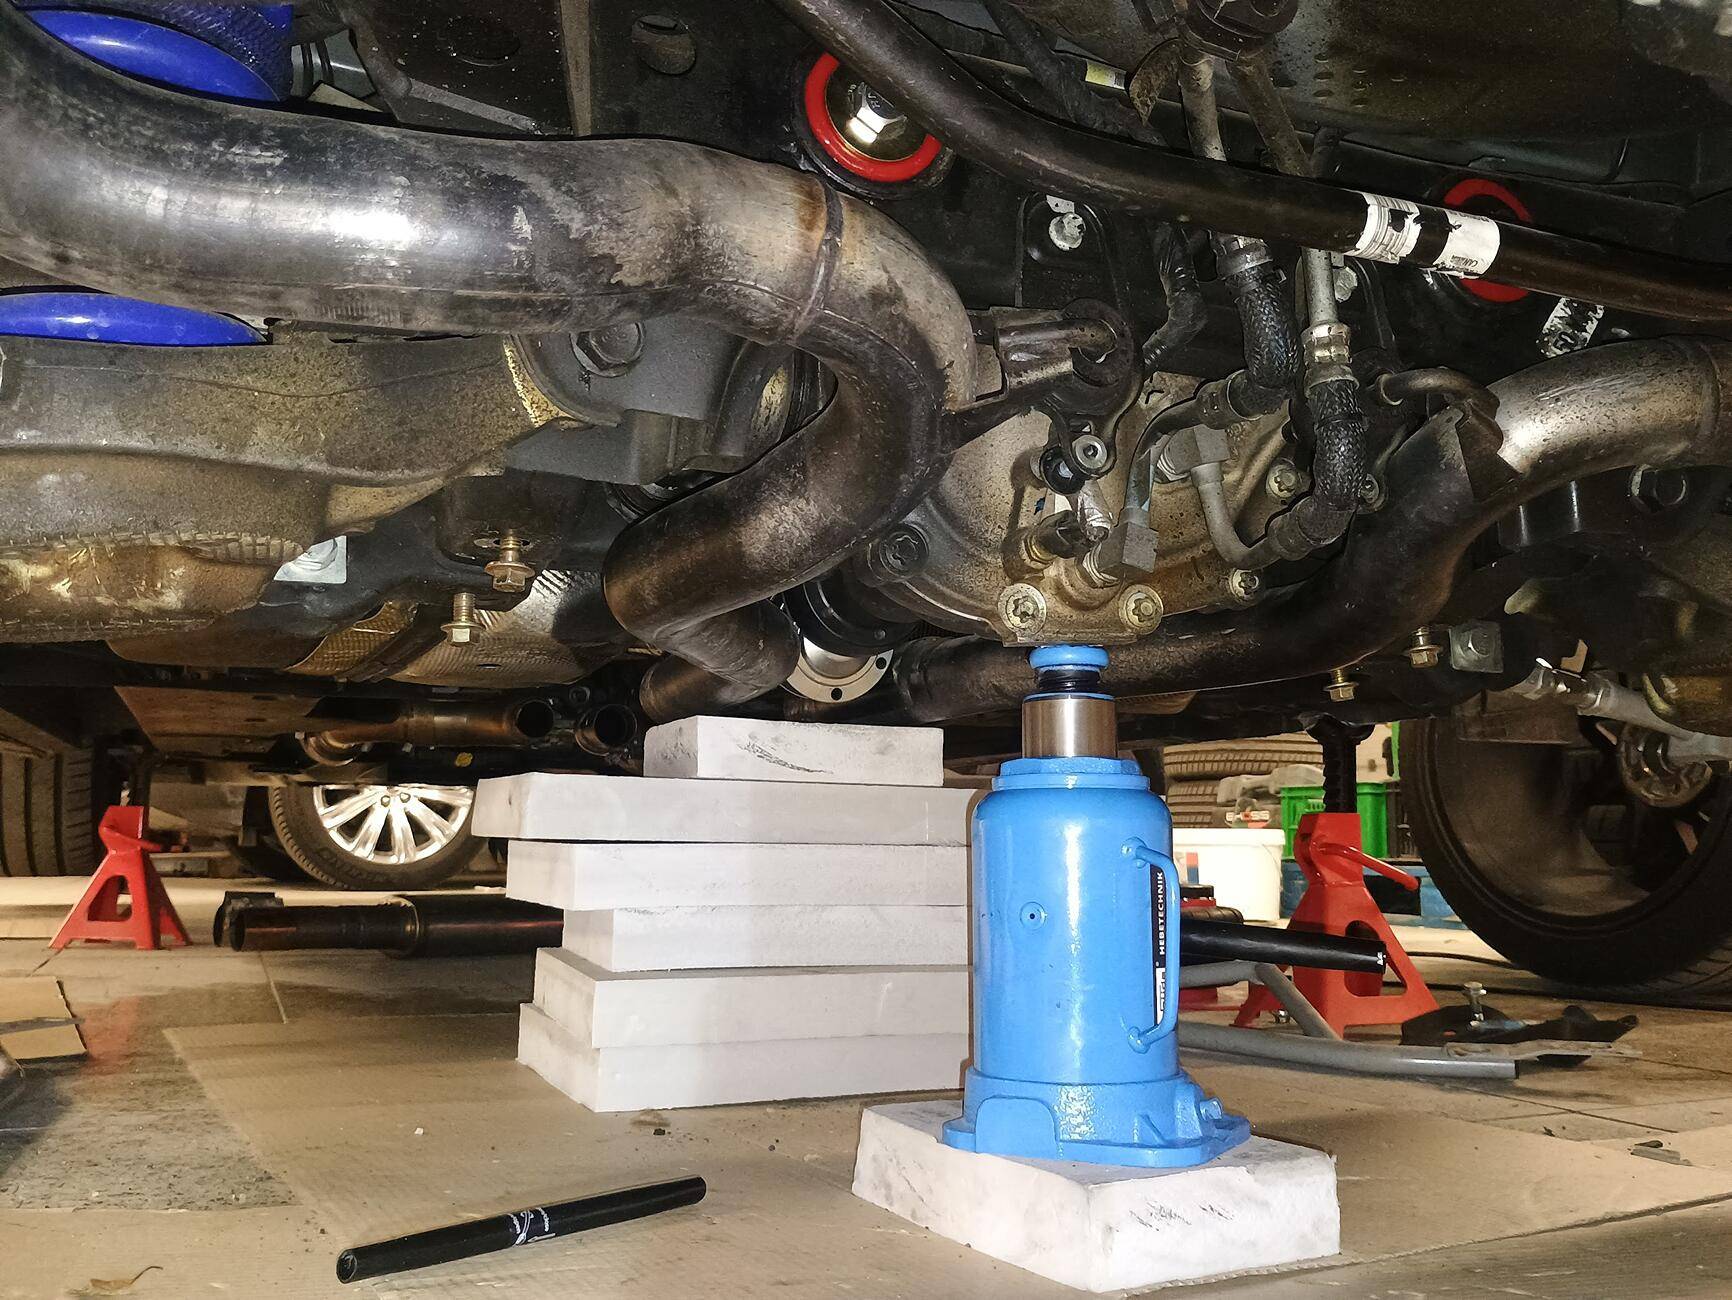
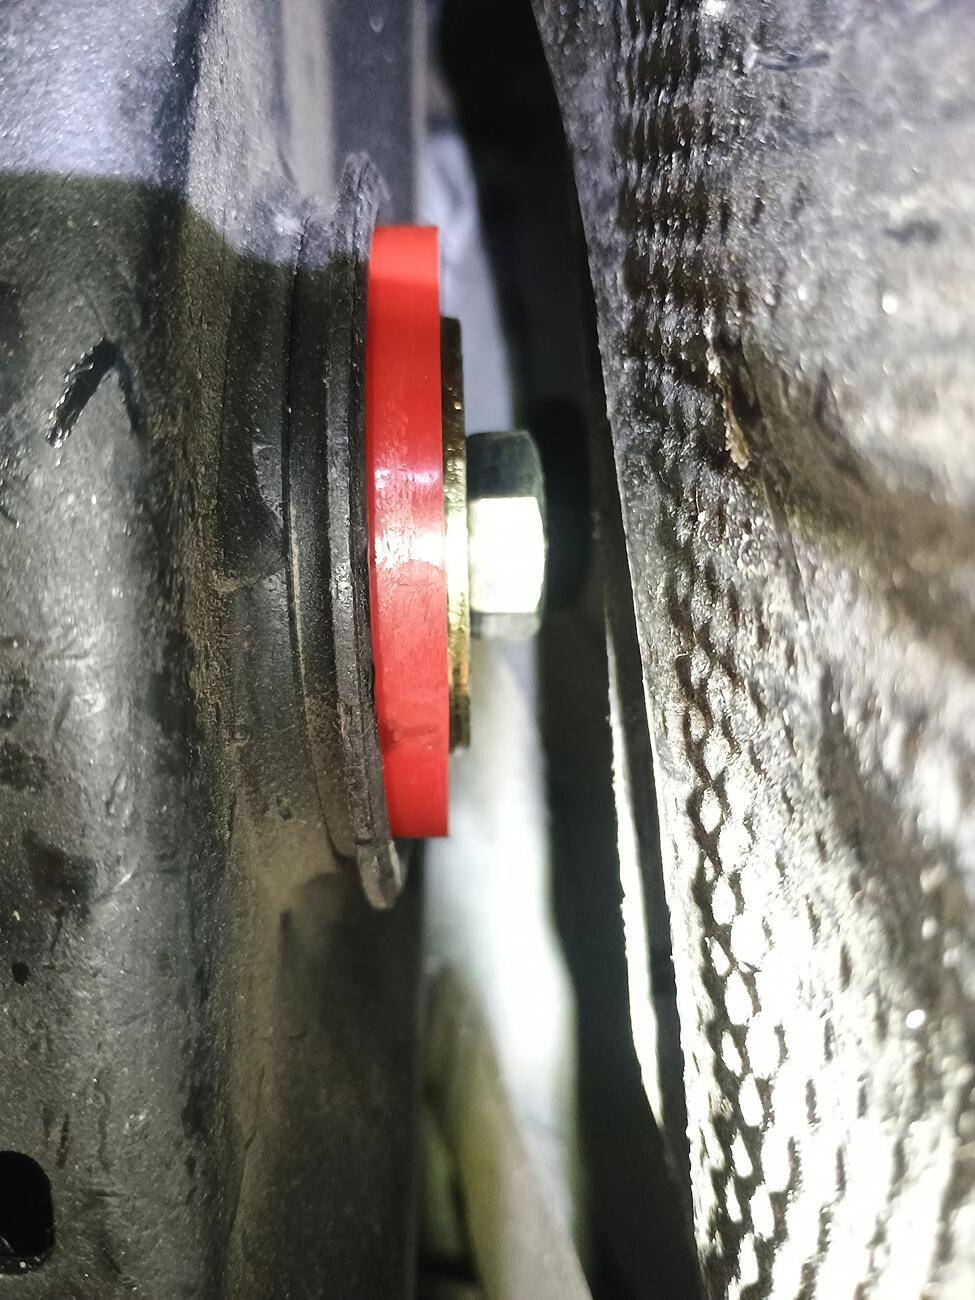
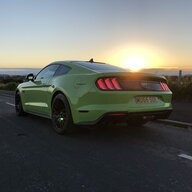
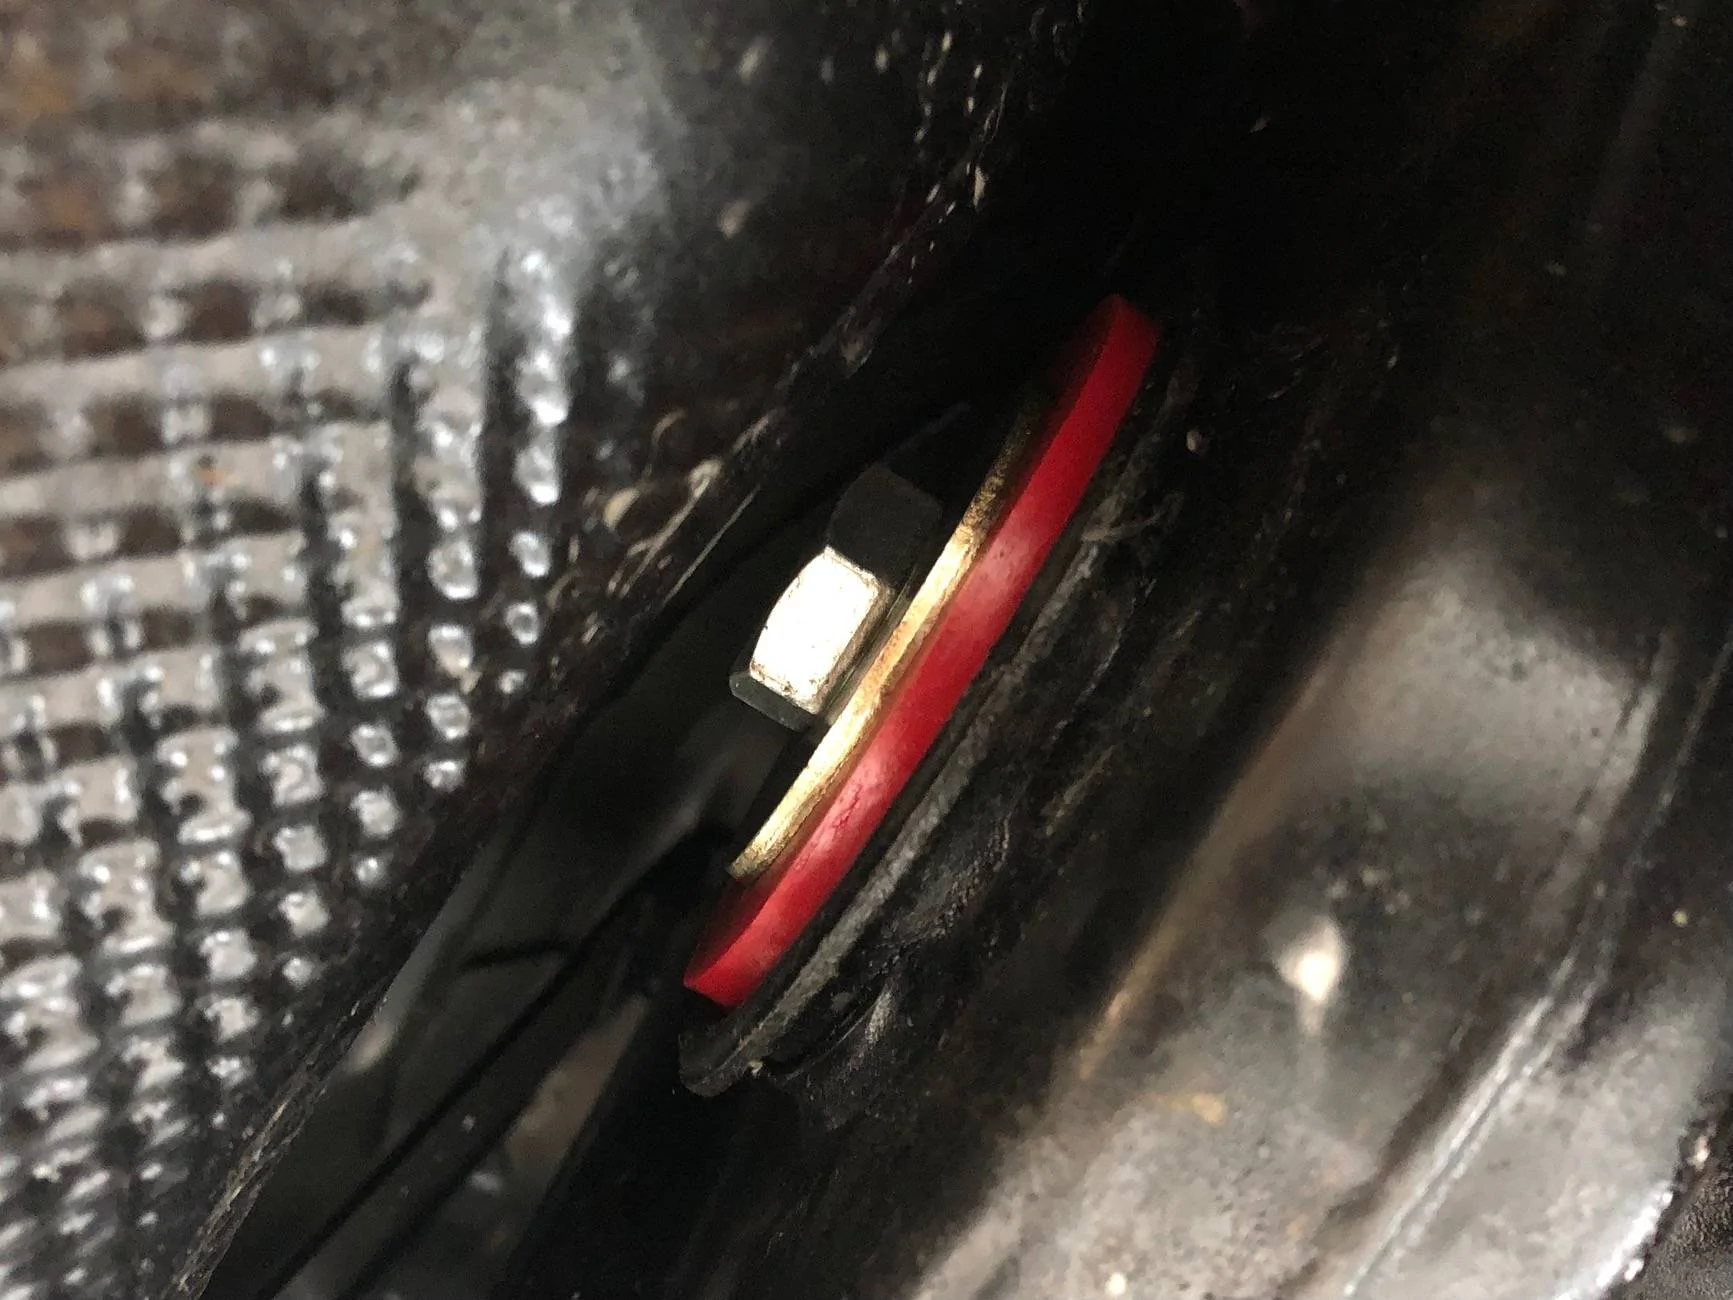
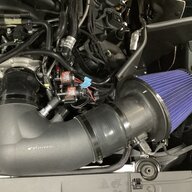
Second issue: this one’s more serious. When installing the rear bushings, there’s a really tight gap between the subframe and the gas tank (see picture 2). To get the bushings in, I had to disconnect the exhaust, remove the driveshaft (I have a one-piece, so if you’re running the stock setup, you might only need to loosen the middle section), unscrew the rear subframe bolts, and loosen the front ones. Only after dropping the subframe by about 6-7 inches could I finish the installation. Picture 3 shows the subframe lowered, and picture 4 shows the bushings installed with the subframe back in its original position.

I’ve watched several installation videos on YouTube, and I haven’t seen anyone mentioning that the space between the gas tank and subframe is this tight. I’m not sure if this is specific to the Mach 1 version or the EU version. Has anyone else had the same experience?

This made the installation quite challenging, especially time-wise (I also have the Stop the Hop kit, so I had to remove a few extra things along with the subframe). I’d definitely recommend taking off the rear wheels for better access to the subframe bolts. Also, ideally lift the car as high as possible to give yourself more room to work—just make sure you can still properly use your torque wrench! 😊

picture 1
pic 2

pic 3
after install
Sponsored


eisenhauer01

Well-Known Member
Joined
Apr 1, 2019
Threads
22
Messages
226
Reaction score
255
Location
Walkertown, NC
First Name
Kenny
Vehicle(s)
2015 Mustang GT
I believe the space between the cradle and the gas tank is tight on all of the cars. Pretty much everyone has had to remove the front bolts and loosen the rear and really drop the front of the cradle quite a bit to snake them into position. The videos and installation steps don't elaborate on this area much from what I saw before I did mine. I ended up removing the entire cradle to do other things at the same time, but I saw how tight things were.
 
OP
OP
Esset

Esset

Well-Known Member
Joined
Jul 2, 2021
Threads
5
Messages
68
Reaction score
172
Location
Czech
First Name
Steven
Vehicle(s)
2021 MACH 1
Yes, I expected that too. But even after loosening the bolts and lowering the subframe, I only managed to drop it a few inches, and I still couldn’t get in there. To lower it further, I had to disconnect the driveshaft and the exhaust, which wasn’t mentioned anywhere. But as I said, this might be specific to my setup since I have a one-piece driveshaft.
 

WD Pro

Well-Known Member
Joined
Jan 18, 2018
Threads
132
Messages
6,798
Reaction score
13,623
Location
United Kingdom
Vehicle(s)
Lime GT
Vehicle Showcase
1
Your clearance looks ‘normal’ (at least compared to my 2020 GT) :

1737982304234-hq.webp


WD :like:
 

Sponsored

NGOT8R

Well-Known Member
Joined
Jul 19, 2020
Threads
154
Messages
9,273
Reaction score
7,780
Location
Florida
First Name
Adrian
Vehicle(s)
2019 Bullitt
@Esset how many miles did you have on your factory bushings before that rear developed? This seems to be becoming a very common issue that shouldn’t be an issue IMO. Cars with low to high mileage fall within this dilemma.
 

murick

Well-Known Member
Joined
Jul 5, 2021
Threads
16
Messages
1,053
Reaction score
1,338
Location
Prague, Czech Rep.
First Name
Richard
Vehicle(s)
2021 Euro Mach 1, FJG, manual
Since I have recently also got the diff bushings I did some research and it seems that there is a clear disconnect between what Steeda claims and what are the real life reports.

According to Steeda product page this is an easy install which requires basic tools and 2 hours. I do not believe that dismounting the exhaust, disconnecting the driveshaft and dropping the subframe fits this description.

Plus, if you check the 25 comments on the Steeda video (which is 8 years old), most are confirming that the video no longer applies. It seems like there were some changes possibly in 2017 which made the video irrelevant.

Even reading the Steeda installation guide raises some questions. They for example suggest to re-torque the bolts after 100 miles. With the clearance @Esset and @WD Pro posted I do not see how to get a torque wrench there after everything is back in place.

It seems like 2017 and later models have different features and Steeda dropped the ball on this. Now I wonder where else they did it.
 

NGOT8R

Well-Known Member
Joined
Jul 19, 2020
Threads
154
Messages
9,273
Reaction score
7,780
Location
Florida
First Name
Adrian
Vehicle(s)
2019 Bullitt
It definitely wasn’t a 2 hour job for me. I dropped the whole subframe using three jacks to do it. I wanted to make darn sure that I could access everything easily.
 

WD Pro

Well-Known Member
Joined
Jan 18, 2018
Threads
132
Messages
6,798
Reaction score
13,623
Location
United Kingdom
Vehicle(s)
Lime GT
Vehicle Showcase
1
@murick - with regards to retorquing, those particular bolts pictured don’t take the full force of the diff, they only hold the puck into the original bush.

I think tight, with a bit of common sense is good enough for those.

It’s the reason I left mine as 10.9 hex heads (so I could slip an open ended spanner on them). I was concerned that a 12.9 (typically a cap head) would make the clearance too tight, and completely remove the ability to tighten them in situ.

WD :like:
 

WItoTX

Well-Known Member
Joined
Dec 7, 2021
Threads
15
Messages
2,981
Reaction score
3,683
Location
Houston
First Name
Kyle
Vehicle(s)
'17 GT350
I was able to get mine on with the exhaust still on the car, drive shaft still connected, and a couple ratchet straps to pull the subframe backwards after I lowered it about 3-4". I was able to get those in, put everything back, in about 6 hours. I also marked the bolts with a paint pen to make sure nothing moved.

They have loosened a tiny but, but nothing major that I can't easily get back to the paint mark with a wrench. It is absolutely a tight fit. I had the added complexity that my exhaust wouldn't come apart, and I didn't have the patience to figure out how to remove it. So I left it hang 8-10" below the car, and that was enough. A good lift would have made everything way easier.
 

Sponsored

murick

Well-Known Member
Joined
Jul 5, 2021
Threads
16
Messages
1,053
Reaction score
1,338
Location
Prague, Czech Rep.
First Name
Richard
Vehicle(s)
2021 Euro Mach 1, FJG, manual
I was able to get mine on with the exhaust still on the car, drive shaft still connected, and a couple ratchet straps to pull the subframe backwards after I lowered it about 3-4". I was able to get those in, put everything back, in about 6 hours. I also marked the bolts with a paint pen to make sure nothing moved.

They have loosened a tiny but, but nothing major that I can't easily get back to the paint mark with a wrench. It is absolutely a tight fit. I had the added complexity that my exhaust wouldn't come apart, and I didn't have the patience to figure out how to remove it. So I left it hang 8-10" below the car, and that was enough. A good lift would have made everything way easier.
Are you referring to the car you have in your sig - 2017 GT350? If yes, is it possible that it is closer to 2015 GT than to 2018 GT, which seems to be causing the problems?
 

eisenhauer01

Well-Known Member
Joined
Apr 1, 2019
Threads
22
Messages
226
Reaction score
255
Location
Walkertown, NC
First Name
Kenny
Vehicle(s)
2015 Mustang GT
I can't confirm this, but my theory is that only difference between the 15-17 (like mine), and the 18+ (that some people say they think it is a tighter fit), is the gas tank heat shield. Mine was not wrapped all the way up and around the back of the tank. Trust me, I think this difference is minimal and that this area is super tight on all of these cars. I ended up doing through bolts with the threaded end & nut on the gas tank side of the cradle. It took some special work to make things how I wanted them. Point is, there is not a lot of room to work there for any of us. Yes it is an involved install and not a 2hr job for anyone. My $.02
 

tj@steeda

Well-Known Member
Diamond Sponsor
Joined
Mar 21, 2014
Threads
586
Messages
6,952
Reaction score
4,453
Location
Florida
First Name
Timothy
Vehicle(s)
2019 Steeda Mustang - White Carbon Edition
Vehicle Showcase
1
I will share with our tech team & have them evaluate the instructions.

Appreciate you bringing this to our attention.

Have a great night.

TJ
Sponsored


Top