Ewheels
Well-Known Member
- Thread starter
- #1
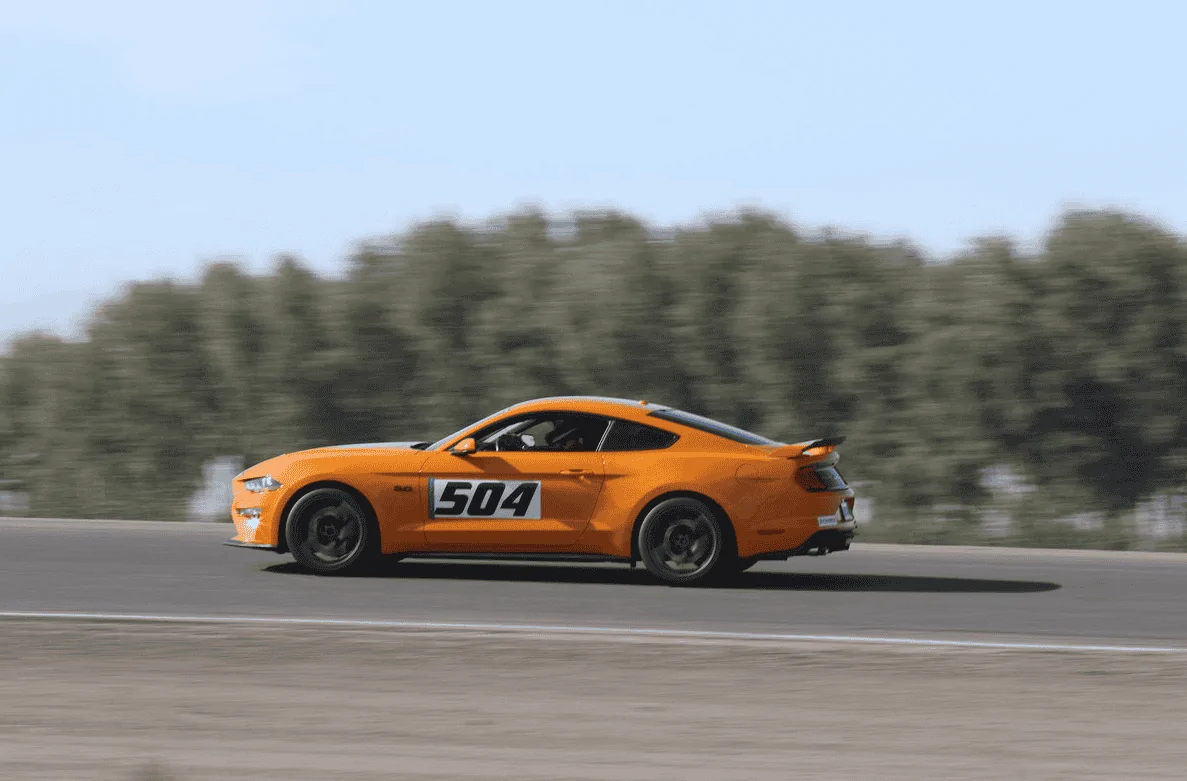
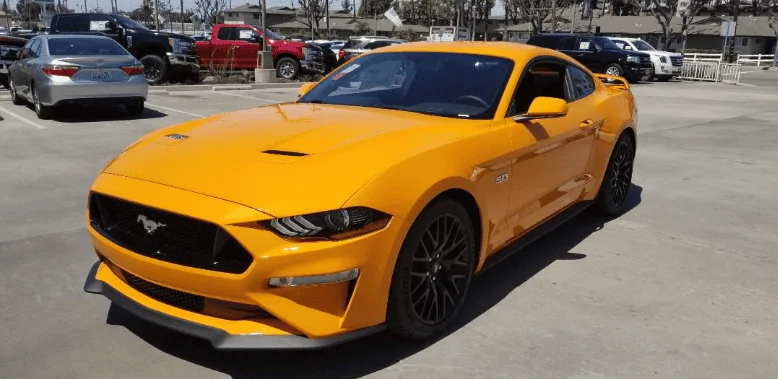
I've always been a car nut and always admired road racing though I never thought I would ever get to that point nor did I know where to start. I knew basic mechanics from tinkering on my first car but never did anything major. Once I was in the financial position to buy a new car, I jumped on the opportunity. I purchased this Mustang new in April of 2018. I wanted a car that was fun but also something that I could learn from. I had the intention of taking some advanced driving class of some sort somewhere along the way.
One day, a friend of mine tells me about NASA and an open track day they had at my local track. I looked into it and was instantly hooked on the idea of HPDE. I finally found where and how to start.
Here's my progression in driving and what I've learned along the way.
First Track Day
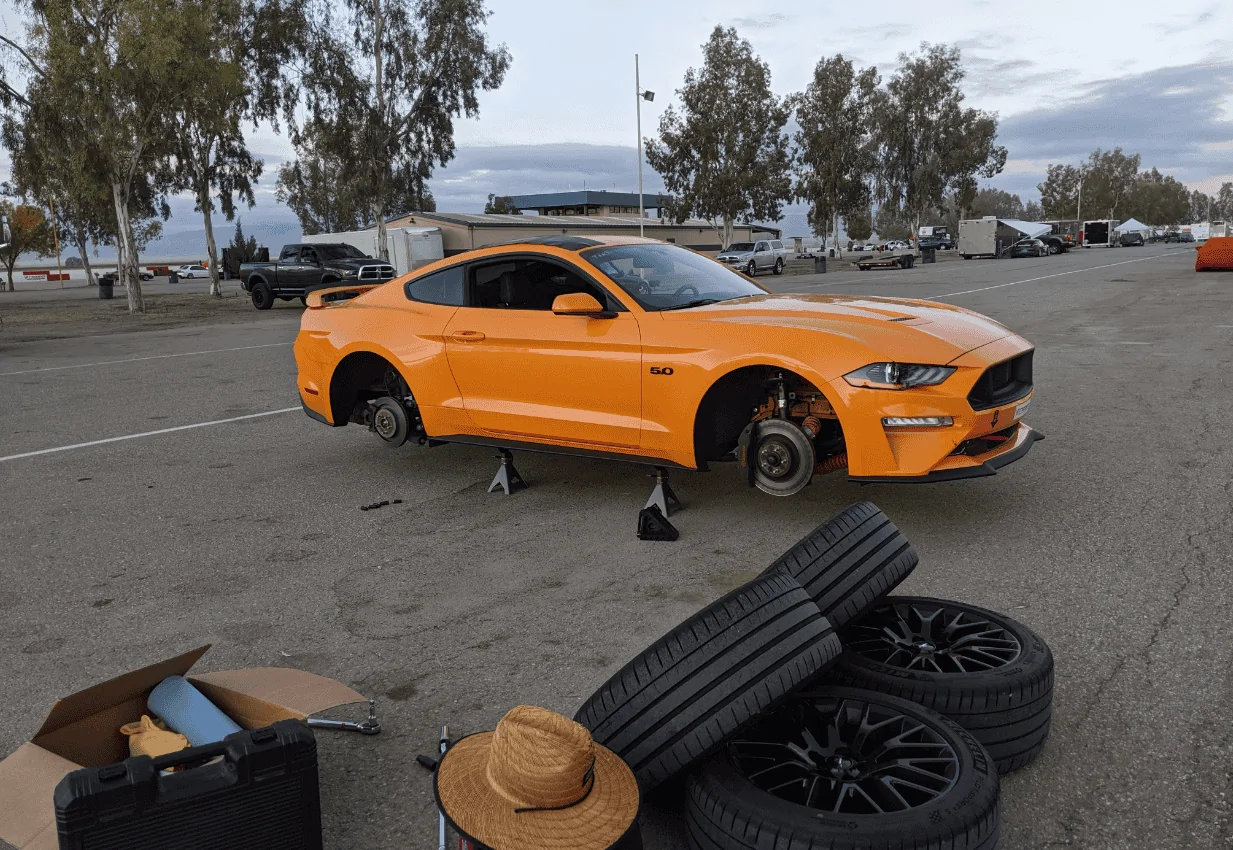
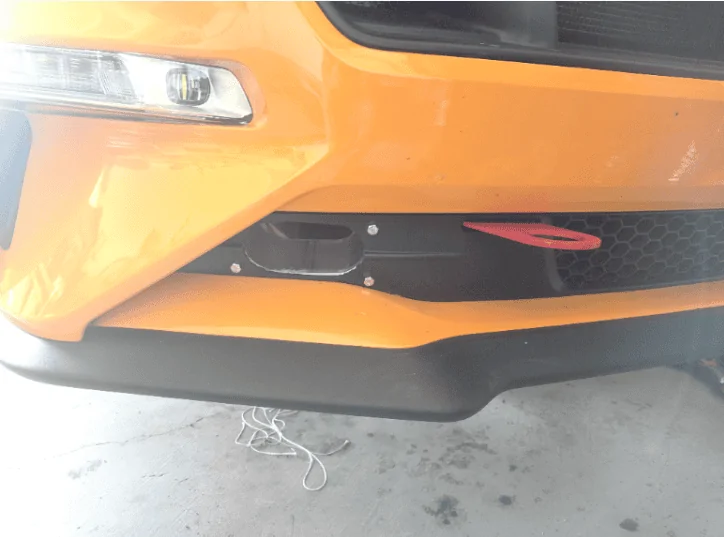
Cracked Wheel
HPDE 2
HPDE 3
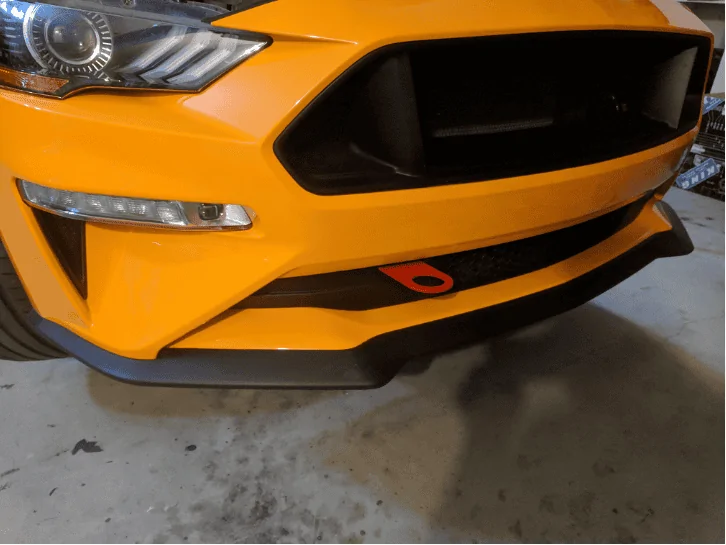
Hood Vent Install
First Time Back Since COVID
First Time Attack, First time on 200TW, First Podium
HPDE 3 > HPDE 4 > TT in one weekend. Also witnessed first big crash
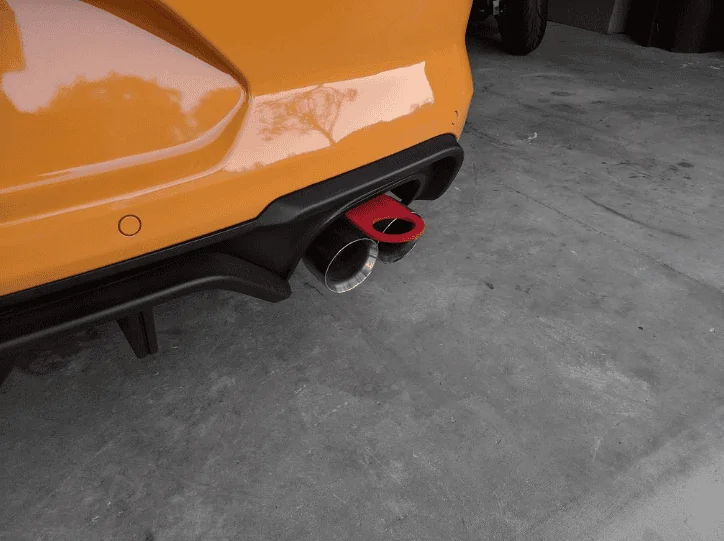
Roll Bar Install
SIM Racing Setup for Practice
90° Outisde + Stock Cooling = You Only Get One Lap
13CW - Making Great Progression
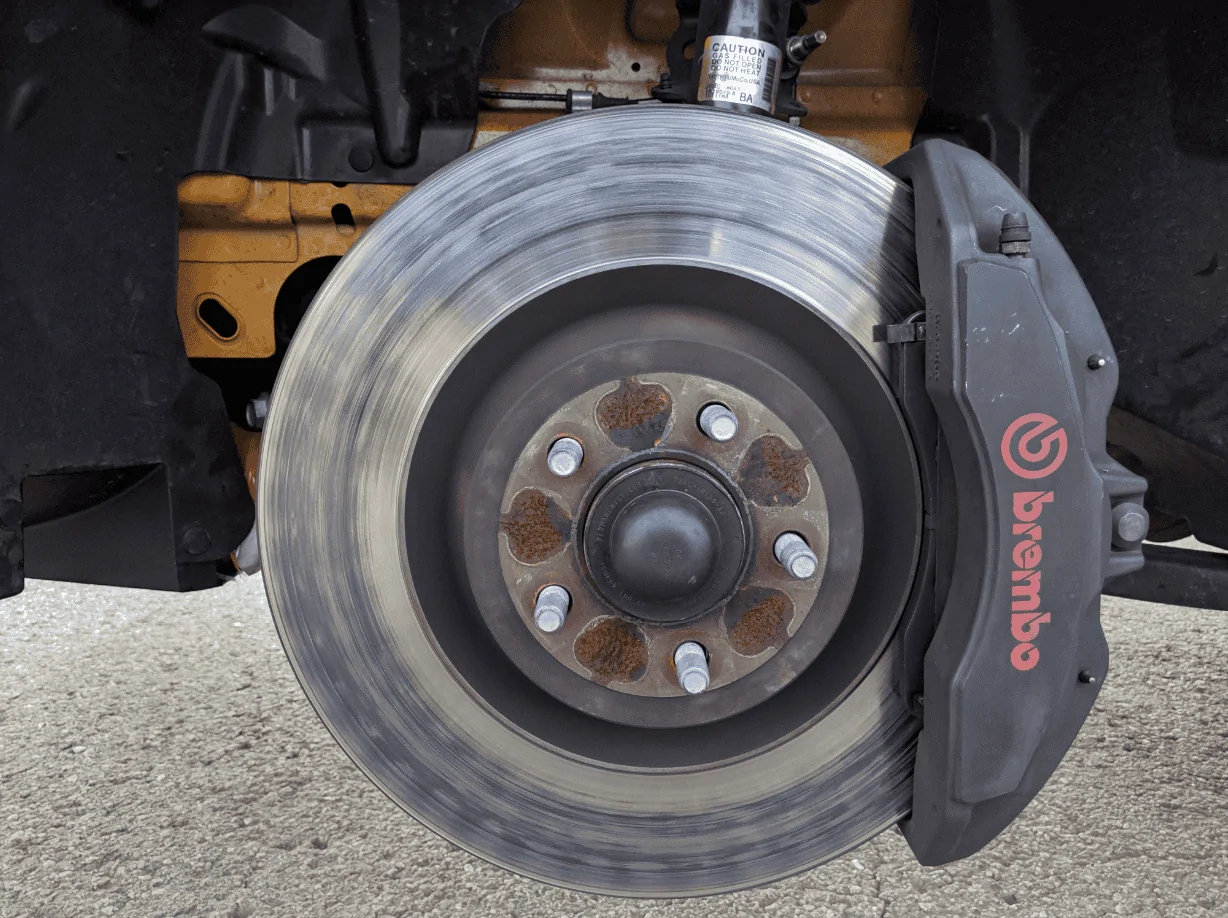
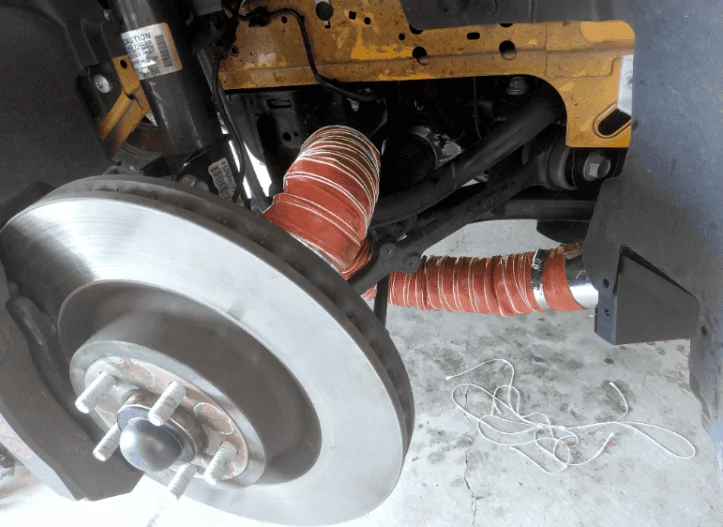
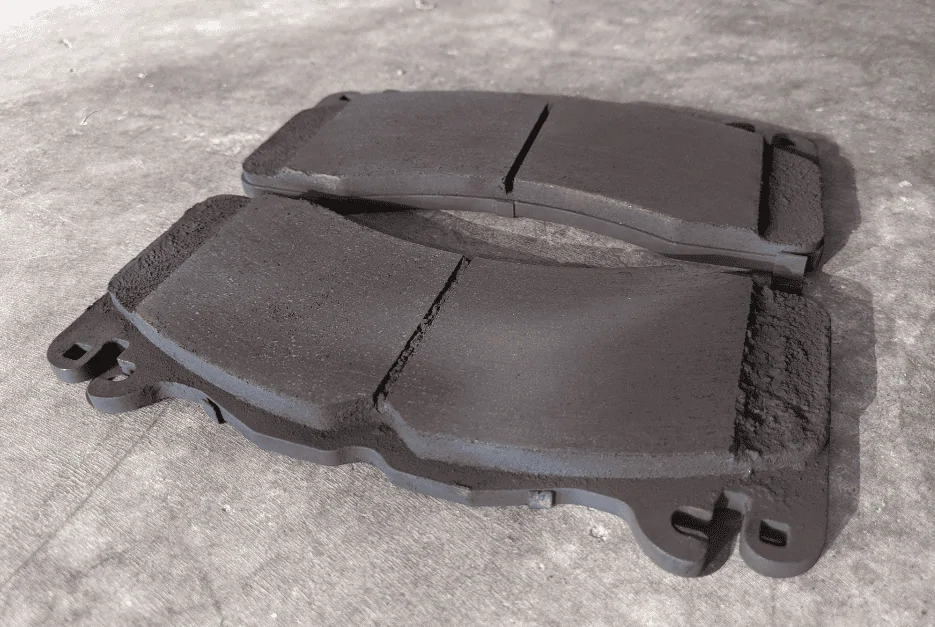
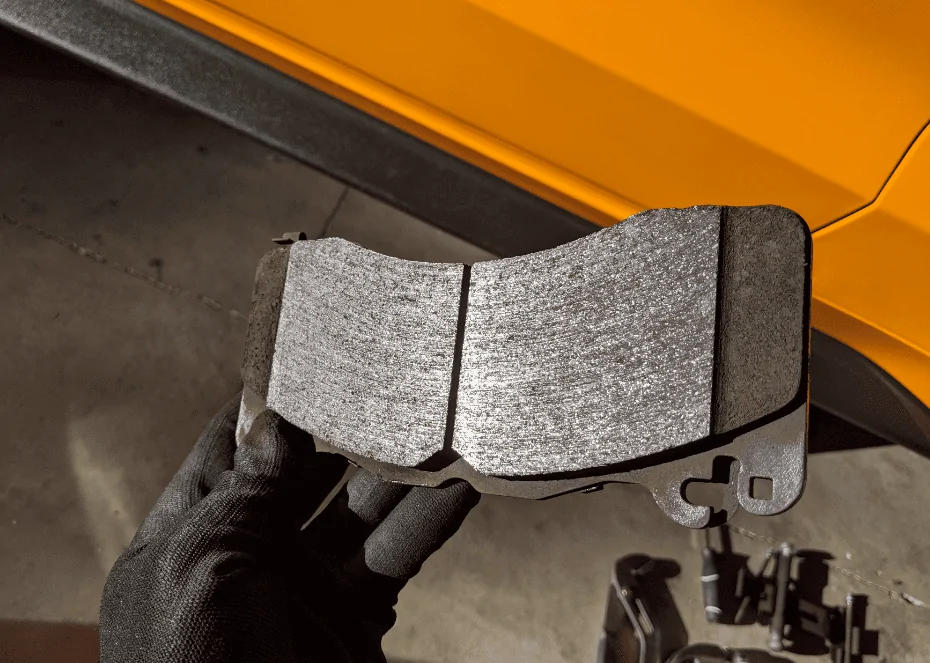
First Time on Slicks (RR's), First Boiled Brakes, Heel-Toe is not for me
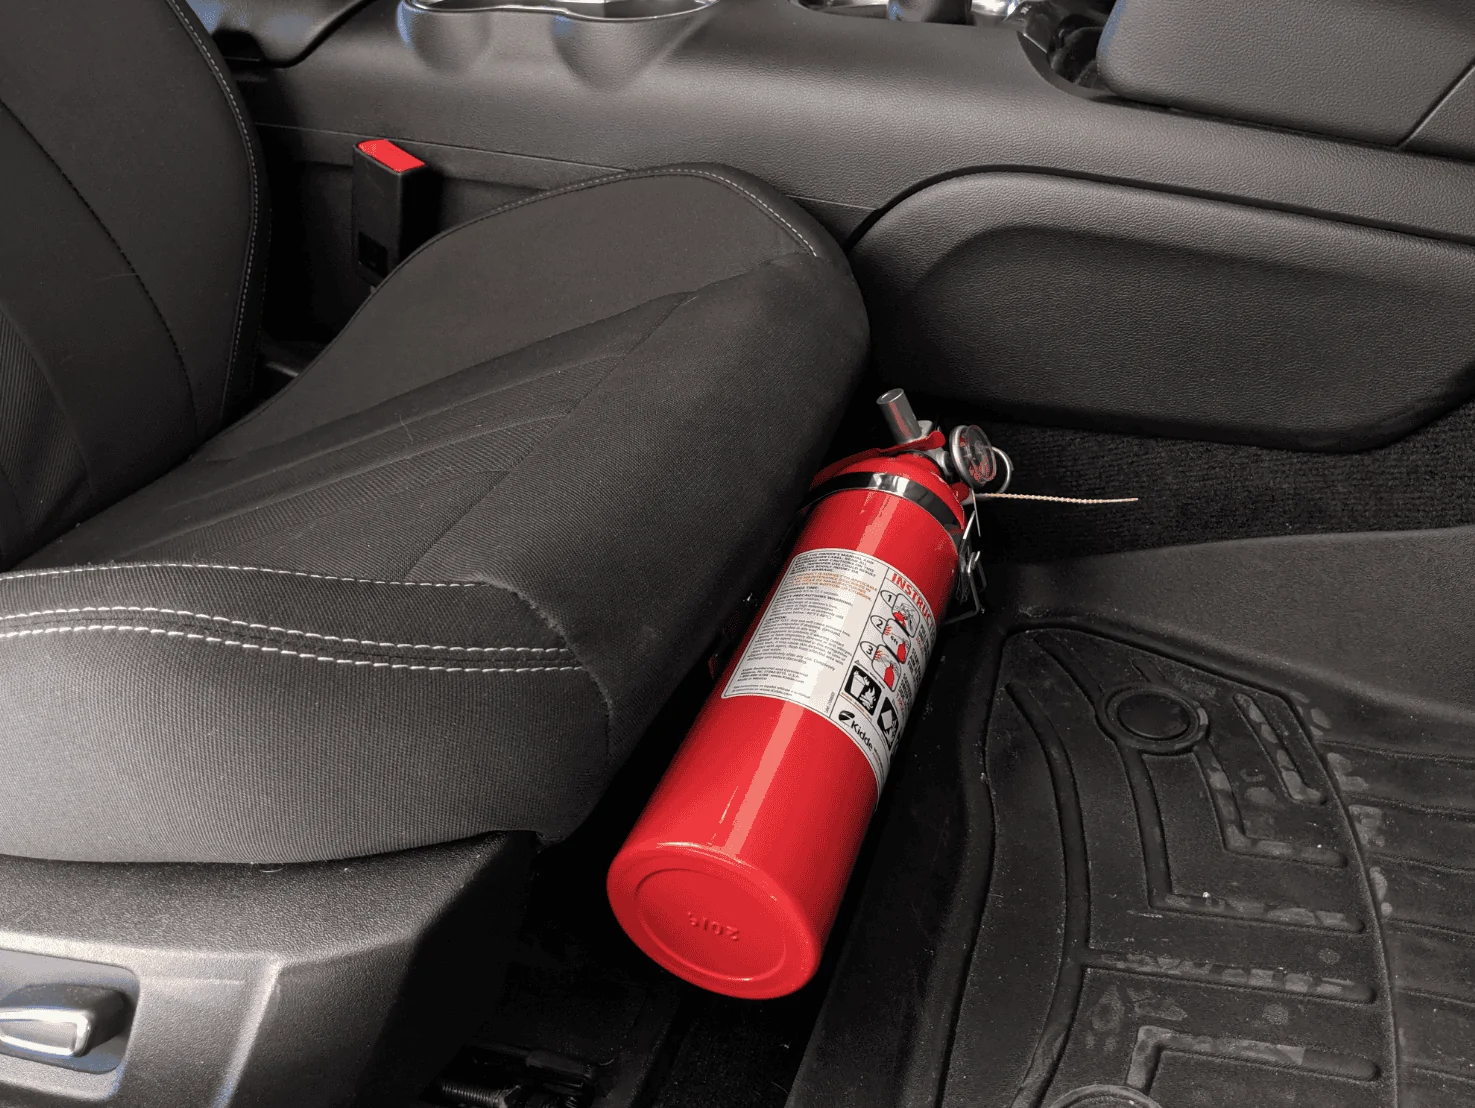
First Time with All the Safety Equipment - Didn't Improve Much
The Turning Point. Humbling Weekend that Taught Me A Lot
First Time at SOW. Back to Basics
Track Day #20 - 2nd in Class
Day 1:

Now:
![Dec-15-2024-OnGrid (Sun) [[646122a254]] - Blue - Session 3 (Outside Grapevine) - CPRP0239_Dec...webp](data:image/svg+xml;charset=utf-8,%3Csvg xmlns%3D'http%3A%2F%2Fwww.w3.org%2F2000%2Fsvg' width='1900' height='1266' viewBox%3D'0 0 1900 1266'%2F%3E)
One day, a friend of mine tells me about NASA and an open track day they had at my local track. I looked into it and was instantly hooked on the idea of HPDE. I finally found where and how to start.
Here's my progression in driving and what I've learned along the way.
First Track Day
Cracked Wheel
HPDE 2
HPDE 3
Hood Vent Install
First Time Back Since COVID
First Time Attack, First time on 200TW, First Podium
HPDE 3 > HPDE 4 > TT in one weekend. Also witnessed first big crash
Roll Bar Install
SIM Racing Setup for Practice
90° Outisde + Stock Cooling = You Only Get One Lap
13CW - Making Great Progression
First Time on Slicks (RR's), First Boiled Brakes, Heel-Toe is not for me
First Time with All the Safety Equipment - Didn't Improve Much
The Turning Point. Humbling Weekend that Taught Me A Lot
First Time at SOW. Back to Basics
Track Day #20 - 2nd in Class
Day 1:
Now:
![Dec-15-2024-OnGrid (Sun) [[646122a254]] - Blue - Session 3 (Outside Grapevine) - CPRP0239_Dec...webp](https://cdn.mustang6g.com/attachments/854/854603-19c626bc5a2af03303a1aed85a203df8.webp)
Sponsored
Last edited:


")