Sponsored

Check Your Taillight Gaps

johnny1

Well-Known Member
Joined
Oct 30, 2016
Threads
8
Messages
770
Reaction score
372
Location
USA
Vehicle(s)
Had new a 16 GT350 and 17 GT350
While I enjoy driving the 350 better its things like this that make me miss the m4. The assembly/quality was just far superior and on the 350 its such little things that I don't understand how Ford was able to miss them.
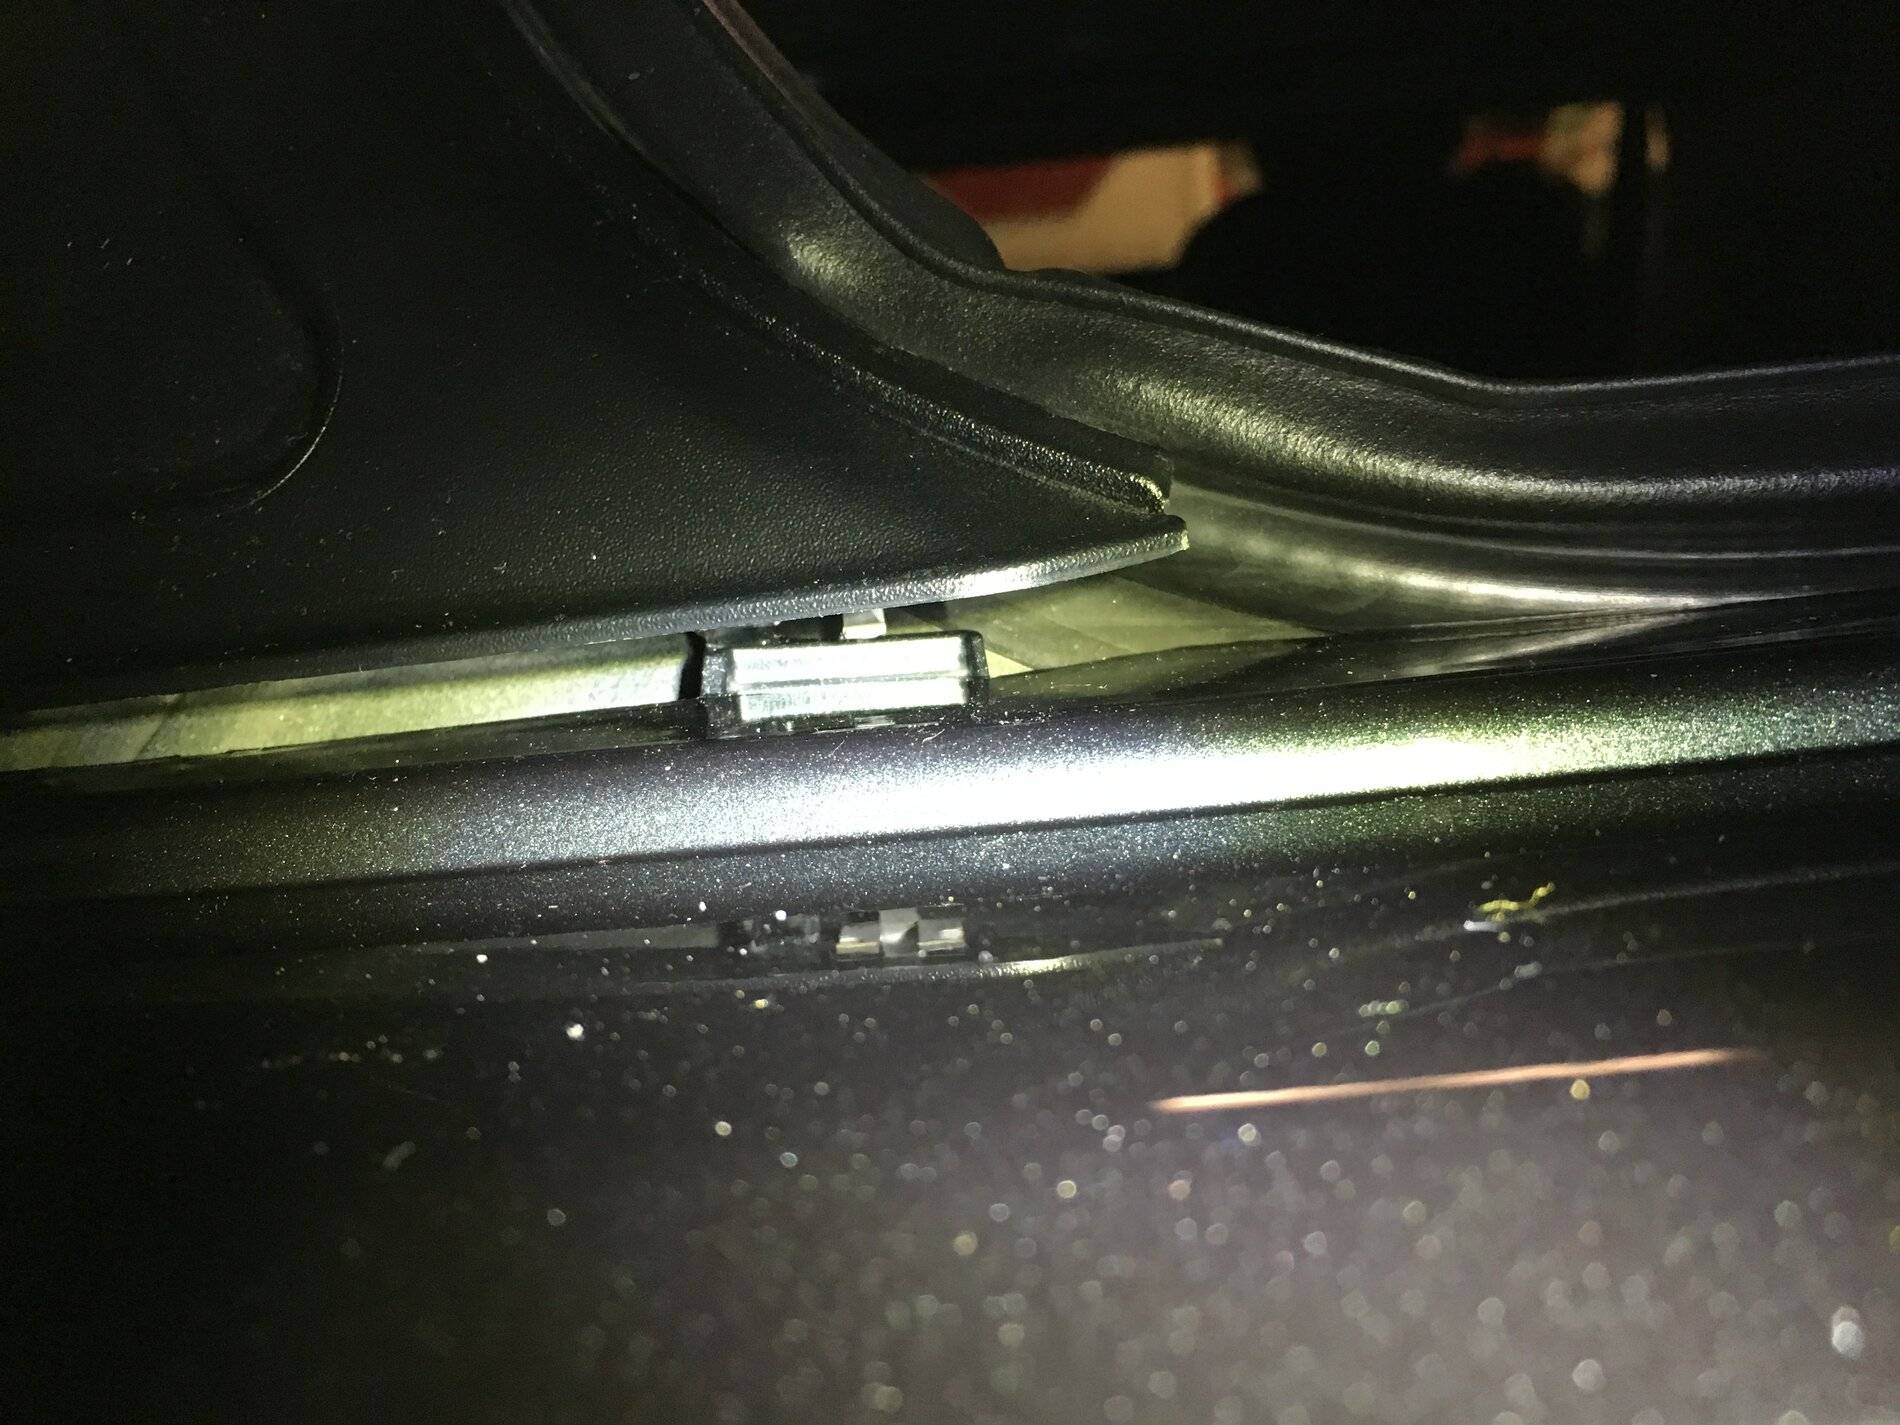
Theres no quality checks obviously not only with Ford but some other manufacturers either or they just don't care any more. Panel fitments on most GT350 have flaws that are very easily seen (rear fascia side gaps both sides or one side, trunk lid gap wider on one side, front fender space by hood at front wider on one side etc.) I had all of those things on both my 16 and 17 new. But there are those that will say no big deal its a performance car and cosmetics aren't important. To each there own but its important to some and I can relate to that.
Sponsored


95CobraR

Well-Known Member
Joined
Dec 21, 2018
Threads
57
Messages
980
Reaction score
754
Location
Sandy Springs, GA
First Name
Doc
Vehicle(s)
2019 Shelby GT350 K1868
Vehicle Showcase
9
While I enjoy driving the 350 better its things like this that make me miss the m4. The assembly/quality was just far superior and on the 350 its such little things that I don't understand how Ford was able to miss them.
My wife insisted on buying two BMW's (her friends had one).

These cars had so many problems while in warranty that I got rid of this junk. It's the definition of POS.
 

Niz55

Well-Known Member
Joined
May 10, 2015
Threads
358
Messages
3,674
Reaction score
1,281
Location
Us
Vehicle(s)
17 GT350
I assumed 2018+ means 2018 and onward so 2018,2019,2020.

I have a 2019. No foam pads as I mentioned
18+ all regular mustang with new style tails. Shelby still uses the old style tails.
 

stanglife

Well-Known Member
Joined
Jul 6, 2014
Threads
180
Messages
7,028
Reaction score
5,715
Location
FL
First Name
Jeff
Vehicle(s)
1993 Coyote Coupe
anyone done this lately? My lights are on my bumper...and dont line up with center trunk panel. Thinking they are in there too much...however that happens.
 

Labradog

Well-Known Member
Joined
Jun 21, 2016
Threads
12
Messages
1,239
Reaction score
892
Location
Santa Barbara, CA
First Name
Jeff
Vehicle(s)
2016 Mustang GT Guard Metallic
anyone done this lately? My lights are on my bumper...and dont line up with center trunk panel. Thinking they are in there too much...however that happens.
I'm planning on in it the next few weeks. Have a little rubbing on the driver's side that I want to adjust and touch up before ceramic coating.
 

Sponsored

Cobra Jet

Well-Known Member
Joined
Feb 12, 2015
Threads
711
Messages
16,309
Reaction score
18,082
Location
NJ
Vehicle(s)
2018 EB Prem. w/PP and 94 Mustang Cobra
anyone done this lately? My lights are on my bumper...and dont line up with center trunk panel. Thinking they are in there too much...however that happens.
Pop trunk, remove center trunk latch plastic panel (push pins). Take L and R inner felt trunk liners and fold them back towards rear seat back, away from the taillights (the liners are only secured by push pins and magnets).

The tails are secured to the taillight panel by 10mm or 8mm nuts (can’t recall exact size). Use a long socket to remove or loosen and make sure you get all nuts - because if you don’t, you’re bound to break the light assembly.

If you loosen the nuts, you can then try to adjust how the taillight sits within the rear 1/4 cavity. Depending on fitment of the tail housing in the cavity, will determine how close the bottom comes to the top of the rear bumper cover. Also to note, it could also determine the spacing to the trunk lid center black appliqué panel.

Along with the above notes, you could also get a bag of washers and use some as shims. To do this, you would remove the nuts from the taillights, remove the taillight from the body and place a washer (or multiple) over one or more of the studs on the taillight. When the assembly is placed back into the body cavity, the washer(s) will act as a spacer or shim.

All the above is trial and error with test fitting or adjusting the depth and side to side positioning of the taillights. Close trunk lid slowly when testing fitment or adjustment and monitor bottom of taillight assembly to bumper cover to avoid damages to either component.

Here’s the S550 rear body alignment specs:
1607754568507.jpeg

1607754597699.jpeg
 
Last edited:

Labradog

Well-Known Member
Joined
Jun 21, 2016
Threads
12
Messages
1,239
Reaction score
892
Location
Santa Barbara, CA
First Name
Jeff
Vehicle(s)
2016 Mustang GT Guard Metallic
What size nylon washers did you guys use? Trying to limit my trips to Home Depot.
 

Labradog

Well-Known Member
Joined
Jun 21, 2016
Threads
12
Messages
1,239
Reaction score
892
Location
Santa Barbara, CA
First Name
Jeff
Vehicle(s)
2016 Mustang GT Guard Metallic
Any tips for getting the inboard clips to seat?. Losing my mind trying to get the taillights reinstalled. Feel like if I squeeze any harder on the black section something is going to break.
 

Sletcher

Well-Known Member
Joined
Jun 4, 2016
Threads
4
Messages
87
Reaction score
79
Location
Edmond, OK
First Name
Stu
Vehicle(s)
20 GT350, 19 Expedition, 17 VW Alltrack
Pics would help as I don’t entirely understand the issue you’re having.
 

Sponsored

Sletcher

Well-Known Member
Joined
Jun 4, 2016
Threads
4
Messages
87
Reaction score
79
Location
Edmond, OK
First Name
Stu
Vehicle(s)
20 GT350, 19 Expedition, 17 VW Alltrack

Not my video, but represents the experience I had. Installation begins at 2:45
 

Labradog

Well-Known Member
Joined
Jun 21, 2016
Threads
12
Messages
1,239
Reaction score
892
Location
Santa Barbara, CA
First Name
Jeff
Vehicle(s)
2016 Mustang GT Guard Metallic
Yeah I wasn't mentioned as a point of concern in any of the videos I watched before removing them. I didn't look down there before pulling them off, but I'm guessing that clip needs to sit down behind that tab.
Sponsored


Top