illtal
Well-Known Member
I'll probably add it to my build, but mines about having big power on tap (more than the 700 I got now.)Good timing. Just finished installing it last night. I'll post the install.
Sponsored
I'll probably add it to my build, but mines about having big power on tap (more than the 700 I got now.)Good timing. Just finished installing it last night. I'll post the install.
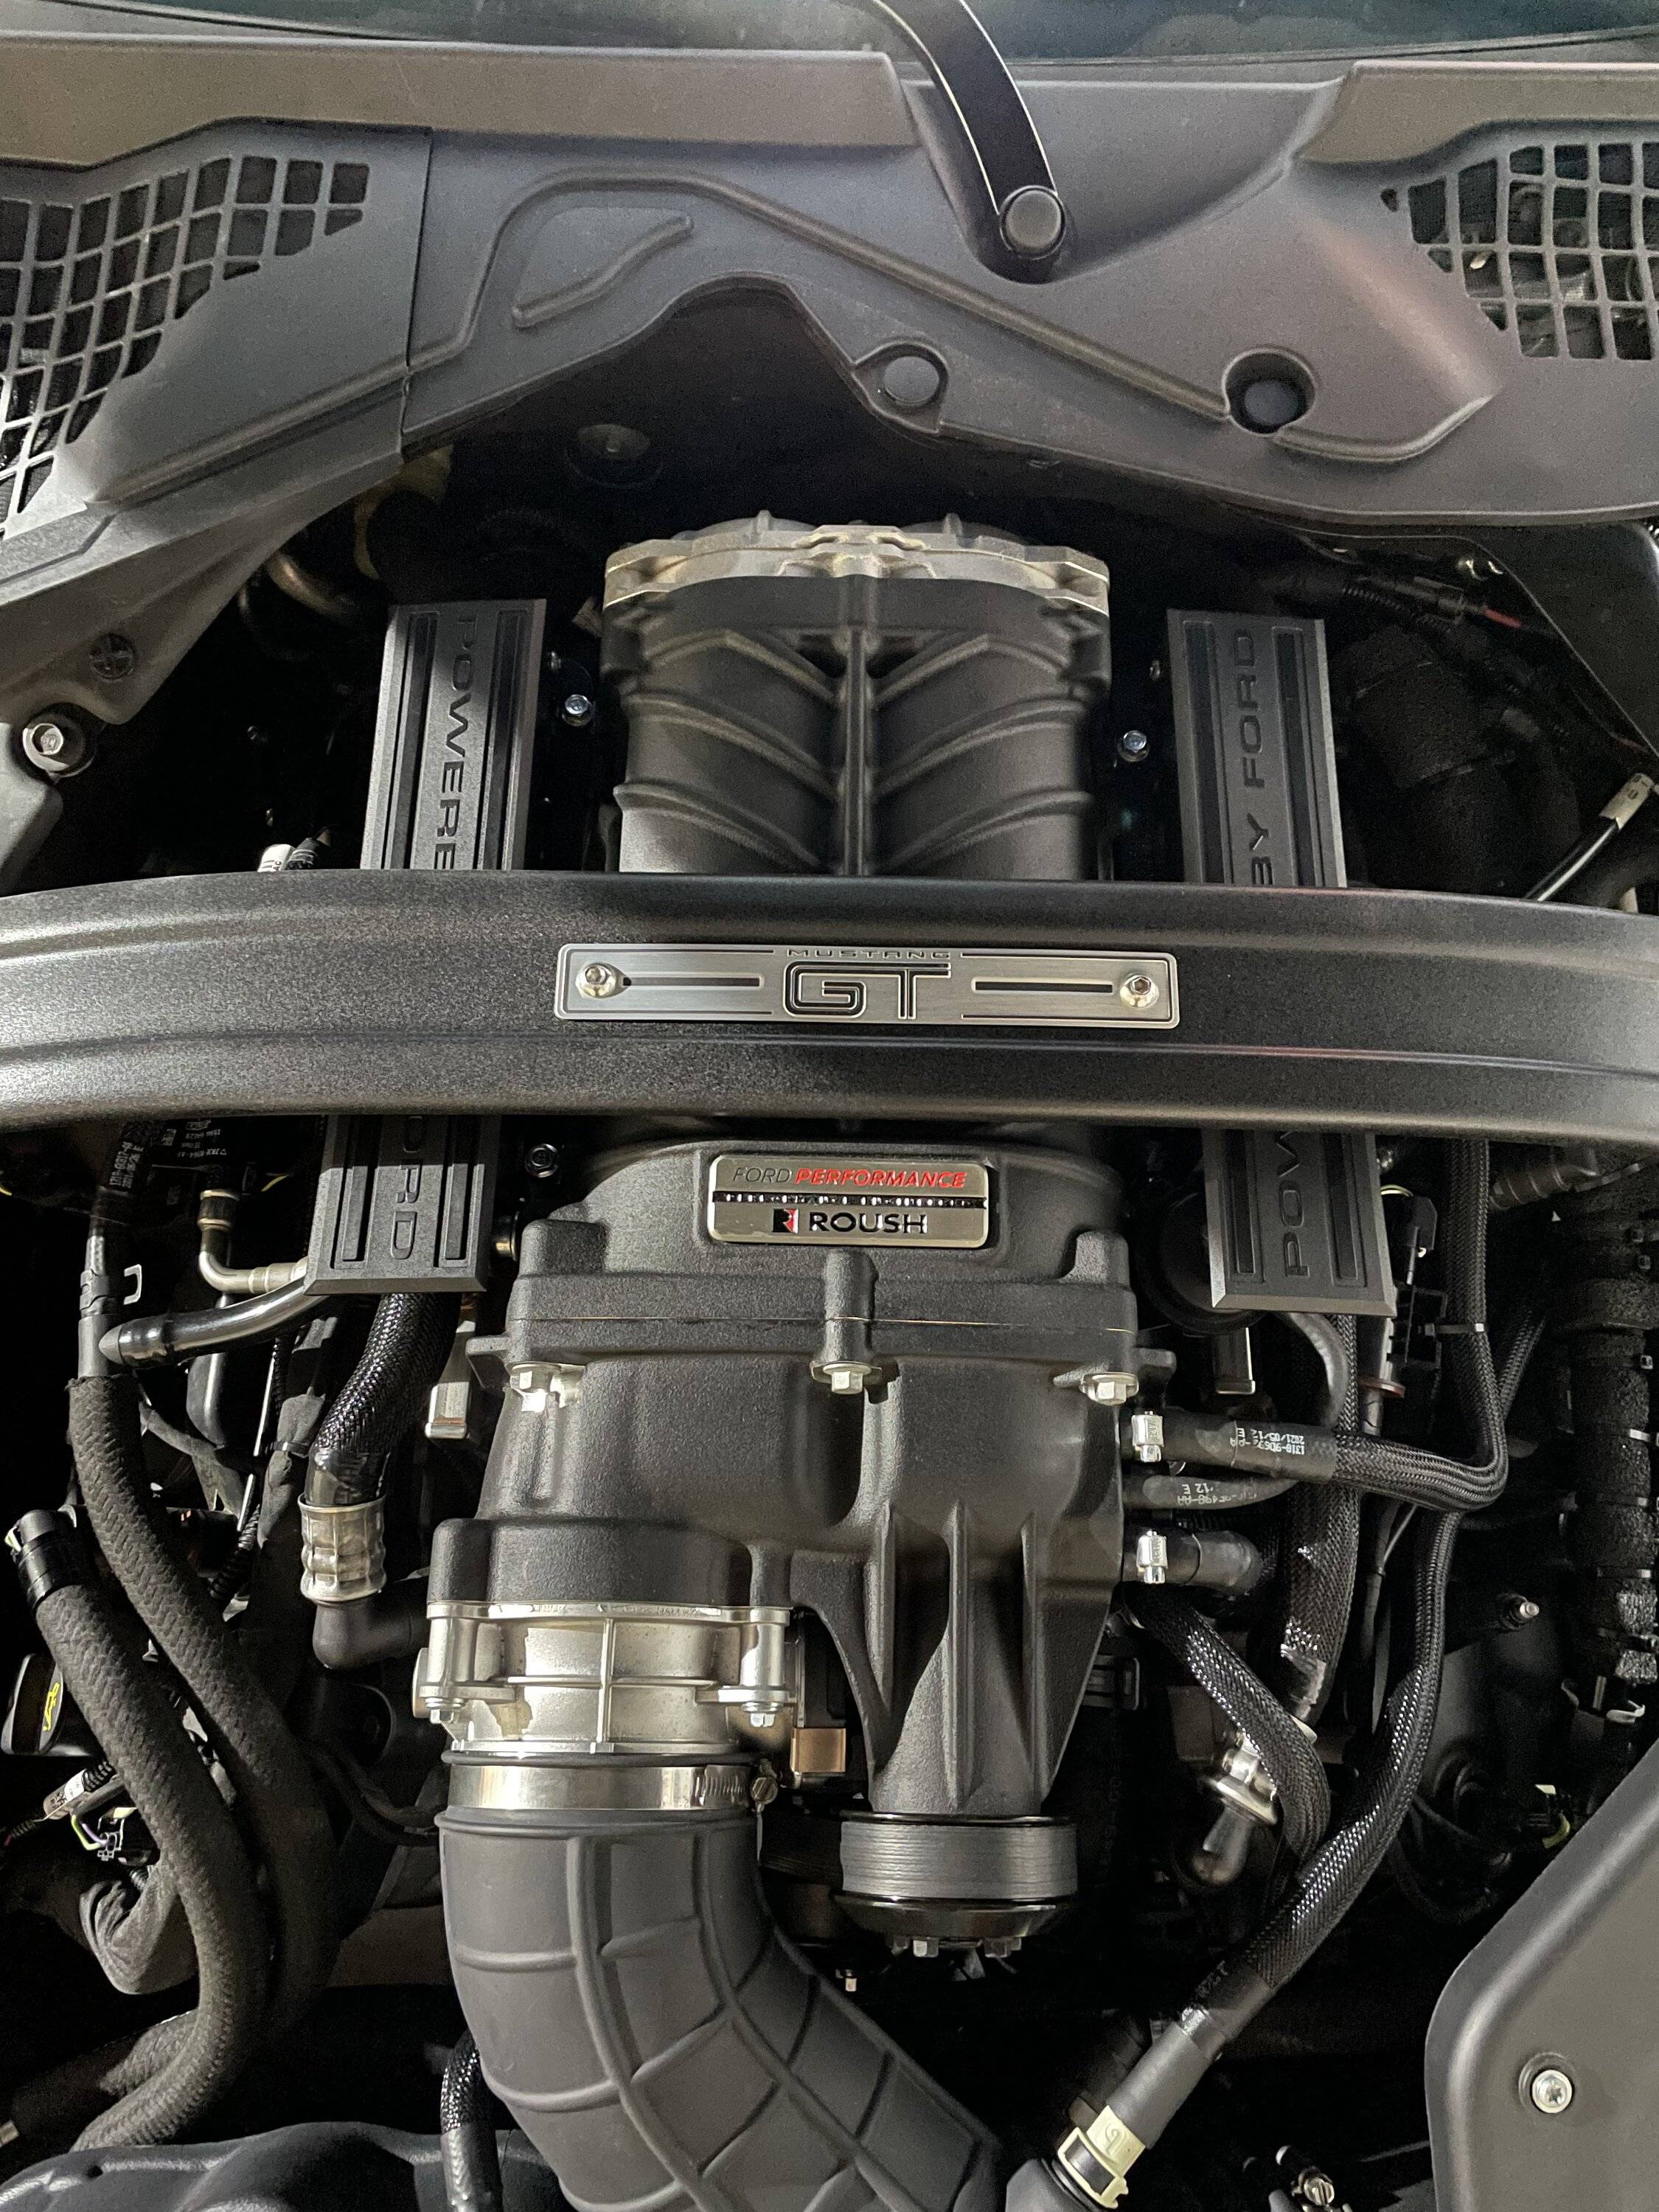


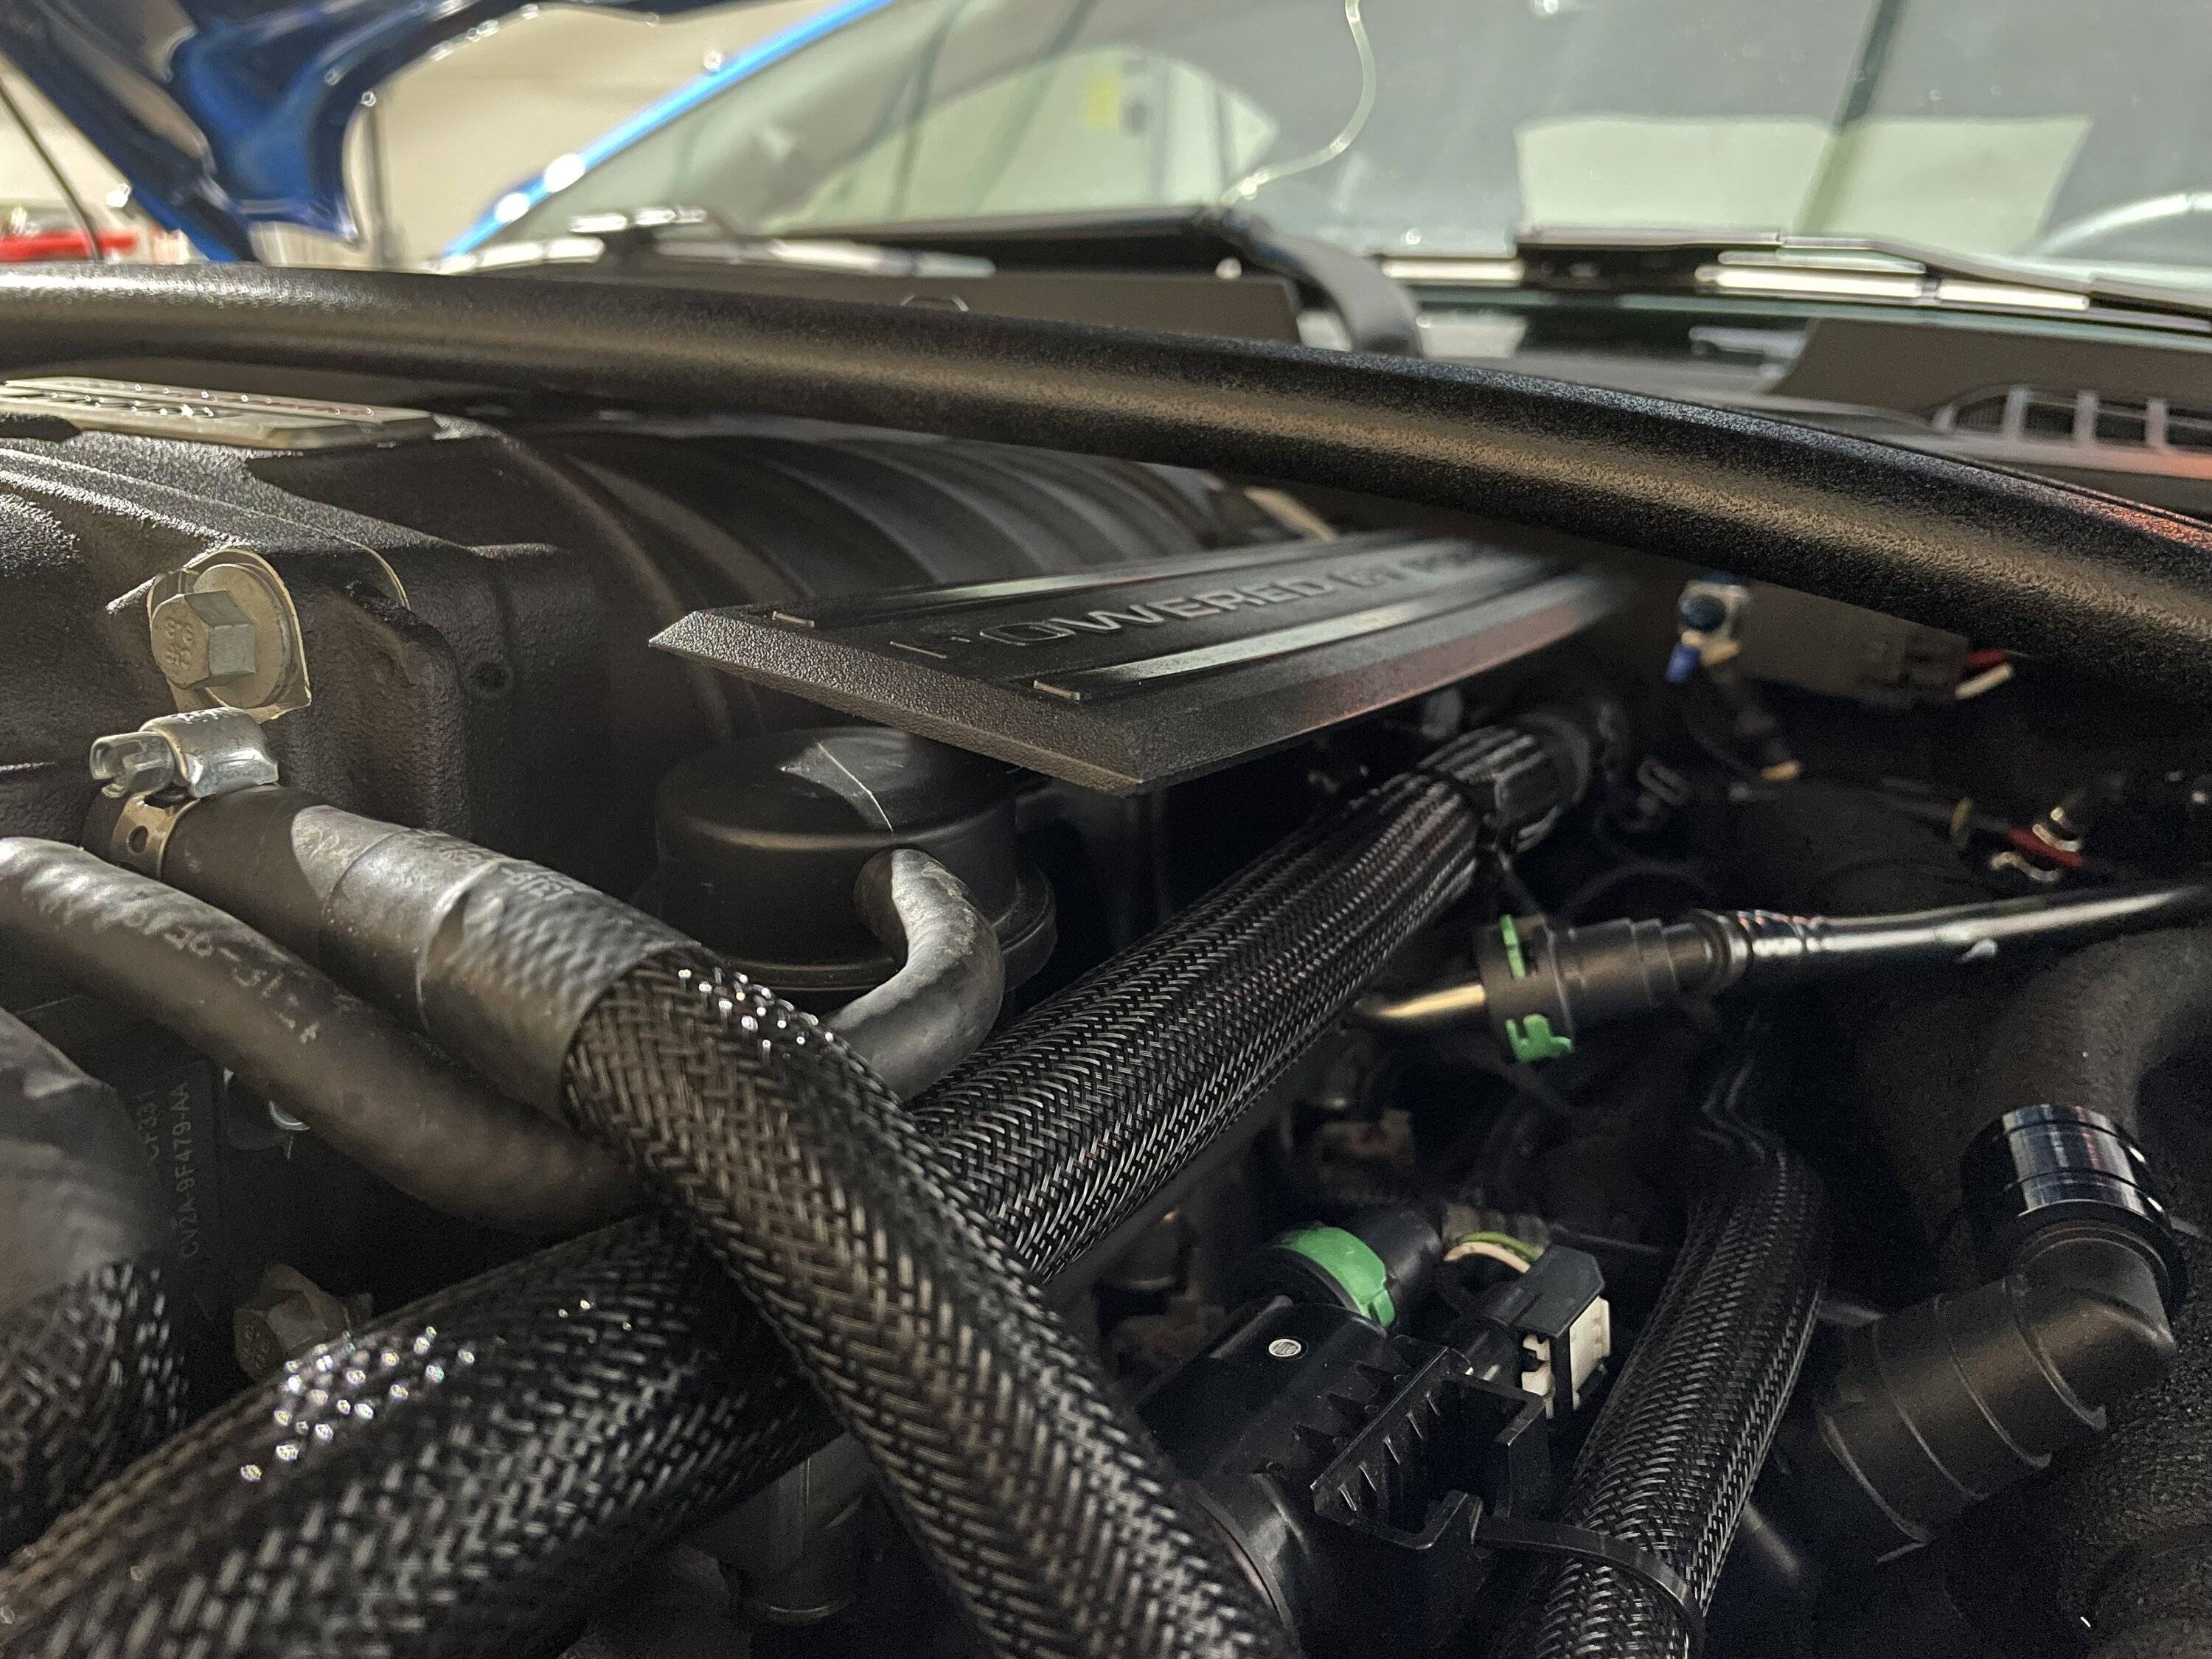

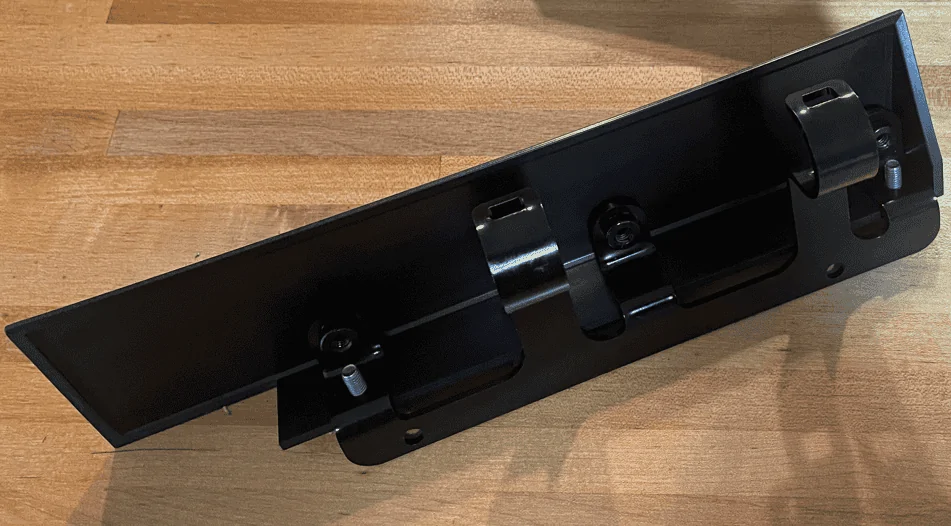
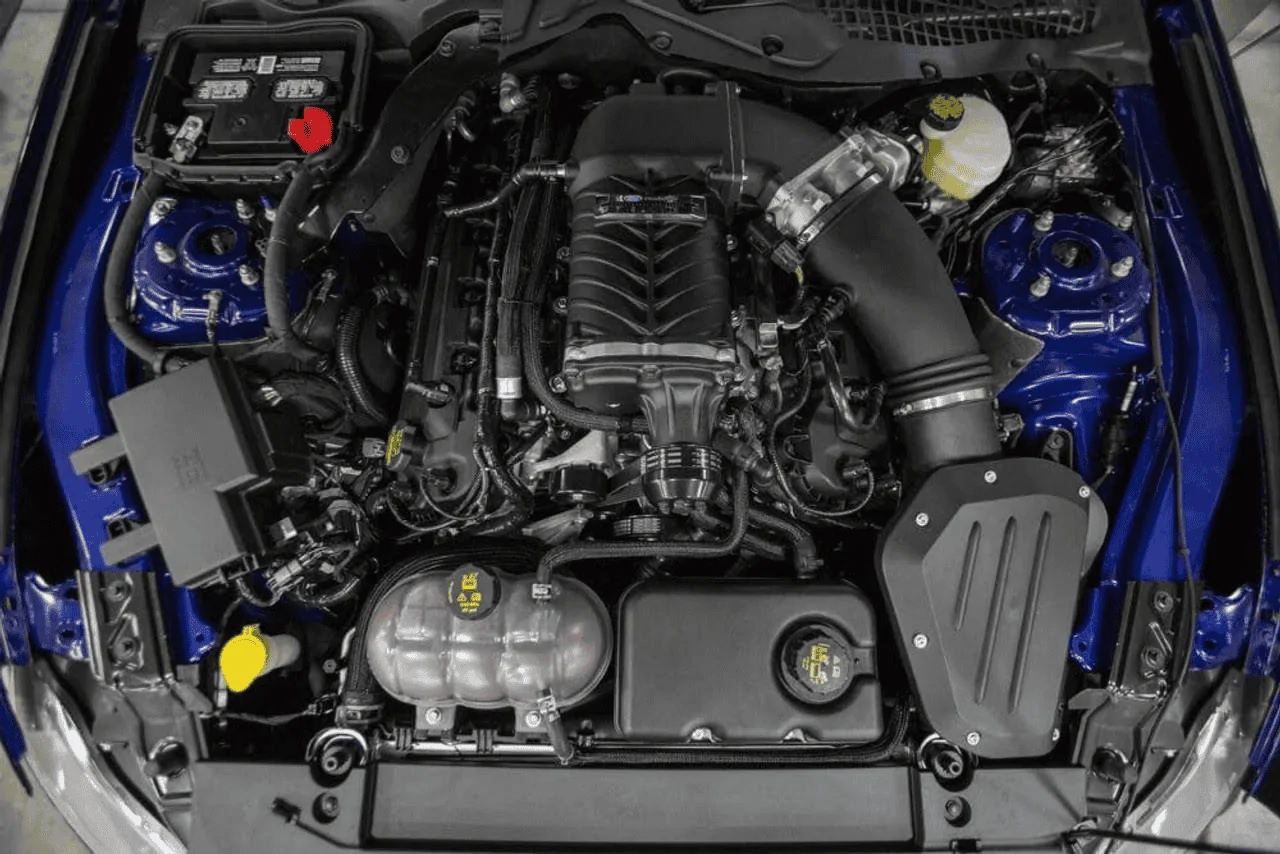
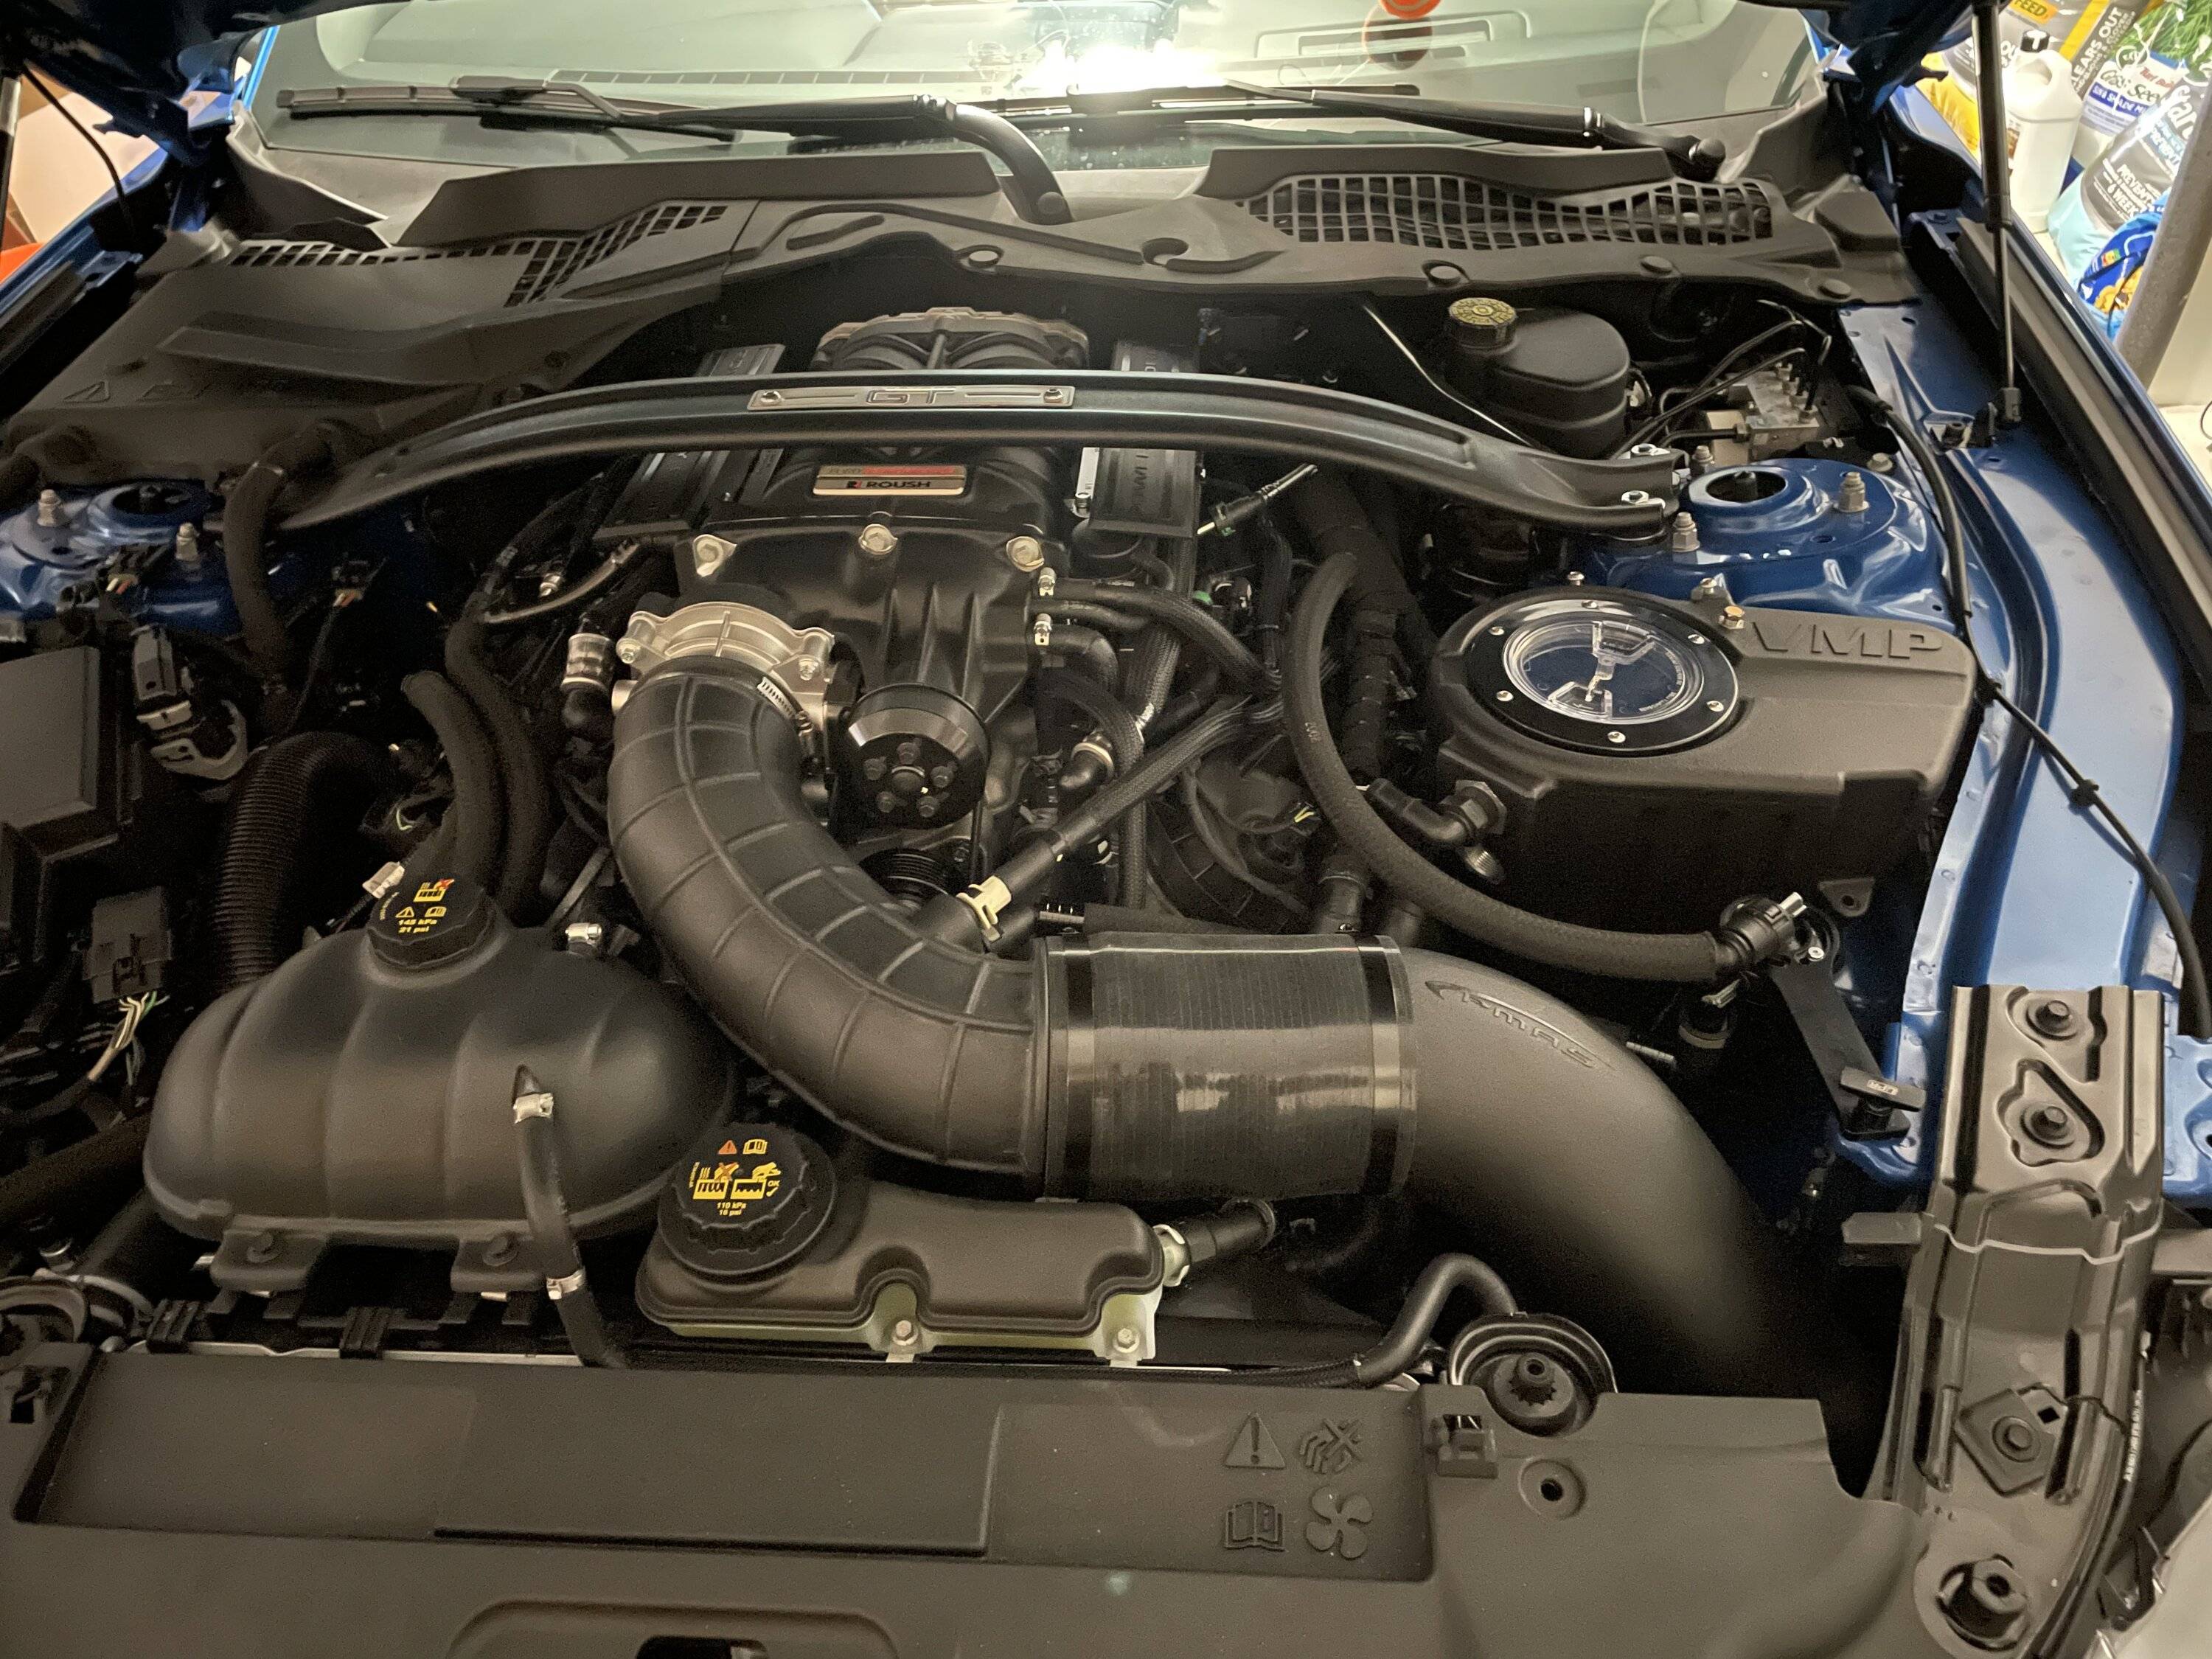
AWESOME!!! Looks fantastic!!!!! =)I modified the FP Bullitt 5.0L Engine Dress Up Kit to fit the coil cover brackets on the Roush blower kit. I stole the idea from @monte87 and then overcomplicated it.


Why?
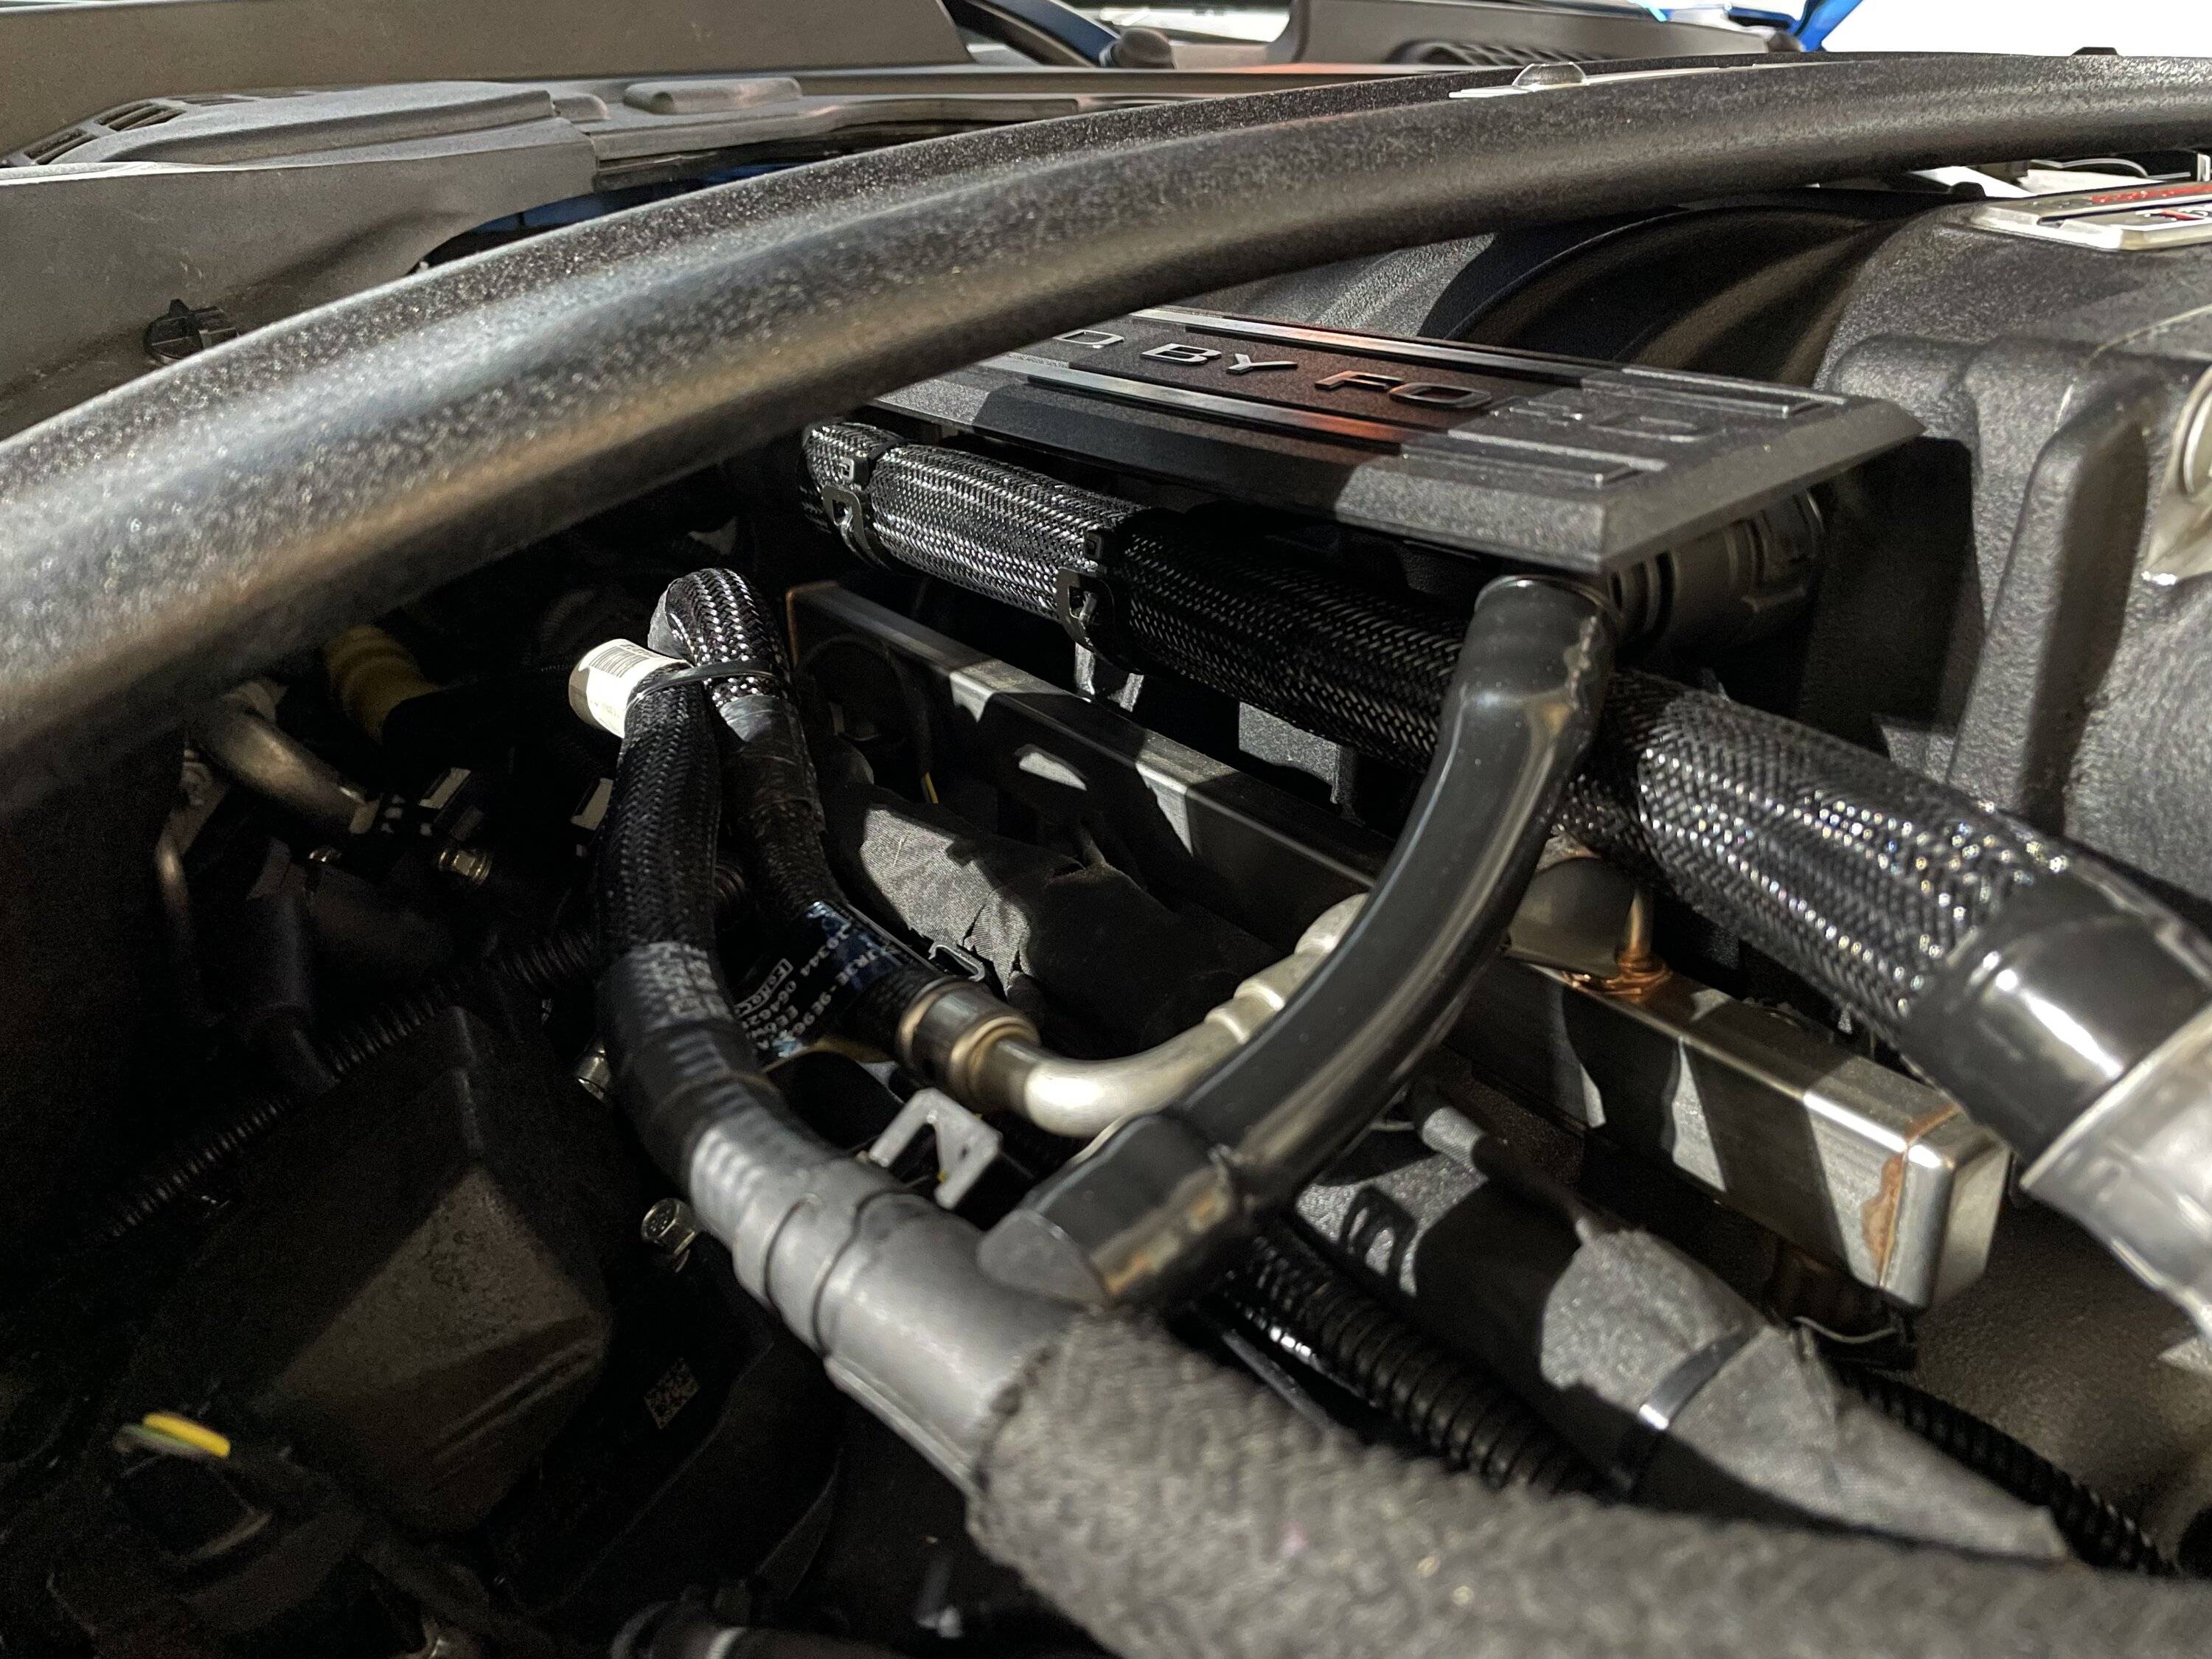
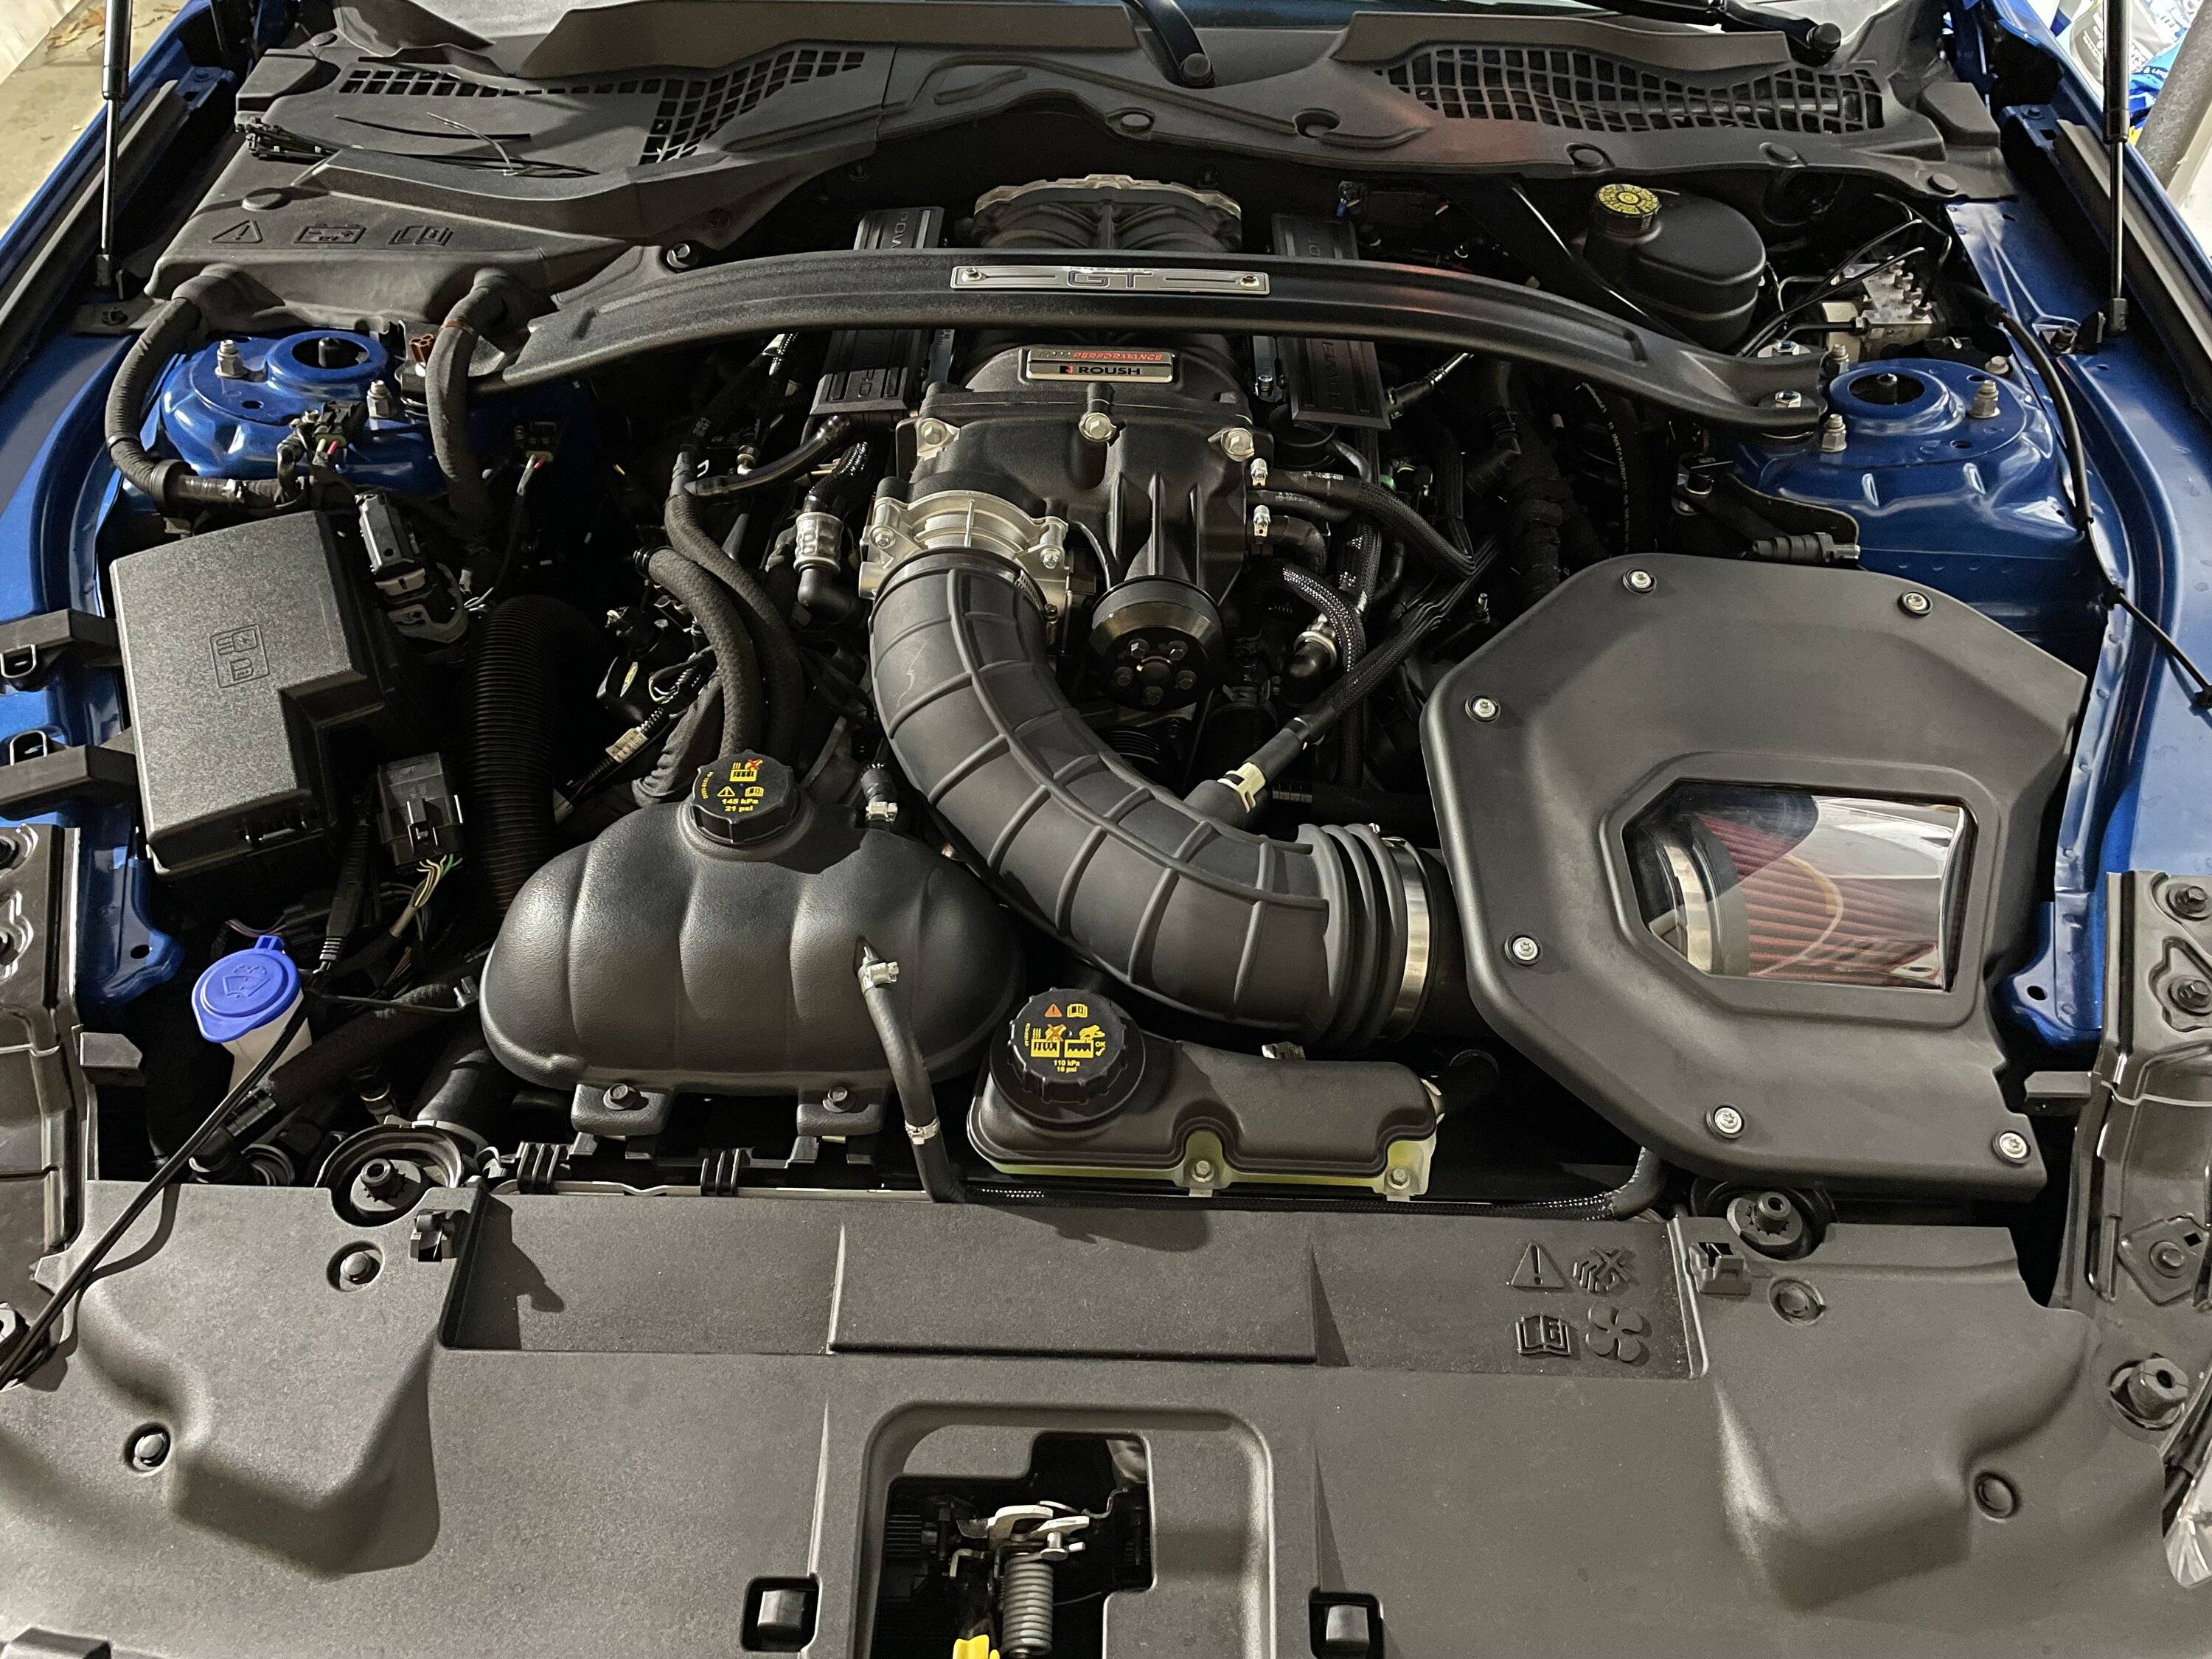
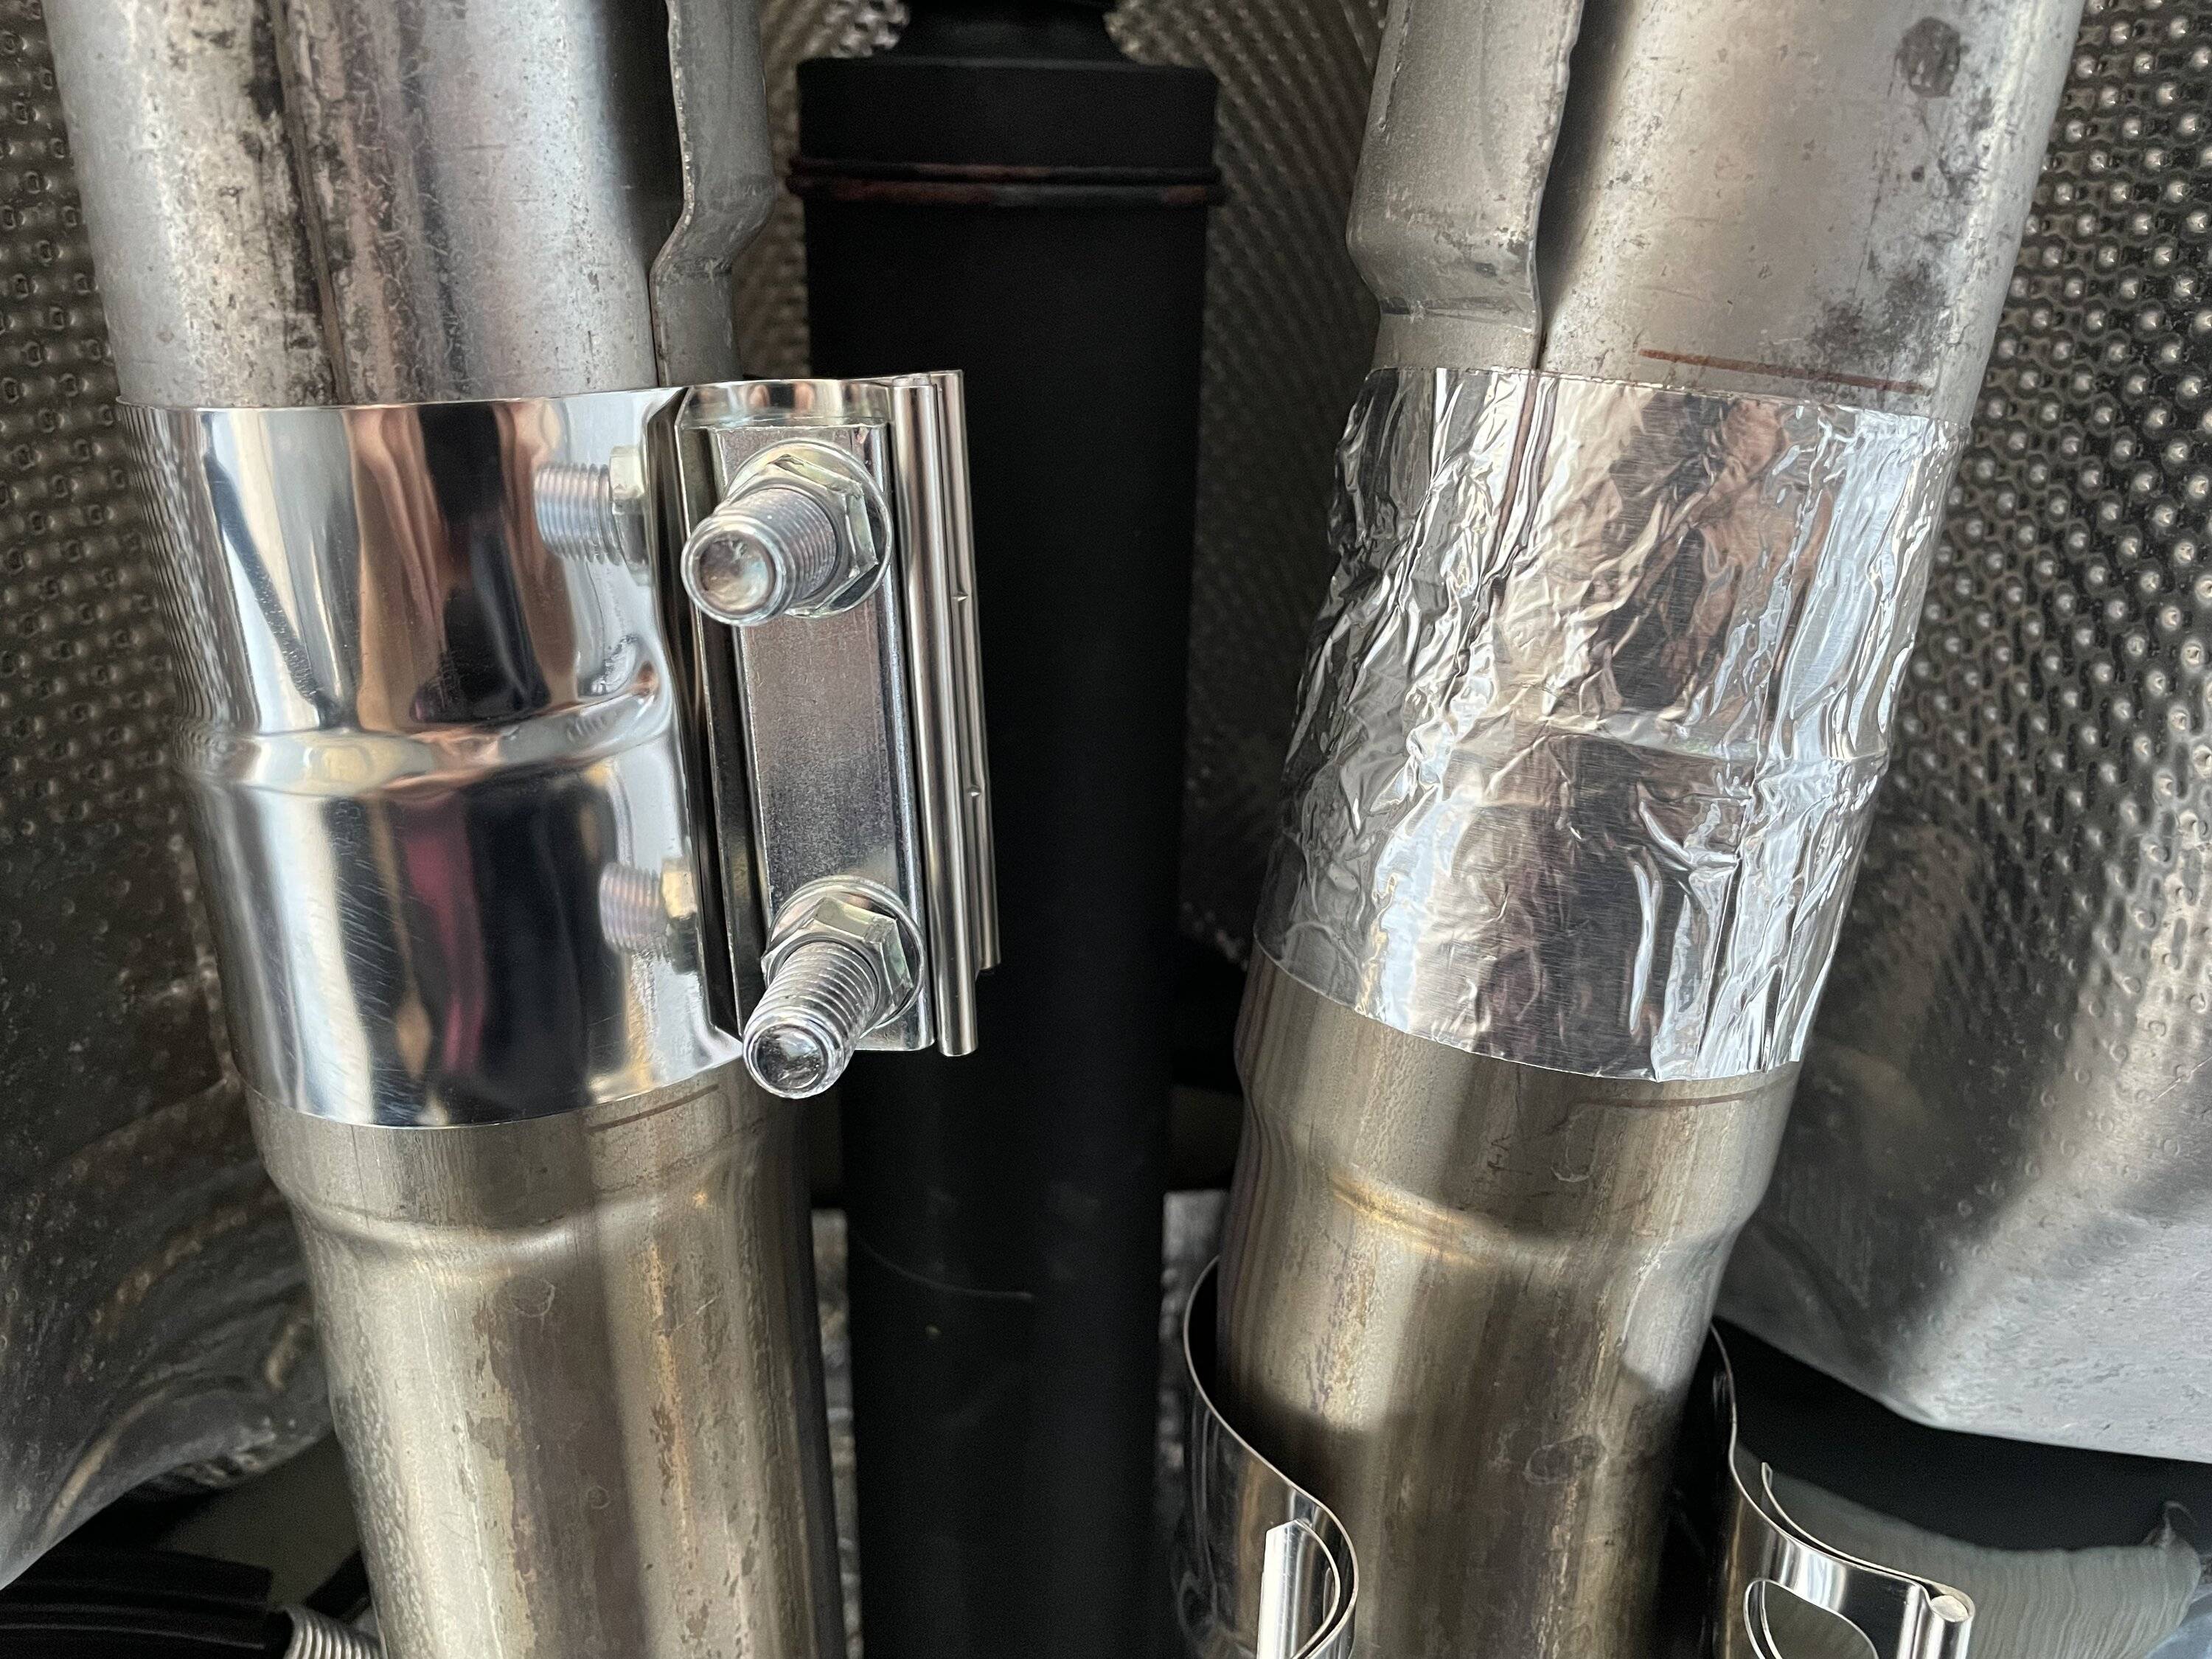
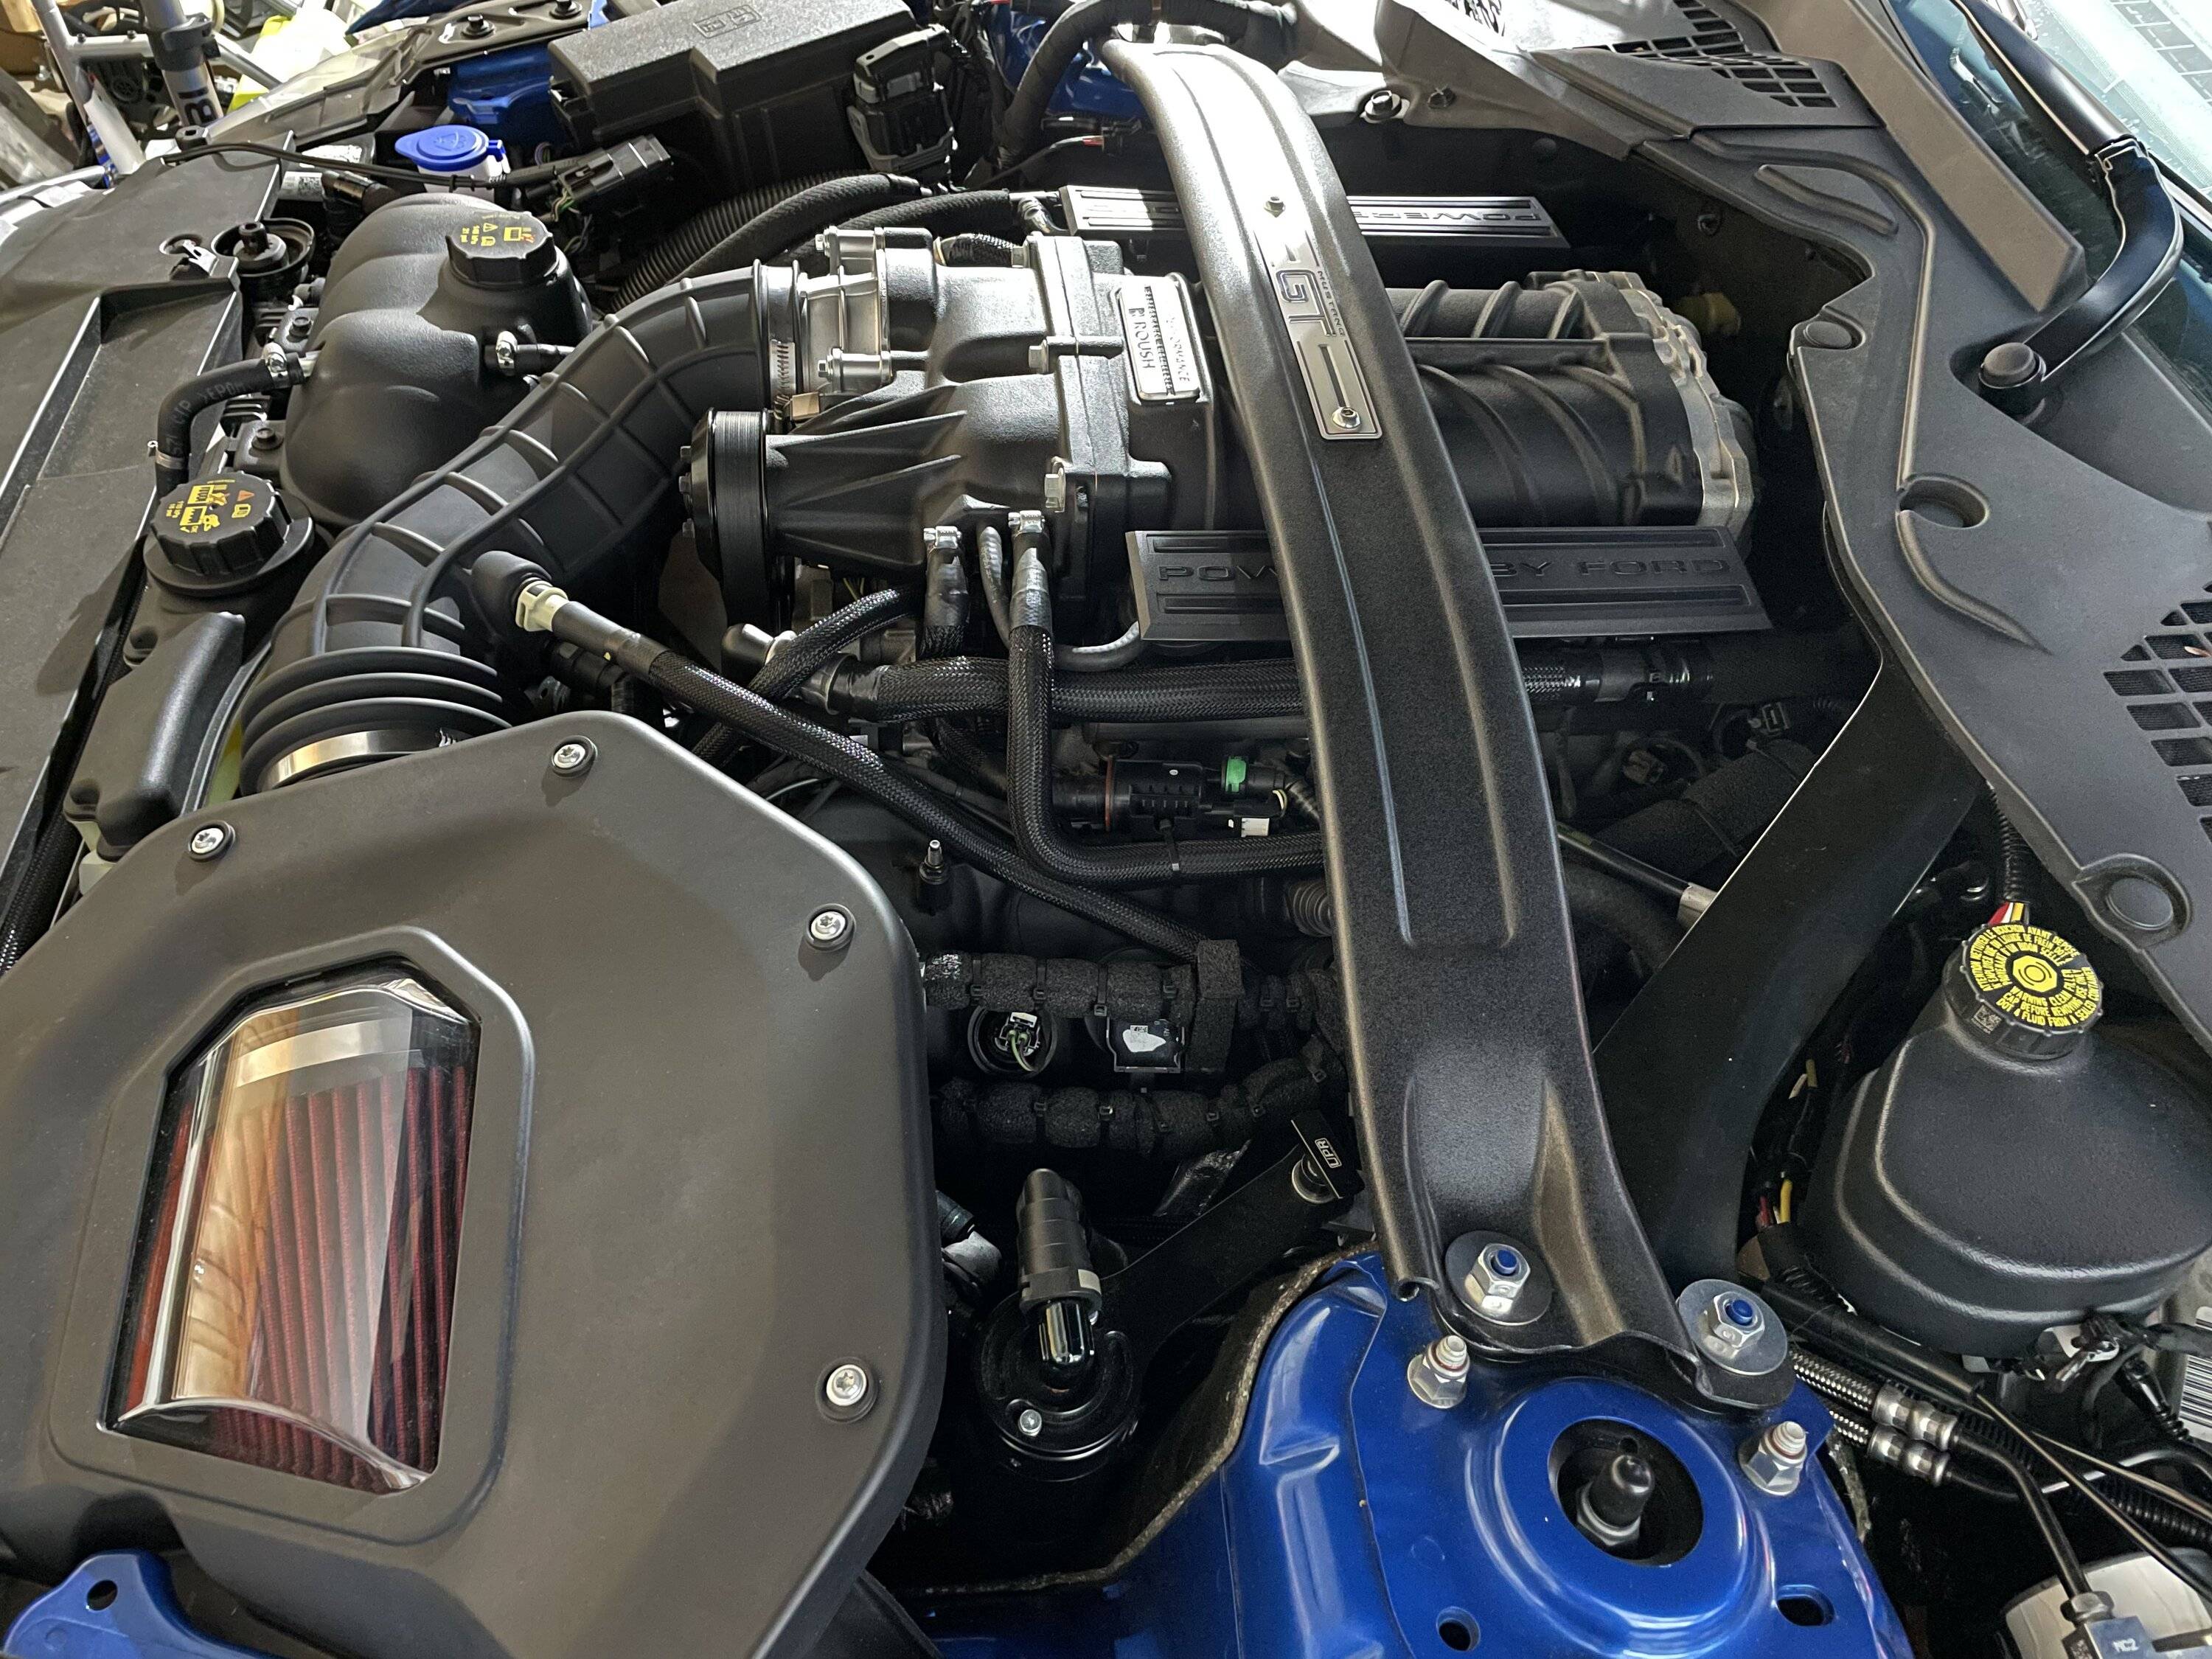
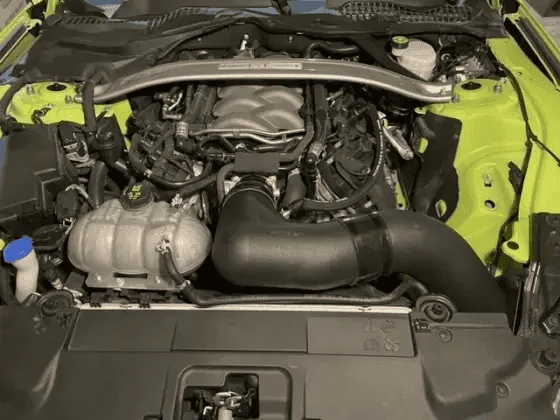
I had to ditch the Roush coil covers. Removing the strut tower brace in order to pull the huge Roush covers gets old real fast. Plus the covers can't be helping my hot start issue.
Unfortunately the coil cover brackets can't be removed because they also secure heater hosing coming from the firewall. The brackets look unfinished without the covers installed.

The Process
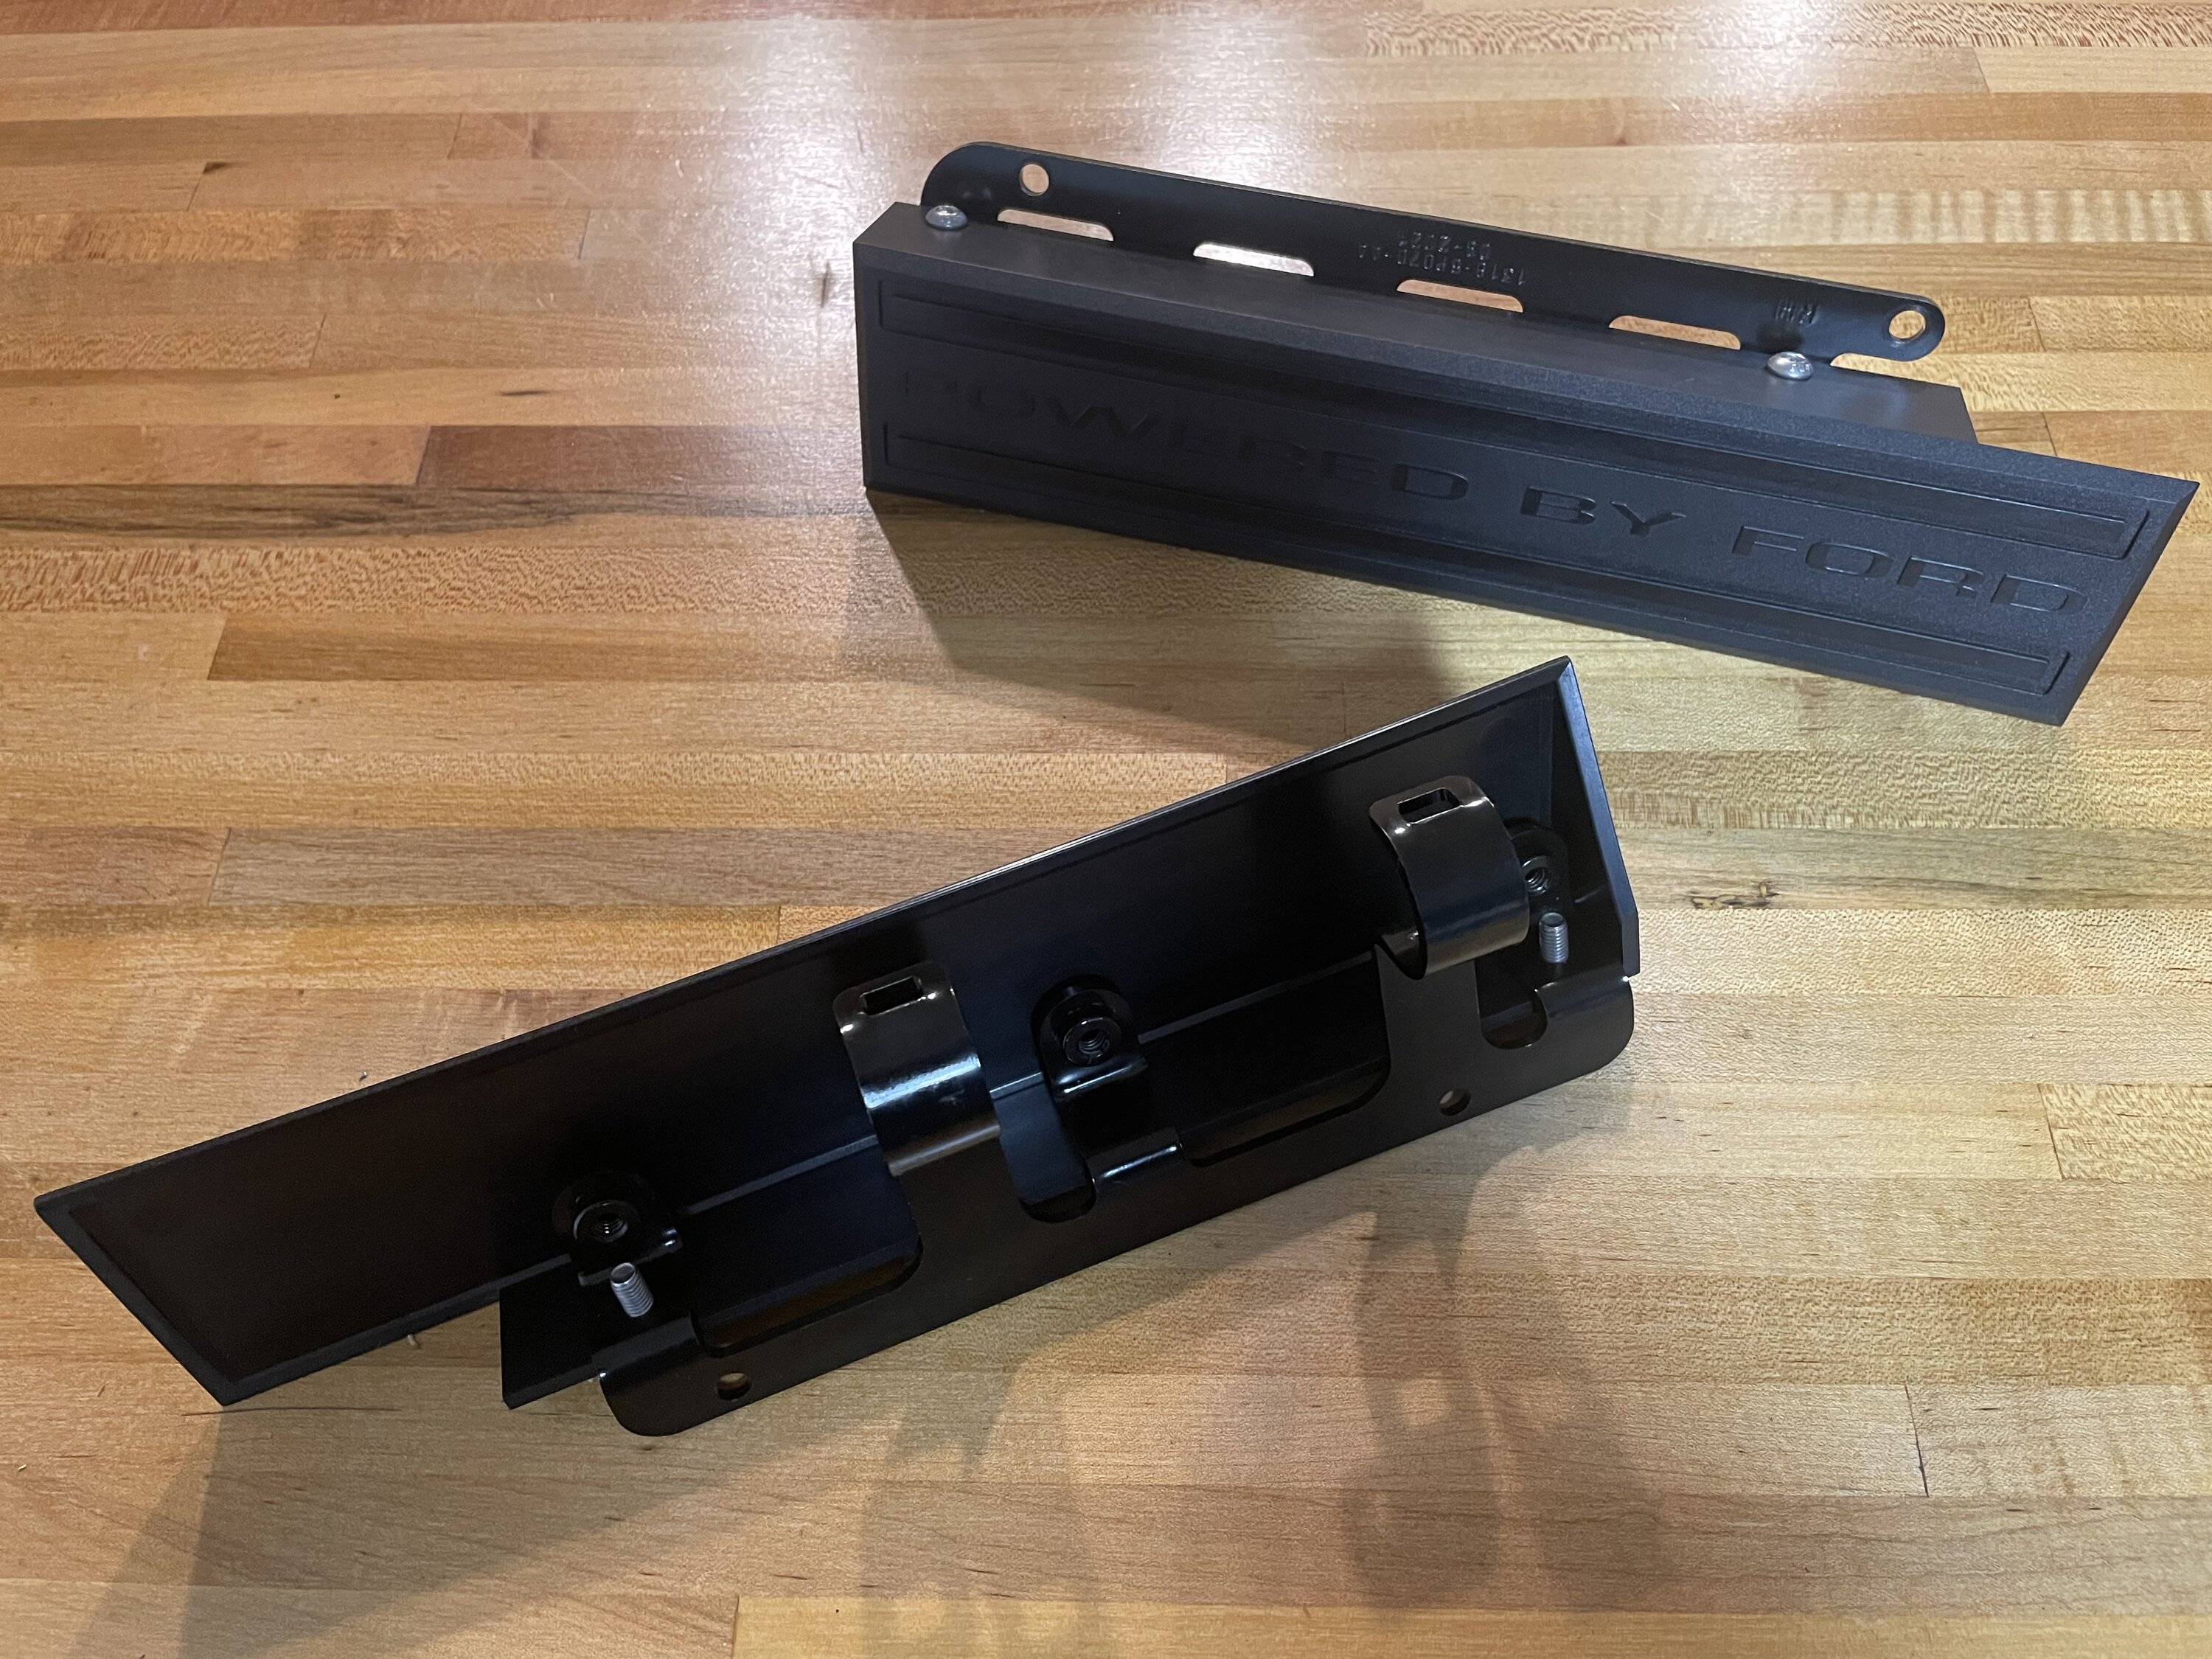
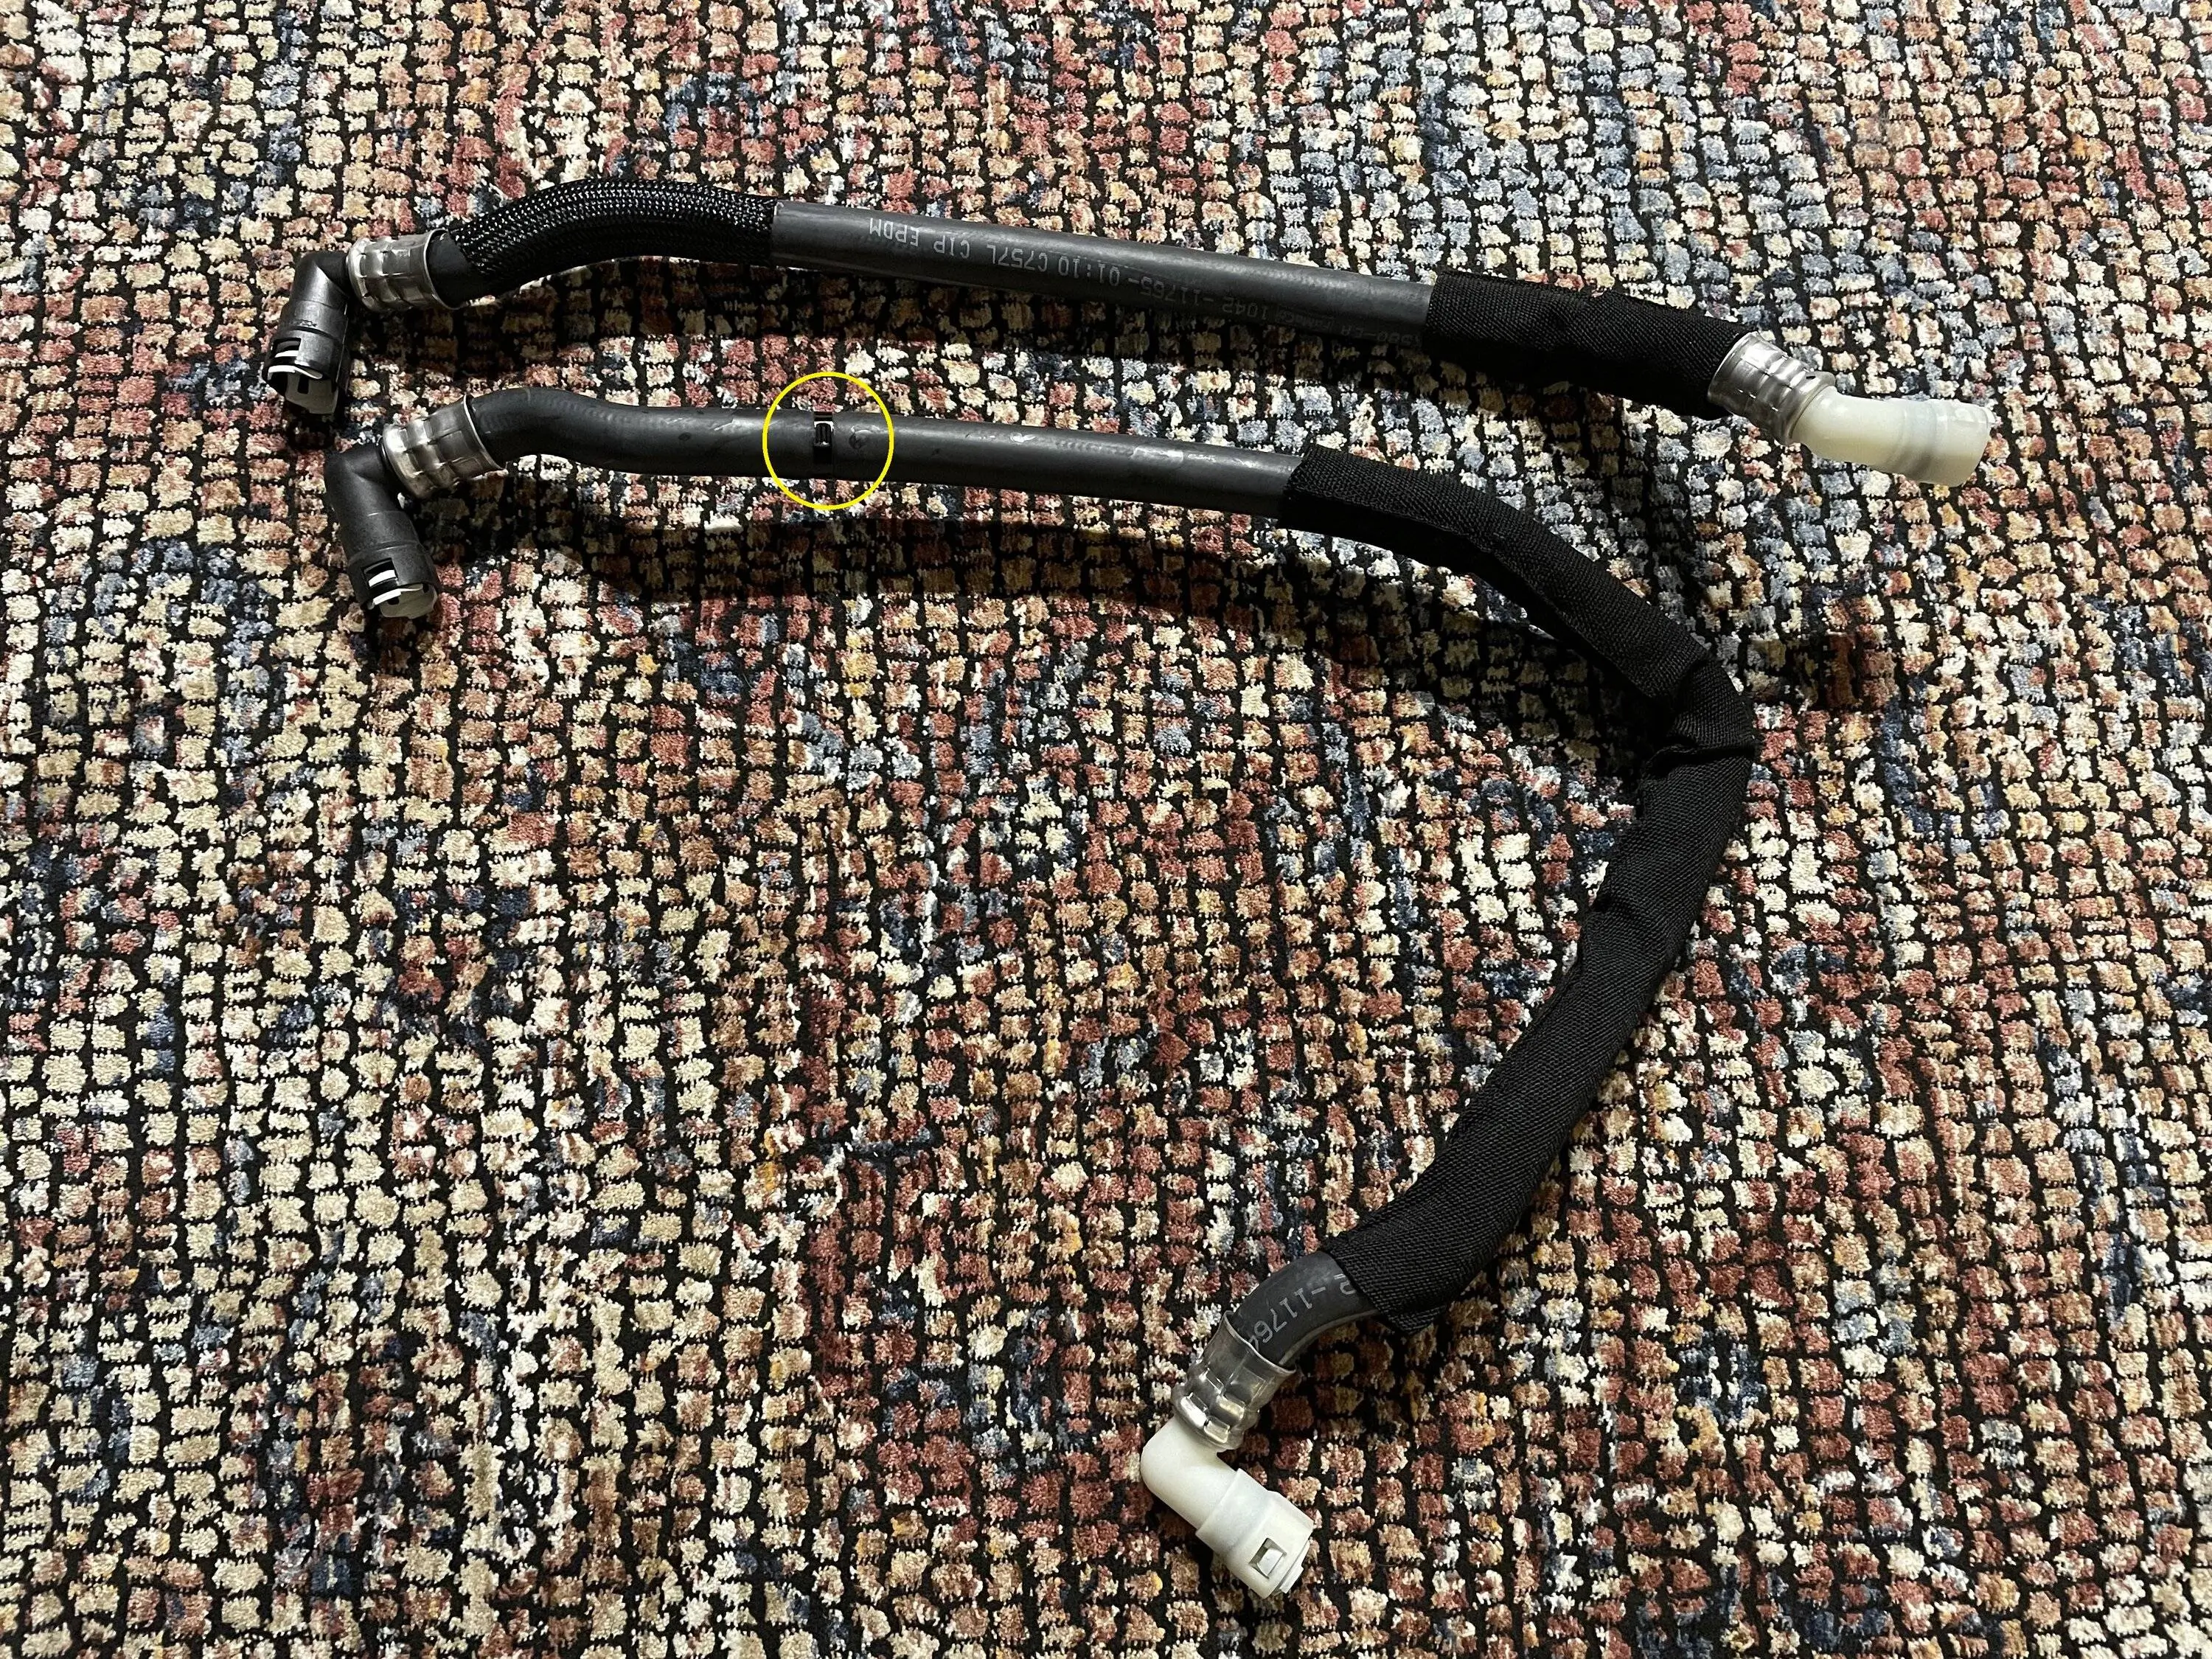
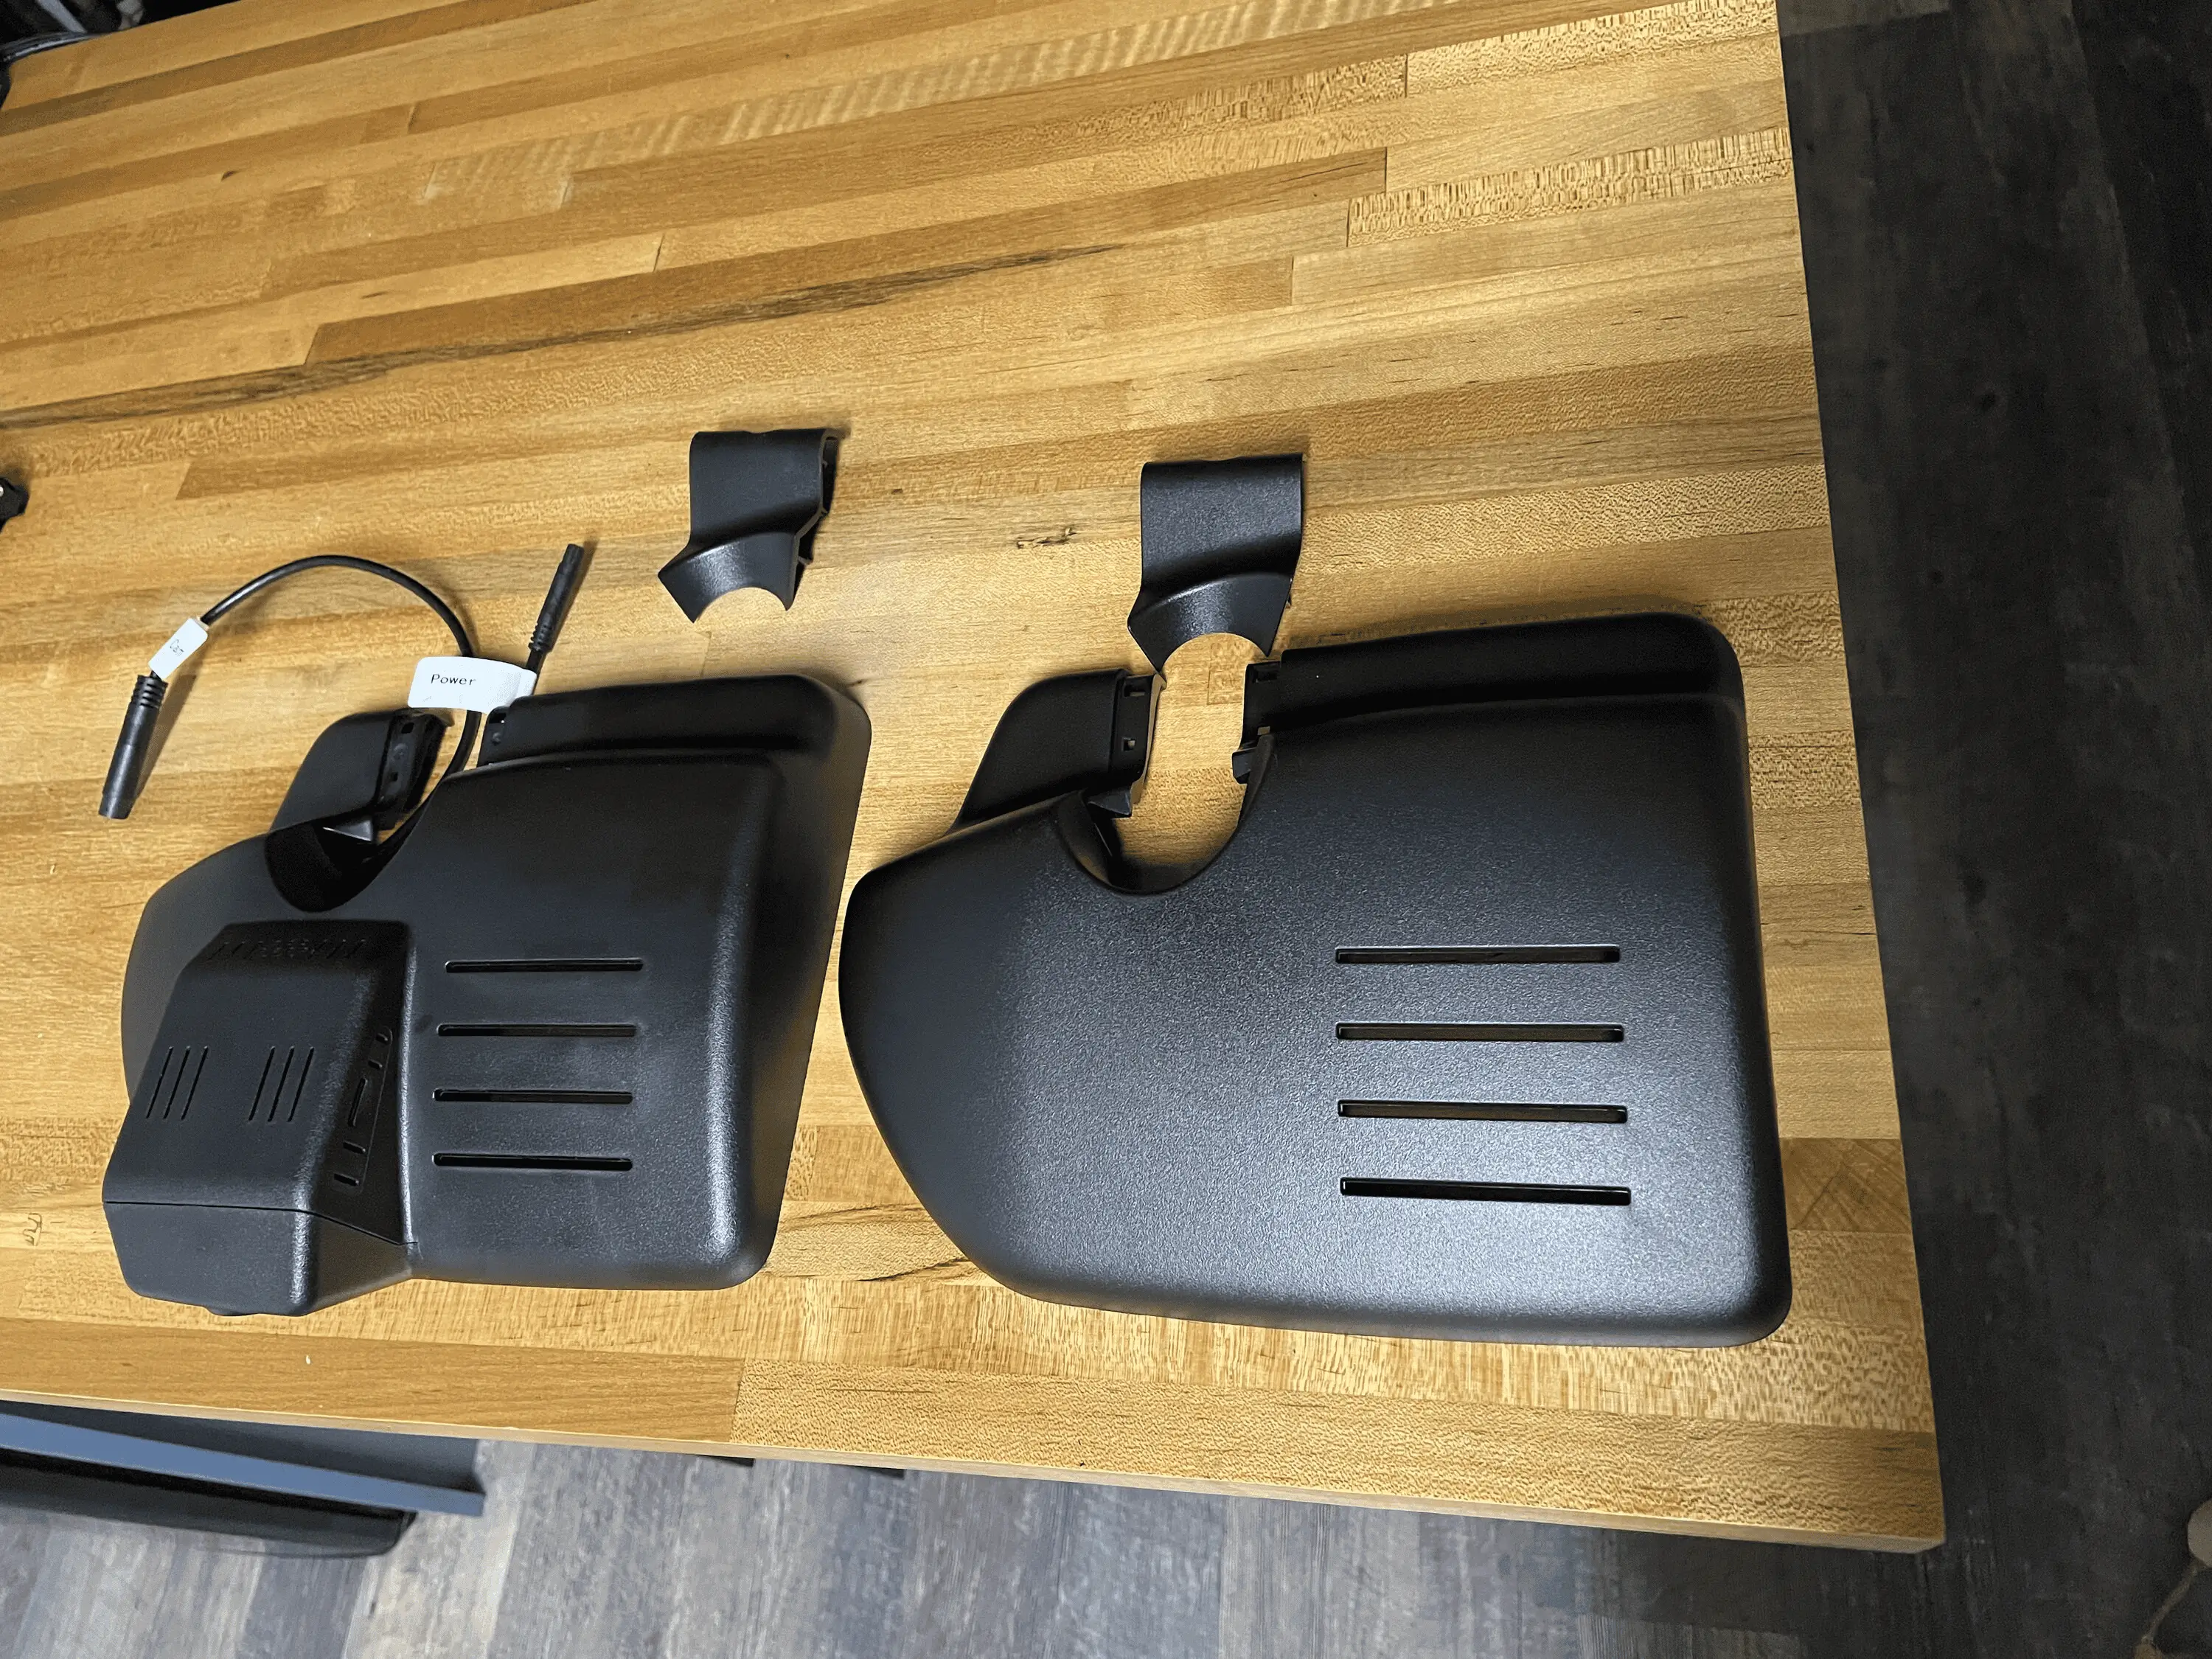
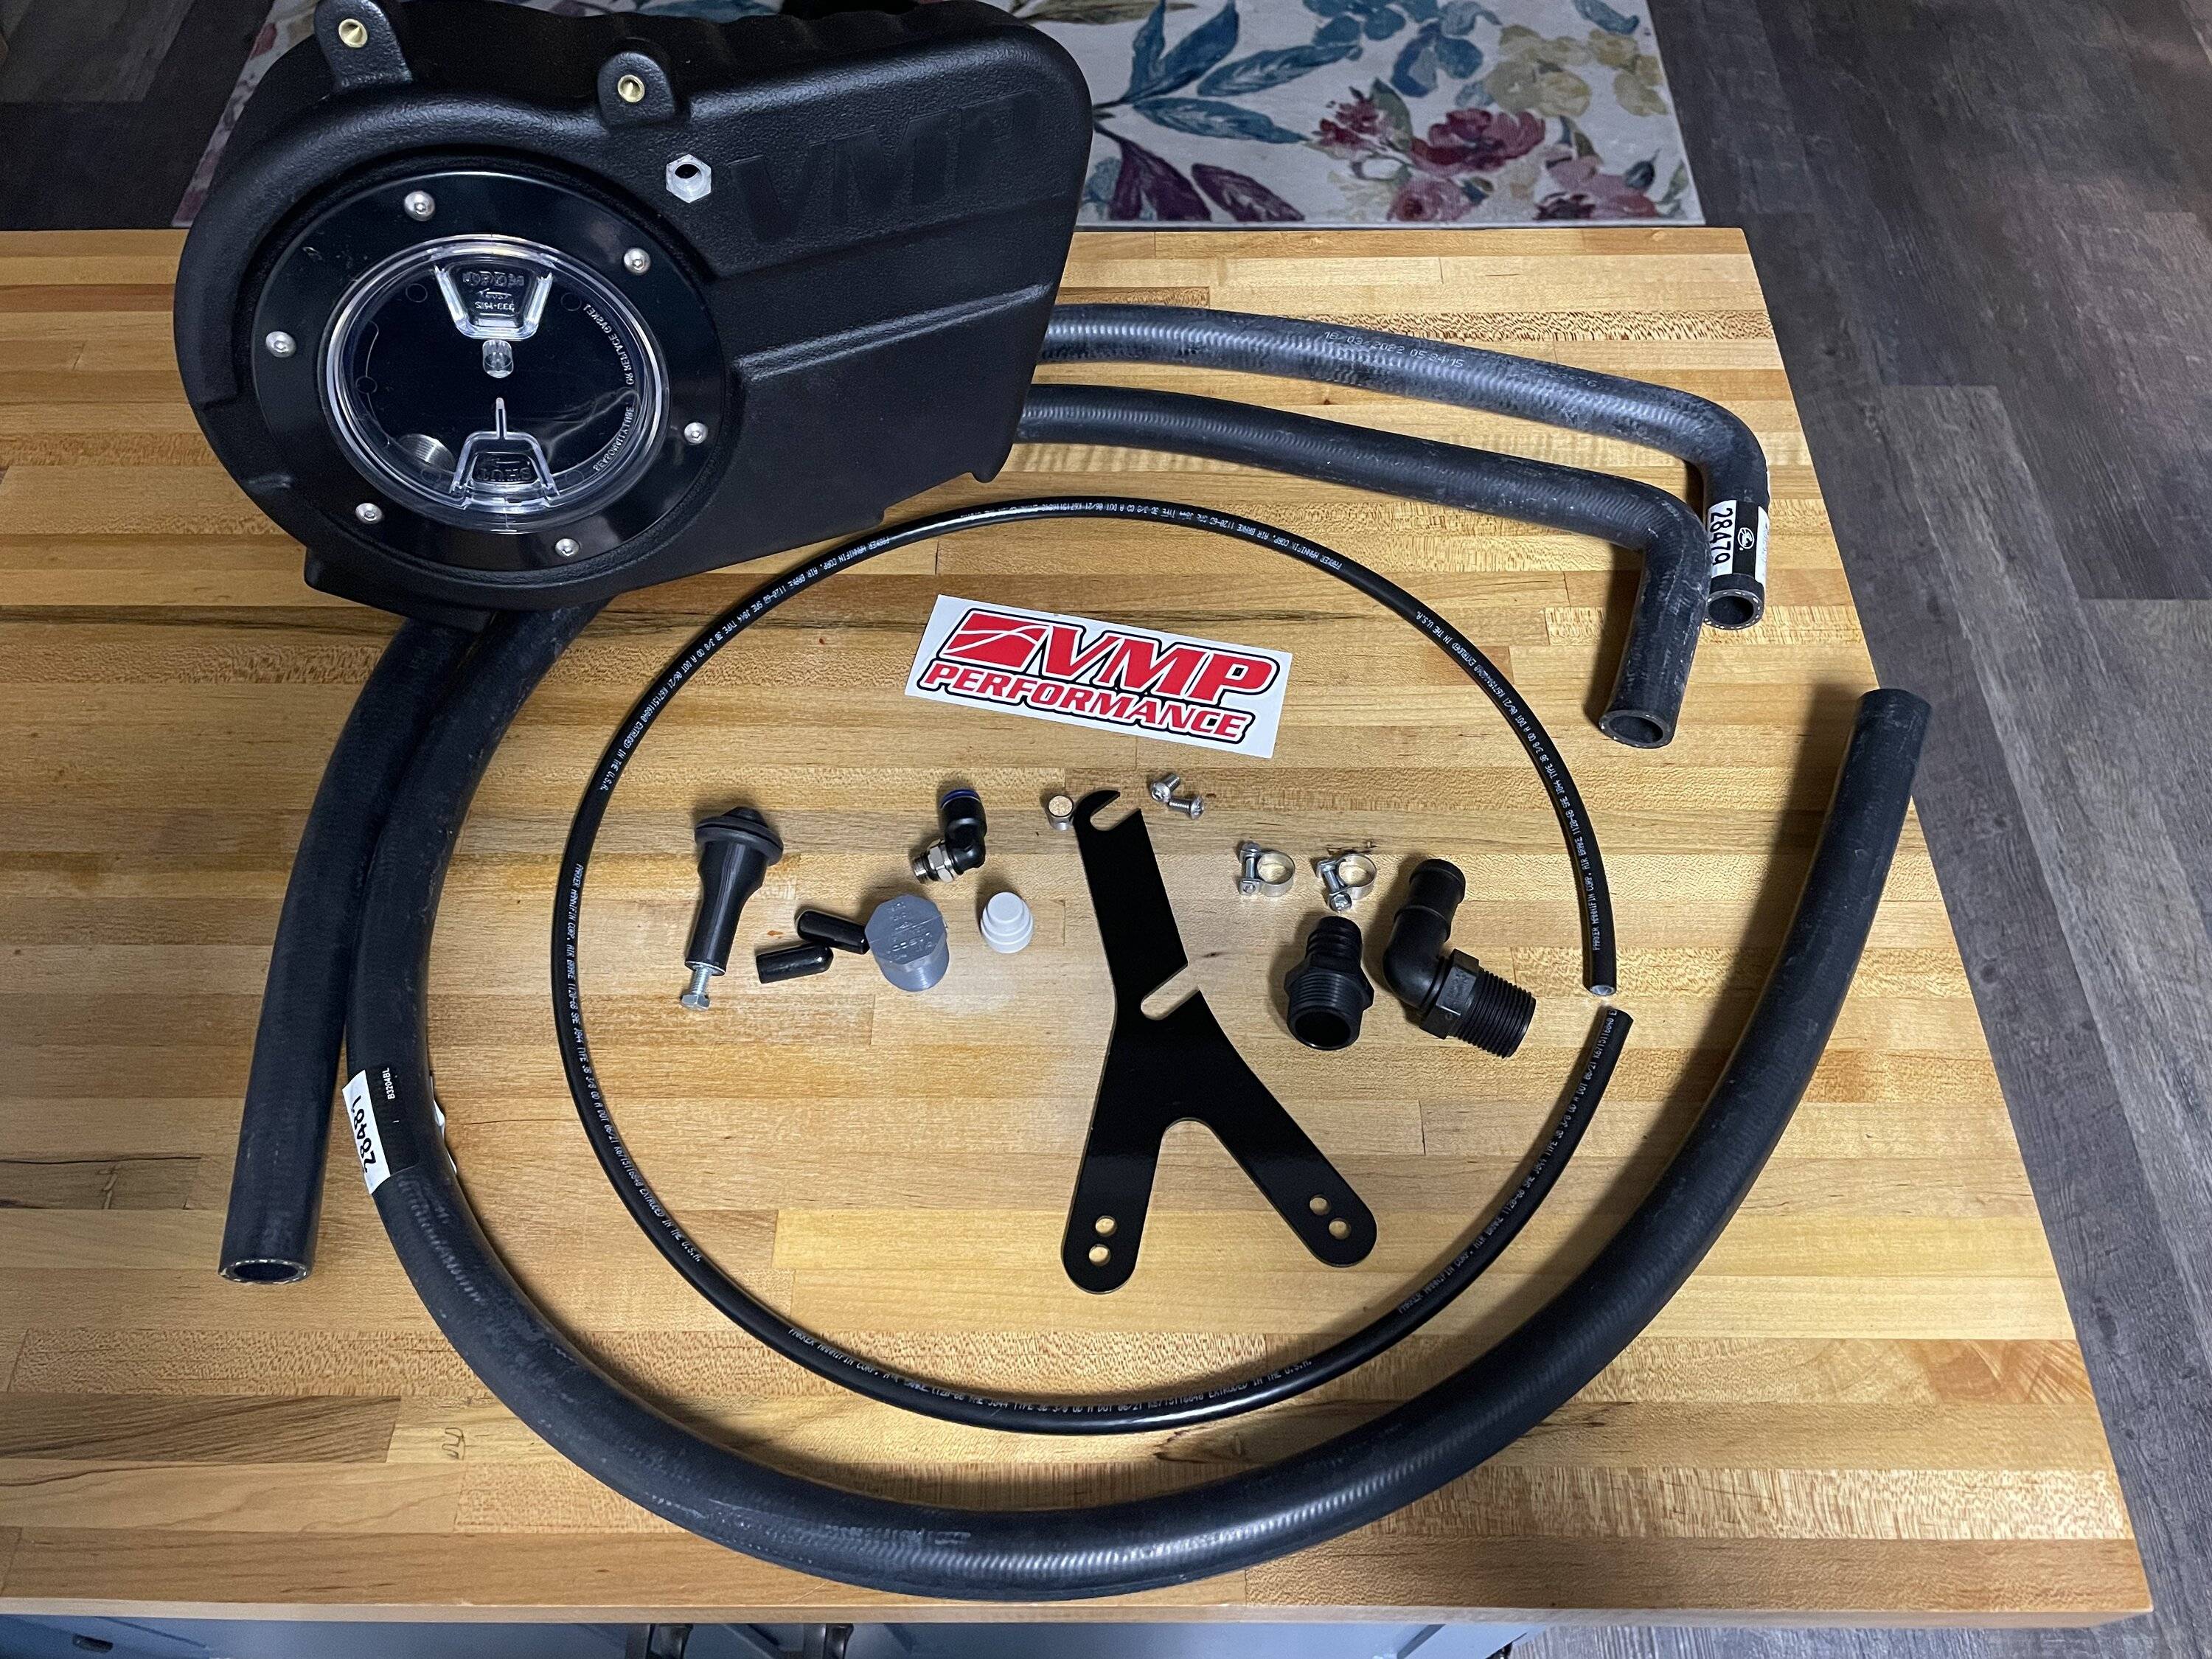
I bought the FP Bullitt 5.0L Engine Dress Up Kit from CJ Pony $150. It's a bit over priced for what is and comes with a bunch of stuff I didn't need. Cat not included. She photobombs when she's hungry.
The Bullitt covers are decent quality but showed up warped and not symmetrical. One is nearly an 1/8" longer than the other.
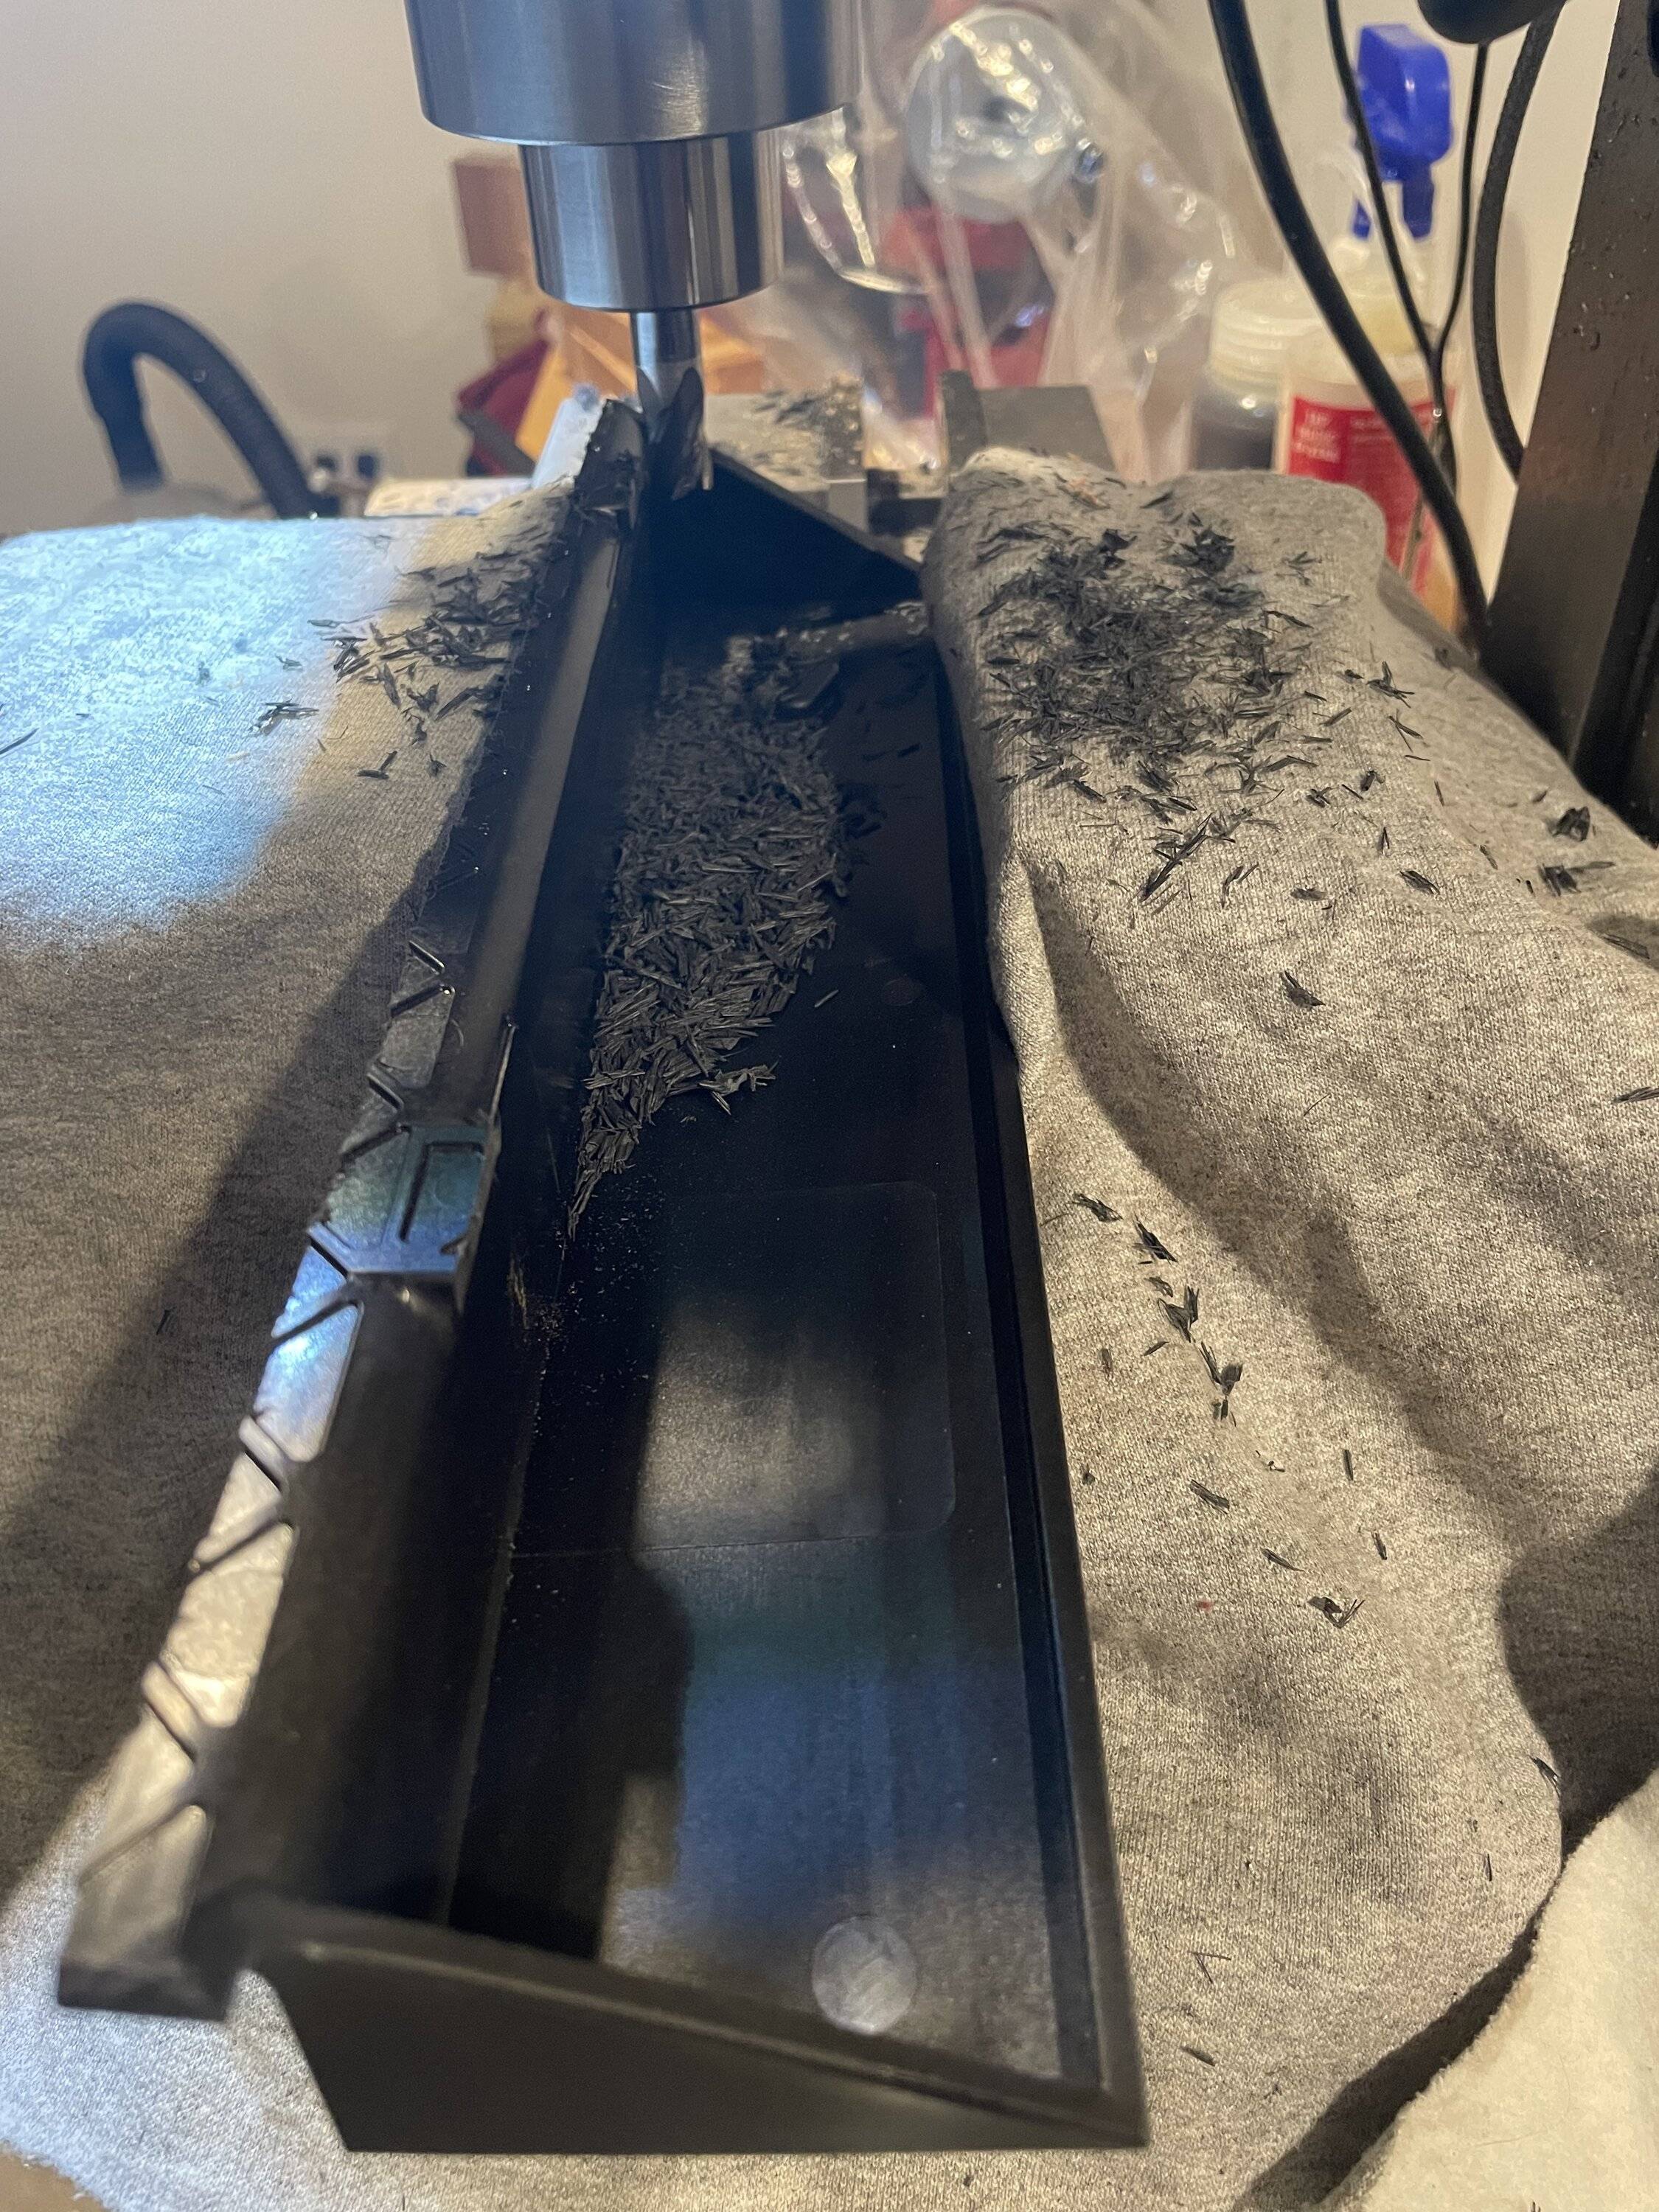
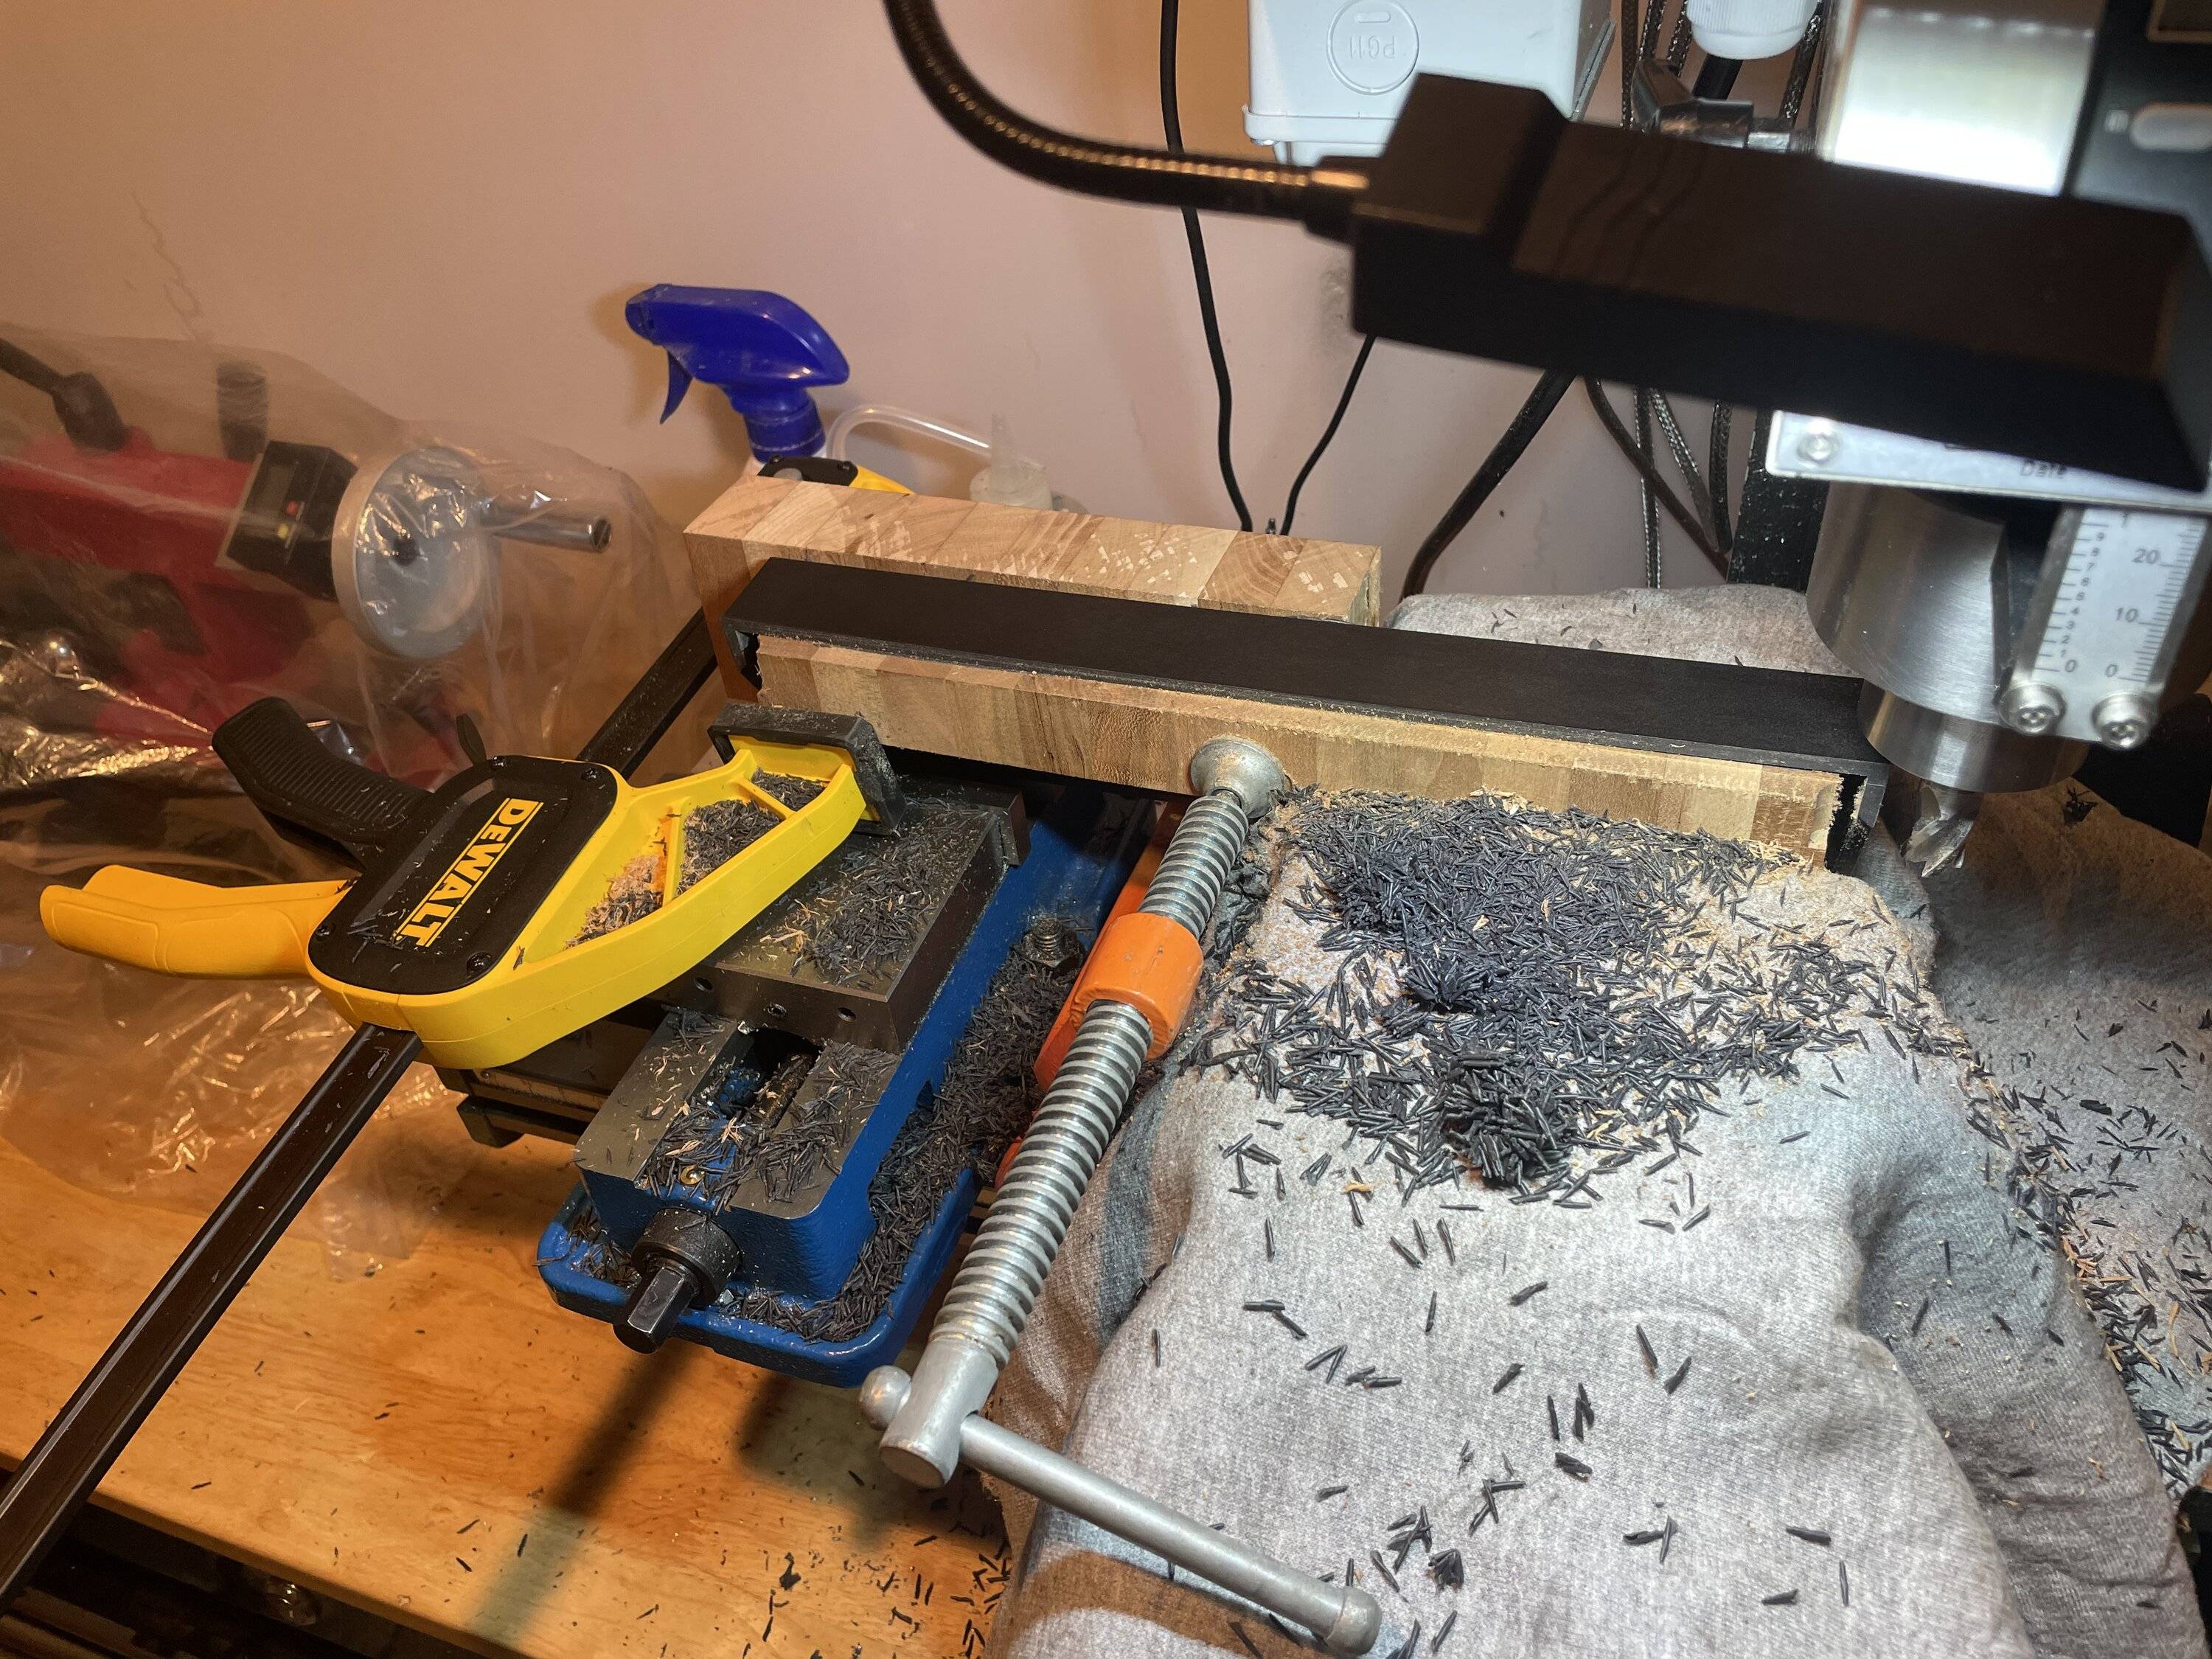
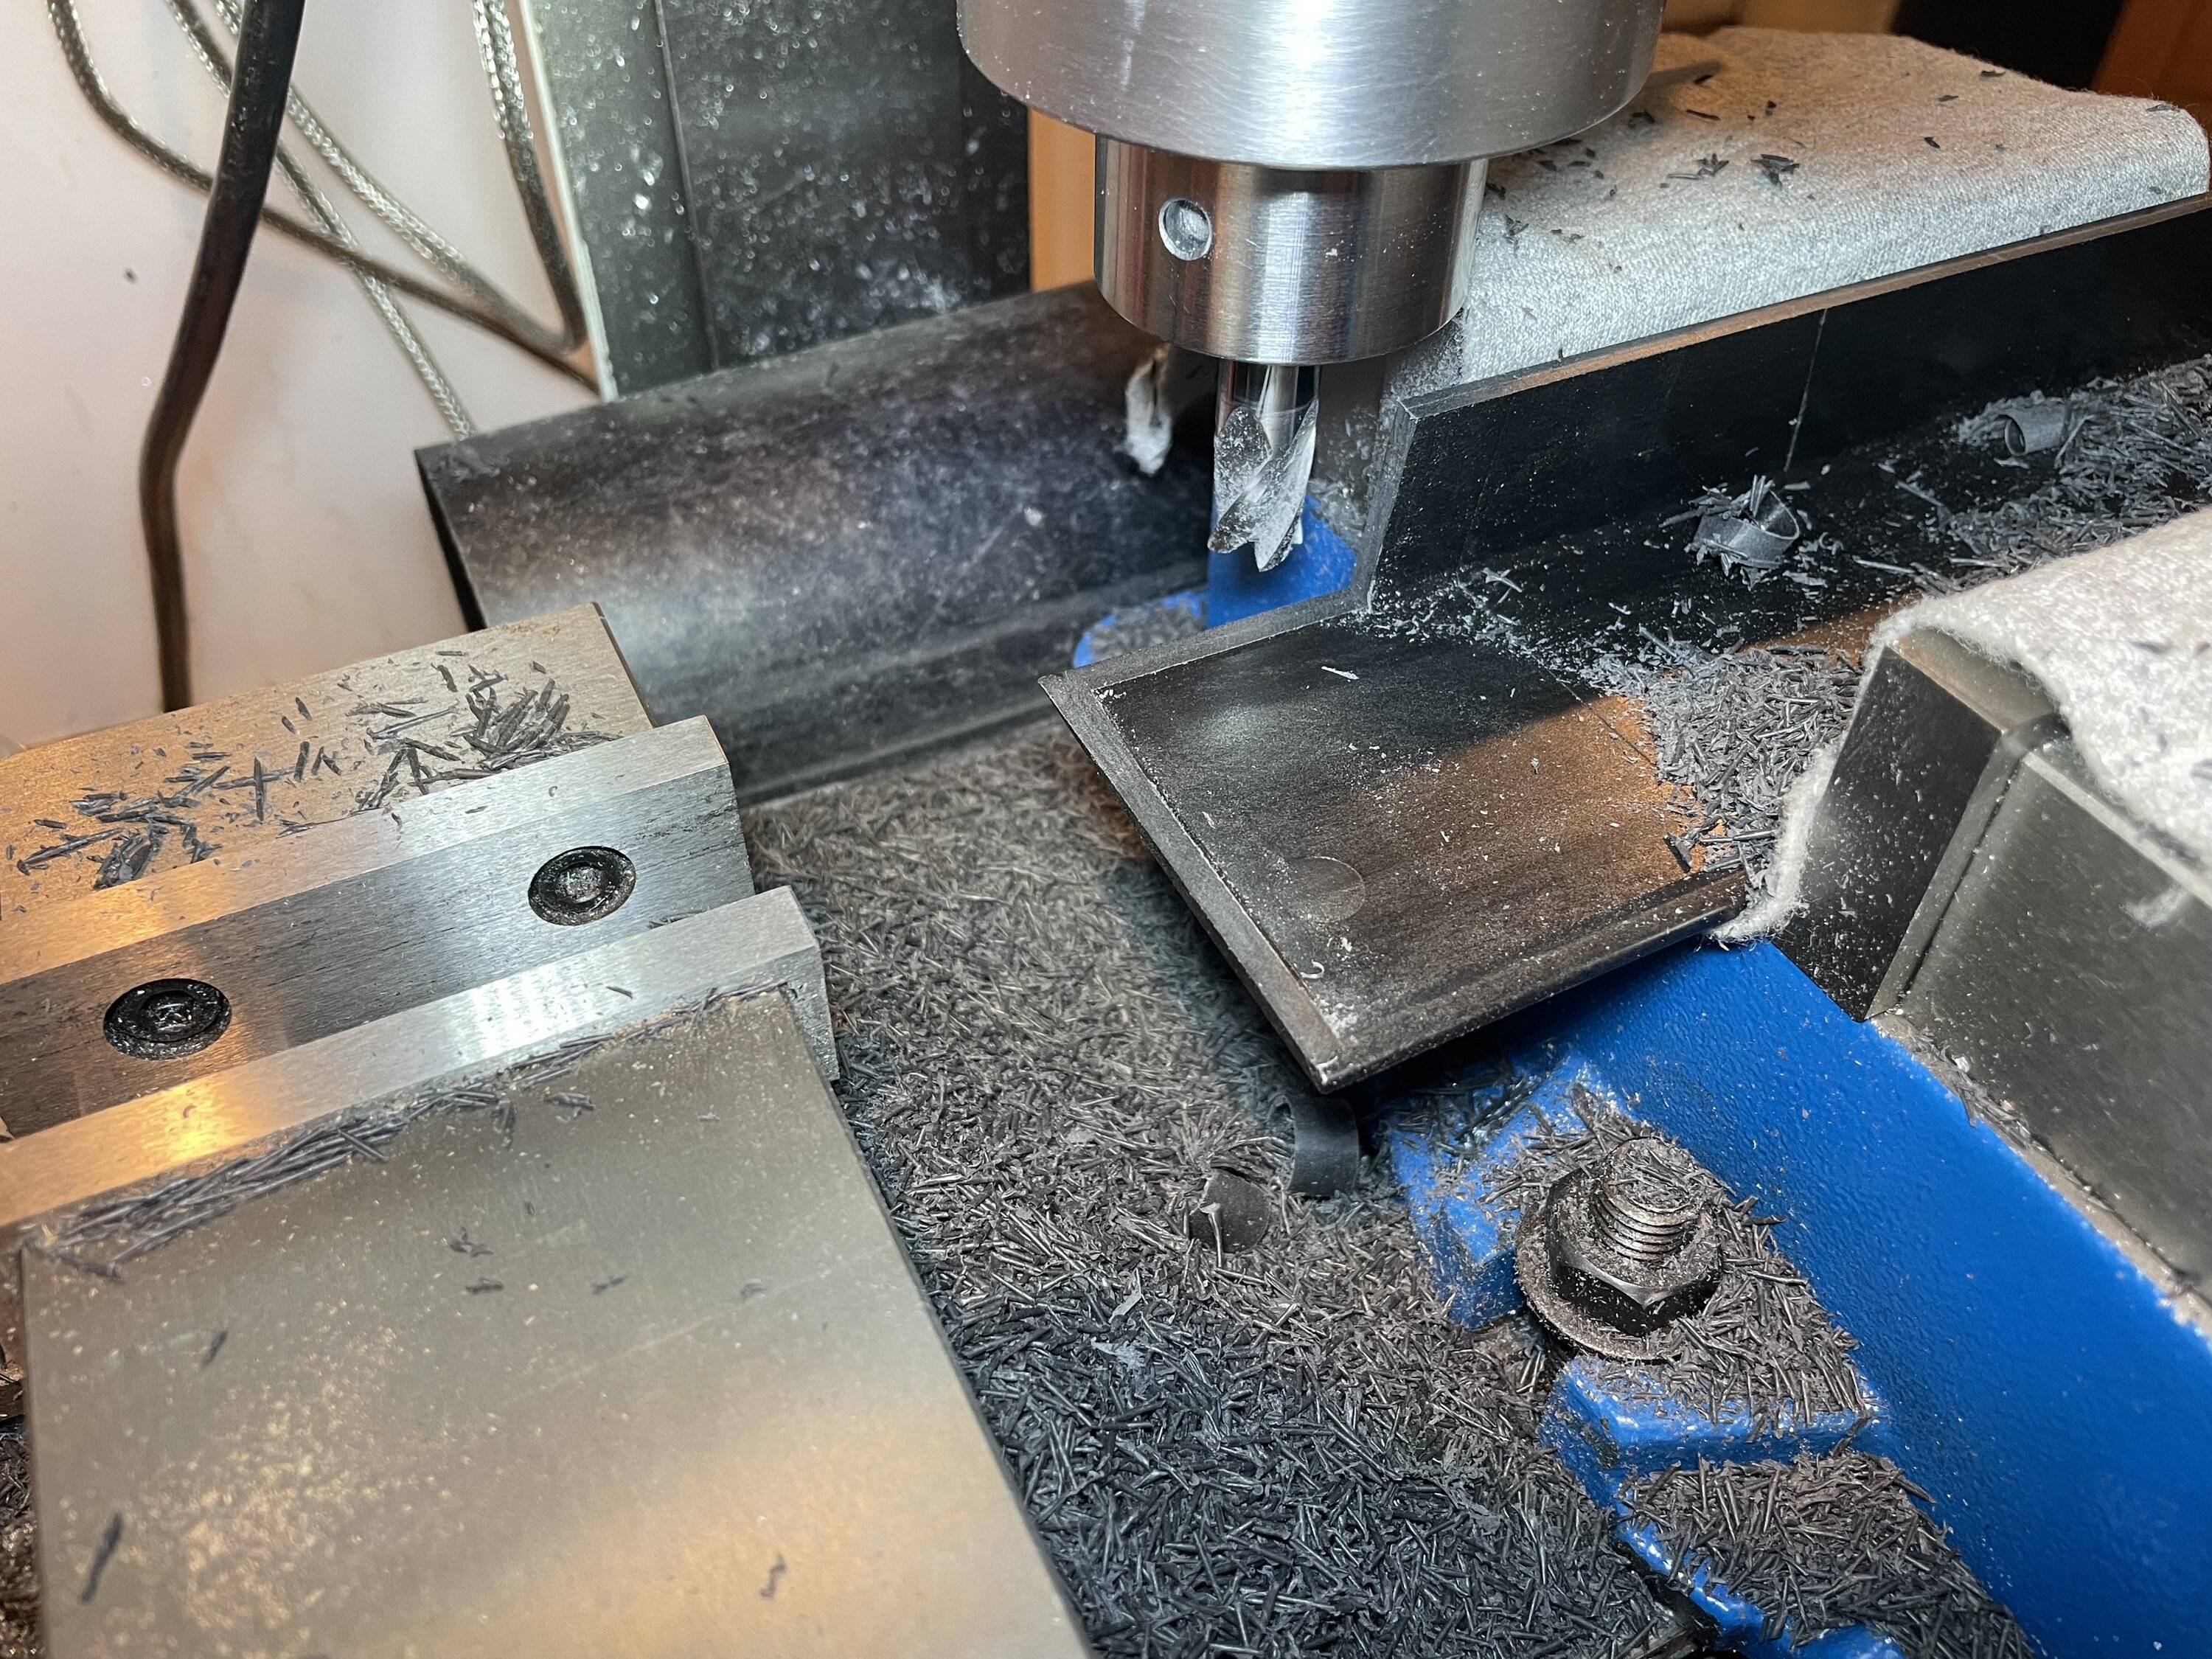
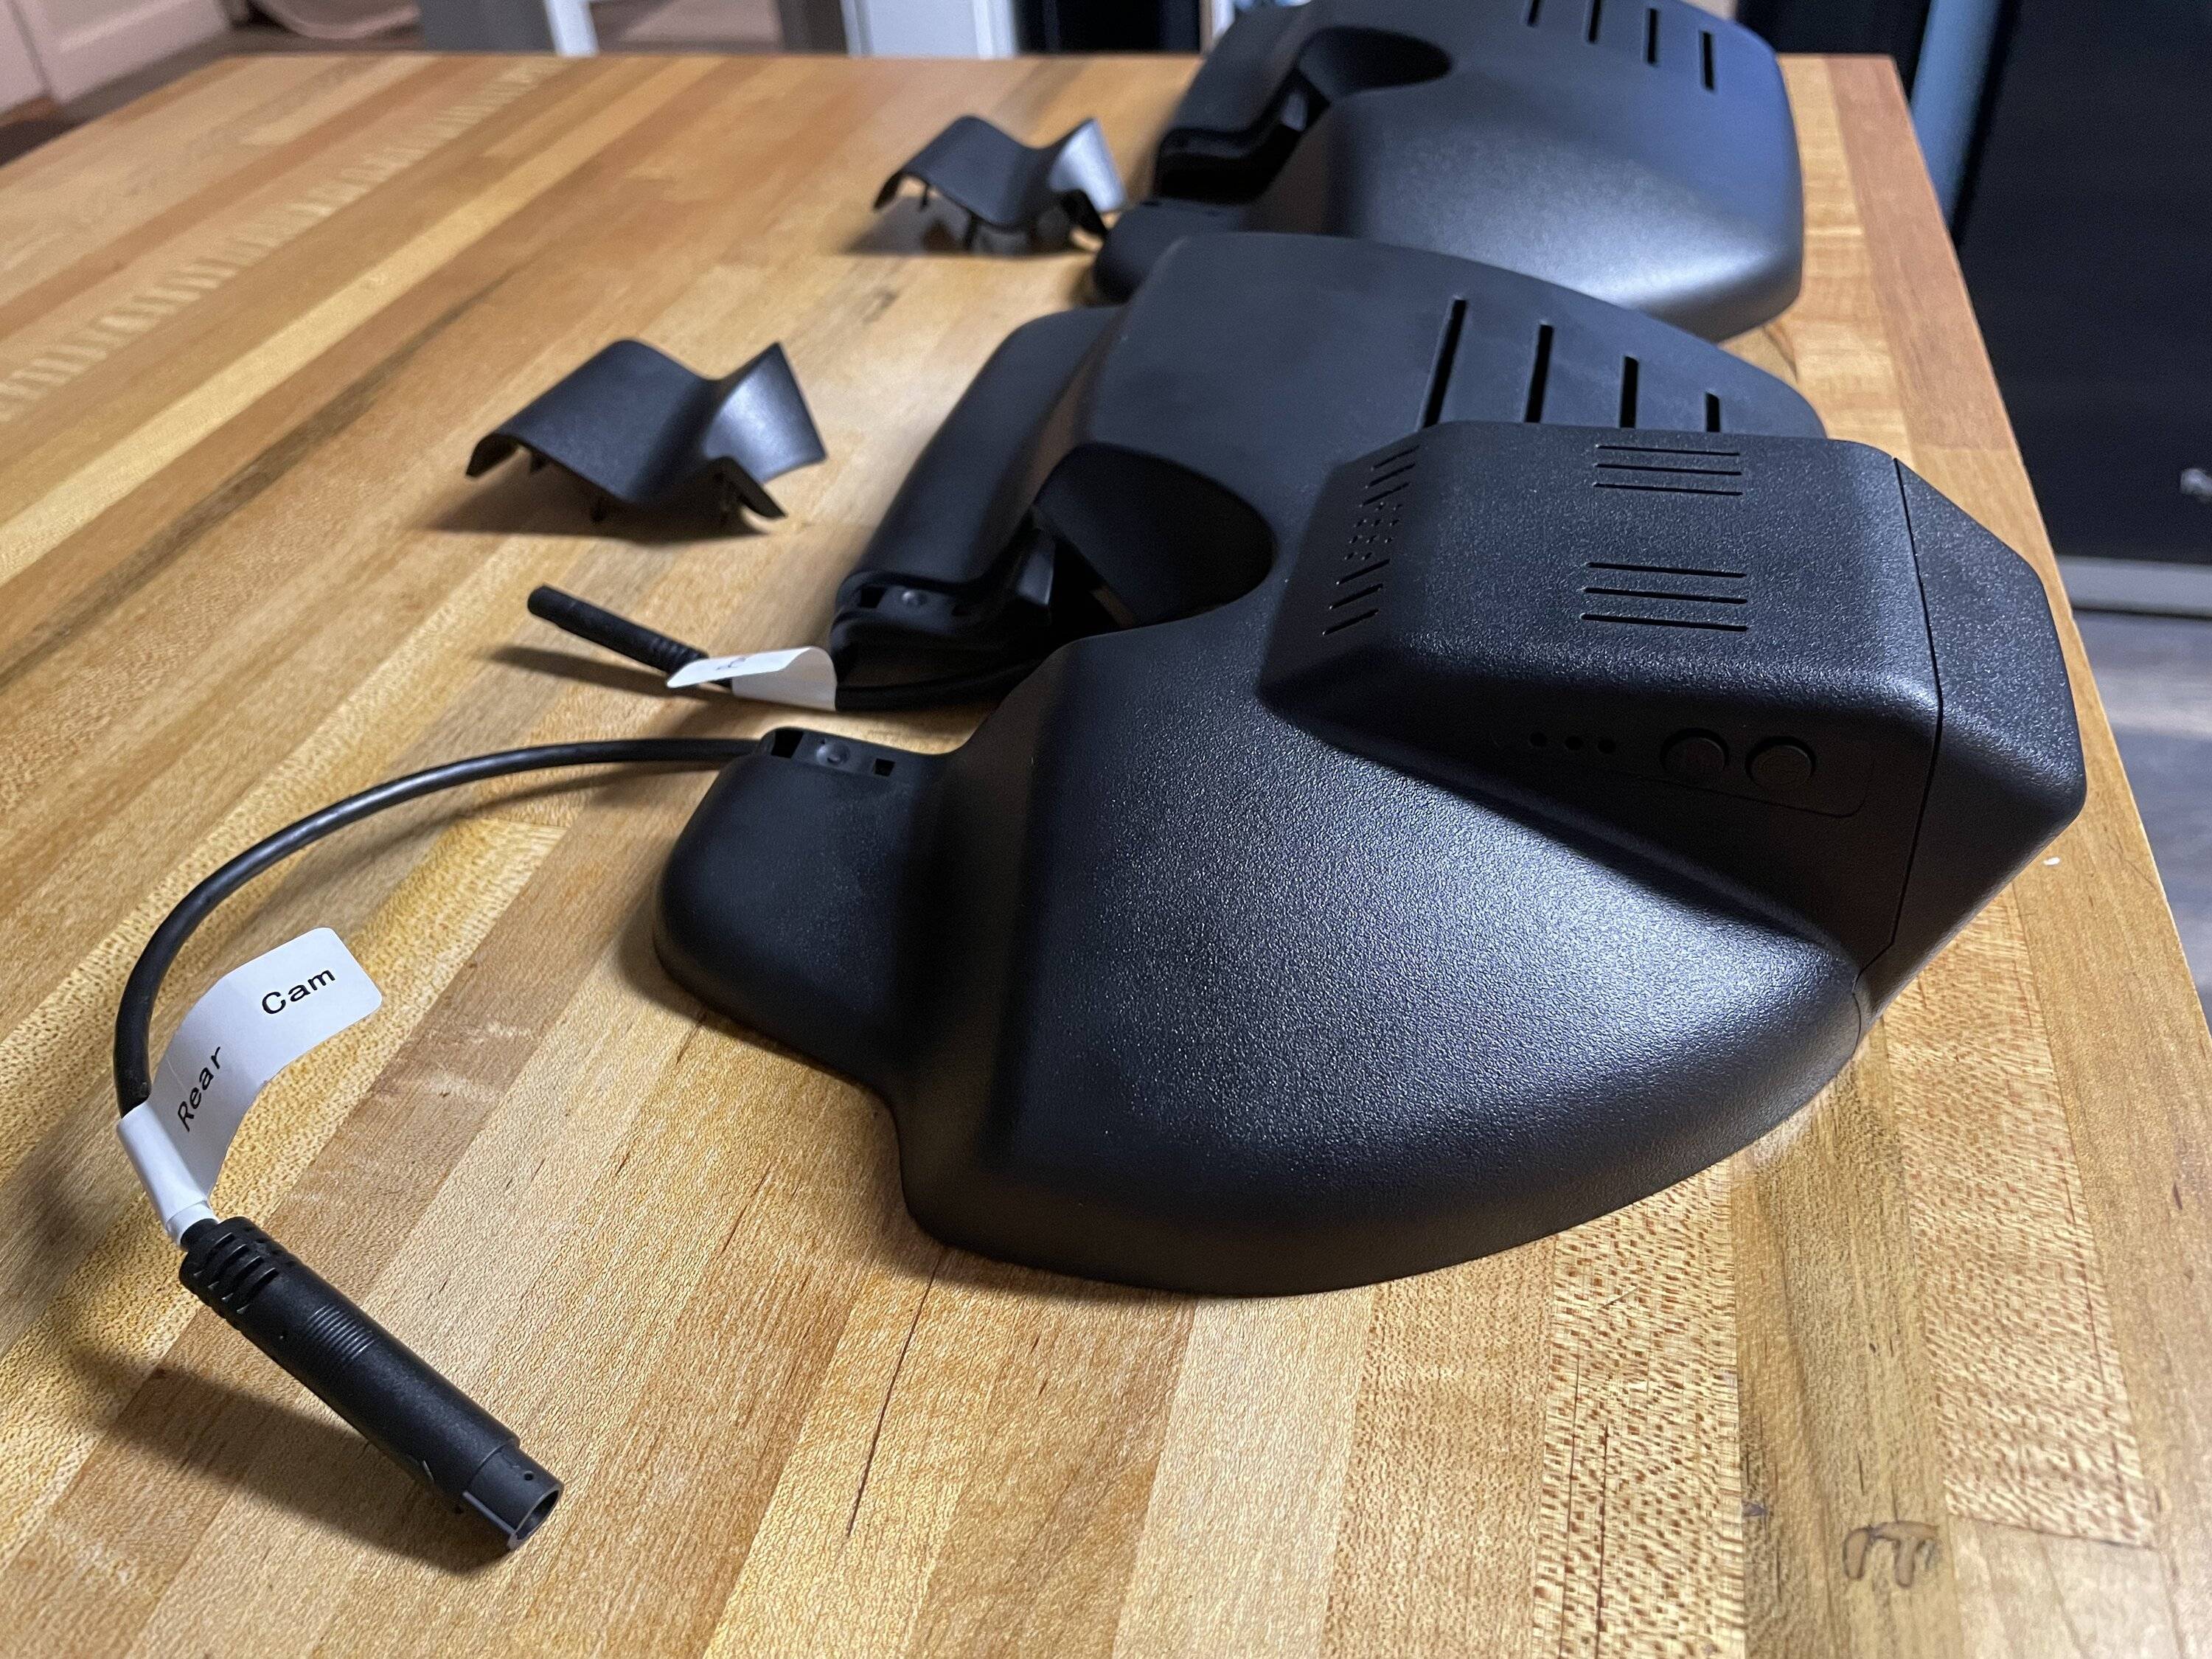
1) Cut away all of the Bullitt mounting points so the covers could somewhat fit in the vise.
2) Shortened the height of the covers to 1.35" tall.
- Removes the back radius.
- Sits flush against the Roush bracket once installed.
- Fits under the strut tower brace.
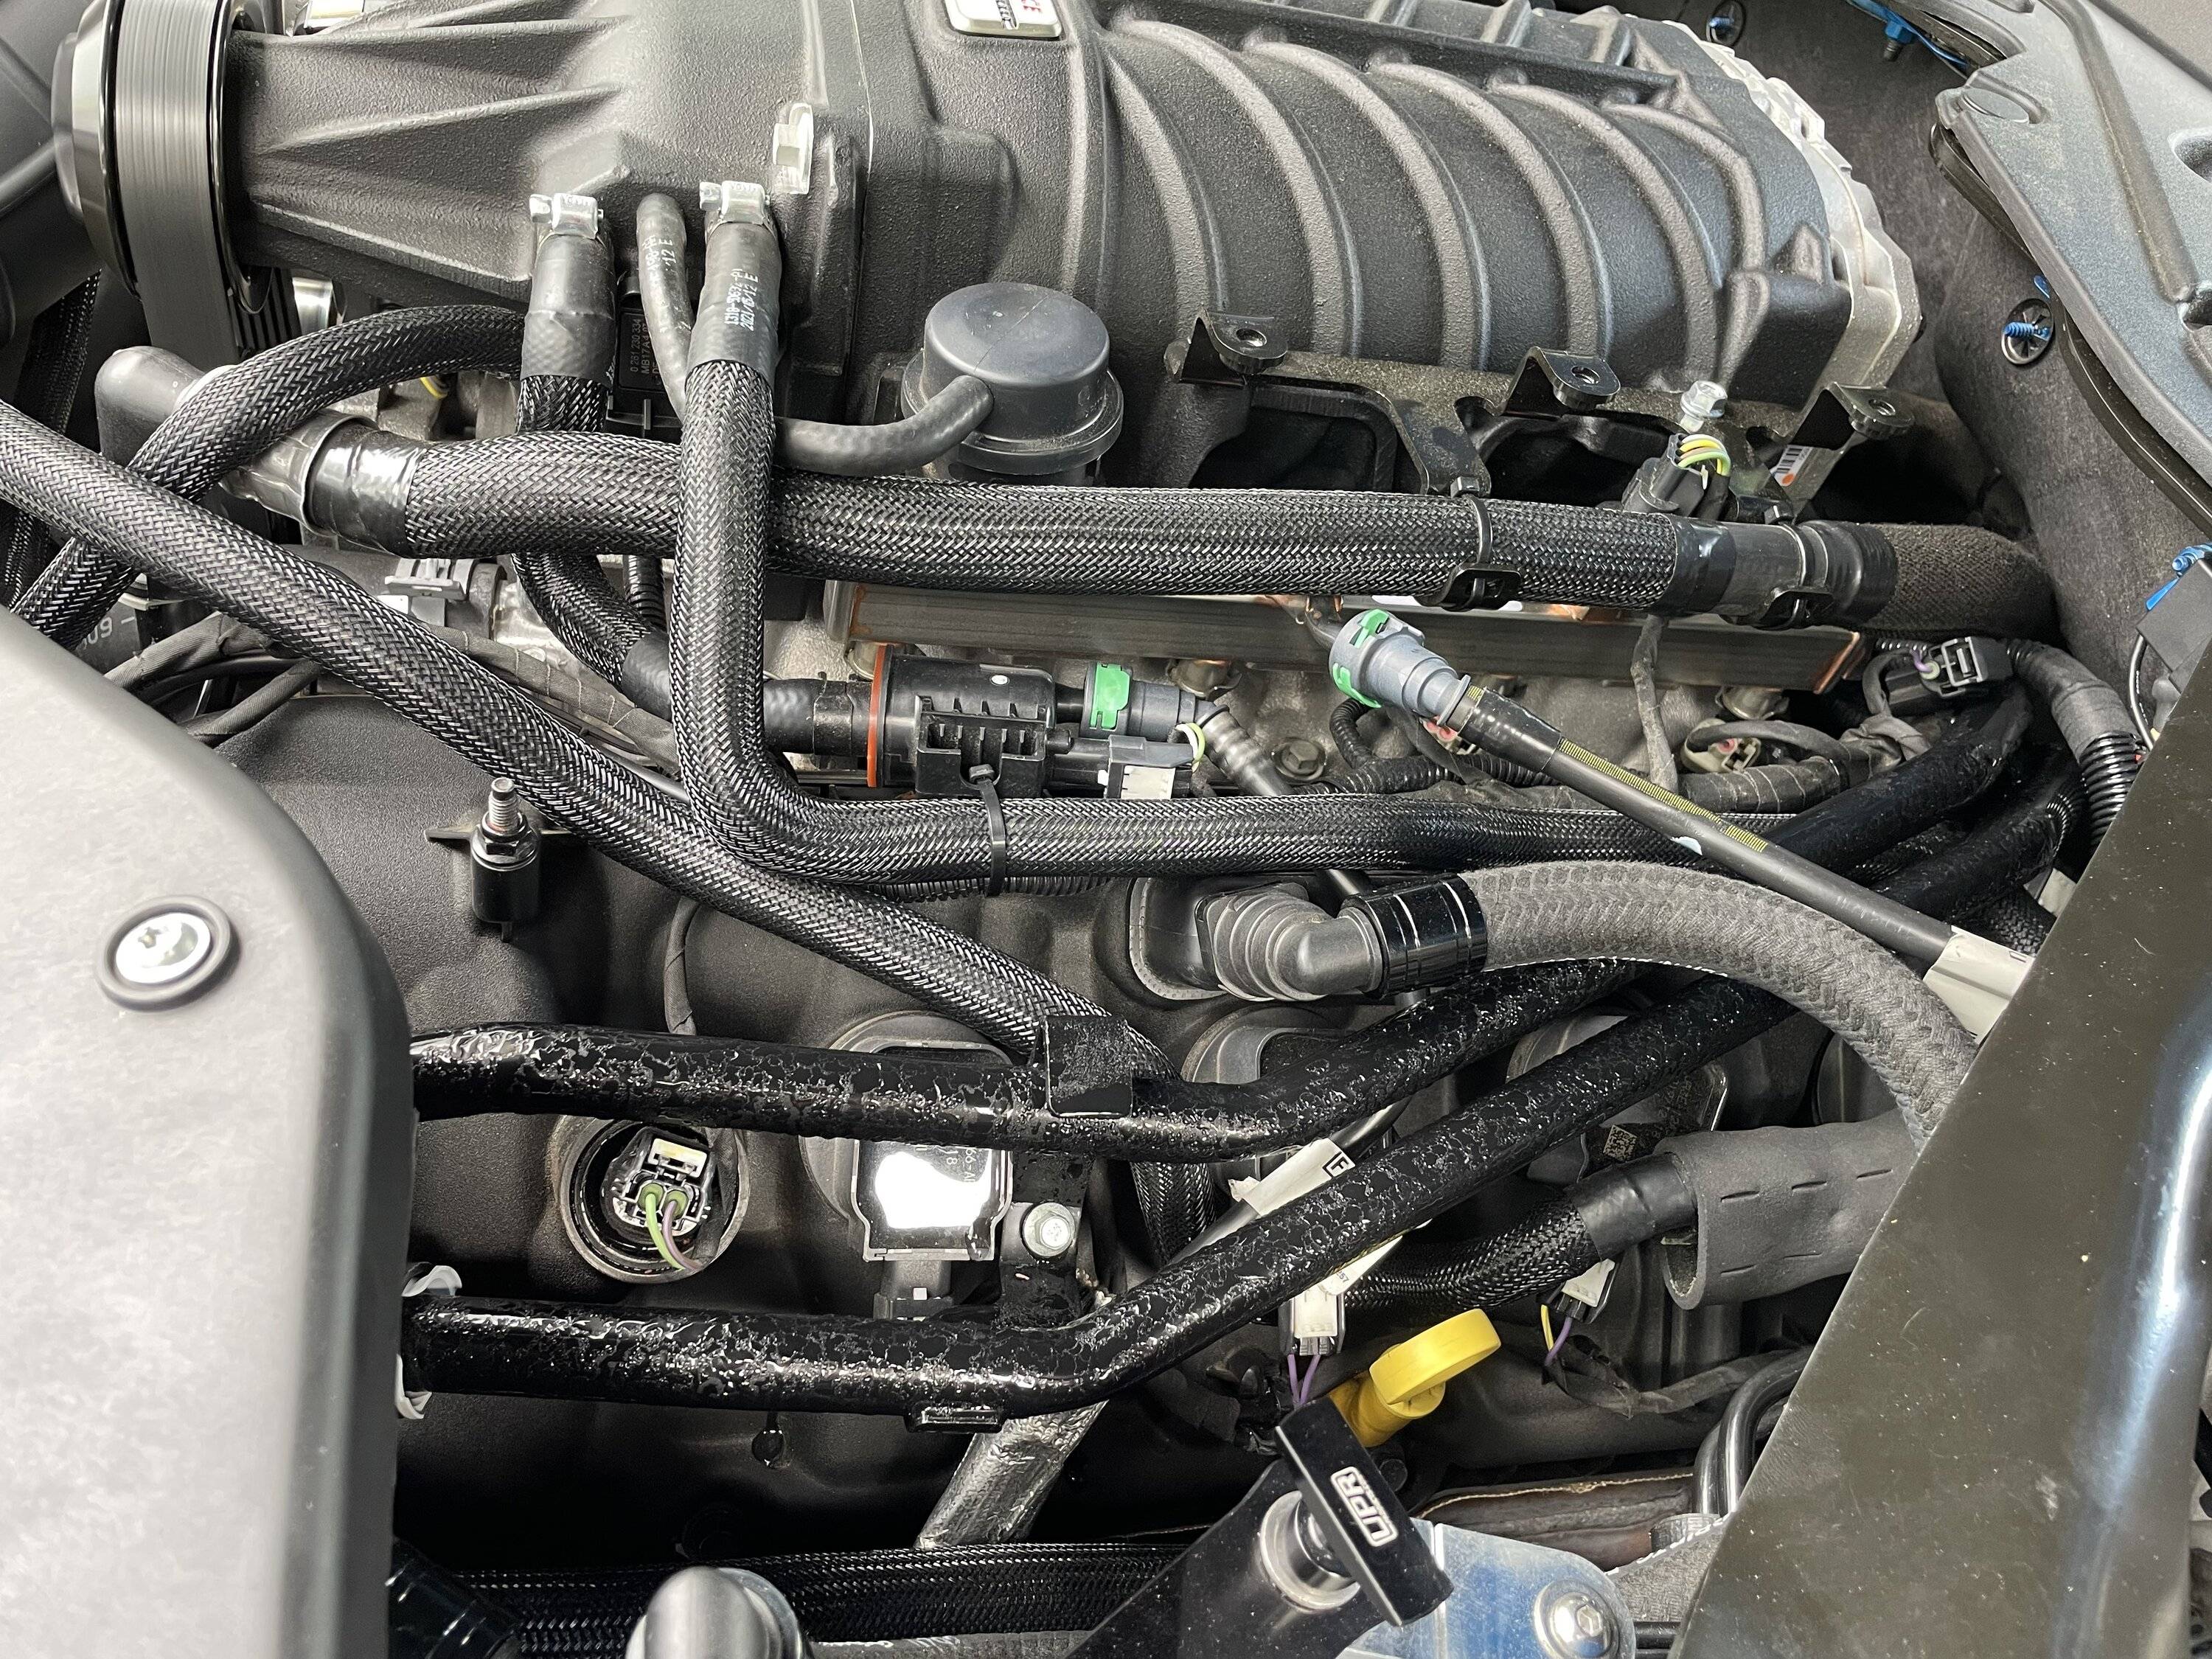
- Provides clearance for the plumbing and electronics underneath.
3) Notched the covers to make space for the blower plumbing. DS notch is 2.25". PS notch is 1.75".
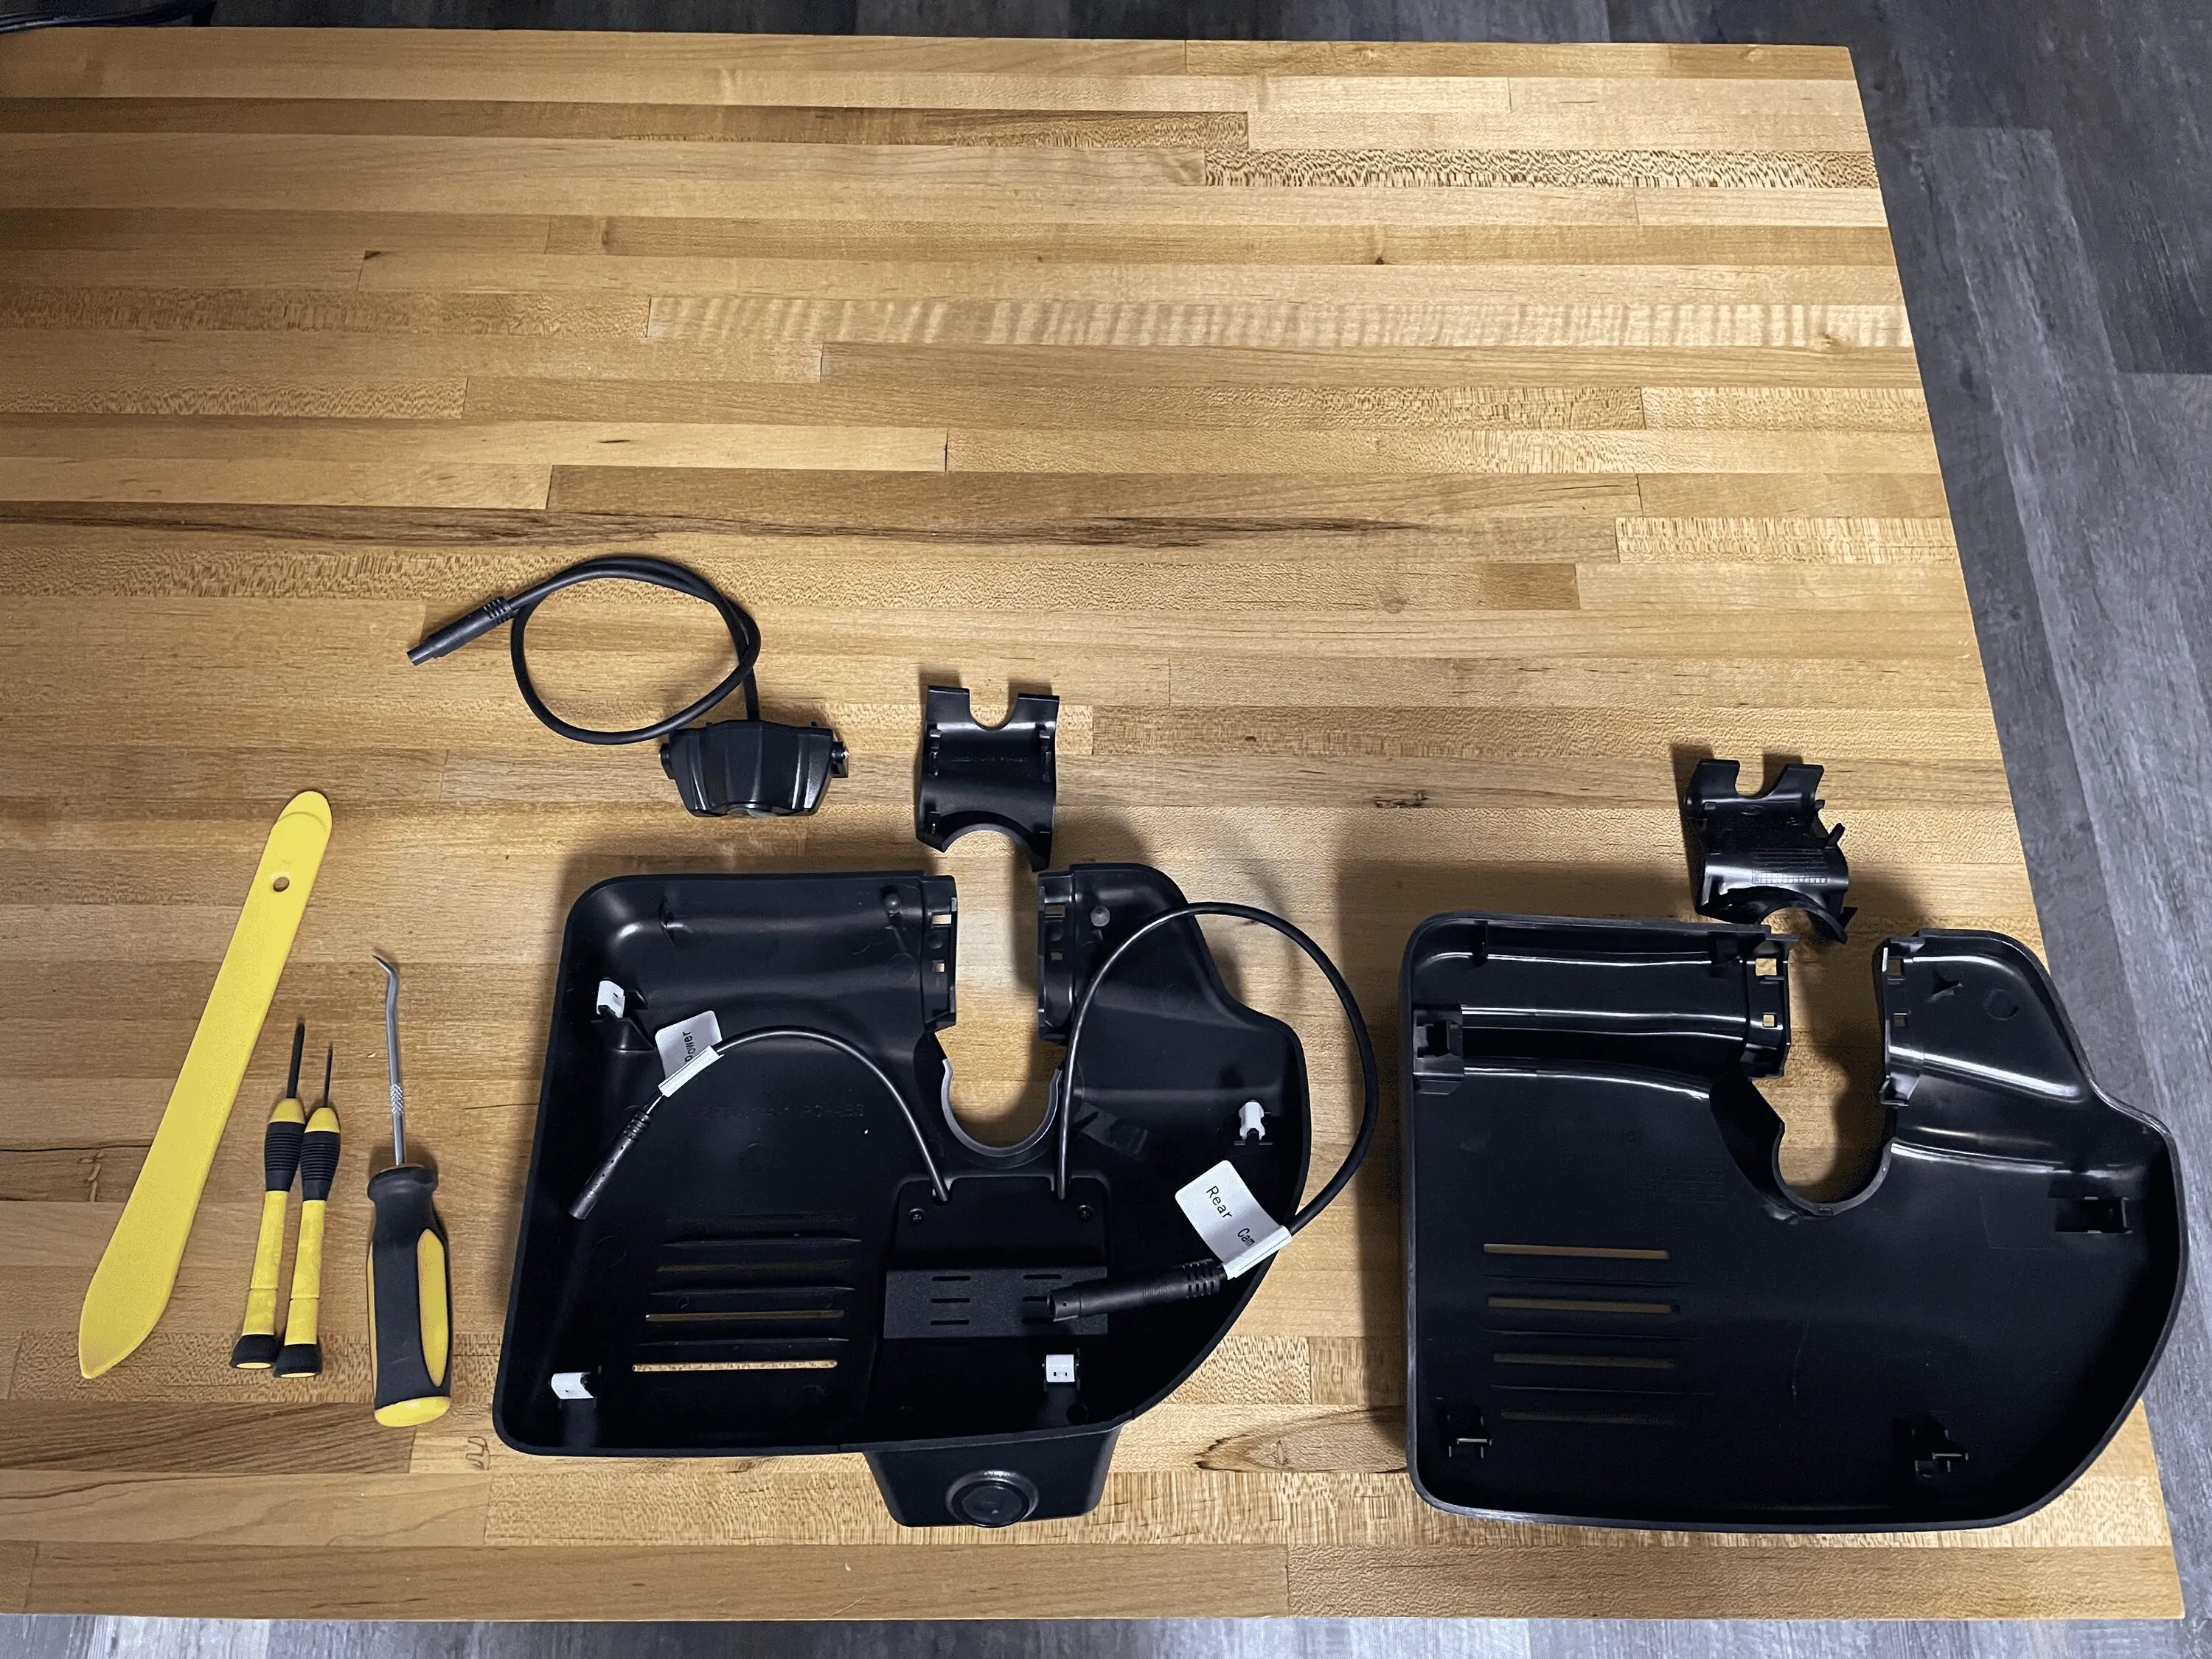
DS
PS
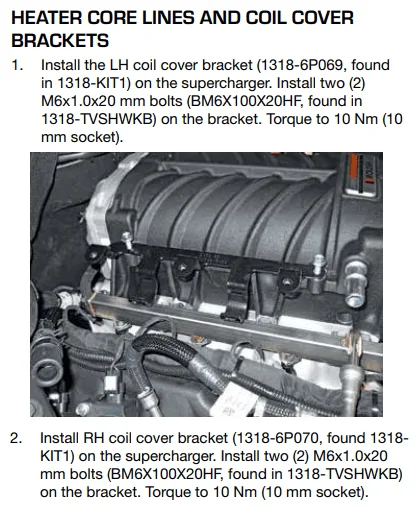
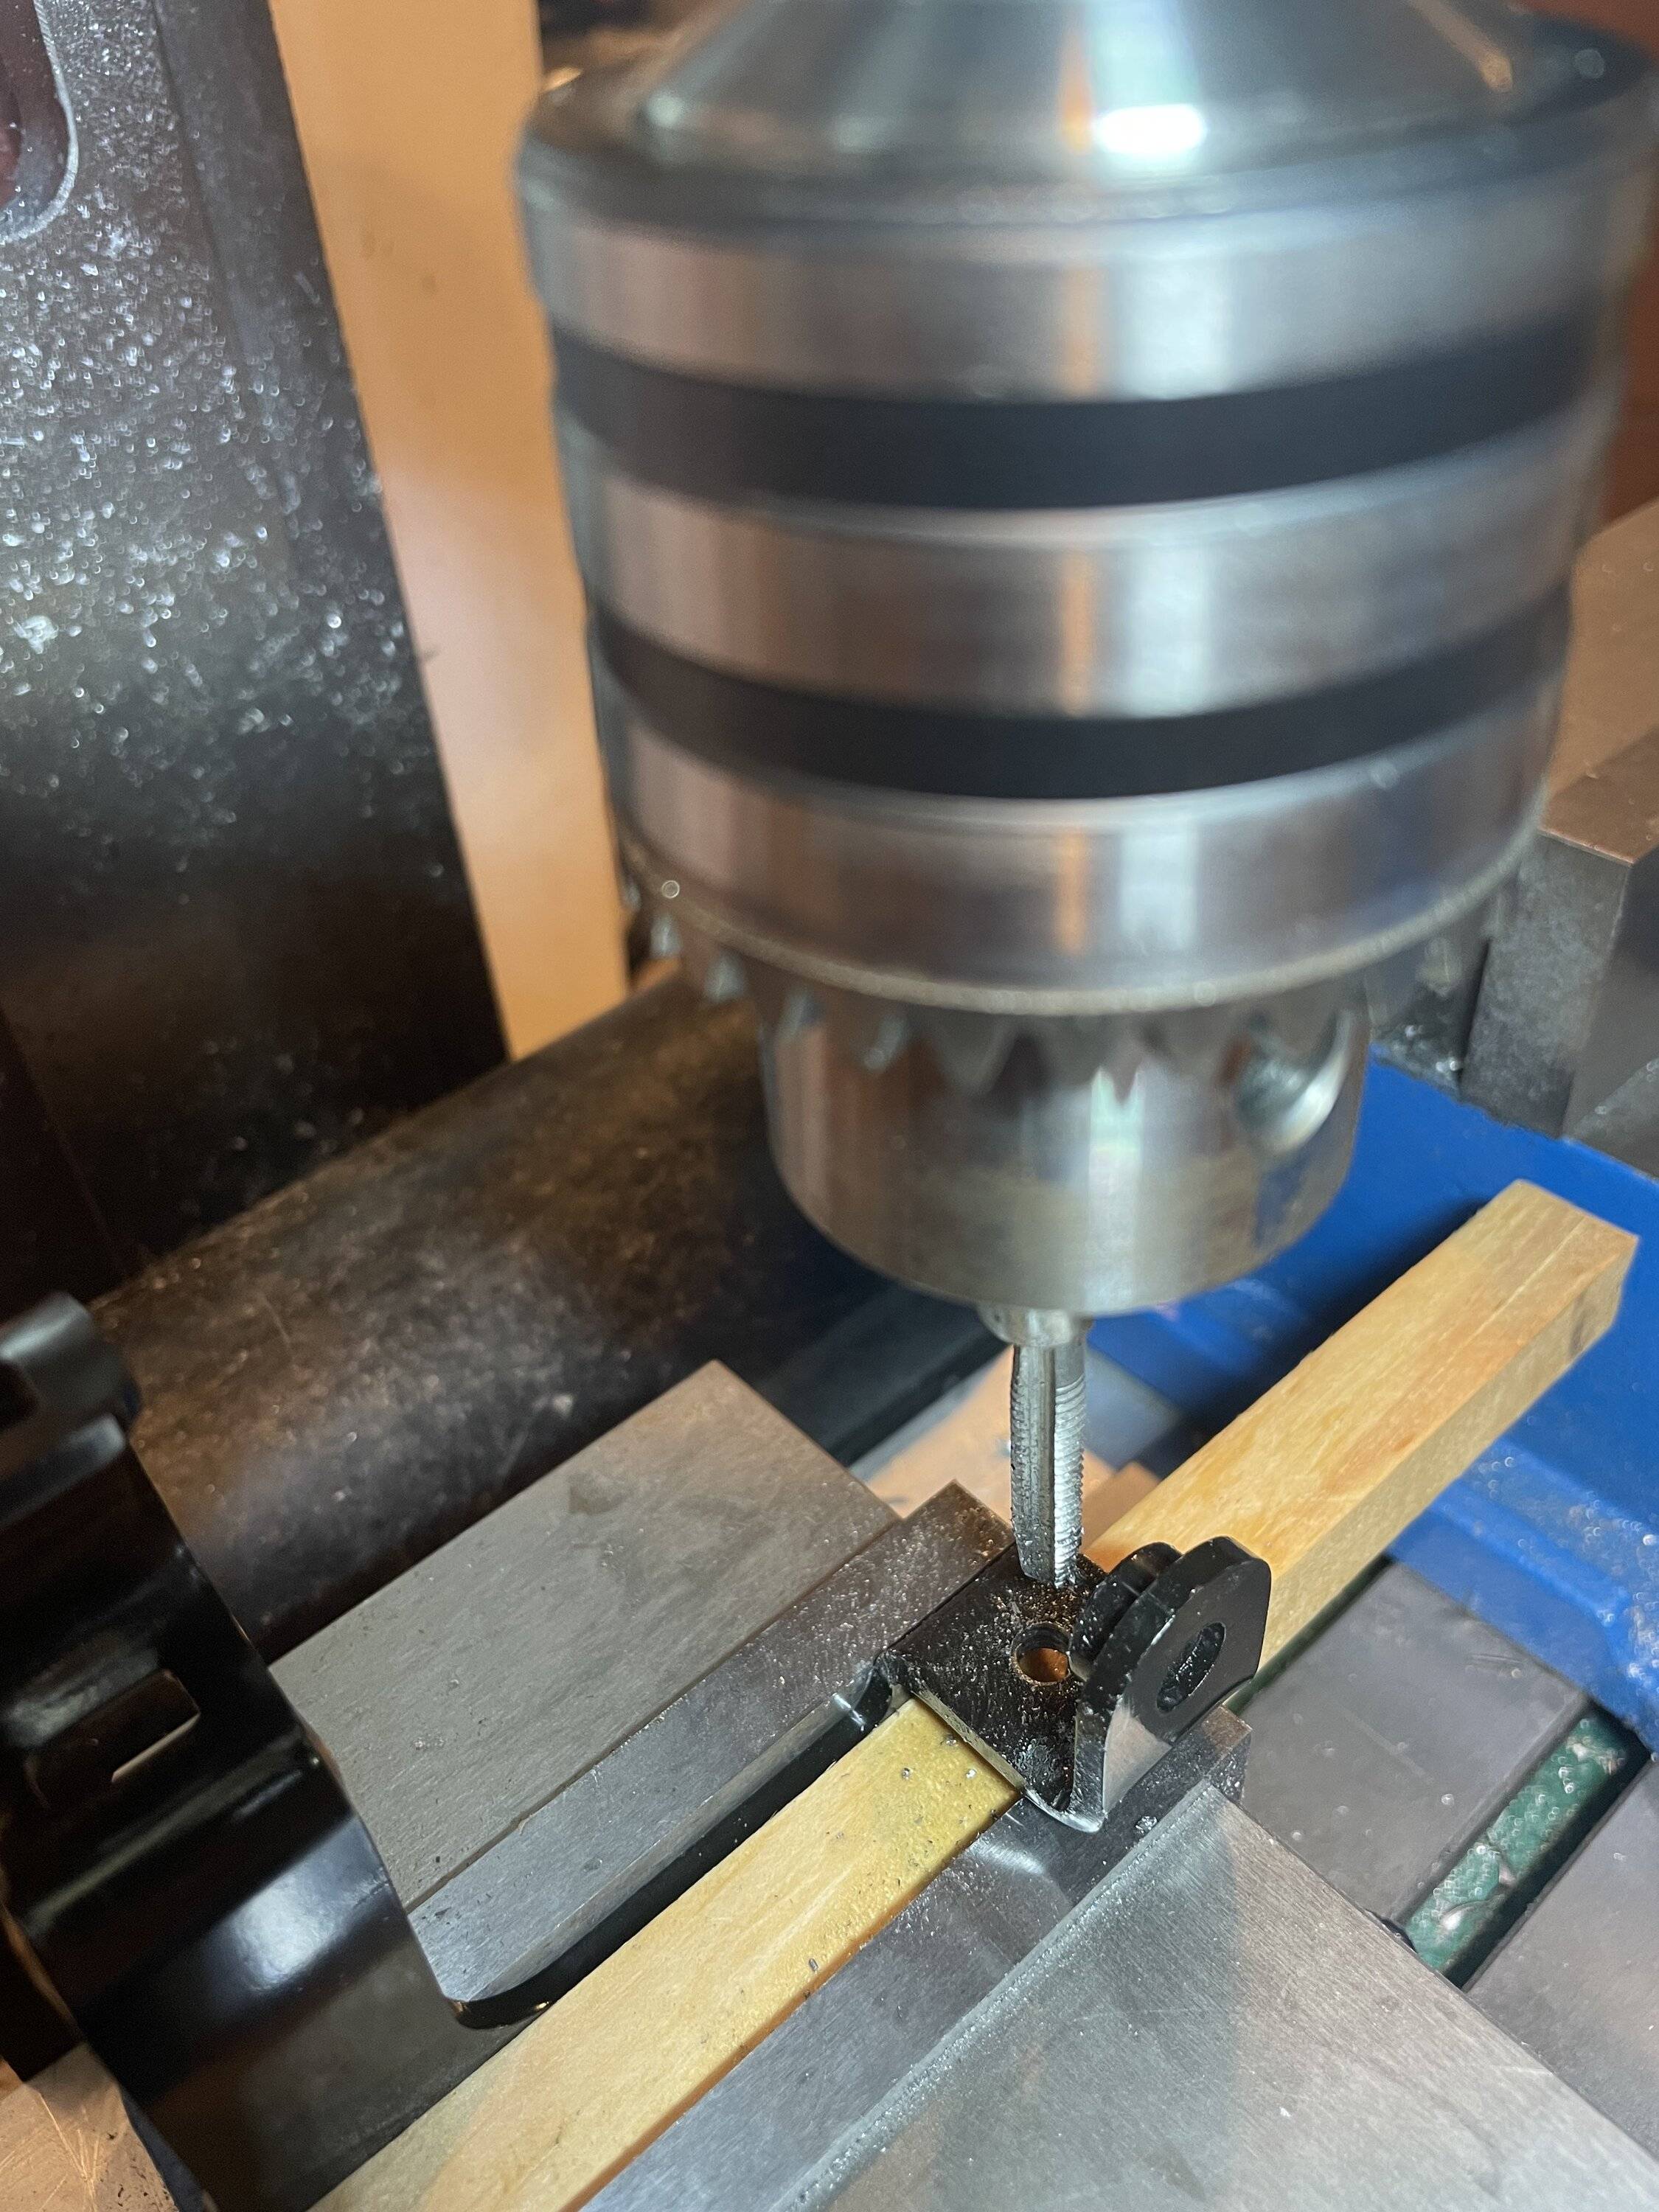
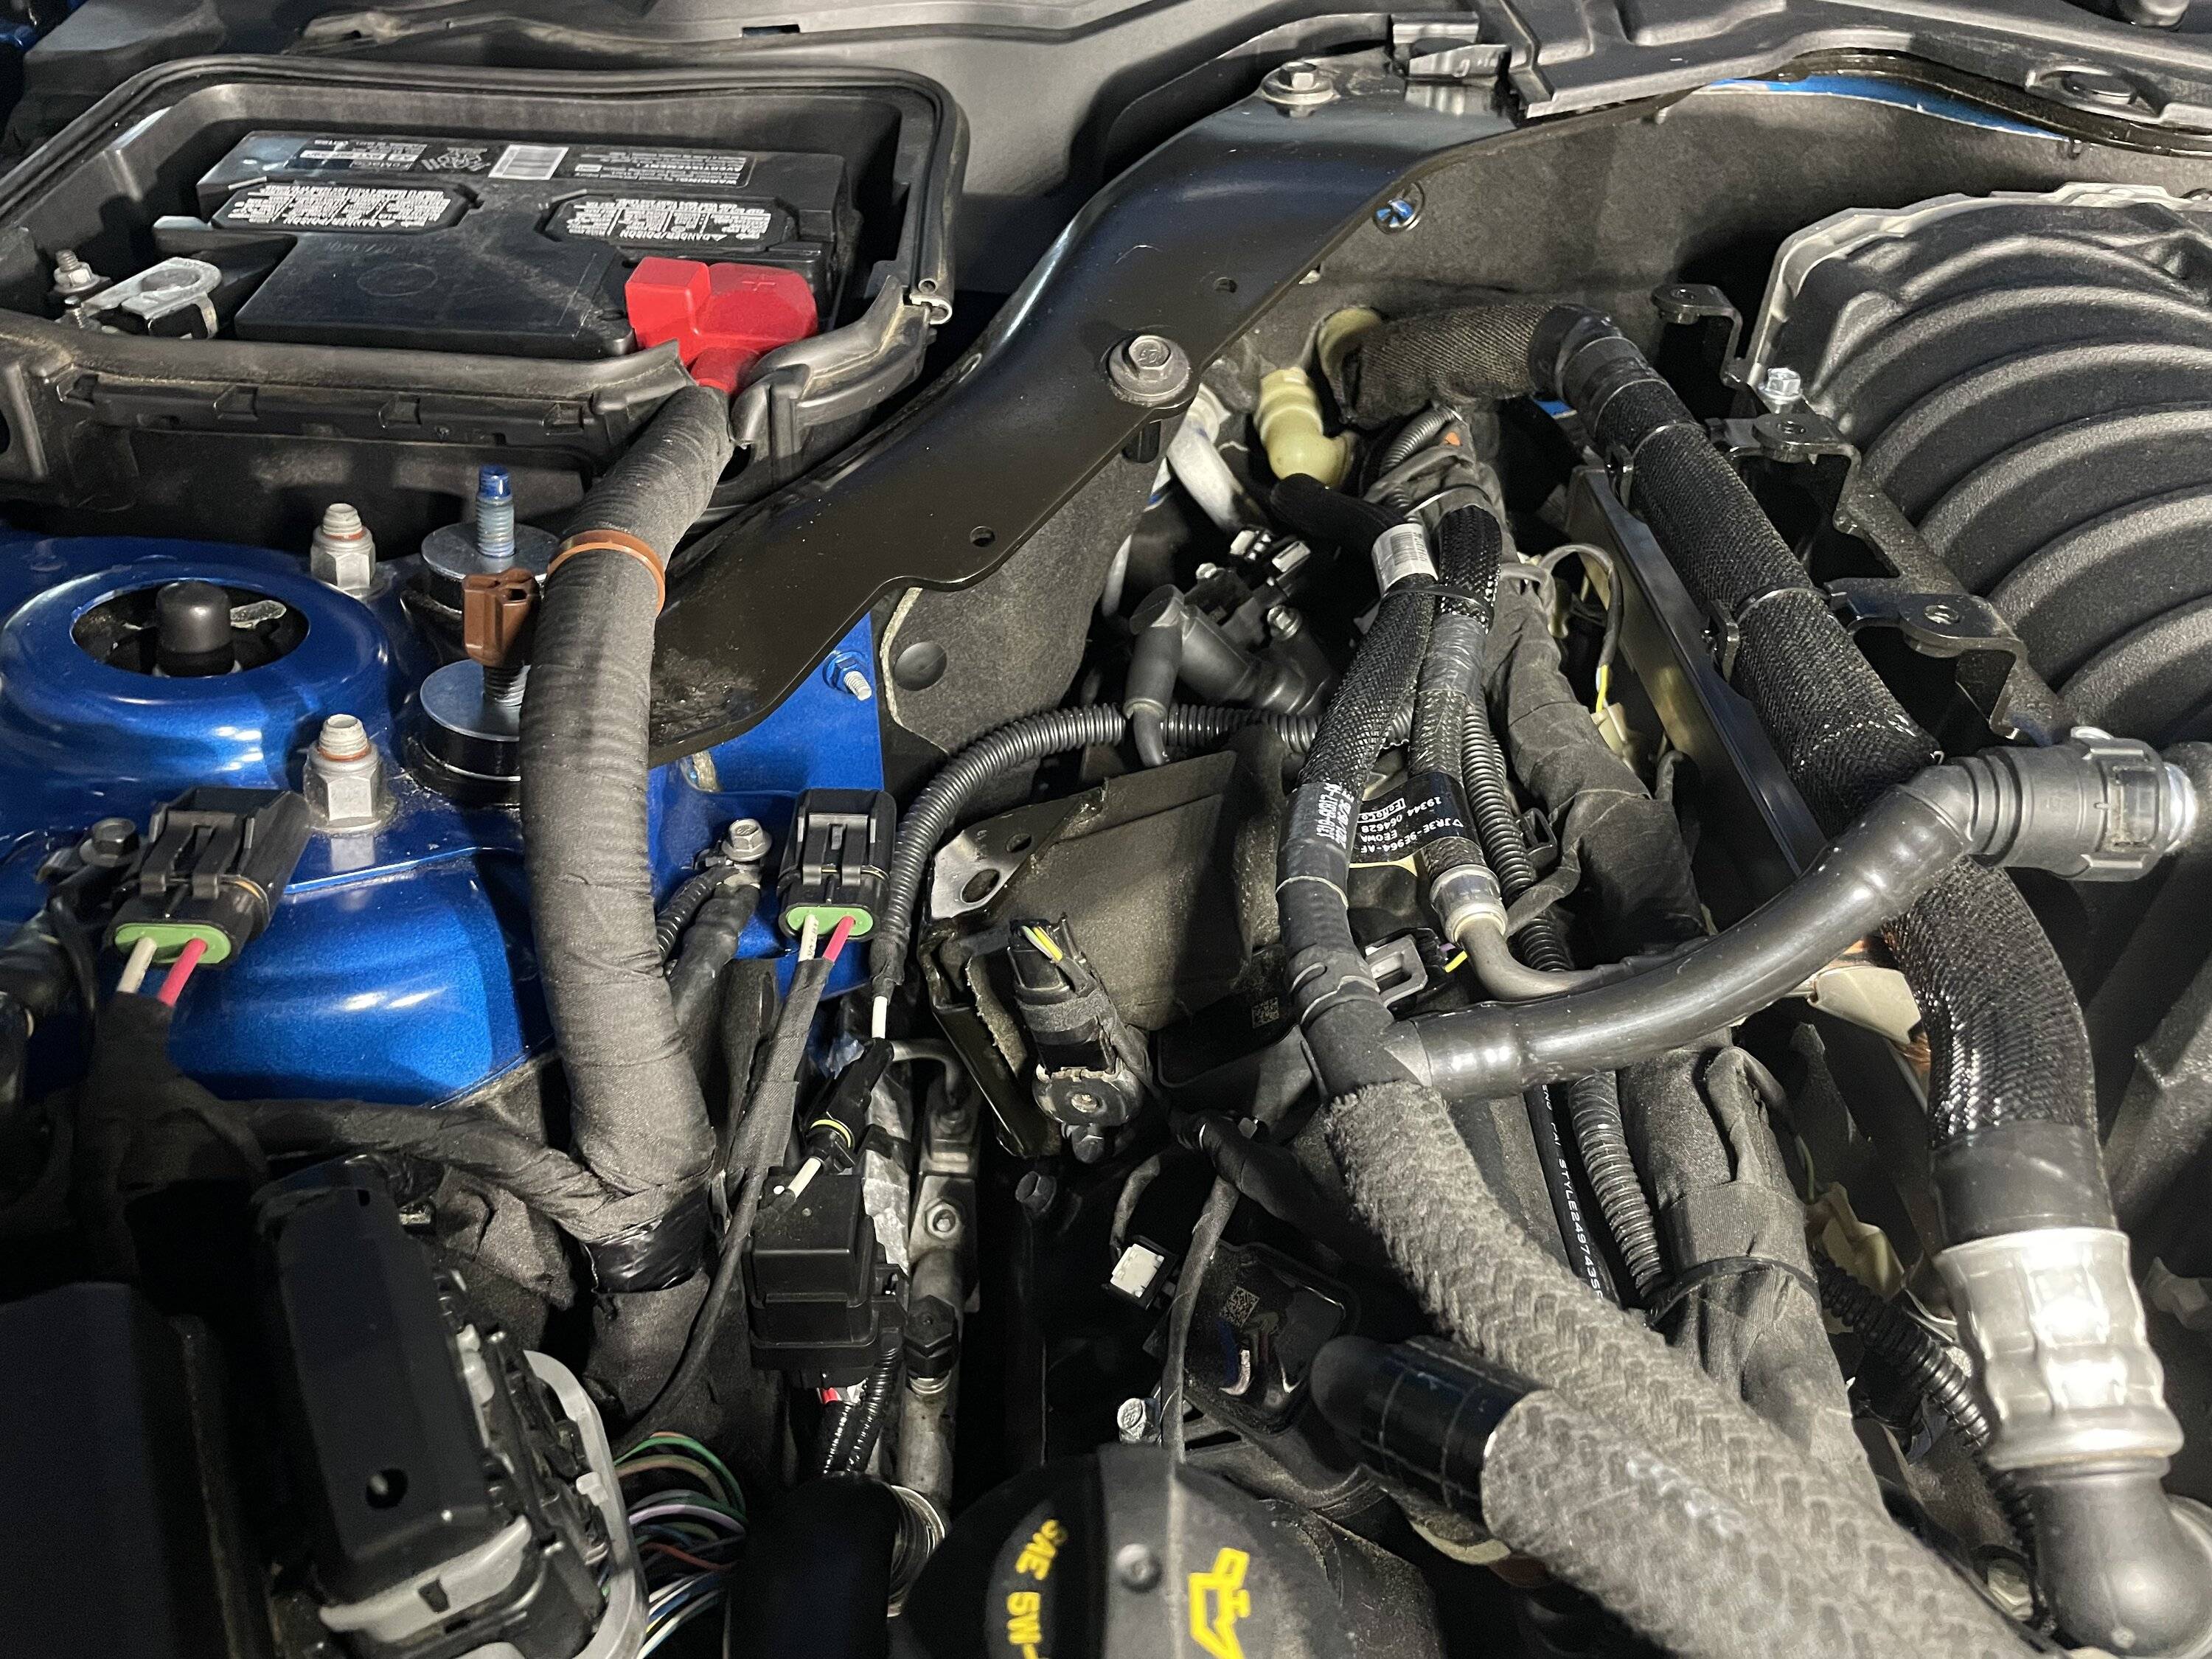
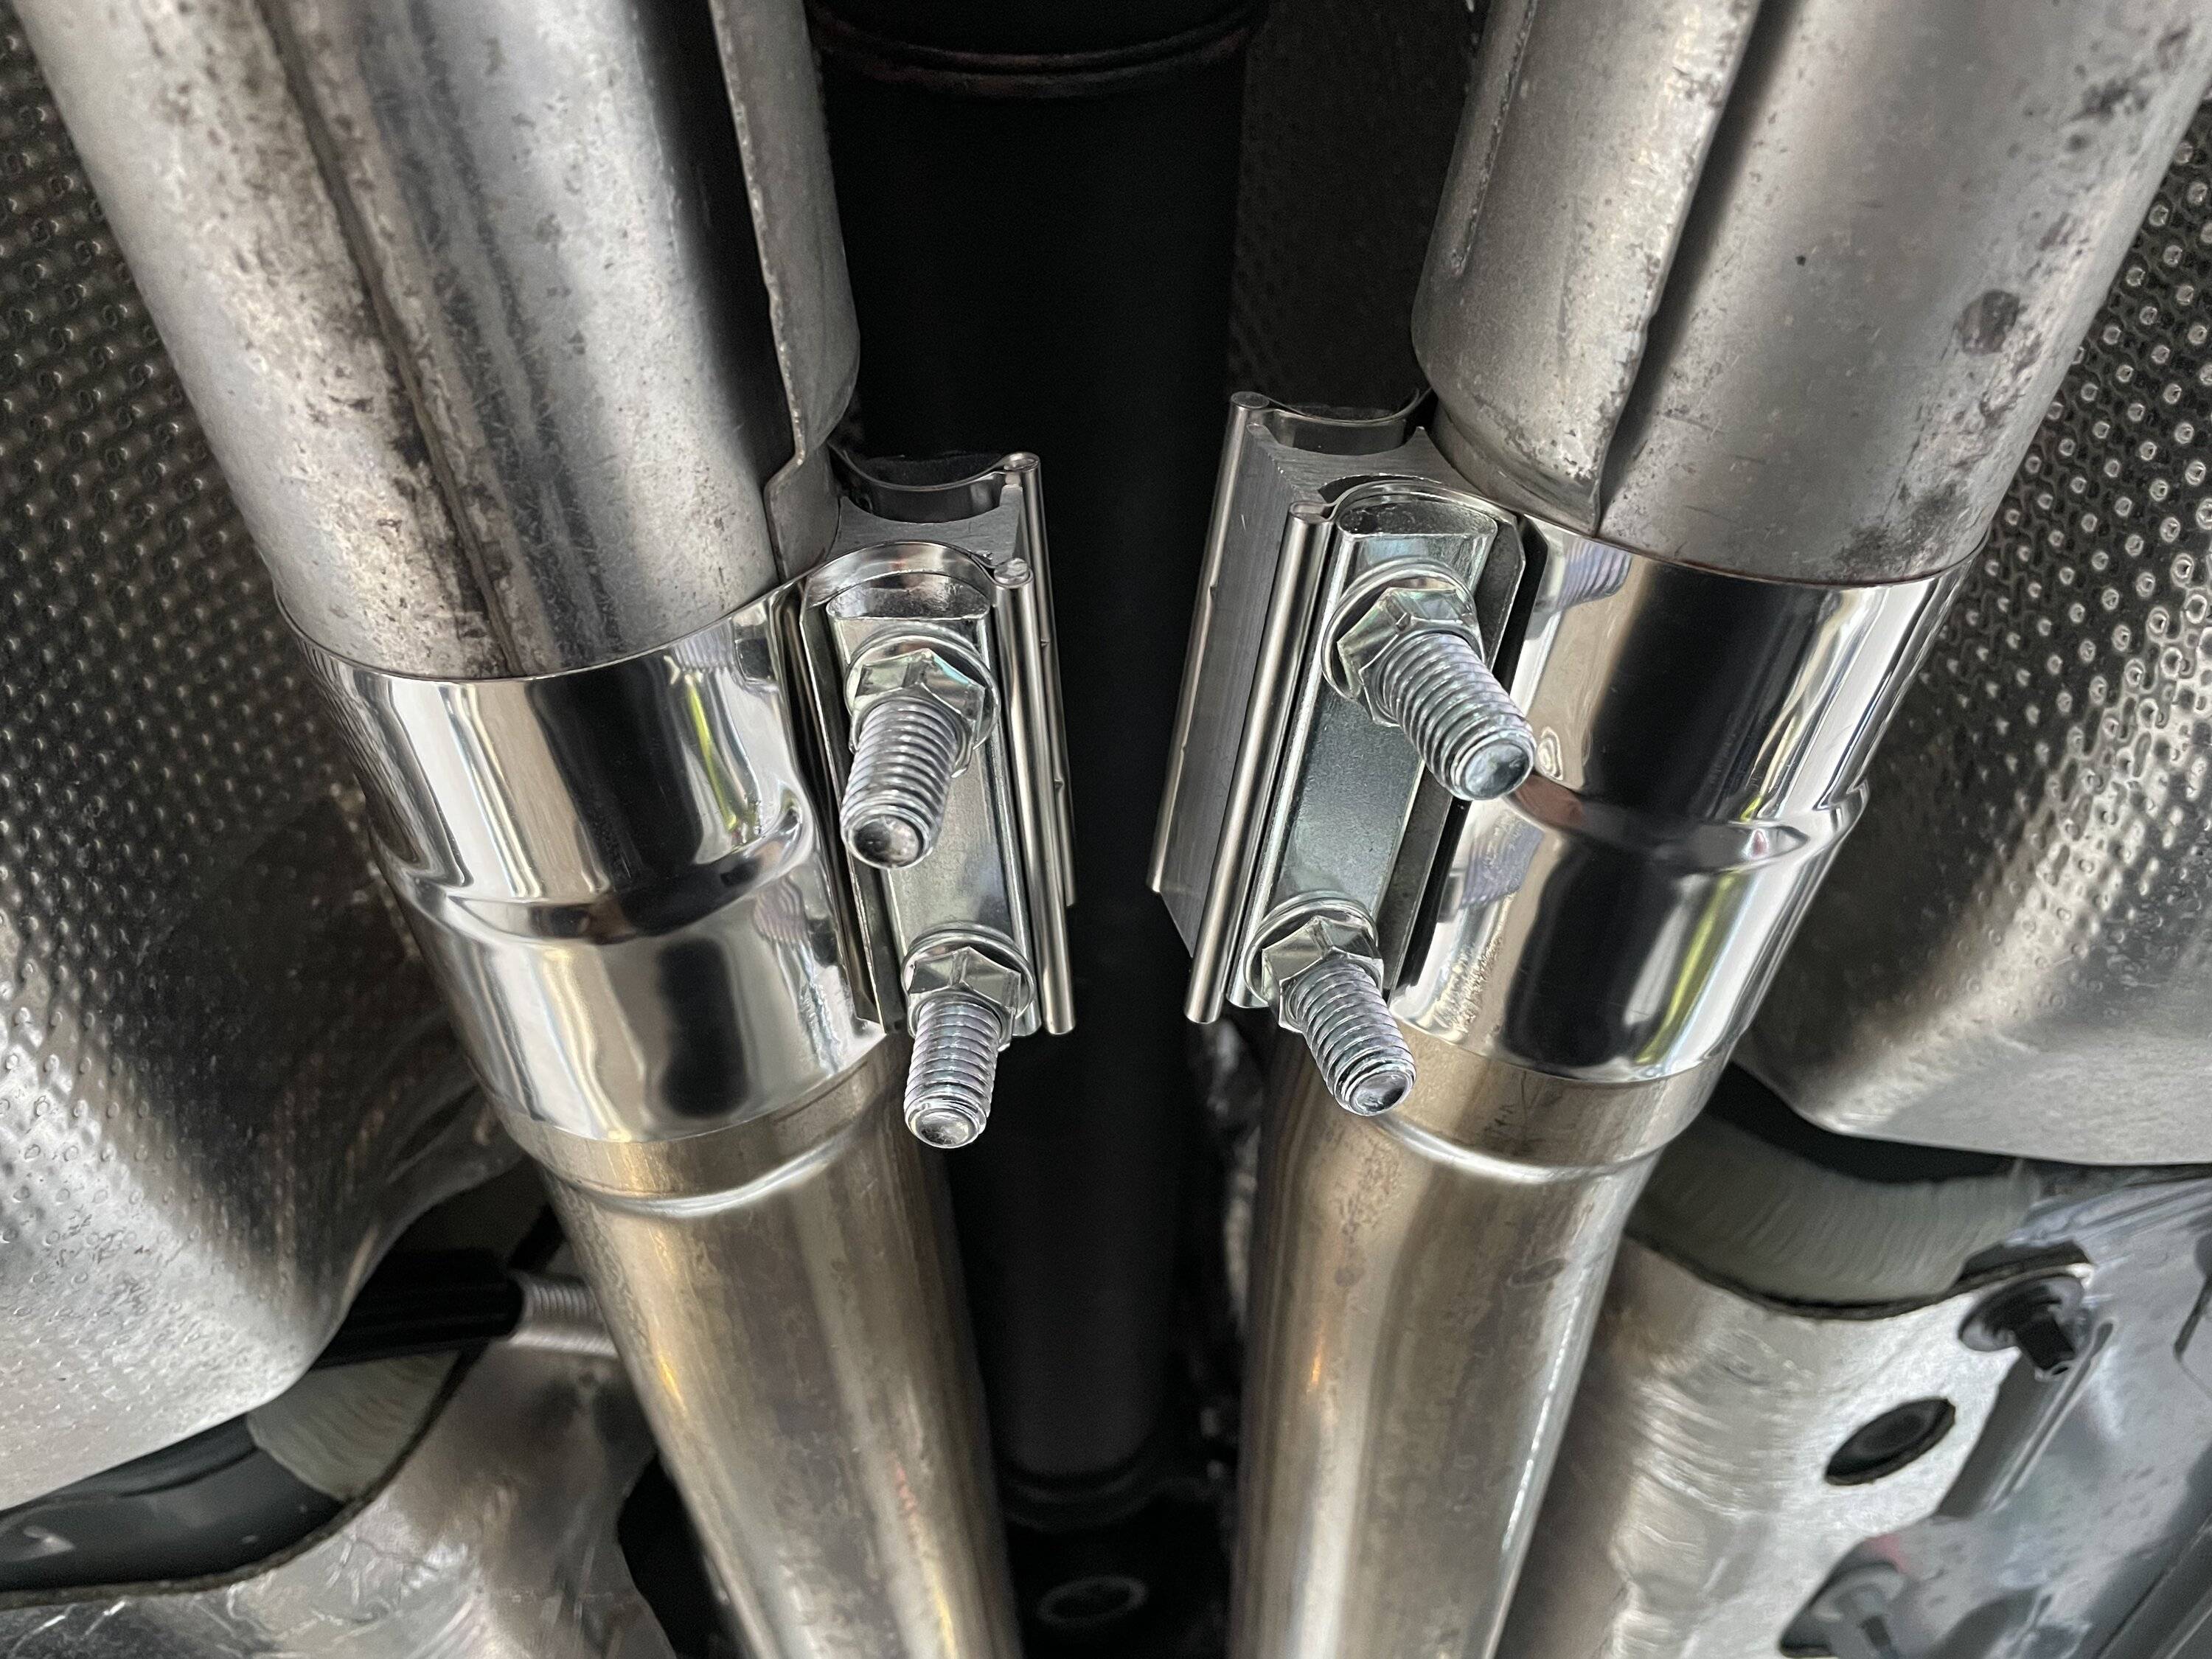
4) Drilled and tapped two M6 x 1mm mounting holes into each Roush bracket. The Roush bracket is about 1" tall. The new mounting holes are 0.5" on center from the bracket bottom.
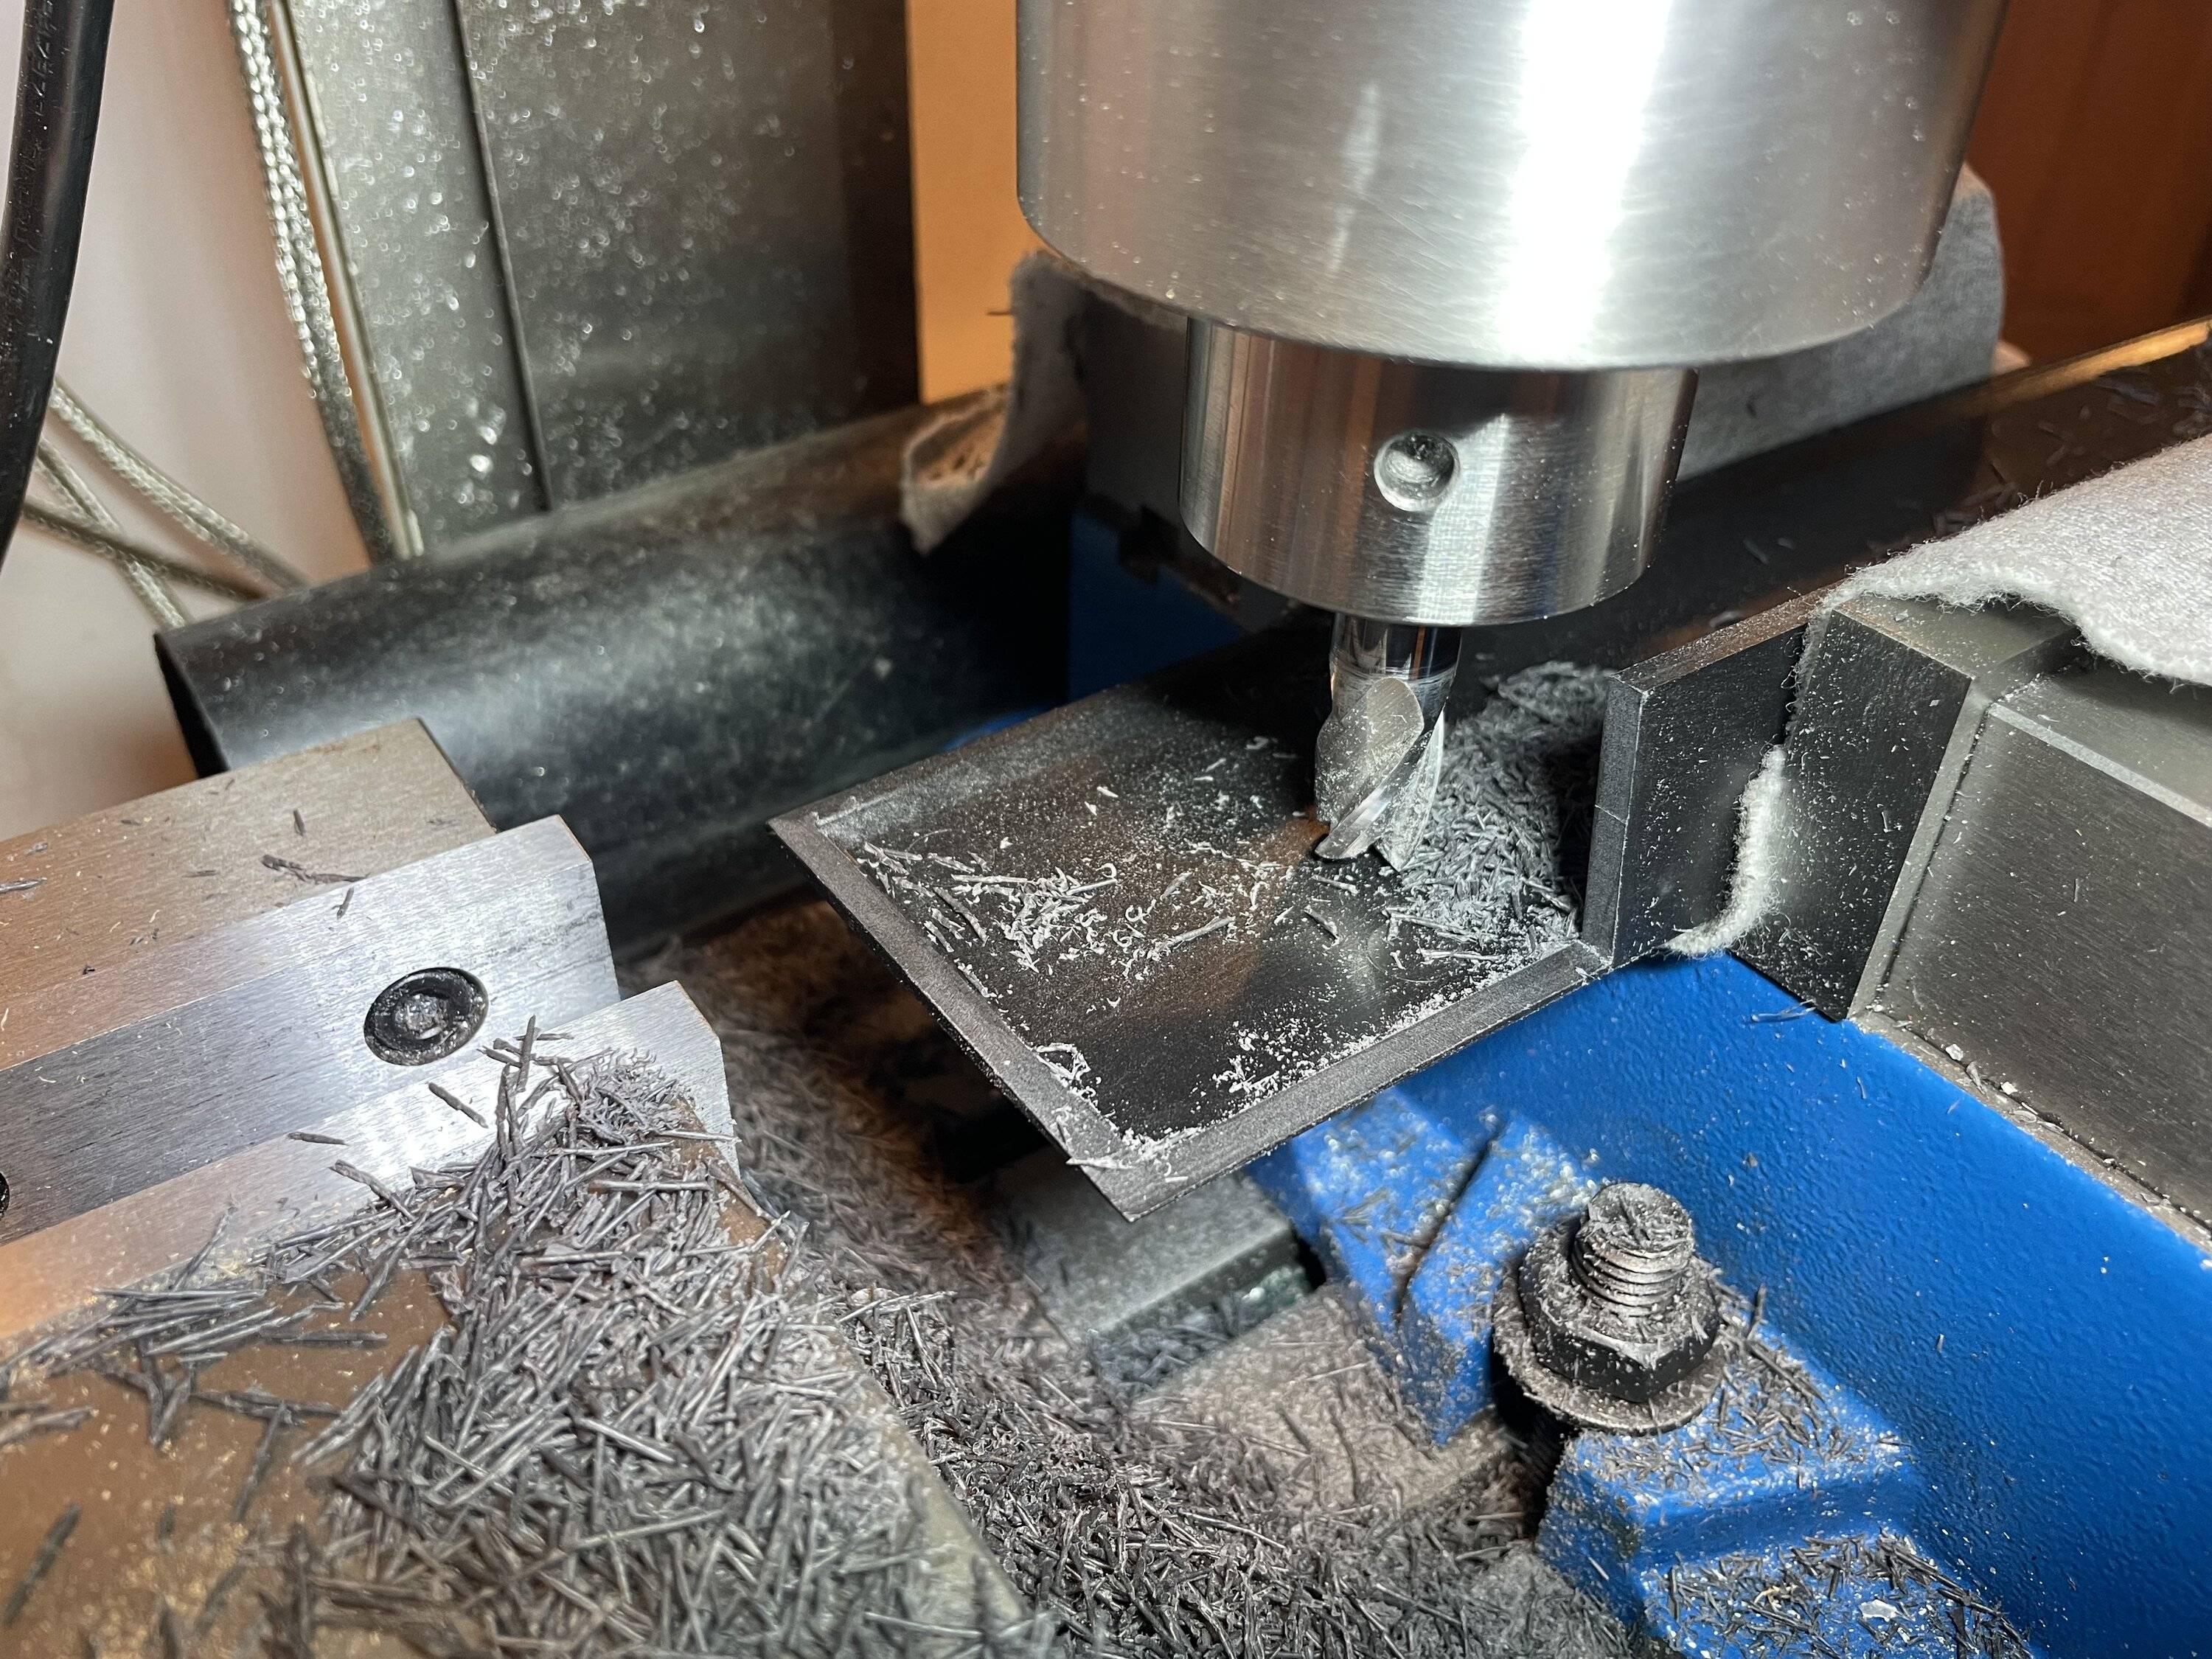
5) Drilled two 0.275" thru holes in each Bullitt cover. Hole center is 0.3" from the cover bottom. Hole center from the cover rear edge was done by eye using the bracket M6 thread locations. The Bullitt cover rear is butted against rear M6 mount point of the Roush bracket making the rear 0.275" hole about 0.6" from the back face of the Bullitt cover. The front 0.275" hole is about 200mm from the rear hole.

I'm happy with the result.
Now you've got me thinking though...Yeah, that kit with the Bullitt covers is criminally overpriced. Probably because they included the hoses that are completely unnecessary.


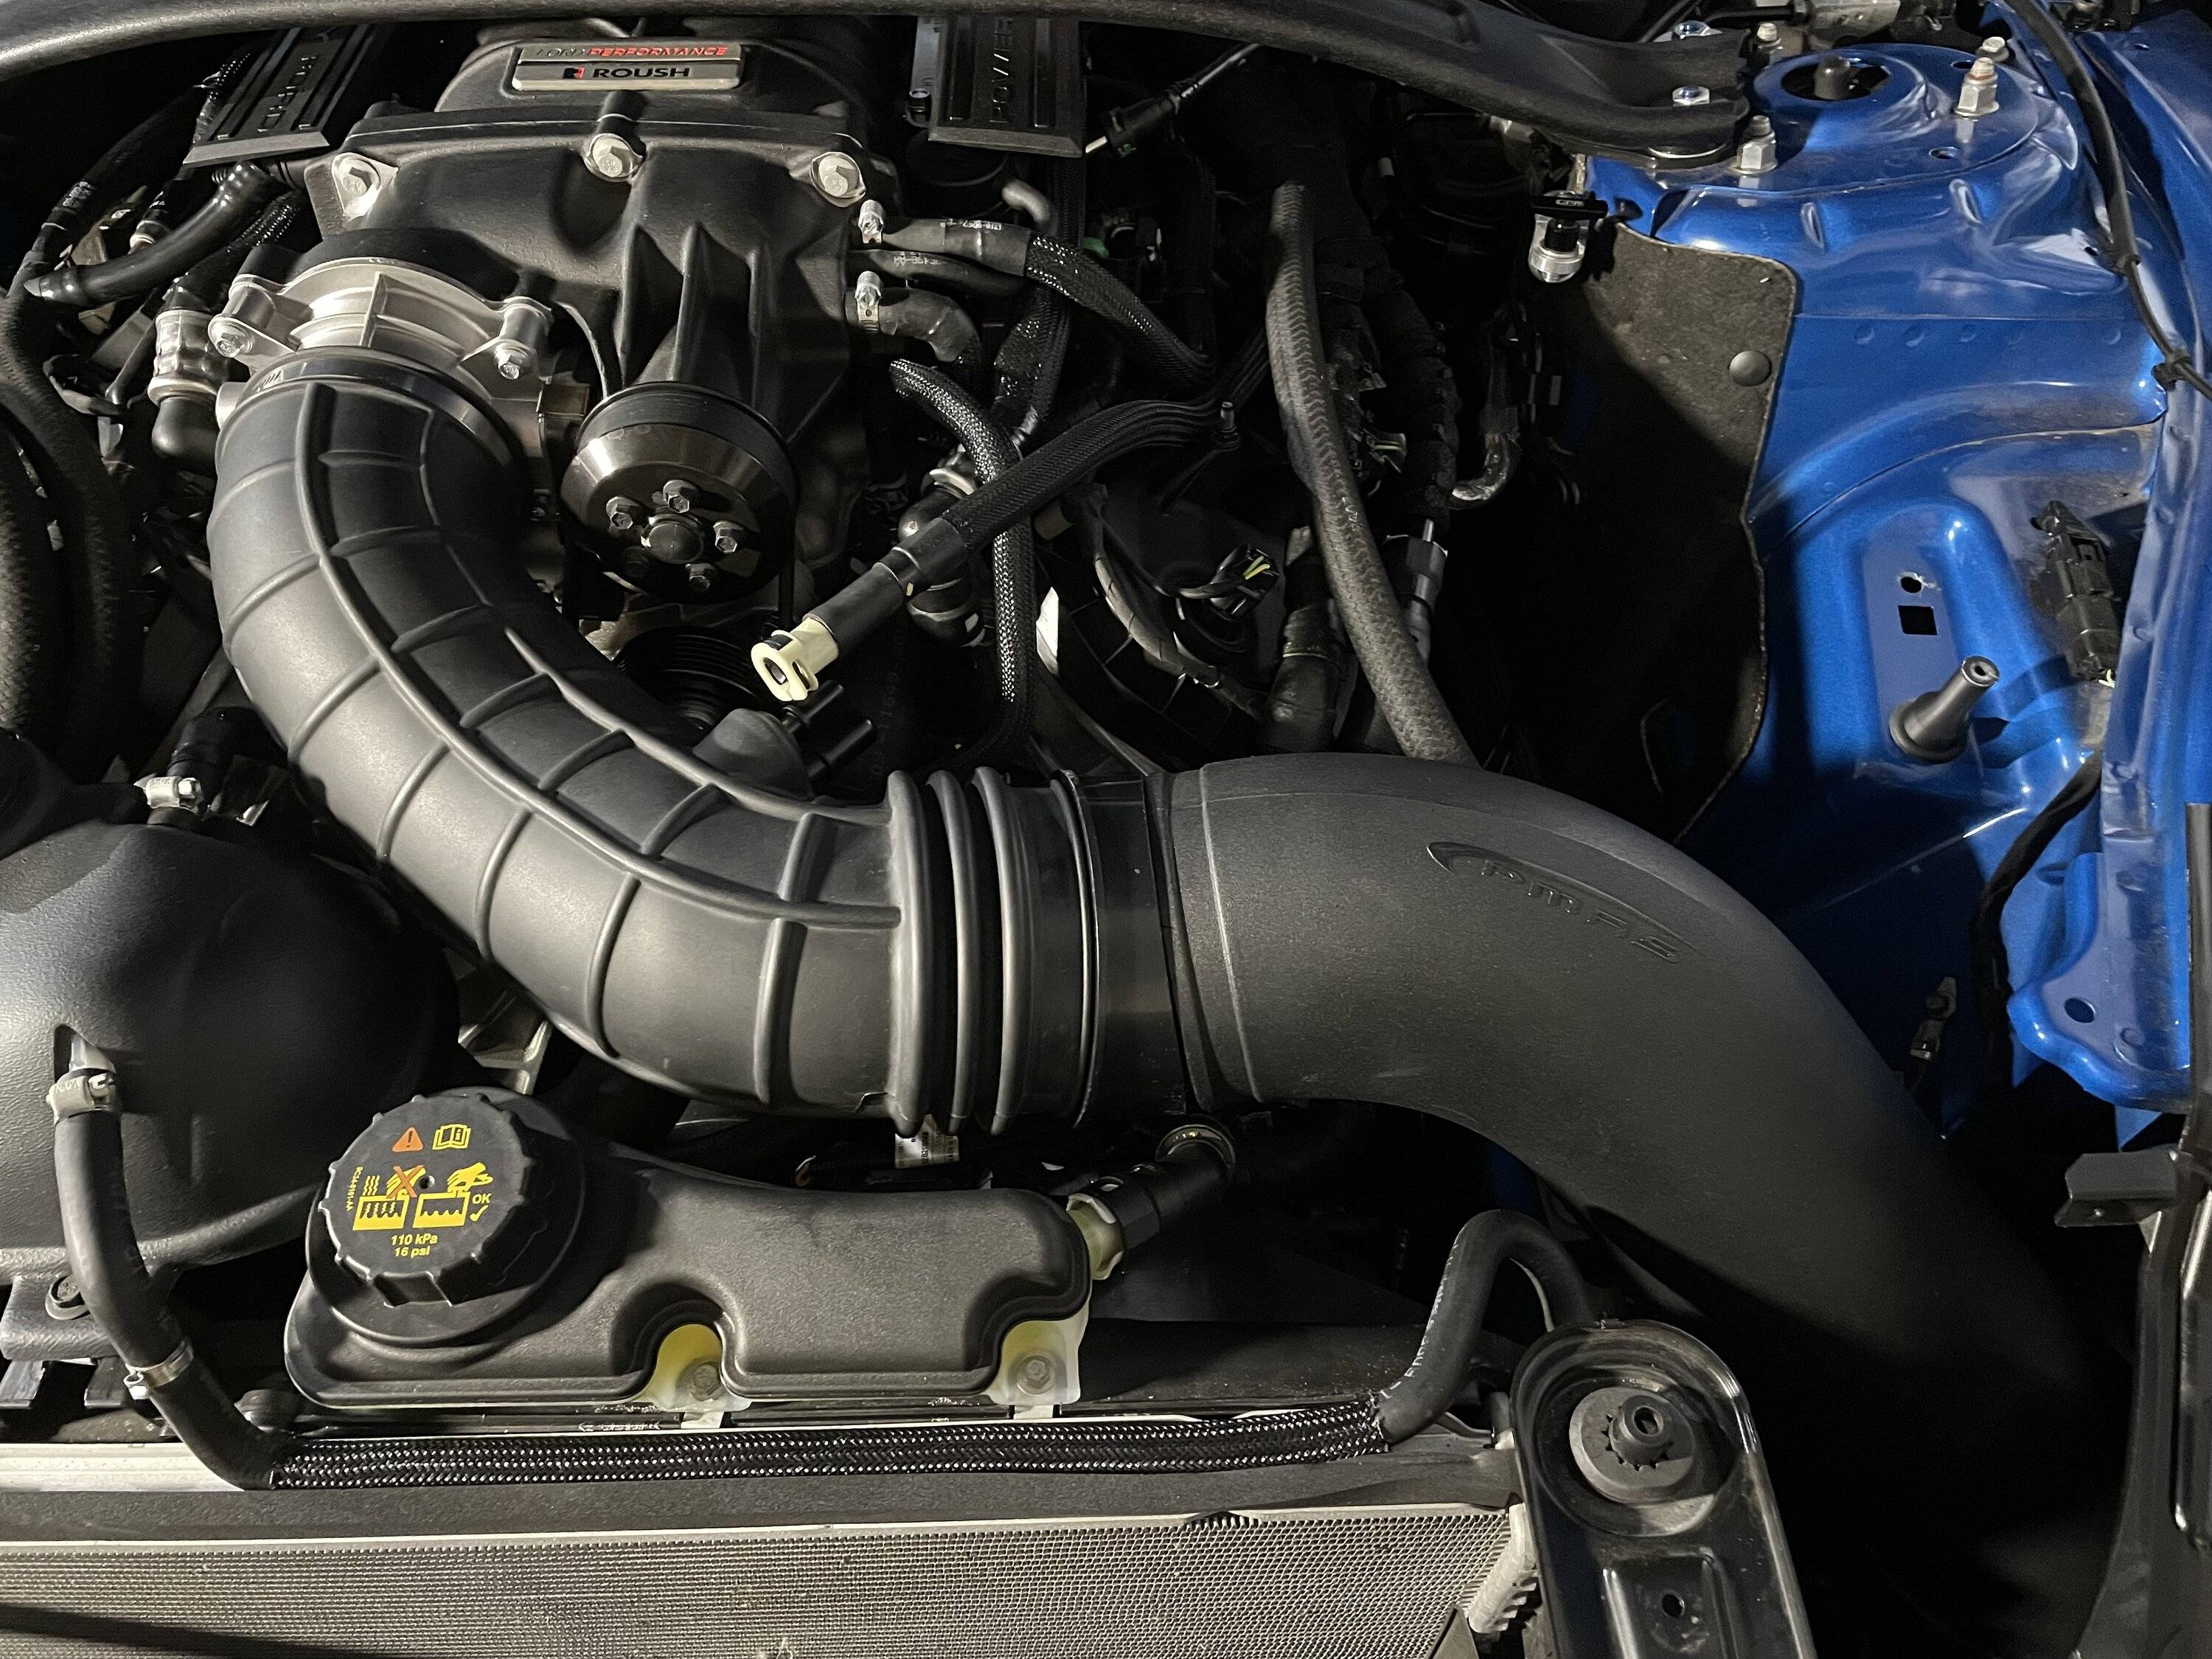


Love it. Very nice "integration". I have been mulling over making that tube work with a gen2 roush intake.