RobZ71LM7
Well-Known Member
- Joined
- Oct 14, 2021
- Threads
- 21
- Messages
- 779
- Reaction score
- 1,276
- Location
- Louisville, KY
- First Name
- Rob
- Vehicle(s)
- 2021 Mach 1, 2019 F-150
I’m just planning on the DSC Sport eventually with custom tuning.
Sponsored
What are the advantages of the controller over the factory suspension tuning? I would have thought ford has it pretty dialed in for street driving and still effective on trackI’m just planning on the DSC Sport eventually with custom tuning.
For street ride the factory is the best, for performance usage I’ve seen feedback from Sam Strano and others that there is room for improvement. I do not have my Mach 1 yet, but Sam is a multi-national champ and is going to run his Mach 1 in FS. The class will not allow an aftermarket damper controller but will allow you to swap shocks. He has actually ditched the magneride and found he is faster on Koni SA’s on his car. Search for Sam’s posts and DSC sport on the forum and you should see multiple references. As for me I’ll decide based on my own experience if it needs a recal.What are the advantages of the controller over the factory suspension tuning? I would have thought ford has it pretty dialed in for street driving and still effective on track
 Now onto applying ceramic on the wheels and calipers and front lip moldings.
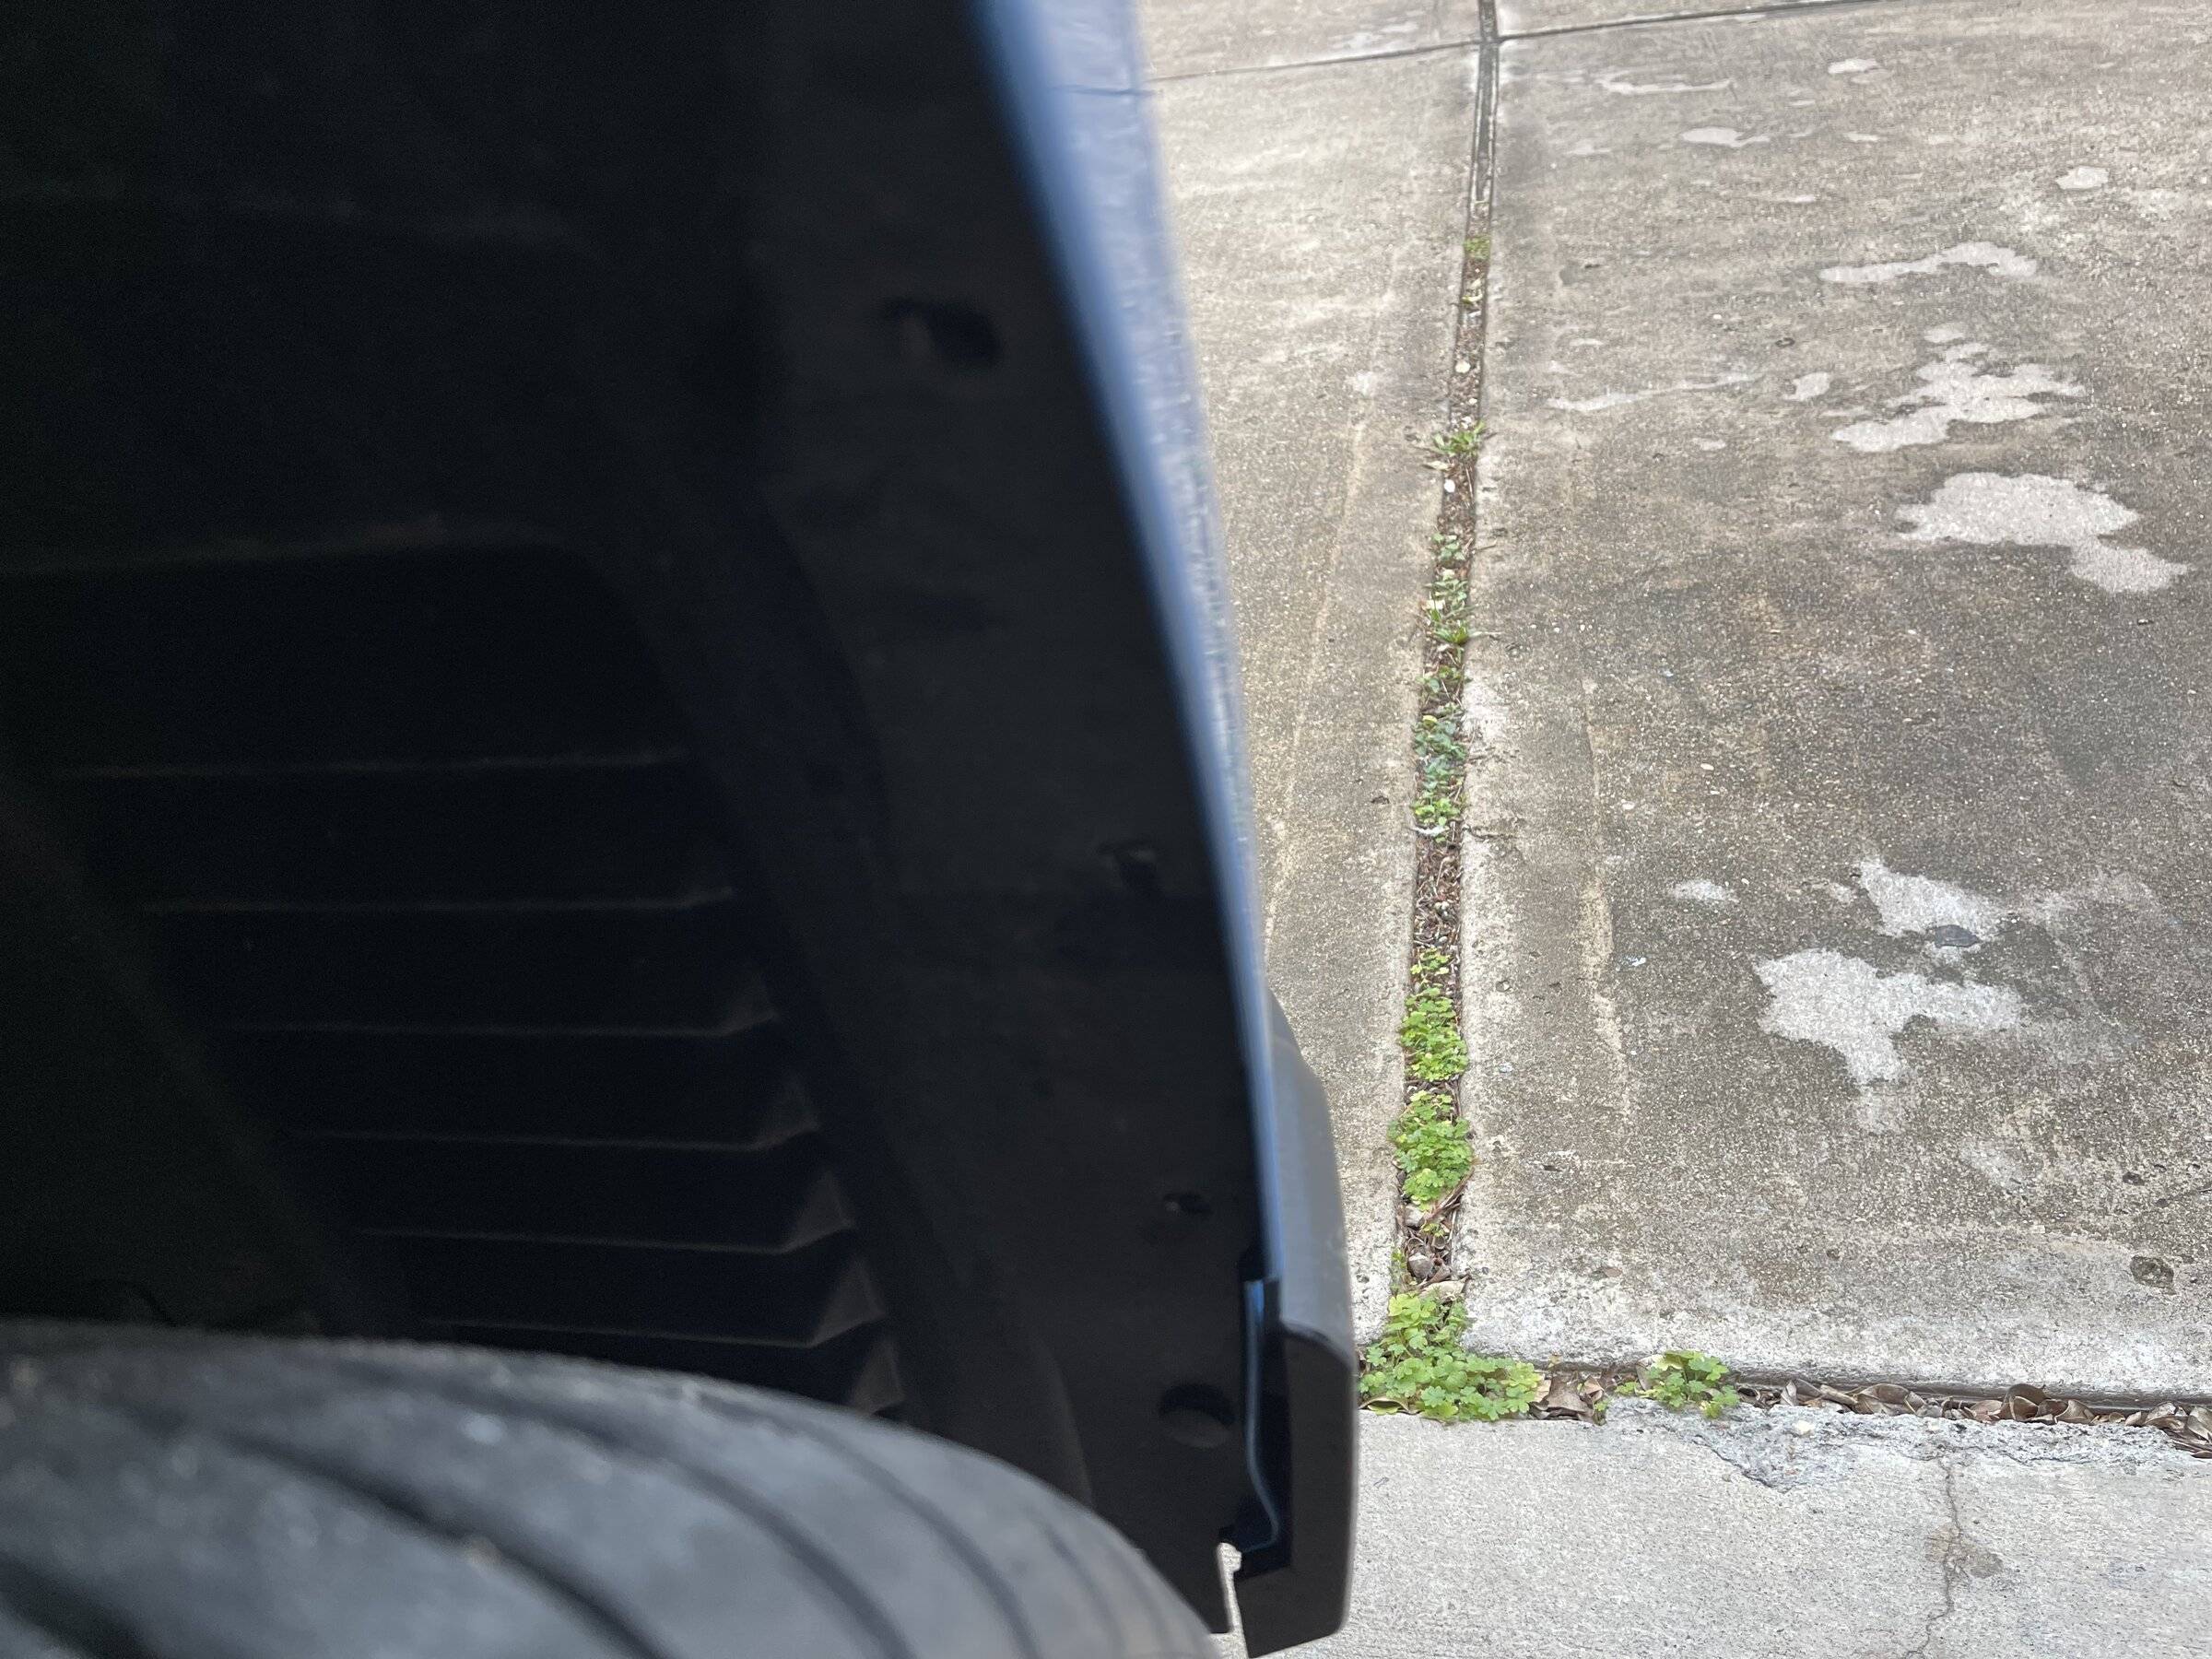
huh looks like a tiny version of what goes on the handling package. I wonder what European law requires that.Looks like you guys don't get the small edge protector on the fender behind rear wheels, must be only for export cars. It's held with 2 screws, so with the lower screws I already had 4 screws on the car and didn't need any extra. And only 1 pushpin for the bottom.
This small shield covers the upper half of the edge of the fender on my car. Had to remove it as the new shield replaces it (except for the uppermost 2 cm).
It was a nice day, I cleaned properly all wheel wells, brakes, underchassis, engine and hood from the few rainy days I had in the winter

Looking on the promo pics, US cars don't have it, EU cars have it. Btw, this thing was glued in between the two screws and took some force and wiggling to get it off, in case anyone gets stuck with it.
Black. Some leave it black, some have it paint matched. Do a search there is info on the color code and process.Bit late to the game here, but I have a question about the handling pack spoiler. Does it come in the matte grey or is it black?


 )
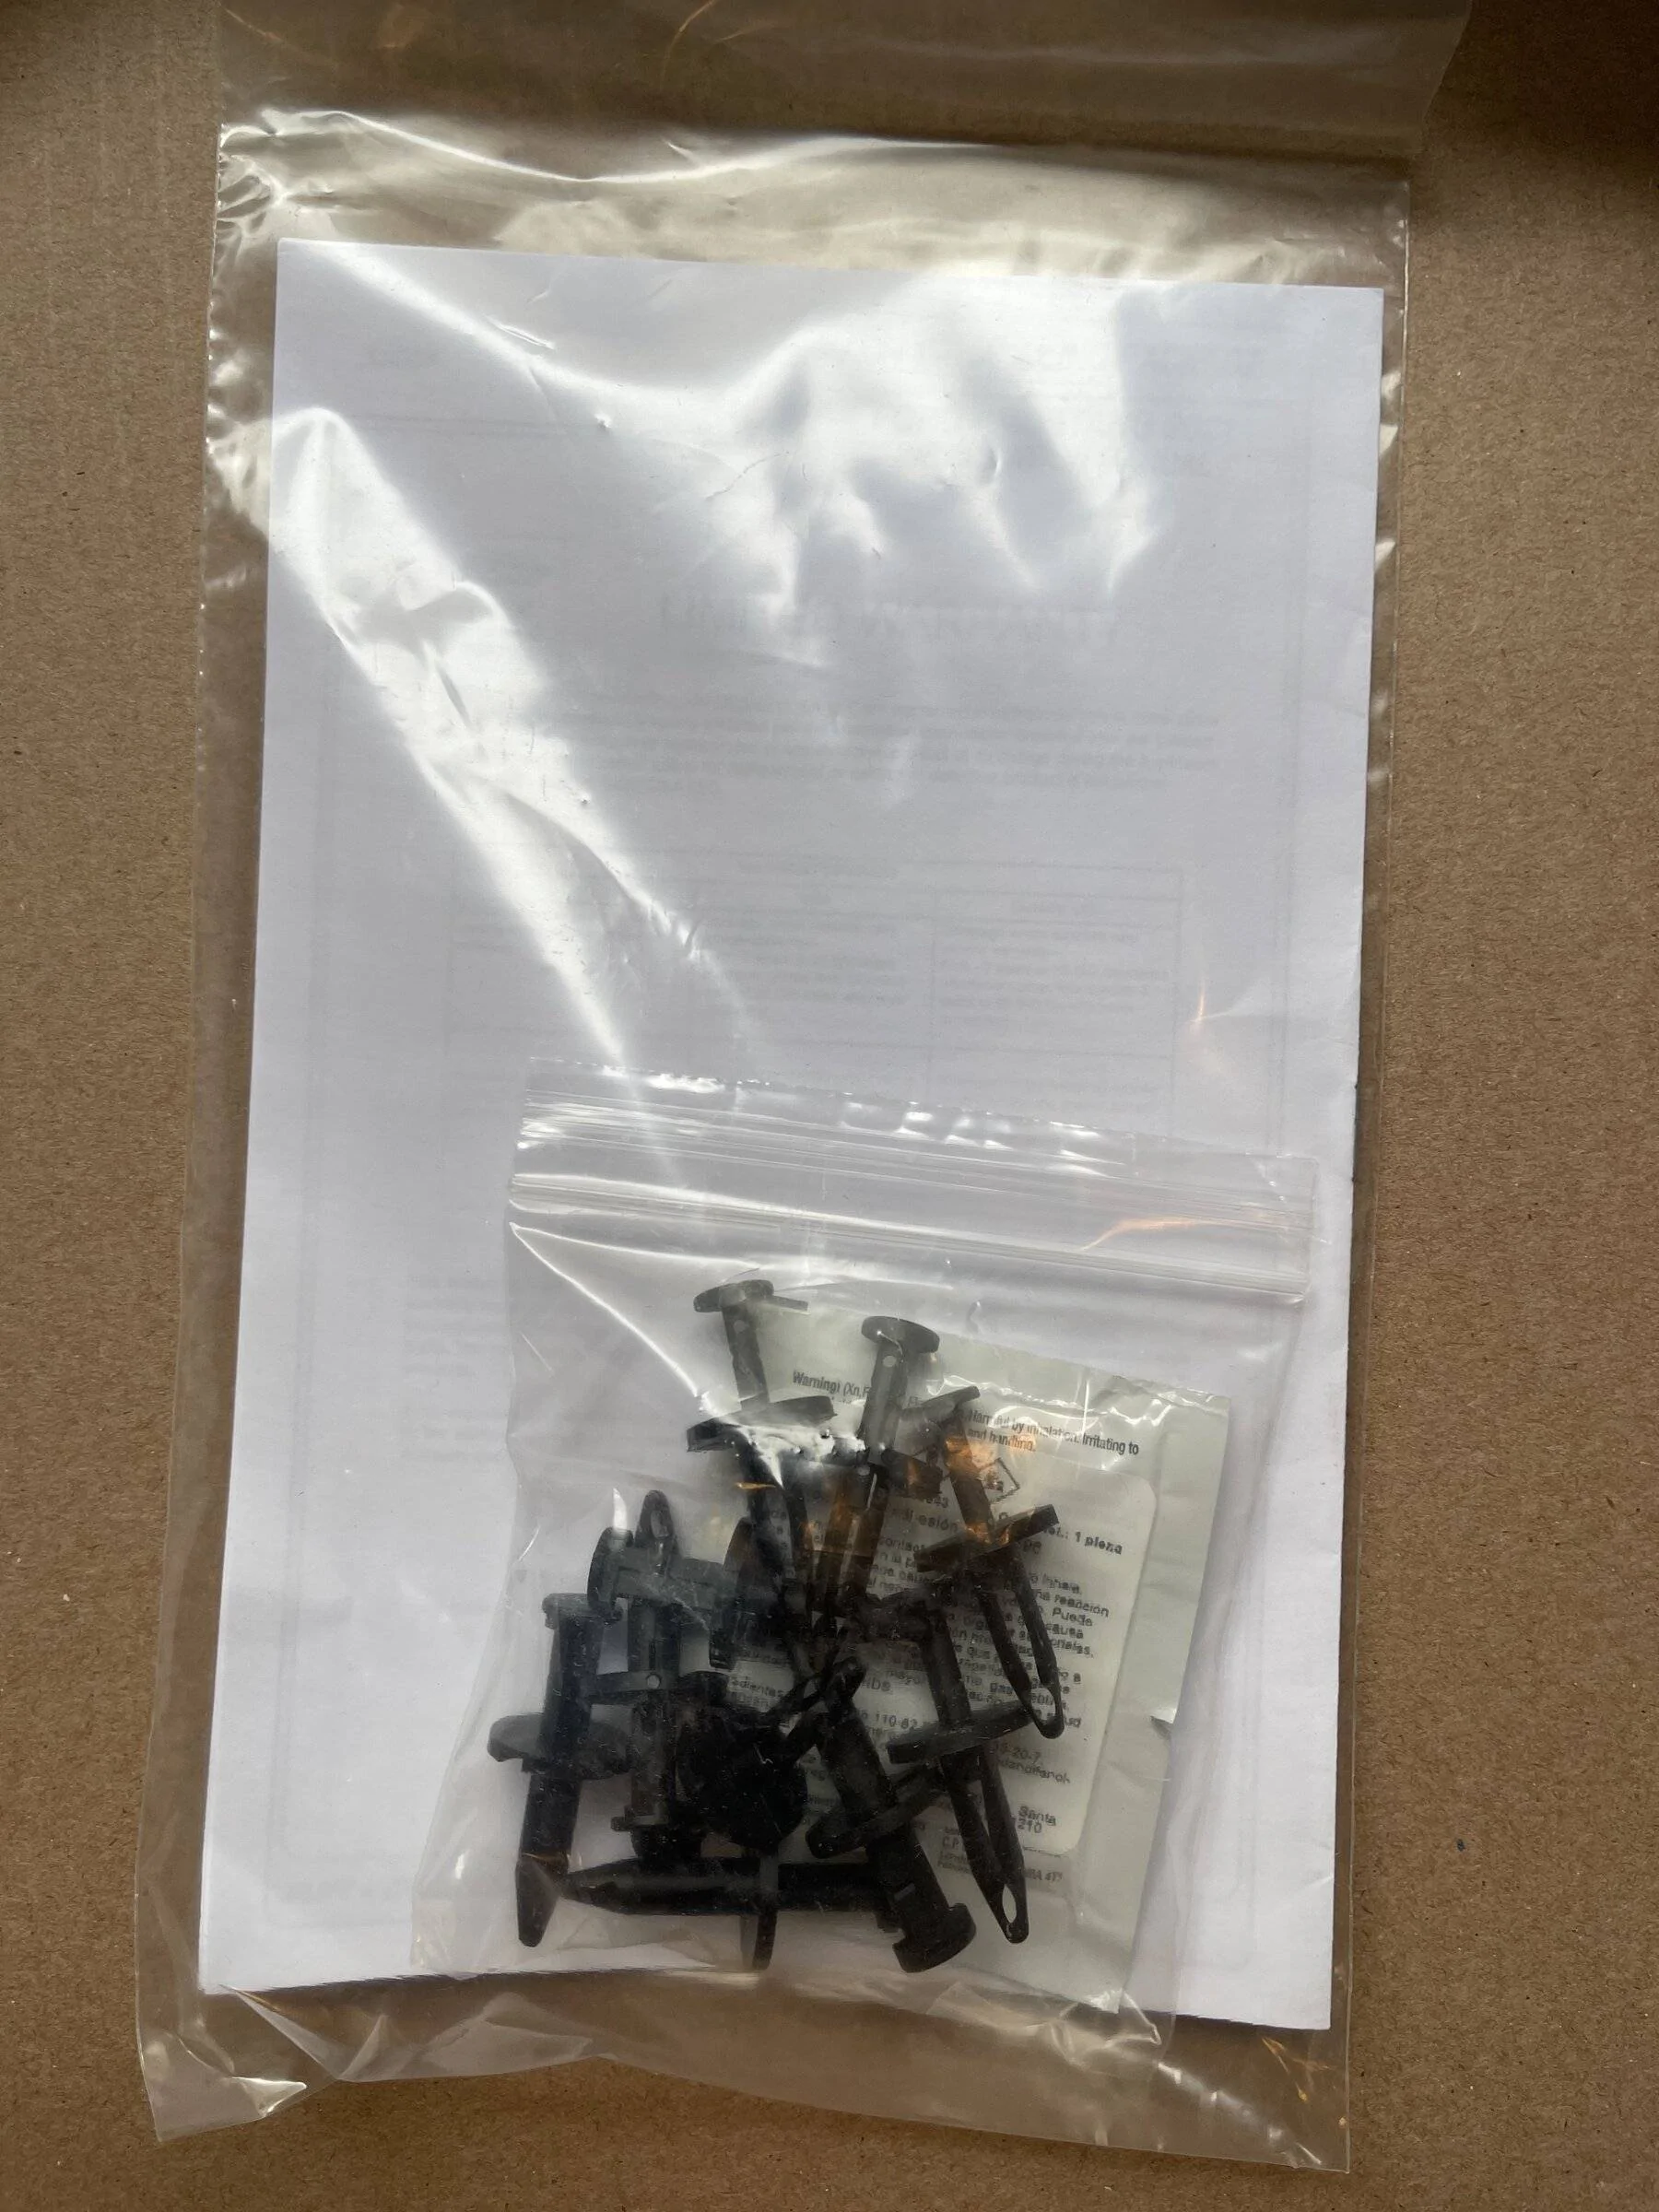
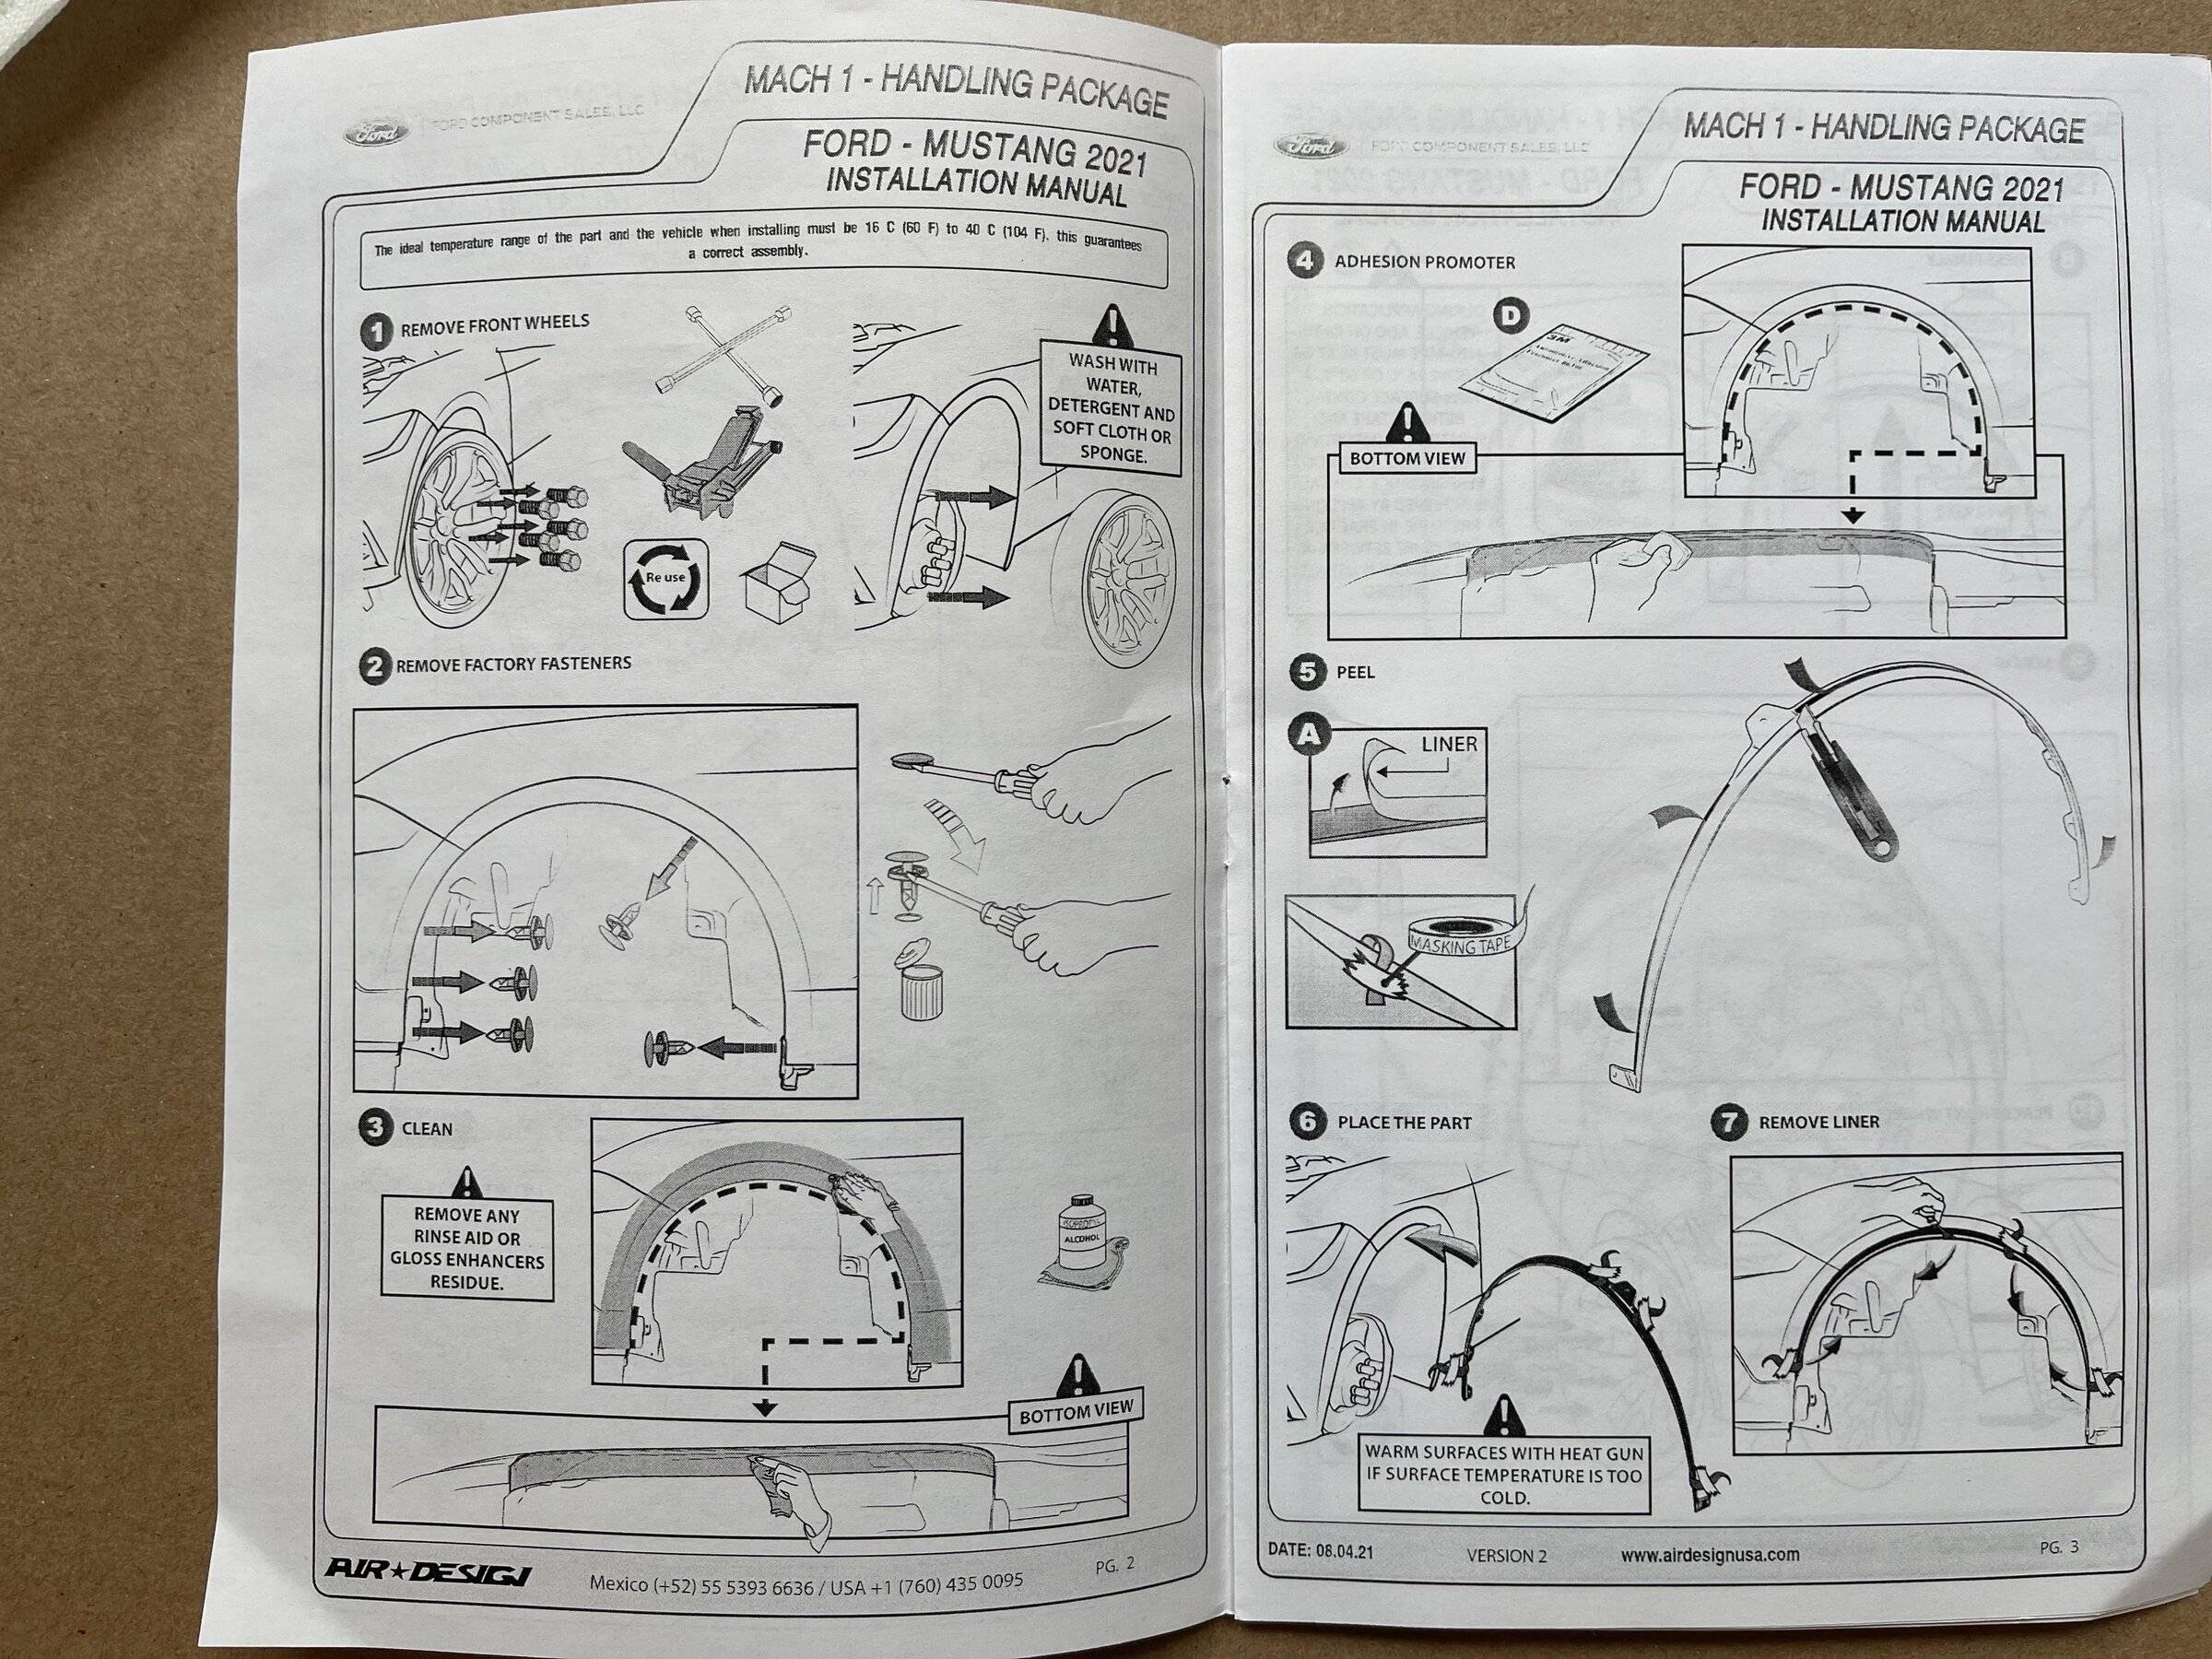
)Because they save money X the amount of units by not having it as part of the standard M1.Alrighty, busy Saturday adding the clips to the rear guards but I was able to add the front wheel lip moldings as well. overall it was an easy process. First I wanted to post the full instructions because they don’t seem to be readily available:


A couple things I did differently than the instructions:
The instructions also don’t specify which pins to remove:
- Didn’t remove the wheels: if you just jack up the car and turn the wheels, you'll have more than enough room.
- Use all of the provided clips: I have the Novistretch mesh cover that uses clips and screws for 2 of the 3 front end pins.
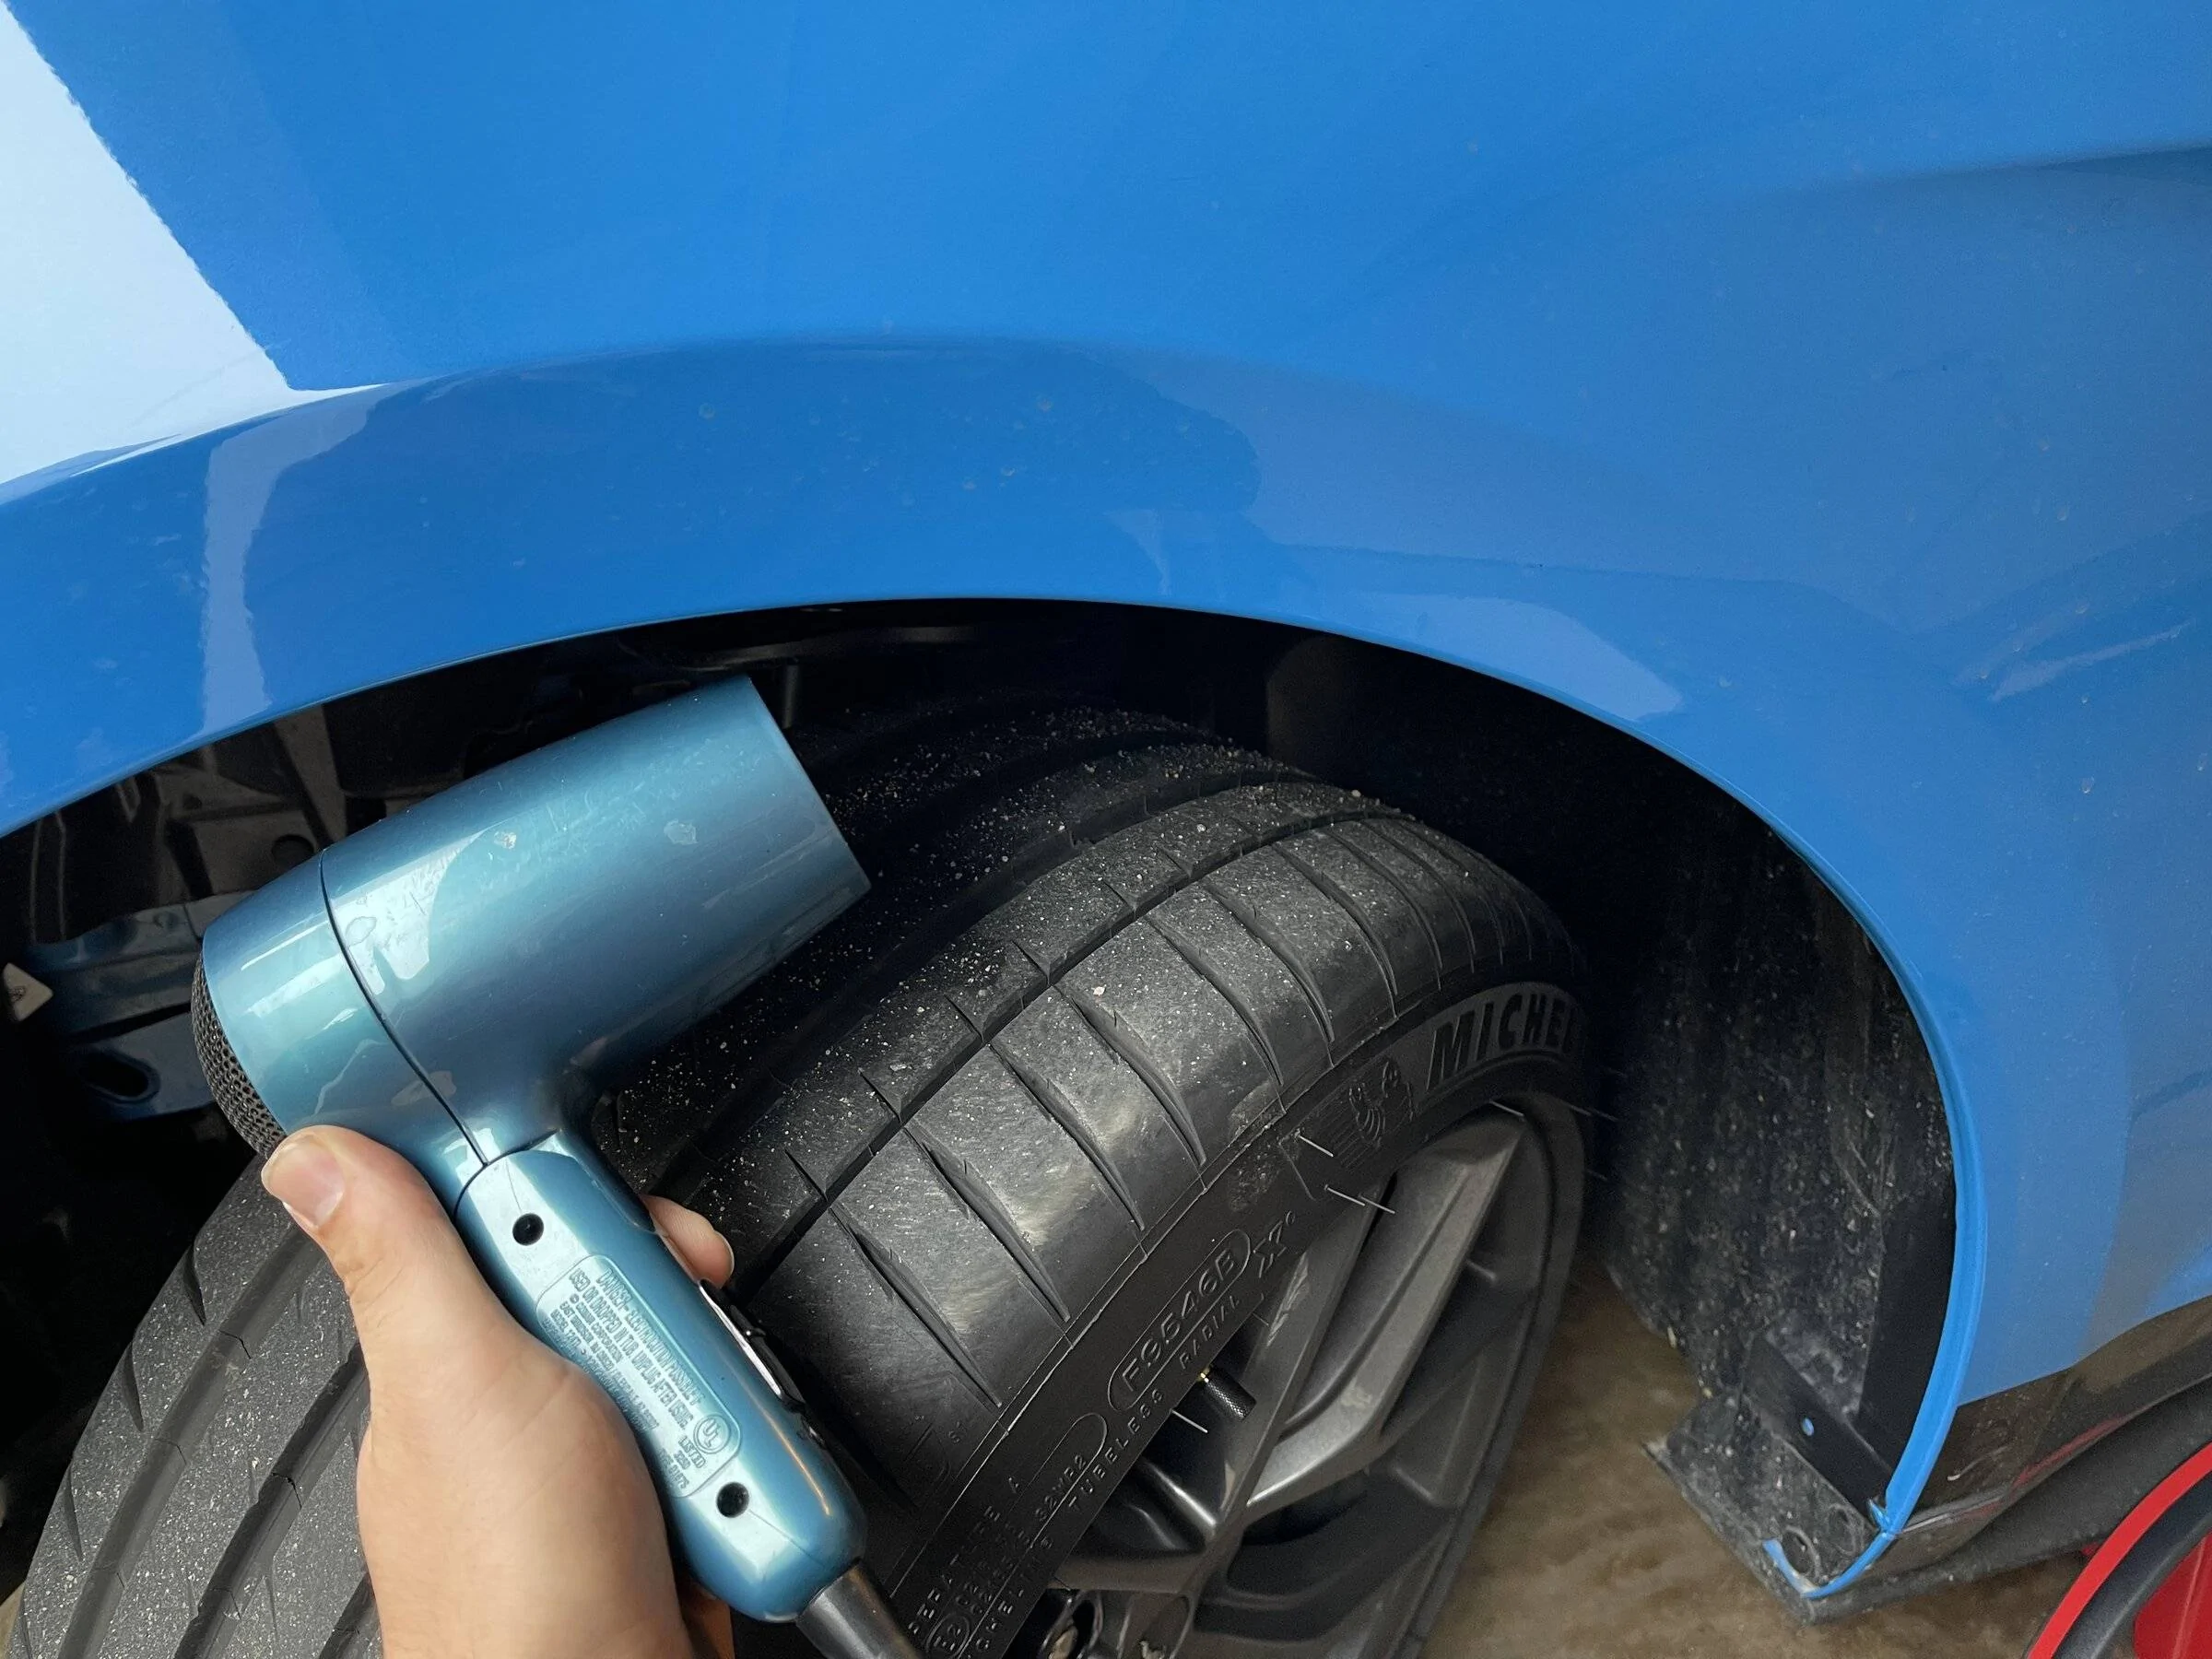
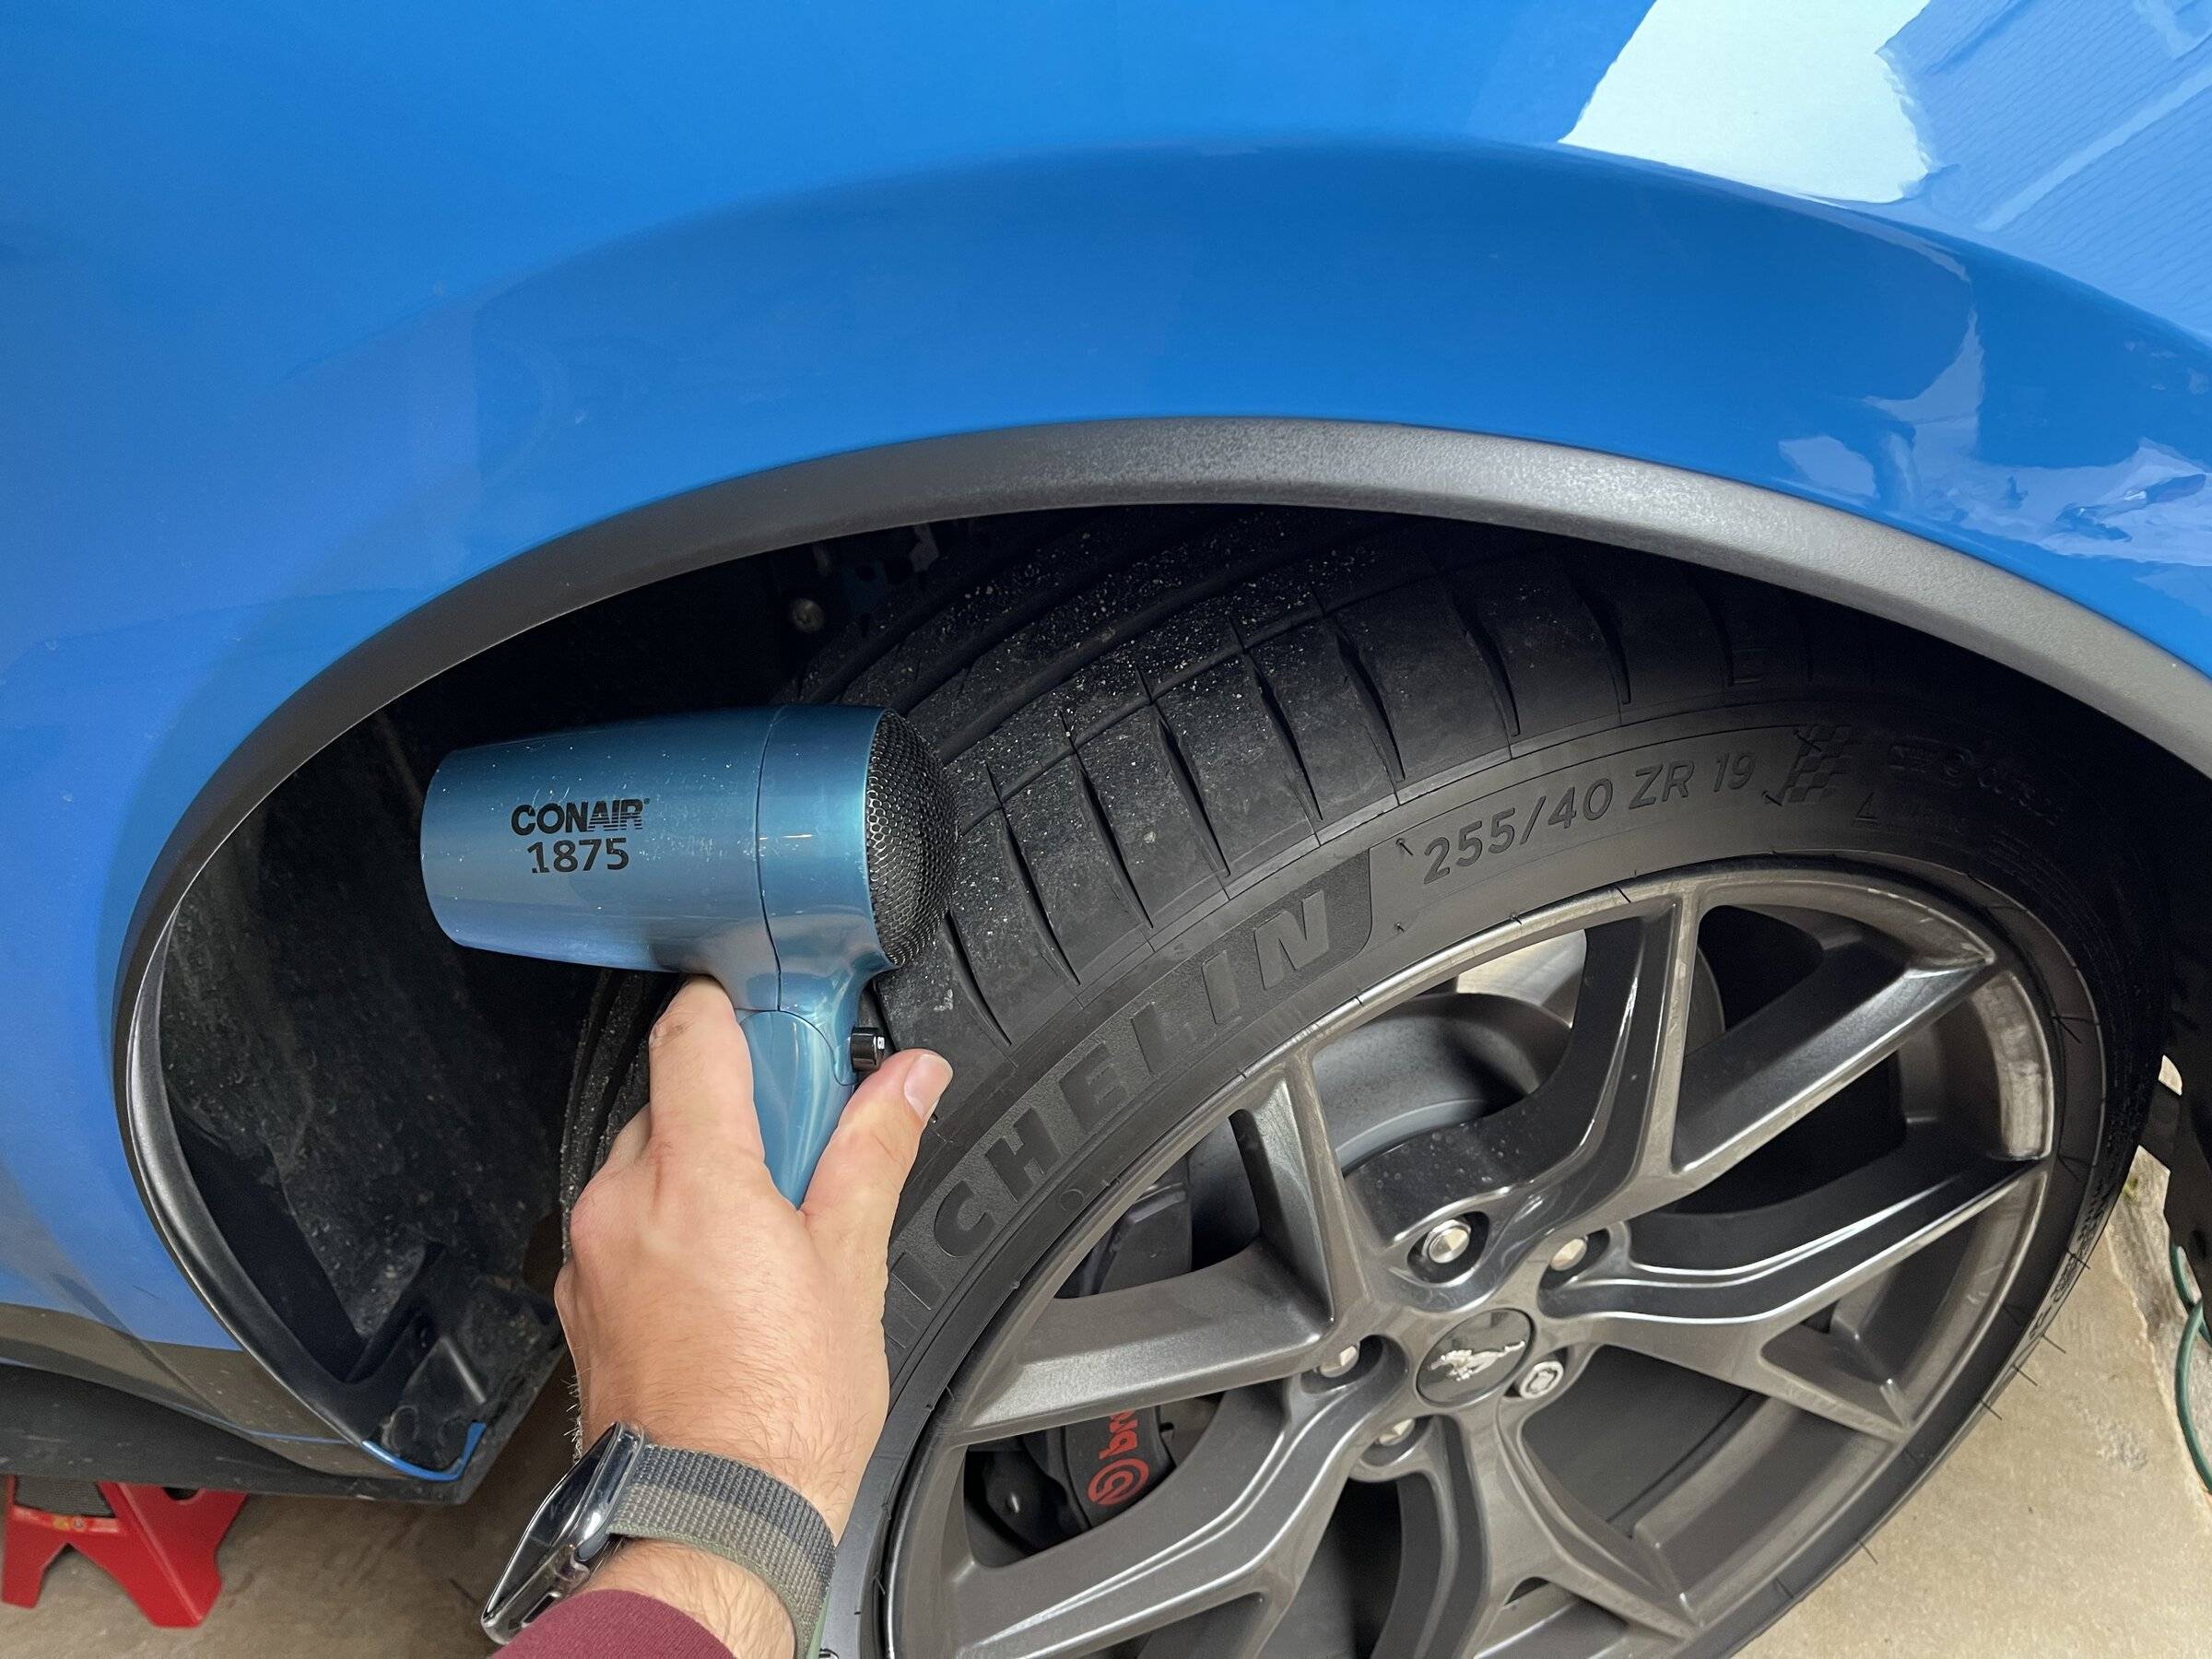
It was cold here in Houston so I used my wife’s professional heat gun:
Fitting the molds was easy following the instructions but I just wanted to warn the adhesion activator smells god awful. Highly recommend a shop fan rather than just a box fan.
I heated the adhesive after applying pressure to allow it to release stress and then applied pressure again (Old trick I learned in a shipyard).
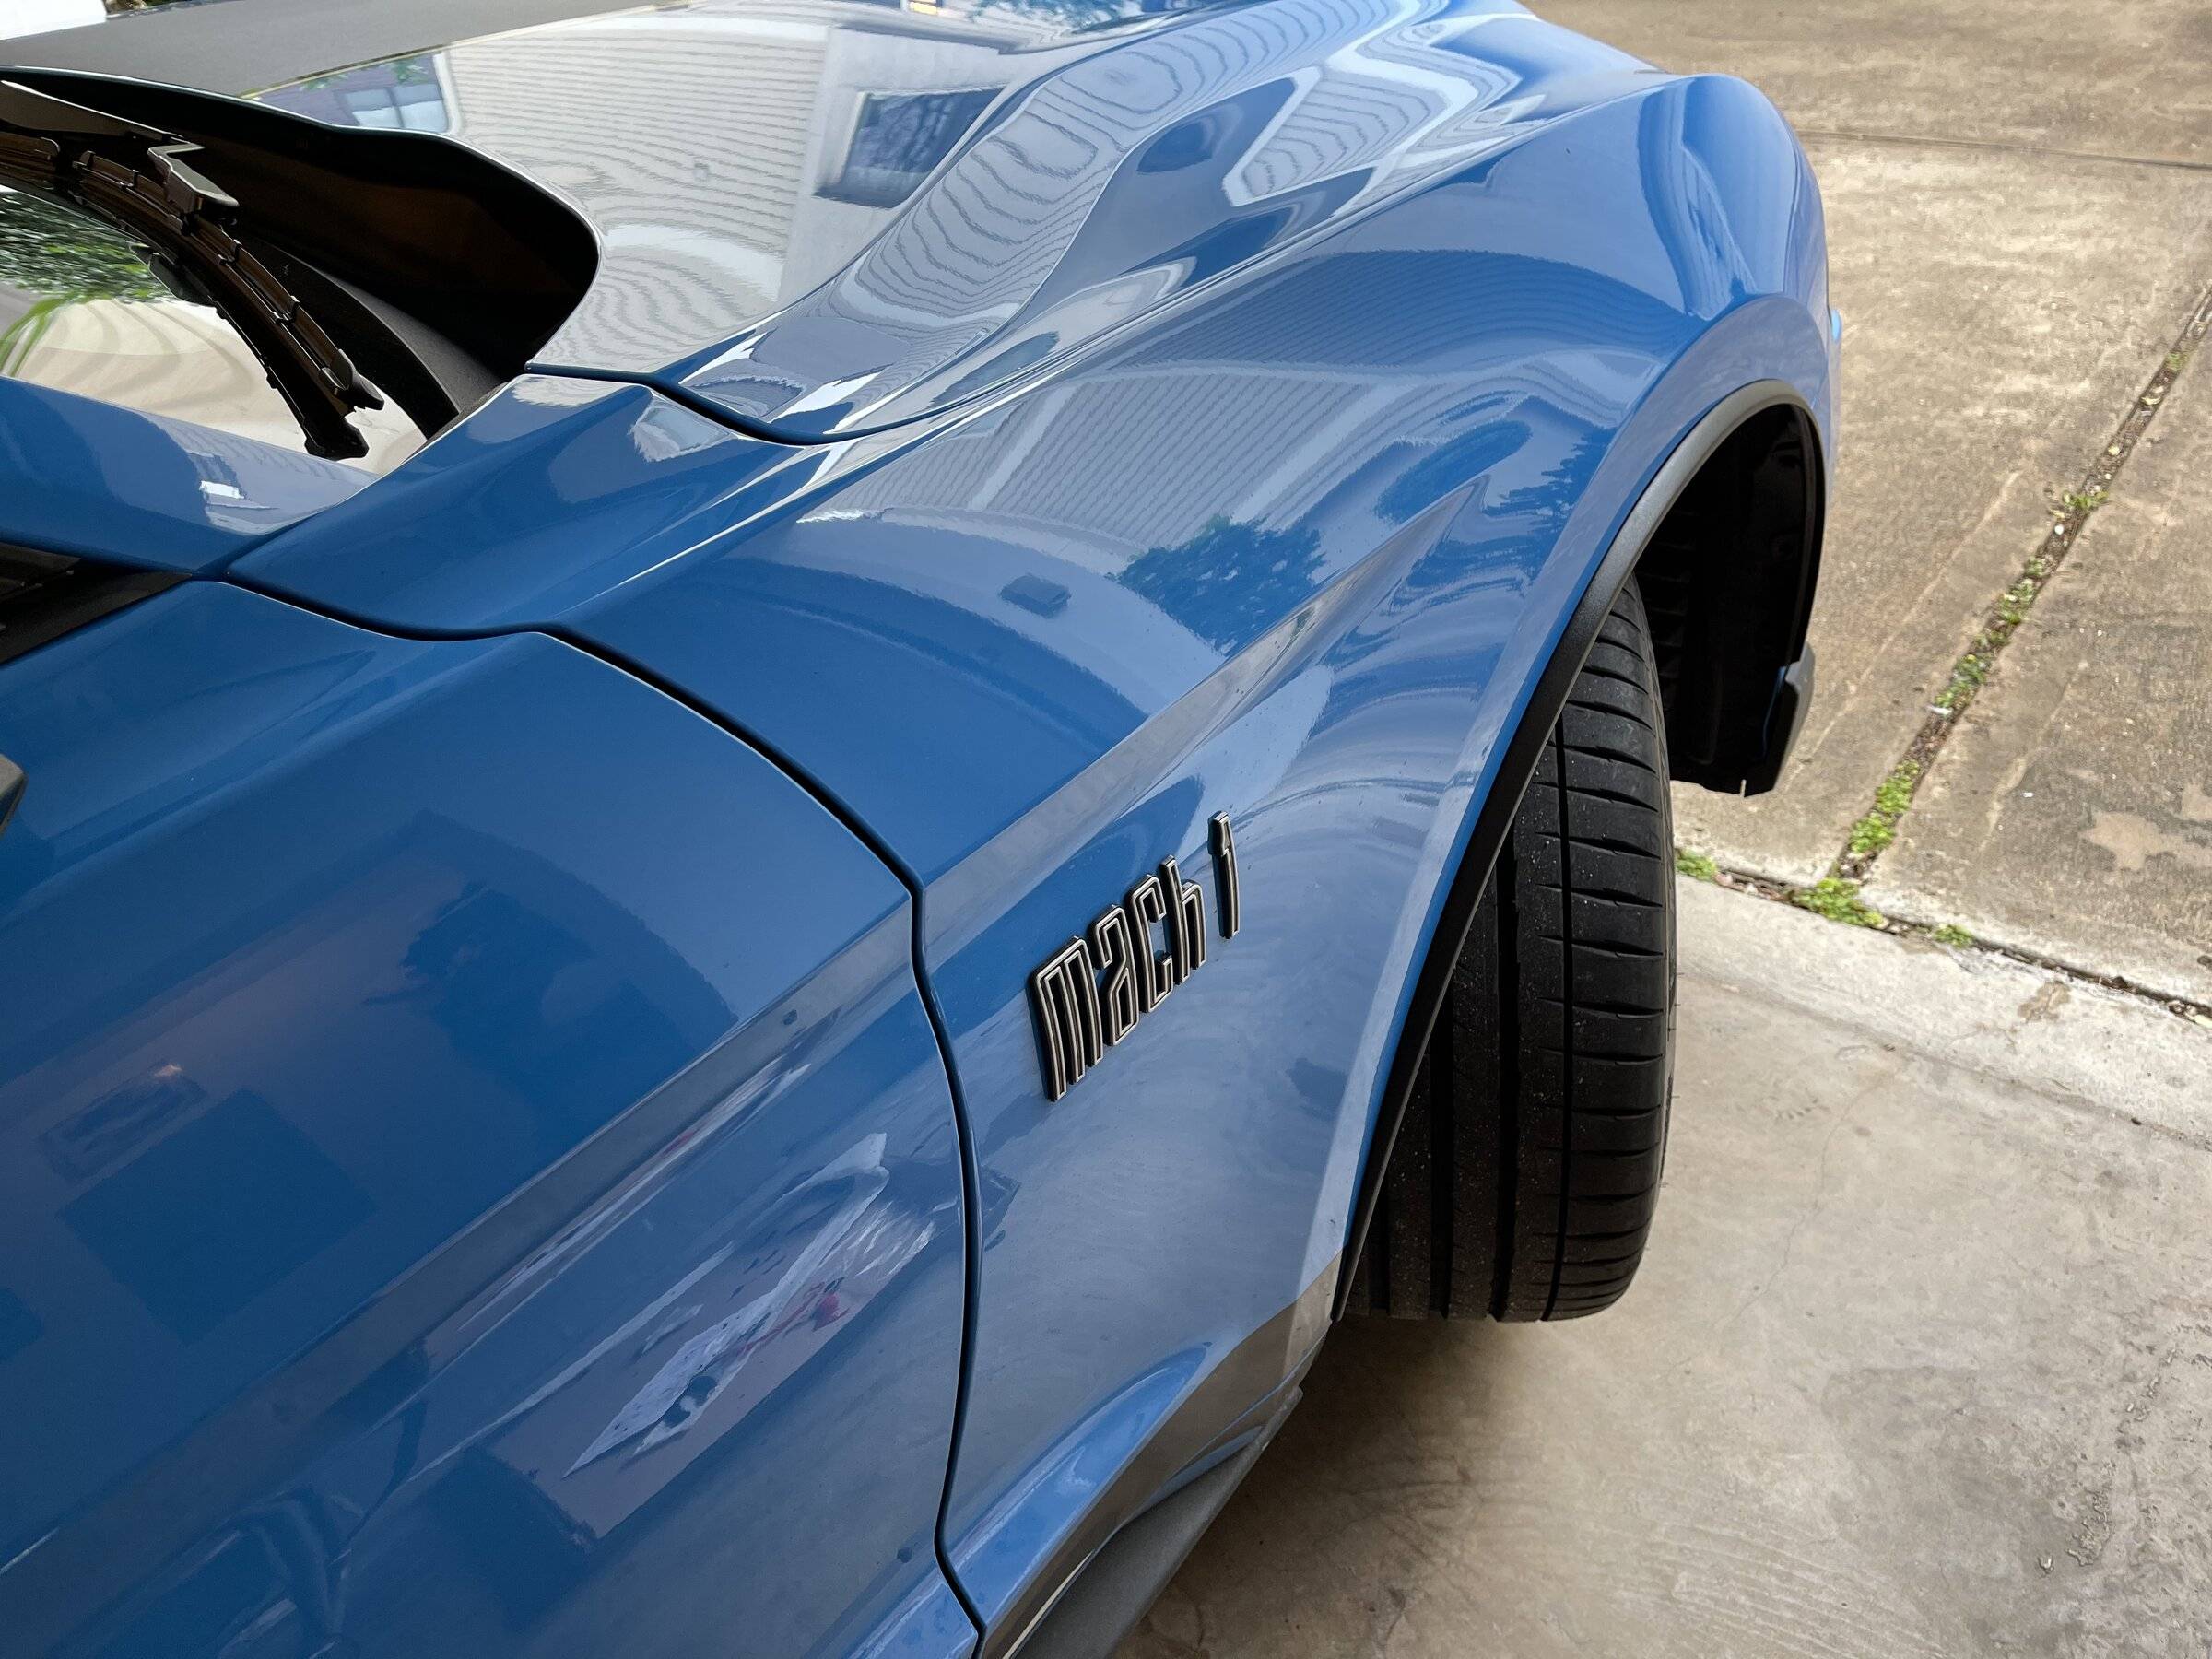
Without HP wheels on, these do not look bad at all and was another part I wondered why ford left off all Mach 1s.
I received the spoiler today as well and will be getting paint quotes this week!
I asked about the sway bar and spring changes and the response was that the tuning was track optimized as designed for each respective wheel set. All of the technical considerations a professional chassis engineer would make as well as the practical result went into the final product. Adding the solid bar with the 255/275 wheel set will compromise some form of handling I’d suspect, away from the intended experience. Whether or not someone finds the change better is purely subjective. I commend you for doing this correctly and documenting your effort. I kept hearing that the HP kit for M1 owners with all the parts was to be offered with VIN required but with all the parts shortages I’m not surprised to have not seen it yet. I’m impressed that the factory designed the HP pack to easily allow for the parts to be added so simply.Finally, beginning the fun process of adding the suspension components!
After receiving word a 2022 HP passed by my dealership's service dept I started ordering some of these parts. They are working on copying the programming for the ABS, magneride, and speedometer over.... but I wanted to get started anyways because I suck at this patience thing.
Adding the solid rear sway bar: Mach 1s without the handling package have a hollow sway bar. This is guide to a very easy swap to the solid HP sway bar. This is Ford PN: JR3Z-5A772-A and looks nearly identical besides being much heavier.
Yes it shipped like that loose in saran Wrap but hey, $70 was a deal I couldn’t pass up.
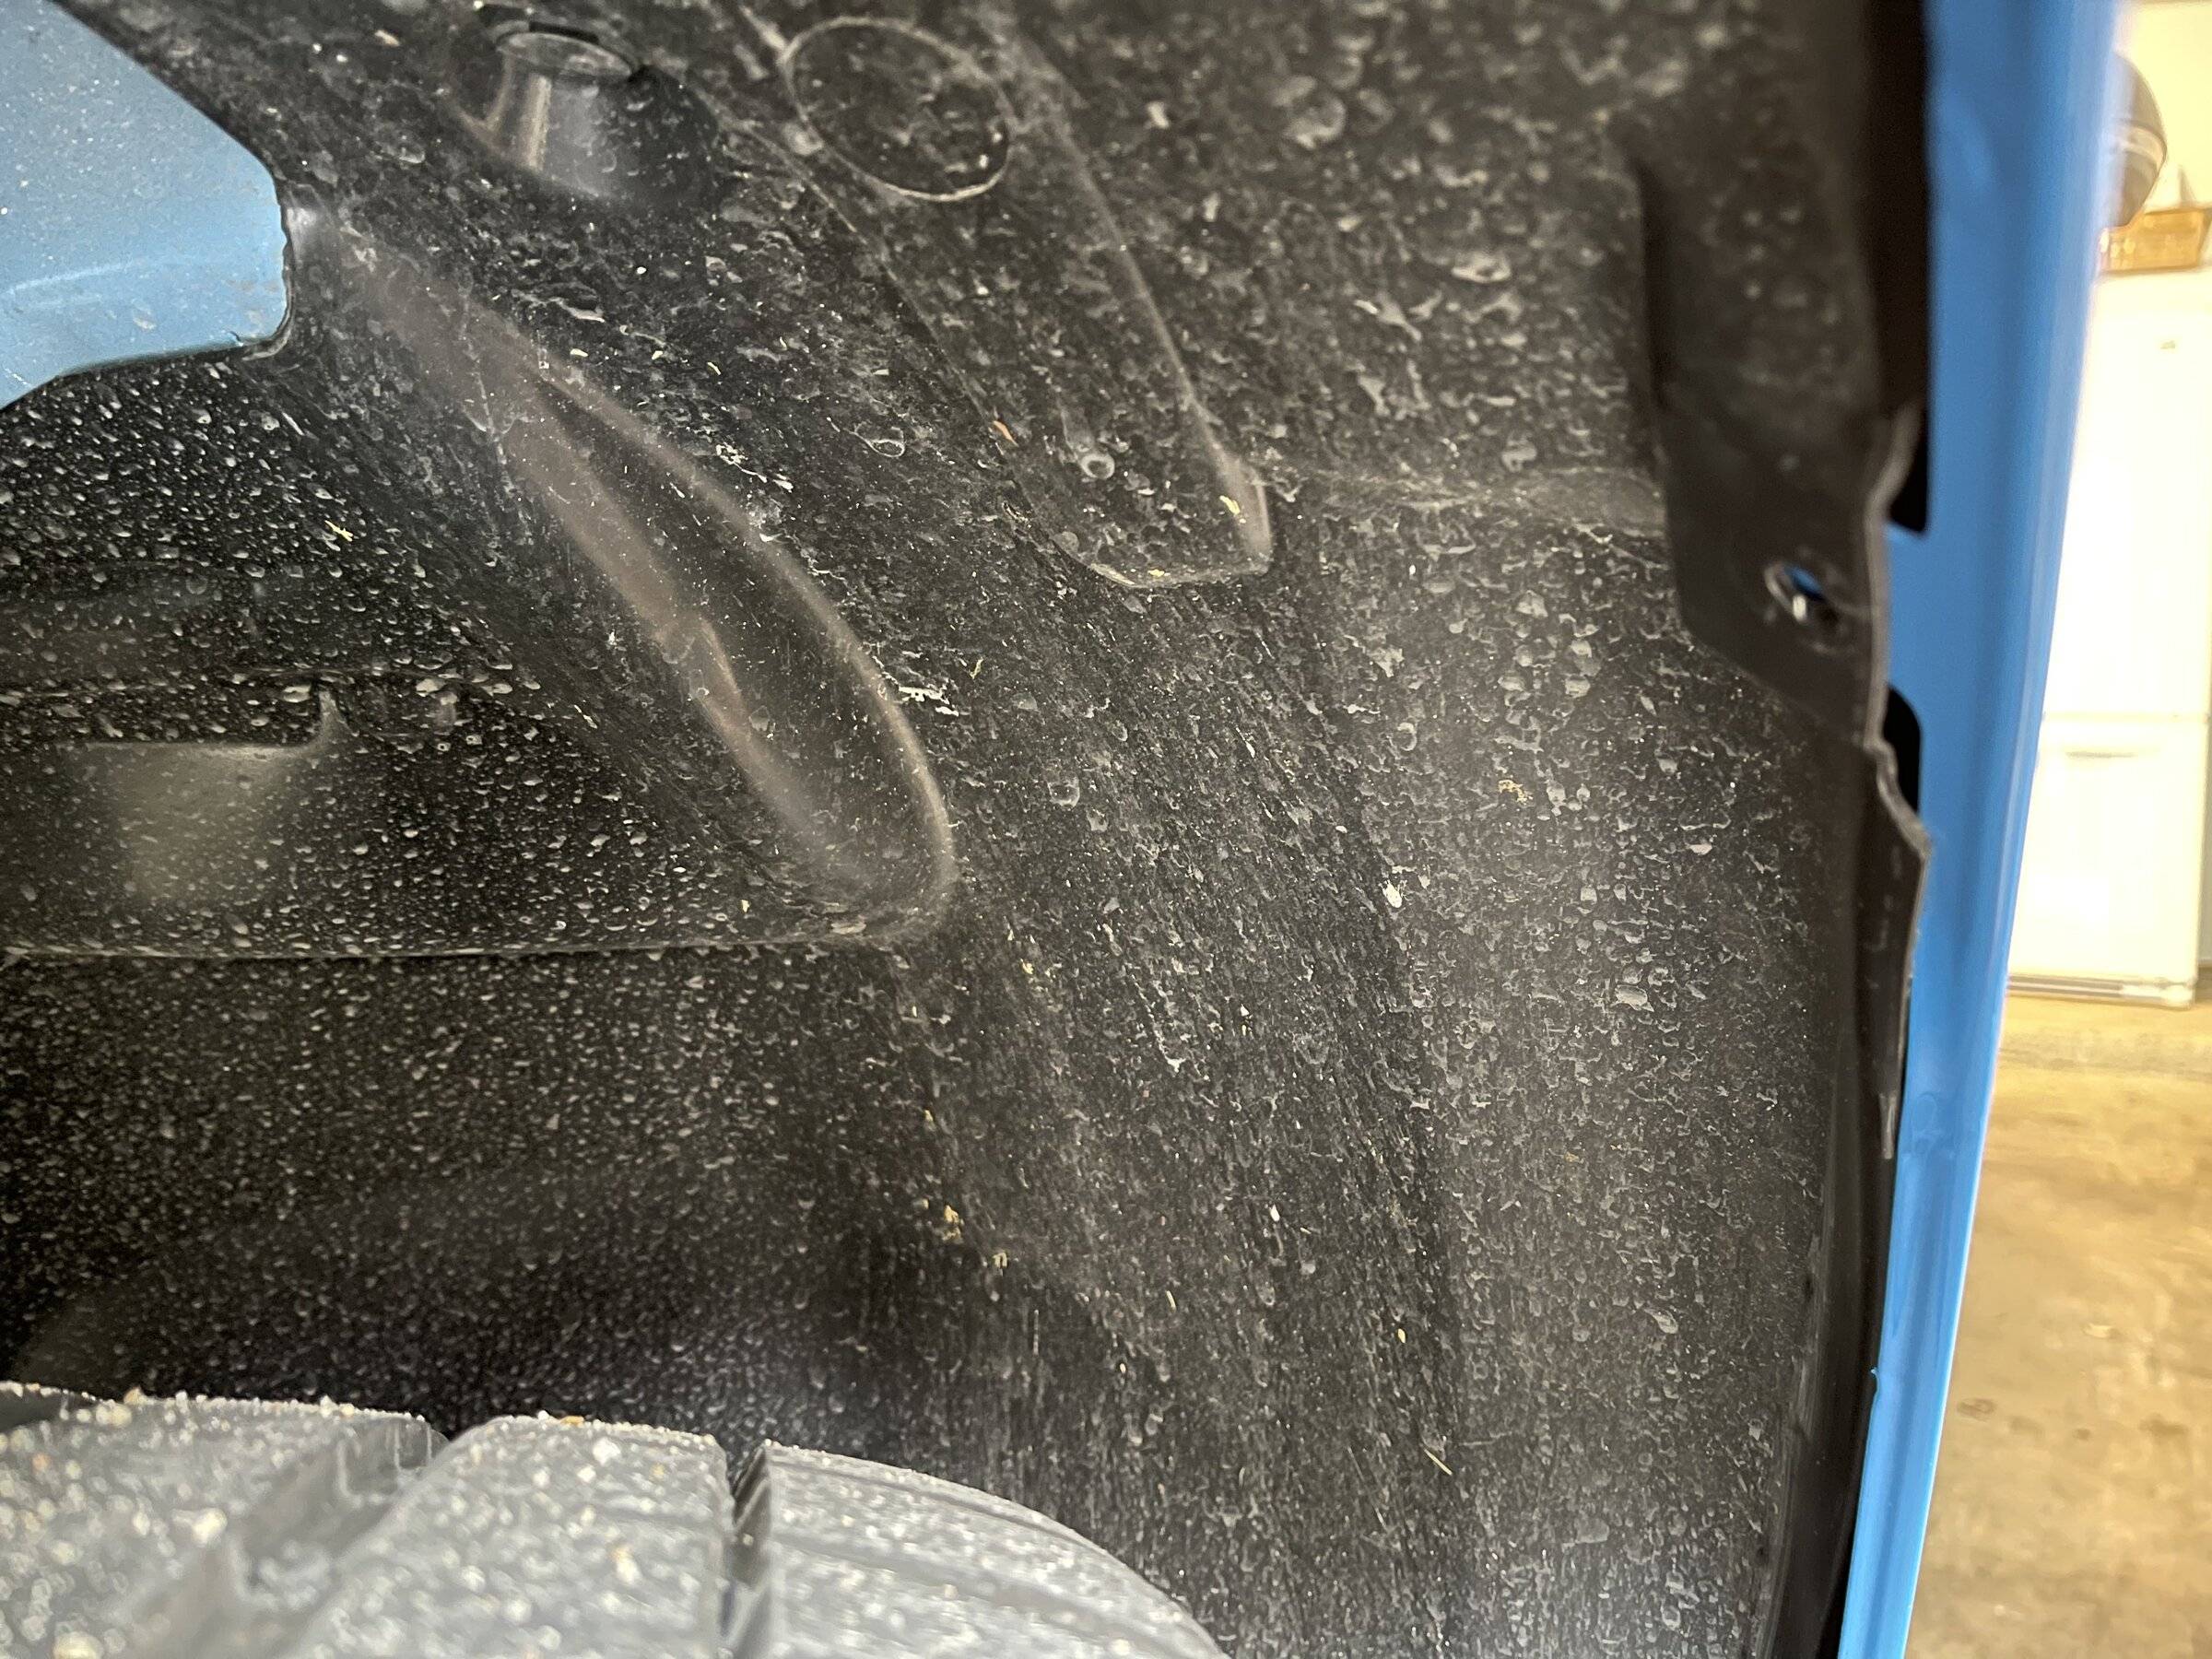
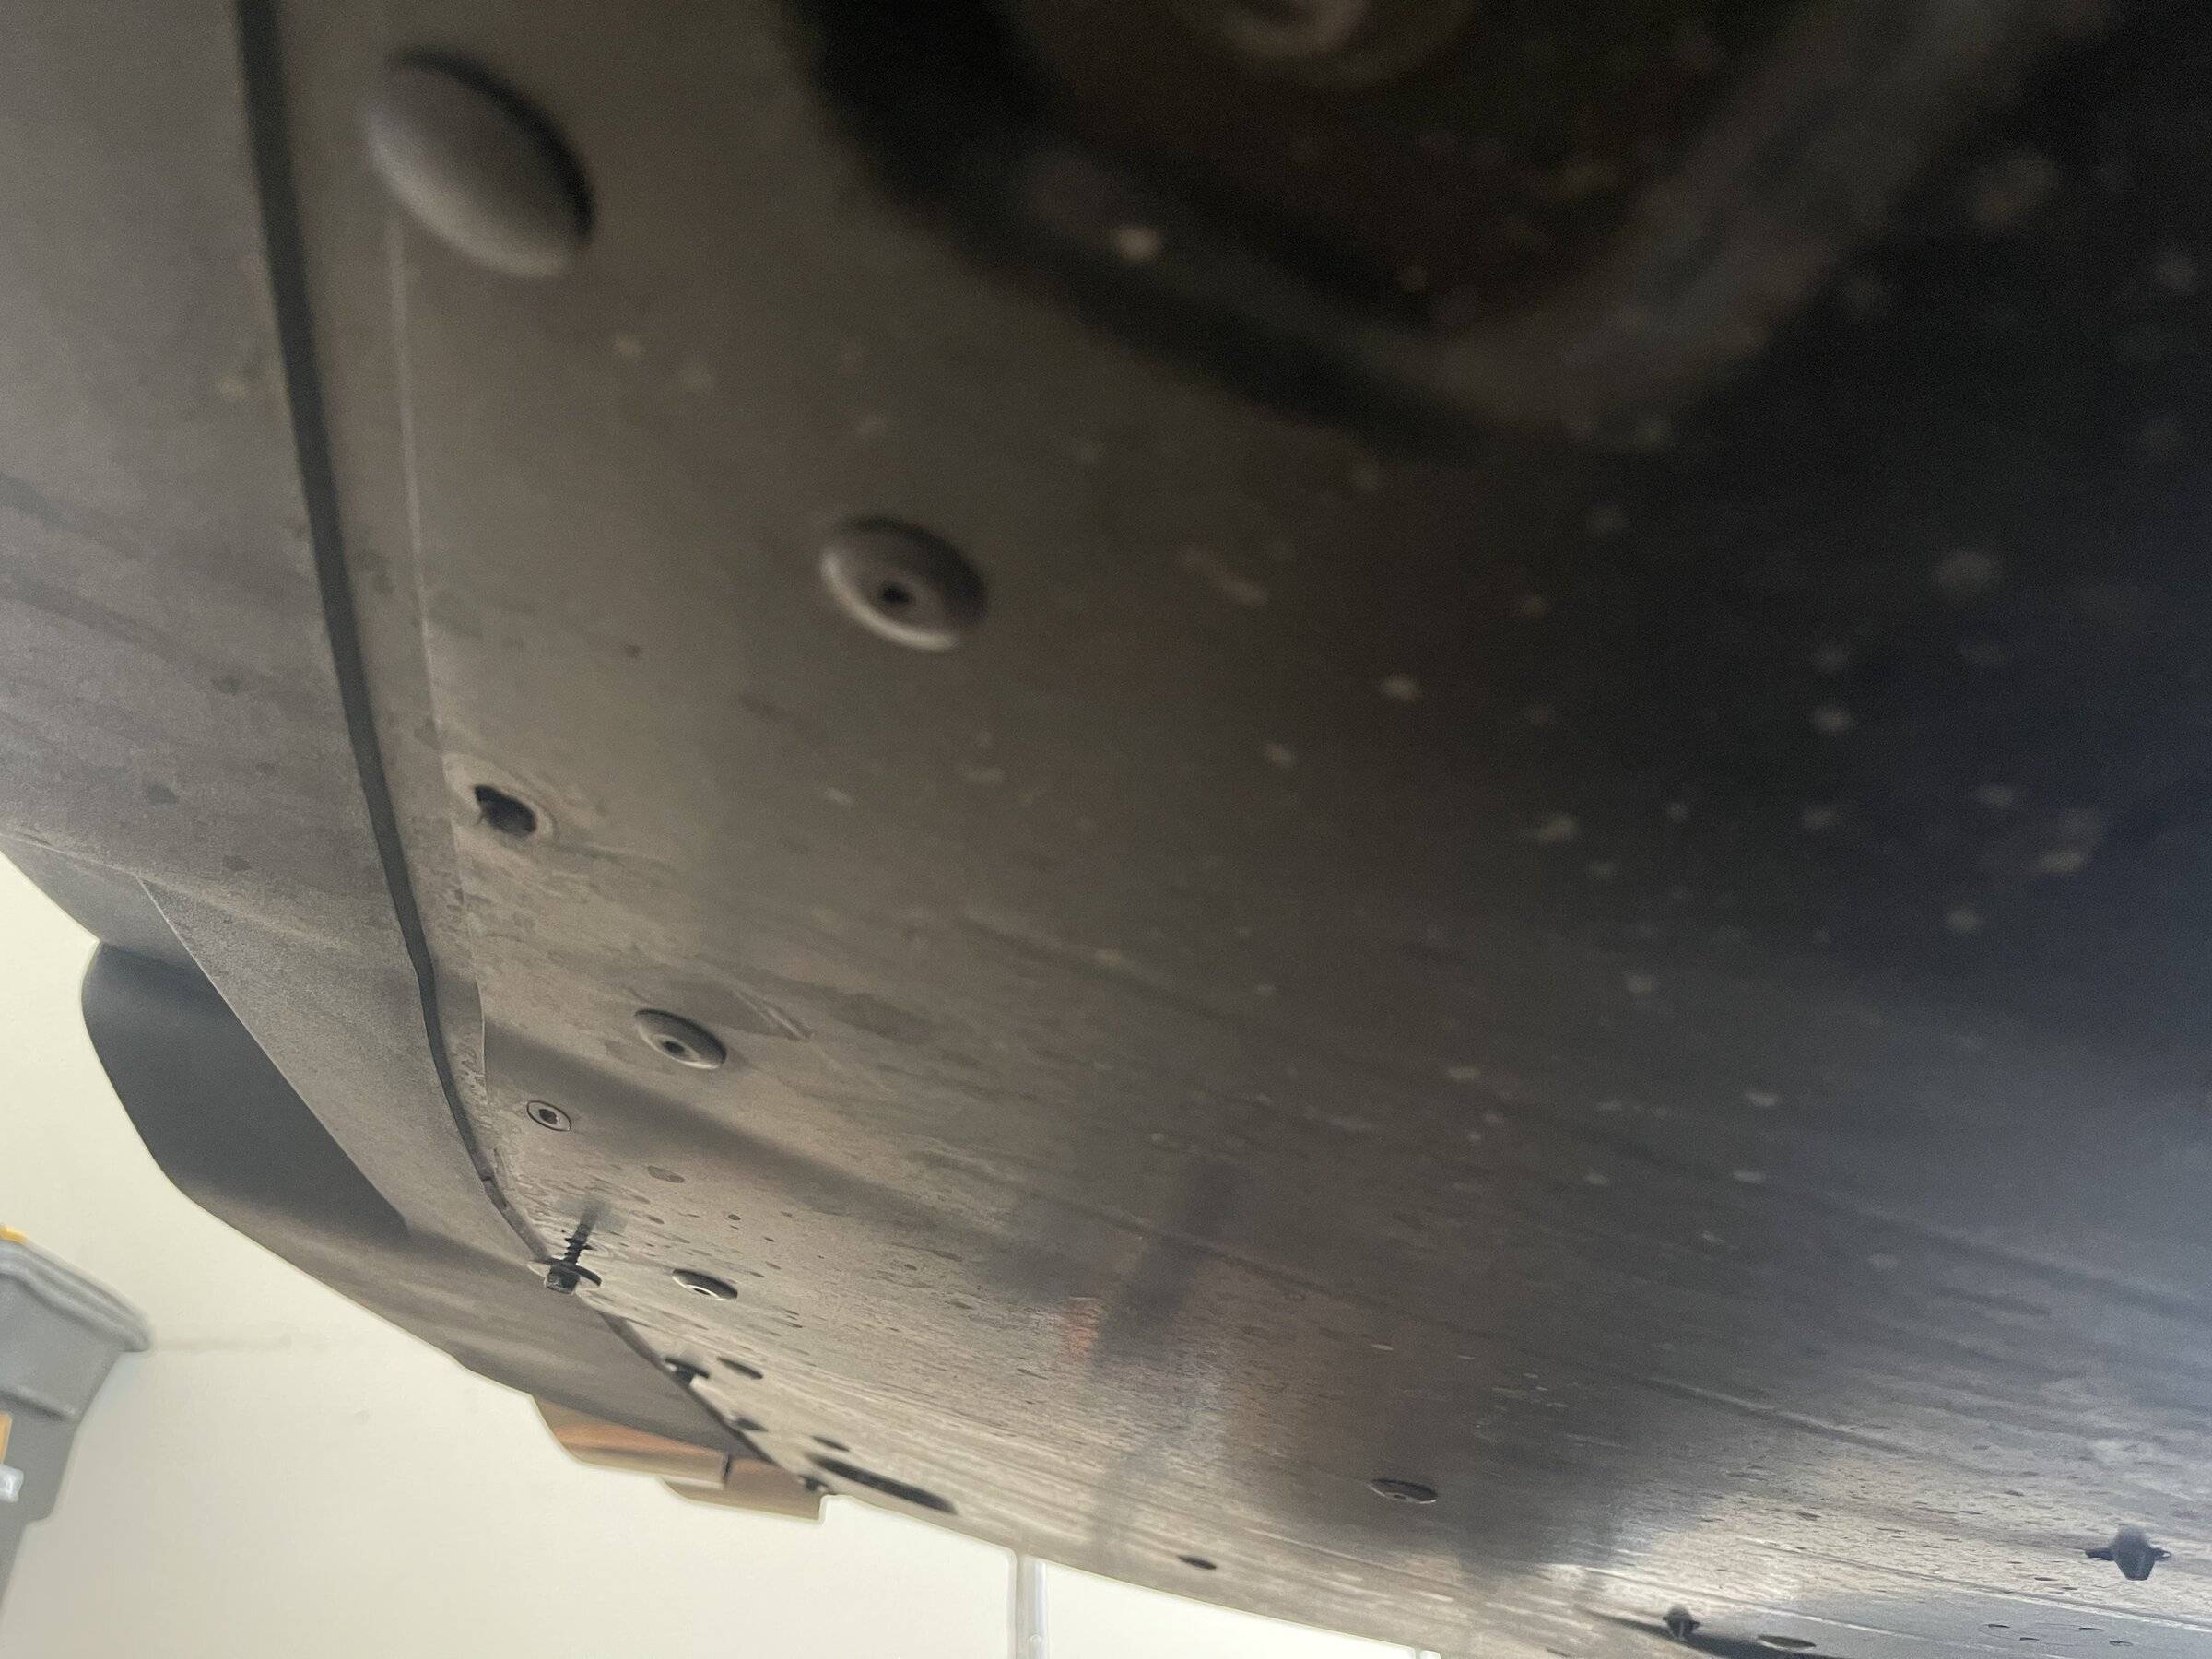
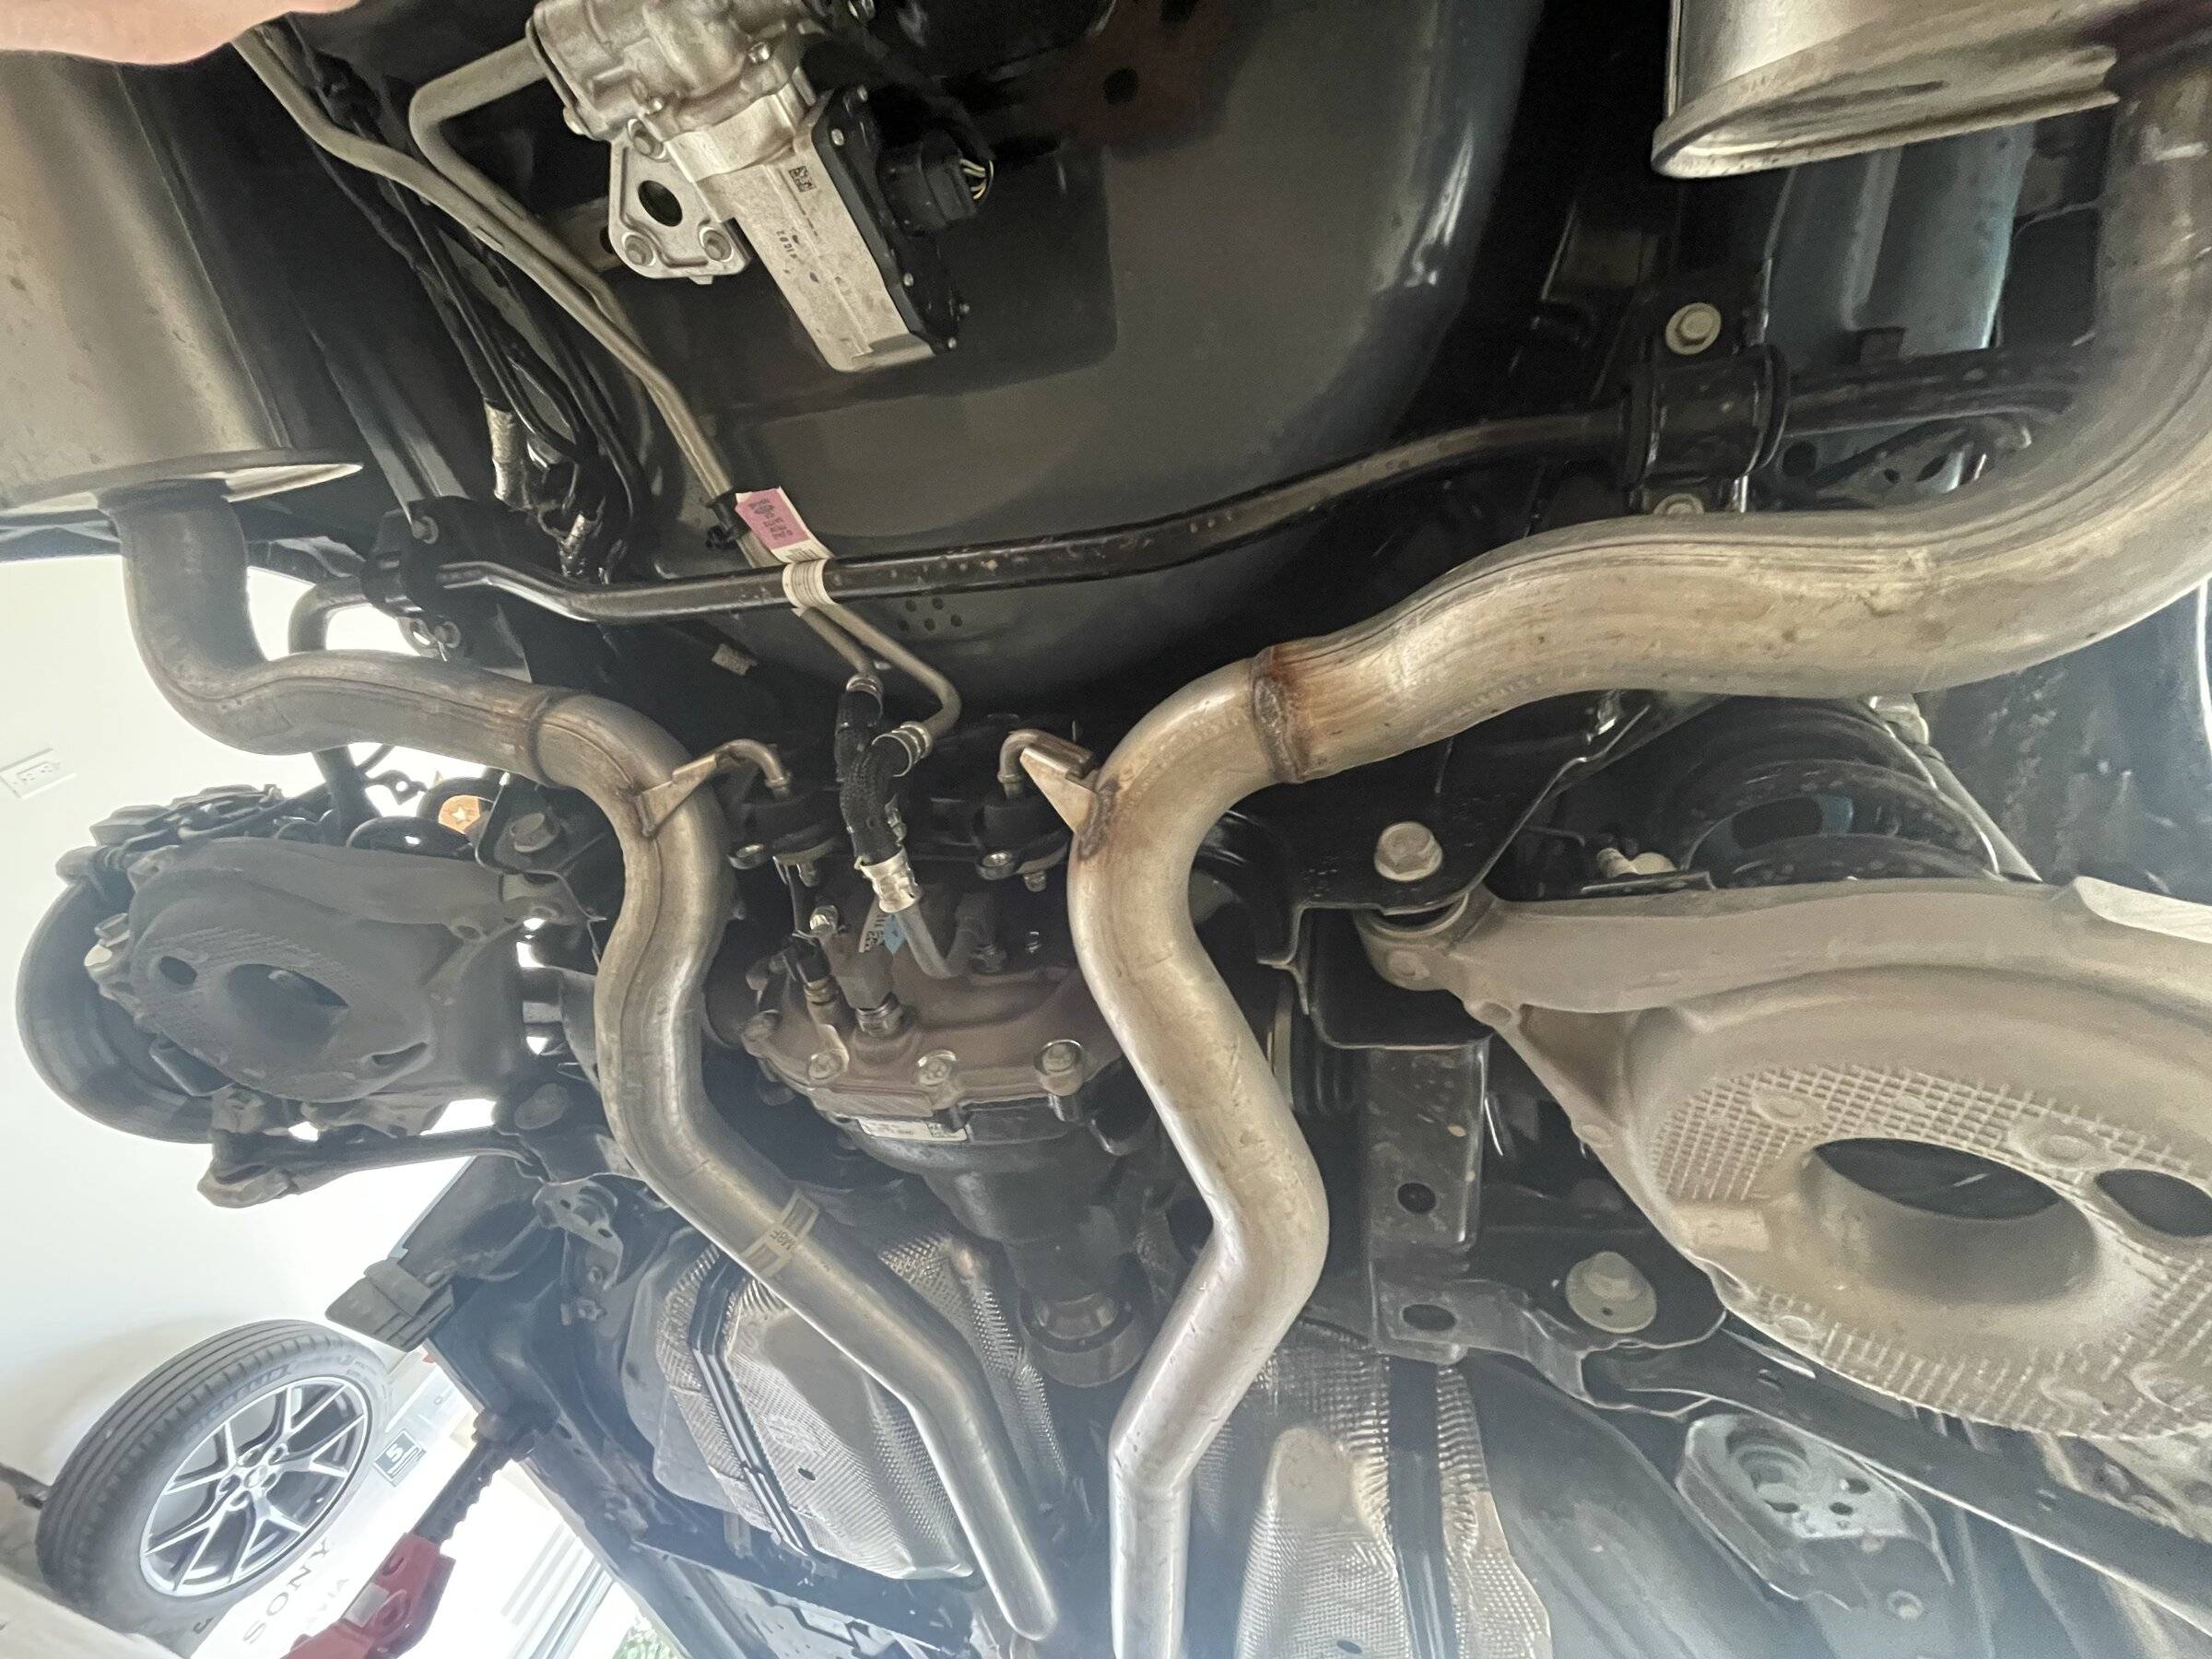
First you need to jack up the rear end, take the rear wheels off, and break out your full metric socket set. Sadly I didn't take notes of which ones to use but just assume 6mm - 18mm going forward. I started by removing the differential cooler air duct which, as others have noted, collects a lot of rocks. this is held on by 5 screws and 2 bolts between the exhaust tips and two bolts near the differential.
I recommend dropping this once a year or two if this is your daily and cleaning it out.
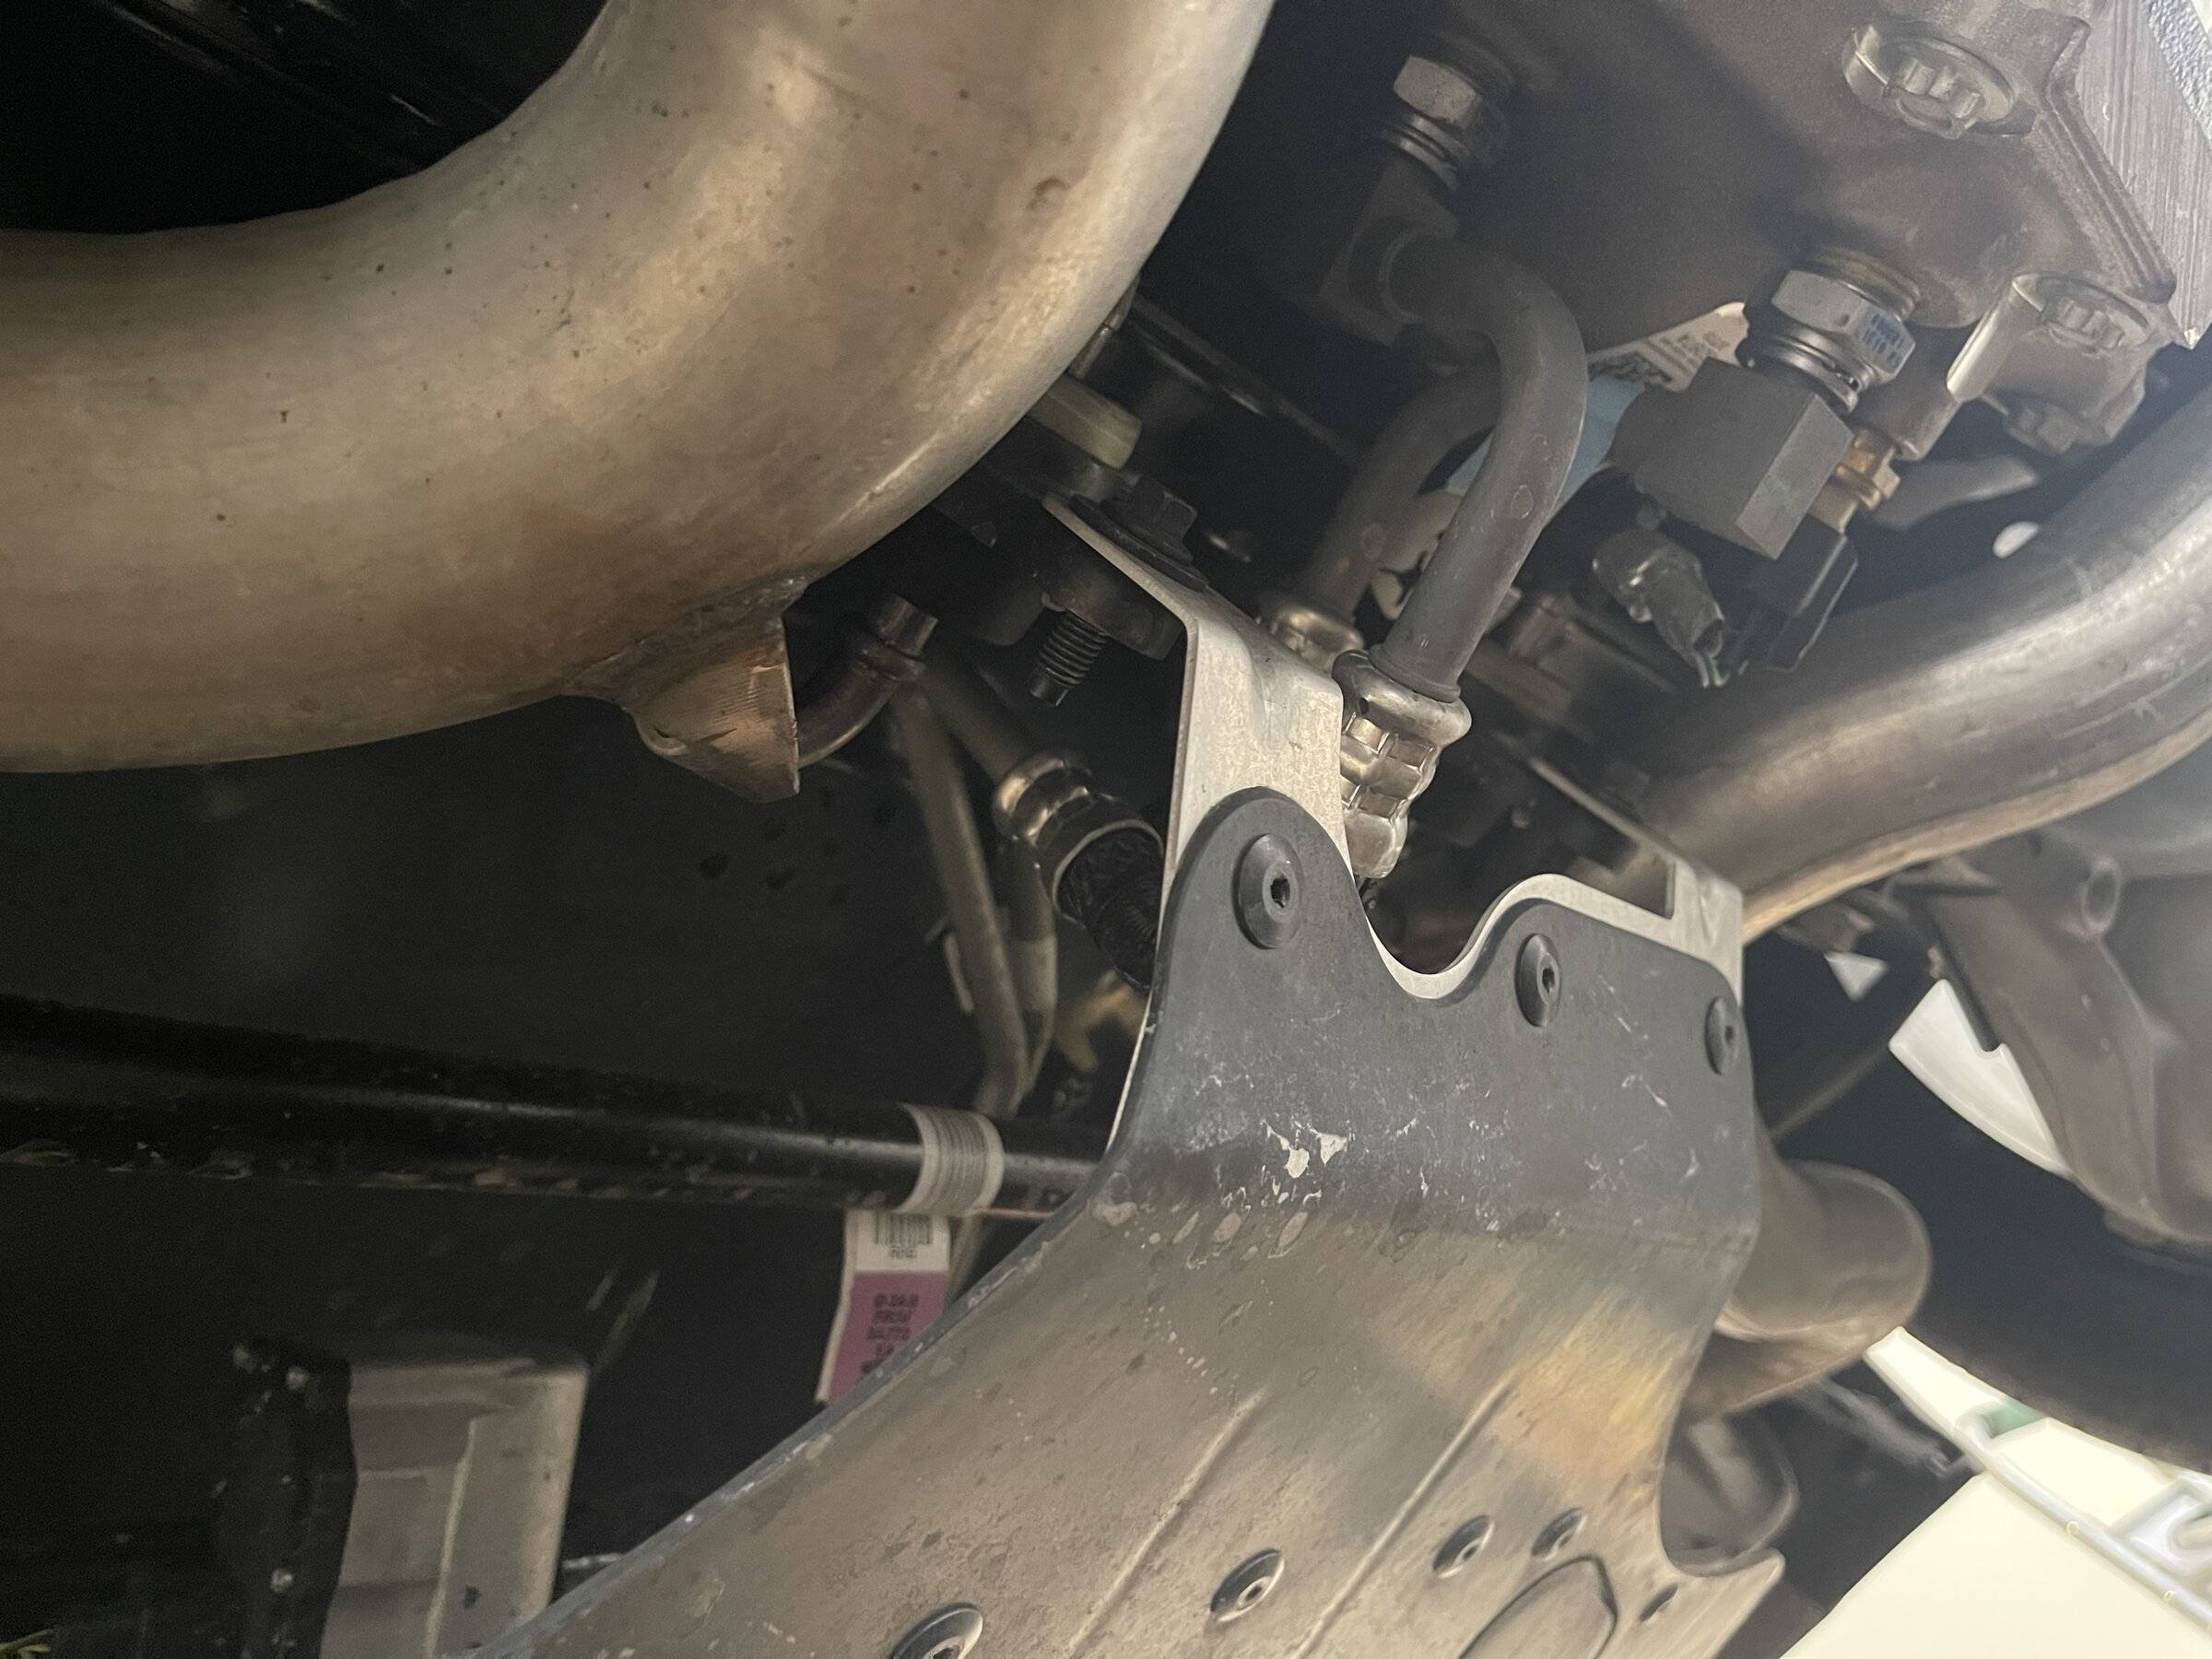
Next I removed the bushing brackets and carefully noted their side and orientation.
This is very important as the bolts didn’t seem to fit right if the bracket was backwards. Its hard to tell but the front and rear tabs are different thicknesses and It feels like these bolts are tapered. If done wrong, you may have a gap where your bushing bracket will be loose.
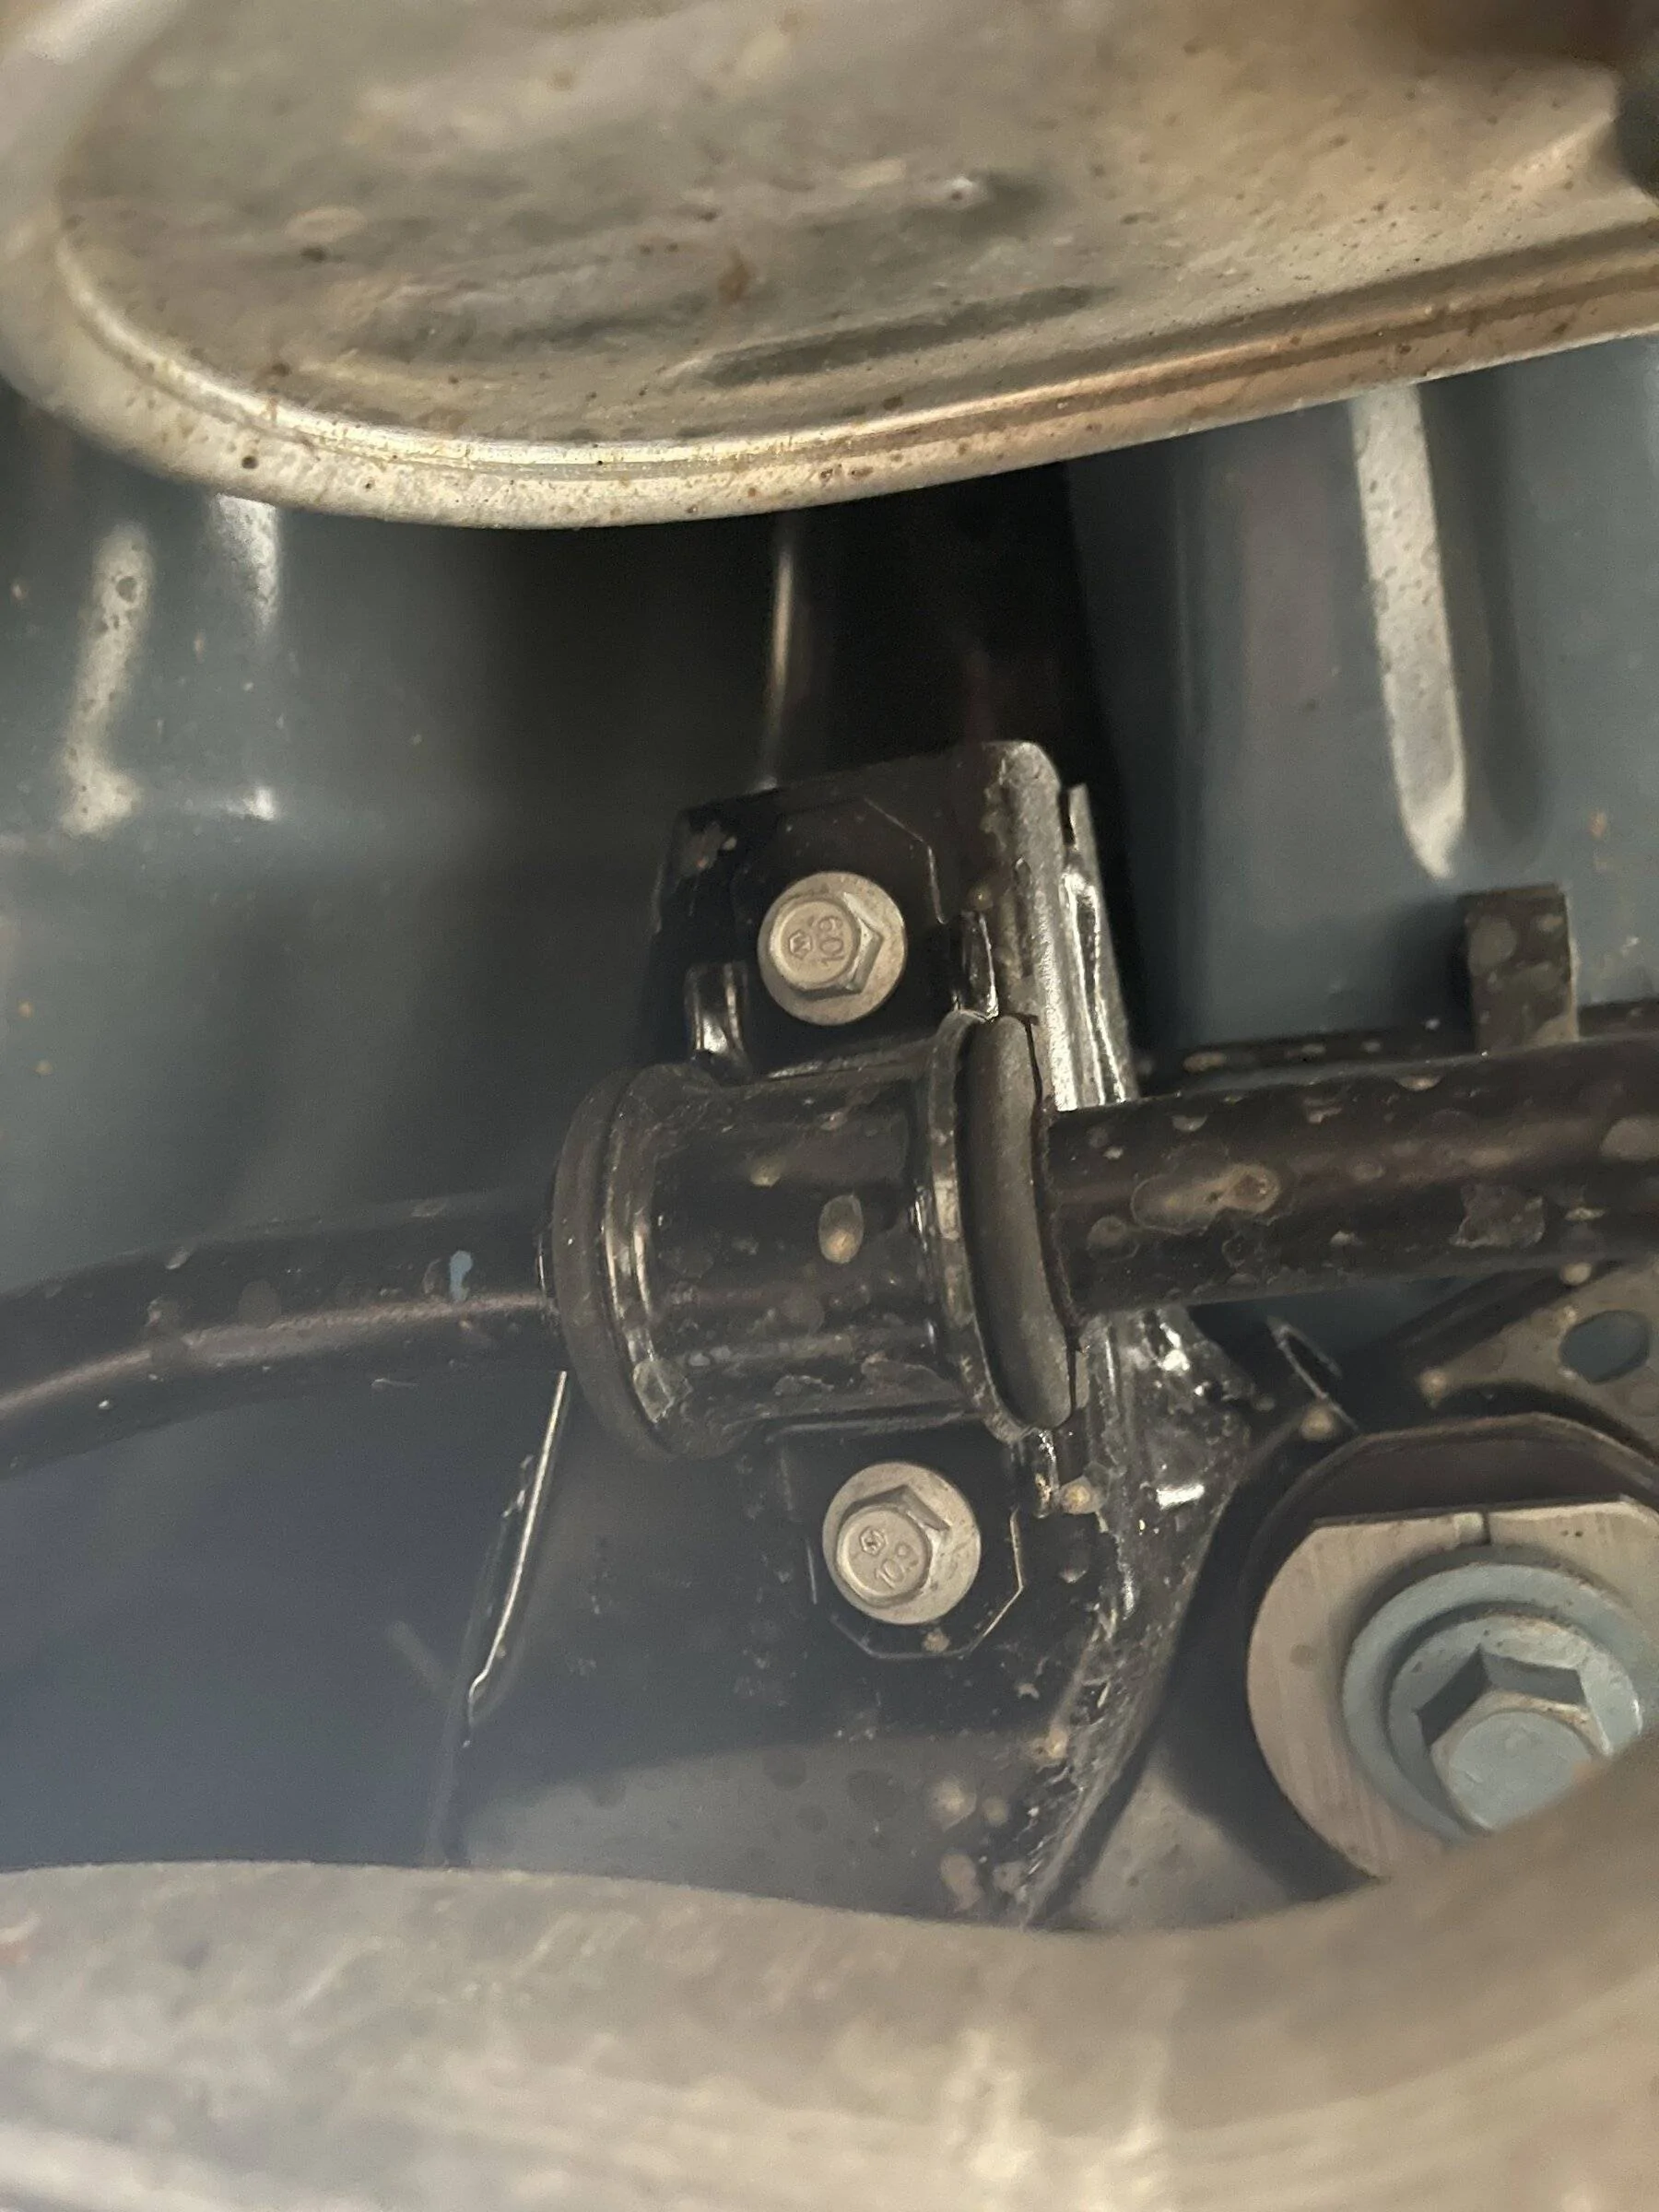
Letting this rest free on the exhaust I focused on removing the sway bar from their end links. First remove the bolt holding the brake line to the bracket allowing easier access to the end link bolt. An Allen key socket and wrench will be handy in getting the bolt loose As shown.
Once it breaks loose its still a little bit of a pain to work the nylon lock off. Once the nut is off, I'd note the brake line bracket orientation as well which is loose from the sway bar. It wont fit another way nor on the other side but this note is just to save the time of trial and error.
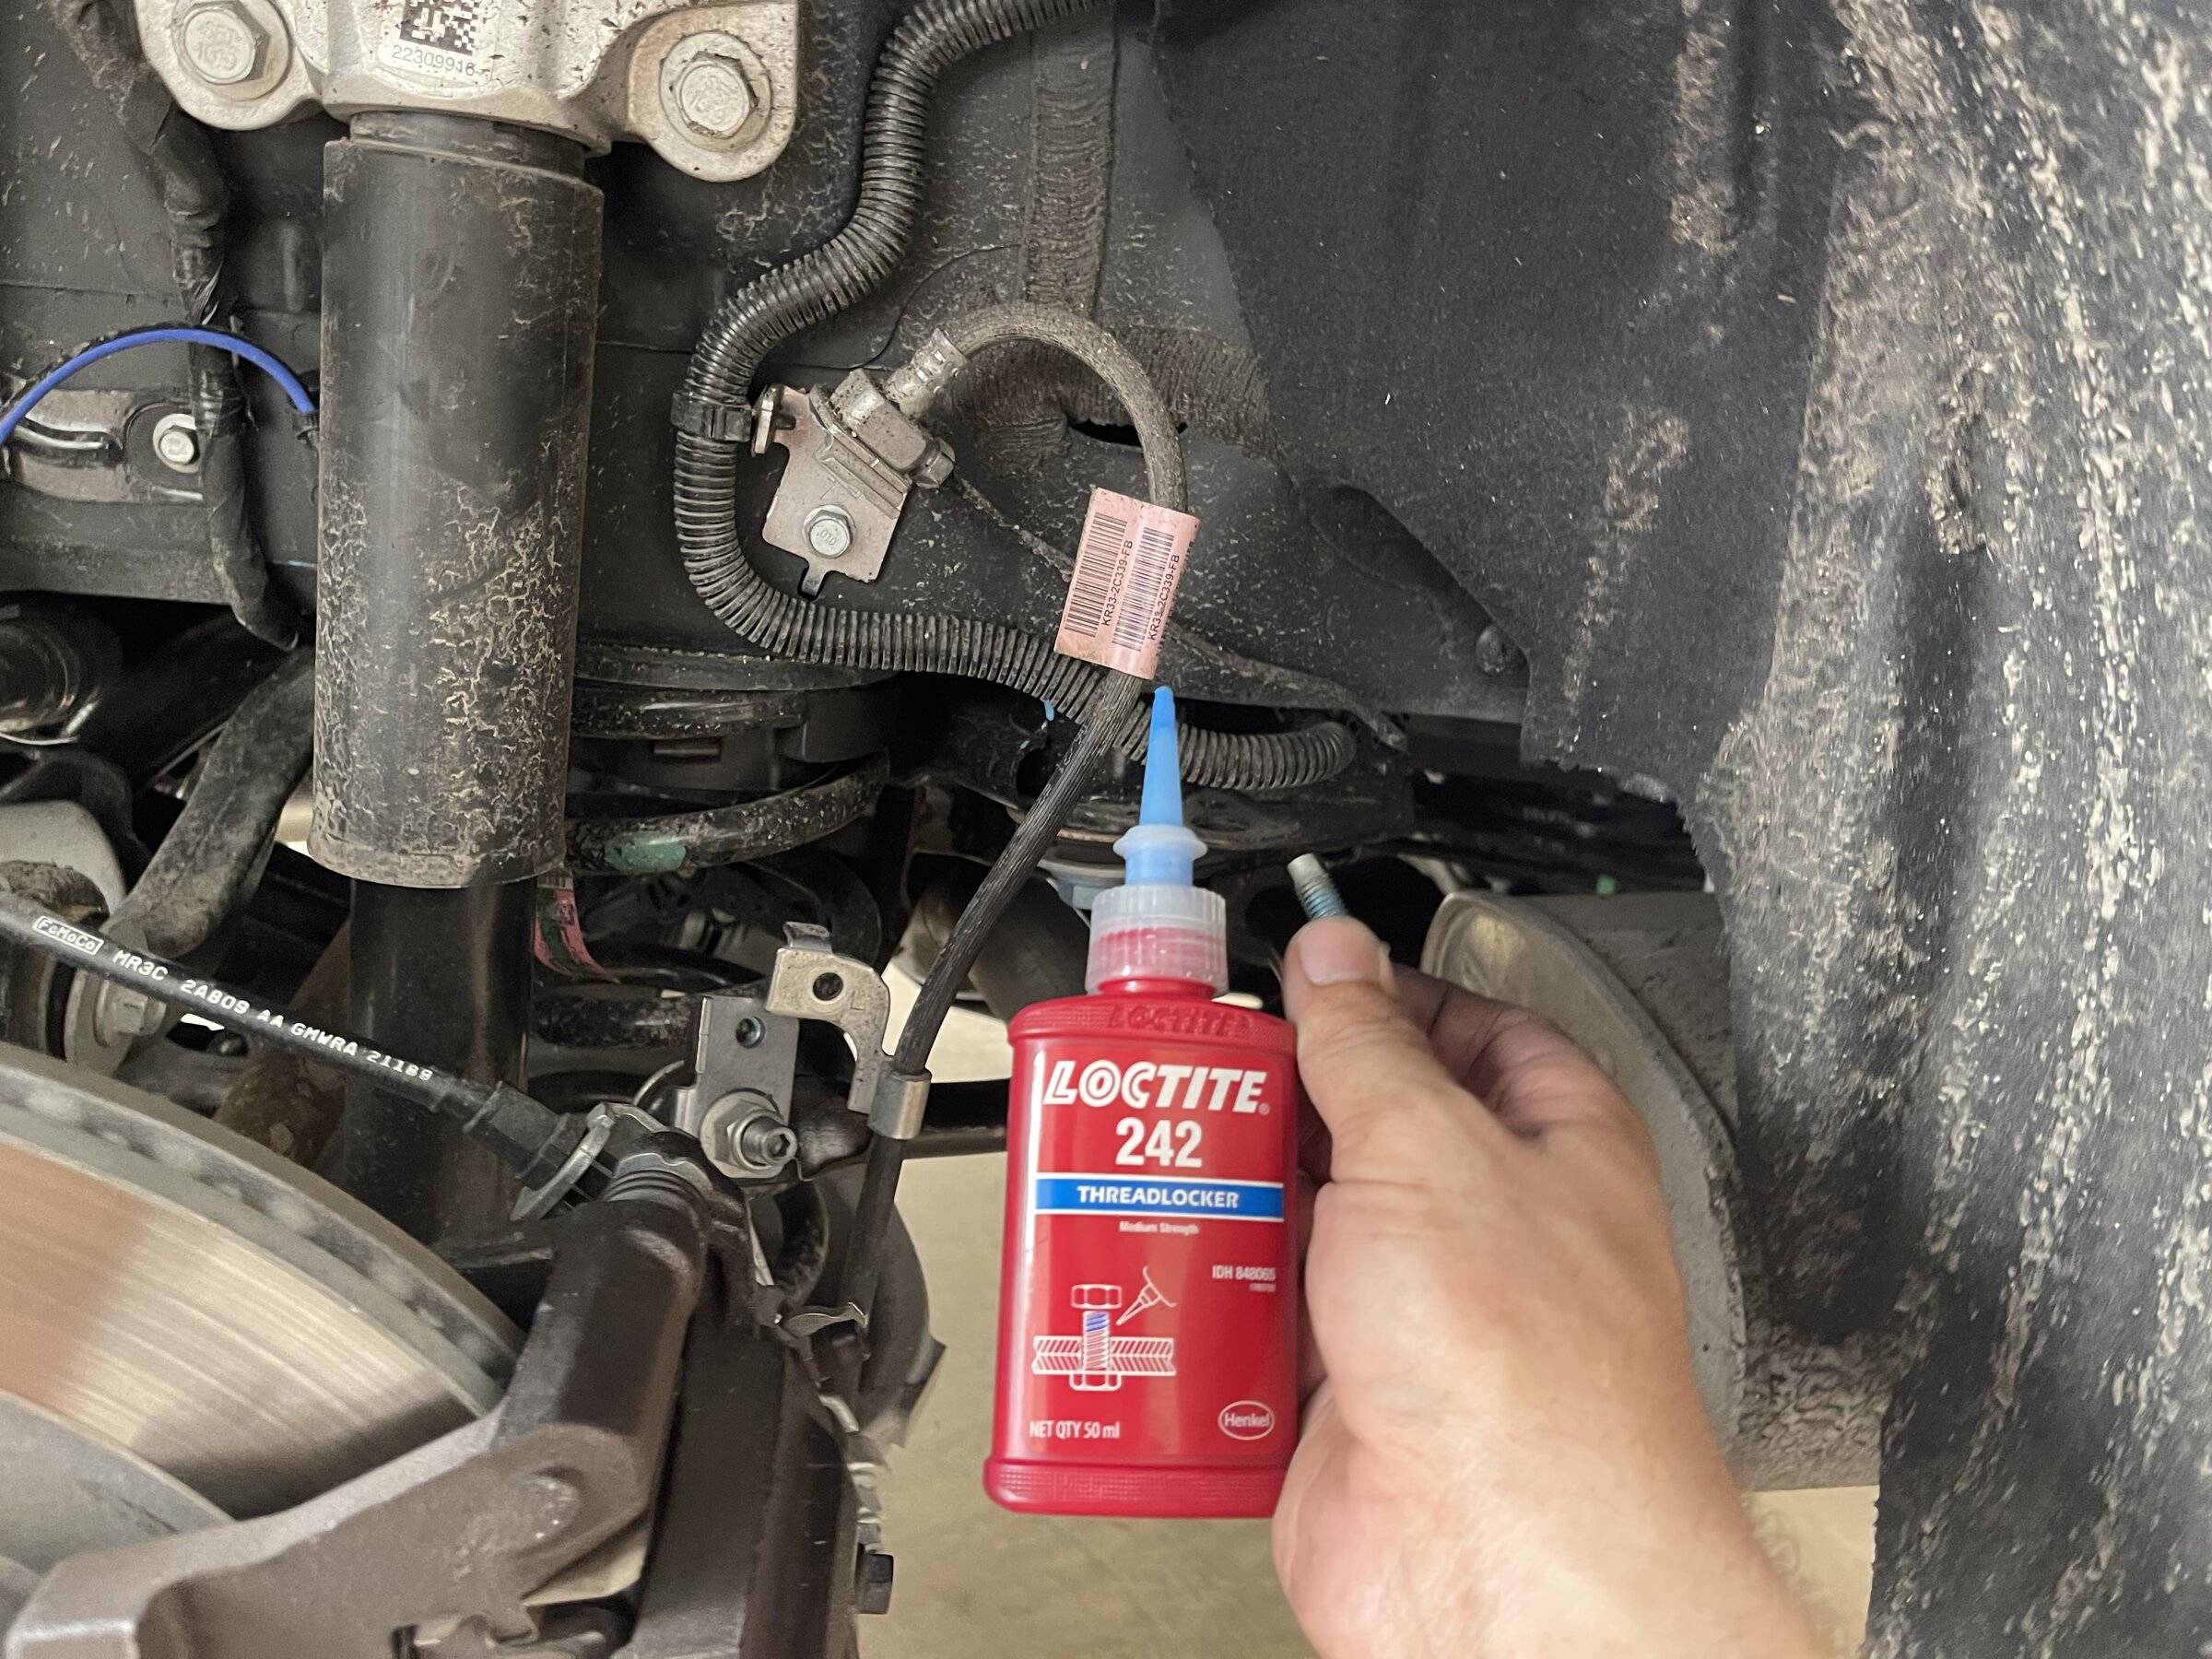
installing the new sway bar I did the above instructions backwards: I greased the sway bar bushings (brake grease), installed them on the new sway bar, and after maneuvering it into place, I bolted them to the underside of the frame. Again, note the bracket orientation is very important.
I also used loctite EVERYWHERE but I recommend at least reapplying it wherever Ford had it from the factory. I'd recommend the industrial size container from amazon if you want to follow my route:
Overall this an easy swap that can be done separate from the springs and camber plates. Total time should be a little over an hour and a half but took me 3 hours just making sure everything was done right and everything was cleaned (photos taken before I did this last part).
Out driving, the rear end feels a little stiffer but its really not that big of a drop in ride quality. Over bumps the rear end definitely moves a little more than before. What I did notice is taking off in a turn feels a LOT more controlled and stable than the hollow bar and noticeably less wheel hop. Even if your not adding the handling package, I'd recommend swapping this out just to add a litter more traction at the cost of ride quality (lets all be honest, you didn't buy a Mach 1 to feel the ride quality