OP
OP
VictorH
Well-Known Member
- Joined
- Mar 4, 2021
- Threads
- 30
- Messages
- 641
- Reaction score
- 921
- Location
- South Carolina
- First Name
- Victor
- Vehicle(s)
- 2021 Mach 1
- Thread starter
- #16
Lots of good advice here.
So, what I've learned tonight. I was saving the passenger side so I could apply what I learned on the driver's side to improve efficiency.
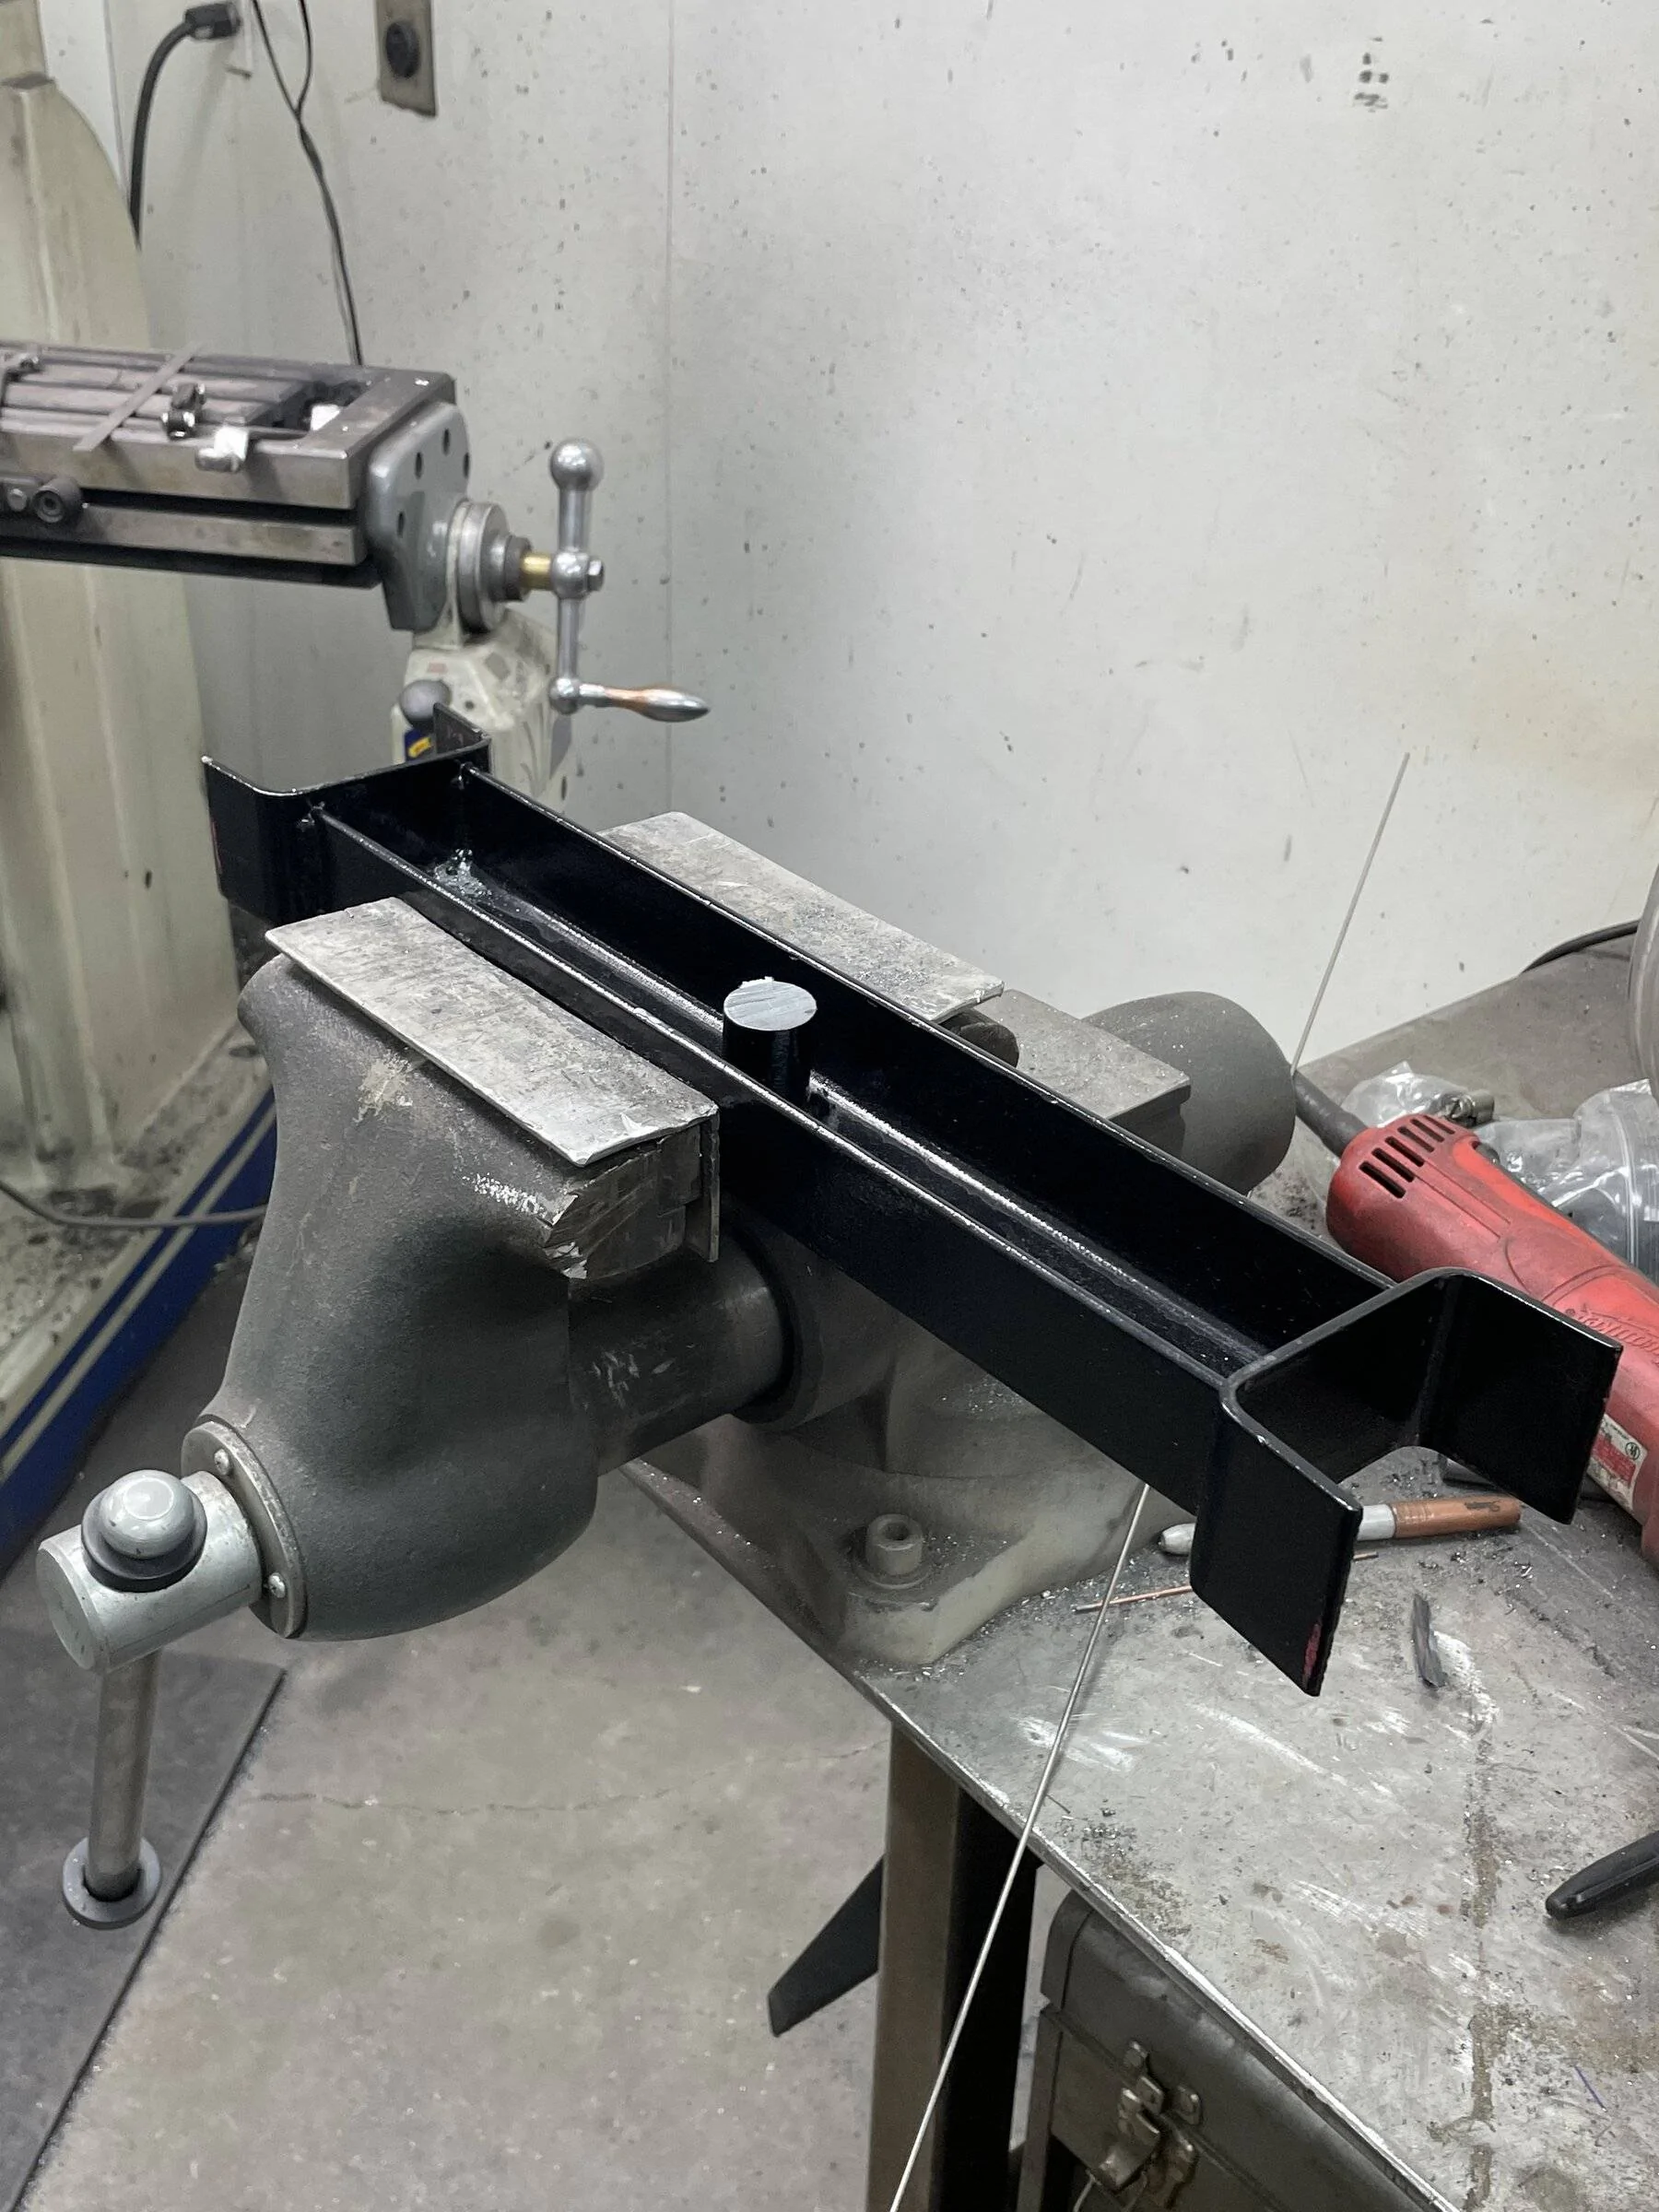
1) Removing the toe arm bushing intact with steel sleeves and threaded rod requires a ton of force. Tried it but didn't want to break anything. Abandoned this approach. Was using 1/2" drive flex handle (a long one) and it wasn't budging even though one of my sleeves was collapsing a bit and smoking.
2) Cut out inner bushing with the 1 5/8" hole saw and tried same as above again. Same result, it's still going to require a LOT of force to remove just the outer bushing ring.
3) I think the relief cuts inside the ring, but without necessarily going through makes the force required for removal so much easier. Will cut those tomorrow.
Bushings are now in the freezer and hope to get the install completed tomorrow or Sunday. Will post progress (or frustration)")
So, what I've learned tonight. I was saving the passenger side so I could apply what I learned on the driver's side to improve efficiency.
1) Removing the toe arm bushing intact with steel sleeves and threaded rod requires a ton of force. Tried it but didn't want to break anything. Abandoned this approach. Was using 1/2" drive flex handle (a long one) and it wasn't budging even though one of my sleeves was collapsing a bit and smoking.
2) Cut out inner bushing with the 1 5/8" hole saw and tried same as above again. Same result, it's still going to require a LOT of force to remove just the outer bushing ring.
3) I think the relief cuts inside the ring, but without necessarily going through makes the force required for removal so much easier. Will cut those tomorrow.
Bushings are now in the freezer and hope to get the install completed tomorrow or Sunday. Will post progress (or frustration)
Sponsored