Ruiner46
Well-Known Member
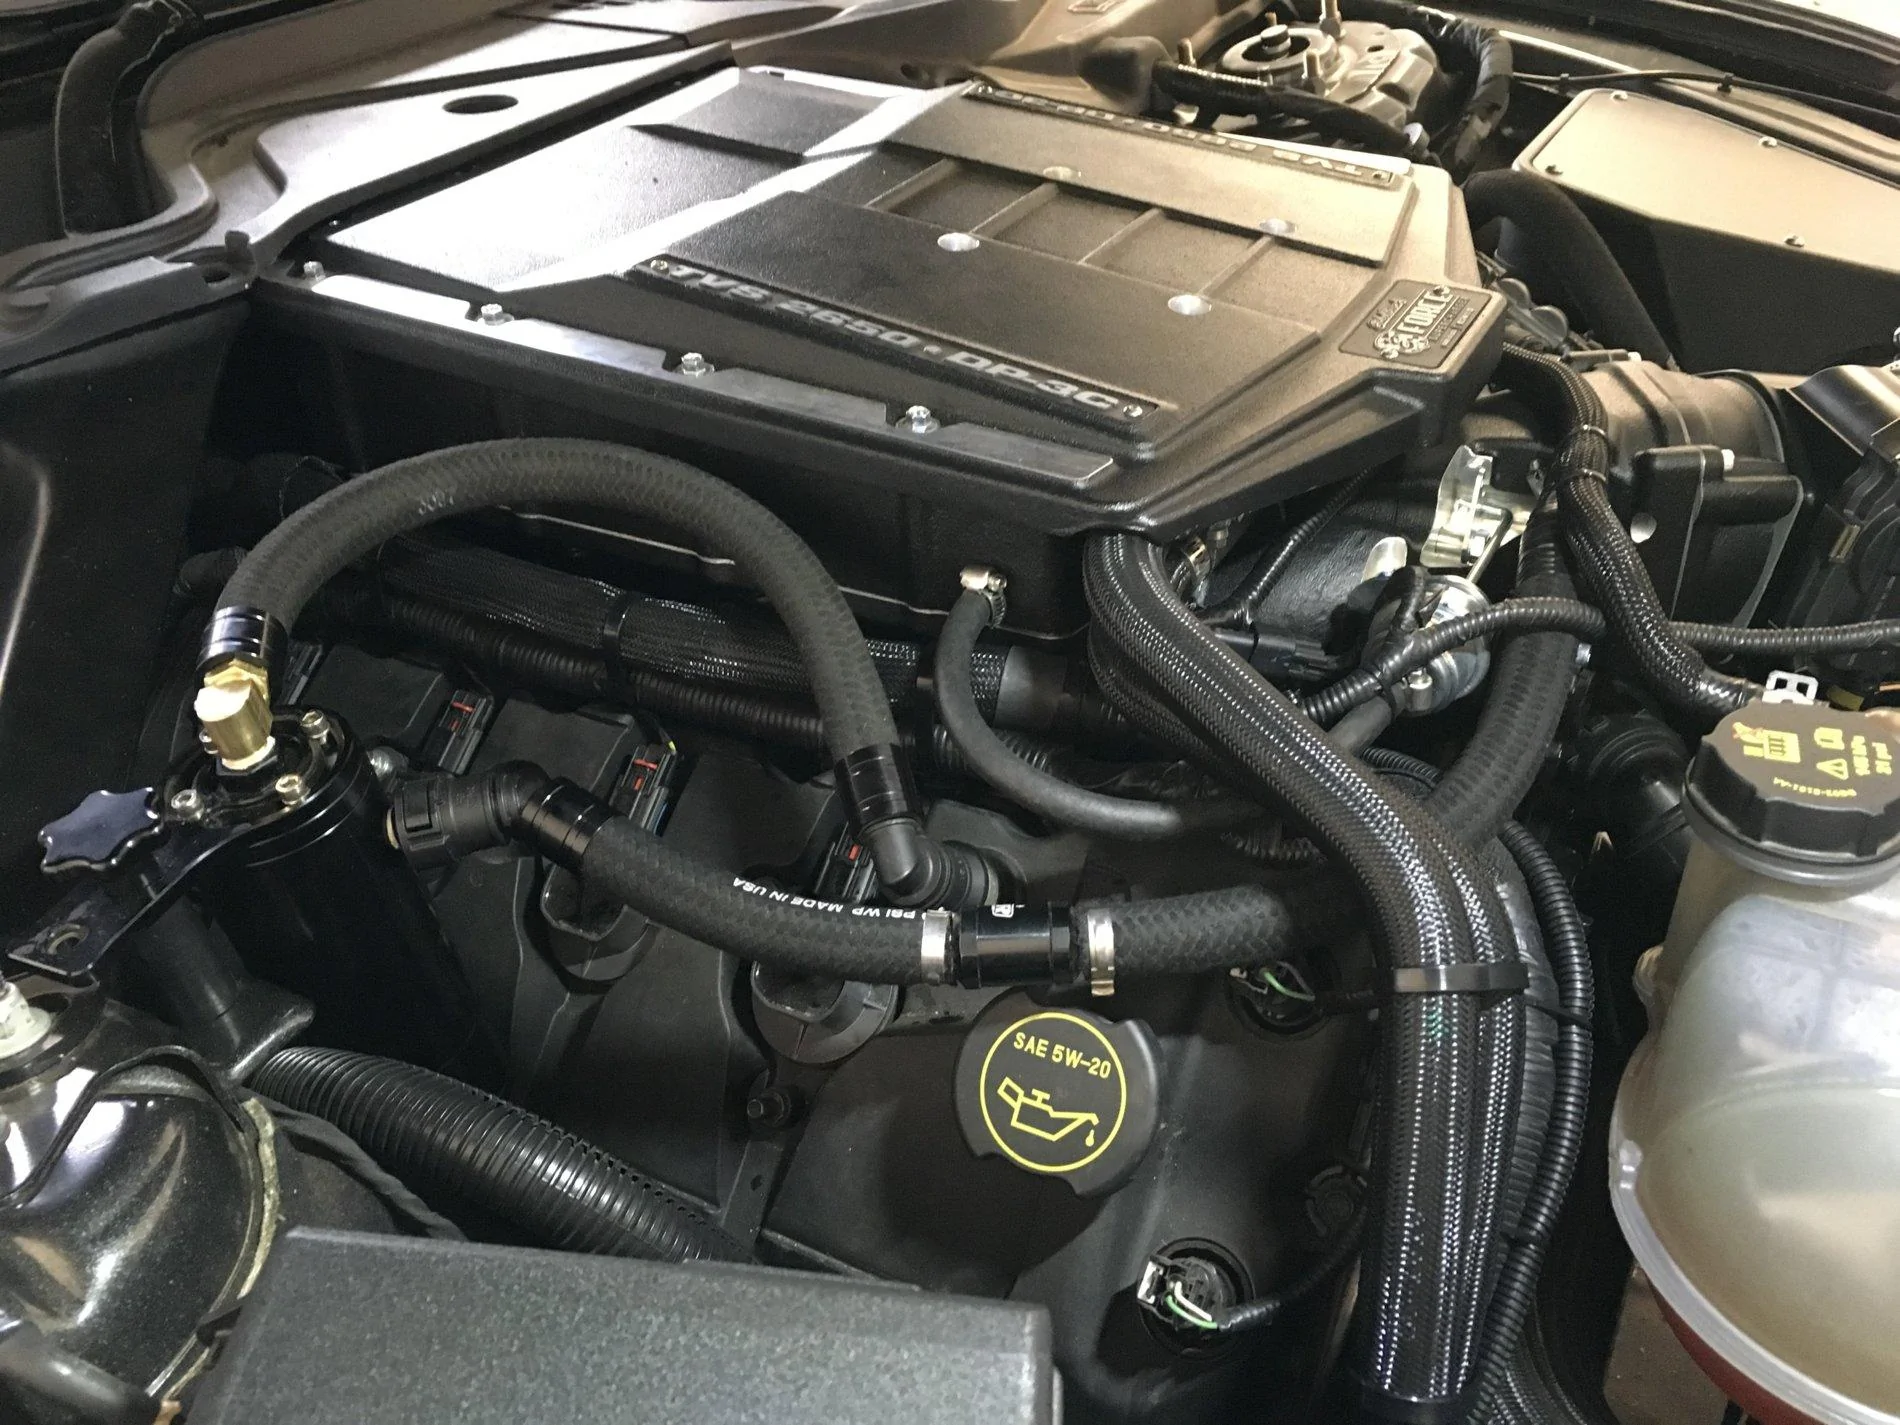
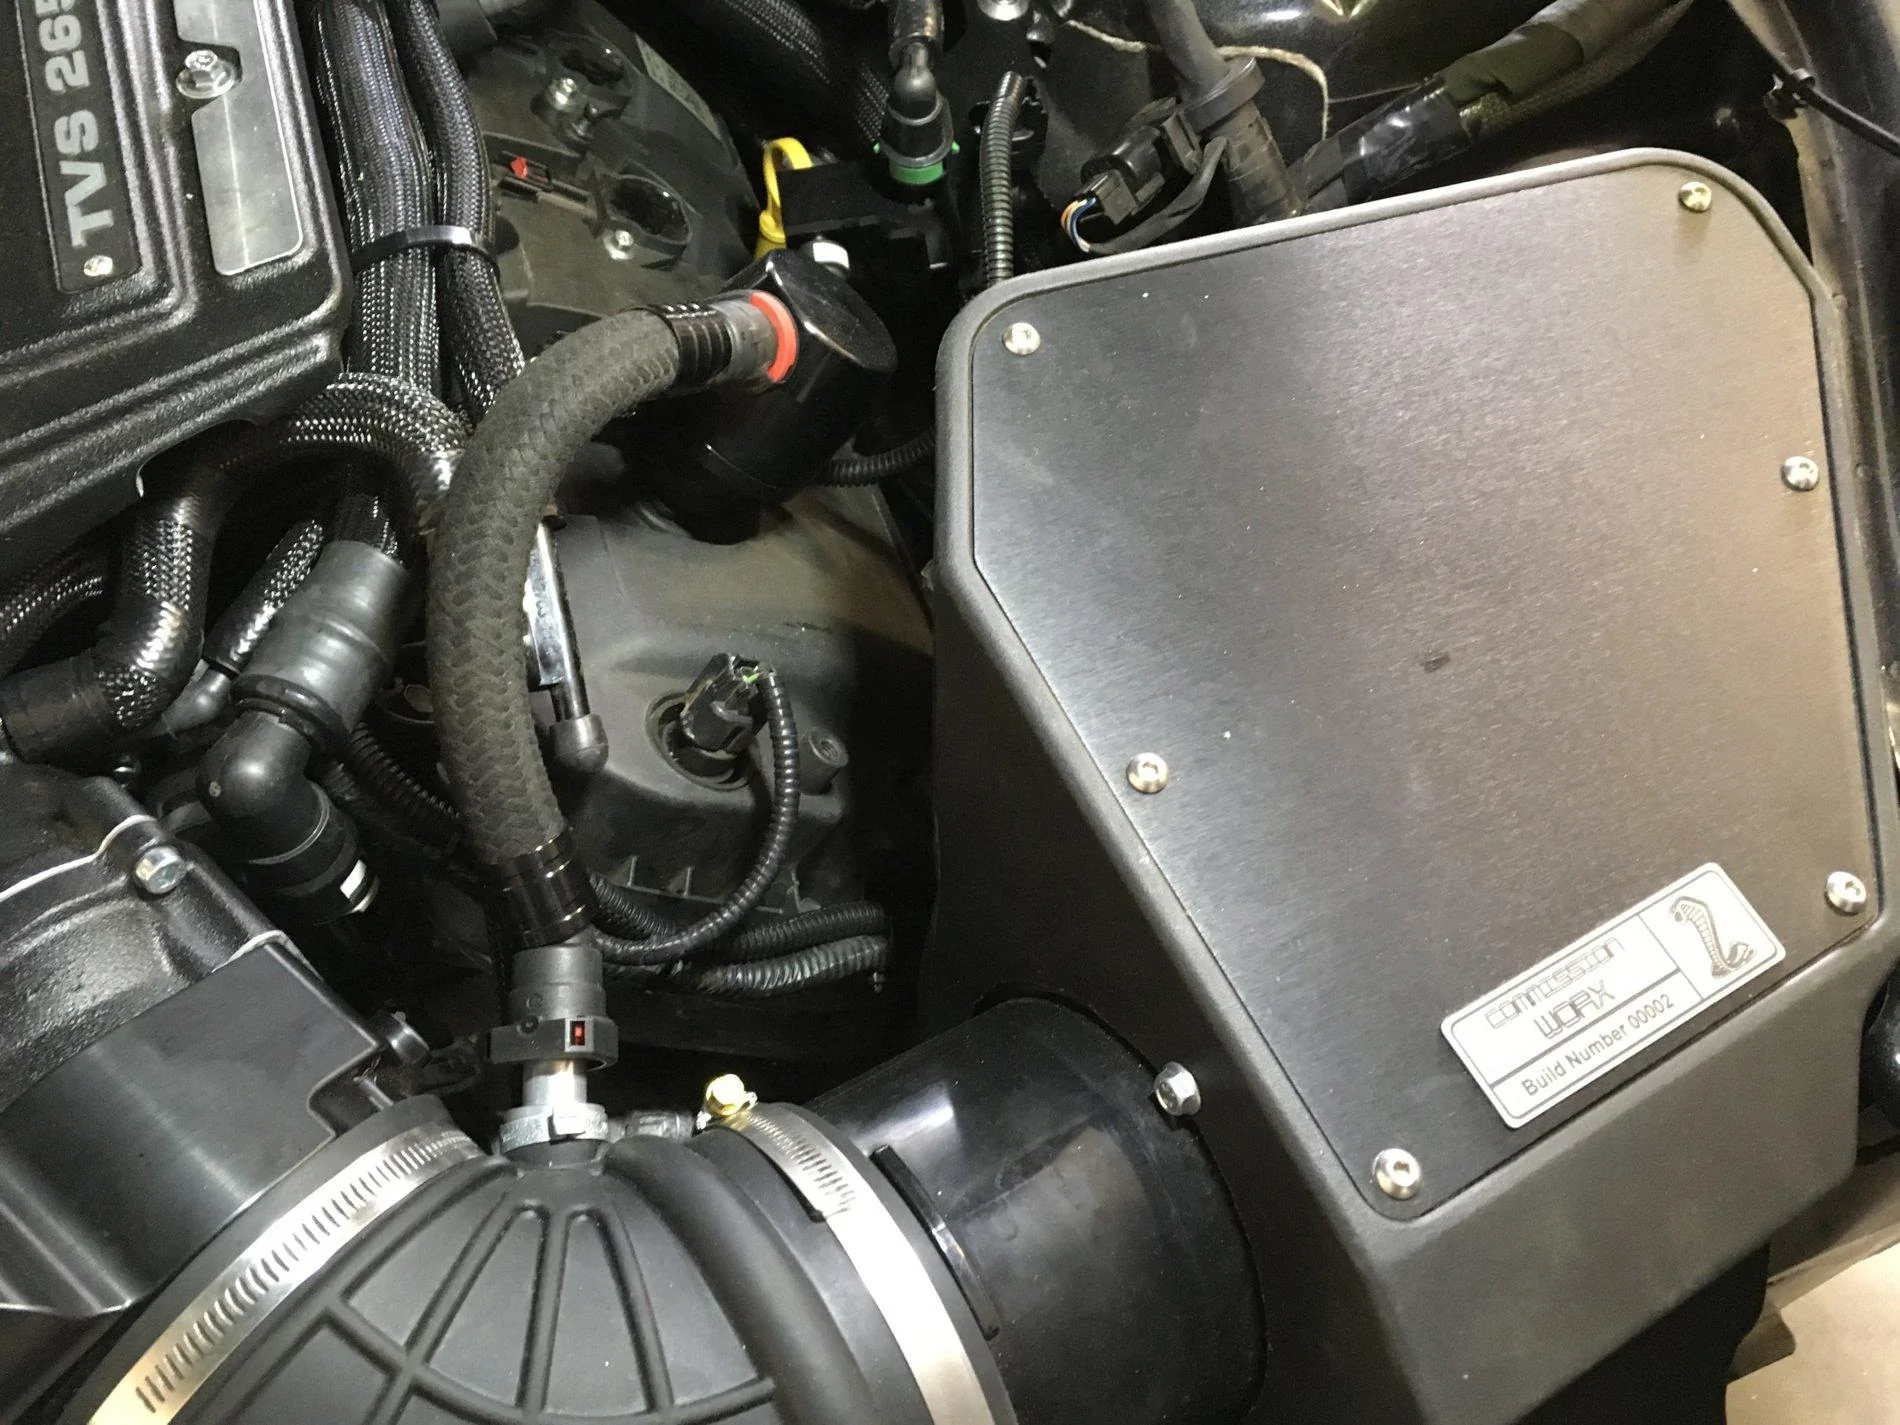
Whipple's head unit has a bolt that ties to the bracket with all the pullies on it. Those of you running the spacers, are you just removing the bolt, or did you find some other solution? Any issues without the bolt?
Sponsored