Burkey
Well-Known Member
- Thread starter
- #1
I figured some of you might want to see this, particularly as it’s a bit of a rare swap.
The new kit just landed a couple of days ago so I figured it might be worth noting the sometimes subtle/not so subtle differences as I move forward with the install.
Big thanks to Fred @Vogtland Mustang and Nick @Edelbrock Tech for helping me get this sucker happening.
This swap might not be for everyone!
I have a very specific situation.
The car is daily driven, sometimes (rarely) drag raced and the climate is DAMN HOT for 3/4 months of the year (120* in the shade, yes, the roads sometimes melt) and just plain hot at all times except the peak of winter.
Speed limits are generally 35mph, maxing out at 50mph for 95% of my driving, meaning airflow over the heat exchanger isn’t great.
E85 would be great, but with the nearest source at a 500 mile round trip, I’ll pass.
The Whipple was struggling to control inlet temps and basically sucked for what I want from it, except on a nice cool winters morning where the combination of a cold road and chilly IATs would allow it to blow the tyres off at 2k in third gear, which is precisely what I want all year round!
I don’t street race. I have my fun with wheelspin and drift.
Taller gears are far more fun than short ones in this respect and I really don’t feel that you should have to clutch-kick to get shit happening in a blown 5.0, but that’s just my opinion.
For clarity, the Gen 2 was running a 3.625” pulley, tuner box, 132mm TB and custom tune/s. 12psi recorded on the dyno, catless longtubes. Never used the Whipple calibration.
The Edelbrock will start on a 3.25” pulley, 103mm TB, custom tune. No idea what the actual boost level will be.
With all that out of the way....
Initial impressions.
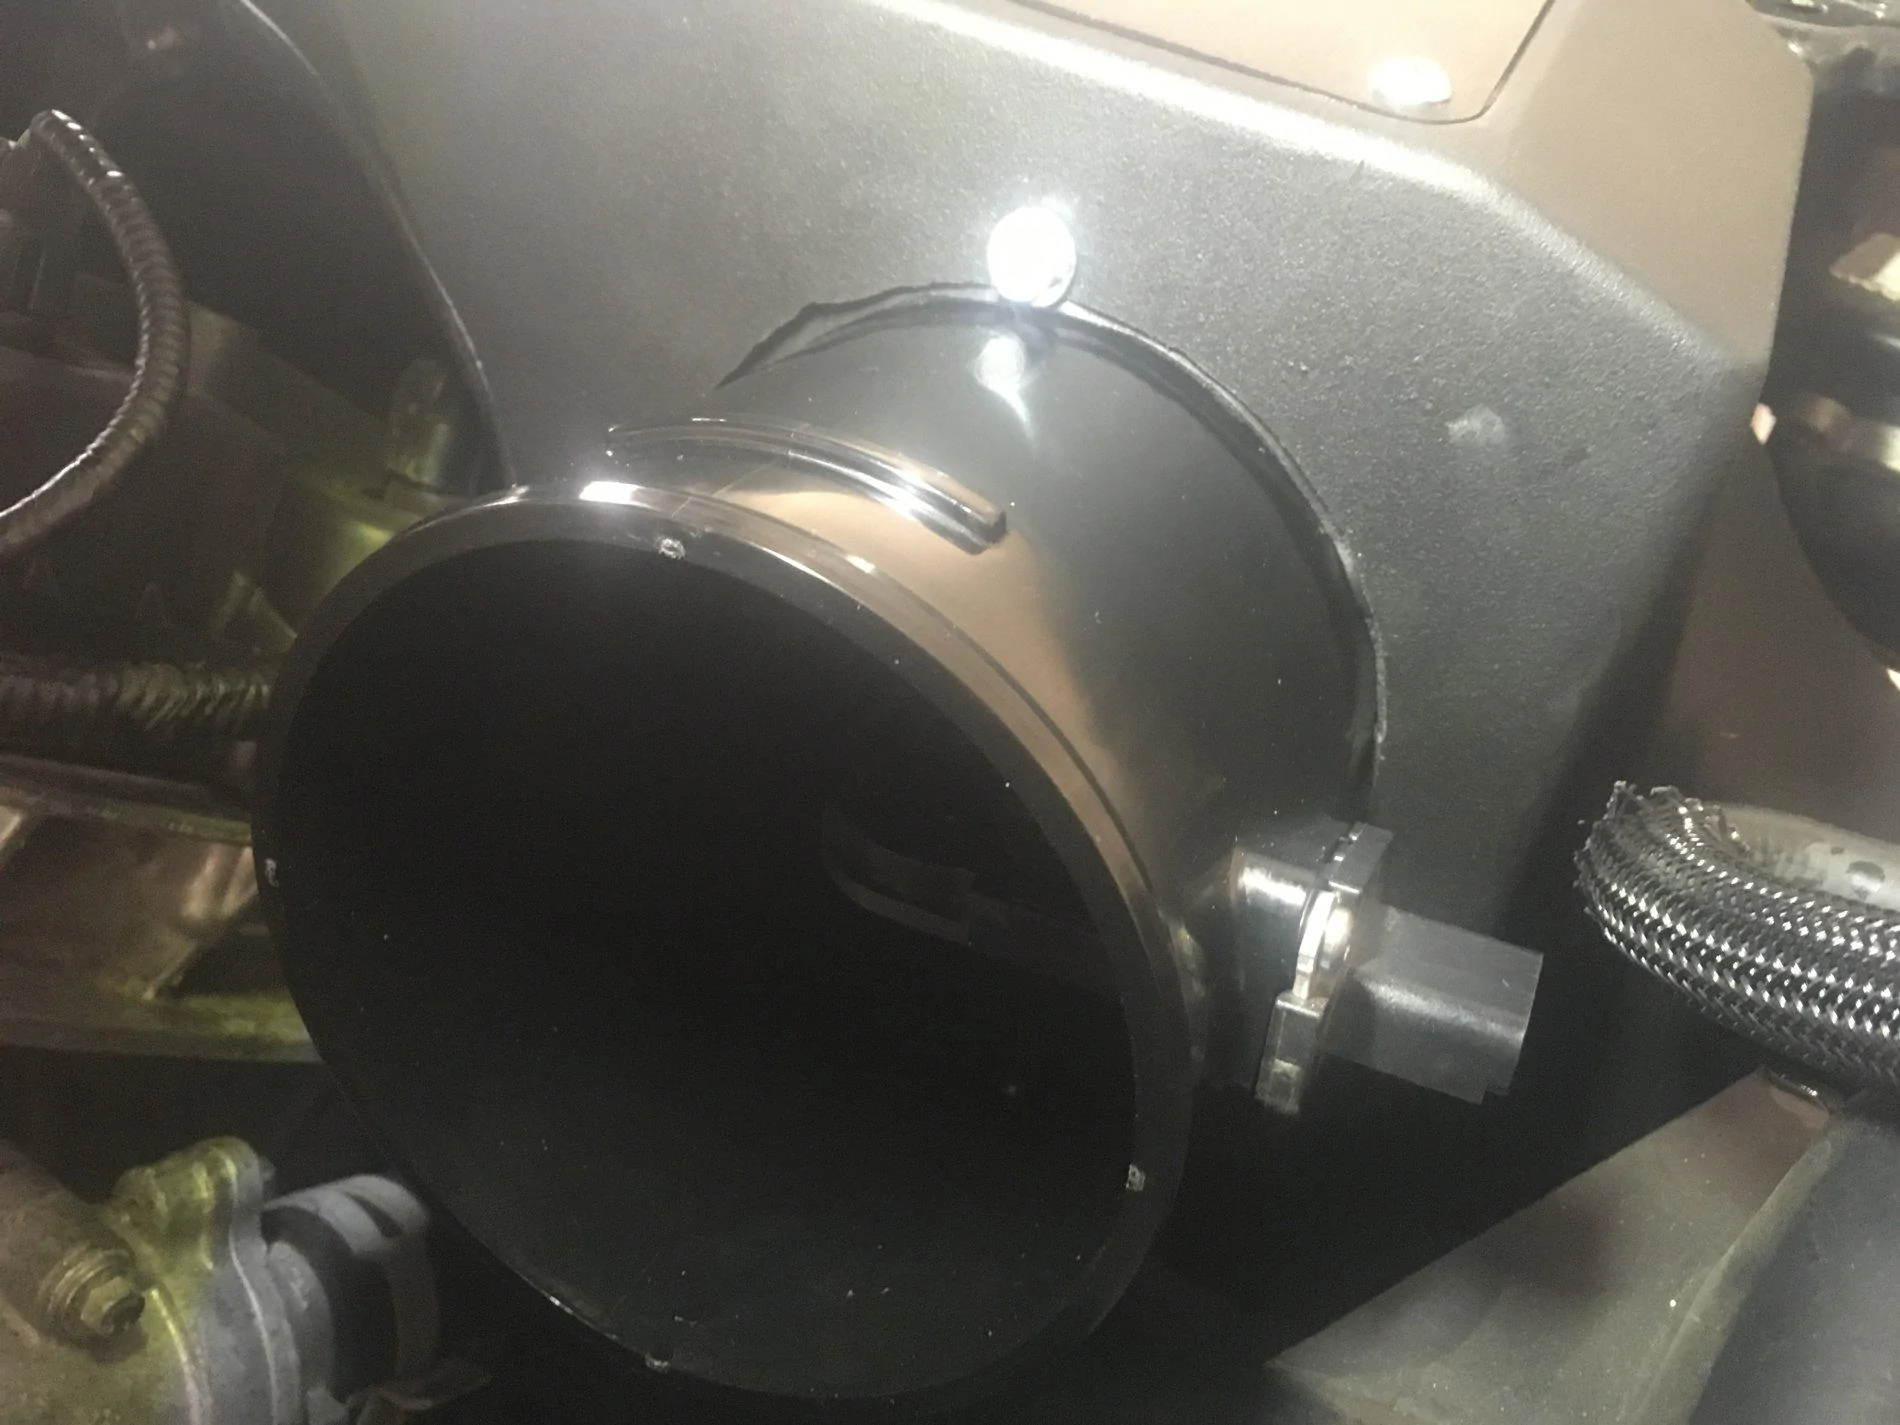
The Edelbrock kit seems a lot simpler than the Whipple. Less parts, less cutting of heater hoses etc etc.
However, it also looks a little cheaper. It’s nitpicking I know, but Whipple supply a billet tensioner and idler plate while the Eddy is cast and machined, yada yada.
Whipple supply socket head cap screws throughout, Edelbrock don’t for the most part. Again, nitpicking, but I just prefer the appearance of SHCS vs regular bolts...
Edelbrock use metric fasteners throughout, whereas Whipple alternate between metric and imperial which is kind of frustrating during install and even more frustrating when you’re at the track and need to adjust the belt, only to remember that the adjustable idler uses imperial and all you have is metric.
Whipple’s instructions are far more specific than Edelbrock. There’s very little guess work with Whipple (even if the instructions are plain wrong at times) whereas there’s a bit of reading between the lines with Edlebrock.
Nothing serious, just an observation.
I haven’t reached the point where I have to lift the Edelbrock into place but I can already see it being a bit of a challenge. One piece construction makes it pretty damn heavy and to make it harder, I’ll have some phenolic spacers under there that also need to be lined up. Tricky when your pooper-valve is about to explode.
The phenolics should work. My engine is lowered 6mm and the spacers are 7mm.
Sourced them here in Australia from MFP. They also have other thicknesses available for those who may be interested.
I’ll probably have to play with belt lengths a little to allow for the extra route length. Unsure at this point.
Edelbrock’s fuel rails could be pretty handy for those going to a return style setup. Plenty of options in terms of plumbing (fittings at both ends like Whipple plus another two options down the sides of each rail).
Whipple’s rails seems to need all kinds of adaptors (potential leak sources) to make them work.
Edelbrock’s heat exchanger is roughly 2/3rds the depth of the oversized Whipple HE.
However, it sits further back, quite close to the radiator. The reality of the Whipple OS HE is that it sits so close to the crash bar that the portion behind the bar would be doing very little anyway.
I’ll detail some of the install as I go. Plenty have already documented it. I’ll really just focus on the bits I changed/improved (made worse?) along the way.
Cheers
The new kit just landed a couple of days ago so I figured it might be worth noting the sometimes subtle/not so subtle differences as I move forward with the install.
Big thanks to Fred @Vogtland Mustang and Nick @Edelbrock Tech for helping me get this sucker happening.
This swap might not be for everyone!
I have a very specific situation.
The car is daily driven, sometimes (rarely) drag raced and the climate is DAMN HOT for 3/4 months of the year (120* in the shade, yes, the roads sometimes melt) and just plain hot at all times except the peak of winter.
Speed limits are generally 35mph, maxing out at 50mph for 95% of my driving, meaning airflow over the heat exchanger isn’t great.
E85 would be great, but with the nearest source at a 500 mile round trip, I’ll pass.
The Whipple was struggling to control inlet temps and basically sucked for what I want from it, except on a nice cool winters morning where the combination of a cold road and chilly IATs would allow it to blow the tyres off at 2k in third gear, which is precisely what I want all year round!
I don’t street race. I have my fun with wheelspin and drift.
Taller gears are far more fun than short ones in this respect and I really don’t feel that you should have to clutch-kick to get shit happening in a blown 5.0, but that’s just my opinion.
For clarity, the Gen 2 was running a 3.625” pulley, tuner box, 132mm TB and custom tune/s. 12psi recorded on the dyno, catless longtubes. Never used the Whipple calibration.
The Edelbrock will start on a 3.25” pulley, 103mm TB, custom tune. No idea what the actual boost level will be.
With all that out of the way....
Initial impressions.
The Edelbrock kit seems a lot simpler than the Whipple. Less parts, less cutting of heater hoses etc etc.
However, it also looks a little cheaper. It’s nitpicking I know, but Whipple supply a billet tensioner and idler plate while the Eddy is cast and machined, yada yada.
Whipple supply socket head cap screws throughout, Edelbrock don’t for the most part. Again, nitpicking, but I just prefer the appearance of SHCS vs regular bolts...
Edelbrock use metric fasteners throughout, whereas Whipple alternate between metric and imperial which is kind of frustrating during install and even more frustrating when you’re at the track and need to adjust the belt, only to remember that the adjustable idler uses imperial and all you have is metric.
Whipple’s instructions are far more specific than Edelbrock. There’s very little guess work with Whipple (even if the instructions are plain wrong at times) whereas there’s a bit of reading between the lines with Edlebrock.
Nothing serious, just an observation.
I haven’t reached the point where I have to lift the Edelbrock into place but I can already see it being a bit of a challenge. One piece construction makes it pretty damn heavy and to make it harder, I’ll have some phenolic spacers under there that also need to be lined up. Tricky when your pooper-valve is about to explode.
The phenolics should work. My engine is lowered 6mm and the spacers are 7mm.
Sourced them here in Australia from MFP. They also have other thicknesses available for those who may be interested.
I’ll probably have to play with belt lengths a little to allow for the extra route length. Unsure at this point.
Edelbrock’s fuel rails could be pretty handy for those going to a return style setup. Plenty of options in terms of plumbing (fittings at both ends like Whipple plus another two options down the sides of each rail).
Whipple’s rails seems to need all kinds of adaptors (potential leak sources) to make them work.
Edelbrock’s heat exchanger is roughly 2/3rds the depth of the oversized Whipple HE.
However, it sits further back, quite close to the radiator. The reality of the Whipple OS HE is that it sits so close to the crash bar that the portion behind the bar would be doing very little anyway.
I’ll detail some of the install as I go. Plenty have already documented it. I’ll really just focus on the bits I changed/improved (made worse?) along the way.
Cheers
Sponsored
Last edited: