
Jmeo
You said member ;)
- Joined
- May 28, 2014
- Threads
- 252
- Messages
- 8,777
- Reaction score
- 9,908
- Location
- Massachusetts
- First Name
- Jaime
- Vehicle(s)
- 2020 GT500, 2023 F150 Raptor
- Vehicle Showcase
- 2
- Thread starter
- #1
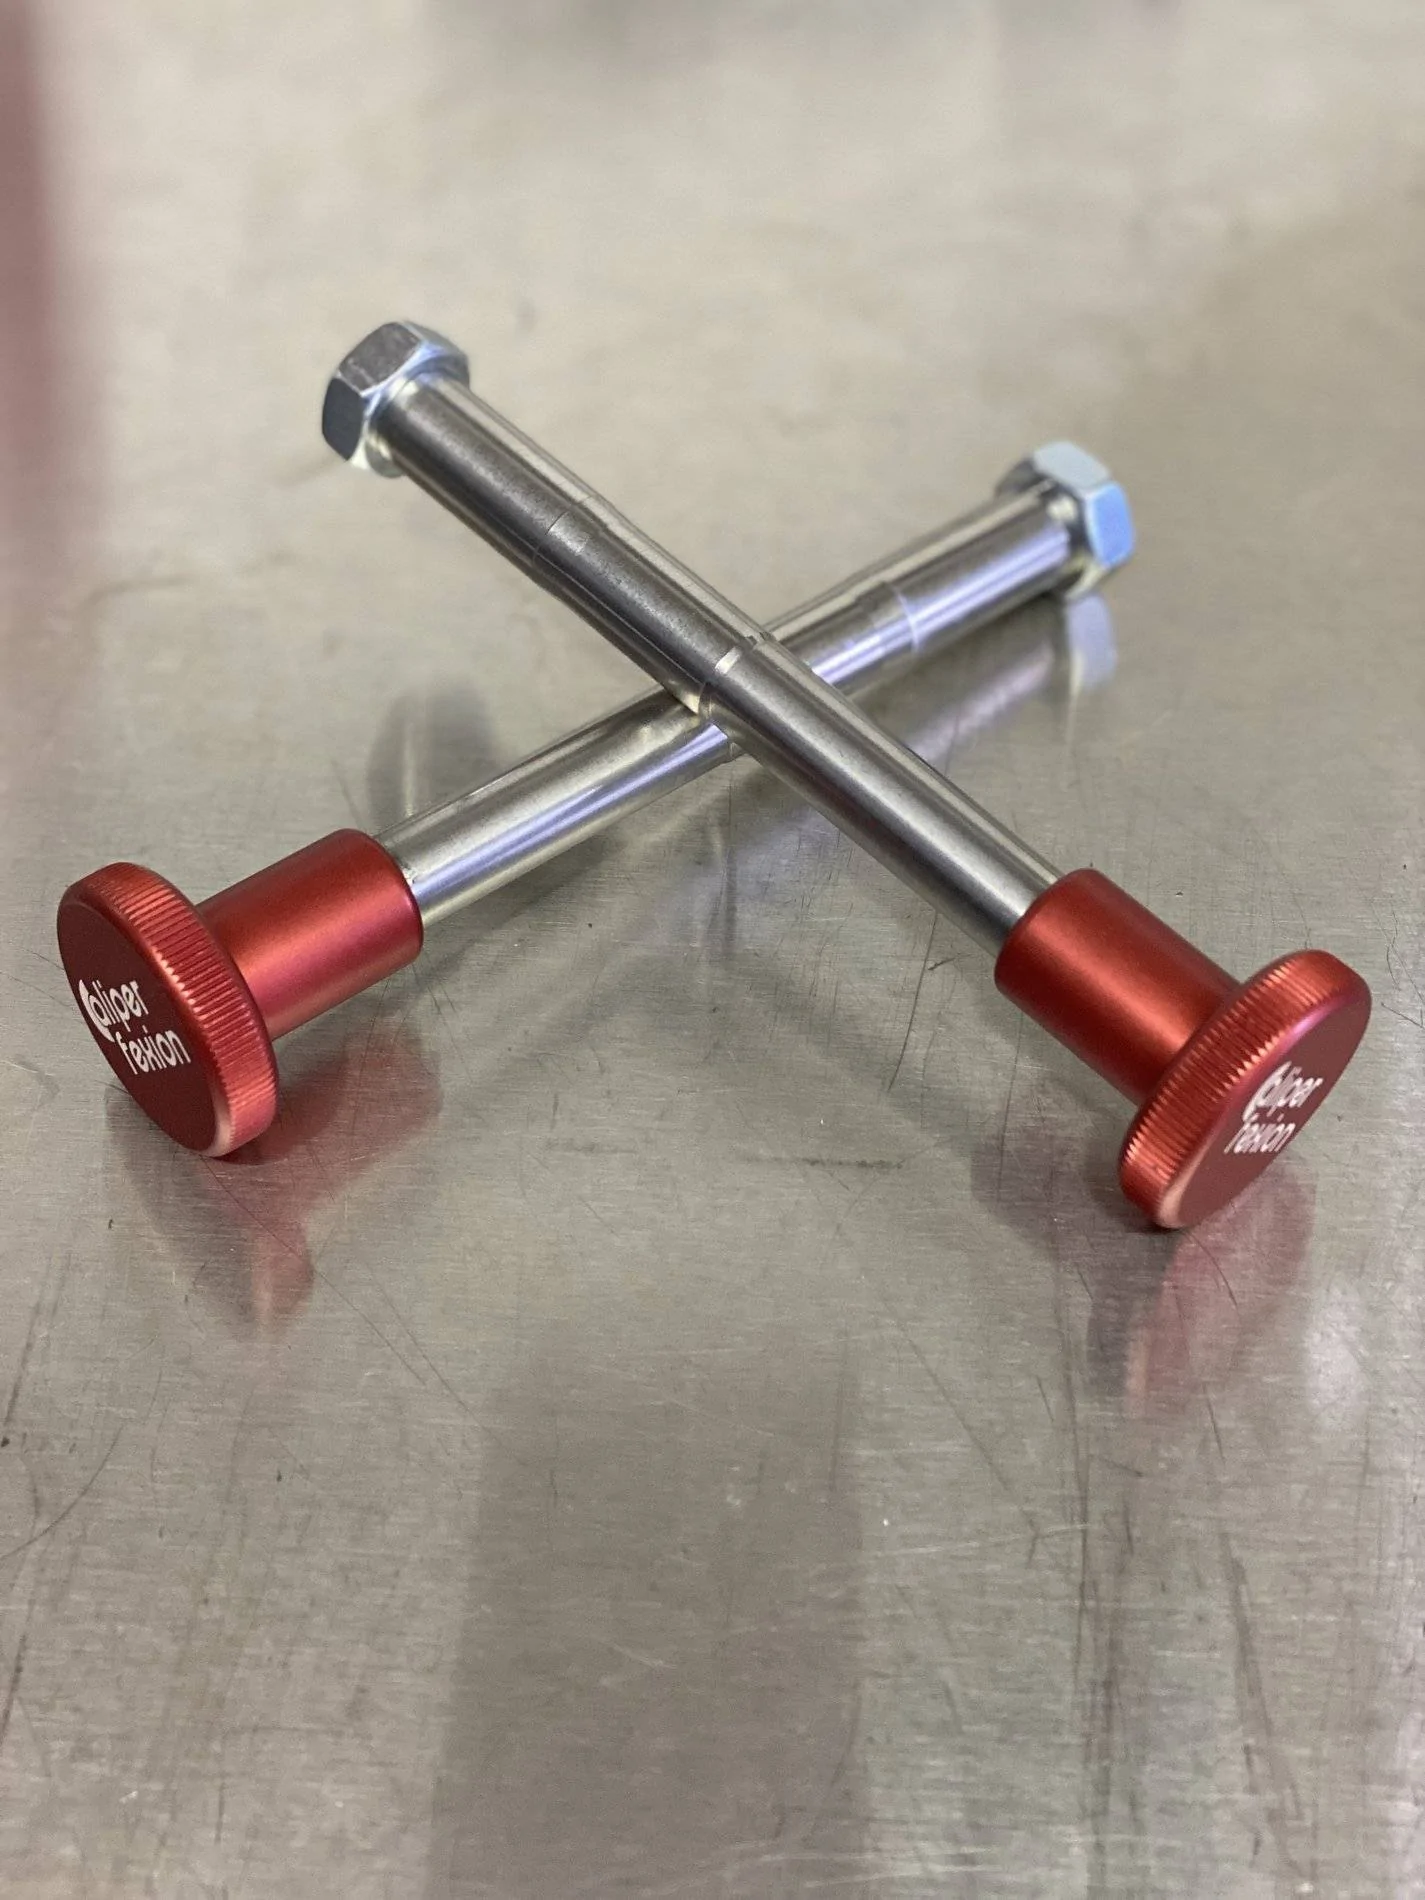
Today I installed a set of Caliperfexion 17-4 PH stainless caliper studs on my 2020 GT500, and I thought I would post my results, incase anyone else may be interested. The directions are well written, and are complete with all the required specs, so I will just show the major steps.
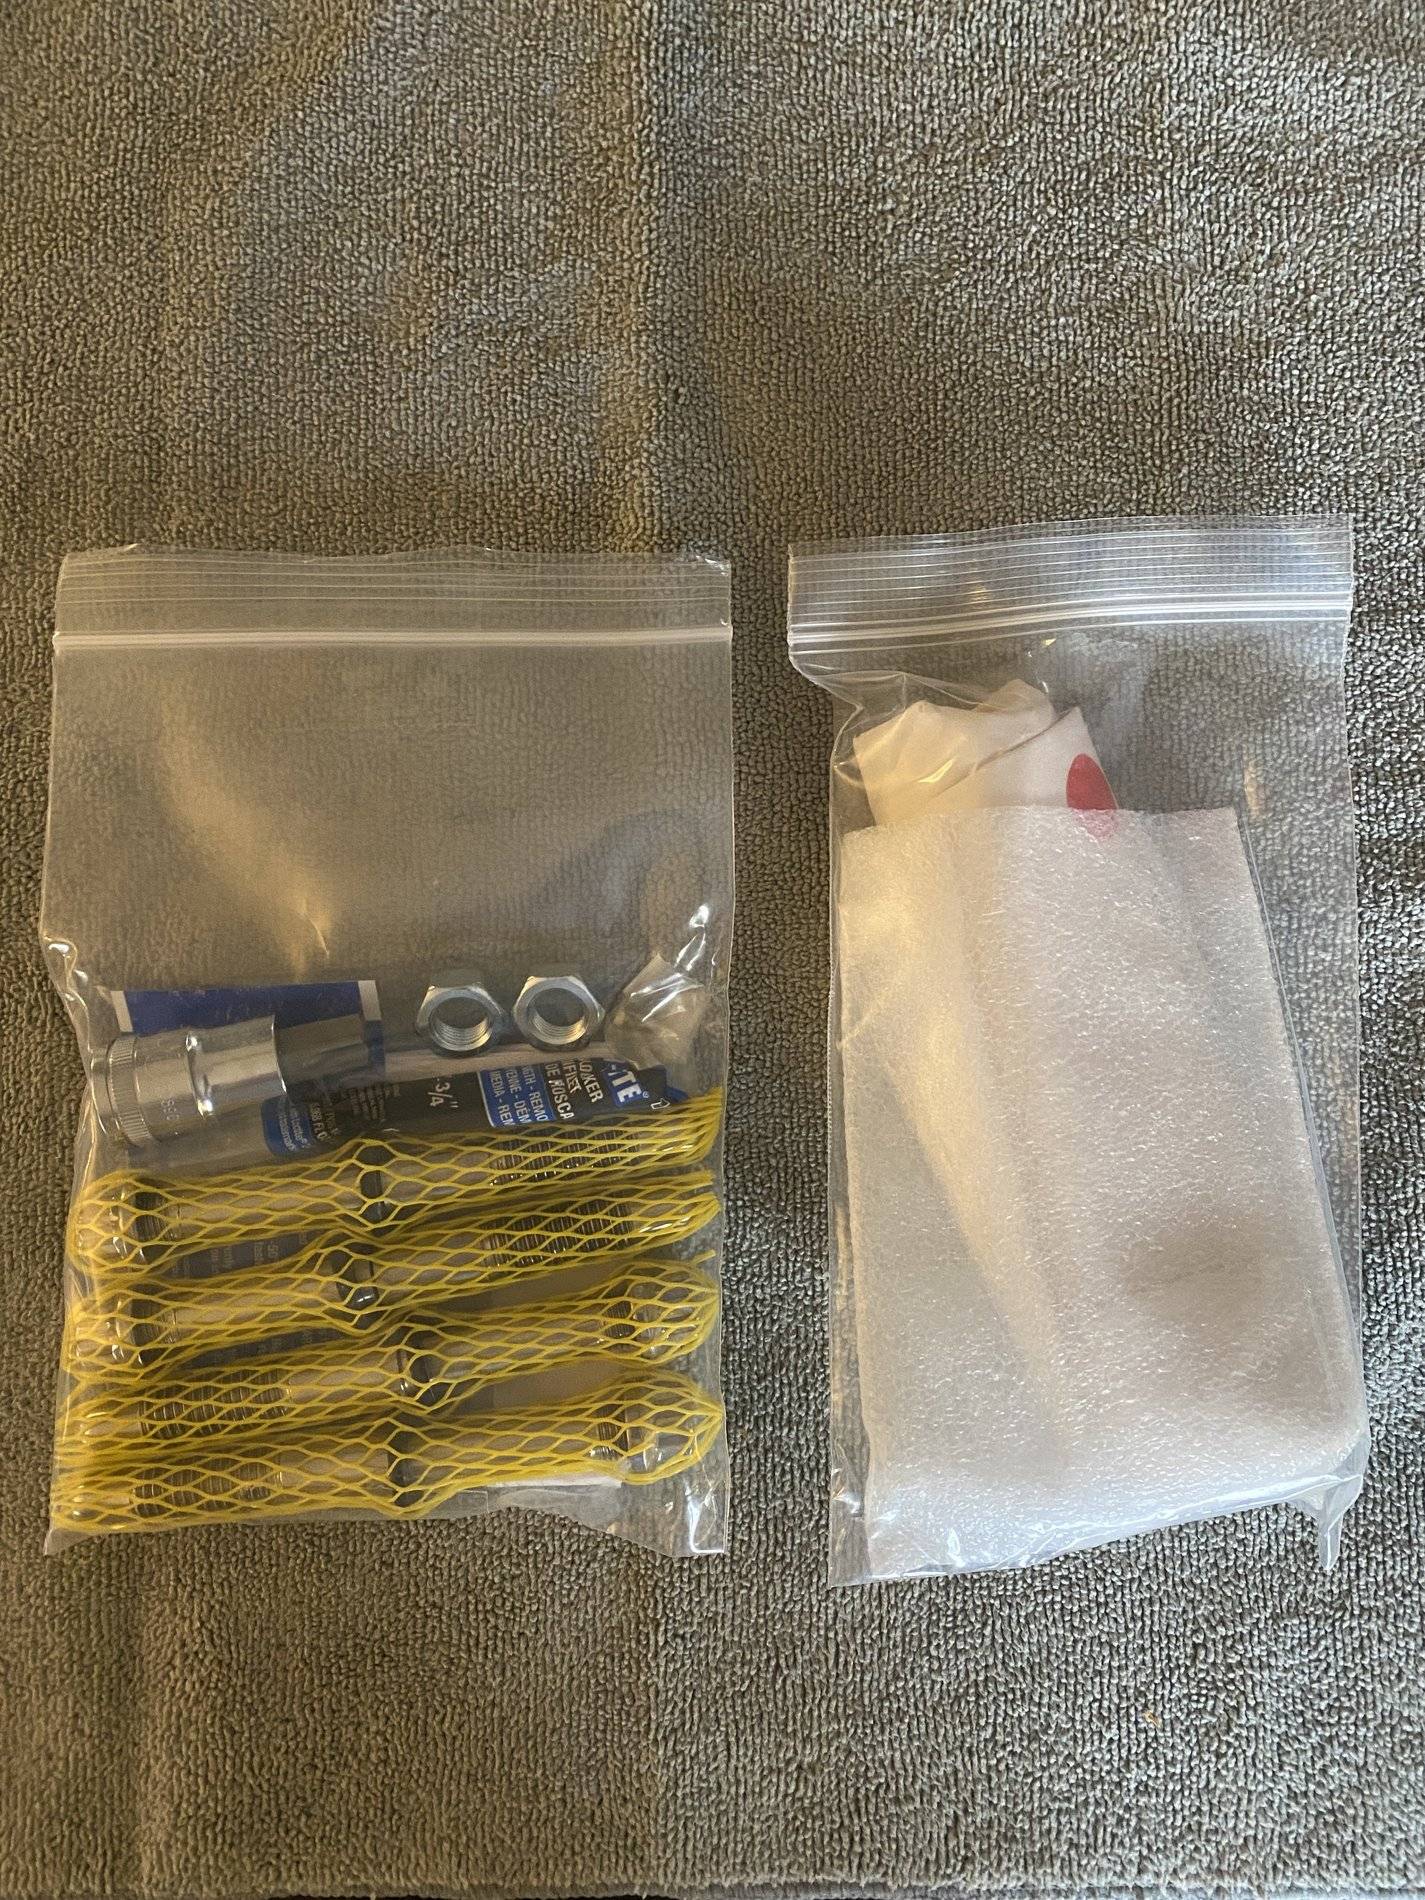
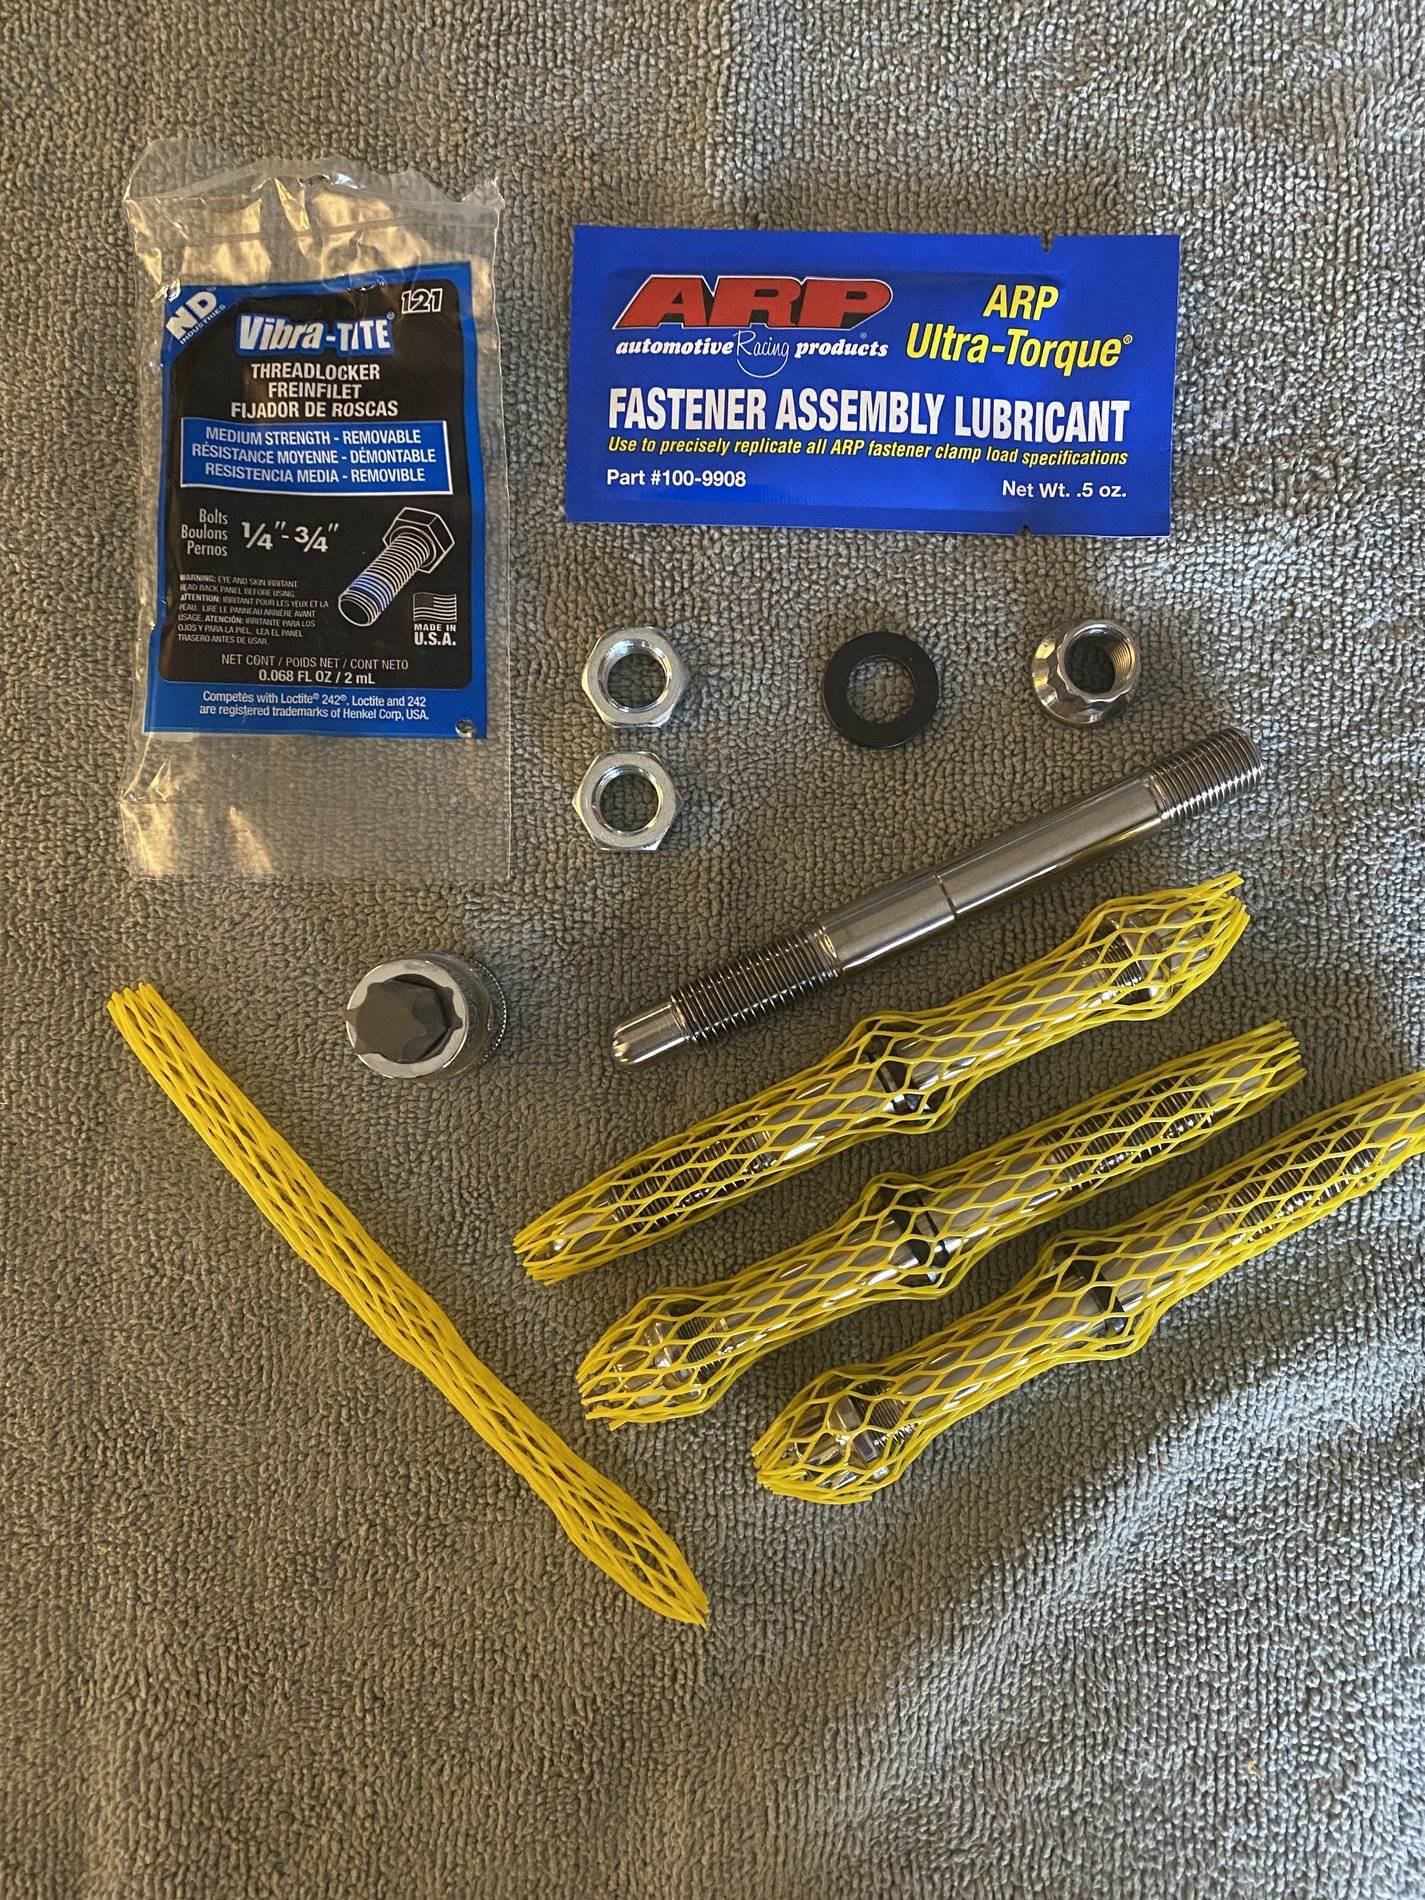
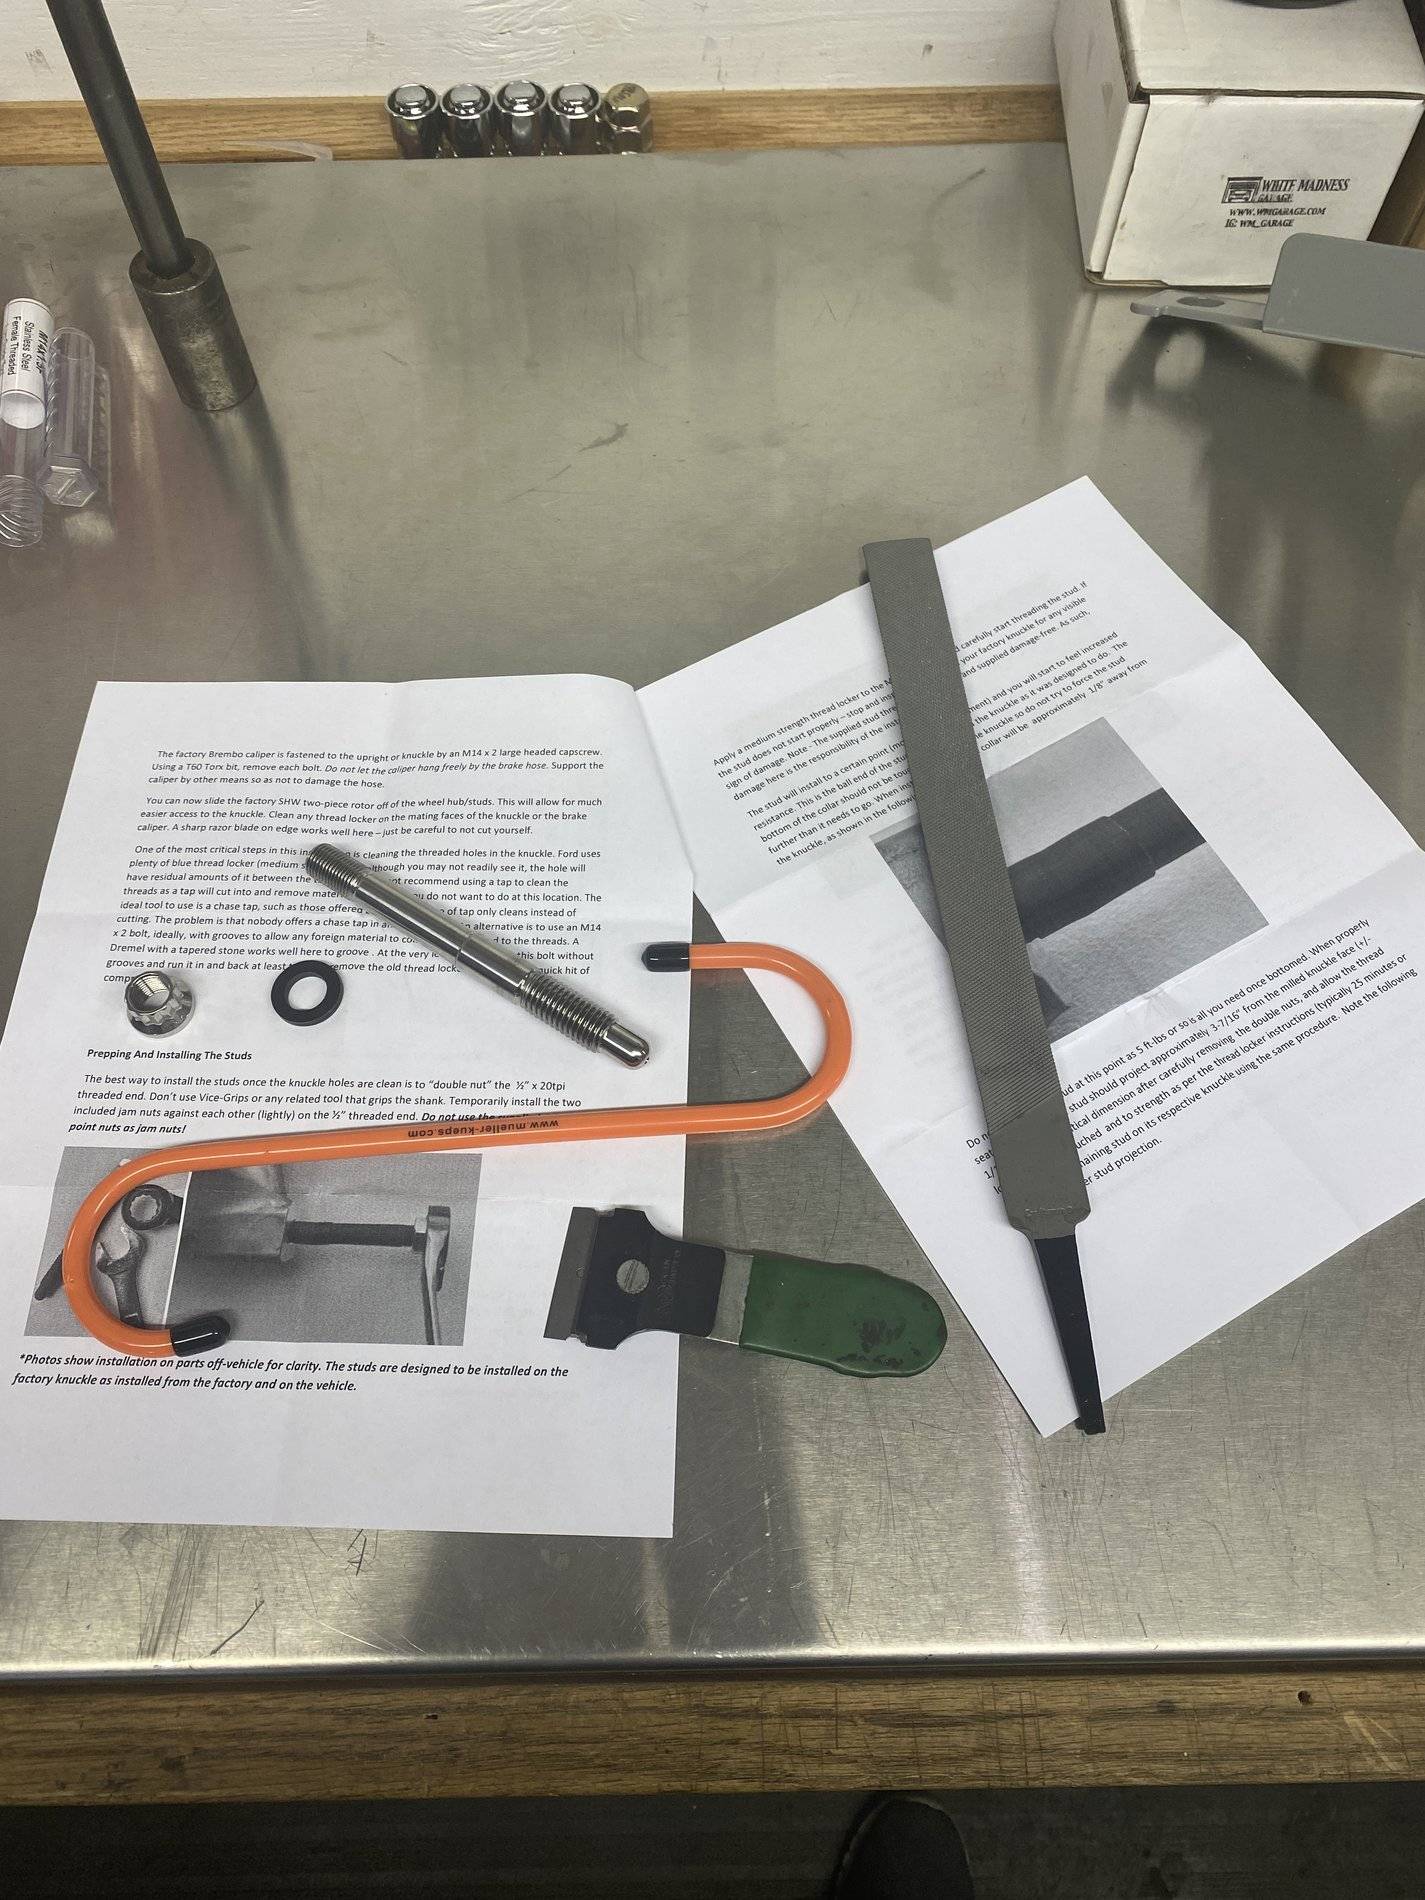
Let me start by saying, these things are a work of art, they are almost too beautiful to hide behind the caliper. They arrived nicely packaged, and supplied with everything you need to complete the job. I also picked up a set of caliper extensions to make pad swapping, or suspension work even easier.

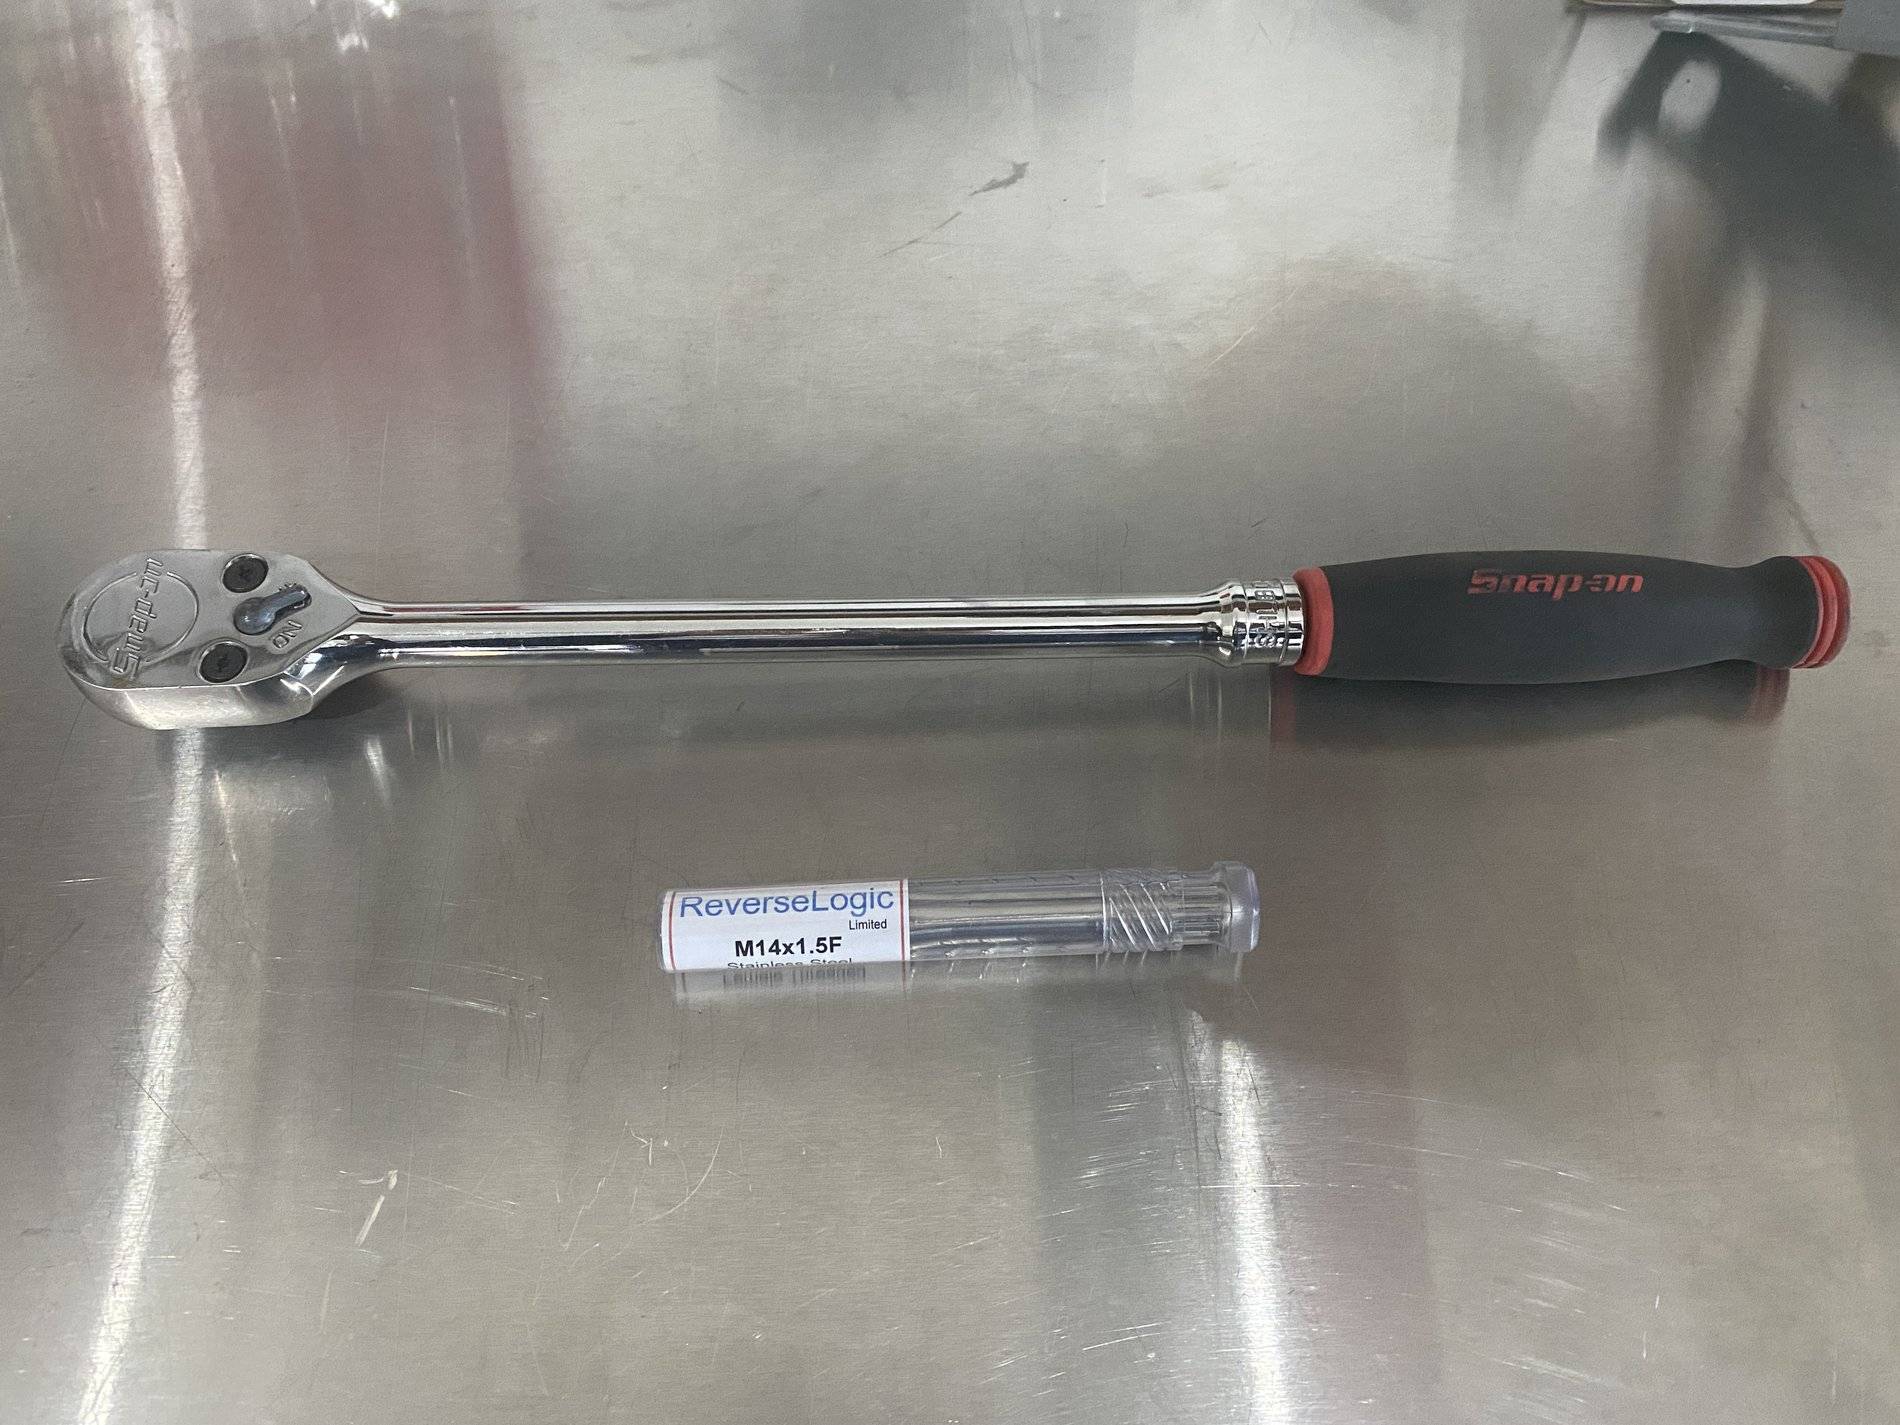
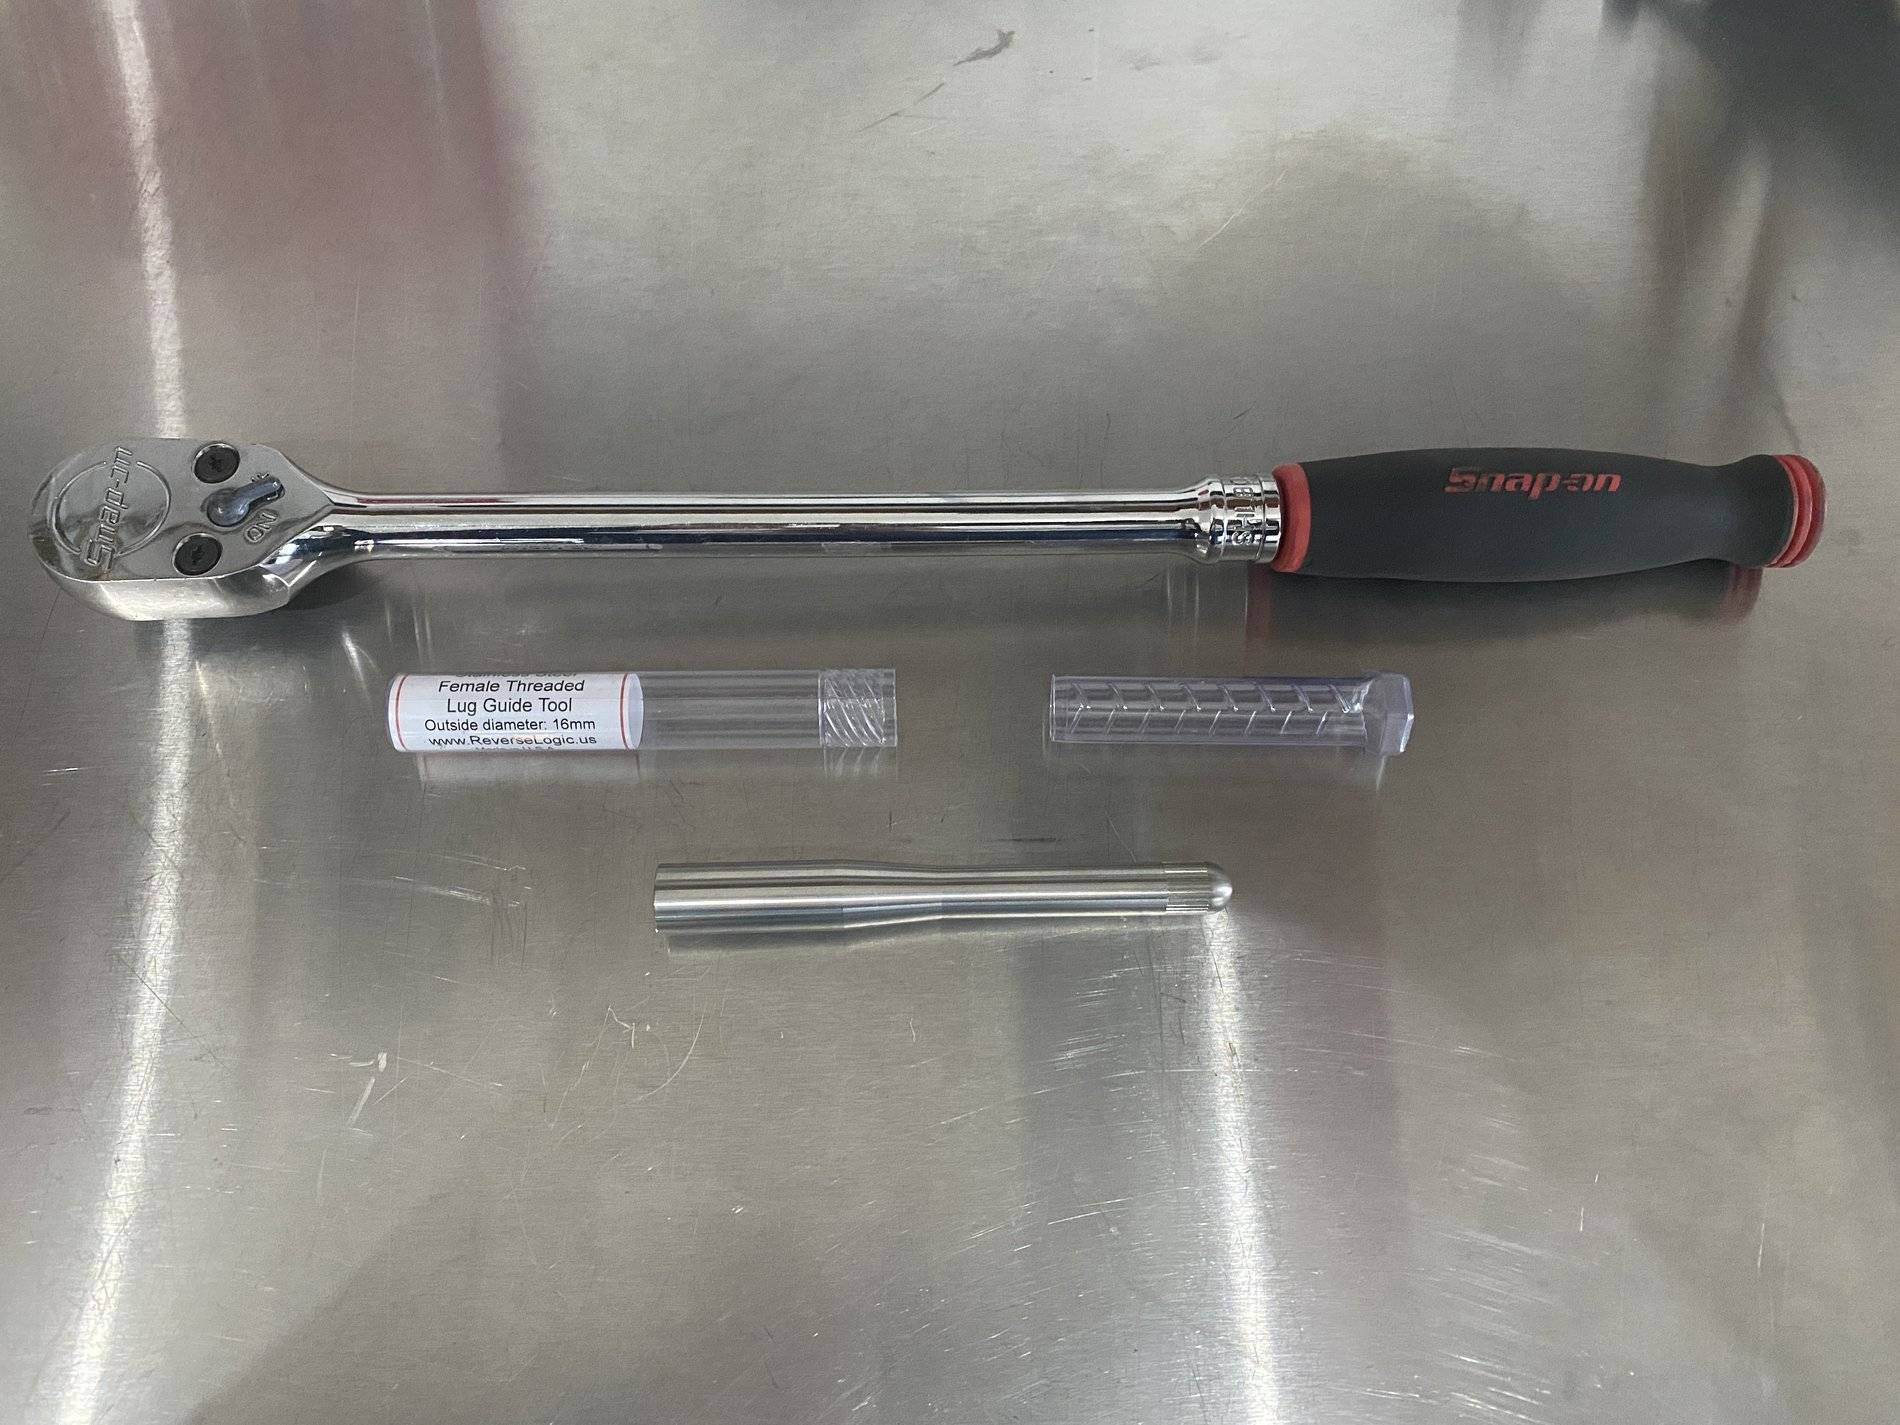
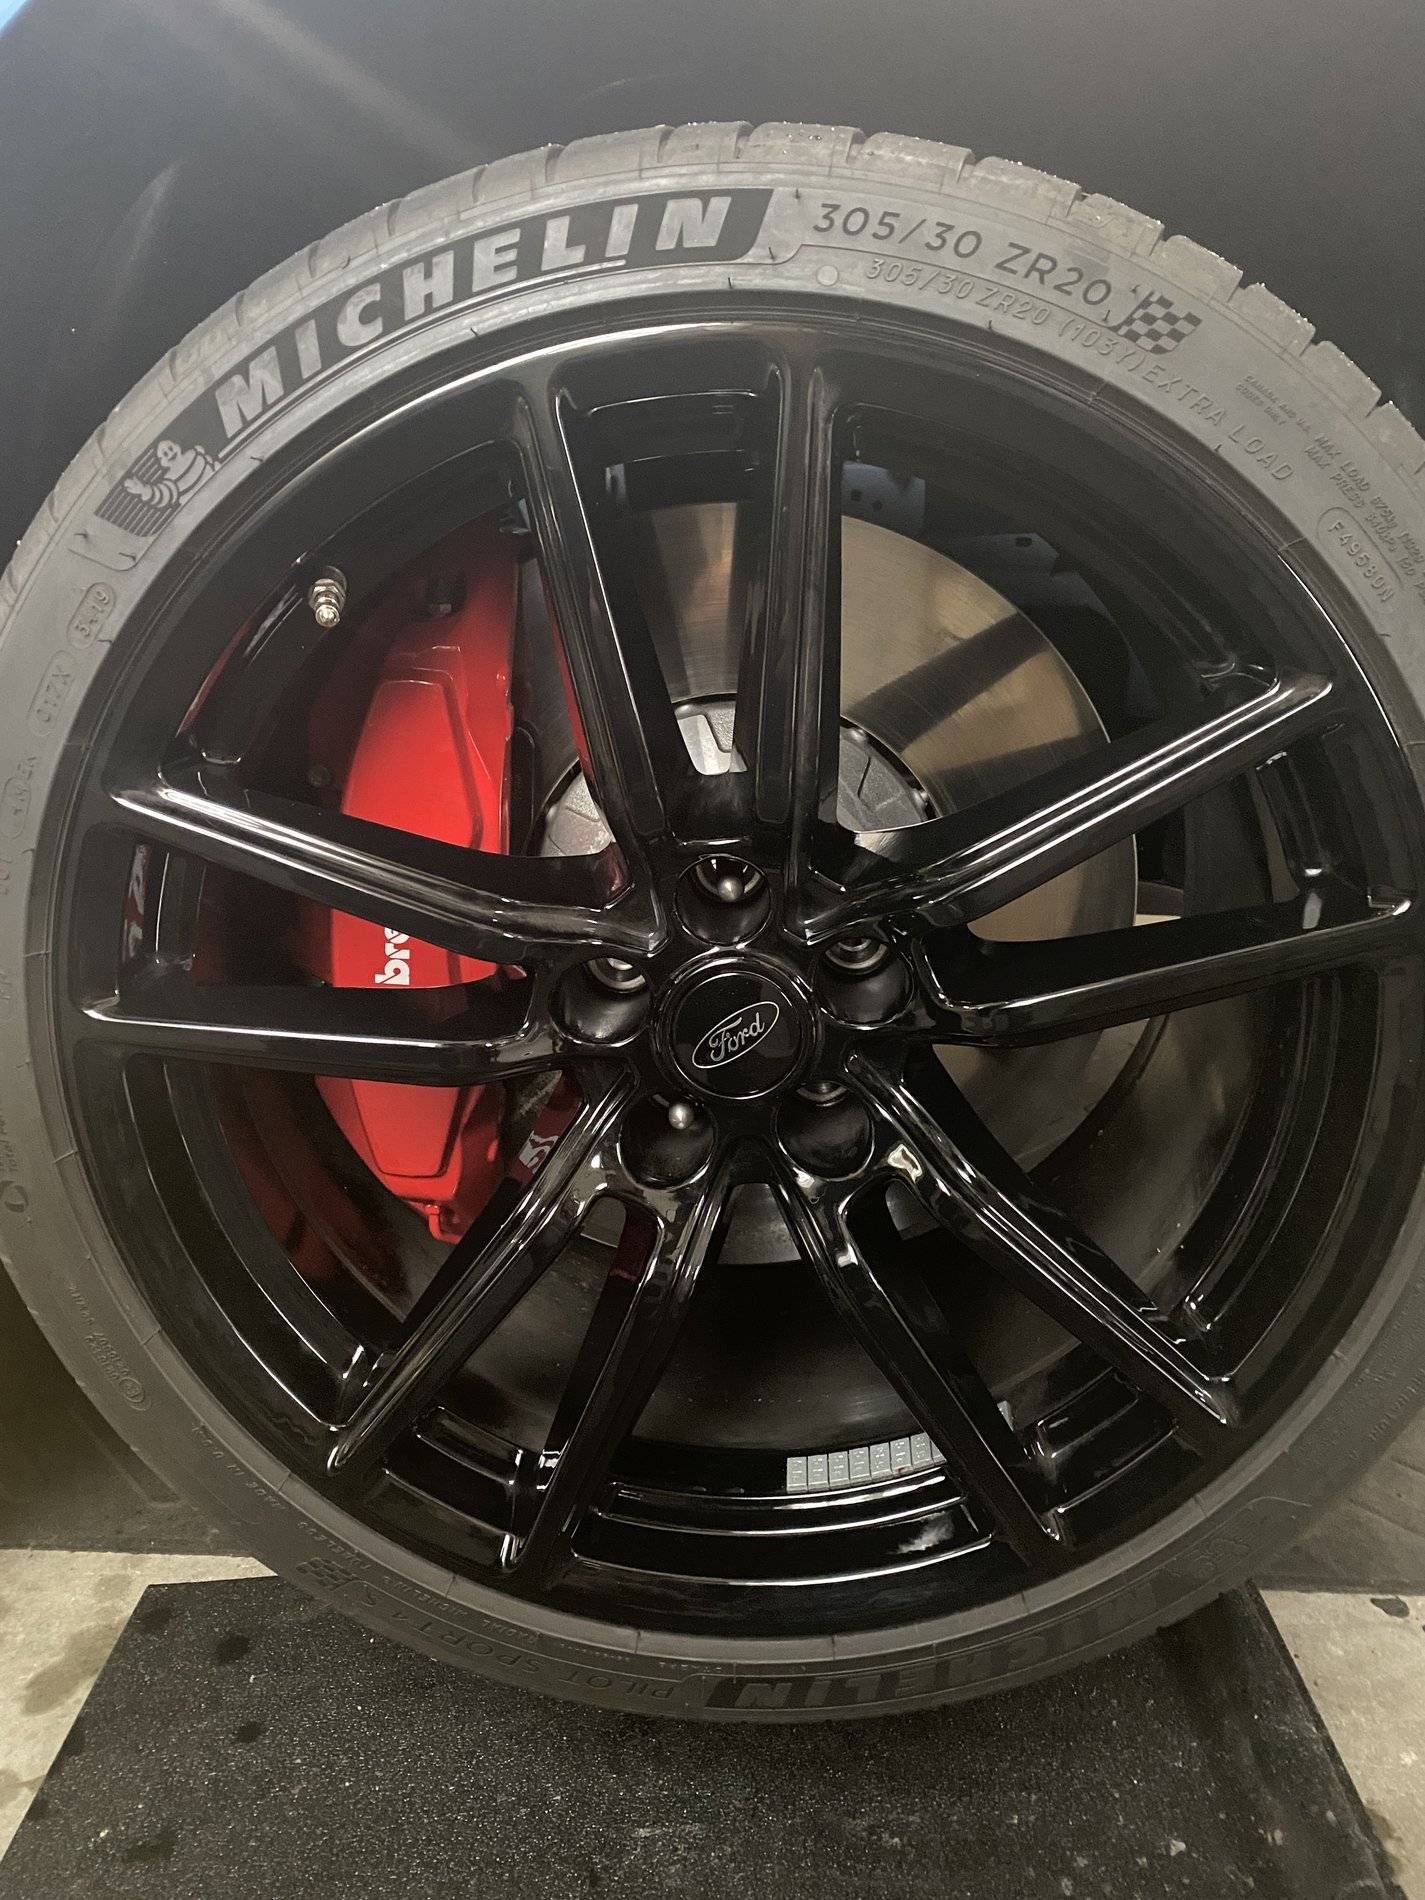
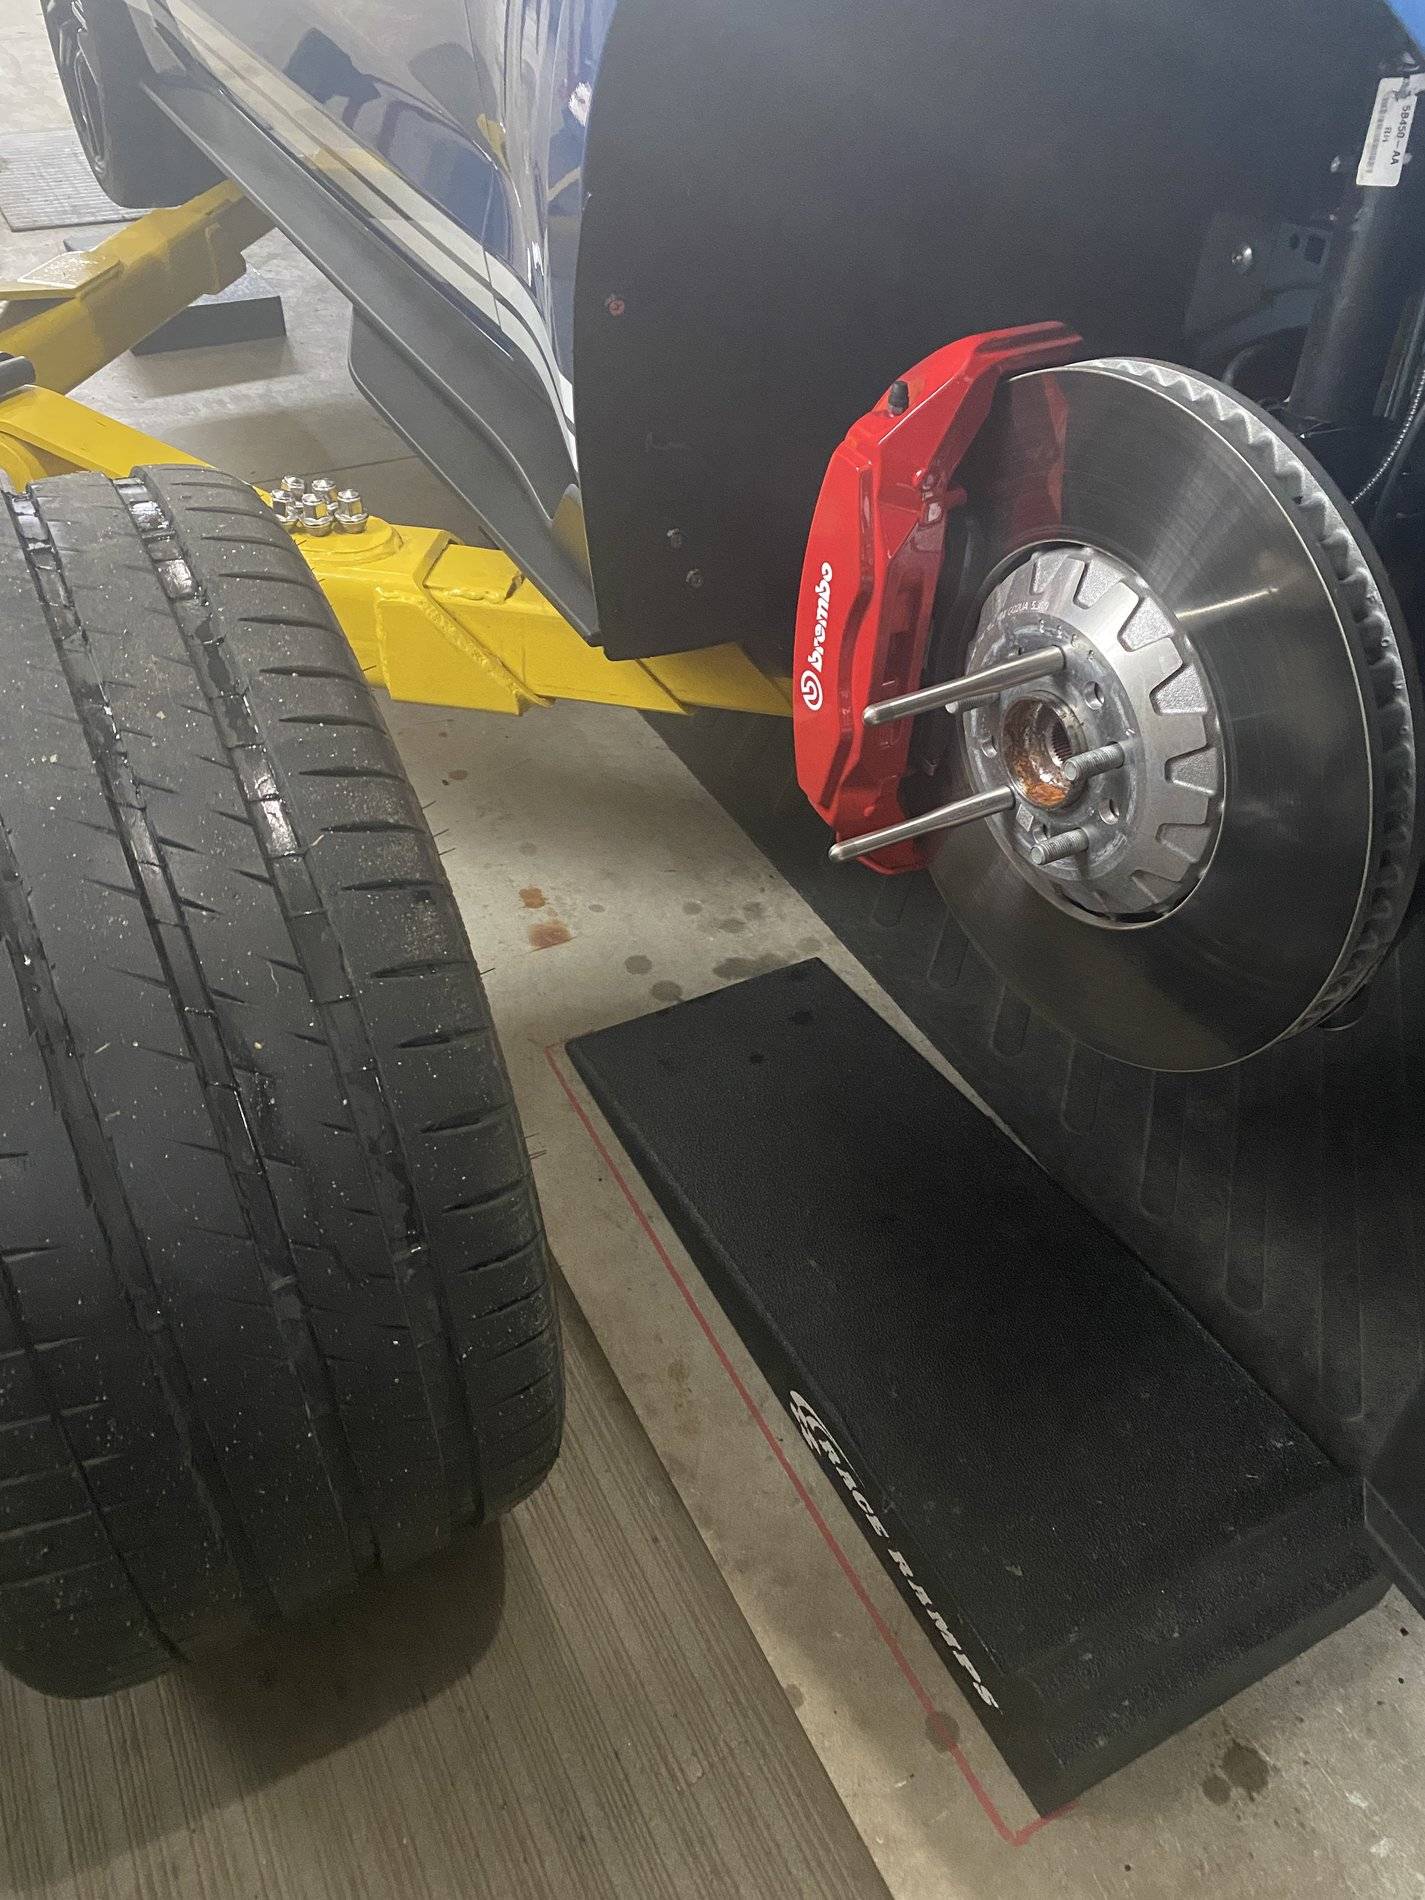
As I was about to take the front wheels off, and then I remembered that I purchased a set of these lug guide tools when I was at the Ford Nationals car show in Carlisle, PA, back in 2016. Initially, I bought them to aid in installing the really heavy 35” wheels & tires I had on my 6” suspension lifted 2015. They did not work on the aftermarket wheels I was using (stud holes were too small), so I threw them in a drawer. I remembered that I had them when I was thinking about the best way to get the wheels off without chipping the calipers.

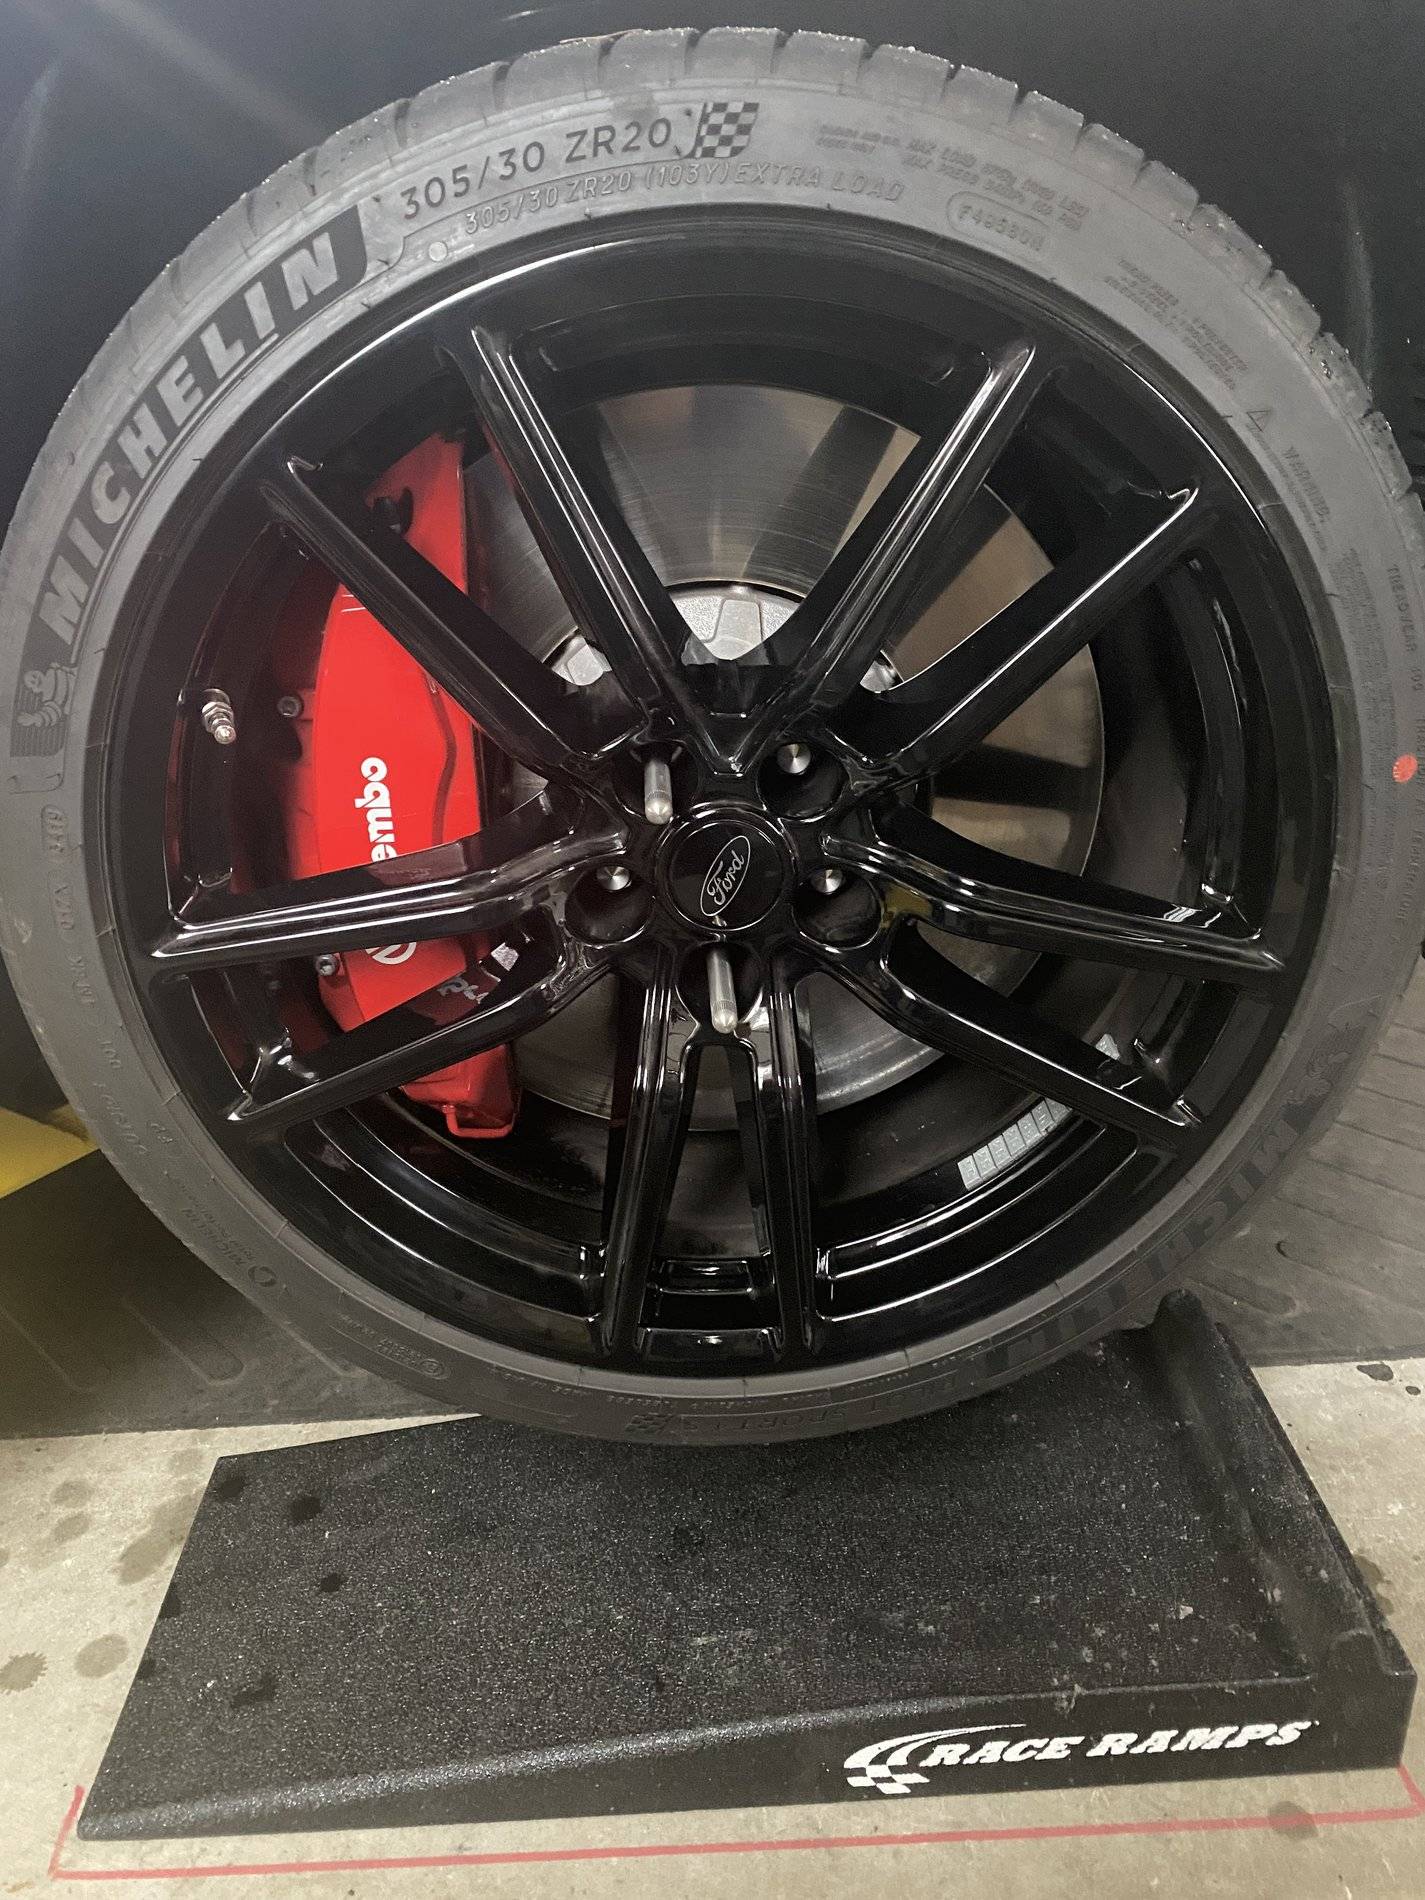
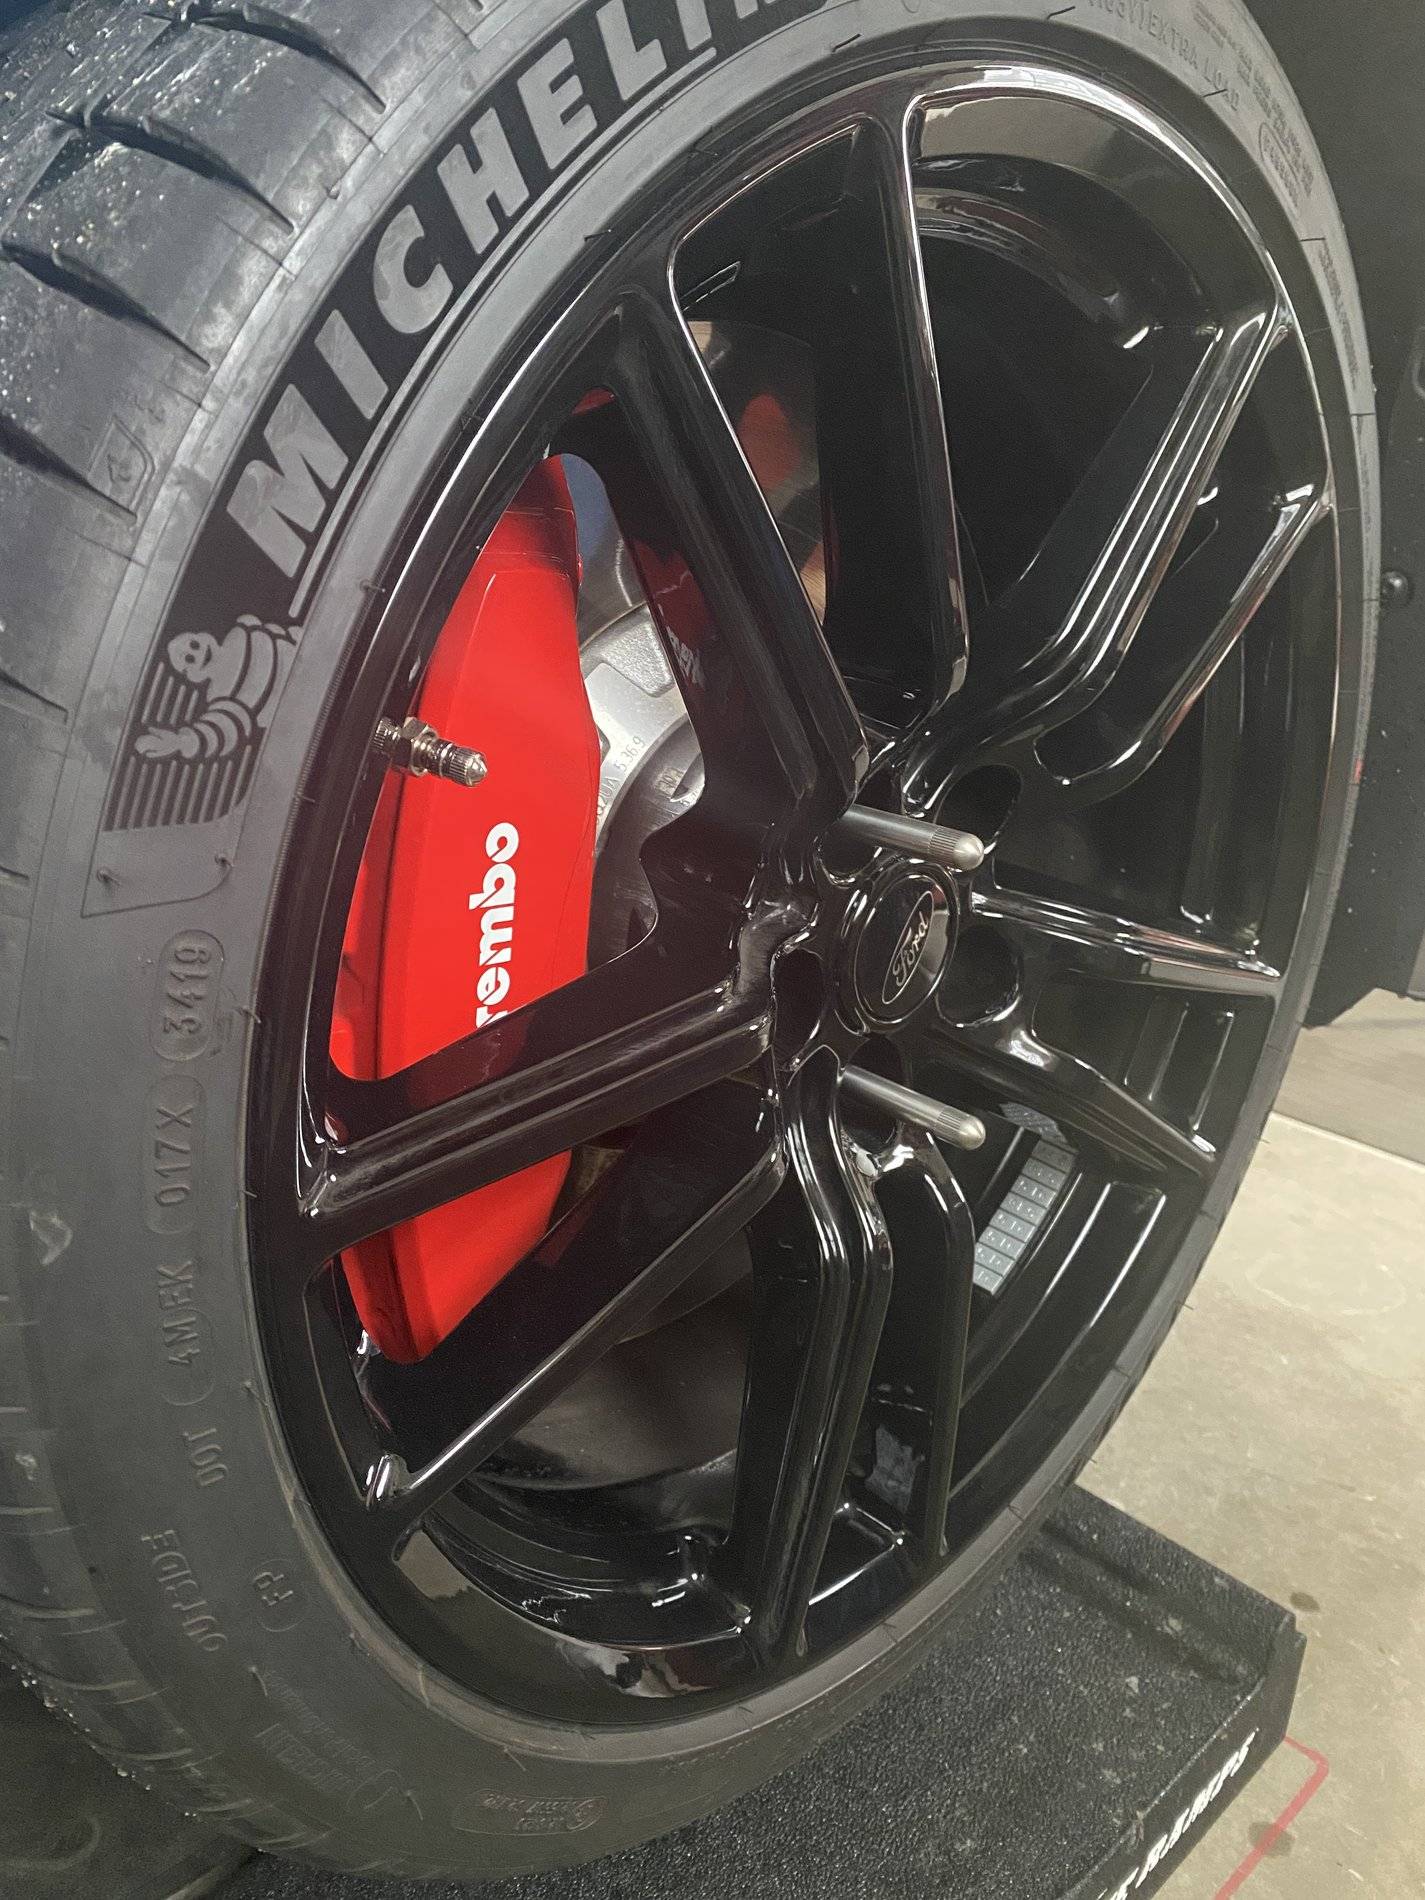
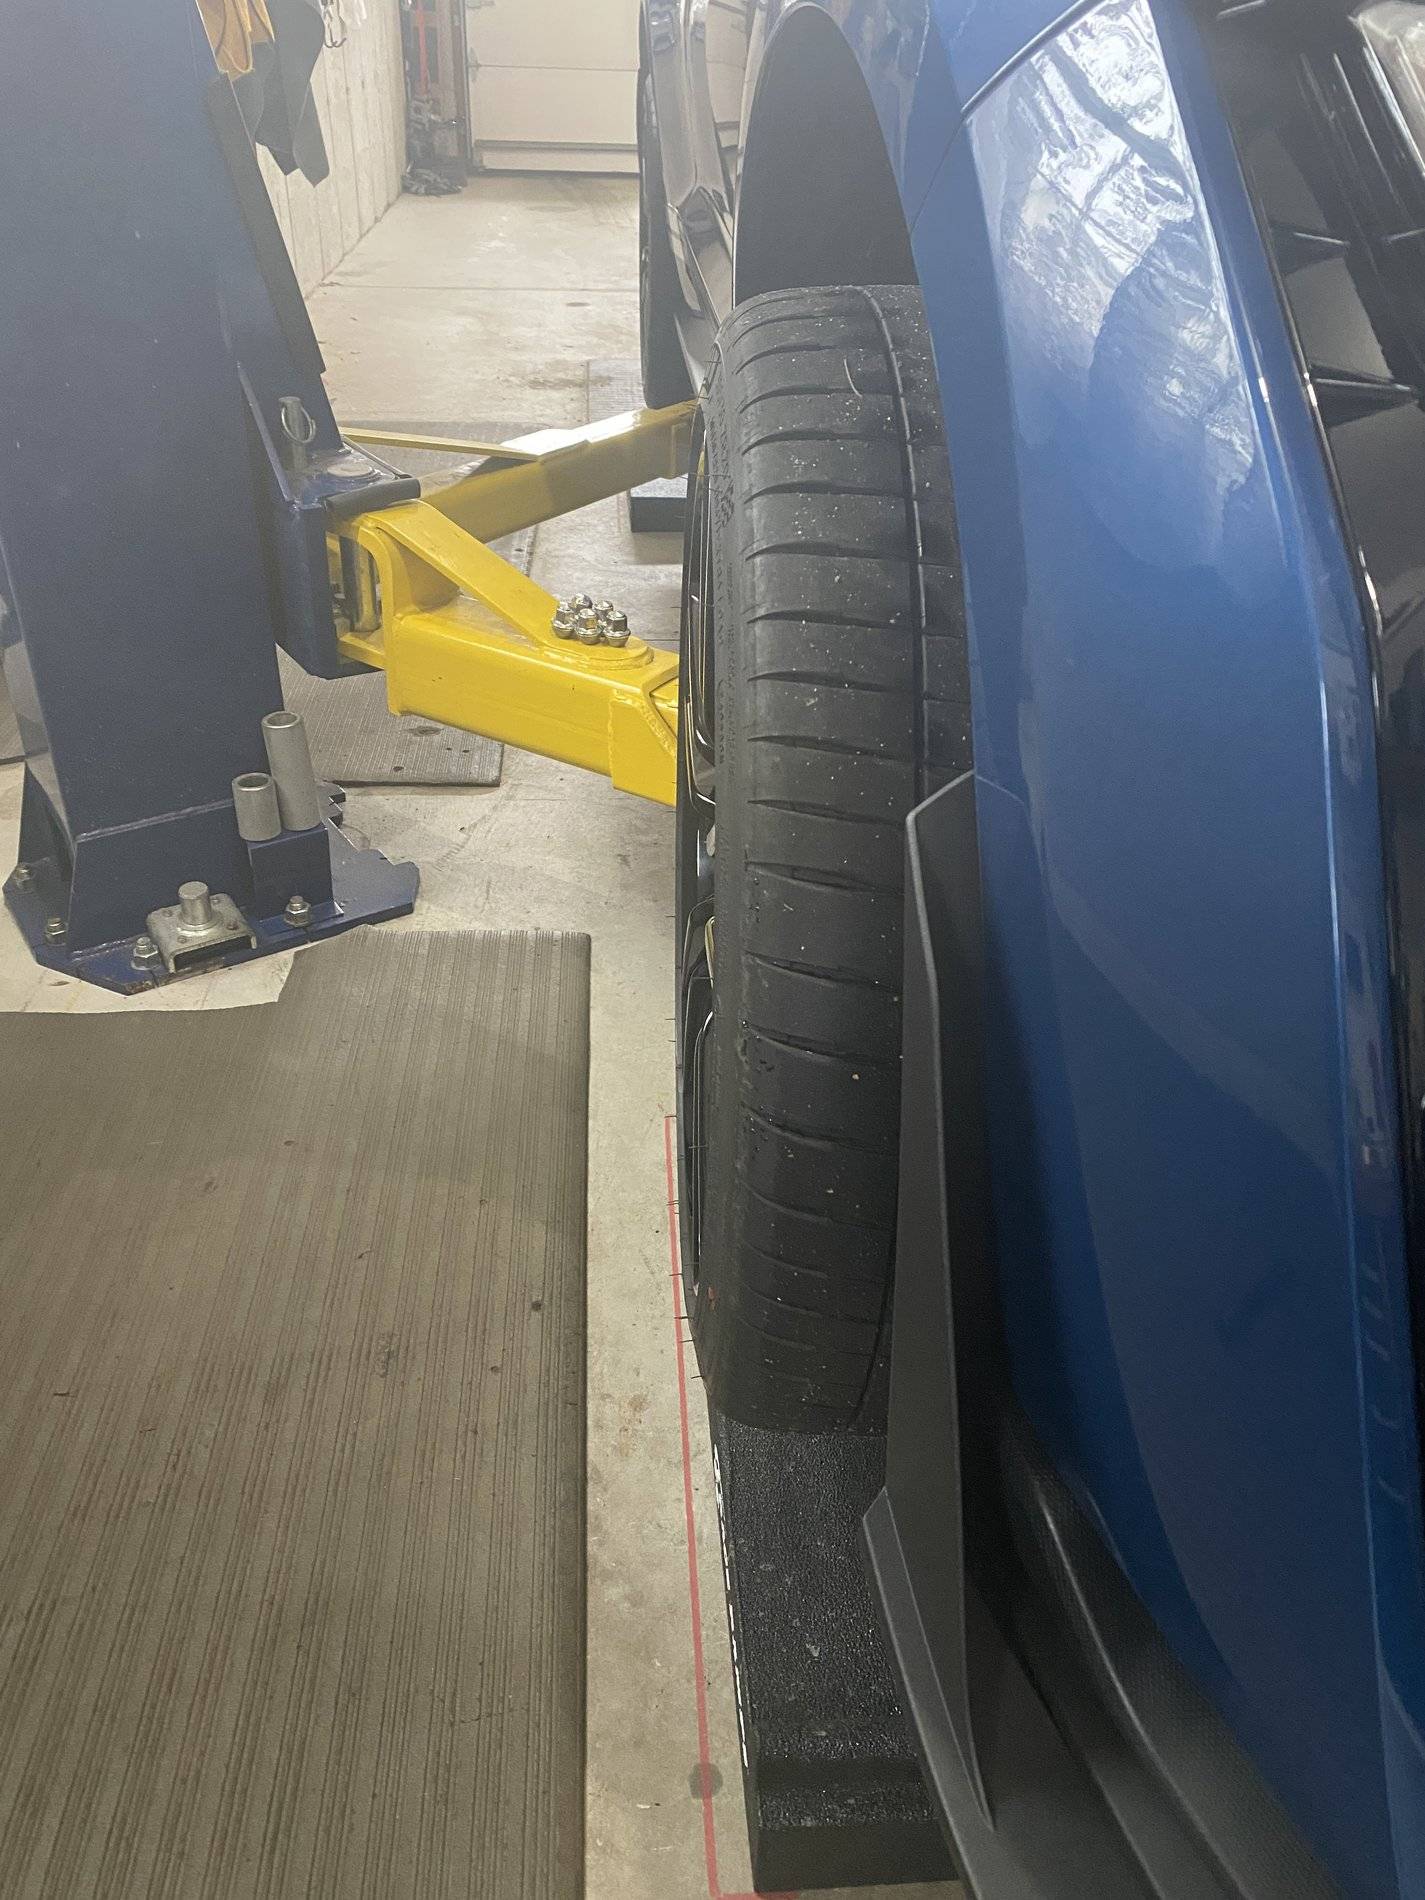
Here are a few pictures of them in action. They worked perfect!
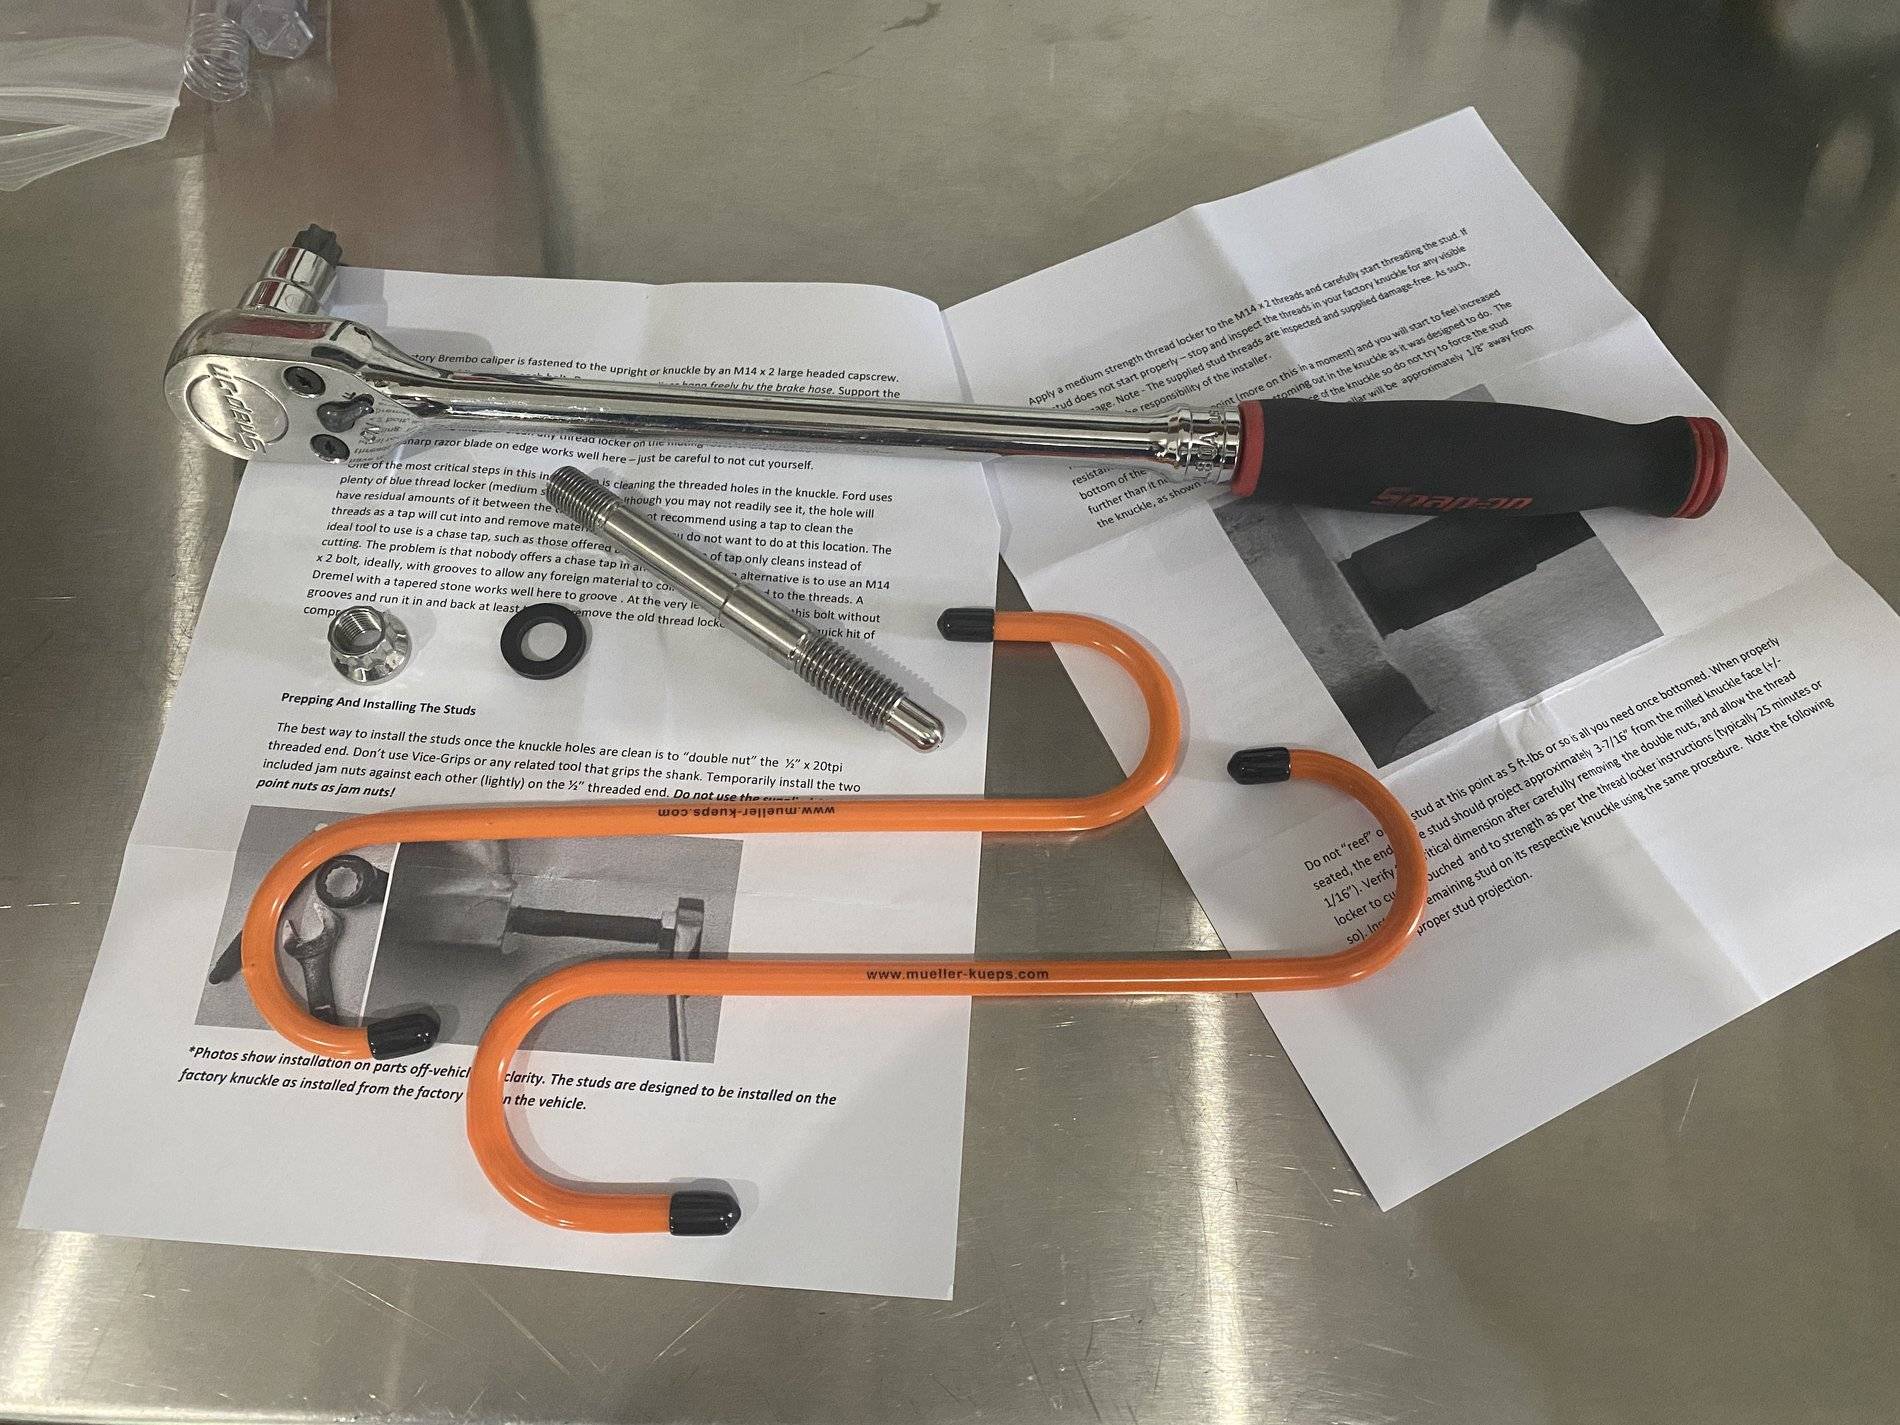
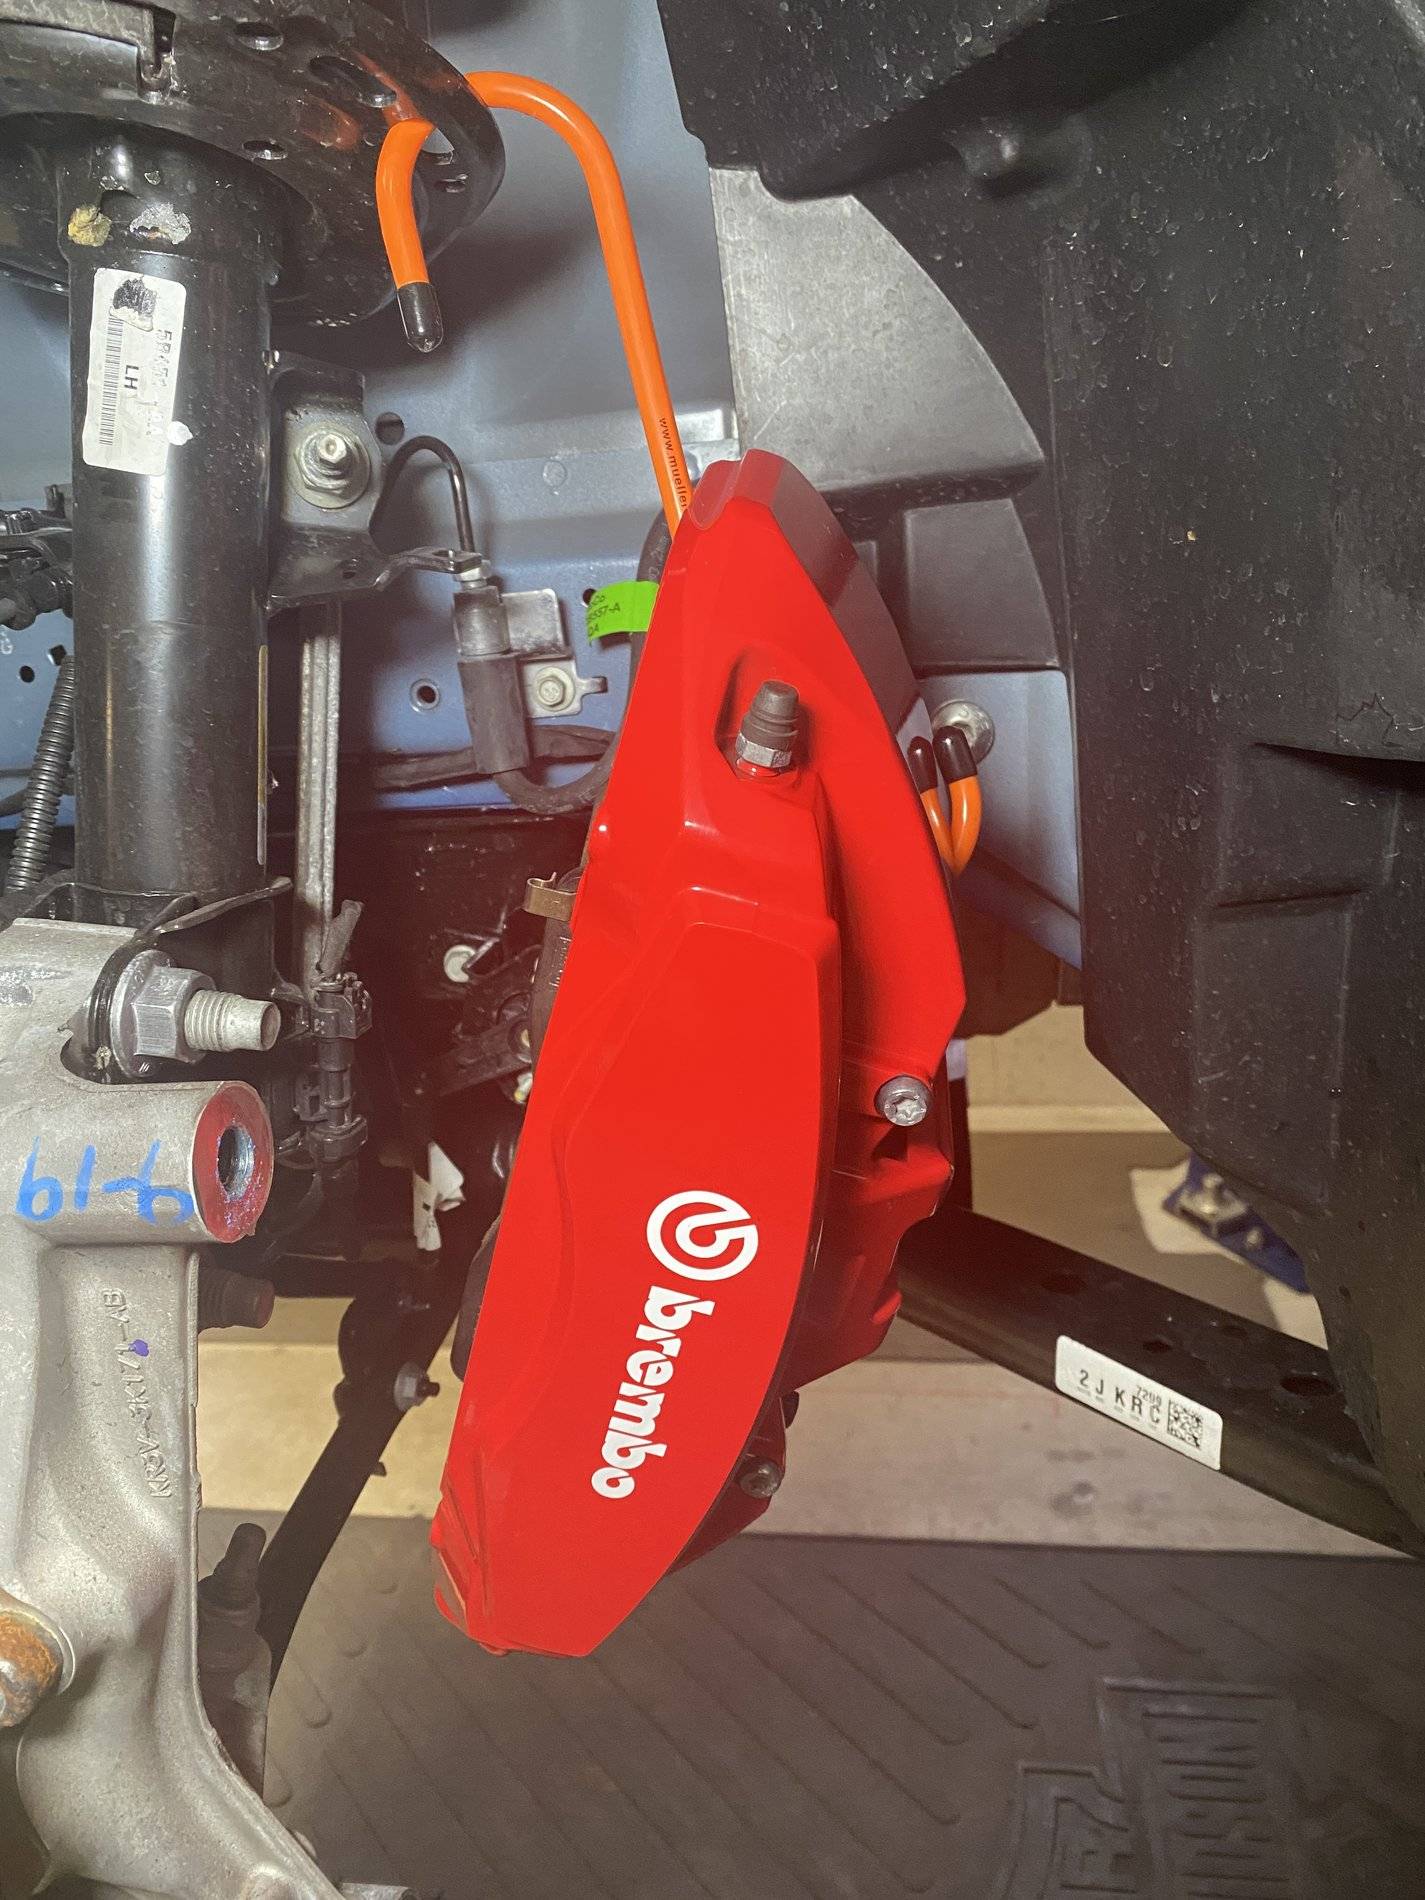
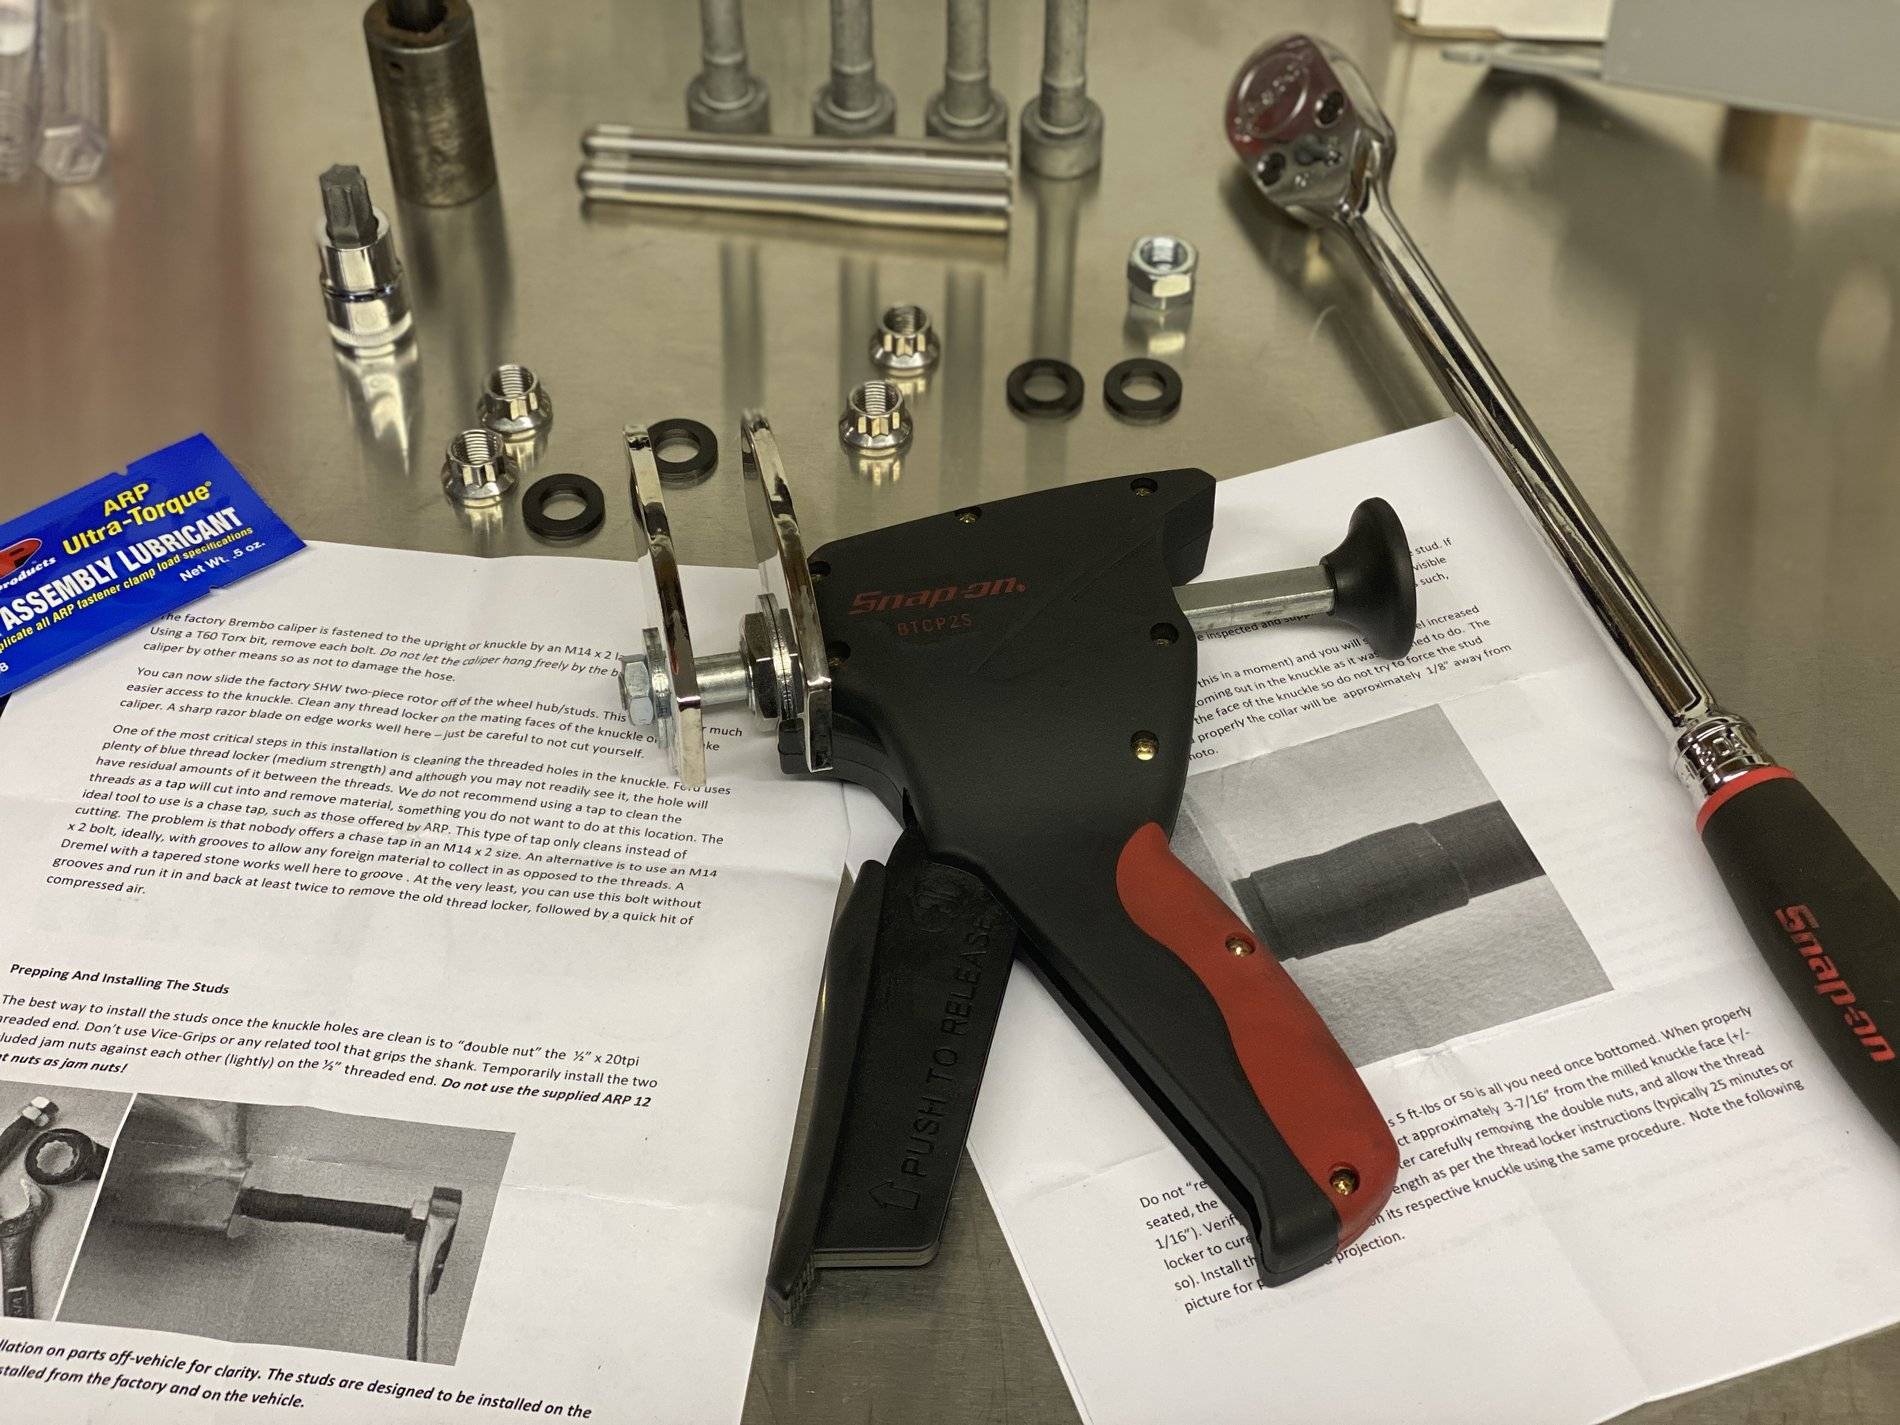
Next, unbolt and hang the caliper out of the way, using caution to not stress the brake line too much. I used these caliper hangers, which work perfectly with these heavy calipers.
Now, you are going to want to spend a little time cleaning the dried thread locker from the threaded holes, and from the mating surfaces of the caliper and knuckle. A razor blade worked best to clean the mating surfaces, and an air hose to blast out the threads after cleaning them. I also needed a file to fix a burr that I found on the lower mounting surface.
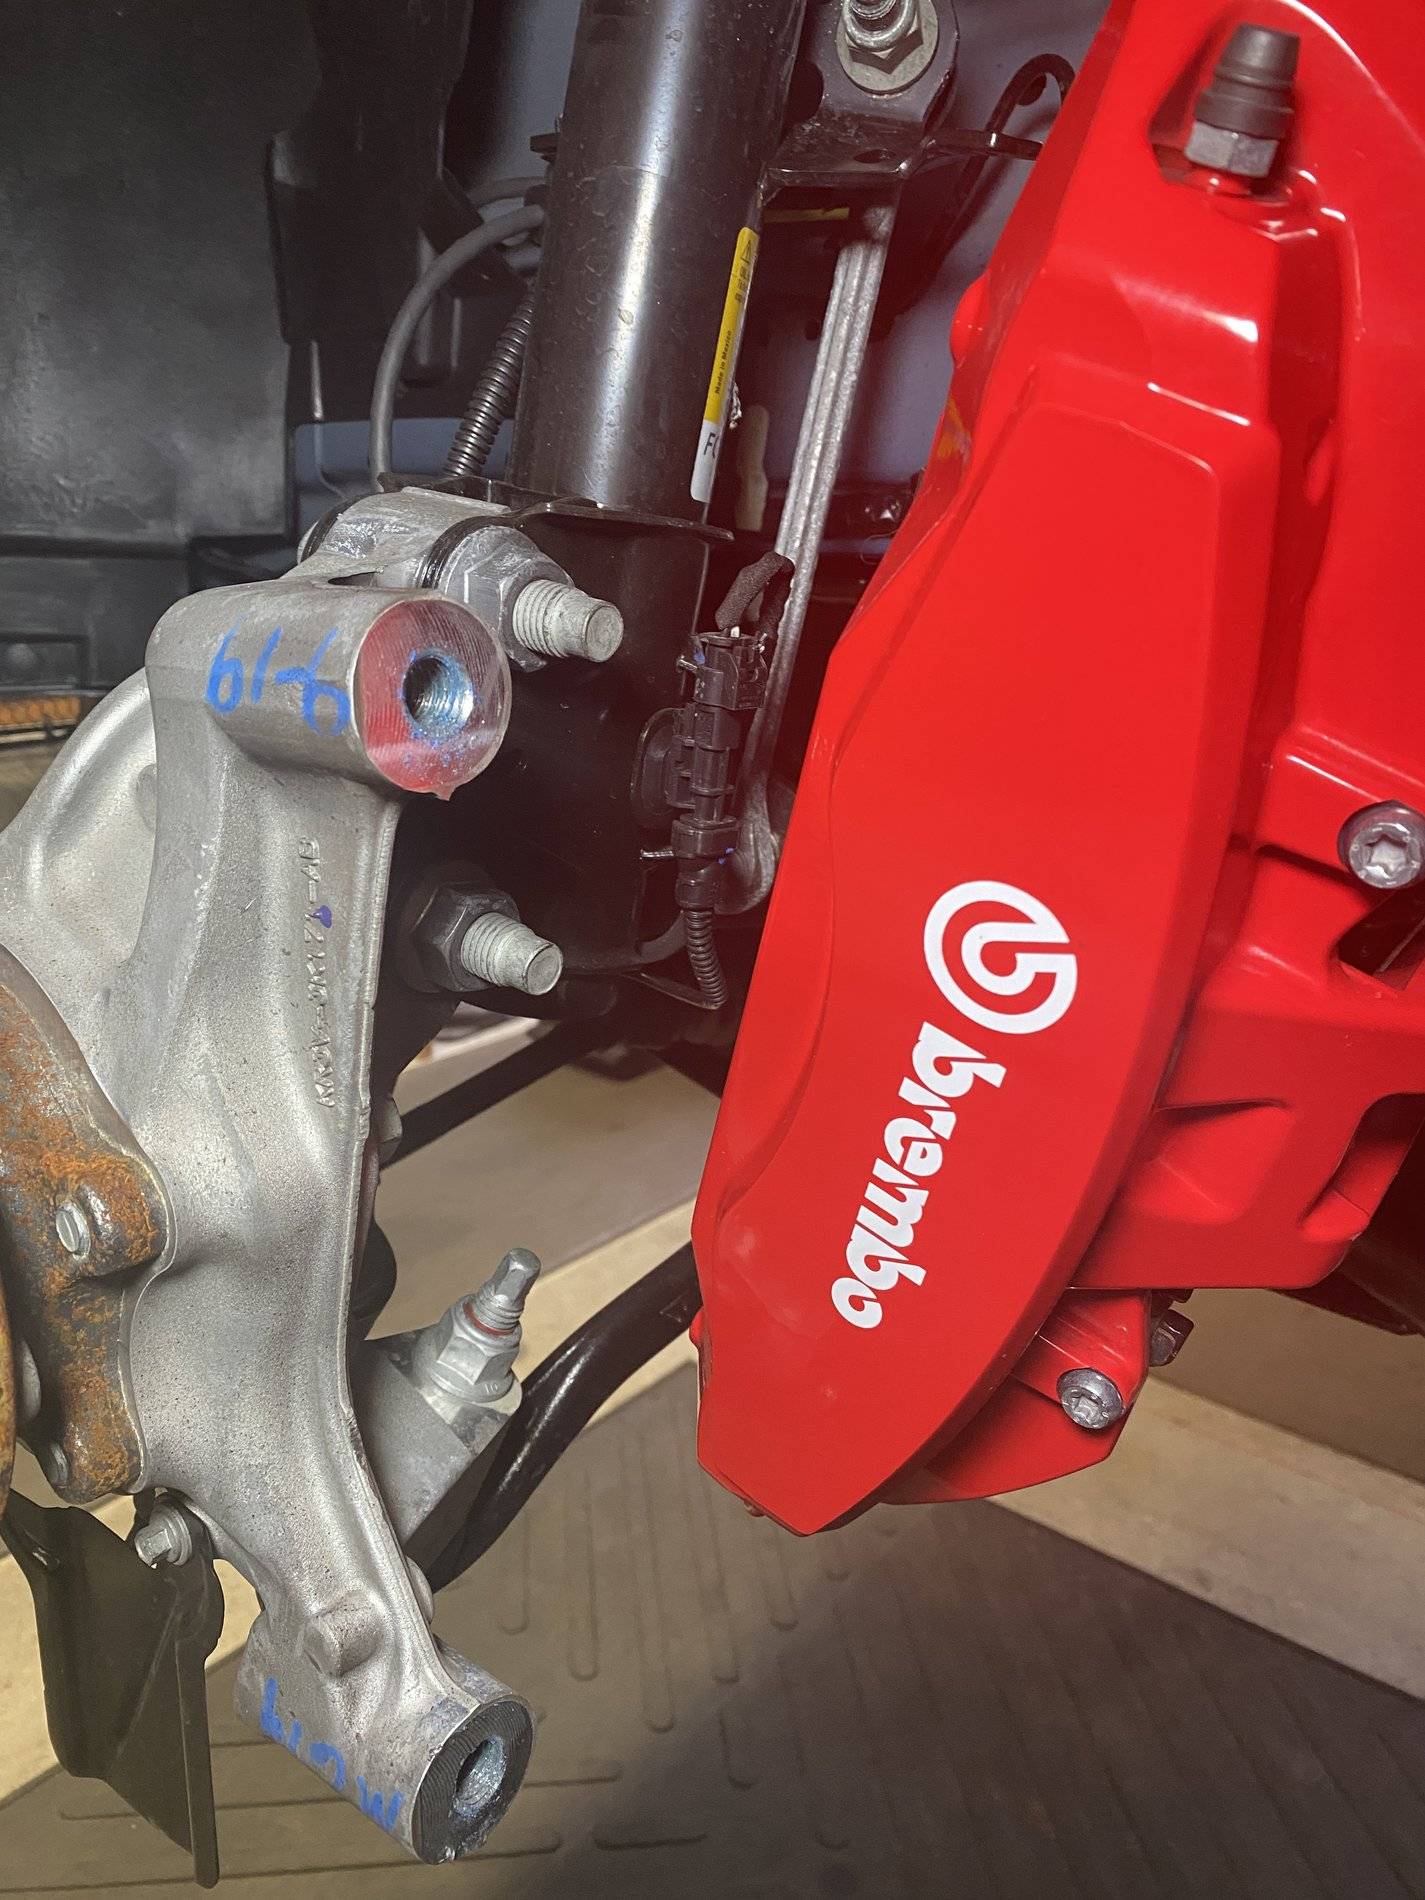
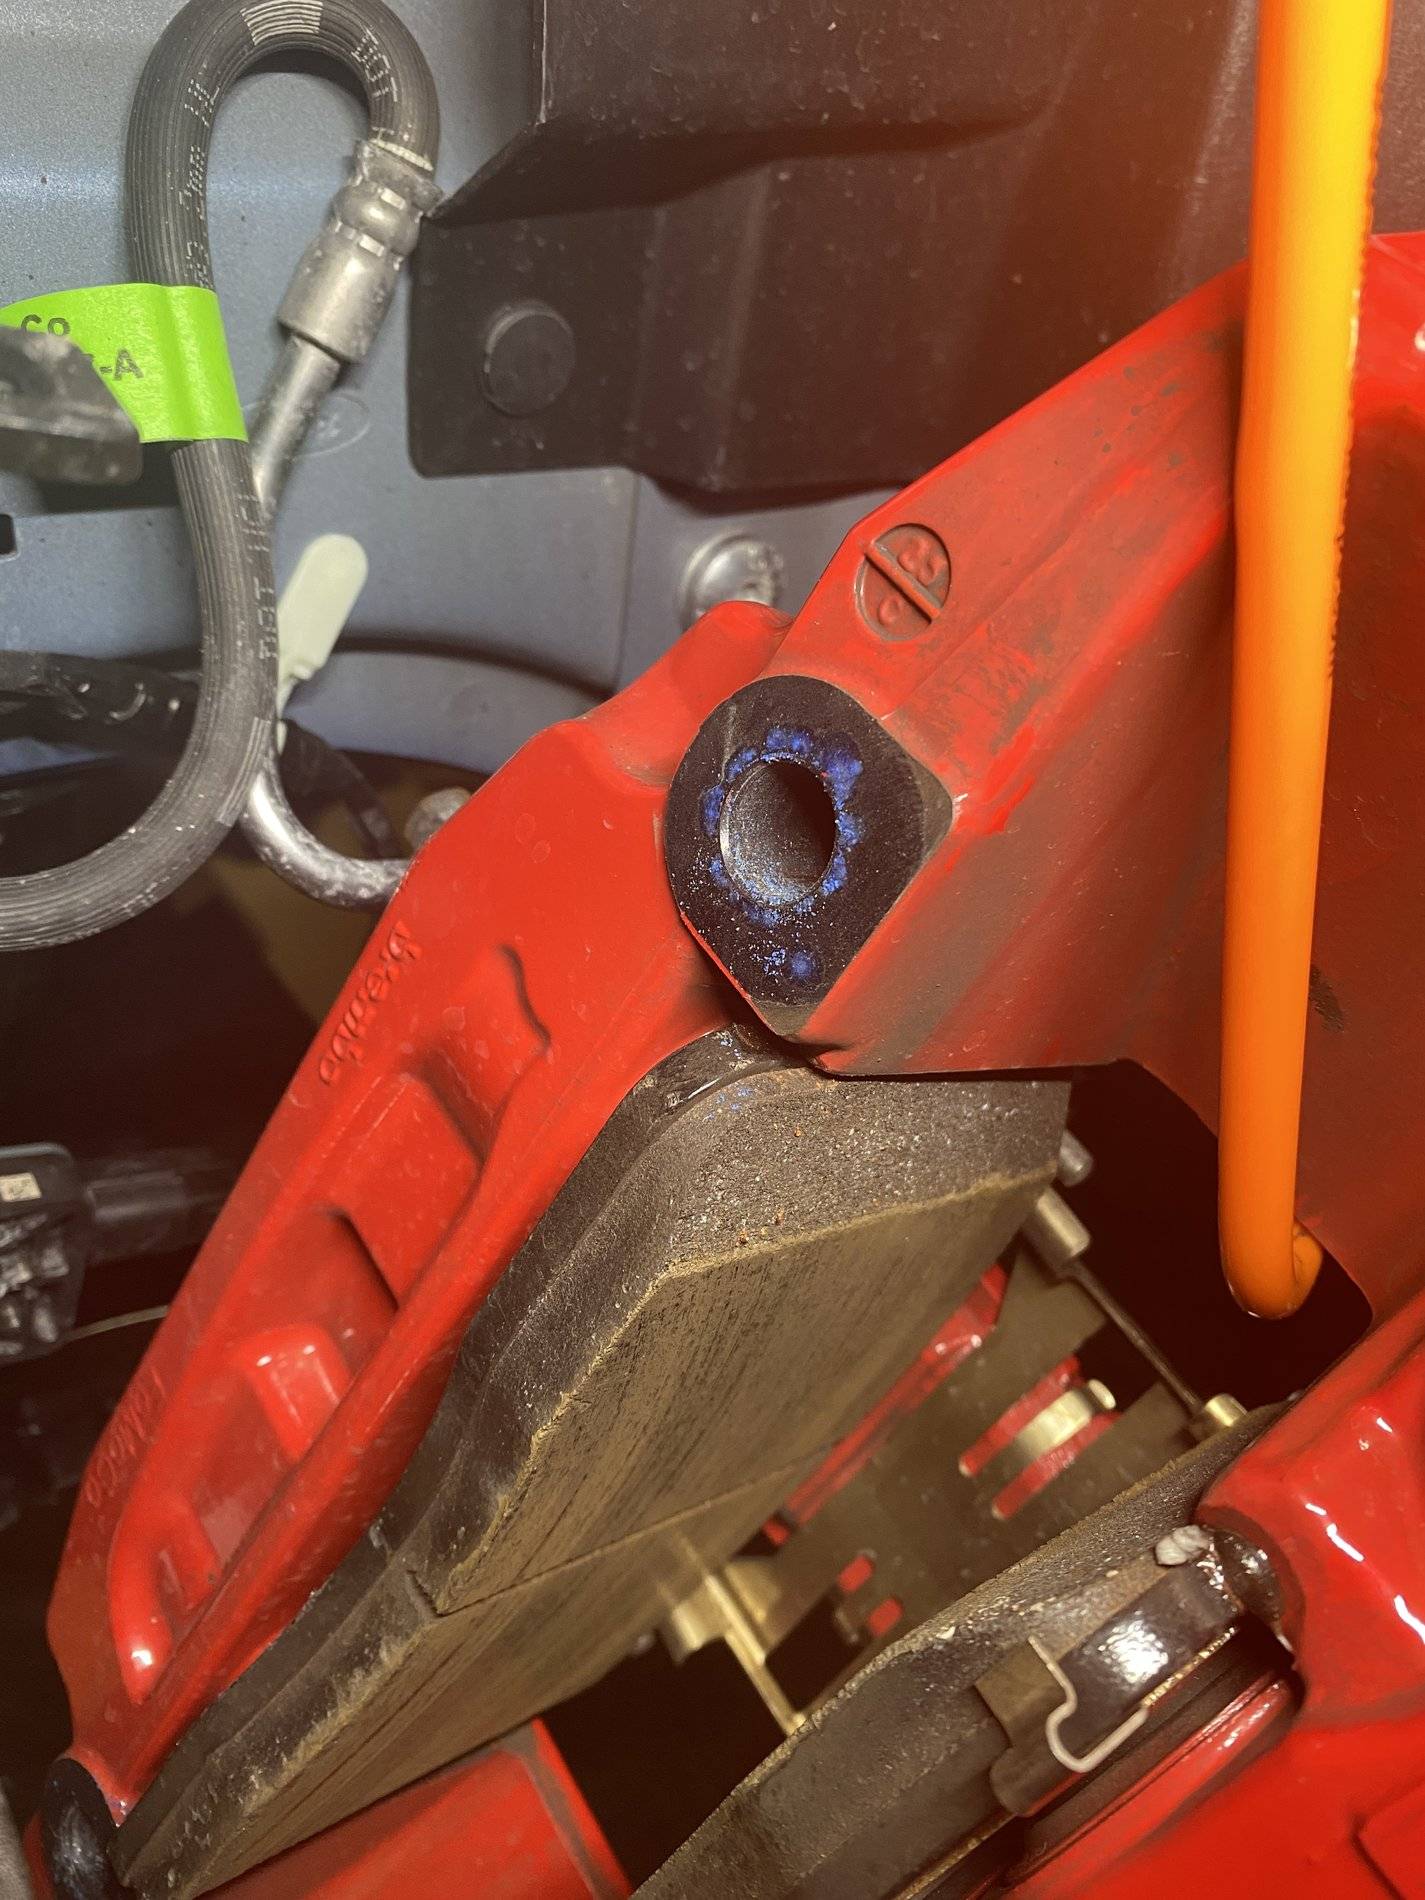
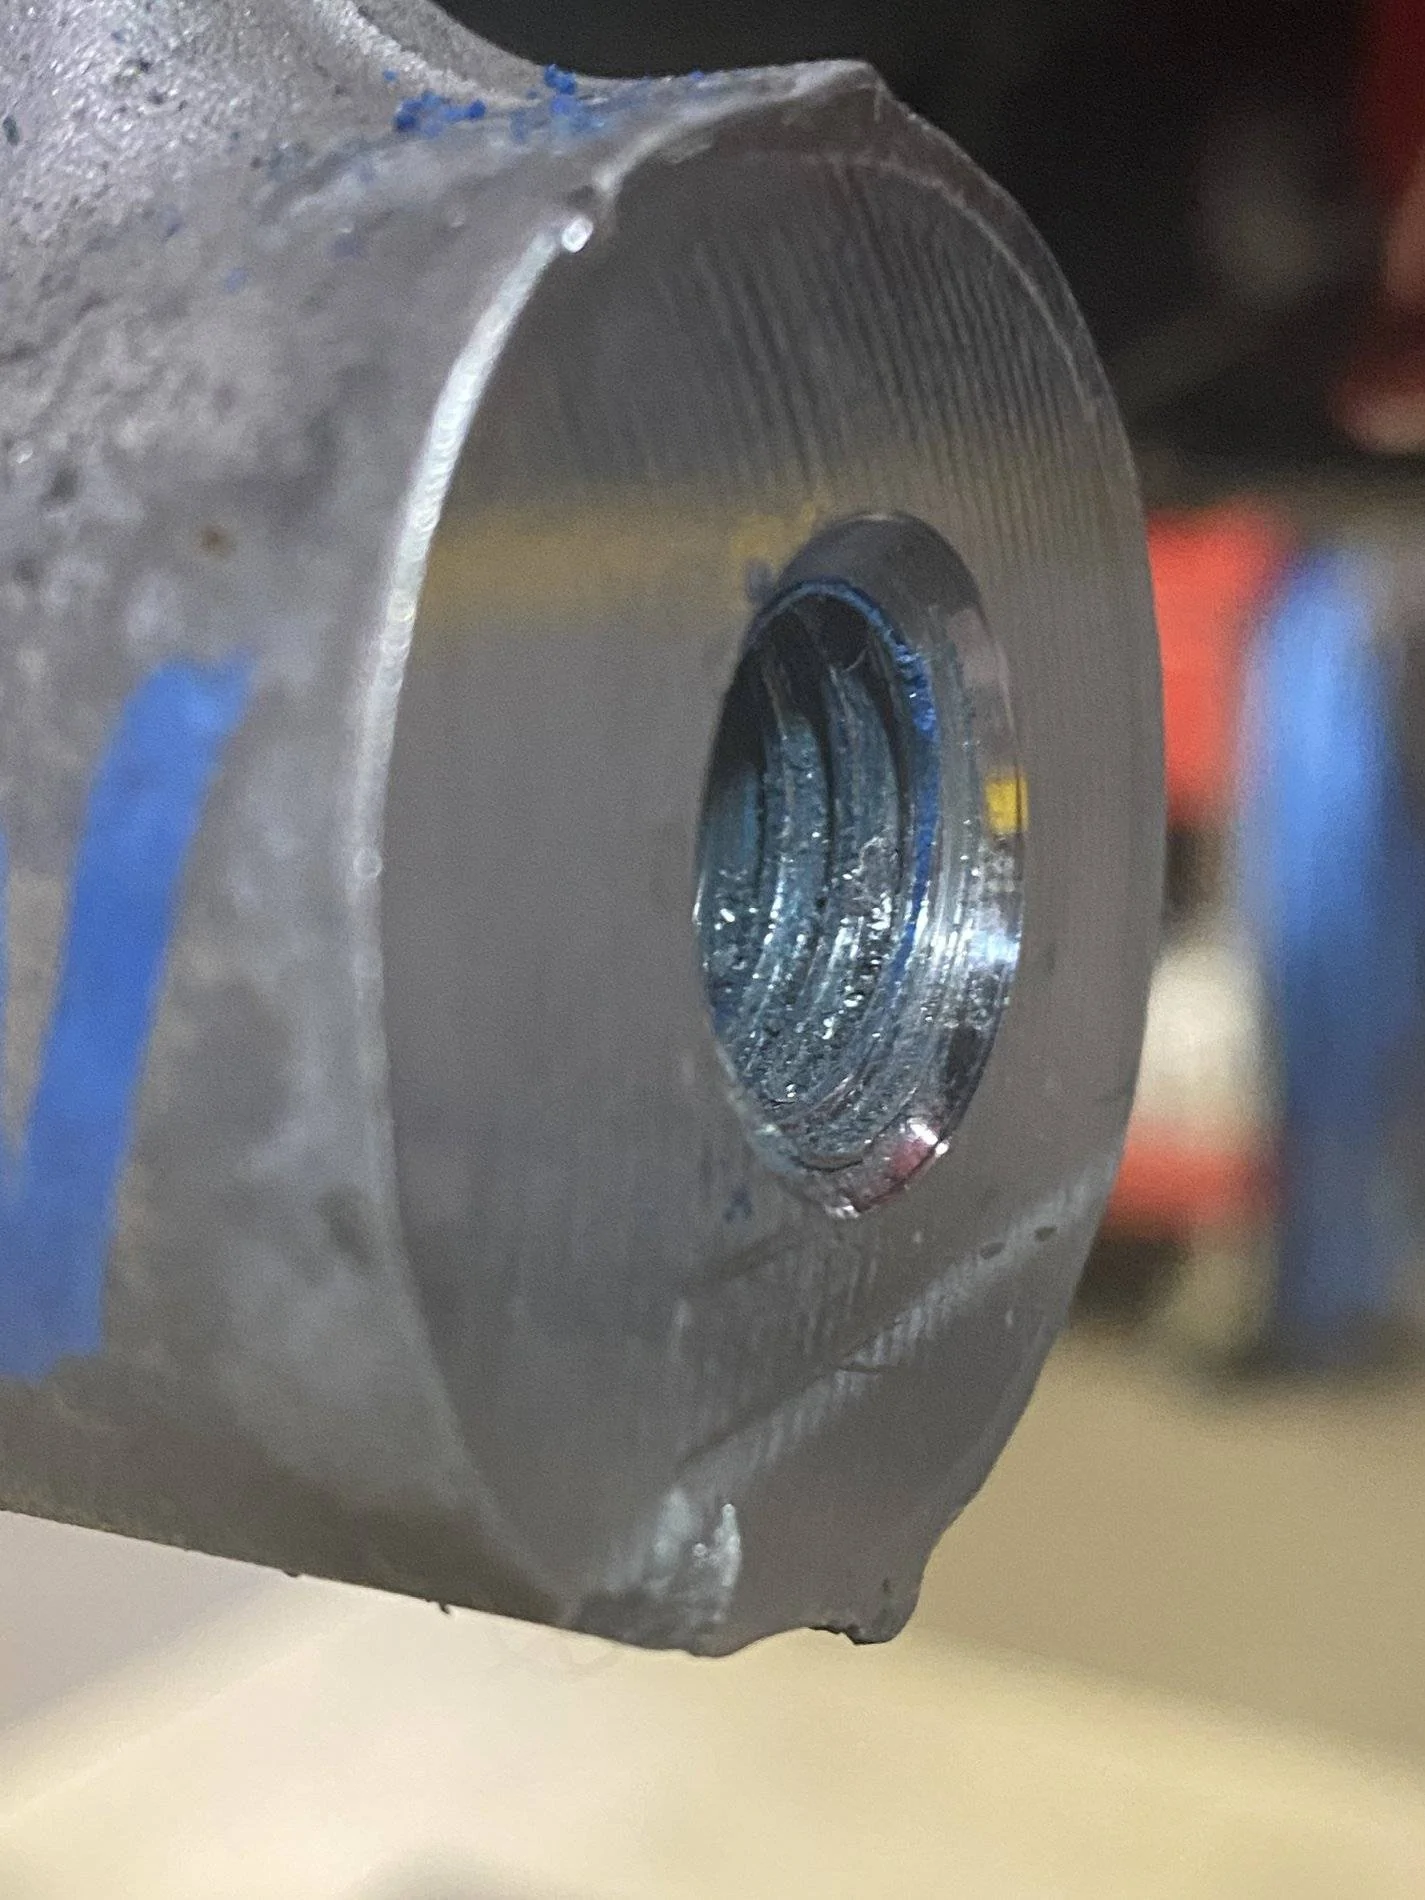
Here you can see the expired thread locker in the threads, on the the knuckle, and caliper. The third picture shows the burr that I need to file off.
After everything is clean, apply some of the included thread locker on the stud threads and install them into the knuckle. When finished there should be 3 7/16” between the knuckle and the end of the stud.
Using the supplied thread lubricant, put a light coat on hub of the stud, and on the thread ends before you slide the caliper into position.
Using a pad spreader, open the pads up to make sliding the caliper back over the rotor much easier. I also like to thread a lug nut on one of the wheel studs to hold the caliper flat against the hub.
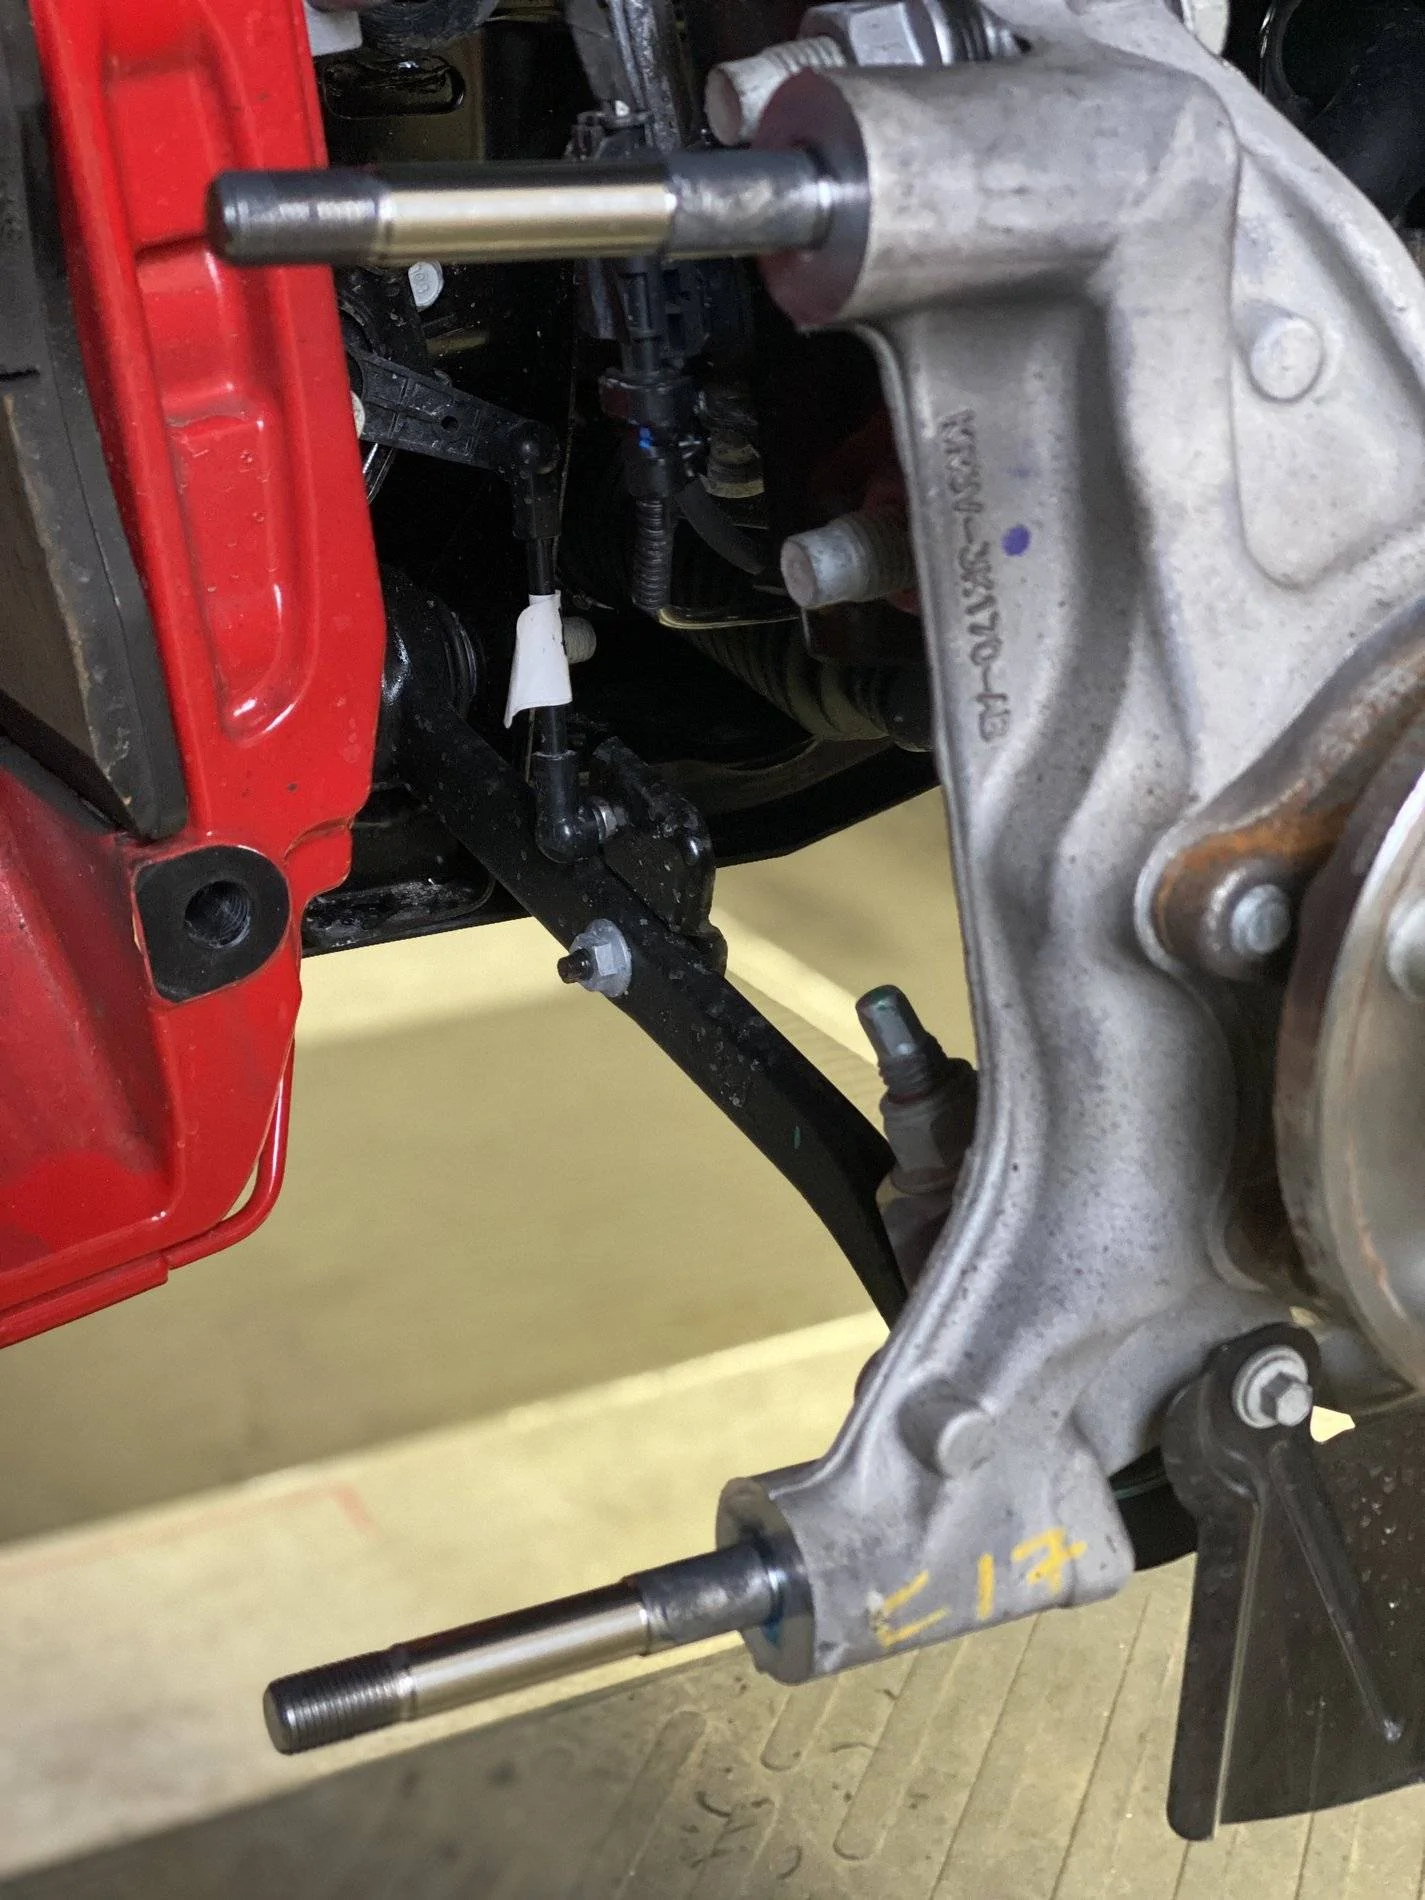
This is where I want to show you just how great the caliper extensions are. With the nuts and washers removed (if previously installed), simply thread them onto the studs. This allows you to slide the caliper out for swapping the pads, or rotor, or even suspension work. They keep the calipers out of the way, and safe from dangling danger, lol. These truly are brilliant, and are extremely useful. My only advice is to release the brake pad keepers before sliding the calipers out to the end of the extensions. They are more than capable of safely holding the caliper, I just would not want to torque on the caliper while the extensions are carrying the full weight.
Lastly, place the washer and 12 point nut on the end of the stud and torque to the proper setting.
When you are done you should see only one thread showing past the end of the nut.
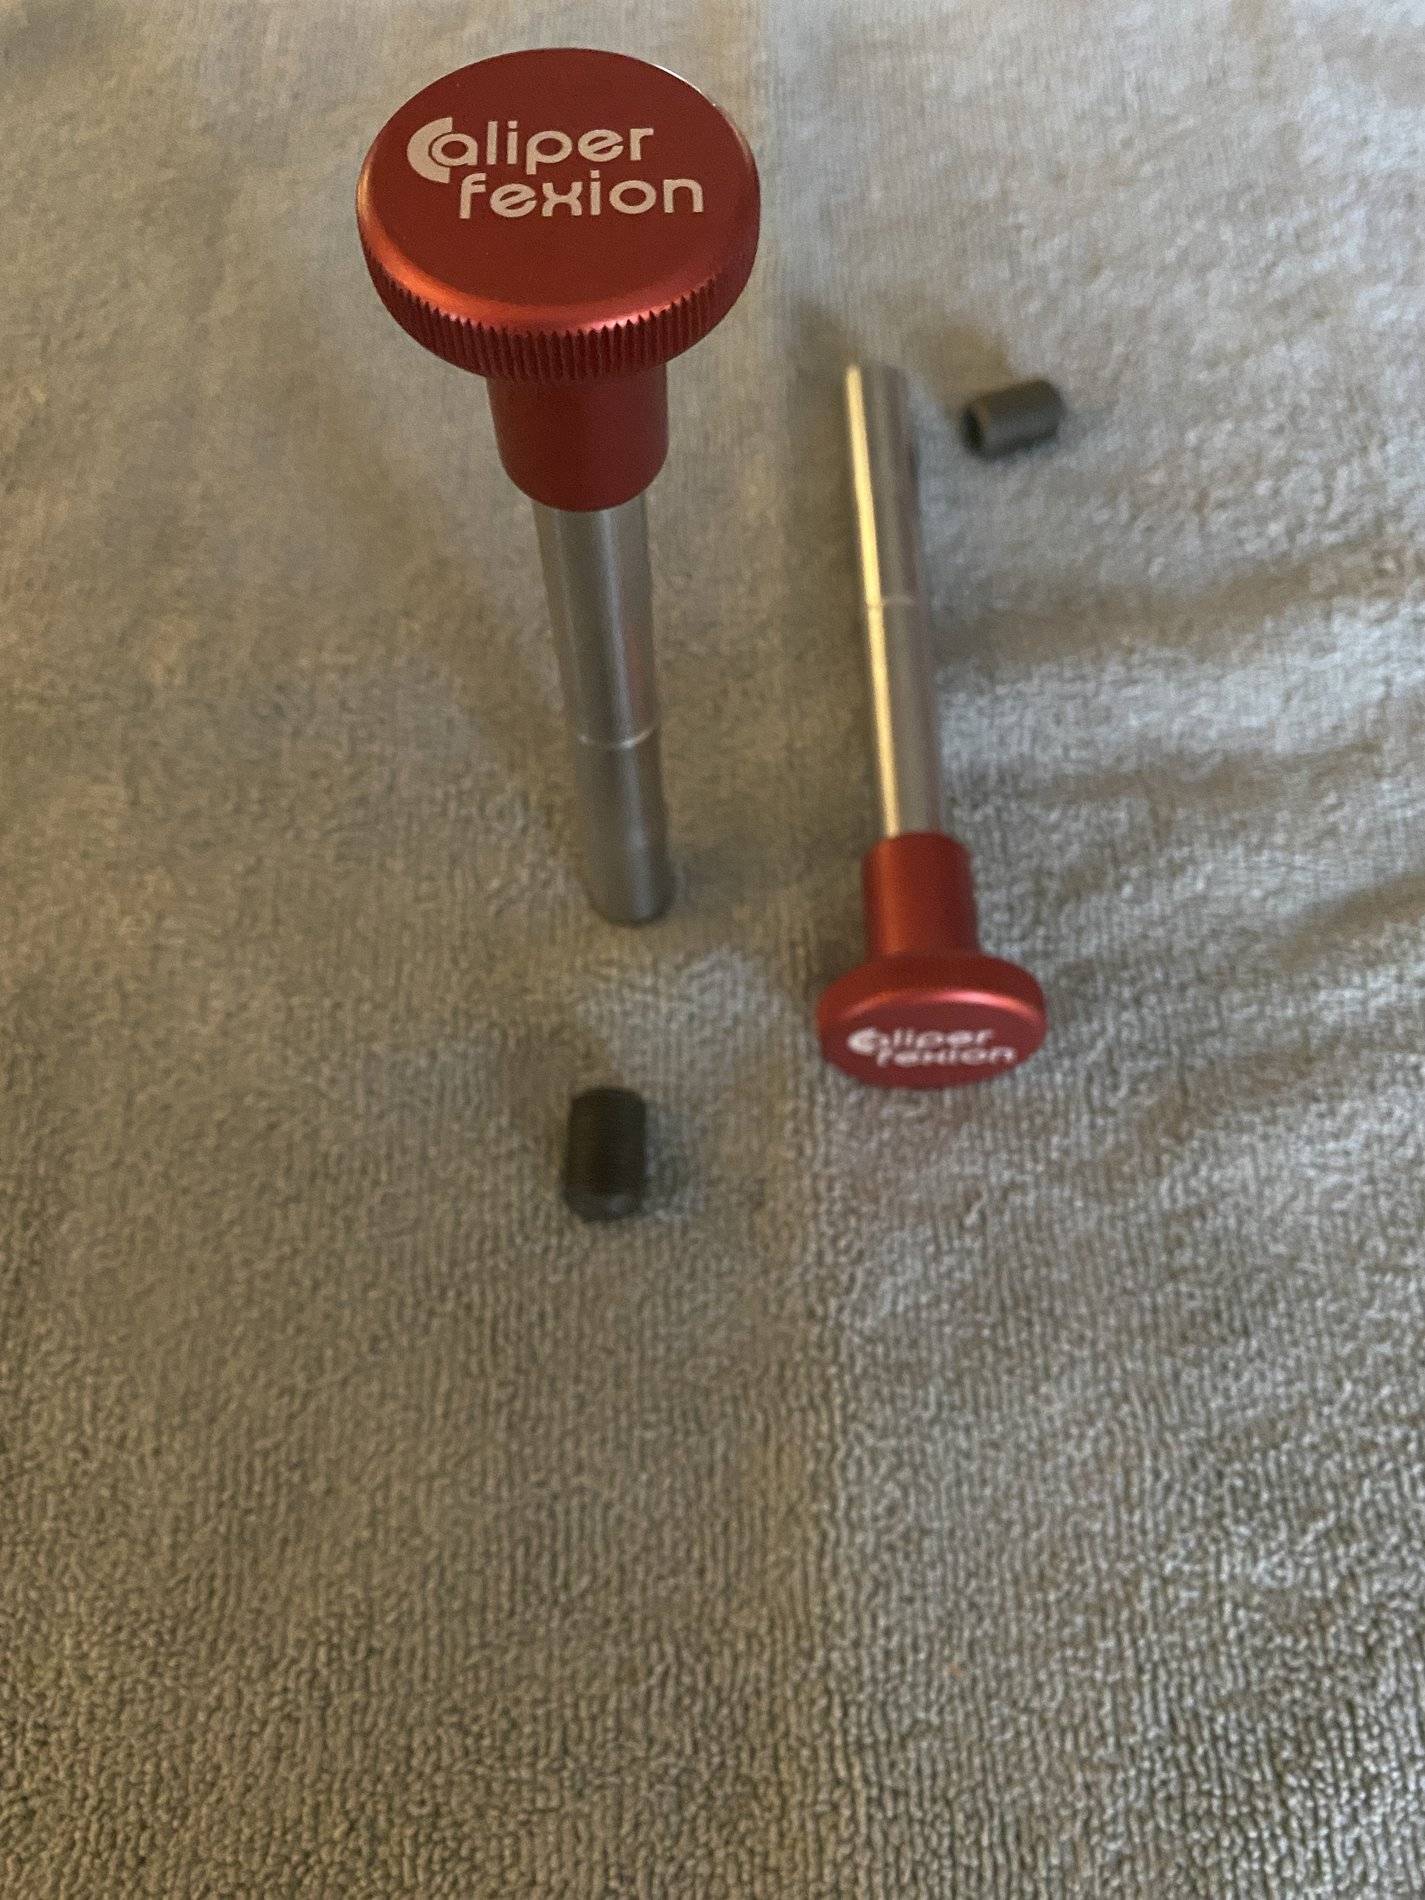
The stud extensions come with threaded plugs to protect the female threads when not in use. I also used them to store the included jam nuts, incase I ever need to take the studs out again.
It’s now time to grab your favorite beverage and marvel in the beauty that you just installed.

Let me start by saying, these things are a work of art, they are almost too beautiful to hide behind the caliper. They arrived nicely packaged, and supplied with everything you need to complete the job. I also picked up a set of caliper extensions to make pad swapping, or suspension work even easier.
As I was about to take the front wheels off, and then I remembered that I purchased a set of these lug guide tools when I was at the Ford Nationals car show in Carlisle, PA, back in 2016. Initially, I bought them to aid in installing the really heavy 35” wheels & tires I had on my 6” suspension lifted 2015. They did not work on the aftermarket wheels I was using (stud holes were too small), so I threw them in a drawer. I remembered that I had them when I was thinking about the best way to get the wheels off without chipping the calipers.
Here are a few pictures of them in action. They worked perfect!
Next, unbolt and hang the caliper out of the way, using caution to not stress the brake line too much. I used these caliper hangers, which work perfectly with these heavy calipers.
Now, you are going to want to spend a little time cleaning the dried thread locker from the threaded holes, and from the mating surfaces of the caliper and knuckle. A razor blade worked best to clean the mating surfaces, and an air hose to blast out the threads after cleaning them. I also needed a file to fix a burr that I found on the lower mounting surface.
Here you can see the expired thread locker in the threads, on the the knuckle, and caliper. The third picture shows the burr that I need to file off.
After everything is clean, apply some of the included thread locker on the stud threads and install them into the knuckle. When finished there should be 3 7/16” between the knuckle and the end of the stud.
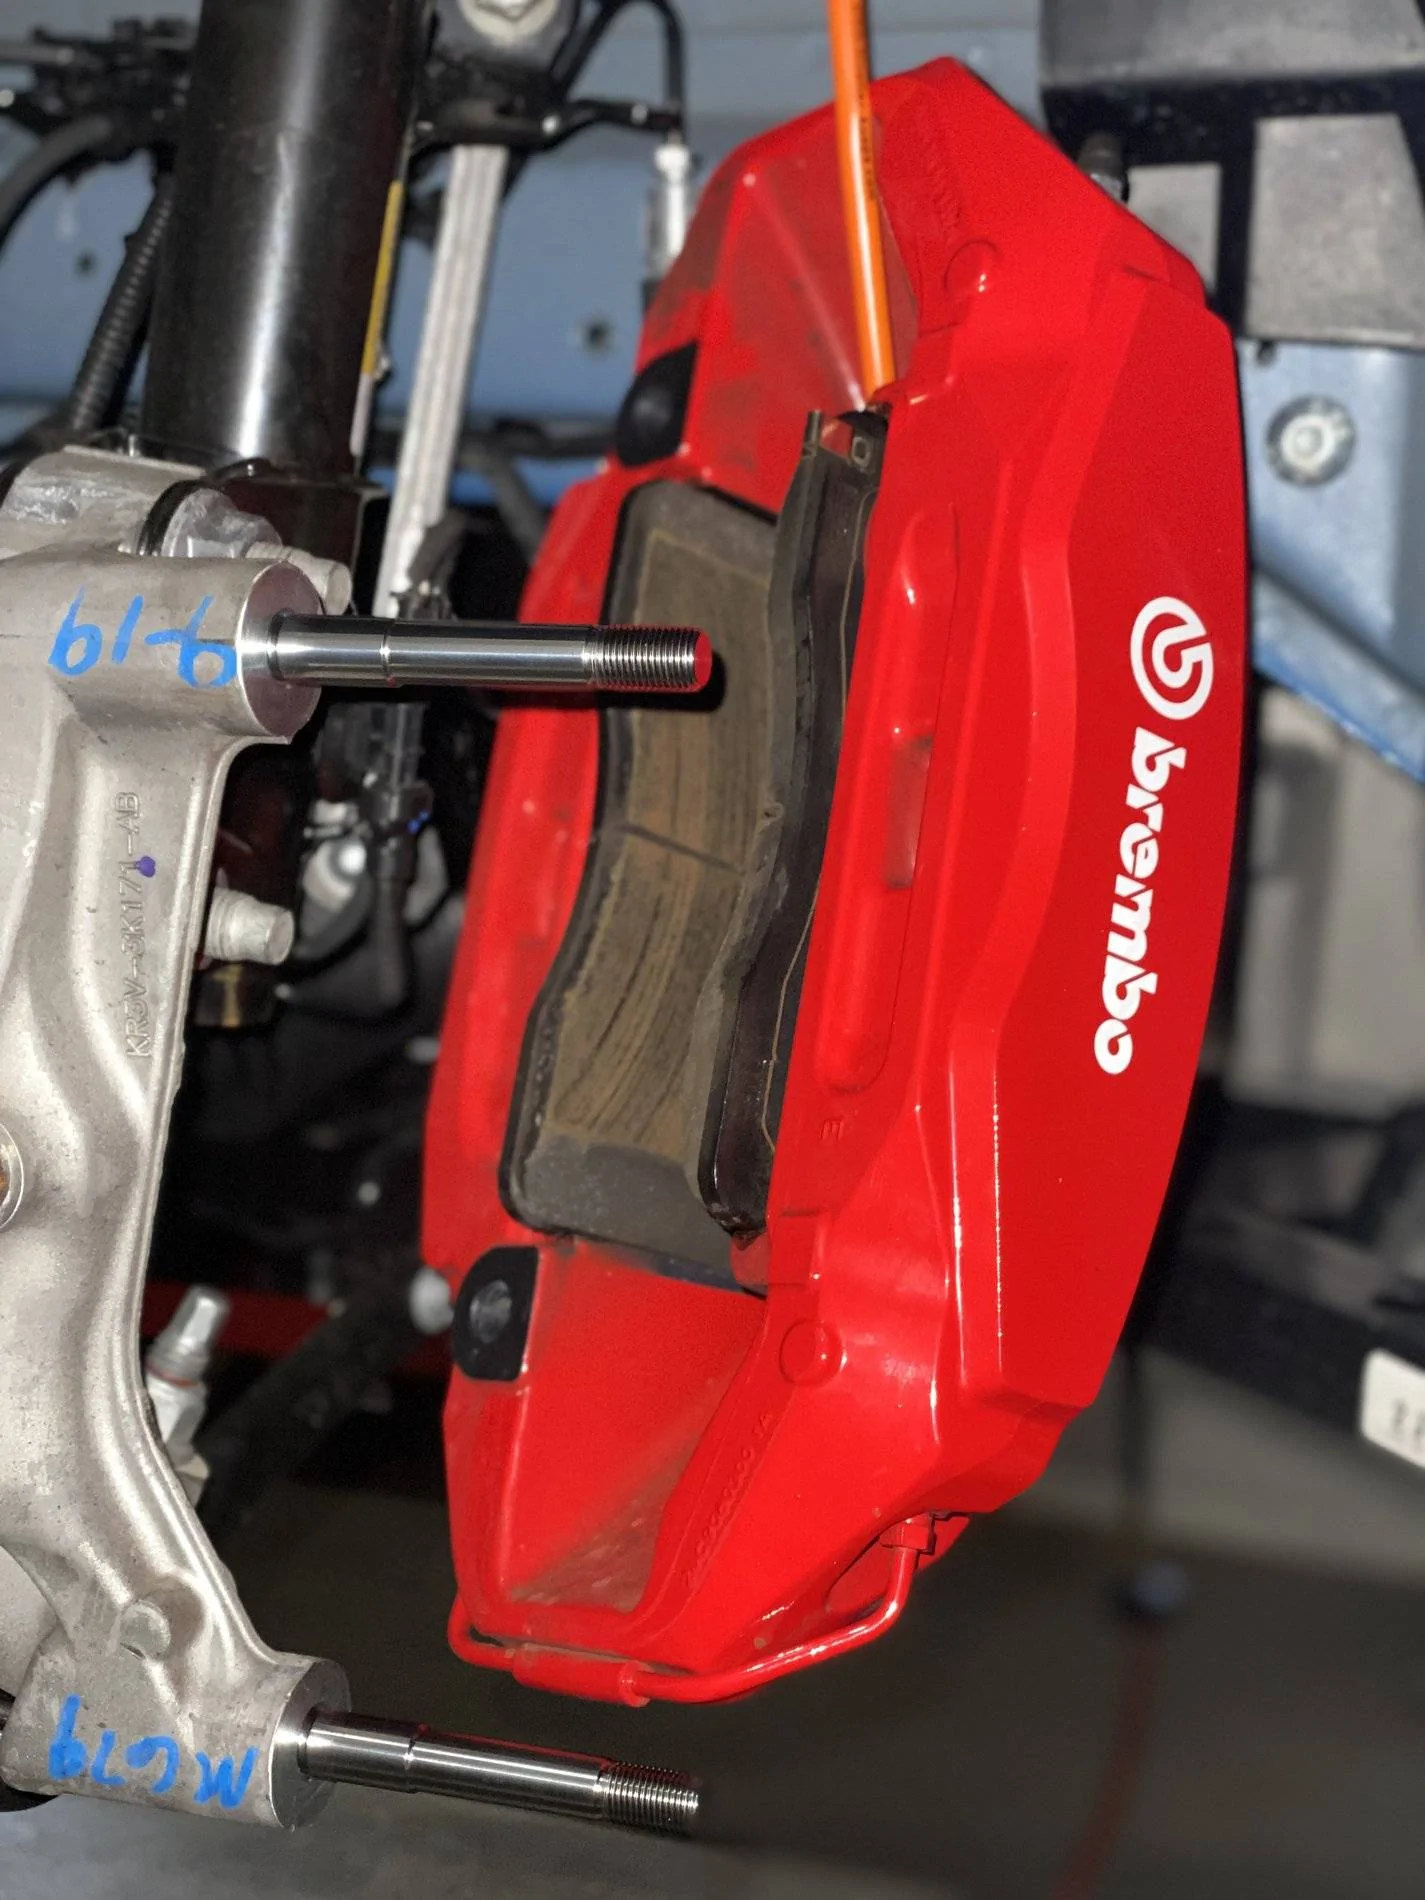
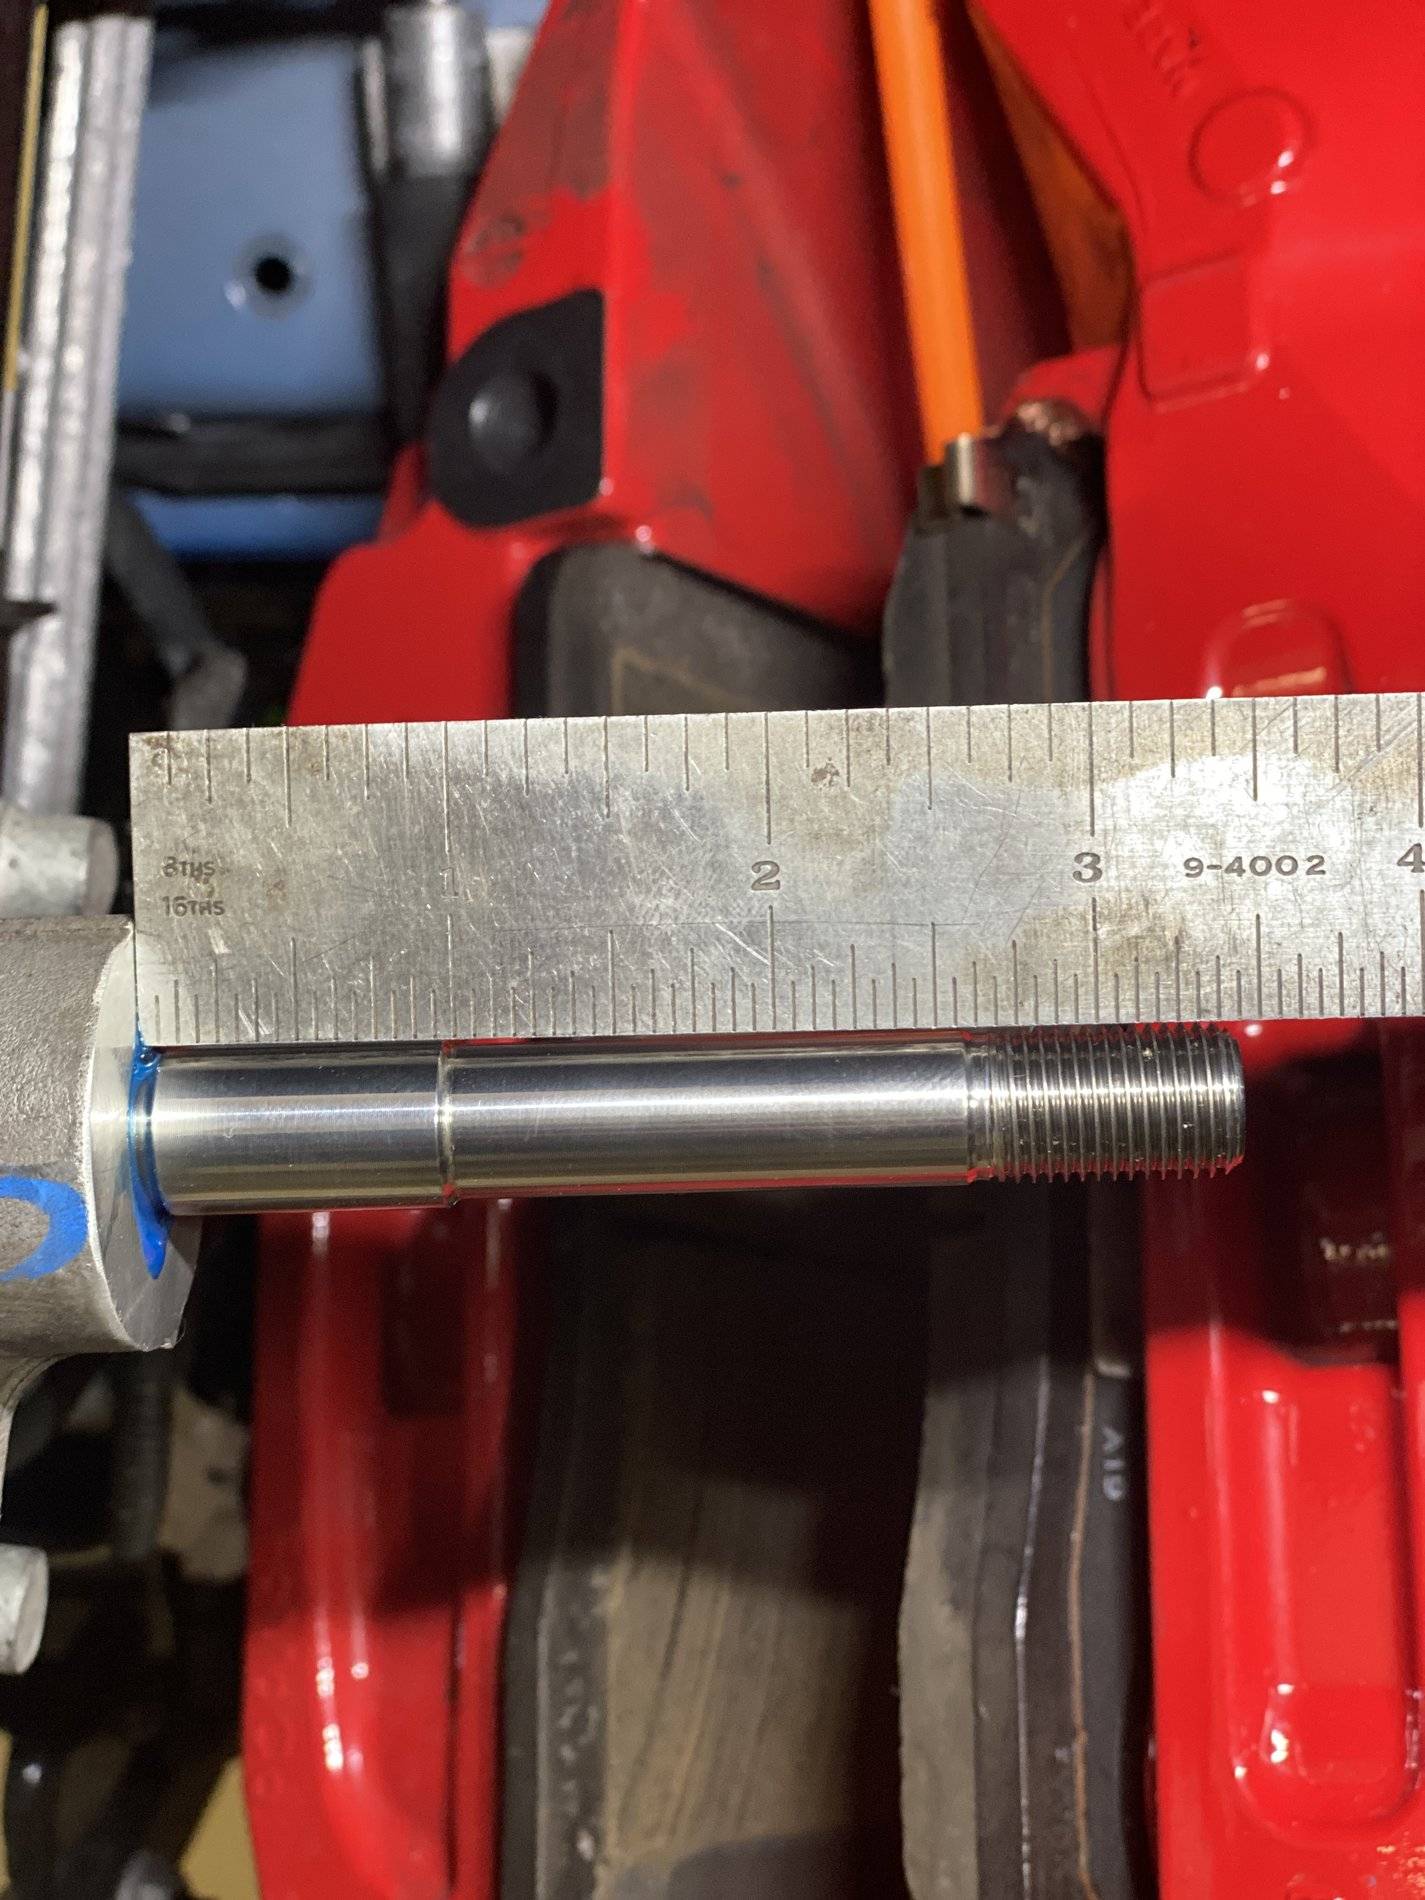
Using the supplied thread lubricant, put a light coat on hub of the stud, and on the thread ends before you slide the caliper into position.
Using a pad spreader, open the pads up to make sliding the caliper back over the rotor much easier. I also like to thread a lug nut on one of the wheel studs to hold the caliper flat against the hub.
This is where I want to show you just how great the caliper extensions are. With the nuts and washers removed (if previously installed), simply thread them onto the studs. This allows you to slide the caliper out for swapping the pads, or rotor, or even suspension work. They keep the calipers out of the way, and safe from dangling danger, lol. These truly are brilliant, and are extremely useful. My only advice is to release the brake pad keepers before sliding the calipers out to the end of the extensions. They are more than capable of safely holding the caliper, I just would not want to torque on the caliper while the extensions are carrying the full weight.
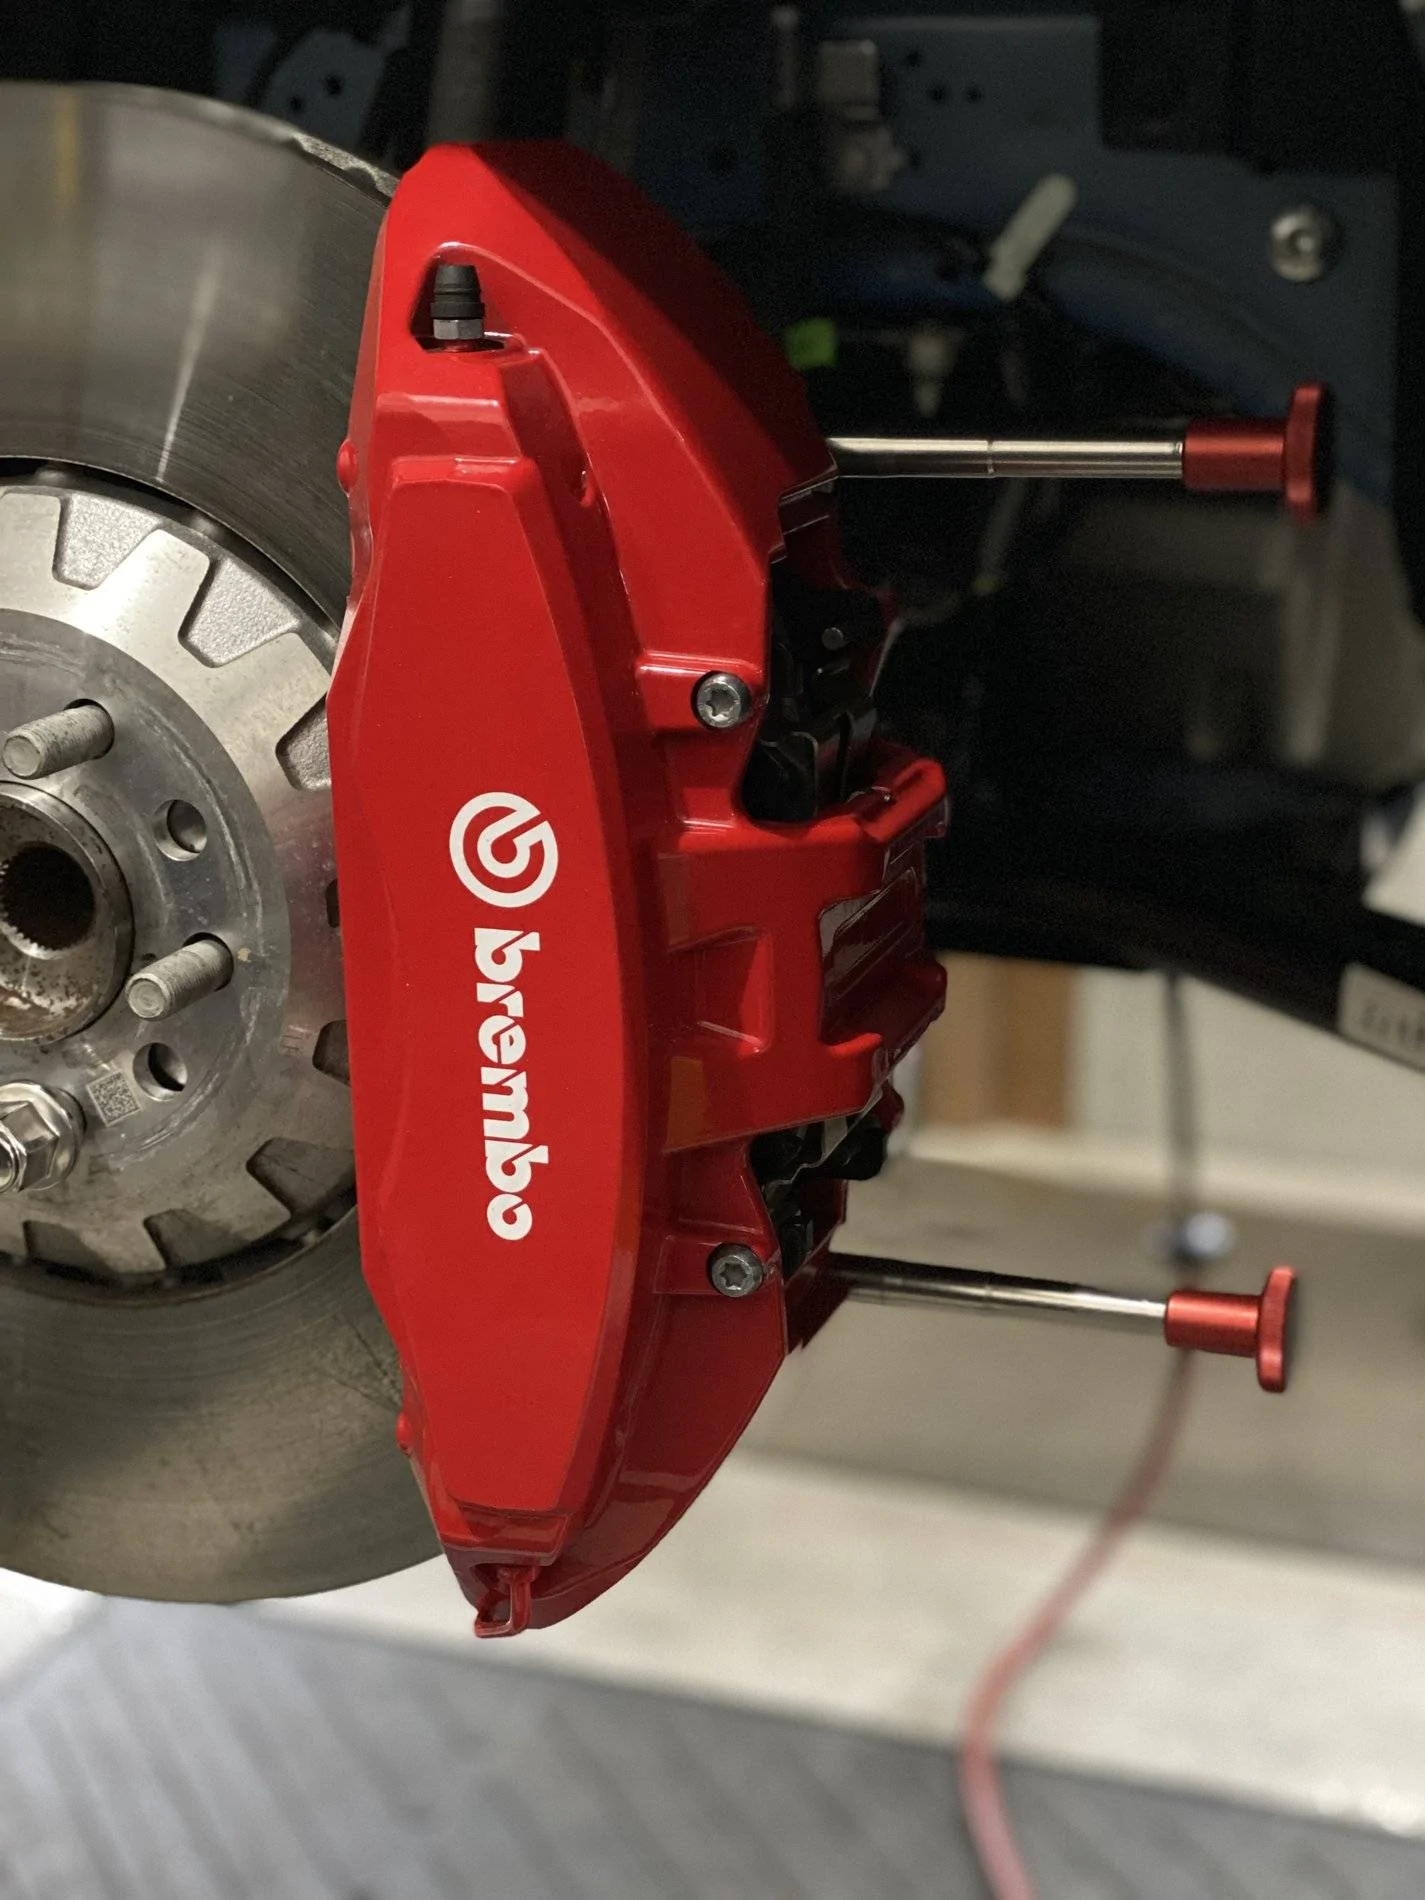
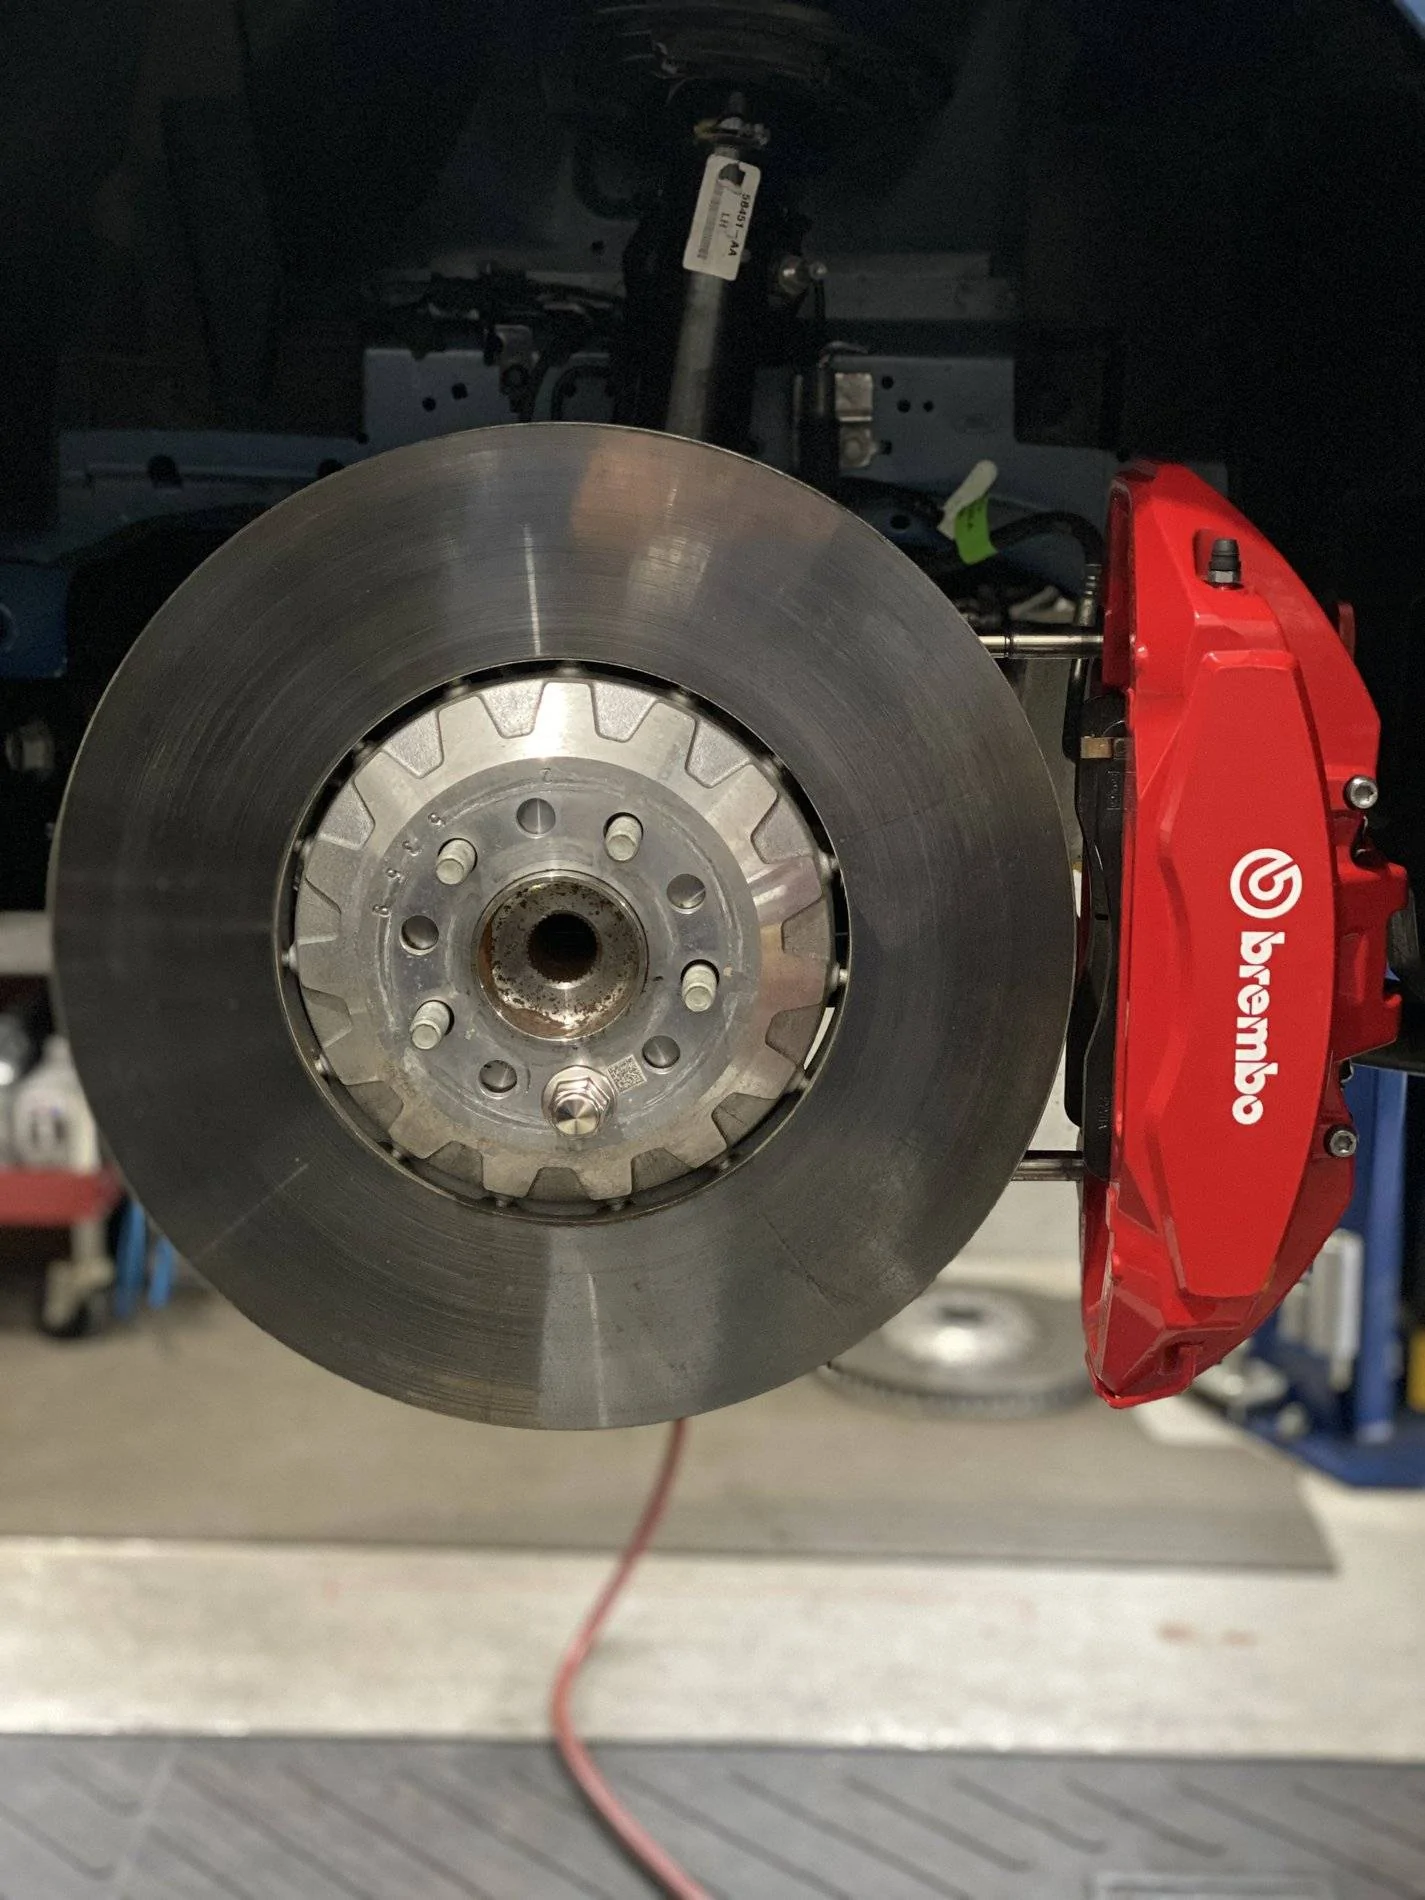
Lastly, place the washer and 12 point nut on the end of the stud and torque to the proper setting.
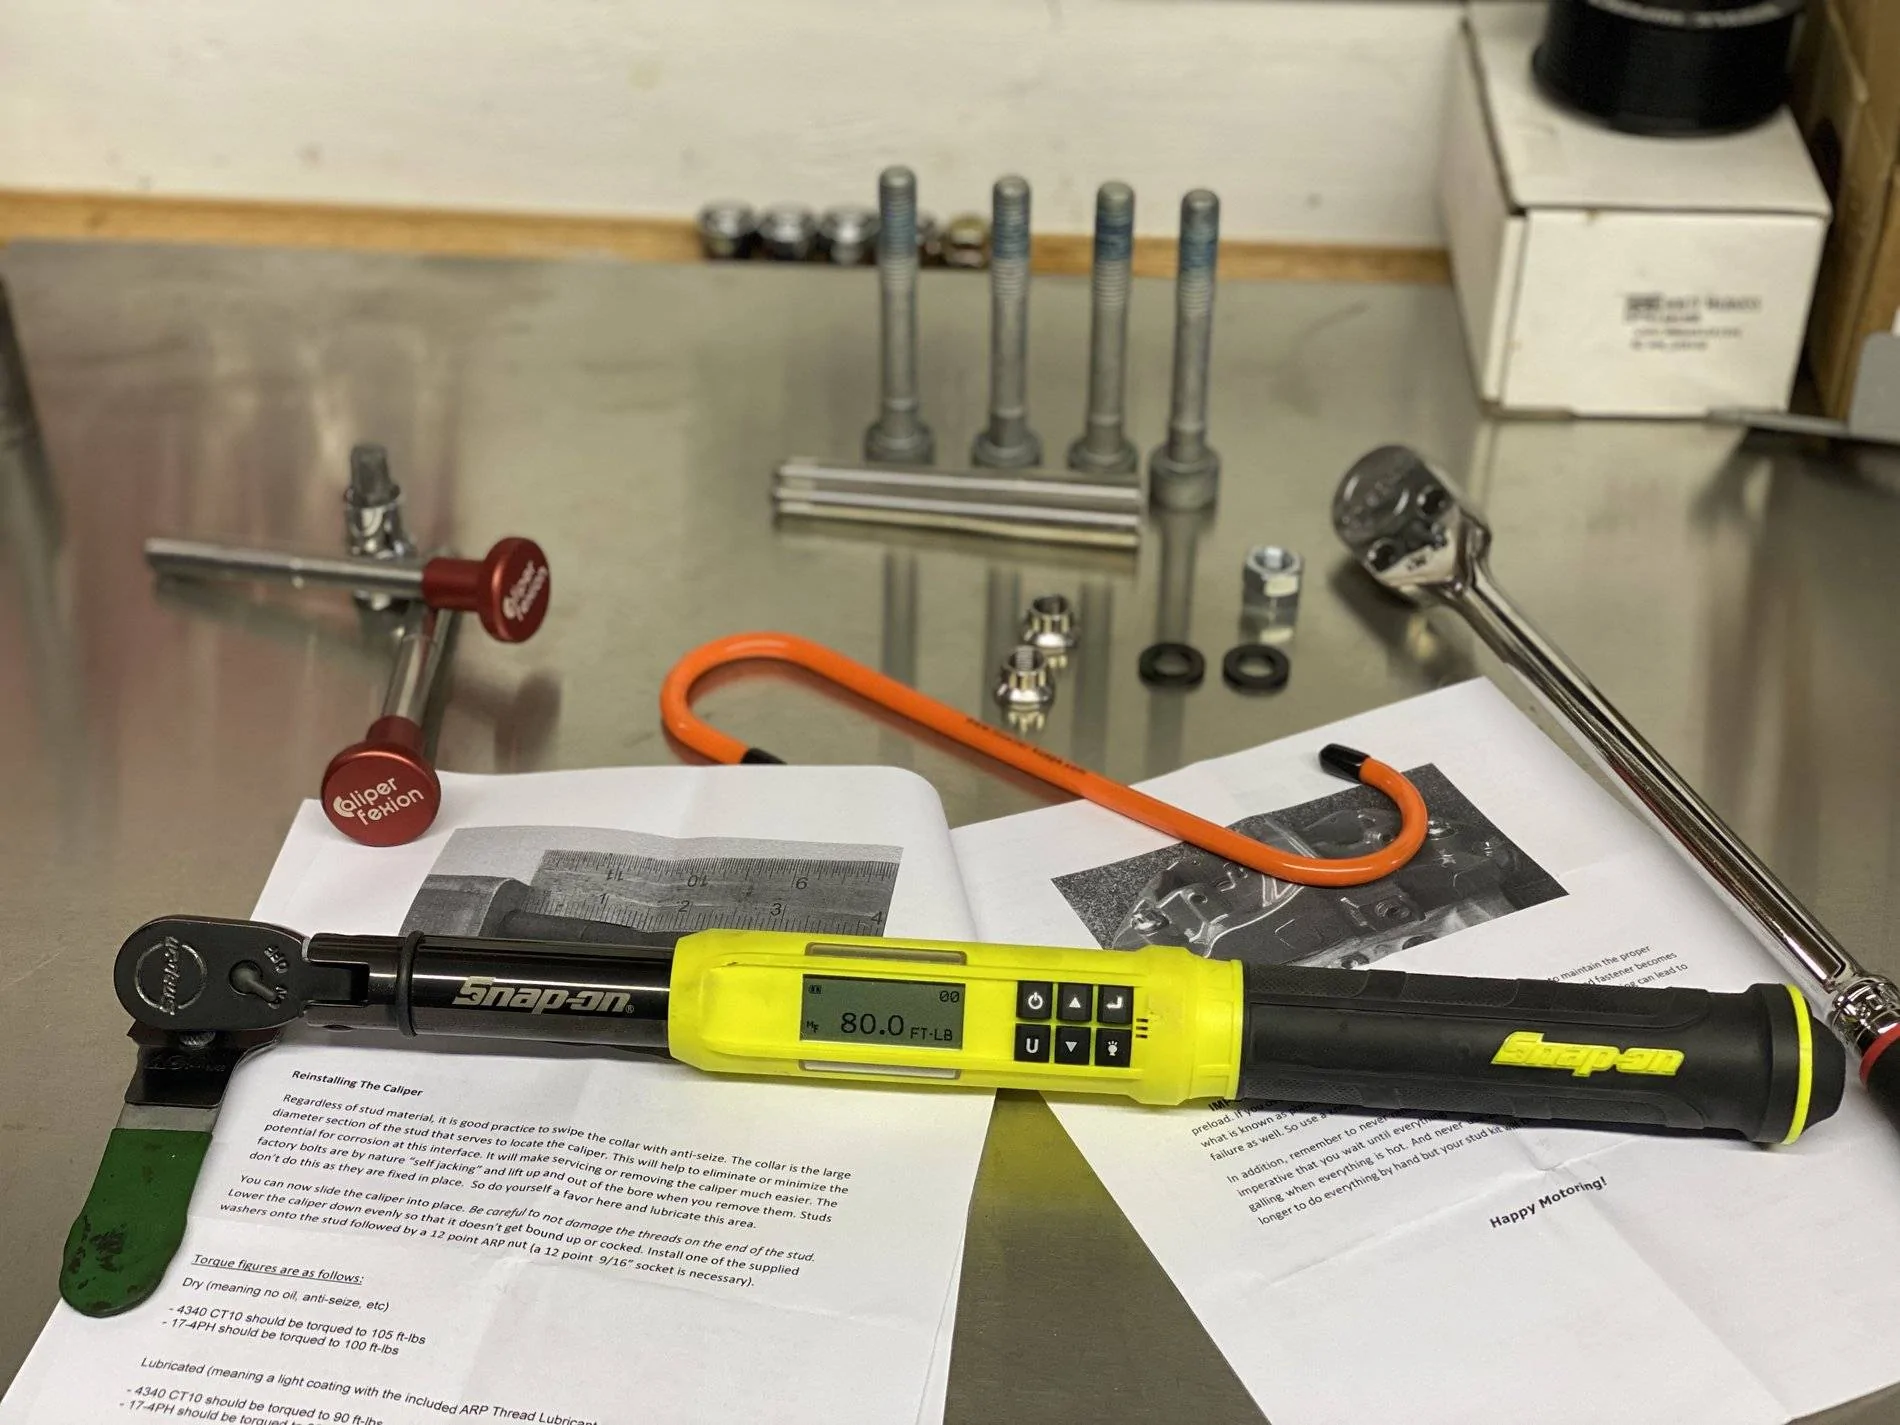
When you are done you should see only one thread showing past the end of the nut.
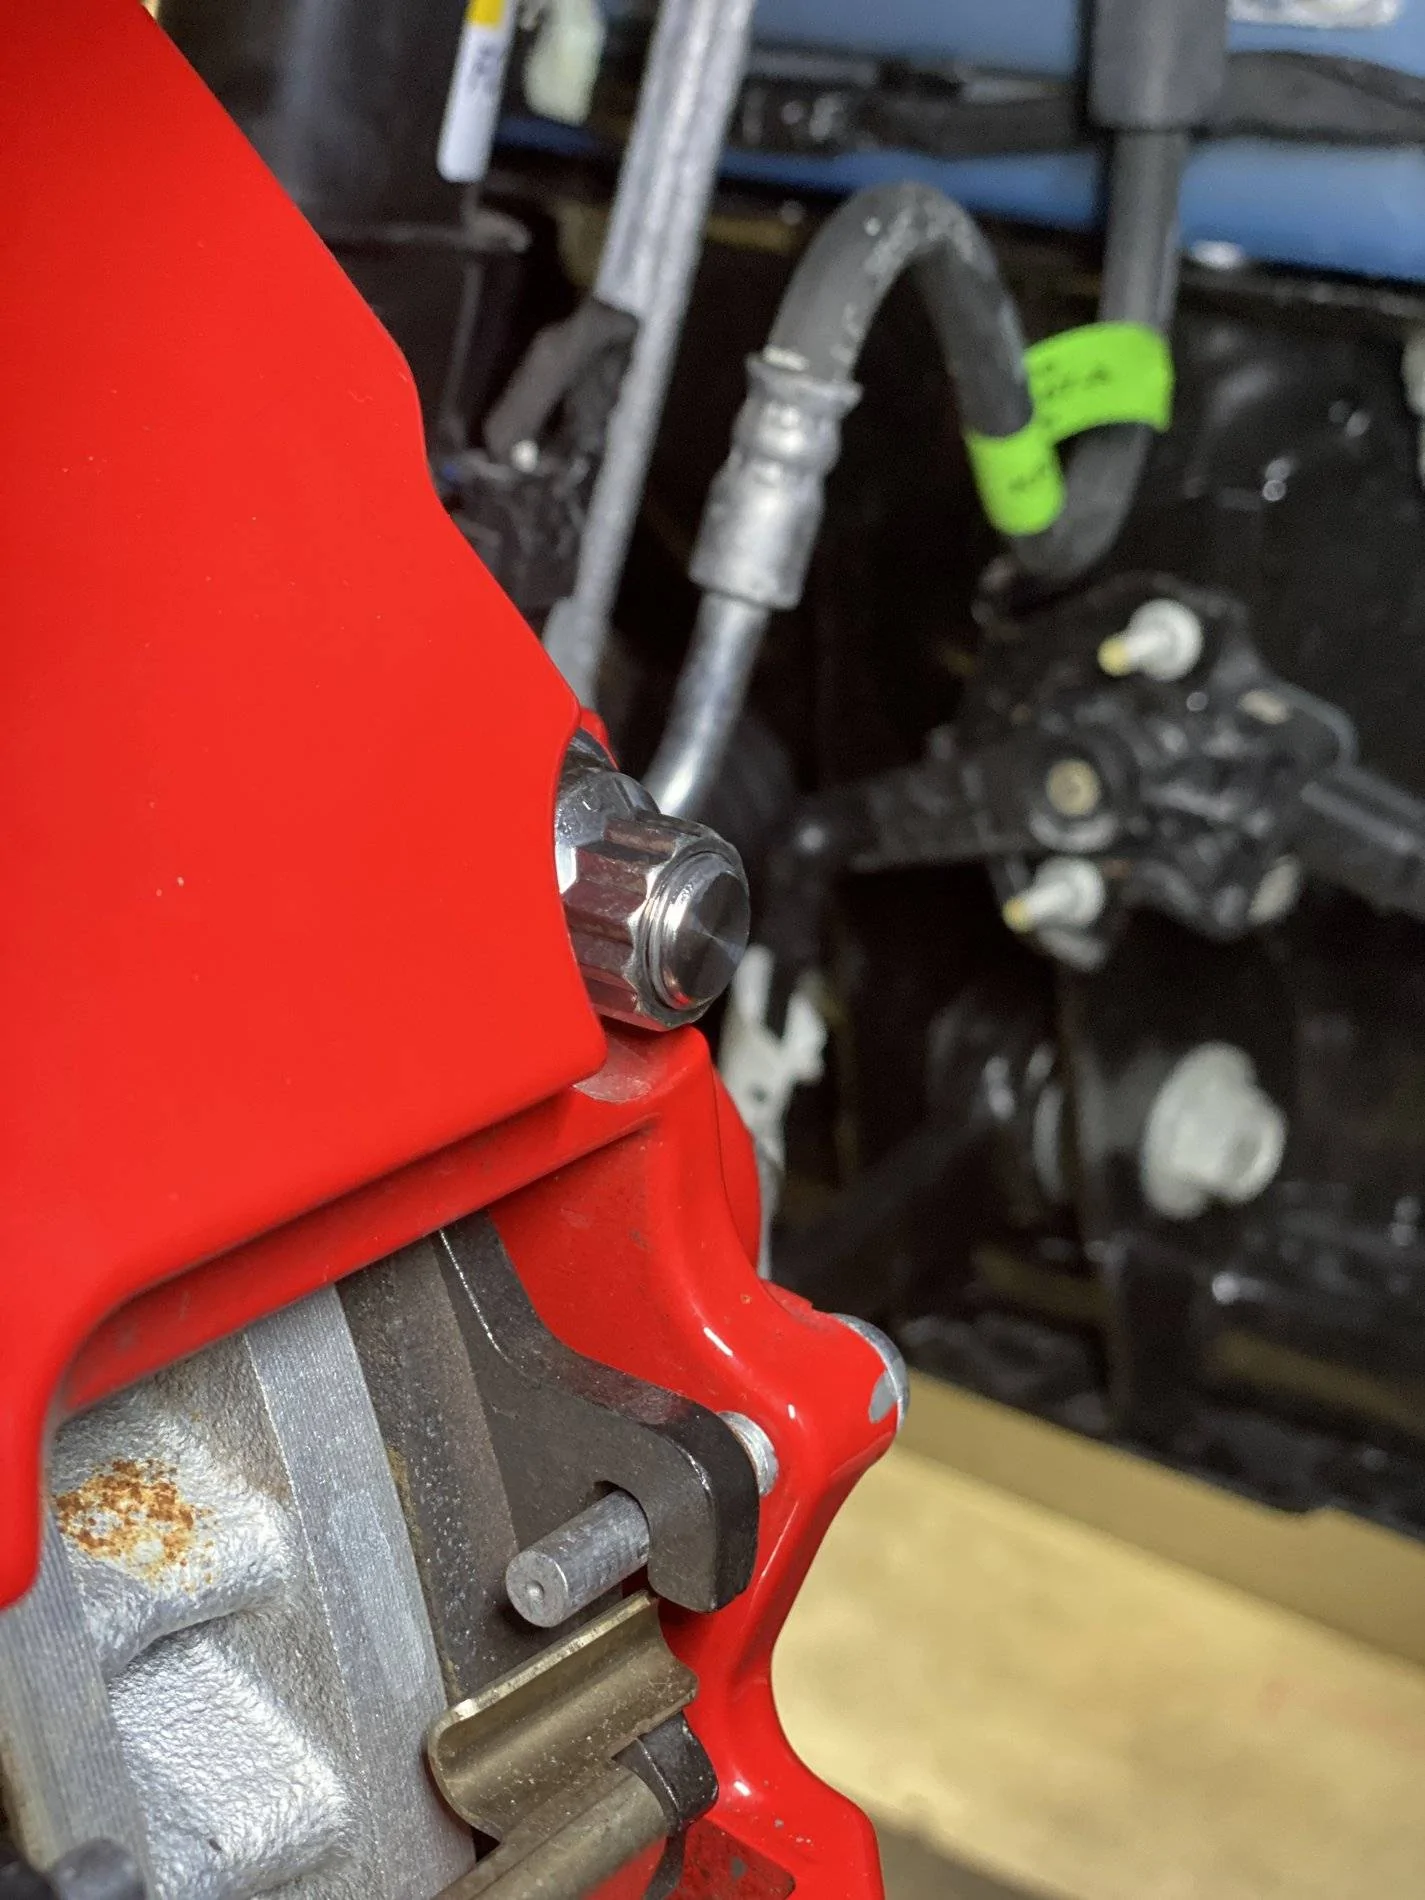
The stud extensions come with threaded plugs to protect the female threads when not in use. I also used them to store the included jam nuts, incase I ever need to take the studs out again.
It’s now time to grab your favorite beverage and marvel in the beauty that you just installed.
Sponsored
Last edited: