Epiphany
Well-Known Member
- Thread starter
- #1
We've discussed this for some time elsewhere in another thread but I wanted to share my experience in its own thread. I planned on making suspension changes since before I ever took delivery of the car and made the decision to take advantage of the CFTP's increased spring rates and slightly shorter ride height by ordering the requisite hardware from my good friend Bryan, a guy I consider to be one of the best within the Ford parts network.
I ordered everything shown in the following chart, save for the mat (the CFTP/R rear seat delete).

The spring rates are slightly higher in the CFTP and you can compare them with Base rates shown below. I also ordered the CFTP rear sway bar (and bushings/insulators) to go along with the springs.

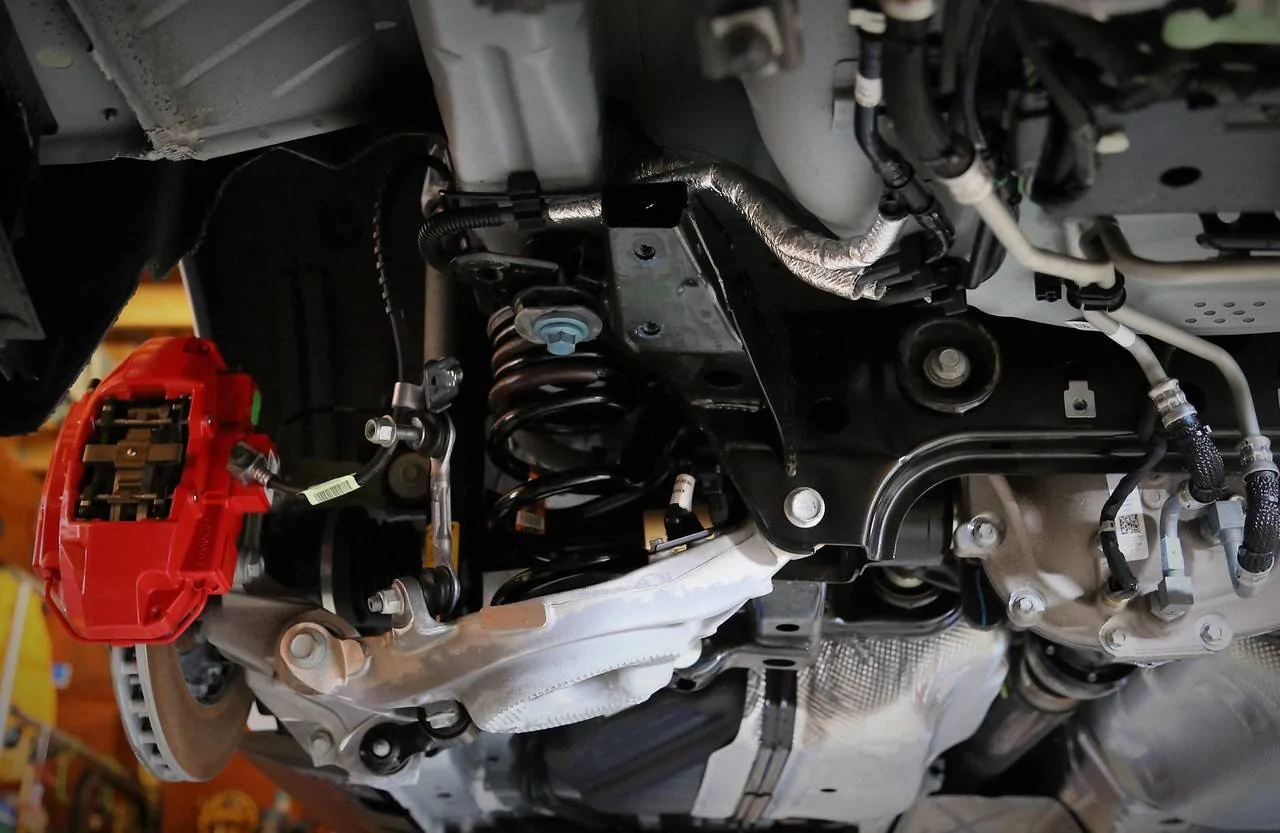
The hardware trickled in with the last item (a front spring) finally showing up last week. I started work a few days ago and planned to address a few other items along the way. I like to knock out more difficult tasks first and finish with the easier ones so I began by disassembling the front suspension first.
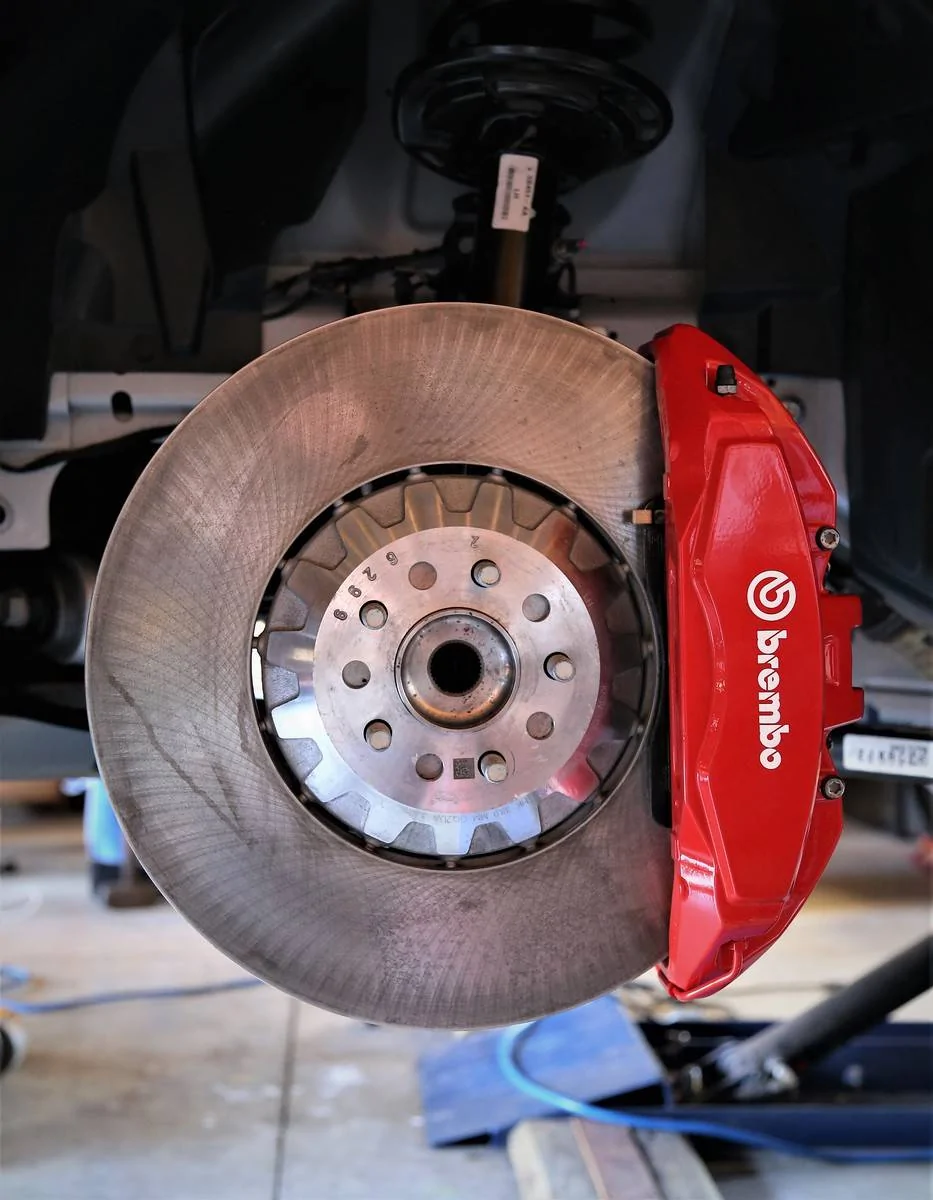
Because I planned on changing front caliper fasteners from bolts to studs I removed the calipers and tied them up so as to not strain the brake lines.

To anyone doing brake service on these cars be forewarned, the threads cut into the knuckles are rough and Ford loaded up on thread locker during assembly. Regardless of the fasteners you use when reassembling, be sure to clean out the debris inside in order to attain accurate torque readings.

Whatever method you choose to use, be sure to finish up by blowing the debris out with compressed air.


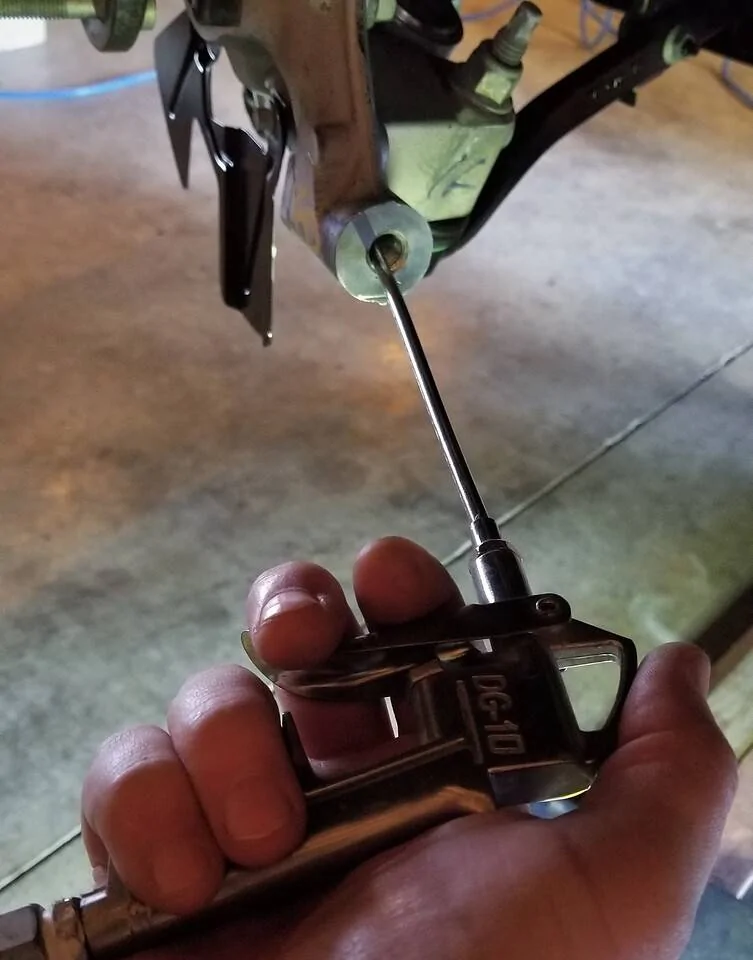
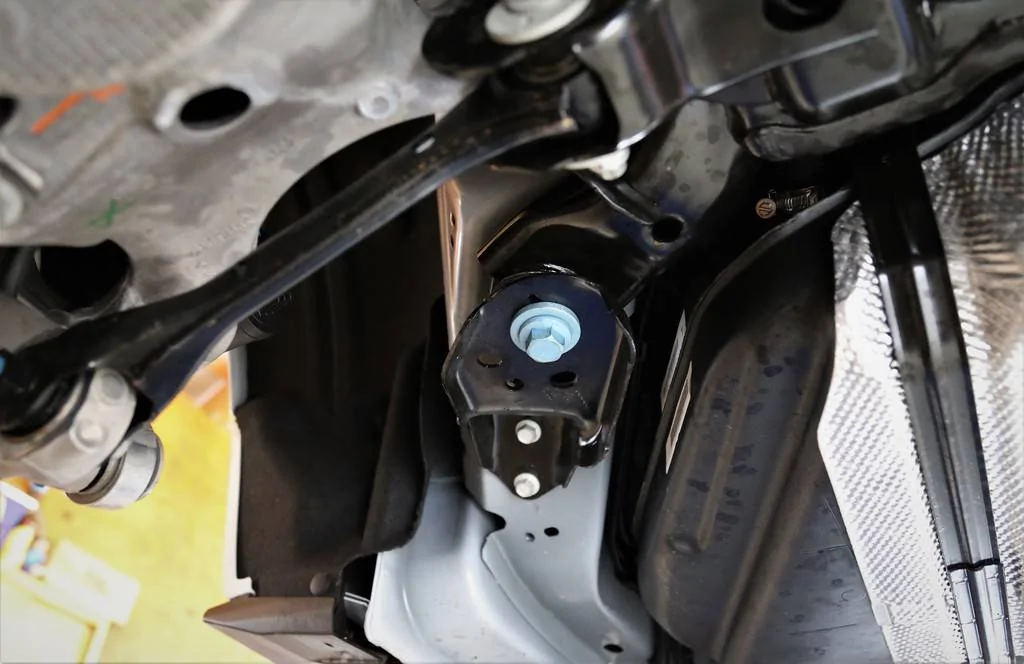
I then disconnected relevant harnesses, the ride height sensor arm, and the sway bar link. Since the strut has to come out to change the springs you have to remove the two bolts at the spindle as well as at the three at the top of the strut tower. Not a fan of beating the bolts out, I press them as far as I can with a ball joint removal tool. Then a light tap or two knocks them completely out.

I use an oversize socket (on the left) to allow the press to push the bolt head in that direction.

These need to be pushed straight through and not turned due to the knurls that Ford switched to a few years ago. Once past the knurl they come right out the rest of the way. Now is a great time to address any corrosion you may have on your hubs.


After removing the three bolts atop the strut tower the strut will come right out. Be sure not to sever the harness coming out near the bottom.

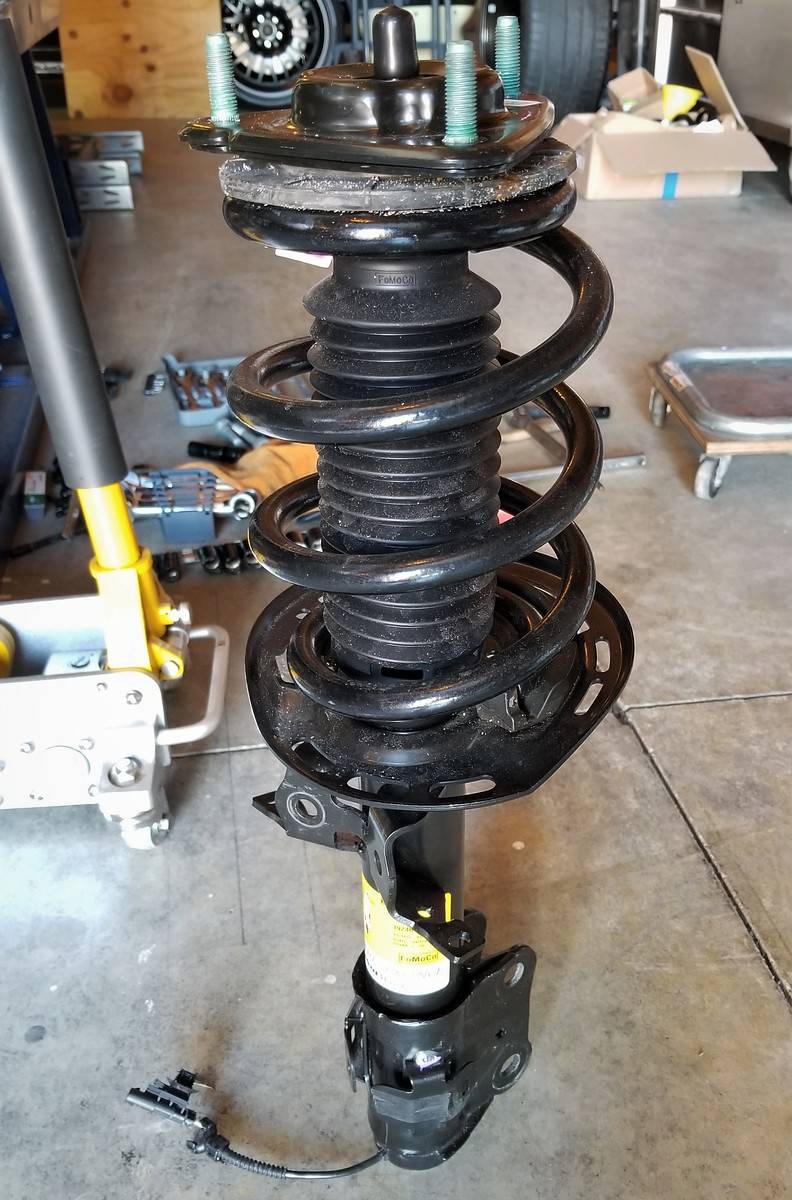
I used a spring compressor along with the appropriate socket for the nut just above the plate at the top.


With the plate off you can back off on the spring compression and set the spring aside.
I measured the free height of the CFTP front springs and found the CFTP to be ~1/2" shorter. Interestingly enough, it also has a slightly smaller wire diameter but the exact same number of coils. I also seized the moment and decided to install the factory camber plates that were shipped out to me from my dealer (thanks again Nick!). To compare, the non-adjustable GT500 plate on the left and the adjustable camber plate on the right...


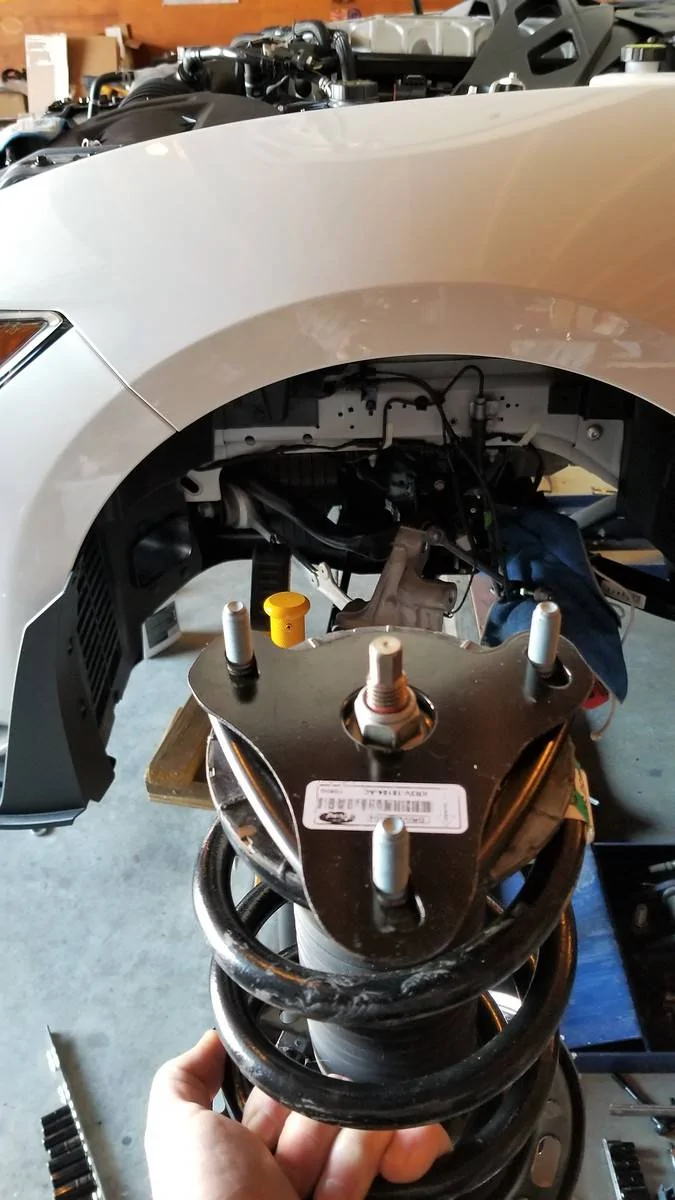
Installing the plates and springs is simply the reverse of disassembly.


The orientation as it will be installed...

Struts pulled outward for street setting (alignment will be done post install) and torqued at the top and at the knuckle, caliper studs installed (thanks Jaime for the motivation), and I cleaned up the rusty scale at the hubs.
Before...

After...


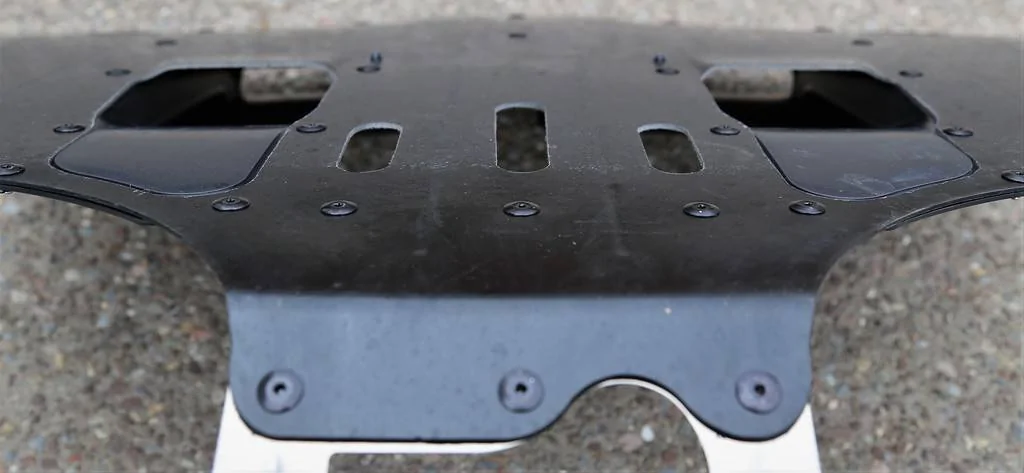
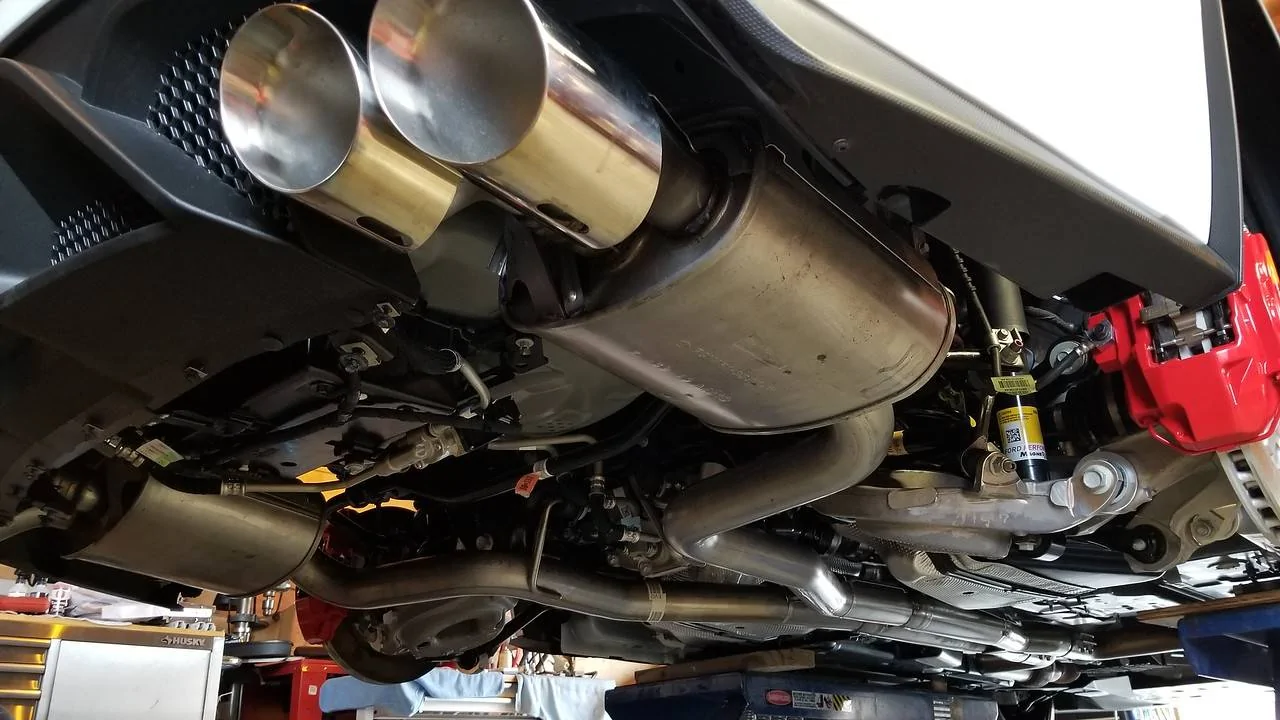
While I wanted to finish the rear in quick order I decided to pull the under tray and exhaust system. More corrosion to address out back and with the exhaust system and tray gone I would have much better access. Because I wanted to weld the joint created when I cut in for the Lethal resonator delete, this was the perfect time to kill two birds with one stone.
Note that somebody numbered my tray where the rivets go (new trainee being shown how to do it?).


Dropping the exhaust system requires a careful look. Ford did a great job designing it for service. It's heavy, yes. But you can remove all the fasteners and the hangers will keep it in place which allows you to carefully lower it down by yourself.

The clamps in the middle of the system are what I'll be able to remove once welded up. This will return the system back to the same level of integrity as originally.


I tig welded everything because I didn't have any stainless wire for my mig or the proper gas. I "tigged" without filler around the pipe and used filler rod to fill the relief cuts/segments in the Lethal pipe. Tig keeps the heat down and is so much cleaner and quieter than any other process.
I then cleaned up all the oxidation I saw from one end to the other.


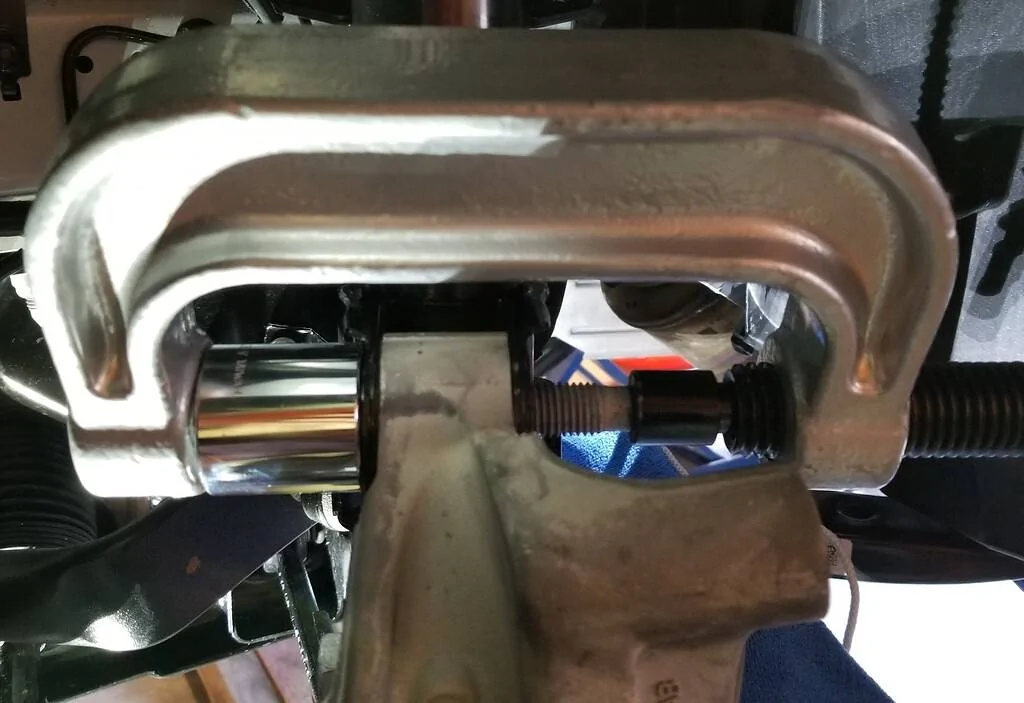
Once cleaned up, I set the exhaust system off to the side and moved onto the rear springs. I used some blocks on a motorcycle jack to support one side of the subframe at a time and removed the bolts that held that side in place.


With the necessary harnesses/hoses relieved to allow lowering that side down, the two upper shock mount bolts can be removed and the subframe lowered down a bit. You can then pull the spring out.

I found this interesting - the Base rear spring has the exact same free height as the CFTP rear spring. Coil count and diameter placement differs by quite a bit too. Base on the left and CFTP on the right...

Before installing, I cleaned/treated everything. The sheetmetal, fasteners, hoses, the subframe, etc. I probably spent three hours doing this. Installation of the rear springs is simple, much easier than the front of the car.

Some of what I cleaned, starting with the diff cover. Before and after...
Rear of driveshaft...
Done cleaning, I swapped in the CFTP rear sway bar (orange tag). Here it is next to the smaller diameter Base sway bar...


I then placed the exhaust system on the motorcycle jack at the rear and on a small dolly up front. This allowed me to slide it into the approximate area it needed to be in such that I could slide the front pipes into their respective clamps and then raise and attach the rear of the system.

With the clamps necessary for the delete pipe now gone and the joints welded up the system looks 100% factory.
I know, a bit winded") . I took the long road out back (having already cleaned everything up front when I did my first oil change) but here is the completed spring and bar install out back. The way the "Handling Package" should have been.
. I took the long road out back (having already cleaned everything up front when I did my first oil change) but here is the completed spring and bar install out back. The way the "Handling Package" should have been.

I'll clean up the tray and reinstall it in short order. I'm also going to pull off the rear calipers and rotors to allow access to the rear hubs. They are the last item on my corrosion kill list. I didn't take any before "height" dimensions as mine should have been the same as every other Base car with the same tire pressure. I'll measure what I have now when I'm done out back and can get the wheels back on and the car down on the ground.
I ordered everything shown in the following chart, save for the mat (the CFTP/R rear seat delete).

The spring rates are slightly higher in the CFTP and you can compare them with Base rates shown below. I also ordered the CFTP rear sway bar (and bushings/insulators) to go along with the springs.

The hardware trickled in with the last item (a front spring) finally showing up last week. I started work a few days ago and planned to address a few other items along the way. I like to knock out more difficult tasks first and finish with the easier ones so I began by disassembling the front suspension first.
Because I planned on changing front caliper fasteners from bolts to studs I removed the calipers and tied them up so as to not strain the brake lines.

To anyone doing brake service on these cars be forewarned, the threads cut into the knuckles are rough and Ford loaded up on thread locker during assembly. Regardless of the fasteners you use when reassembling, be sure to clean out the debris inside in order to attain accurate torque readings.

Whatever method you choose to use, be sure to finish up by blowing the debris out with compressed air.

I then disconnected relevant harnesses, the ride height sensor arm, and the sway bar link. Since the strut has to come out to change the springs you have to remove the two bolts at the spindle as well as at the three at the top of the strut tower. Not a fan of beating the bolts out, I press them as far as I can with a ball joint removal tool. Then a light tap or two knocks them completely out.

I use an oversize socket (on the left) to allow the press to push the bolt head in that direction.
These need to be pushed straight through and not turned due to the knurls that Ford switched to a few years ago. Once past the knurl they come right out the rest of the way. Now is a great time to address any corrosion you may have on your hubs.


After removing the three bolts atop the strut tower the strut will come right out. Be sure not to sever the harness coming out near the bottom.
I used a spring compressor along with the appropriate socket for the nut just above the plate at the top.


With the plate off you can back off on the spring compression and set the spring aside.
I measured the free height of the CFTP front springs and found the CFTP to be ~1/2" shorter. Interestingly enough, it also has a slightly smaller wire diameter but the exact same number of coils. I also seized the moment and decided to install the factory camber plates that were shipped out to me from my dealer (thanks again Nick!). To compare, the non-adjustable GT500 plate on the left and the adjustable camber plate on the right...


Installing the plates and springs is simply the reverse of disassembly.


The orientation as it will be installed...
Struts pulled outward for street setting (alignment will be done post install) and torqued at the top and at the knuckle, caliper studs installed (thanks Jaime for the motivation), and I cleaned up the rusty scale at the hubs.
Before...

After...


While I wanted to finish the rear in quick order I decided to pull the under tray and exhaust system. More corrosion to address out back and with the exhaust system and tray gone I would have much better access. Because I wanted to weld the joint created when I cut in for the Lethal resonator delete, this was the perfect time to kill two birds with one stone.
Note that somebody numbered my tray where the rivets go (new trainee being shown how to do it?).


Dropping the exhaust system requires a careful look. Ford did a great job designing it for service. It's heavy, yes. But you can remove all the fasteners and the hangers will keep it in place which allows you to carefully lower it down by yourself.

The clamps in the middle of the system are what I'll be able to remove once welded up. This will return the system back to the same level of integrity as originally.


I tig welded everything because I didn't have any stainless wire for my mig or the proper gas. I "tigged" without filler around the pipe and used filler rod to fill the relief cuts/segments in the Lethal pipe. Tig keeps the heat down and is so much cleaner and quieter than any other process.

I then cleaned up all the oxidation I saw from one end to the other.


Once cleaned up, I set the exhaust system off to the side and moved onto the rear springs. I used some blocks on a motorcycle jack to support one side of the subframe at a time and removed the bolts that held that side in place.

With the necessary harnesses/hoses relieved to allow lowering that side down, the two upper shock mount bolts can be removed and the subframe lowered down a bit. You can then pull the spring out.

I found this interesting - the Base rear spring has the exact same free height as the CFTP rear spring. Coil count and diameter placement differs by quite a bit too. Base on the left and CFTP on the right...

Before installing, I cleaned/treated everything. The sheetmetal, fasteners, hoses, the subframe, etc. I probably spent three hours doing this. Installation of the rear springs is simple, much easier than the front of the car.
Some of what I cleaned, starting with the diff cover. Before and after...


Rear of driveshaft...


Done cleaning, I swapped in the CFTP rear sway bar (orange tag). Here it is next to the smaller diameter Base sway bar...


I then placed the exhaust system on the motorcycle jack at the rear and on a small dolly up front. This allowed me to slide it into the approximate area it needed to be in such that I could slide the front pipes into their respective clamps and then raise and attach the rear of the system.

With the clamps necessary for the delete pipe now gone and the joints welded up the system looks 100% factory.

I know, a bit winded
. I took the long road out back (having already cleaned everything up front when I did my first oil change) but here is the completed spring and bar install out back. The way the "Handling Package" should have been.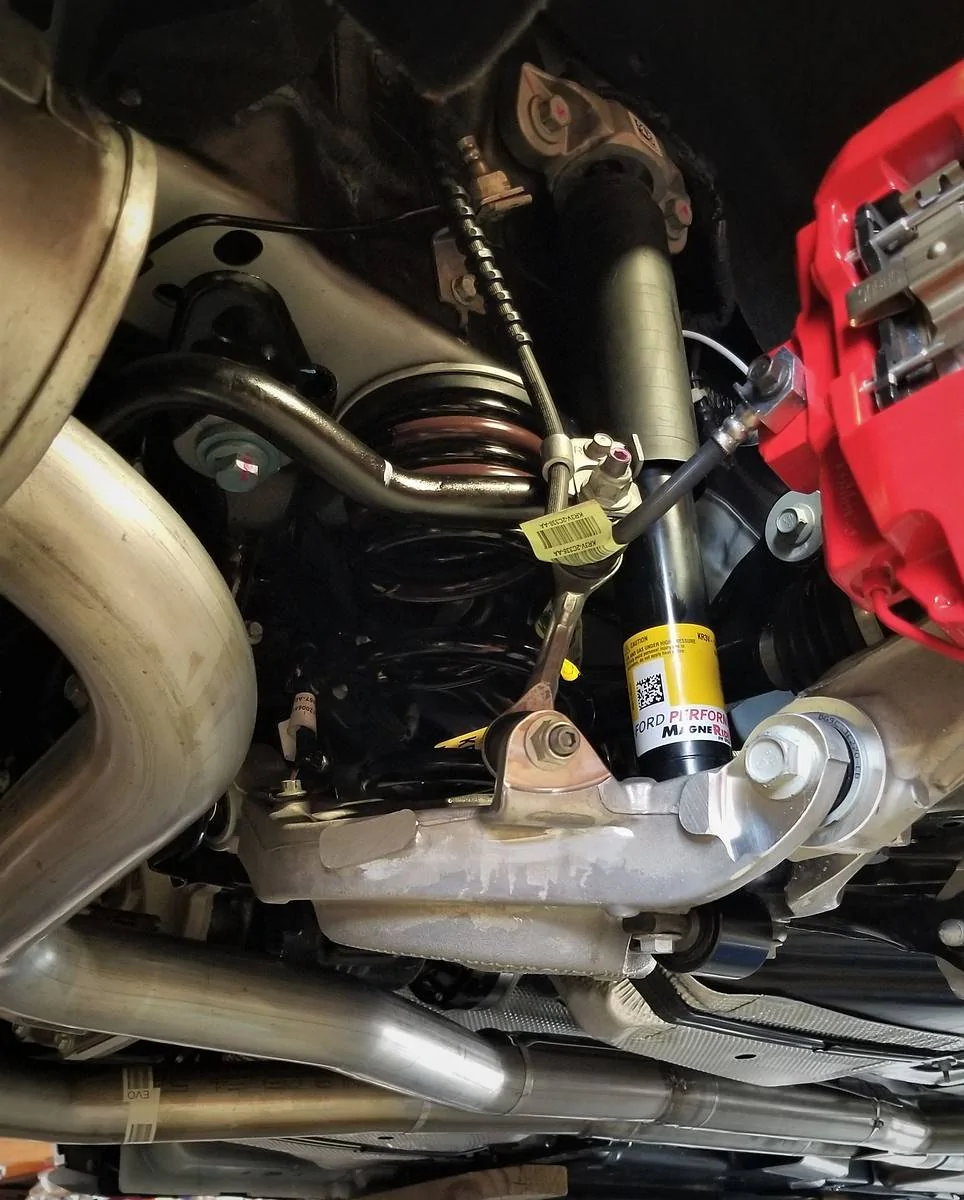
I'll clean up the tray and reinstall it in short order. I'm also going to pull off the rear calipers and rotors to allow access to the rear hubs. They are the last item on my corrosion kill list. I didn't take any before "height" dimensions as mine should have been the same as every other Base car with the same tire pressure. I'll measure what I have now when I'm done out back and can get the wheels back on and the car down on the ground.
Sponsored
Last edited: