Snoopy49
Well-Known Member
- Joined
- Jul 24, 2019
- Threads
- 56
- Messages
- 4,024
- Reaction score
- 6,051
- Location
- California
- First Name
- Earl
- Vehicle(s)
- 2013 GT500 - SOLD and 2020 GT500 - SOLD
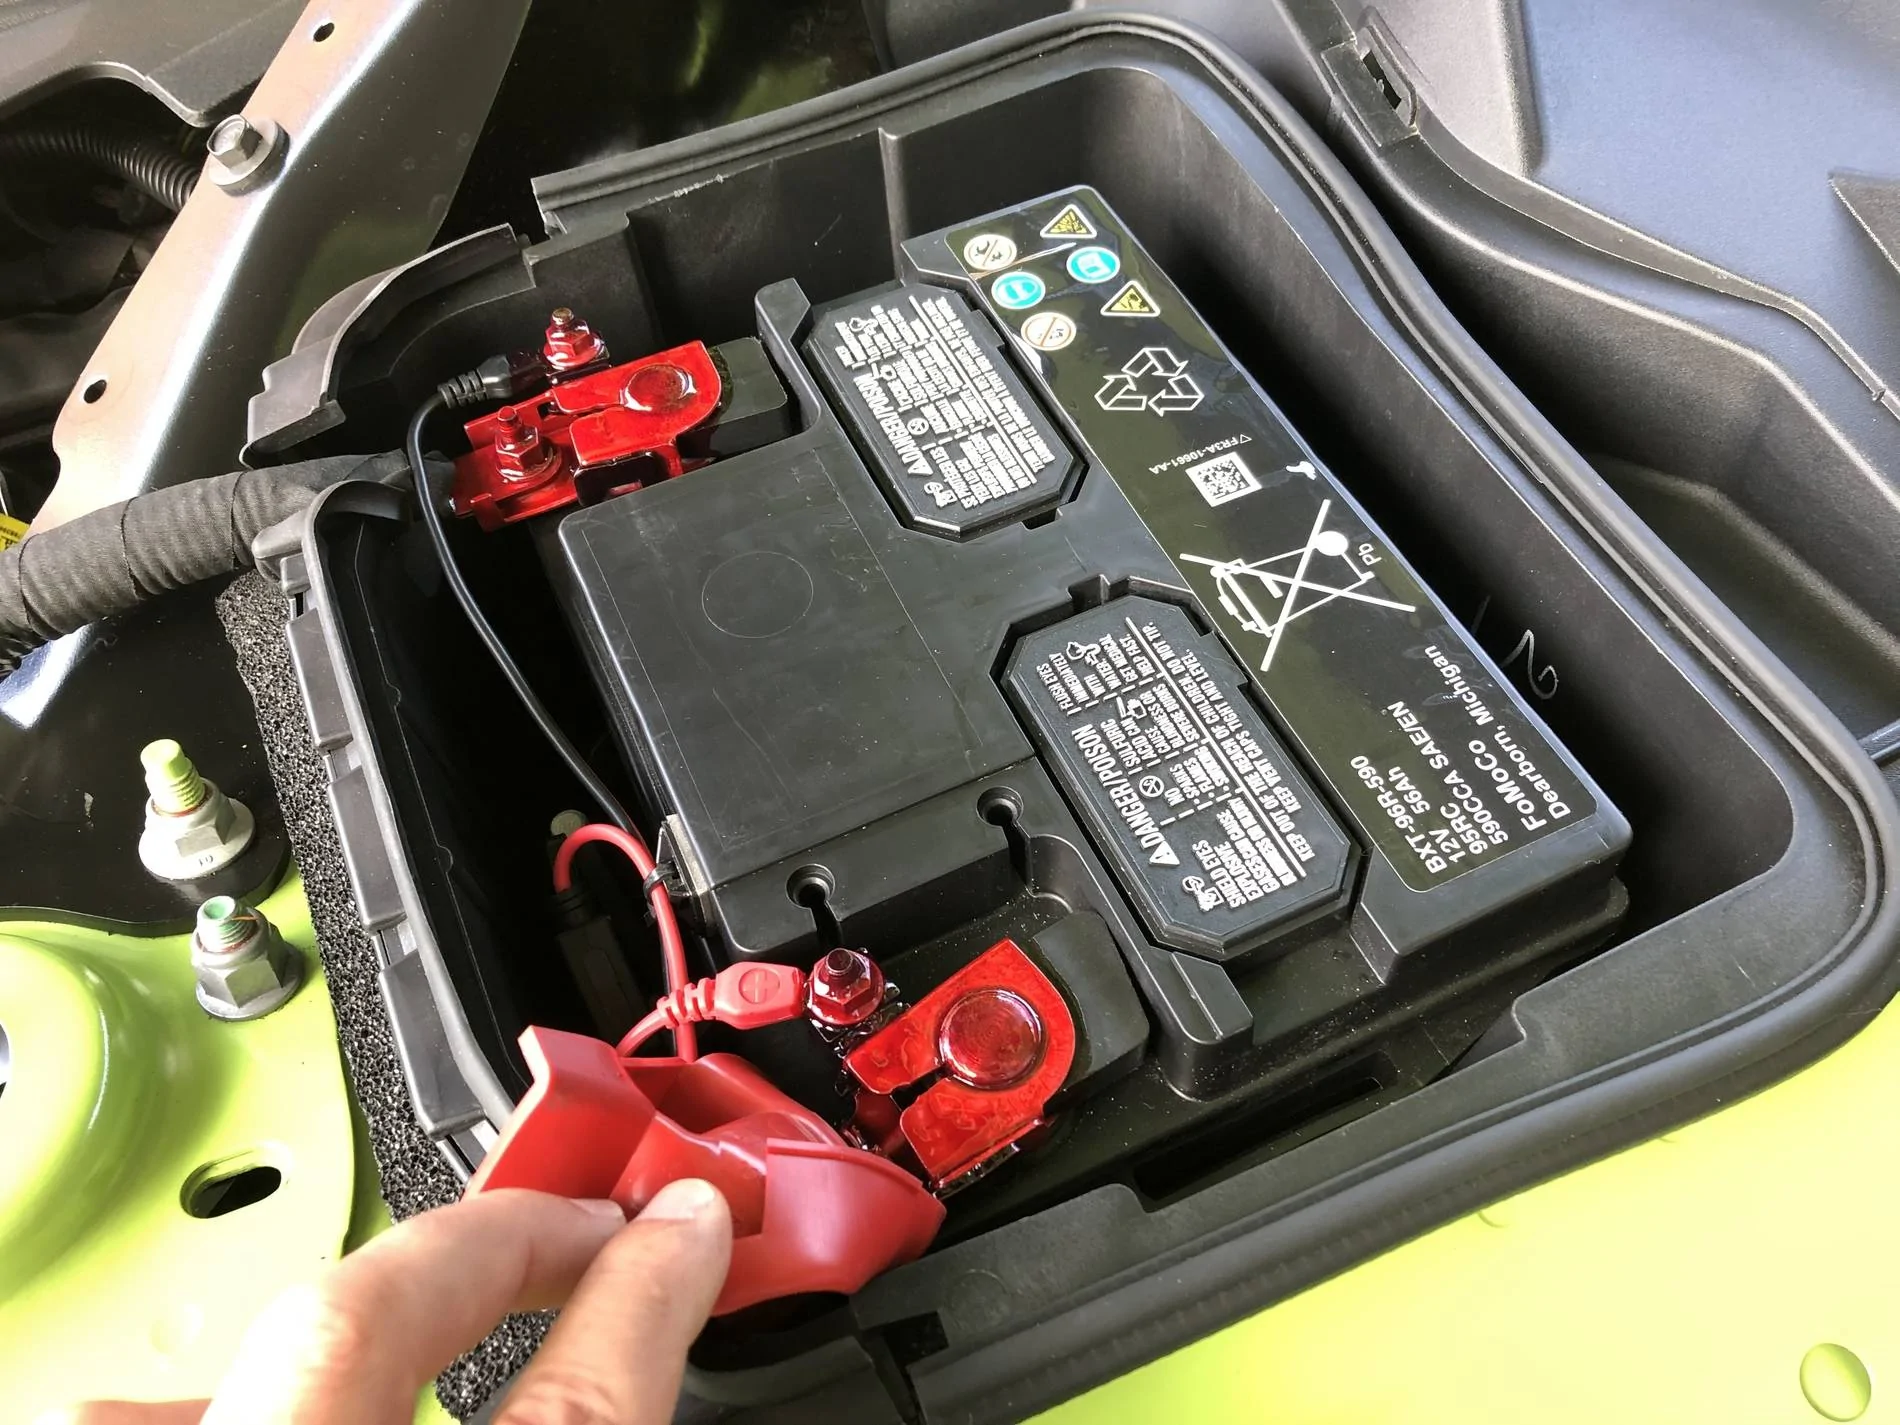
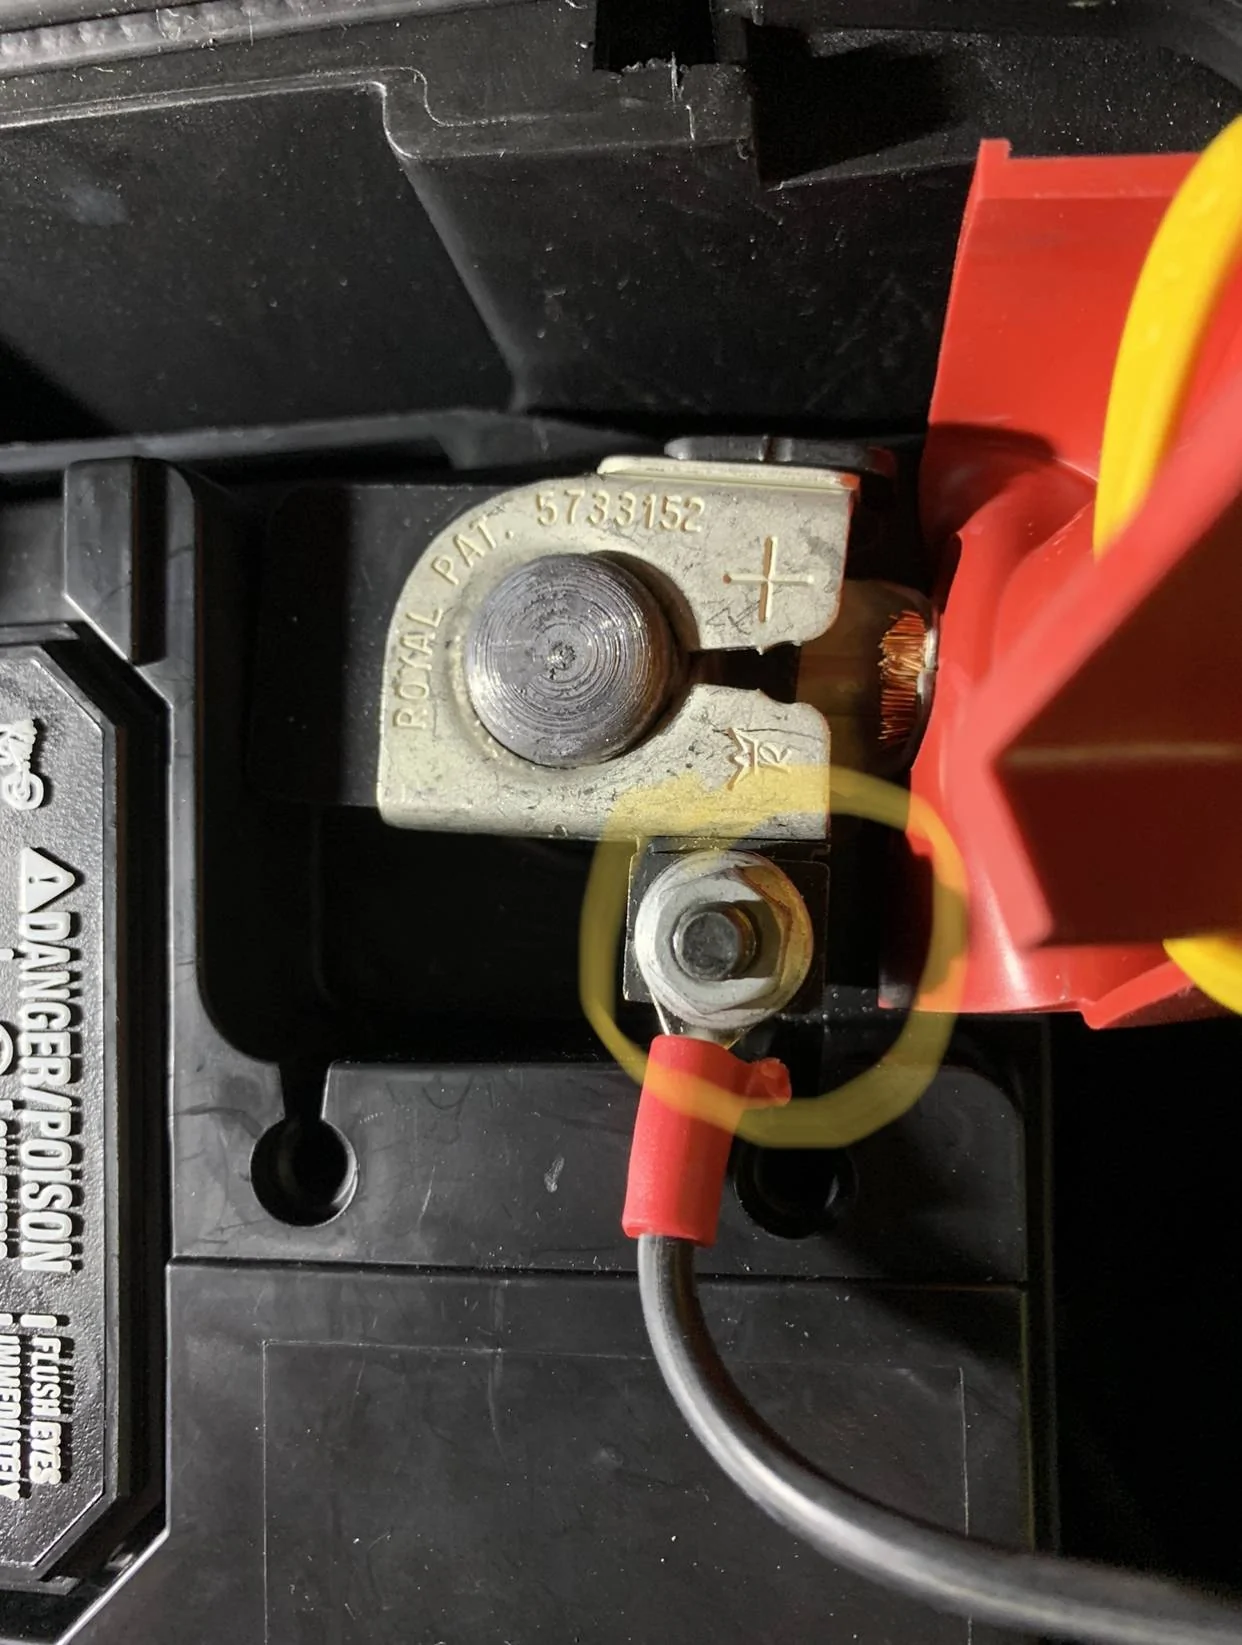
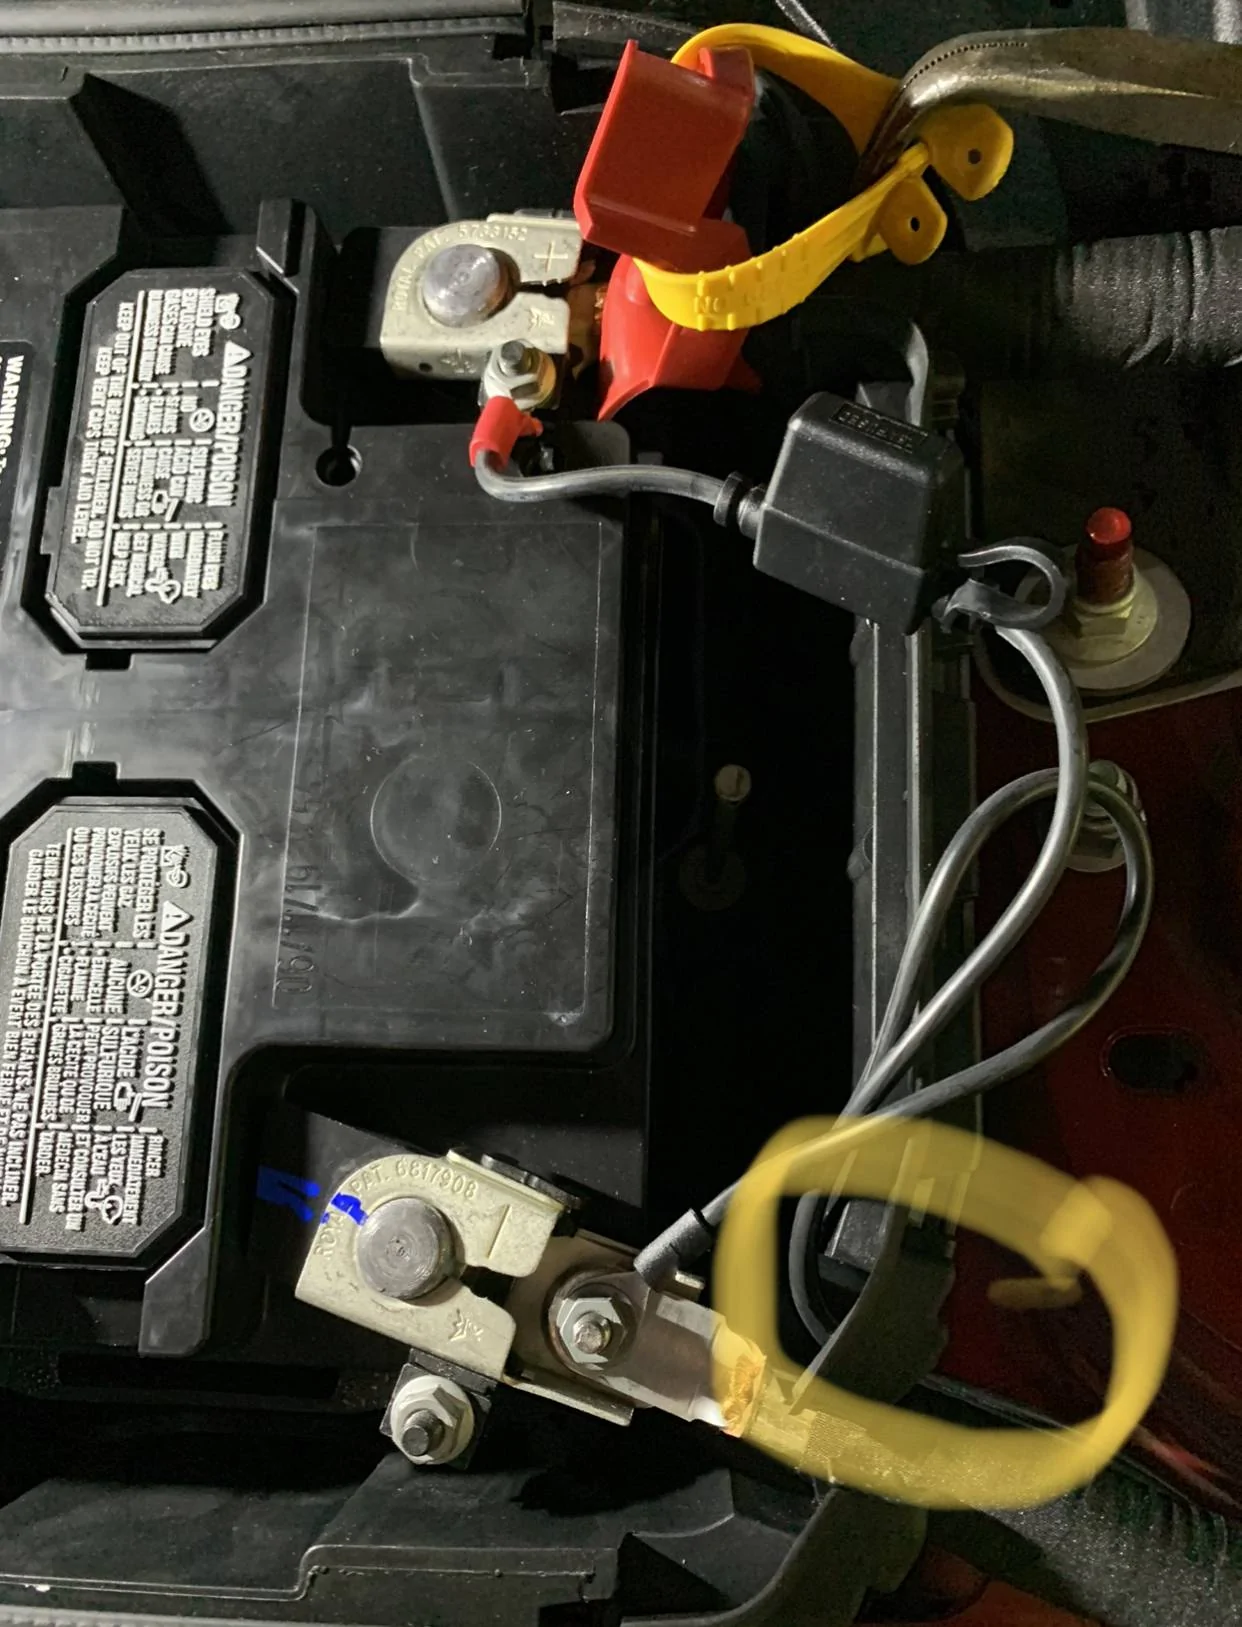
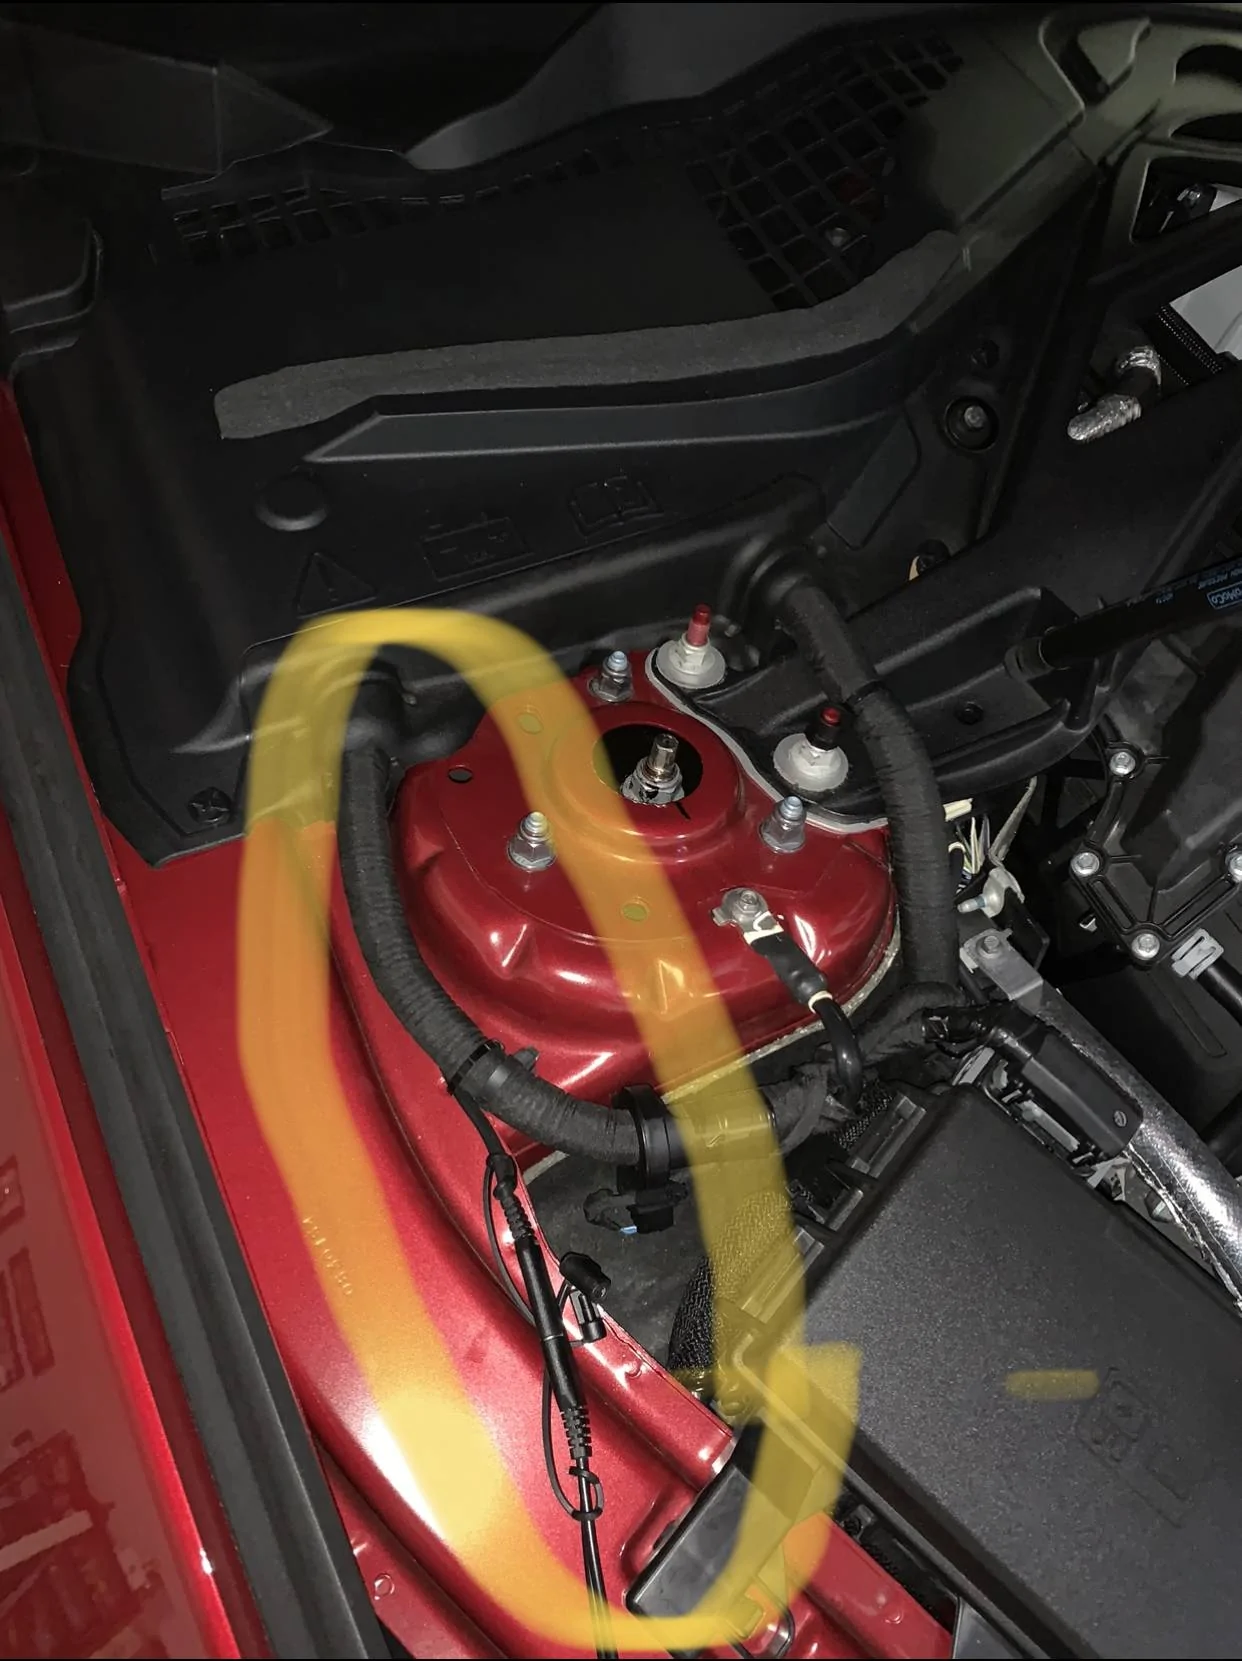
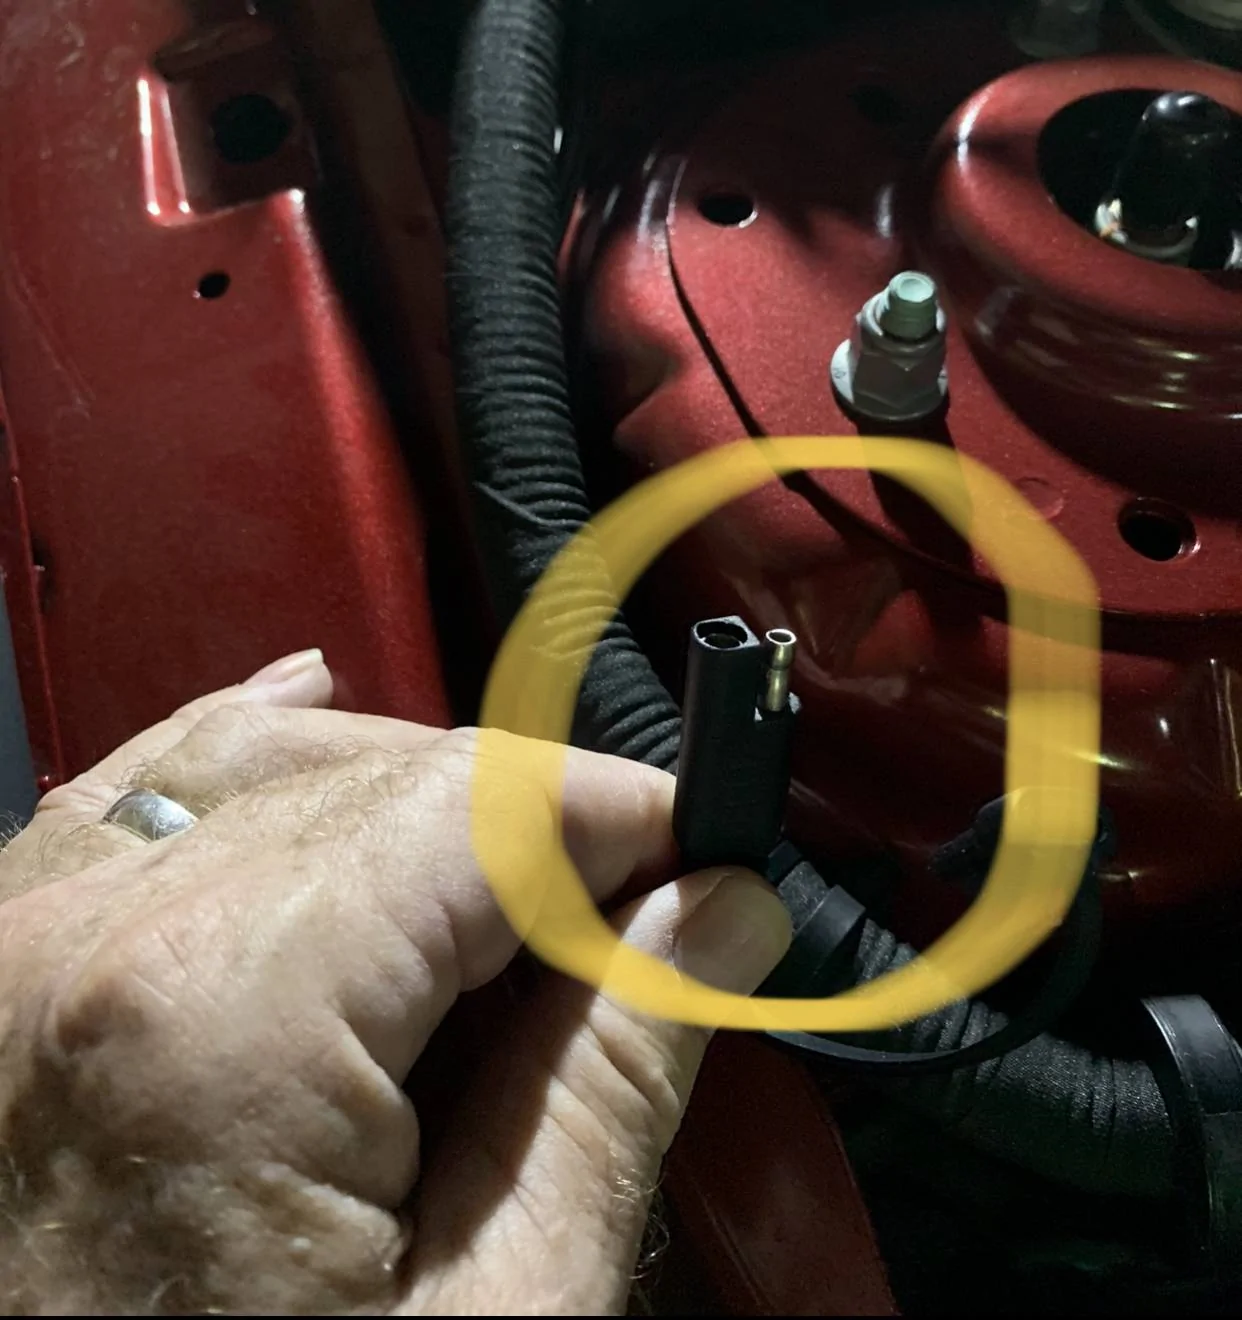
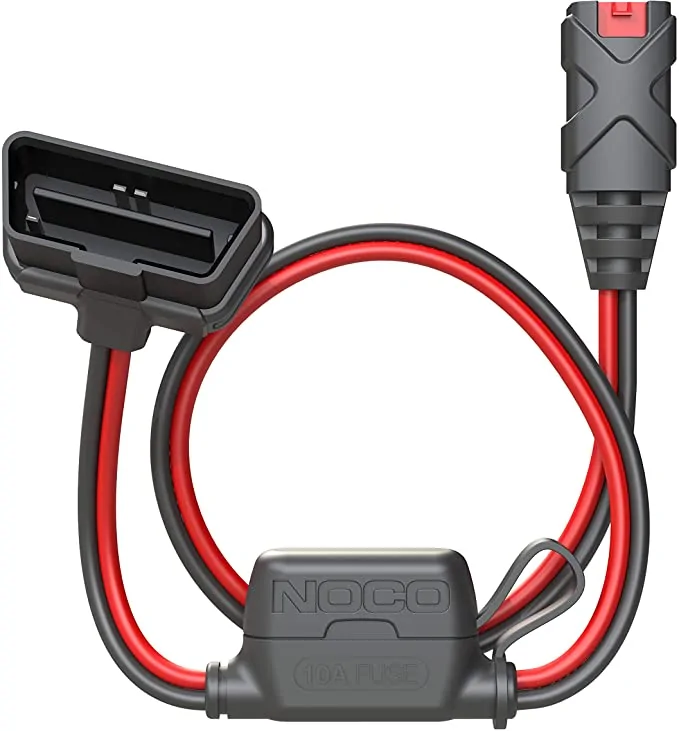
NOCO GC012 X-Connect OBD-II Adapter Accessory For NOCO Genius Smart Battery ChargersWhat about this?
Sponsored