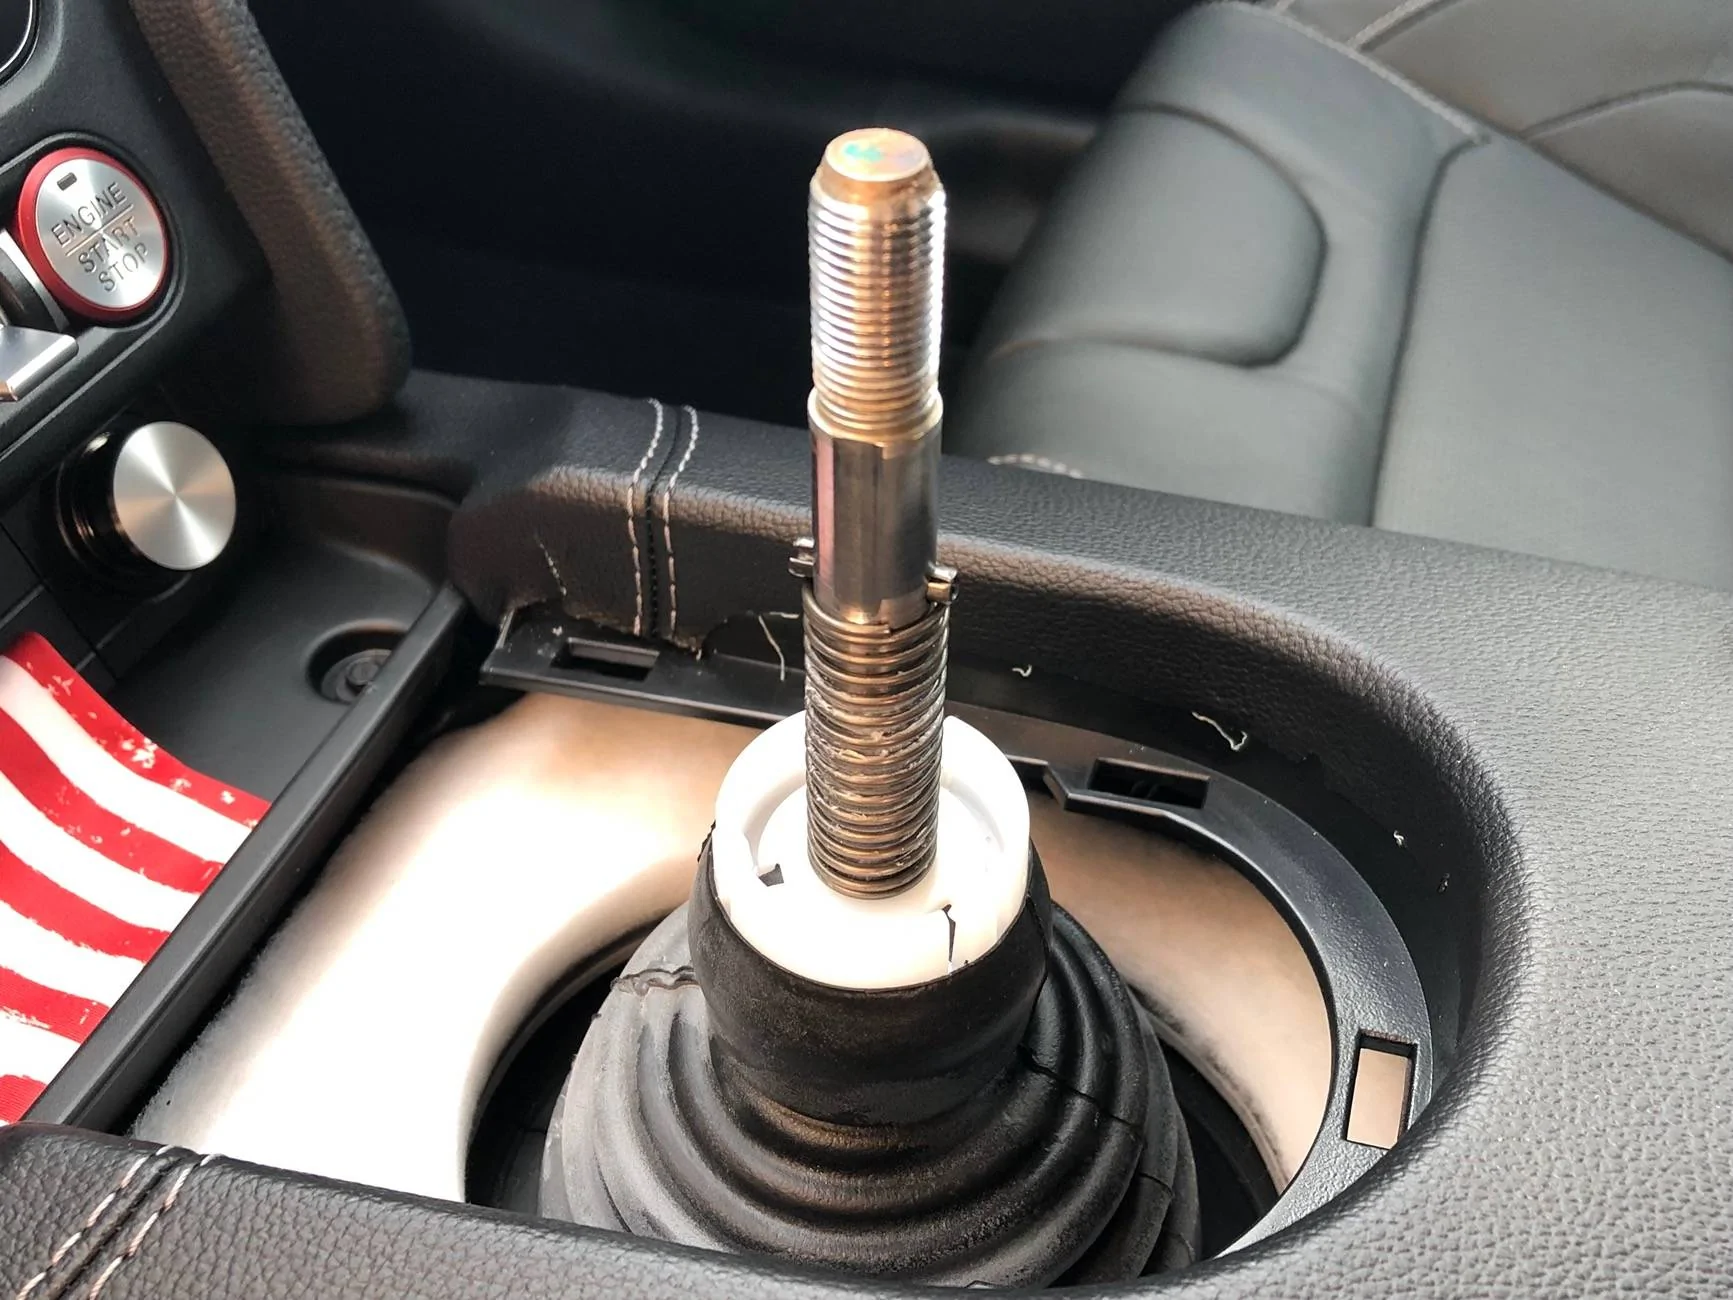
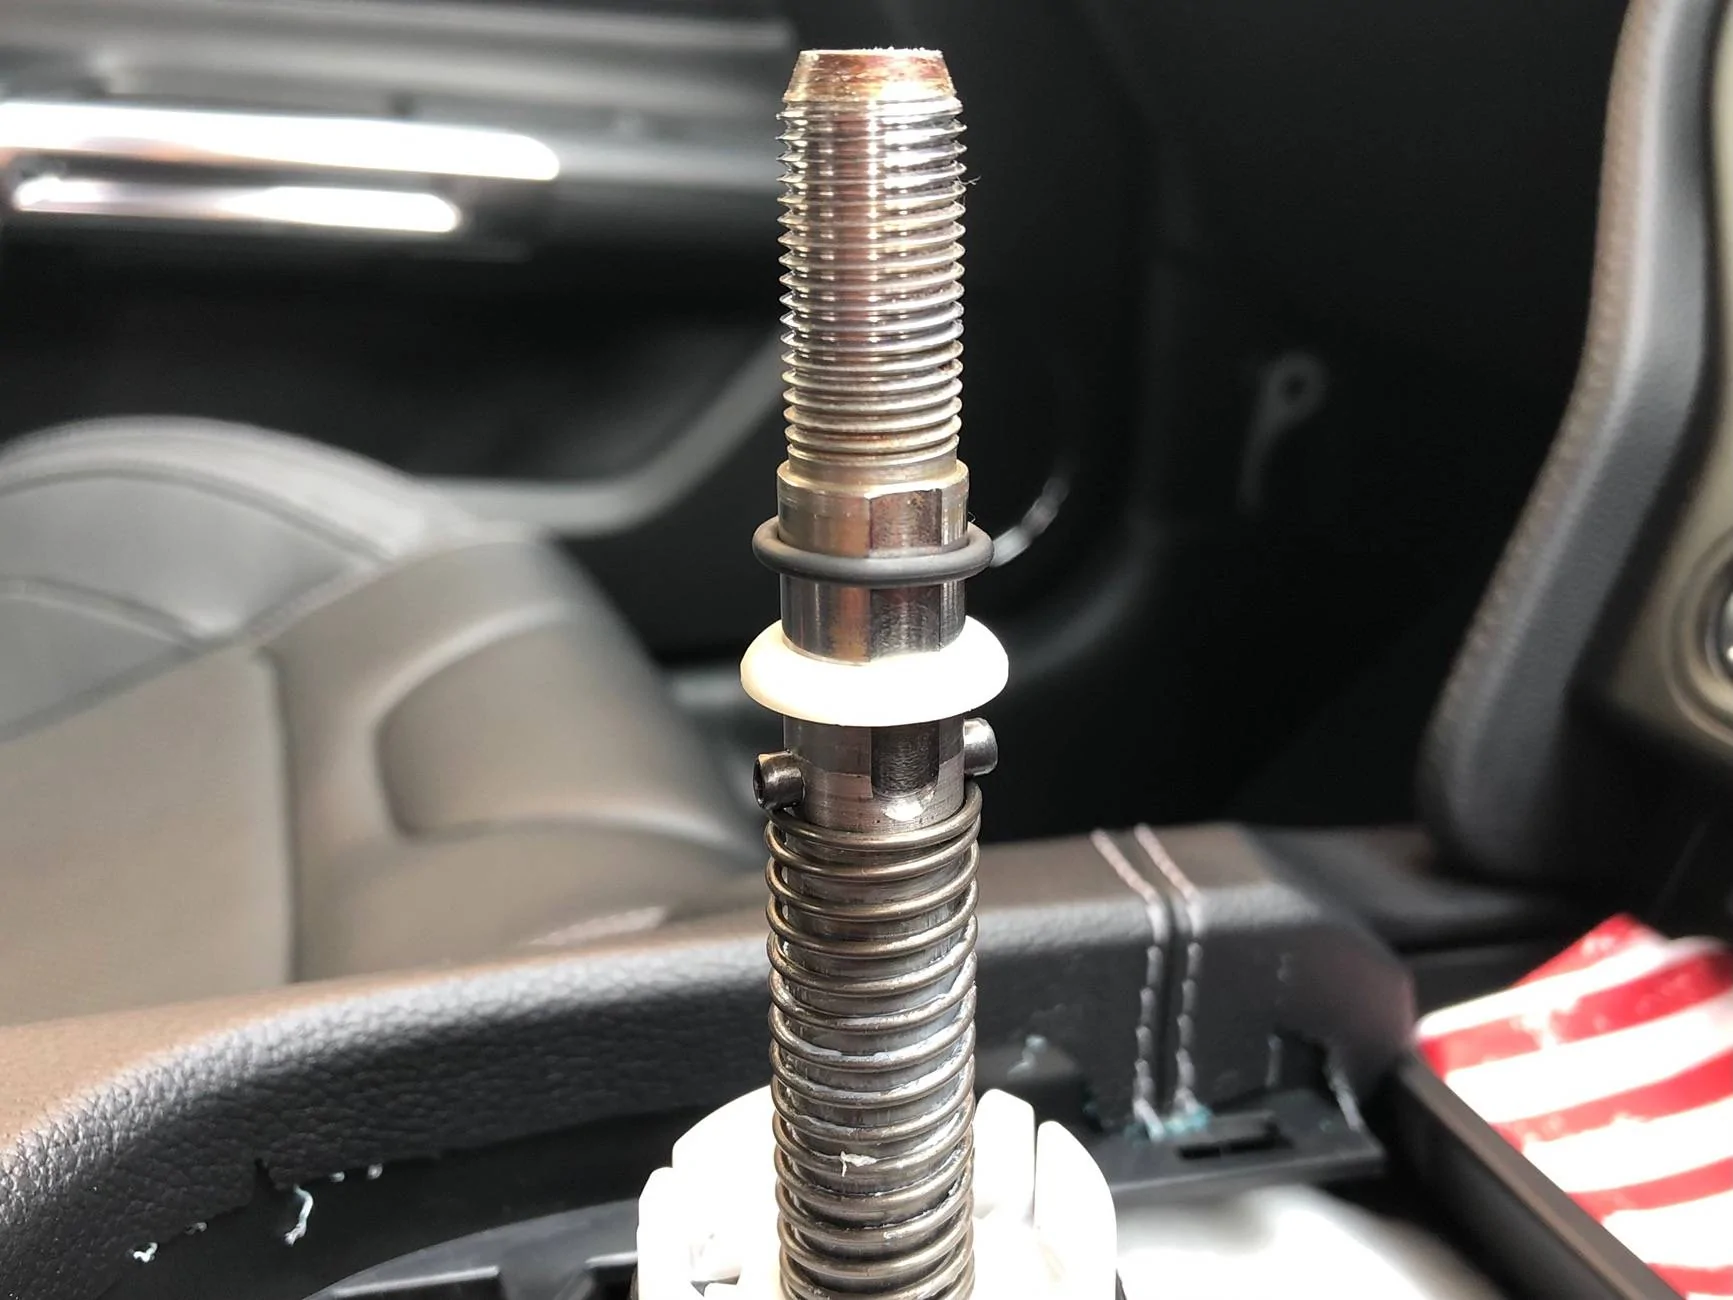
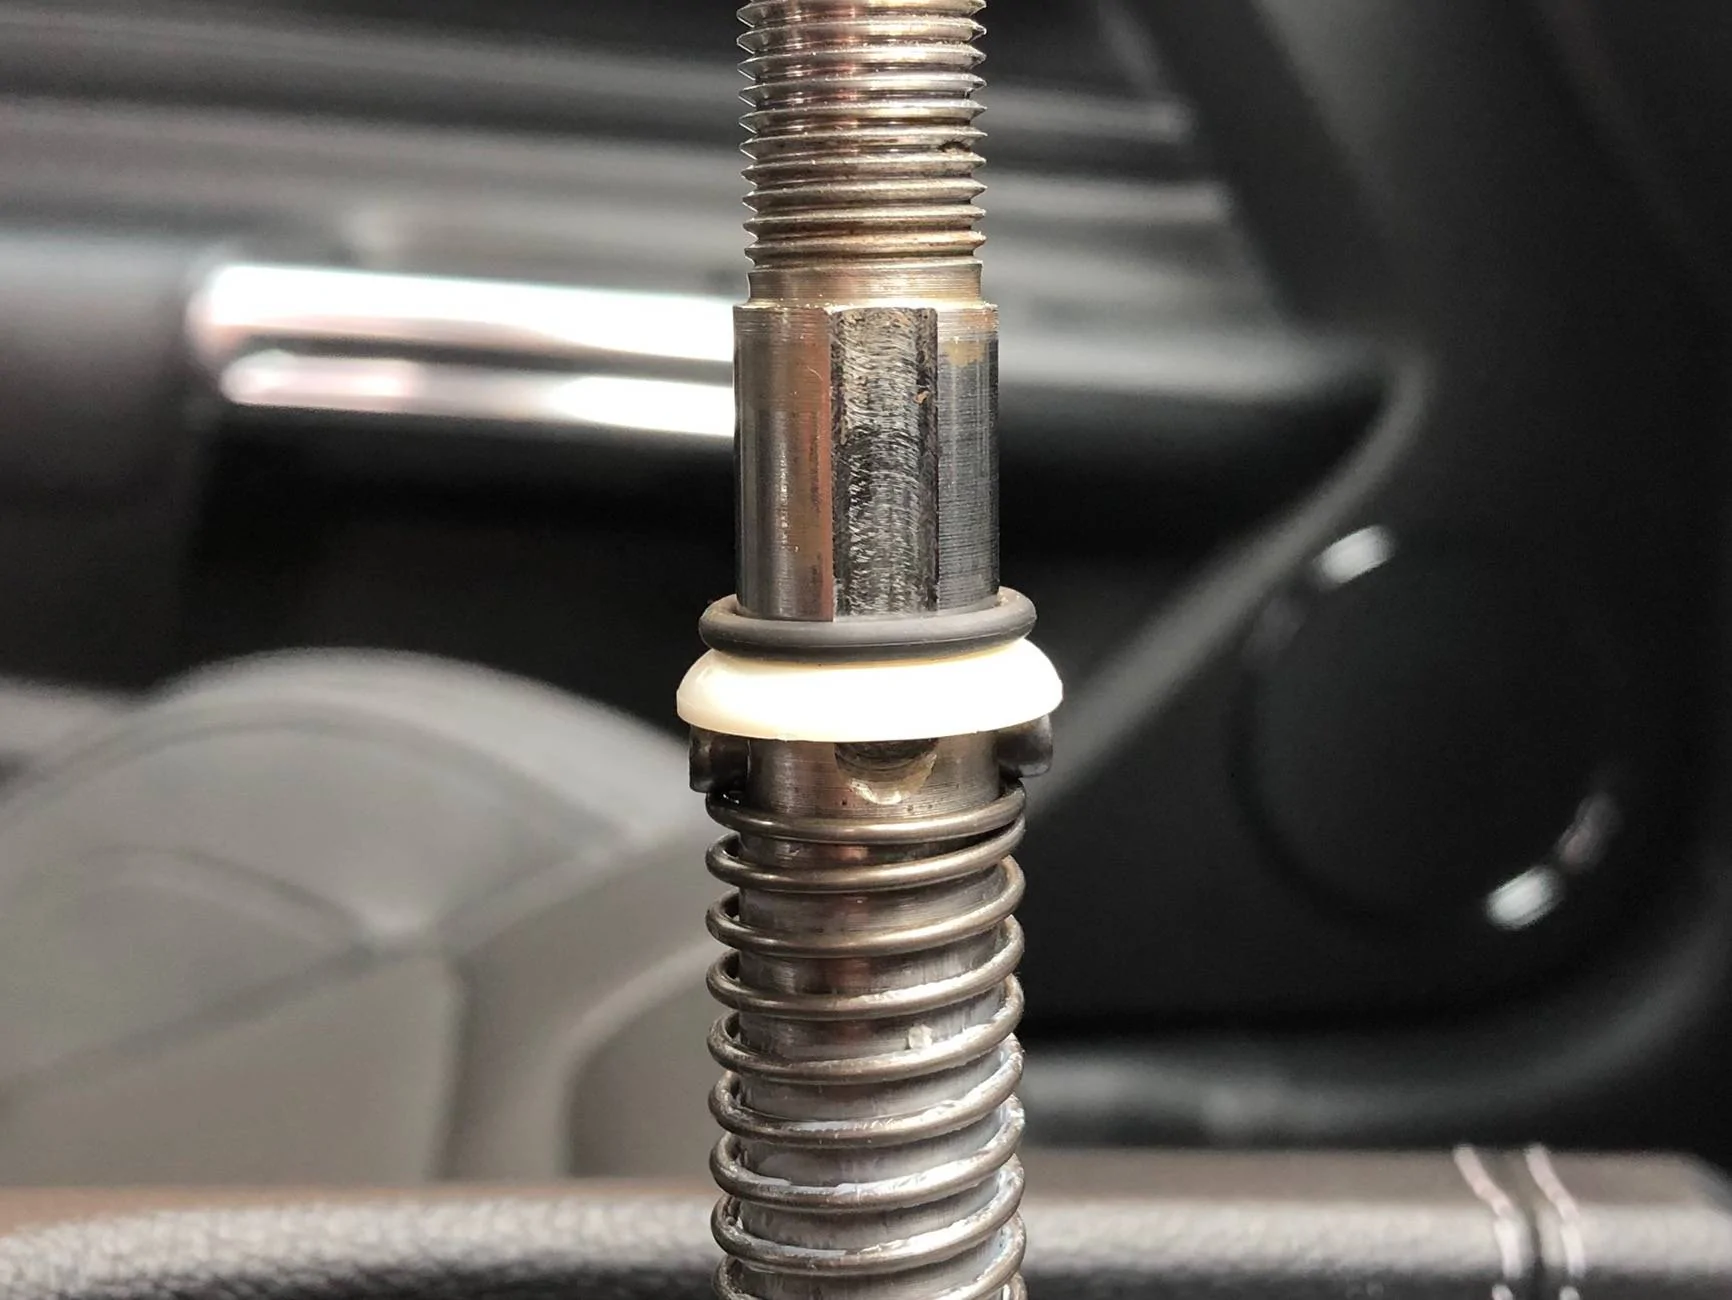
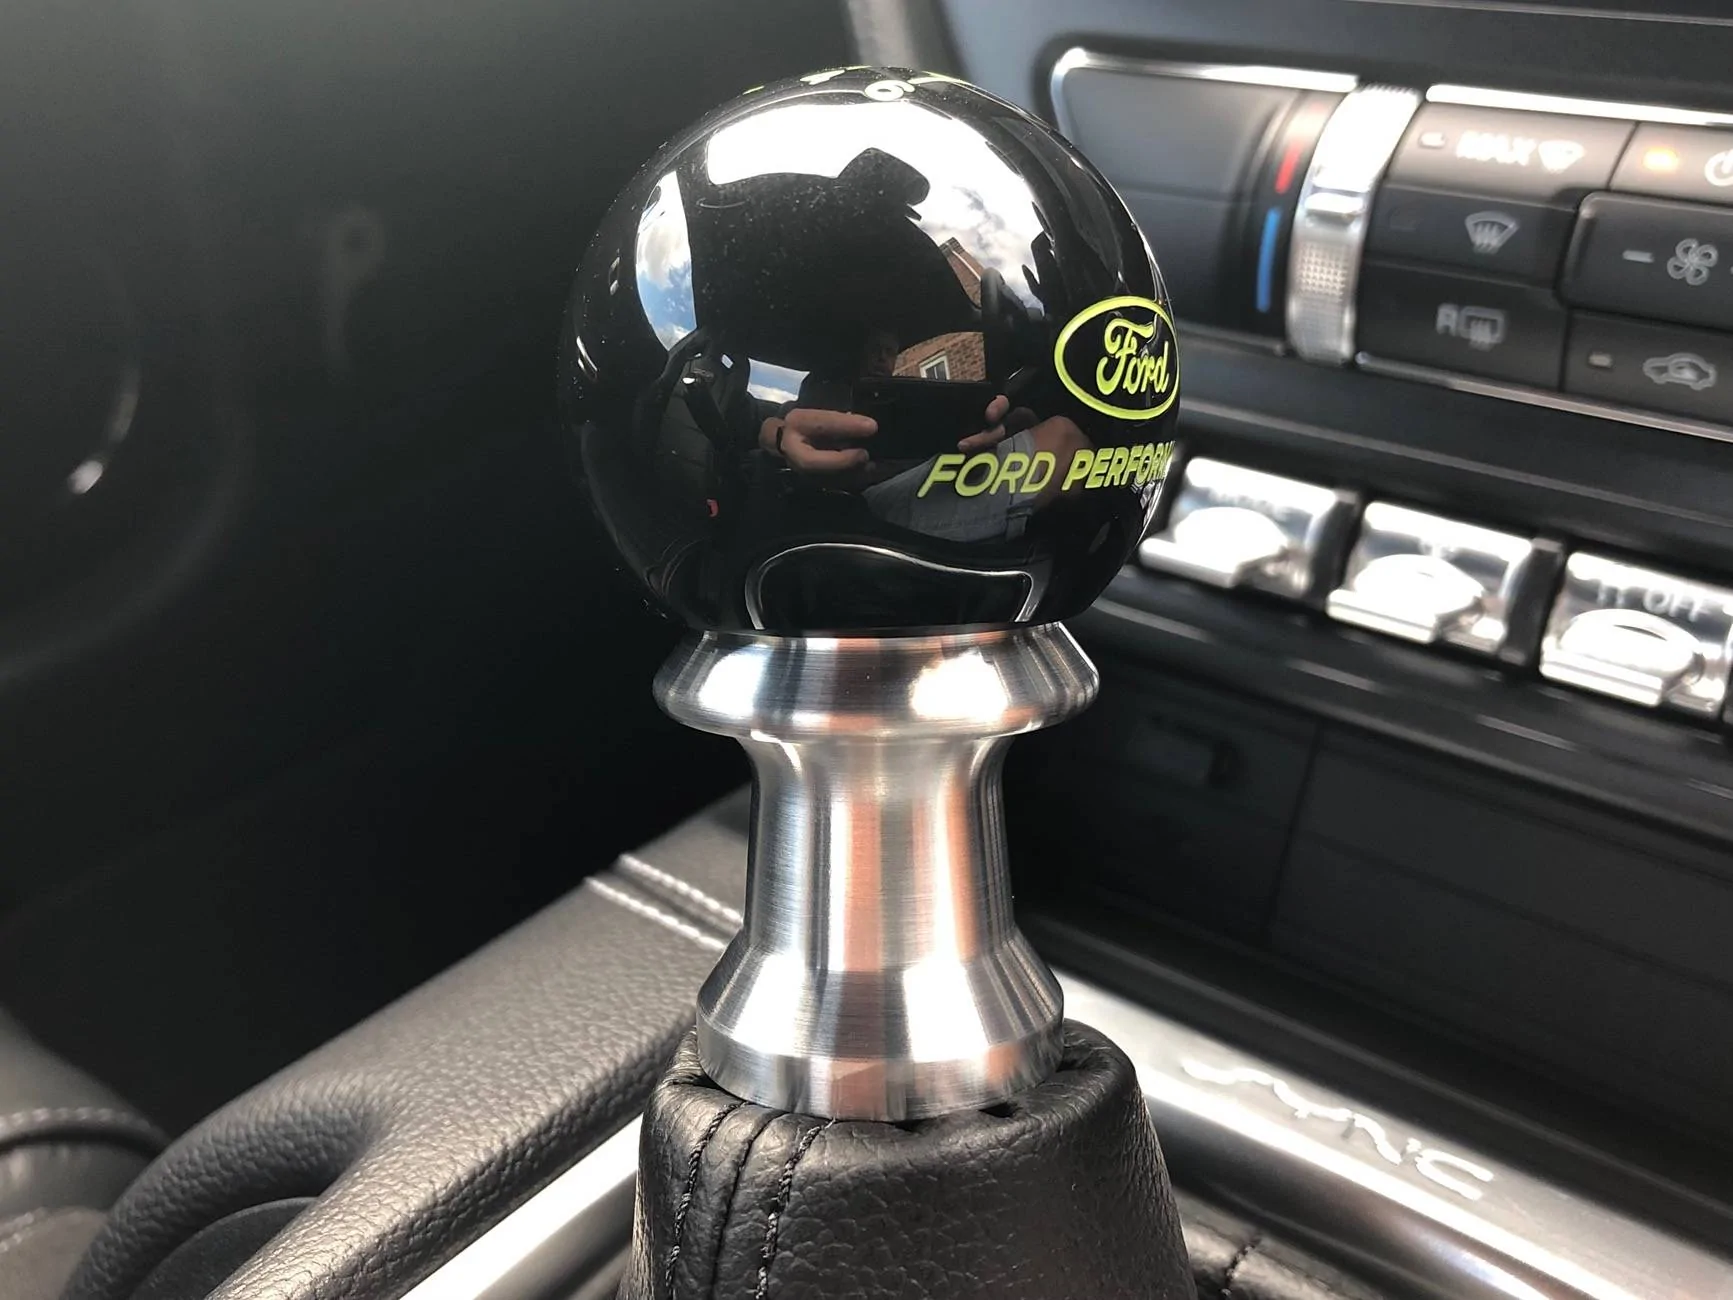
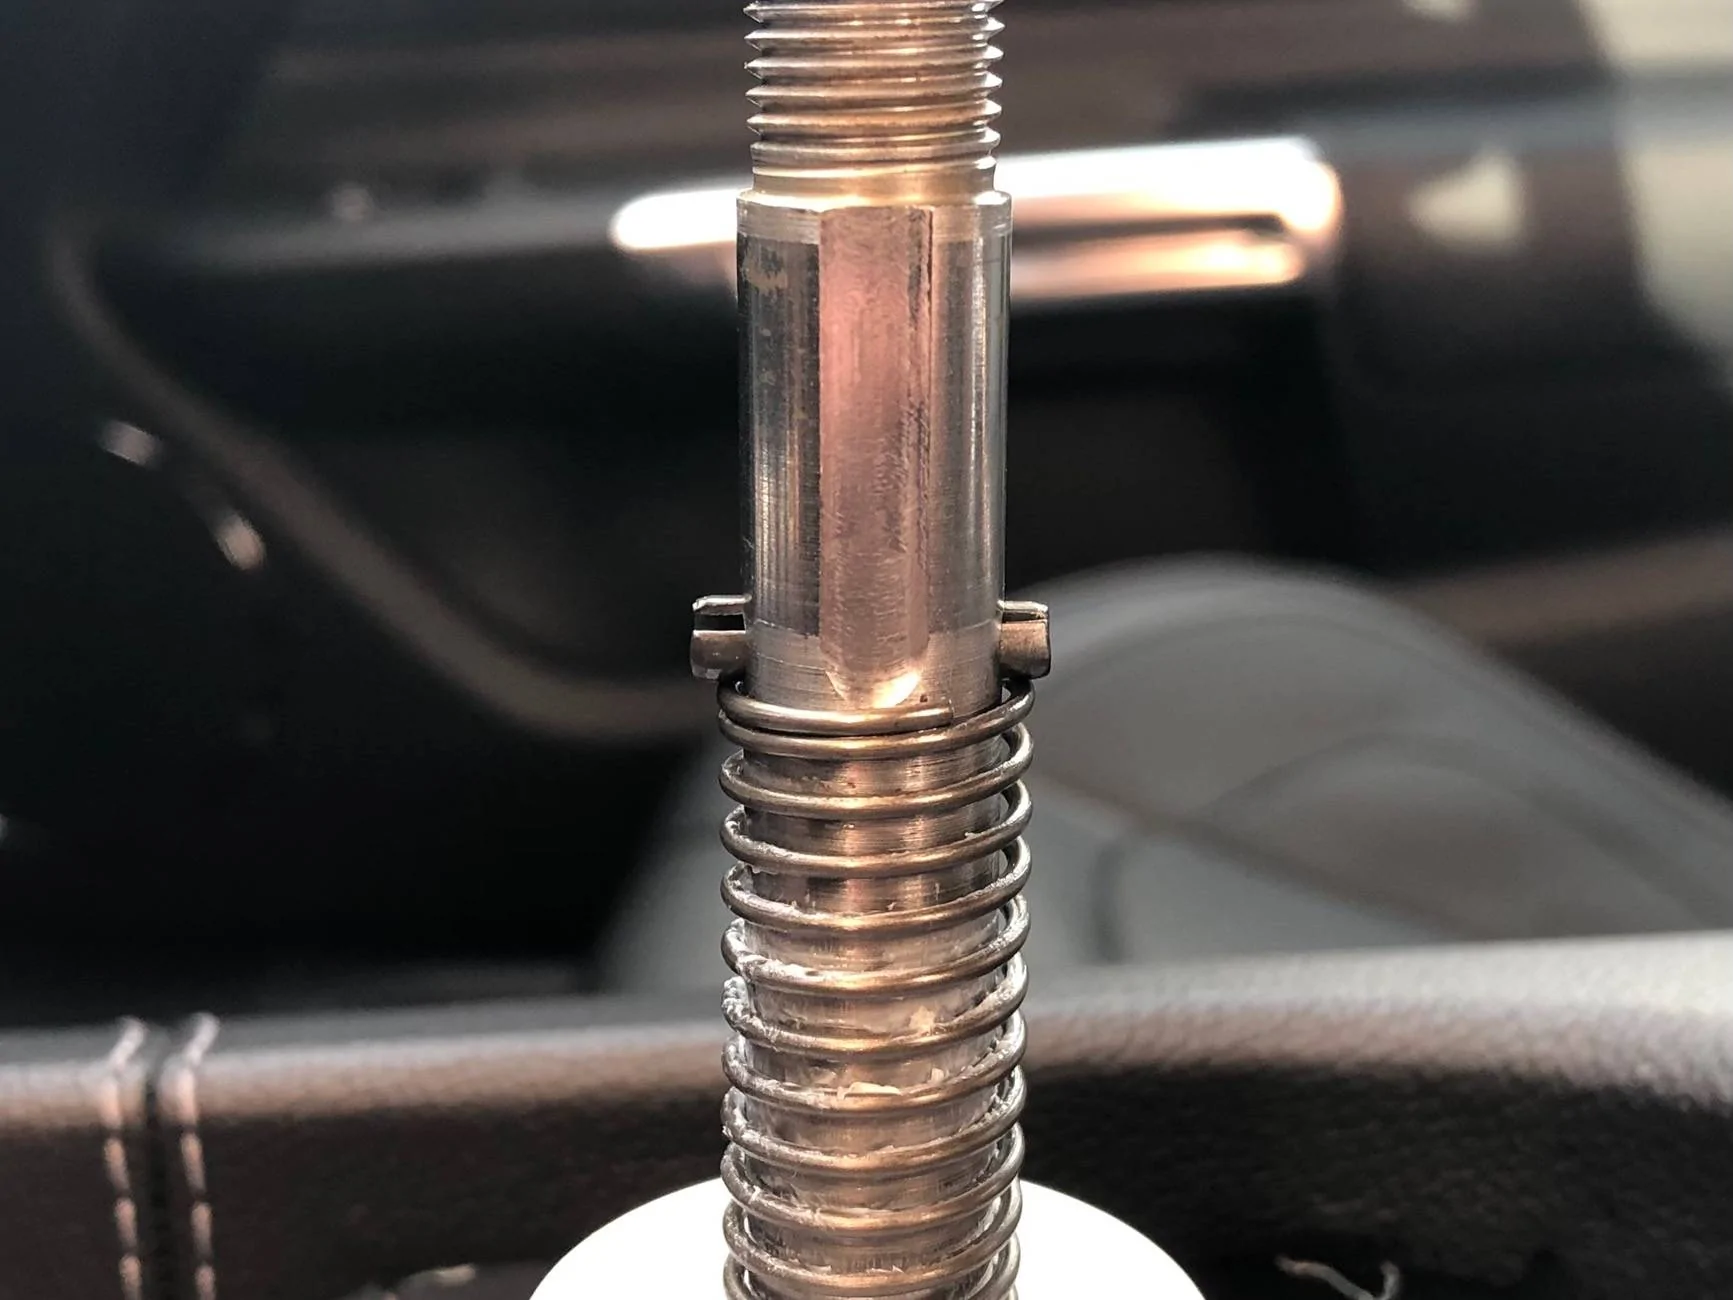
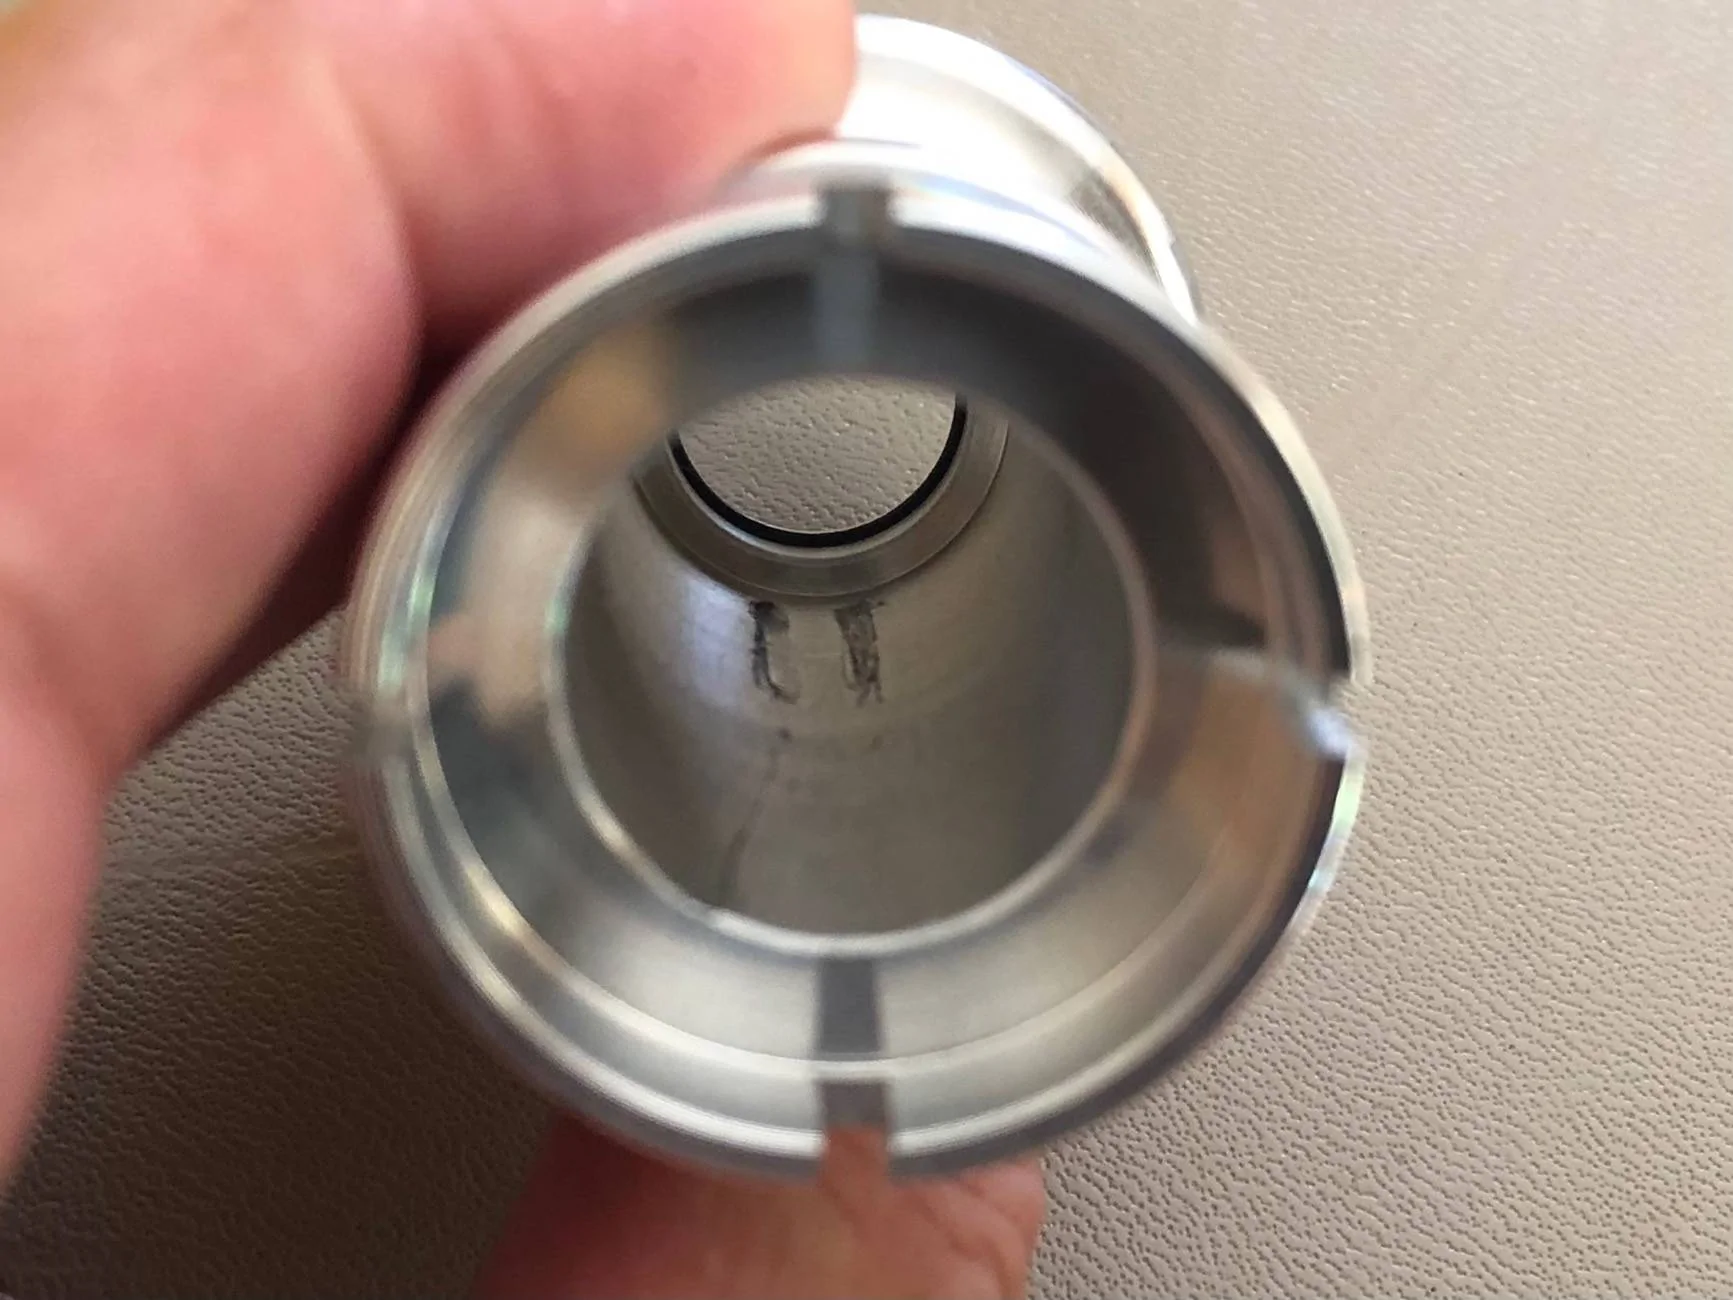
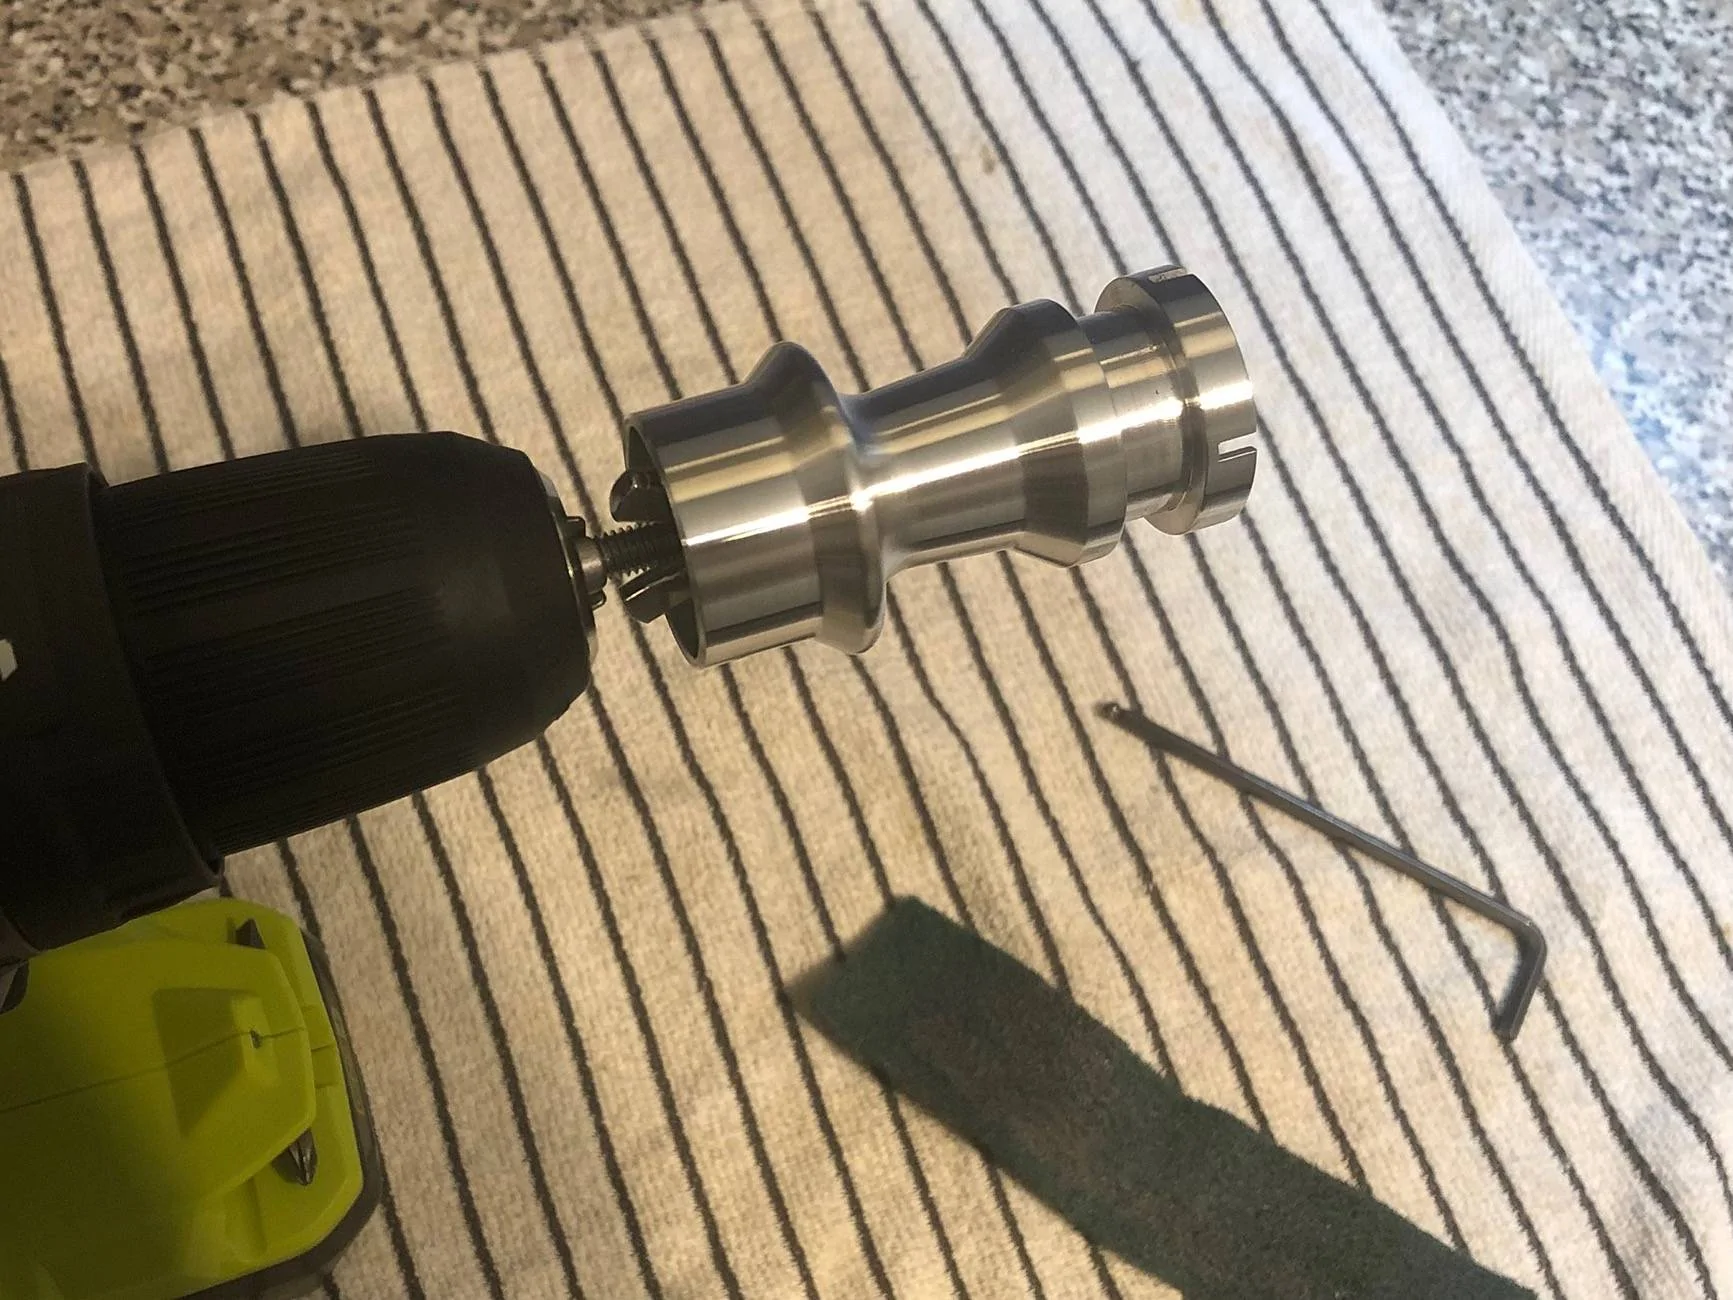
Hello Chuck, let me look into this again - I cc'd you with the sales team & they should have followed-up.2.5 weeks later and I still have no help figuring this out. Had a few emails that discussed nothing about my issue. Making me regret my purchase.
My apologies.
Best,
TJ
Sponsored