Grinchoffl
Member
- Thread starter
- #1
Hi all,
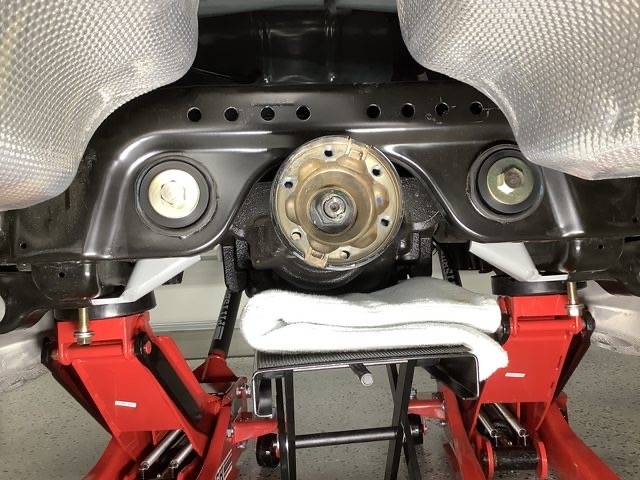
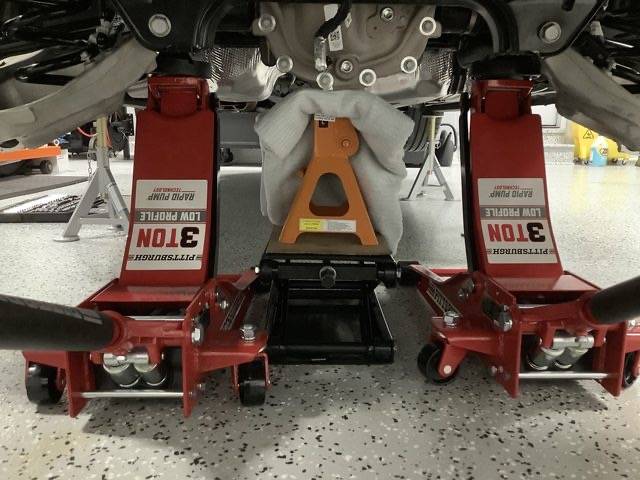
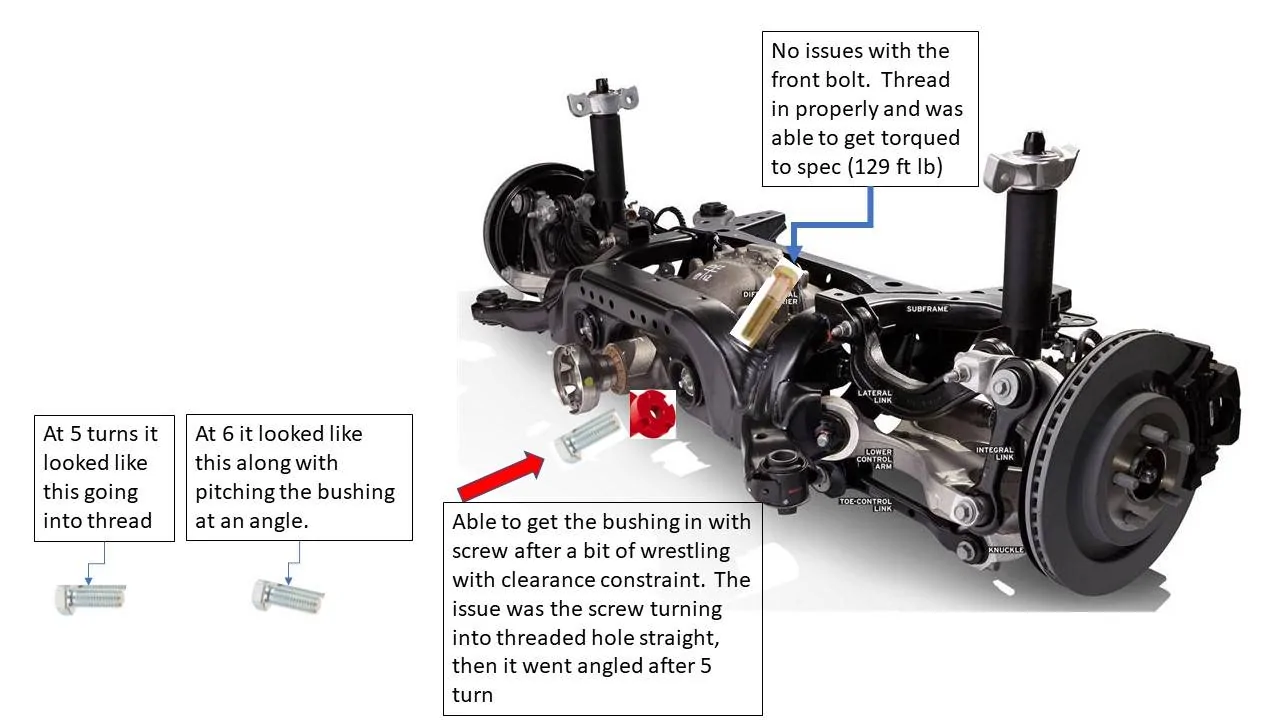
I attached a photo reference to make the story telling easy on what I experienced during my diff bushing install yesterday. The result at the end was having to reinsert the factory bolt minus the bushing. In short I got 3 out of 4. It was dark and this took way longer than expected using hand tools. The result with the 3 are incredible considering I have most of the other suspension mods added on (sub frame alignment sleeves, braces, billet inserts, rear sway, vertical arms). The 3 bushings removed the flex the diff had resulting in a light clunk during lights shifts or throttling on and off in traffic.

Case in point, hoping to get feedback on the following
A) Anyone else go through this?
B) Any opinion of running 3 vs. all 4 from a structural integrity or risk perspective?
Thanks everyone!
P.S. I did speak to Steeda (Thanks to Rod who was helpful) but confirmed they had not seen anything like this from their experience.
-Nick
I attached a photo reference to make the story telling easy on what I experienced during my diff bushing install yesterday. The result at the end was having to reinsert the factory bolt minus the bushing. In short I got 3 out of 4. It was dark and this took way longer than expected using hand tools. The result with the 3 are incredible considering I have most of the other suspension mods added on (sub frame alignment sleeves, braces, billet inserts, rear sway, vertical arms). The 3 bushings removed the flex the diff had resulting in a light clunk during lights shifts or throttling on and off in traffic.
Case in point, hoping to get feedback on the following
A) Anyone else go through this?
B) Any opinion of running 3 vs. all 4 from a structural integrity or risk perspective?
Thanks everyone!
P.S. I did speak to Steeda (Thanks to Rod who was helpful) but confirmed they had not seen anything like this from their experience.
-Nick
Sponsored