wdninja
Member
- Joined
- Jul 8, 2014
- Threads
- 1
- Messages
- 20
- Reaction score
- 20
- Location
- Richmond, VA
- Vehicle(s)
- 2015 Mustang Ecoboost Premium w/ PP
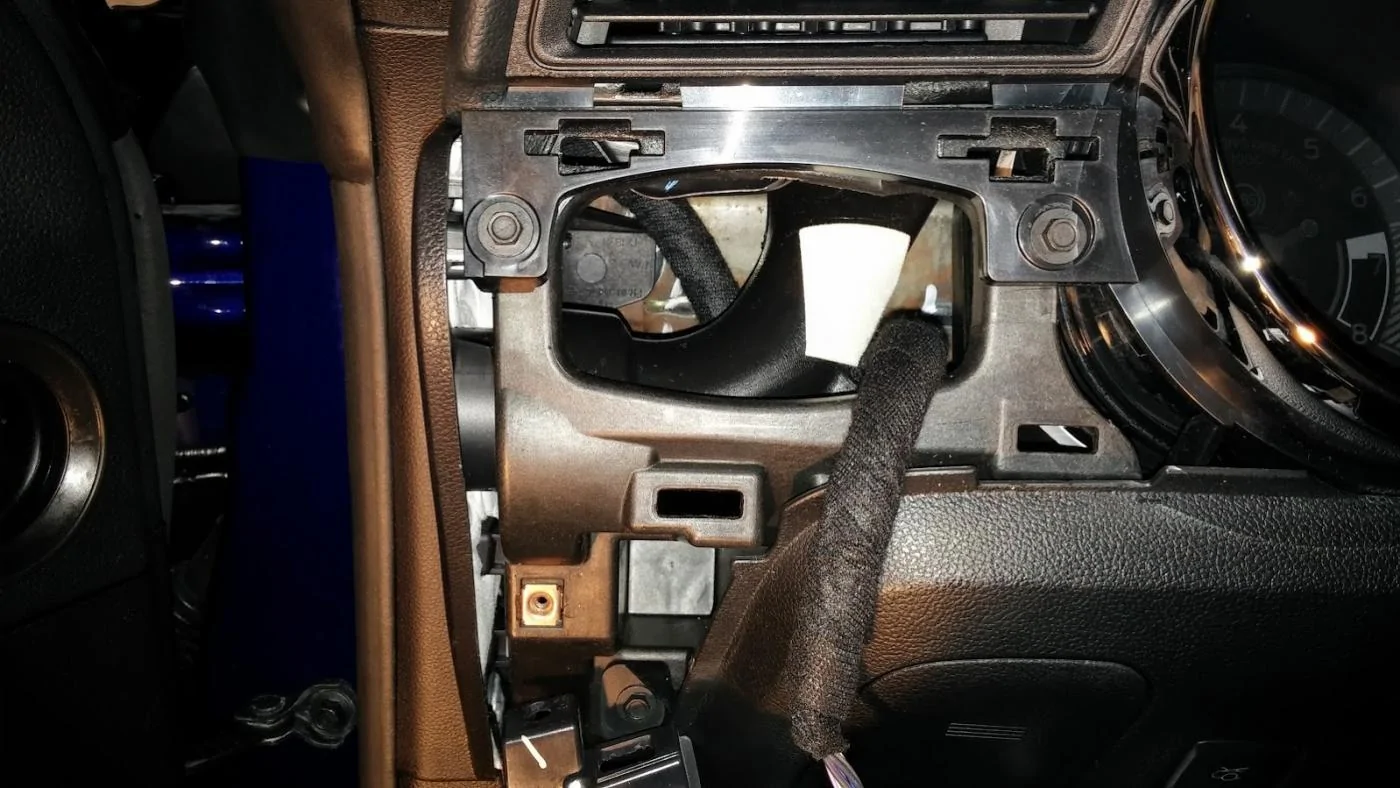
I was getting sick of the light switch panel rattle, so I took it apart tonight and fixed it. Here's what I did:
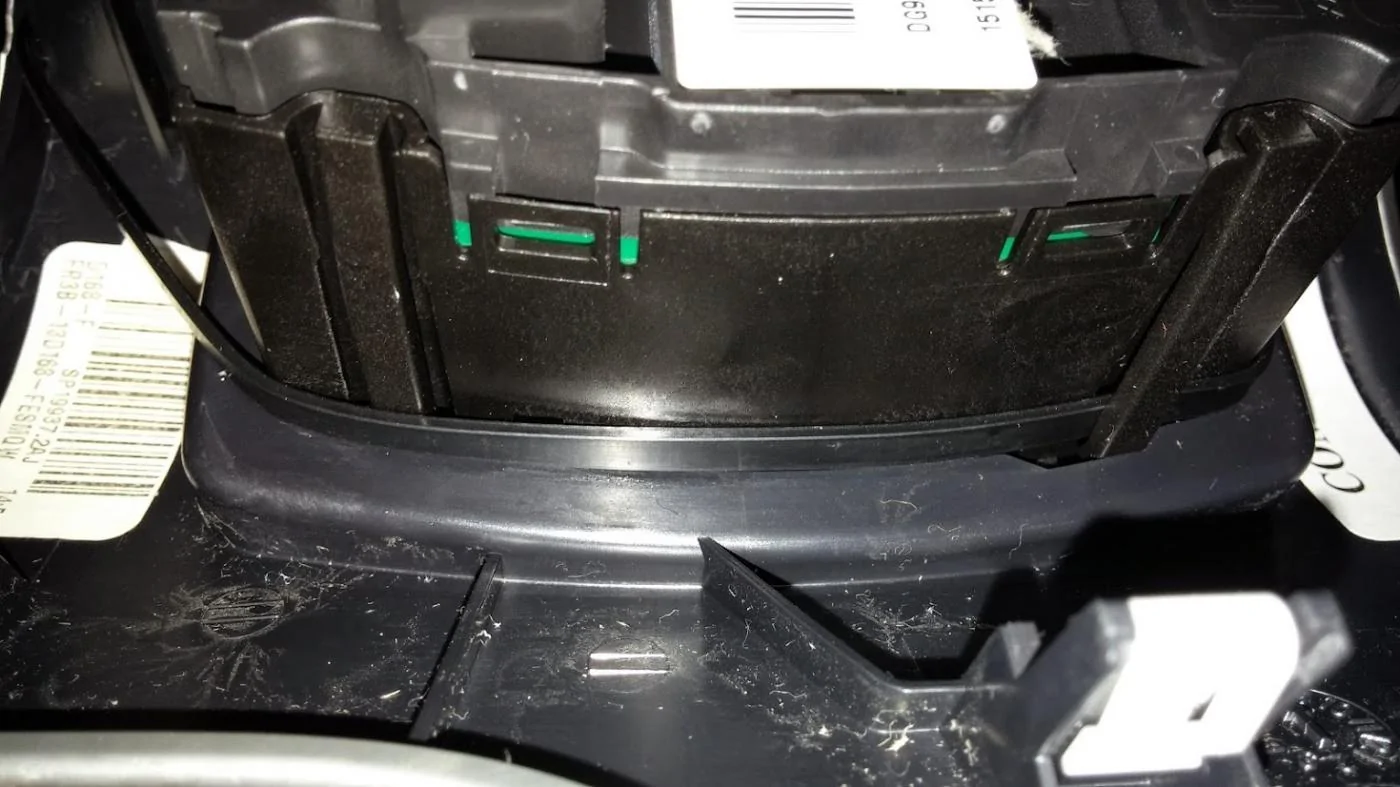
After a little analysis, I think the rattle was coming from the yellow plastic clip closest to the tachometer. When out of the dash, it freely slides on its post and I can see it easily rattling with specific vibrations. The trim rings around the gauges make some noise too, so once I figure out how to disassemble those I'll fortify those as well.
Clips that I think were the primary culprit:

After applying some felt to the clips and along the tachometer side edge:
- Test drove to determine approximate speeds and road types where the rattle occurs.
- Removed lower panel using body panel removal tool (just clips).
- Removed lower left 7mm screw, then popped the 4 clips using body panel removal tool.
- Applied sticky felt to all 4 clips and a strip along the edge where the edge meets the tachometer trim ring.
- Reassembled, test drove the same road and same speed I initially tested.
- Basked in the silence.
After a little analysis, I think the rattle was coming from the yellow plastic clip closest to the tachometer. When out of the dash, it freely slides on its post and I can see it easily rattling with specific vibrations. The trim rings around the gauges make some noise too, so once I figure out how to disassemble those I'll fortify those as well.
Clips that I think were the primary culprit:

After applying some felt to the clips and along the tachometer side edge:

Sponsored