Blwnsmoke
Well-Known Member
- Thread starter
- #1
So I purchased the Powerstop Z26 front and rear brake pads. I'm so tired of the brake dust and since I don't track the car, wanted to change them out.
I have never changed pads before (watched it but never done it) and after watching youtube videos, seems pretty straight forward.
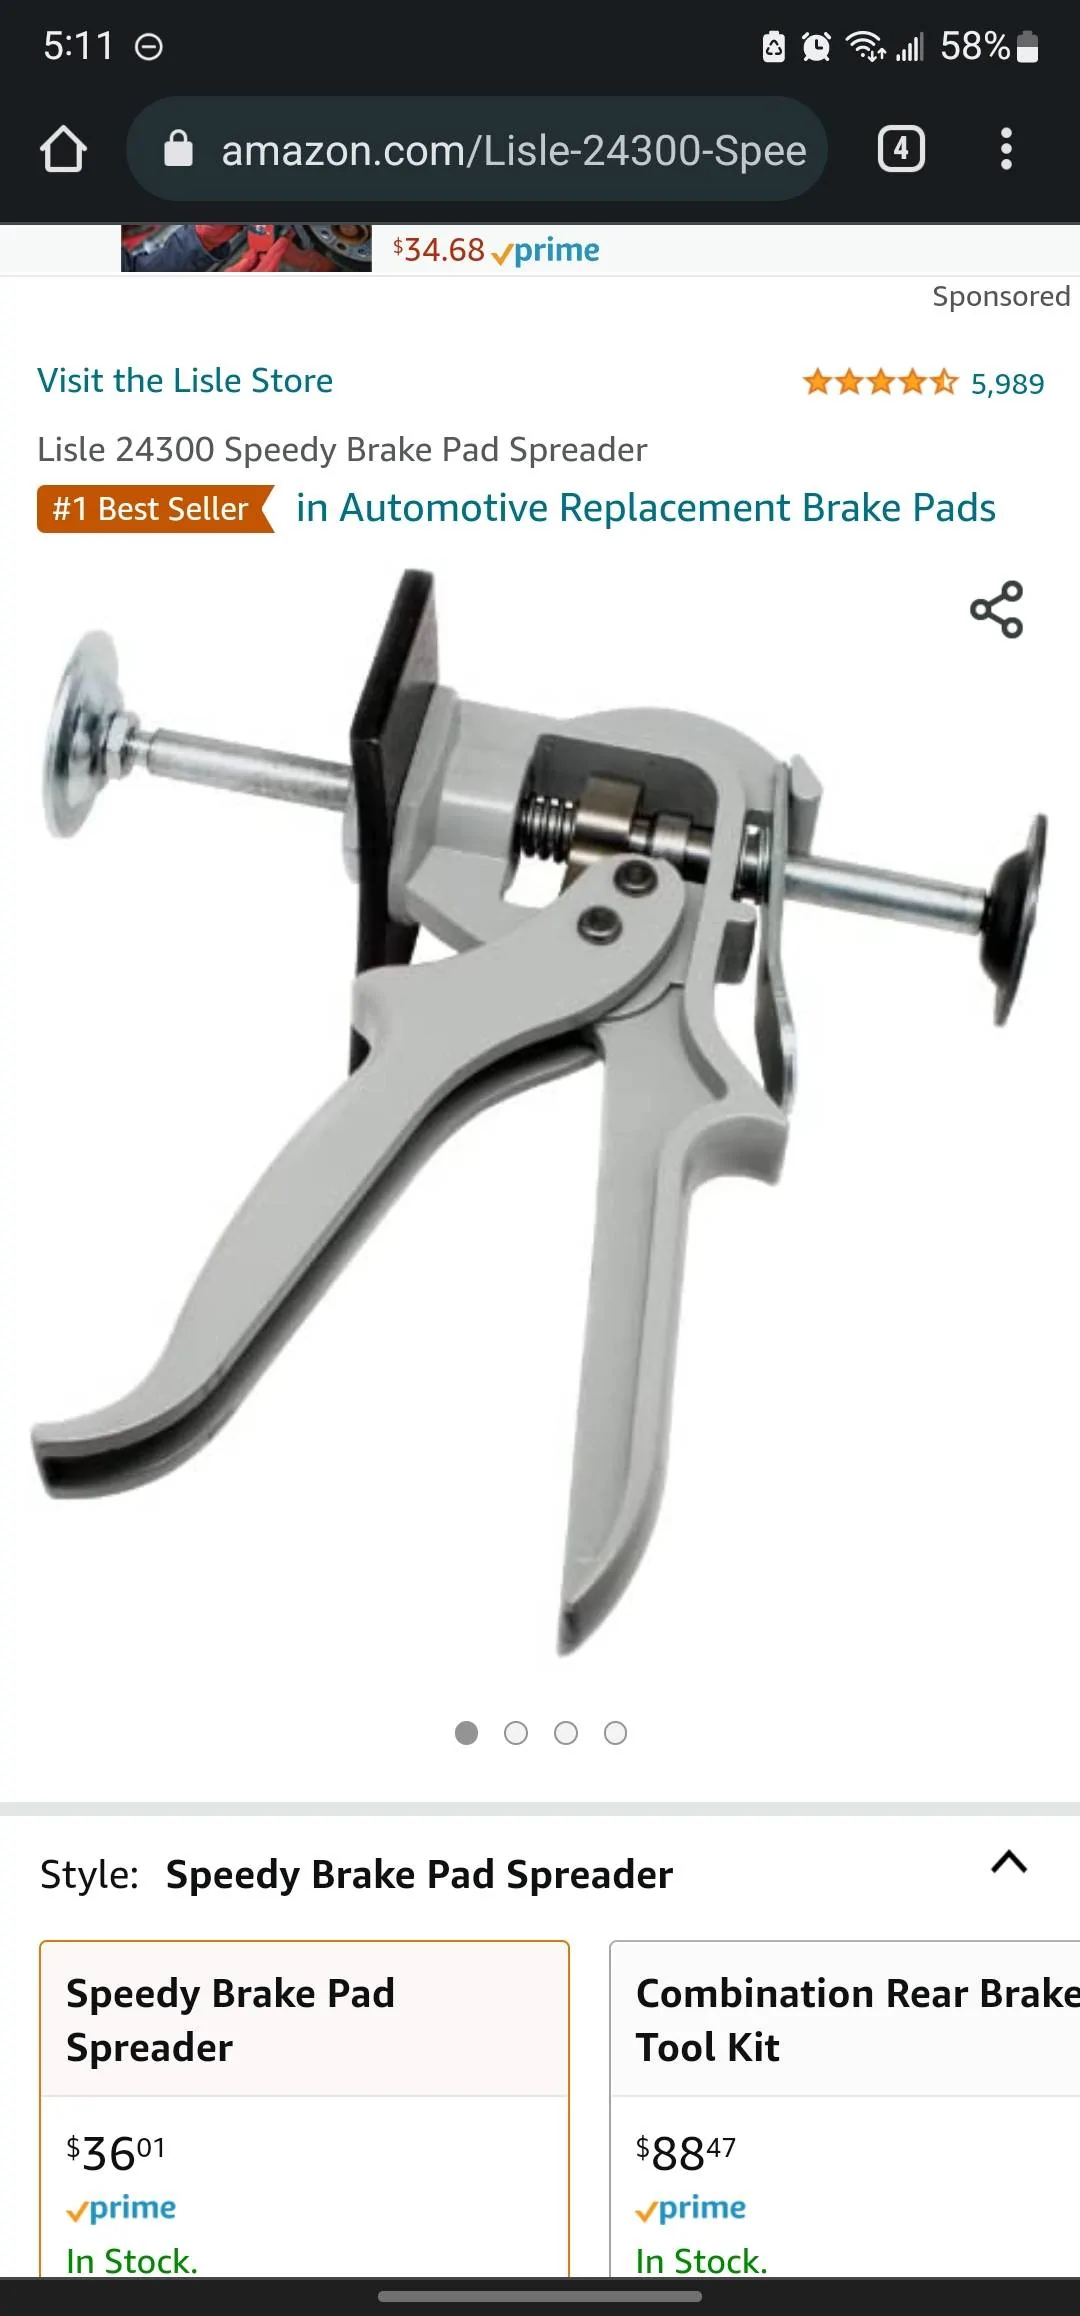
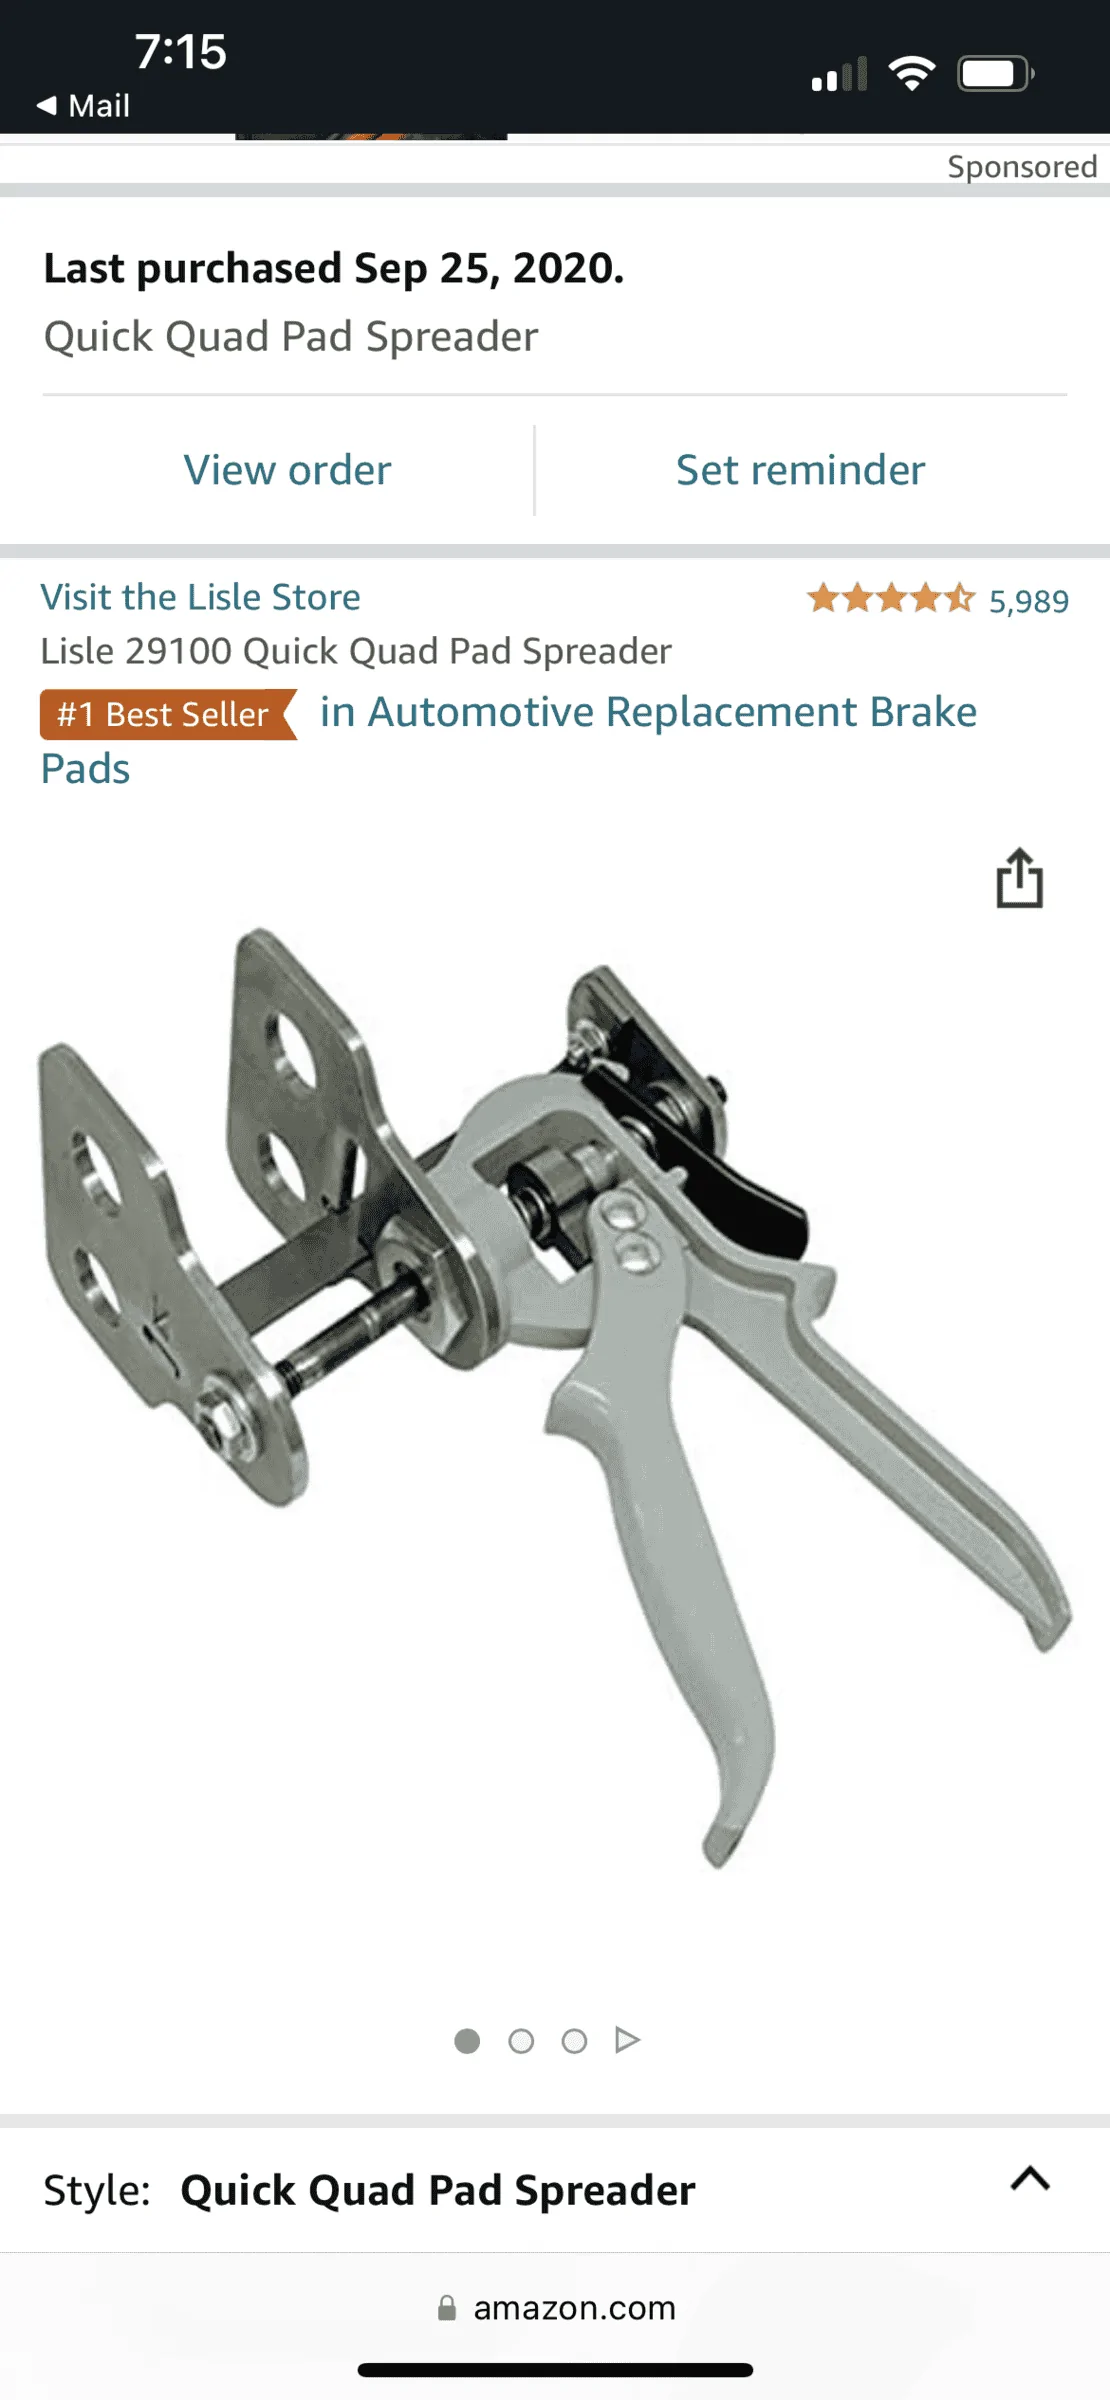
Fronts, tap 2 pins out, remove 2 60mm bolts, remove pads, use caliper spread press tool, insert new pads, reinstall.
However after watching a video of the rear, it included replacing the rotors. I believe because of that, you had to remove the emergency brake cable to access the bolt to remove the rear rotor.
In watching the video, they removed the rear pads out the back of the caliper without removing it. Does that mean that I don't have to remove the caliper to install new pads for the rears? Am I able to get the caliper spreader tool in the rear so I can just insert the pads and then the bracket/pins afterwards?
Any help is greatly appreciated!!
I just finished painting my calipers and had my rims cleaned and double ceramic coated so trying everything I can to keep them clean.
I have never changed pads before (watched it but never done it) and after watching youtube videos, seems pretty straight forward.
Fronts, tap 2 pins out, remove 2 60mm bolts, remove pads, use caliper spread press tool, insert new pads, reinstall.
However after watching a video of the rear, it included replacing the rotors. I believe because of that, you had to remove the emergency brake cable to access the bolt to remove the rear rotor.
In watching the video, they removed the rear pads out the back of the caliper without removing it. Does that mean that I don't have to remove the caliper to install new pads for the rears? Am I able to get the caliper spreader tool in the rear so I can just insert the pads and then the bracket/pins afterwards?
Any help is greatly appreciated!!
I just finished painting my calipers and had my rims cleaned and double ceramic coated so trying everything I can to keep them clean.
Sponsored

")