galaxy
Well-Known Member
- Thread starter
- #1
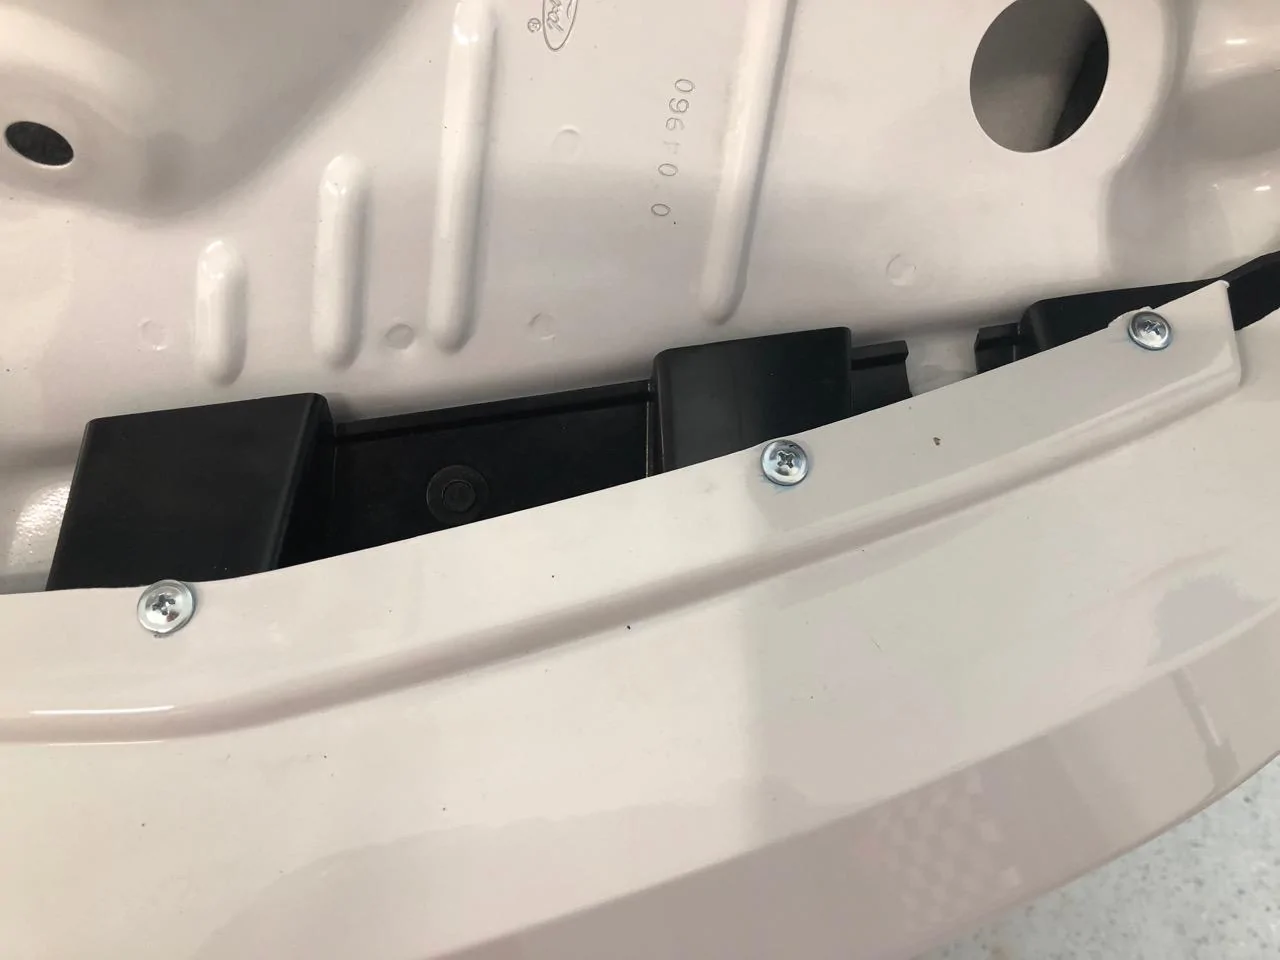
So I fixed my bumper gap today using the method shown in the pictures. Just wanted to share a couple thoughts. First and foremost, it works like a champ. I think it's a little bit of a cheezy way to have to fix this issue, but as mentioned, it works, I did it myself, and the TSB is a 50/50 shot from what I've seen. Plus the #1 point, I'm avoiding the dealer screwing with my car. Some things to share and pass along for anyone that cares...
- My first intention was to take the bumper skin all the way off and check all the screws on those mounting assemblies. Once the tail lights were out, you can get to two of the screws on each side. They were tight on both sides of mine. After removing one of the fender liners to inspect what little you can see, and considering all of my mounting assemblies (the black pieces under the skin) seemed to be rock solid, I decided not to. Was mainly going to do that only to check screws anyways based on some previous reports, but mine seemed solid and didn't seem like much to be gained. So I didn't.
- Like most of us, the gap increasing over time certainly appears to be an issue with an increasing play in the skin instead of something underneath actually loosening or backing off, or thus appeared to be the case with mine.
- With the lights out and room to fidget with stuff, it also appeared my gap was at a point where I honestly don't think it would have progressed any further. But, got the screws and I'm in here, so...
- Since it's just the weight of the skin and not much of a support function, i think these screws will hold fairly well. But only time and driving will truly tell.
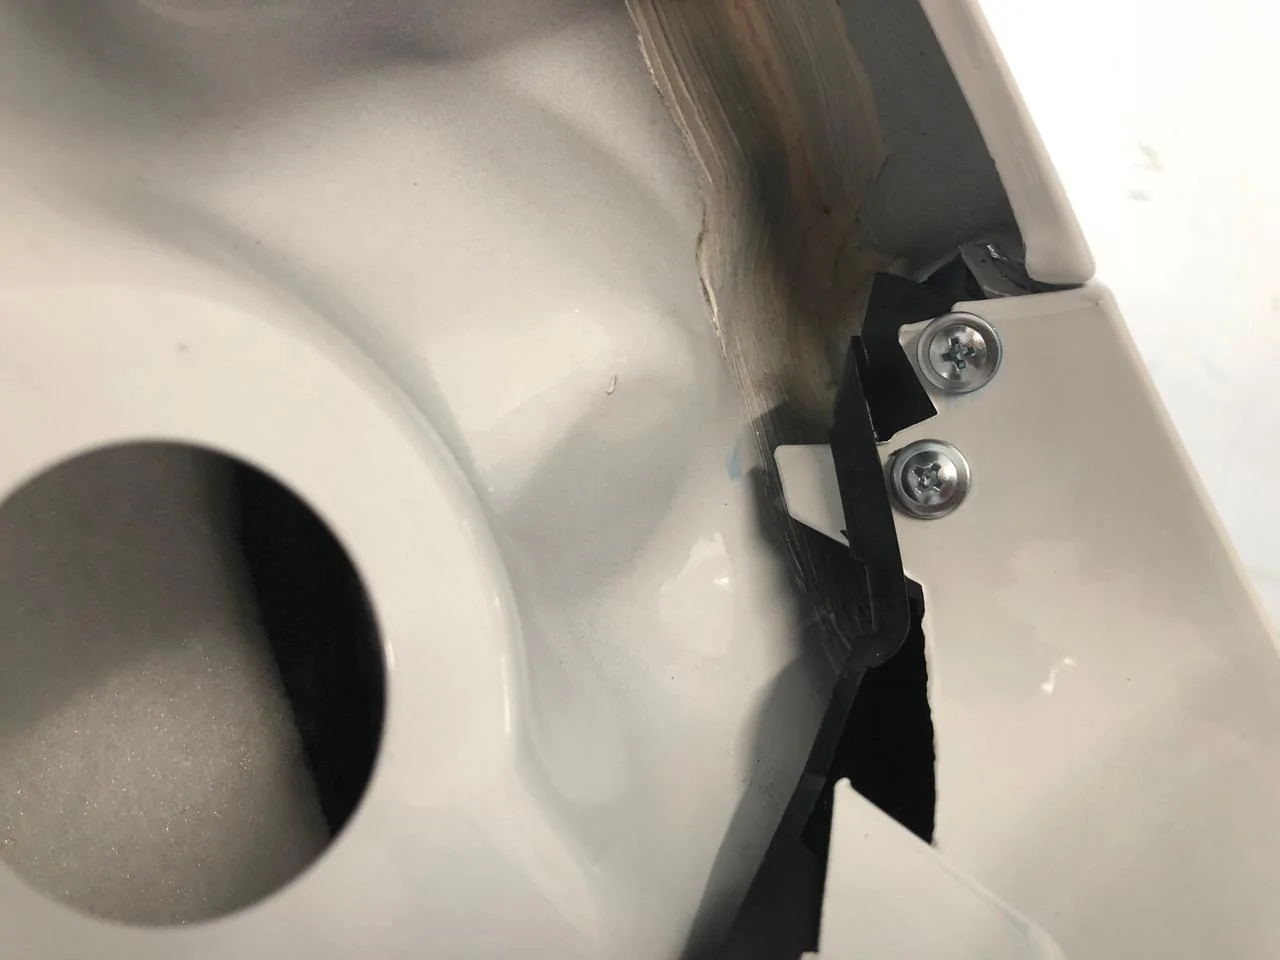
- When drilling a pilot hole and putting the screws in, I went in at an angle such that when the head of the screw started to tighten, it would pull the skin in the appropriate direction.
- I put lock-tite on the screws. Don't know if that'll make a darn bit of difference on the plastic, but I did it anyways.
*** - On the rear fender liners, there's various different types of plastic fasteners used to secure the liner. Six of them are a nut/cap type thing that goes over a threaded stud. CHECK THESE. Even if you're not working on anything I suggest checking them. All of mine (all 12) were so loose, I'm surprised any of them are still on the car.

- My first intention was to take the bumper skin all the way off and check all the screws on those mounting assemblies. Once the tail lights were out, you can get to two of the screws on each side. They were tight on both sides of mine. After removing one of the fender liners to inspect what little you can see, and considering all of my mounting assemblies (the black pieces under the skin) seemed to be rock solid, I decided not to. Was mainly going to do that only to check screws anyways based on some previous reports, but mine seemed solid and didn't seem like much to be gained. So I didn't.
- Like most of us, the gap increasing over time certainly appears to be an issue with an increasing play in the skin instead of something underneath actually loosening or backing off, or thus appeared to be the case with mine.
- With the lights out and room to fidget with stuff, it also appeared my gap was at a point where I honestly don't think it would have progressed any further. But, got the screws and I'm in here, so...
- Since it's just the weight of the skin and not much of a support function, i think these screws will hold fairly well. But only time and driving will truly tell.
- When drilling a pilot hole and putting the screws in, I went in at an angle such that when the head of the screw started to tighten, it would pull the skin in the appropriate direction.
- I put lock-tite on the screws. Don't know if that'll make a darn bit of difference on the plastic, but I did it anyways.
*** - On the rear fender liners, there's various different types of plastic fasteners used to secure the liner. Six of them are a nut/cap type thing that goes over a threaded stud. CHECK THESE. Even if you're not working on anything I suggest checking them. All of mine (all 12) were so loose, I'm surprised any of them are still on the car.

Sponsored