Sponsored

2 post lifts

OP
OP
NGOT8R

NGOT8R

Well-Known Member
Joined
Jul 19, 2020
Threads
153
Messages
9,208
Reaction score
7,654
Location
Florida
First Name
Adrian
Vehicle(s)
2019 Bullitt
@NGOT8R I'm assuming this is only a working lift since your ceiling is pretty low at 10' 3". I've got 10' 6" with my 4 post and still wish I had at least another 6" to make life a little easier. I would also recommend installing a high lift type garage door opener since the track of your current one will hit a raised car from what I can tell in your pictures.
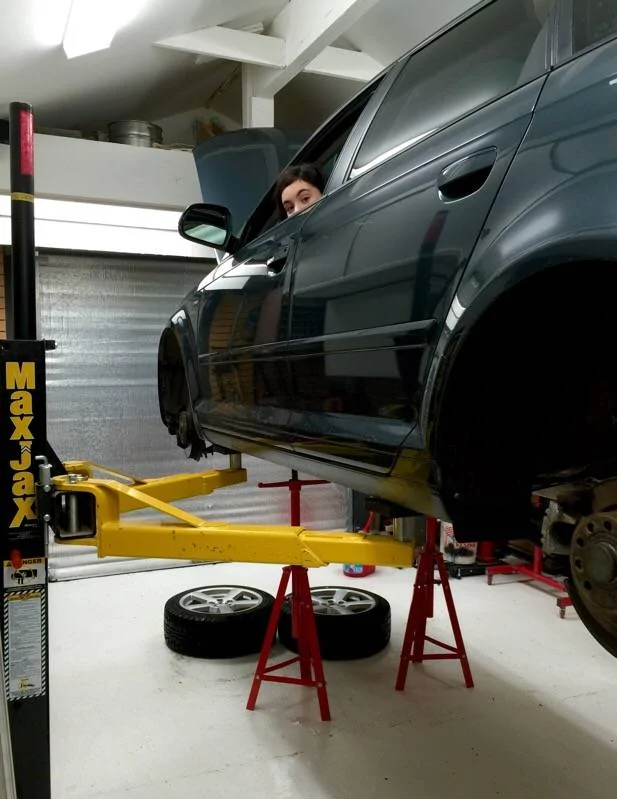
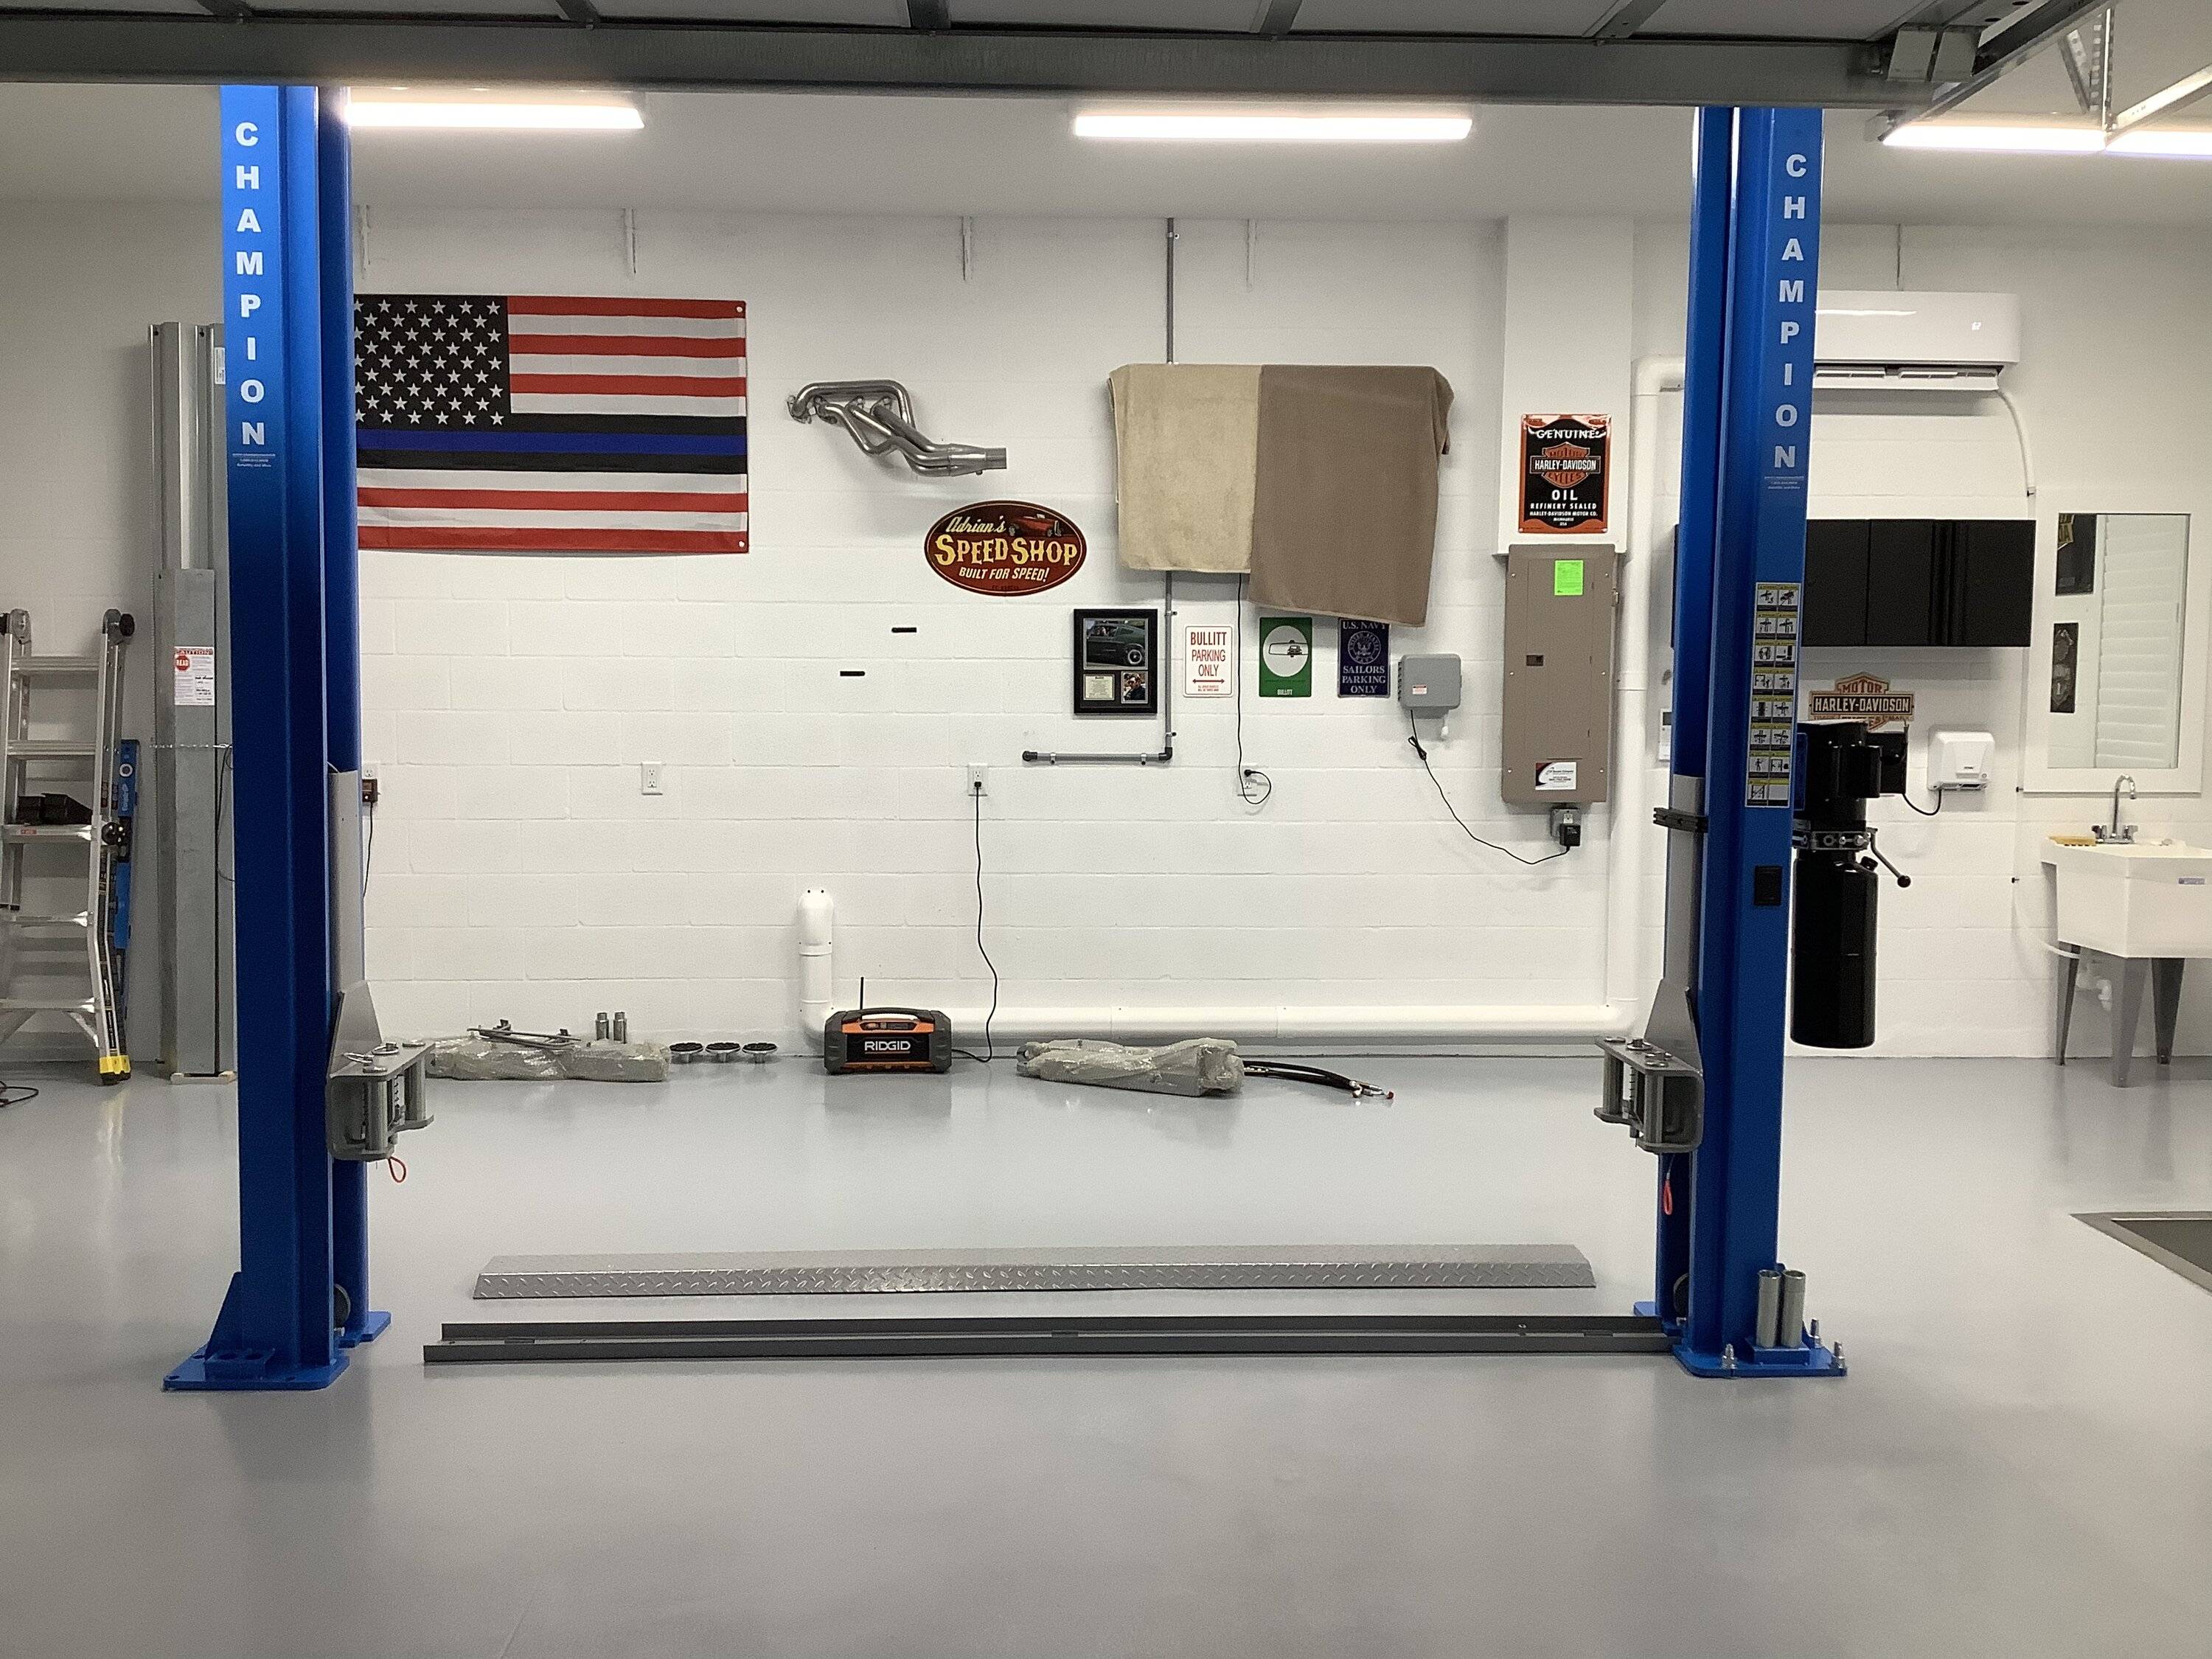
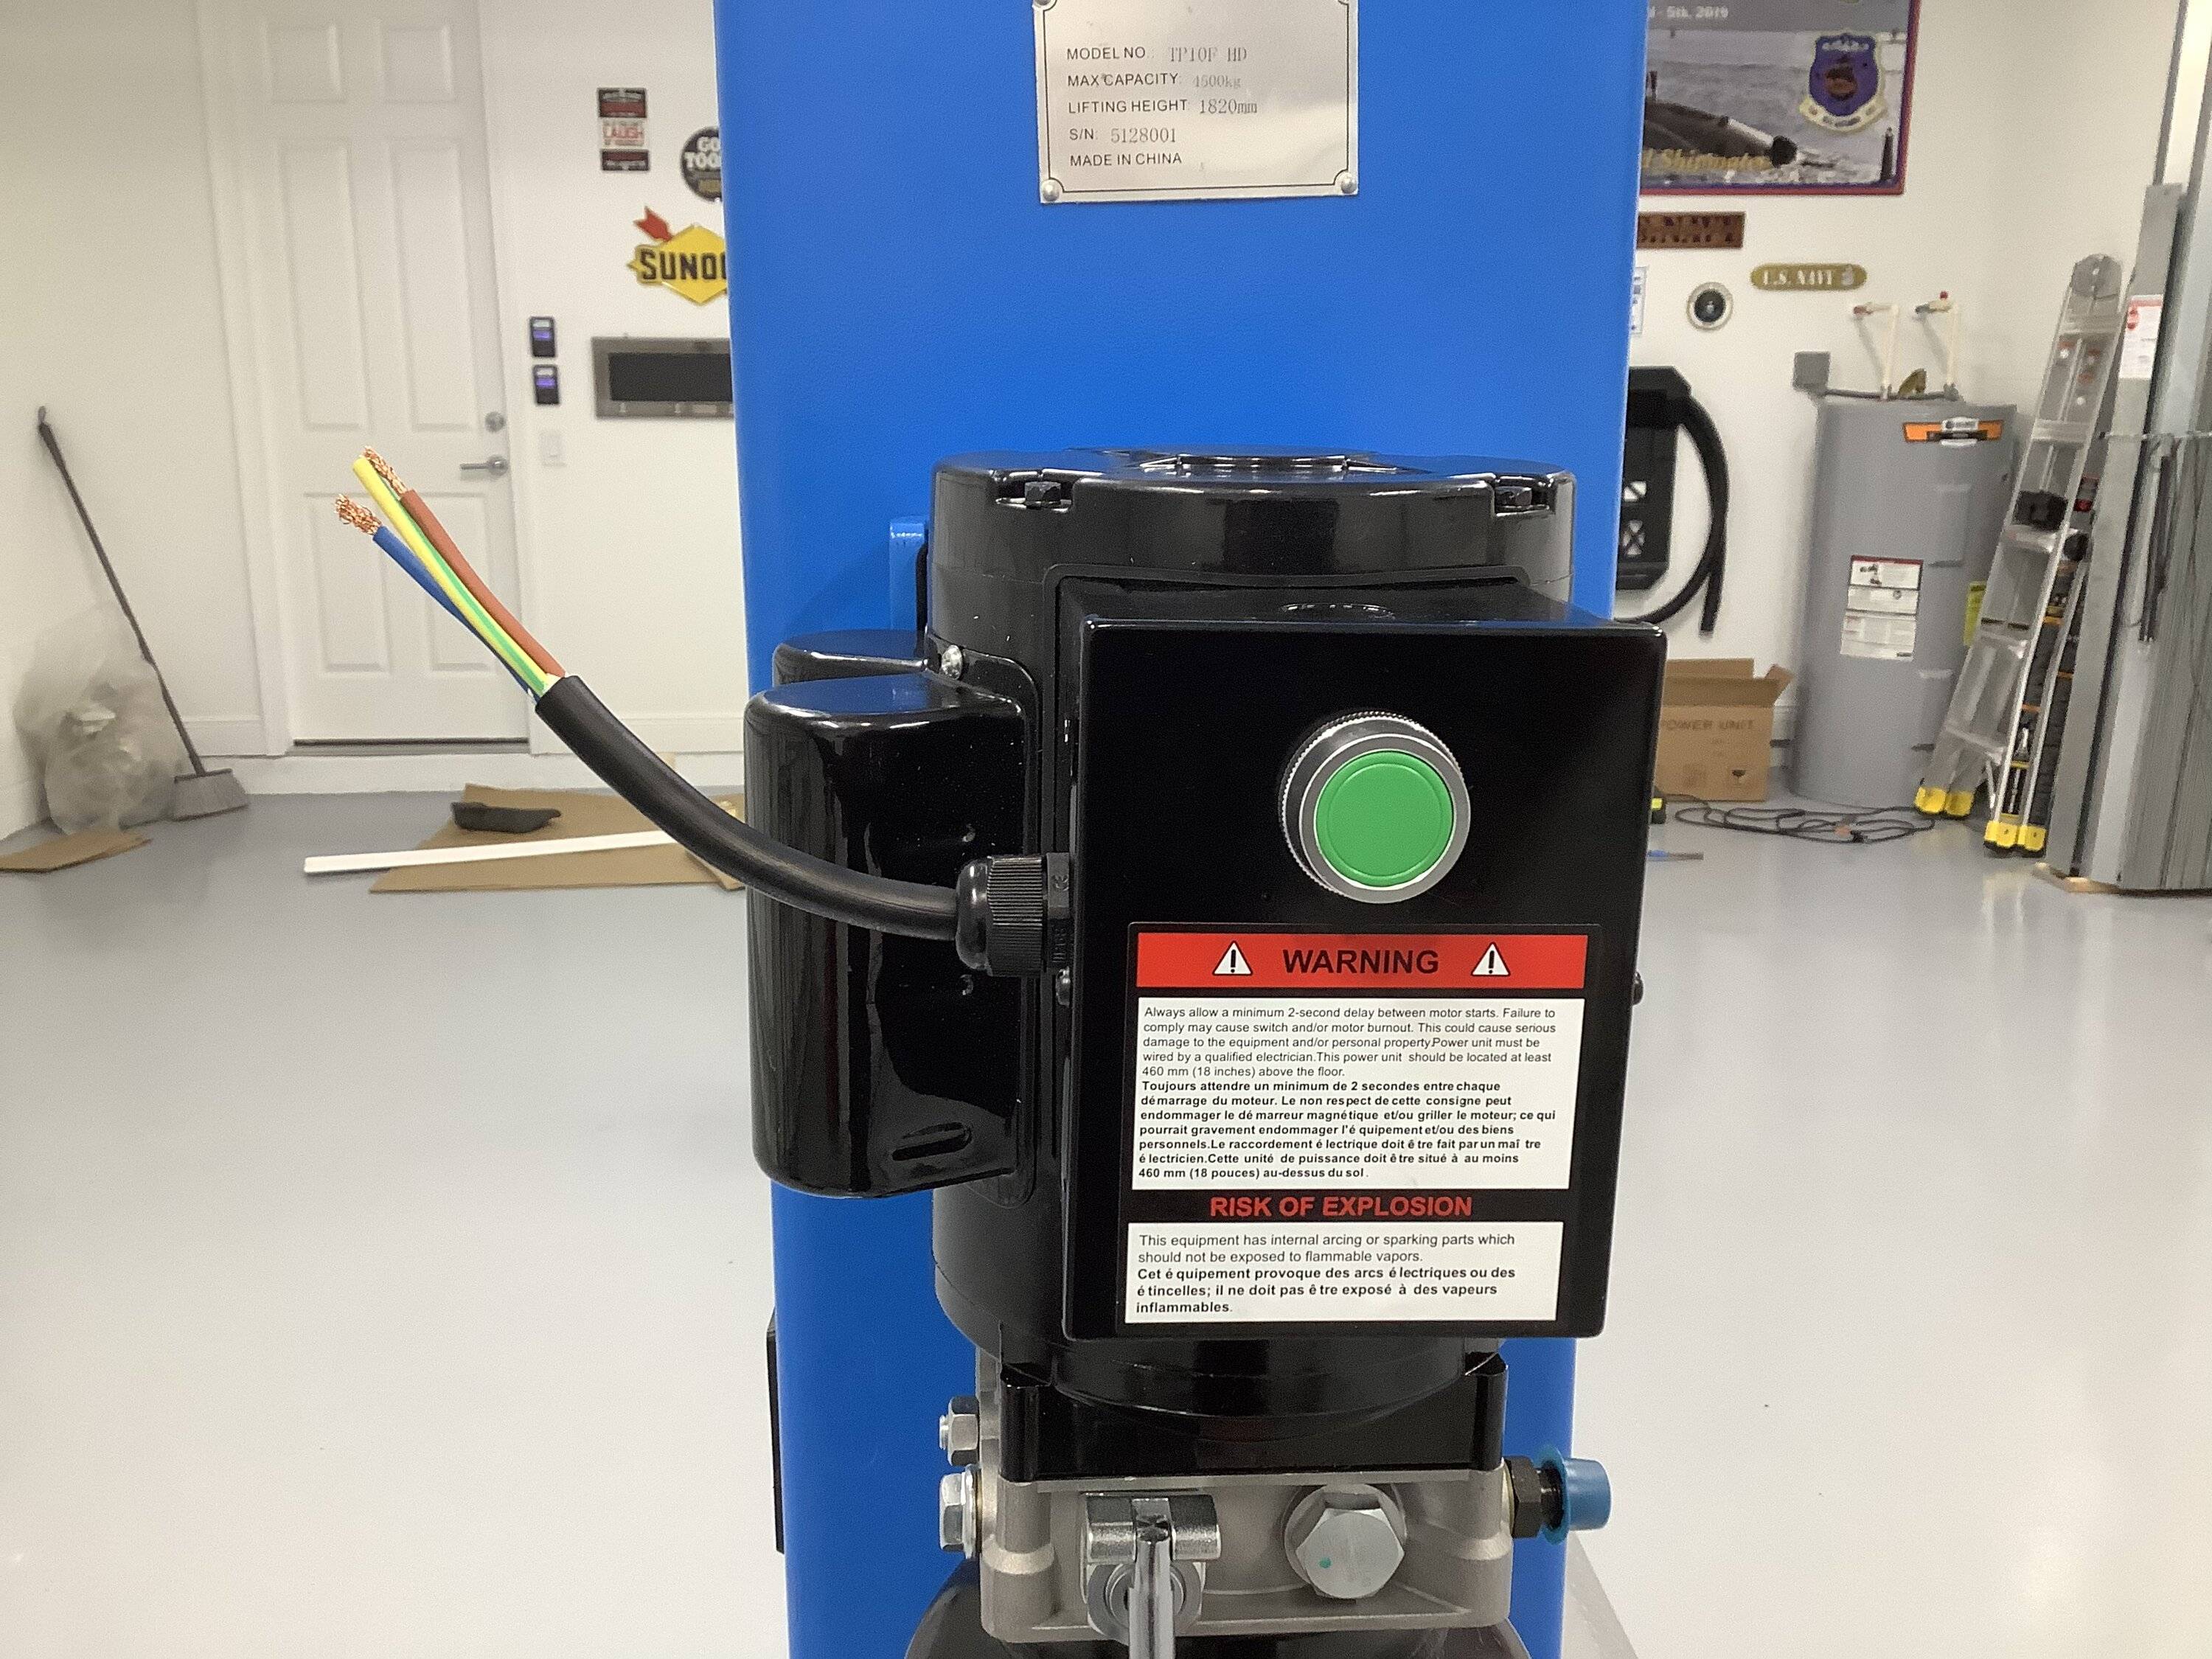
Good recommendation! I’ve got that covered. I have side mount or jack shaft openers and higher tracks (102” from the floor to the bottom of the tracks).
Sponsored

 
OP
OP
NGOT8R

NGOT8R

Well-Known Member
Joined
Jul 19, 2020
Threads
153
Messages
9,208
Reaction score
7,654
Location
Florida
First Name
Adrian
Vehicle(s)
2019 Bullitt
The yellow 12/2 wire is for the 220v mini split and the orange 10/3 wire is for the 220V for the lift. Here’s a pic of the lift outlet and door opener as well. I’m trying my best to work it all out properly and as safely as possible.

94FE76B9-5EC8-4833-BE5D-963DEE59BF06.jpeg


5BE96C75-2129-4D35-8C91-7651F18C2CF5.jpeg


A4C38B1C-5539-4B85-99F9-BA873E2C065D.webp
 
OP
OP
NGOT8R

NGOT8R

Well-Known Member
Joined
Jul 19, 2020
Threads
153
Messages
9,208
Reaction score
7,654
Location
Florida
First Name
Adrian
Vehicle(s)
2019 Bullitt
Extra peace of mind. I was thinking placement of the stands underneath the lift arms would be ideal.

1661900610795.webp
 

DaveR.PP2

Well-Known Member
Joined
Dec 29, 2020
Threads
0
Messages
107
Reaction score
132
Location
Connecticut
First Name
Dave
Vehicle(s)
20 Mustang GT PP2 ; 67 Shelby GT350; 67 Mustang S Code Coupe; 88 Mustang LX 5.0 Coupe
I talked to the warranty manager for my home builder on the concrete specs. It appears that I misspoke when I said thr ci Crete had rebar in it. Here is what he said:

So there is a minimum
of 4 inches with wire
mesh. Some areas
might be thicker just
from the unevenness of
soil under concrete
slab. The psi is only like
3000 which is not
recommended for car
lifts. They usually
recommend 6500 psi
or more. There isn't
rebar in the slab. I would
check the lift specs and
see what psi concrete
they recommend

I swear, it seems like I can’t catch a break on this garage. It feels like the closer I think I am to completion, the further away I actually am. Does anyone know what a reasonable price would be to have two 4’X4’ pads poured?
For getting a good concrete guy to cut your floor, remove the existing concrete/mesh aggregate to prepare the 2 4x4 ft holes you will need to go down 12" deep and have contractor put a rebar "cage" effect wiring 4 to 6 inch vertical and 36 to full 48 inch bars horizontal spaced no more than 6 inch apart to make square boxes in hole all tied together with wire and proper density concrete poured then vibrated and surface trowel finished.

My excavation work was more involved in that we cut a 10 ft wide trench between and under proposed post locations and it is 4 ft wide using rebar as described. We went 16 inches deep because my hydraulic lines went into the floor in a pvc pipe then buried as opposed to having the typical overhead span. That work here in CT was $3,600 and it was done in November of 2019.

My guess is your two 4 ft holes could run maybe $2,700. I'm not sure of FL prices but you guys are always building stuff on slabs everywhere so there has to be a concrete plant close to You. You could get by with a 6 inch floor with right psi grade of concrete but to get a concrete mixer truck to go to you with this mix the economics are such that you're better off just pouring a deeper floor.

Talk to dealerships and new shops in your area also lift installers they know the right people and they know what's safe abd won't cut corners and compromise safety. Spend the money. It's worth it if you're a car guy!
 
OP
OP
NGOT8R

NGOT8R

Well-Known Member
Joined
Jul 19, 2020
Threads
153
Messages
9,208
Reaction score
7,654
Location
Florida
First Name
Adrian
Vehicle(s)
2019 Bullitt
For getting a good concrete guy to cut your floor, remove the existing concrete/mesh aggregate to prepare the 2 4x4 ft holes you will need to go down 12" deep and have contractor put a rebar "cage" effect wiring 4 to 6 inch vertical and 36 to full 48 inch bars horizontal spaced no more than 6 inch apart to make square boxes in hole all tied together with wire and proper density concrete poured then vibrated and surface trowel finished.

My excavation work was more involved in that we cut a 10 ft wide trench between and under proposed post locations and it is 4 ft wide using rebar as described. We went 16 inches deep because my hydraulic lines went into the floor in a pvc pipe then buried as opposed to having the typical overhead span. That work here in CT was $3,600 and it was done in November of 2019.

My guess is your two 4 ft holes could run maybe $2,700. I'm not sure of FL prices but you guys are always building stuff on slabs everywhere so there has to be a concrete plant close to You. You could get by with a 6 inch floor with right psi grade of concrete but to get a concrete mixer truck to go to you with this mix the economics are such that you're better off just pouring a deeper floor.

Talk to dealerships and new shops in your area also lift installers they know the right people and they know what's safe abd won't cut corners and compromise safety. Spend the money. It's worth it if you're a car guy!
Wow! I didn’t figure It would cost anywhere near that much. I ordered a Rebound Hammer Test Kit to check the concrete hardness as it sits. Once the lift arrives I will confer with the delivery/install guys, to see what they have to say, drill and check the thickness and then make a decision whether to install or cut it up and prepare for a repour.
 

Sponsored

OP
OP
NGOT8R

NGOT8R

Well-Known Member
Joined
Jul 19, 2020
Threads
153
Messages
9,208
Reaction score
7,654
Location
Florida
First Name
Adrian
Vehicle(s)
2019 Bullitt
I received my Rebound Hammer Tester today. I took a total of 20 readings from the concrete slab (10 from the area where each of the lift posts would be mounted).

1662144338407.jpeg


Note: The values for numbers 5 and 7, taken from the right post mounting area were discarded per the instructions and a revised average for the remaining 8 values was taken. Likewise, the value for number 5, taken from the left post mounting area was discarded per instructions and a revised average for the remaining 9 values was taken. Finally, the results of those tests were compared to the attached chart to read the quality of the concrete.

Right post mounting area
  1. 36
  2. 39
  3. 41
  4. 38
  5. 42 (value discarded)
  6. 39
  7. 44 (value discarded)
  8. 36
  9. 40
  10. 40
Average = 38.625

——————————————————————————————————

Left post mounting area
  1. 38
  2. 36
  3. 37
  4. 37
  5. 42 (value discarded)
  6. 38
  7. 36
  8. 41
  9. 41
  10. 39
Average = 38.111

Note: When comparing the values to the chart, please bear in mind that the accuracy of the test is said to be plus or minus 25%. With that being said, my test results indicate that the quality of the existing concrete (in the areas where I intend to mount the lift posts) is “Very good hard layer” (taking into account plus 25%) and “Fair” (taking into account minus 25%).

1662143568590.jpeg


Lastly, I am simply gathering data at this point and still intend to speak with the lift delivery/install guys to have them weigh in before a final decision is made to either proceed with the install (provided the concrete is thick enough), using the current slab, or cut out two sections and repour with higher PSI concrete.
 

matthewr87

Well-Known Member
Joined
Oct 13, 2013
Threads
80
Messages
1,203
Reaction score
1,646
Location
Maryland
Vehicle(s)
2018 GT350
 
OP
OP
NGOT8R

NGOT8R

Well-Known Member
Joined
Jul 19, 2020
Threads
153
Messages
9,208
Reaction score
7,654
Location
Florida
First Name
Adrian
Vehicle(s)
2019 Bullitt
I’ve been reading the comments on this and it’s scary stuff indeed. Tbh, I feel any person working under a lift should always be concerned about the possibility of something like this happening. I wonder if the end users are inspecting these lifts before using them. Most lifts have a daily inspection procedure which includes checking the torque on the bolts before each use.
 
Last edited:

526 HRSE

Well-Known Member
Joined
Jun 4, 2020
Threads
22
Messages
1,664
Reaction score
1,909
Location
California
Vehicle(s)
2017 GT350 Grabber Blue
Vehicle Showcase
1
If you put a bolt into a control joint, there's no strength at all. The absolute best way to do this is to cut out a section of concrete and pour an 18" footing. It's really not that hard.
 

526 HRSE

Well-Known Member
Joined
Jun 4, 2020
Threads
22
Messages
1,664
Reaction score
1,909
Location
California
Vehicle(s)
2017 GT350 Grabber Blue
Vehicle Showcase
1
If you have a garage that has a lift for working on cars, you're definitely capable of cutting a square out of a garage floor that is only 4" deep adding rebar and pouring concrete. You could worry about the engineering aspect of it, but honestly, 18 x 18 with some rebar in it is going to be plenty. This can be done by yourself in a weekend for under $100. You might have to rent a tool or two.
 

Sponsored
OP
OP
NGOT8R

NGOT8R

Well-Known Member
Joined
Jul 19, 2020
Threads
153
Messages
9,208
Reaction score
7,654
Location
Florida
First Name
Adrian
Vehicle(s)
2019 Bullitt
Something else that comes to mind when drilling concrete is blowout on the backside of the hole. I had this happen to me a few weeks ago when installing my mini split unit. I drilled a 7/8” hole through the garage cinder block wall and exited the exterior, which was stucco, to run 1/2” conduit and 12/2 wire through the wall, to a 30A fused AC disconnect panel. When I punched through the wall, I had no idea what awaited me until I walked outside to inspect the exit point. I noticed a 5” diameter piece of stucco had been blown out around the 7/8” hole. It was an easy patch in this particular application, but I can see this being a problem when drilling holes for lift anchors through a concrete floor as well. I’m gonna take a wild guess that when this happens (and it probably happens a lot during the installation of lifts), it affects the anchor’s ability to grab hold of the concrete and reach the proper torque. No matter the concrete depth, I believe that stopping 1/2” short of the anchor’s target depth, switching the hammer drill to the rotary drill position and sneaking up on that last 1/2” is a really good way to prevent or greatly minimize blowout.
 

FKE SNK

Well-Known Member
Joined
May 22, 2021
Threads
2
Messages
159
Reaction score
352
Location
St. Louis
First Name
Cam
Vehicle(s)
2020 GT350, 93 Cobra clone
You're thinking about it the right way - but at the end of the day I bet your manual says if it torques to somewhere around 150 lb/ft and you are below the maximum height on the anchor bolts, then it's good. No need to lose sleep over the "what if's"
 
OP
OP
NGOT8R

NGOT8R

Well-Known Member
Joined
Jul 19, 2020
Threads
153
Messages
9,208
Reaction score
7,654
Location
Florida
First Name
Adrian
Vehicle(s)
2019 Bullitt
Okay folks, the lift was dropped off this morning. I wasn’t home when it was delivered, but my wife and daughter were. I left them with a list of very detailed questions to ask the delivery/installer guys. One of the questions was whether I could straddle one of the control joints. The seasoned/experienced guy, Sean said that it was perfectly fine to straddle the one control joint that is referenced in the photo. Doing this will still keep me 3 1/8”away from the holes on either side of the control joint. This is the optimum position and will allow me to have an equal amount of room (15”) in front and back of the car to walk around it. Note: The four remaining holes will be 8 1/8” away from the control joint. This is what I am going to do. If there’s a problem, I will halt the install and take the appropriate action.

6140BA42-0FAF-4C01-9F91-40A43B619E16.jpeg


CD66473D-91D0-4BD0-97B6-2FDA026D5B3A.jpeg


35F99773-8A0C-496E-9996-F22BE66C307B.jpeg


9F4B16BD-89F9-48E5-B066-3AF5EB8F13AB.jpeg
 
OP
OP
NGOT8R

NGOT8R

Well-Known Member
Joined
Jul 19, 2020
Threads
153
Messages
9,208
Reaction score
7,654
Location
Florida
First Name
Adrian
Vehicle(s)
2019 Bullitt
The right tower has been drilled and bolted down. The concrete measured at 4 1/2” - 4 3/4”. All six bolts took the recommended torque setting of 90 ft-lbs. I stopped for the day because I need to run to the hardware store and pick up some 1/2” X 3” Tapcons to mount the C-channel for the floor plate, so that it doesn’t move whenever I drive the car over it. I was quite surprised that Champion didn’t supply hardware for that. Another thing that I wasn’t aware of until I pulled the motor/pump assembly out of the box was, it only comes with a 6” pigtail. This means I’ll have to buy some cable to wire this up to accept my twist lock connector for the ceiling outlet.

F0964C60-385F-4B19-A521-A7DACBA15043.jpeg


A29E32C9-4917-430A-817D-F9D1304F5C21.jpeg


D5925733-5A19-4196-8DAE-14B7AC6D2EAD.jpeg
Sponsored


Top