kcobra
Well-Known Member
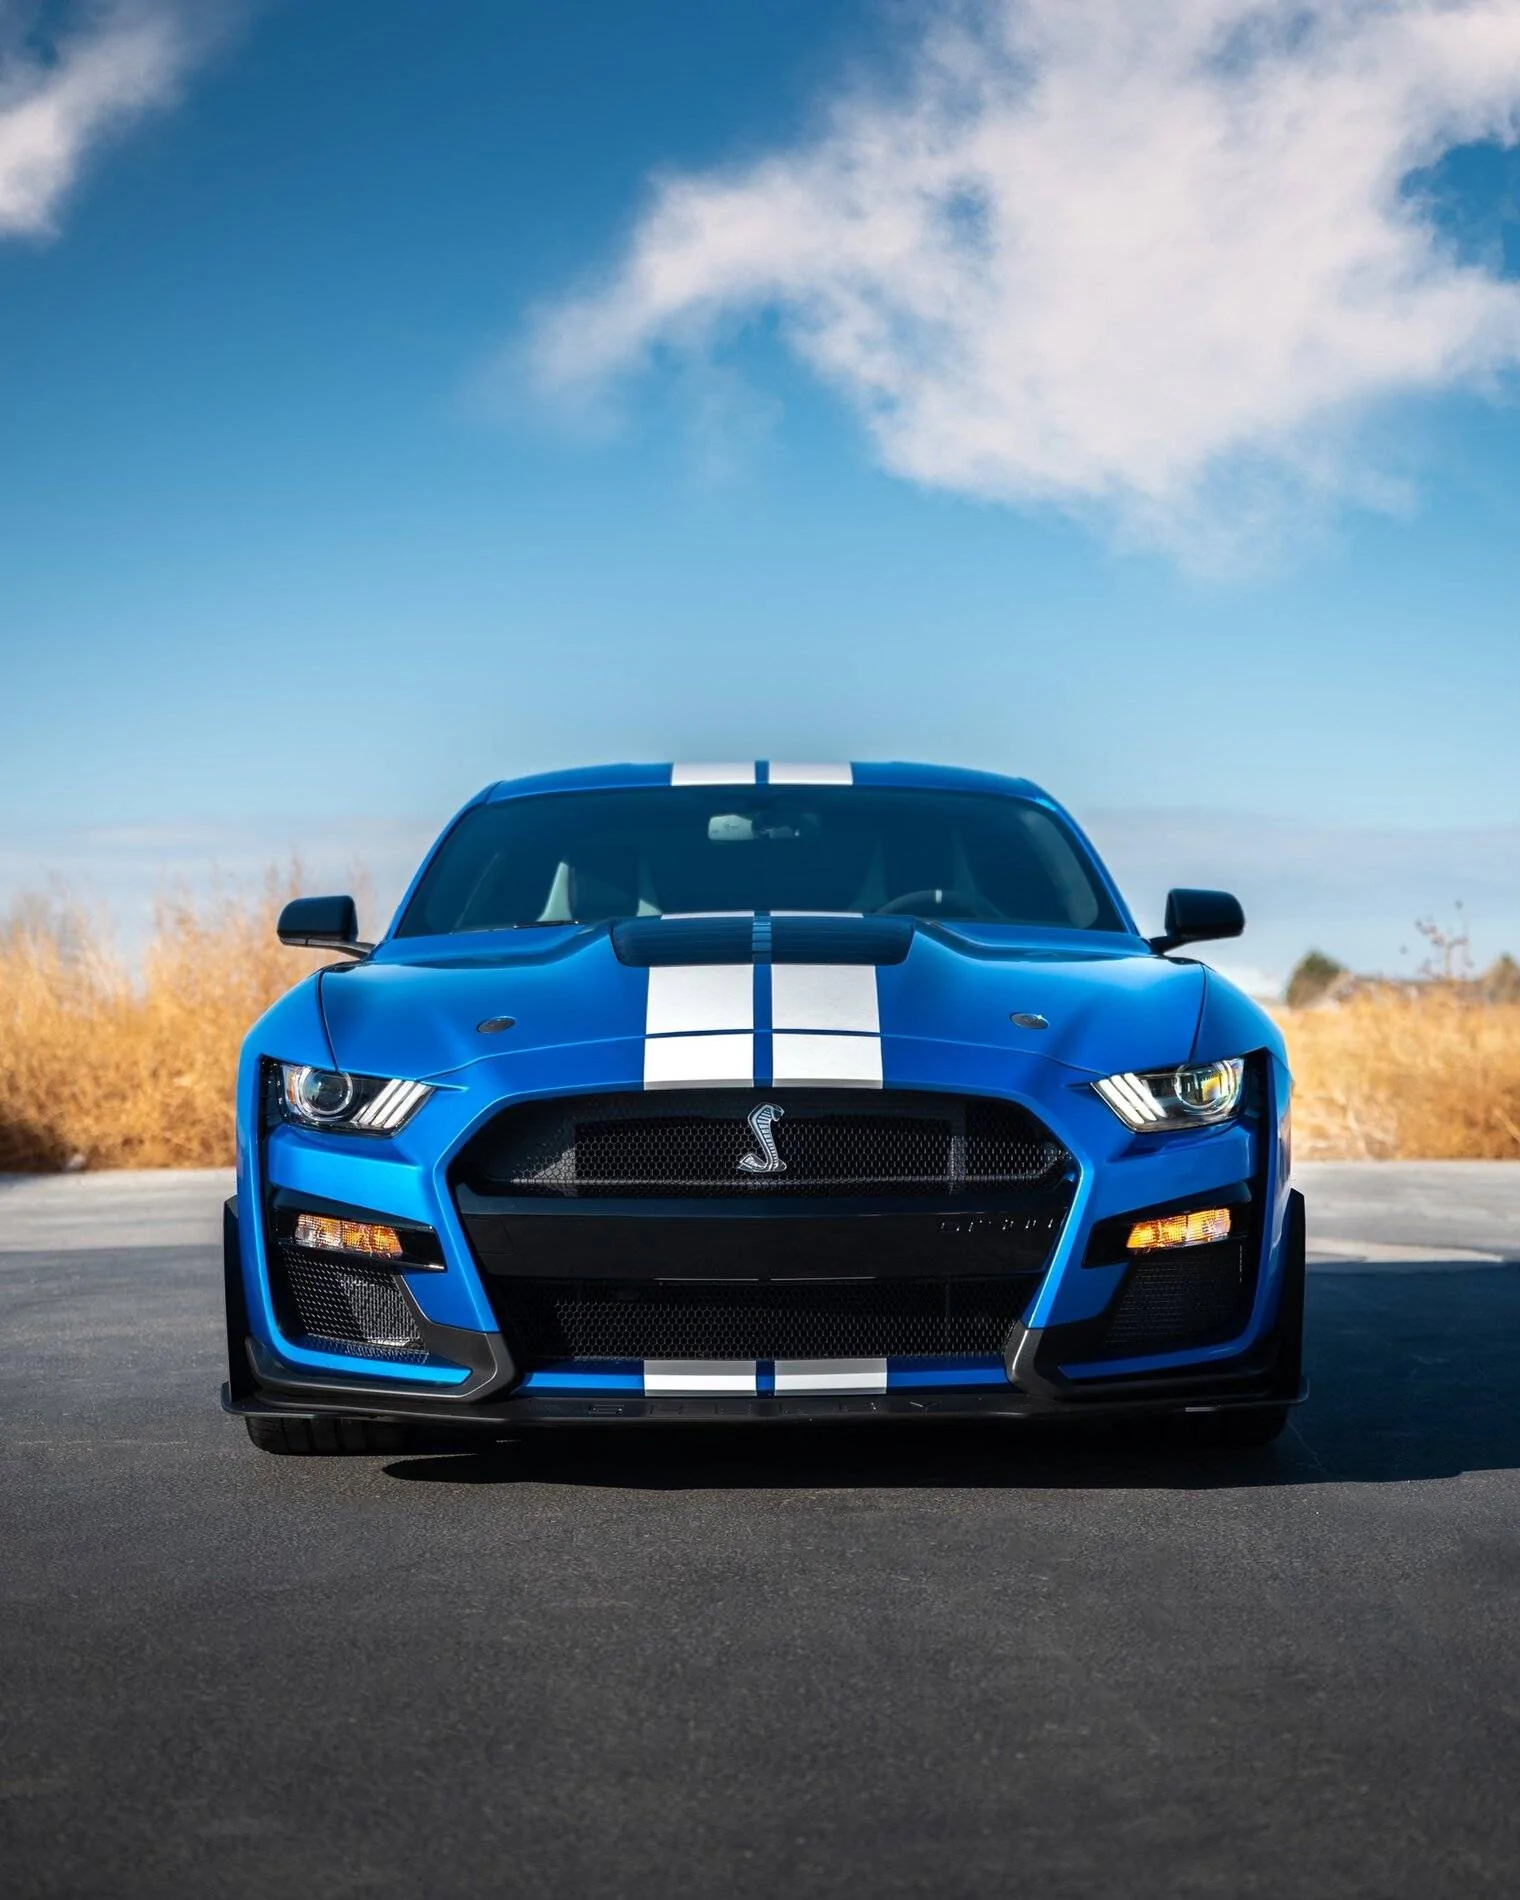
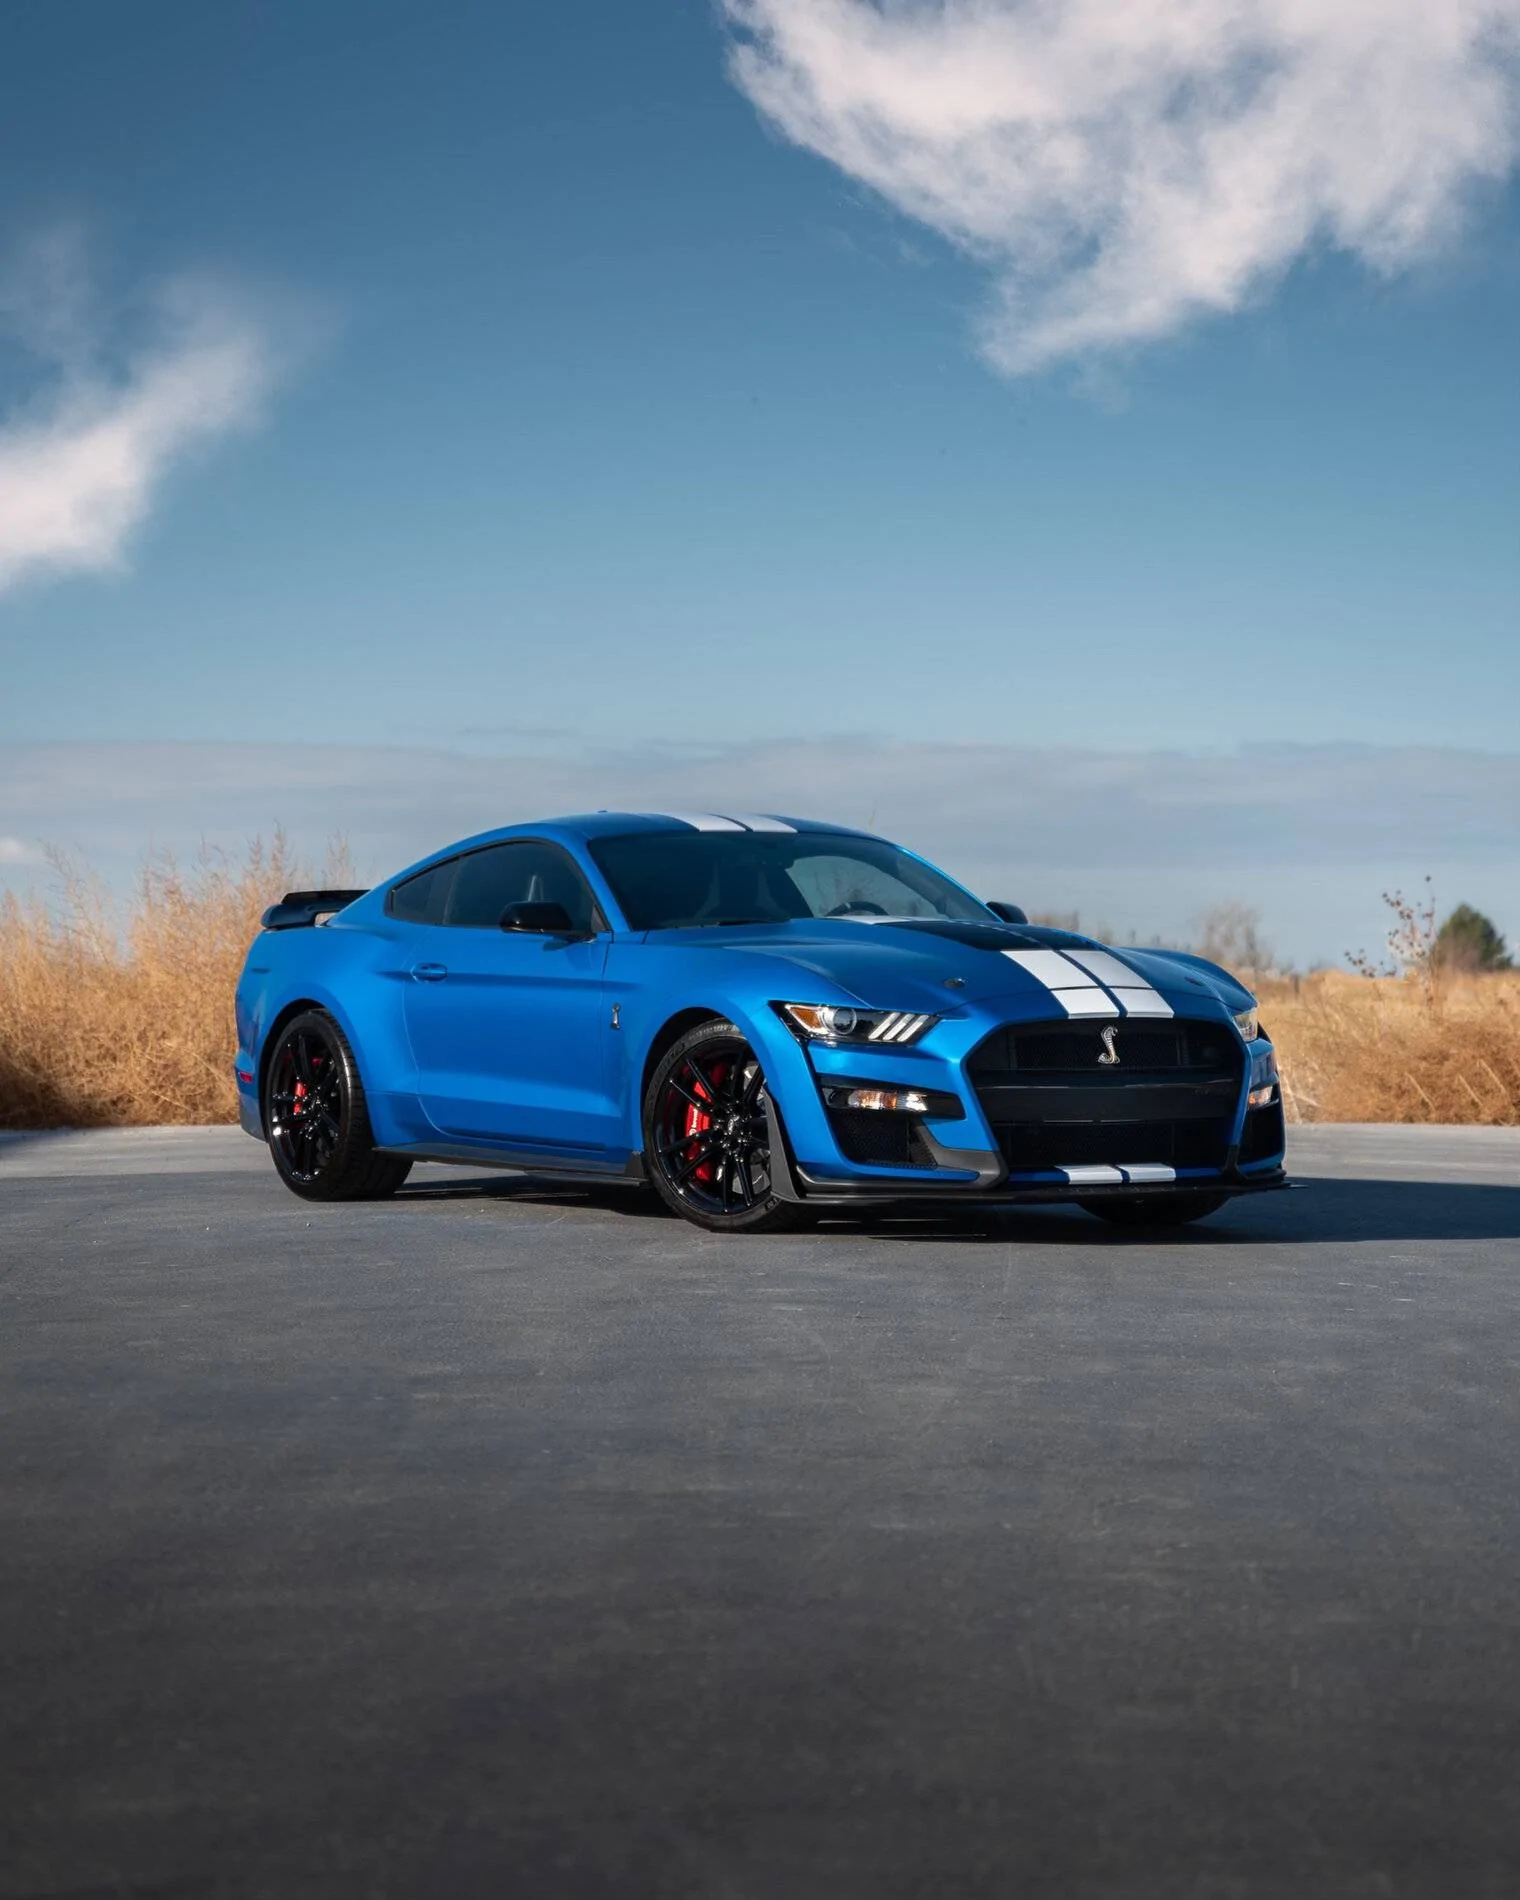
Is this Velocity blue?First mod was a JLT intake, i have a res delete waiting to go in and lastly i just got the front PPFd and ceramic coated


Is this Velocity blue?First mod was a JLT intake, i have a res delete waiting to go in and lastly i just got the front PPFd and ceramic coated


yea buddy!!Is this Velocity blue?
Mark,I was asked in someone else's thread about my front camera and instead of taking over that persons thread, thought I would answer here. I don't believe I ever did post about my front camera install at least I don't remember doing it.
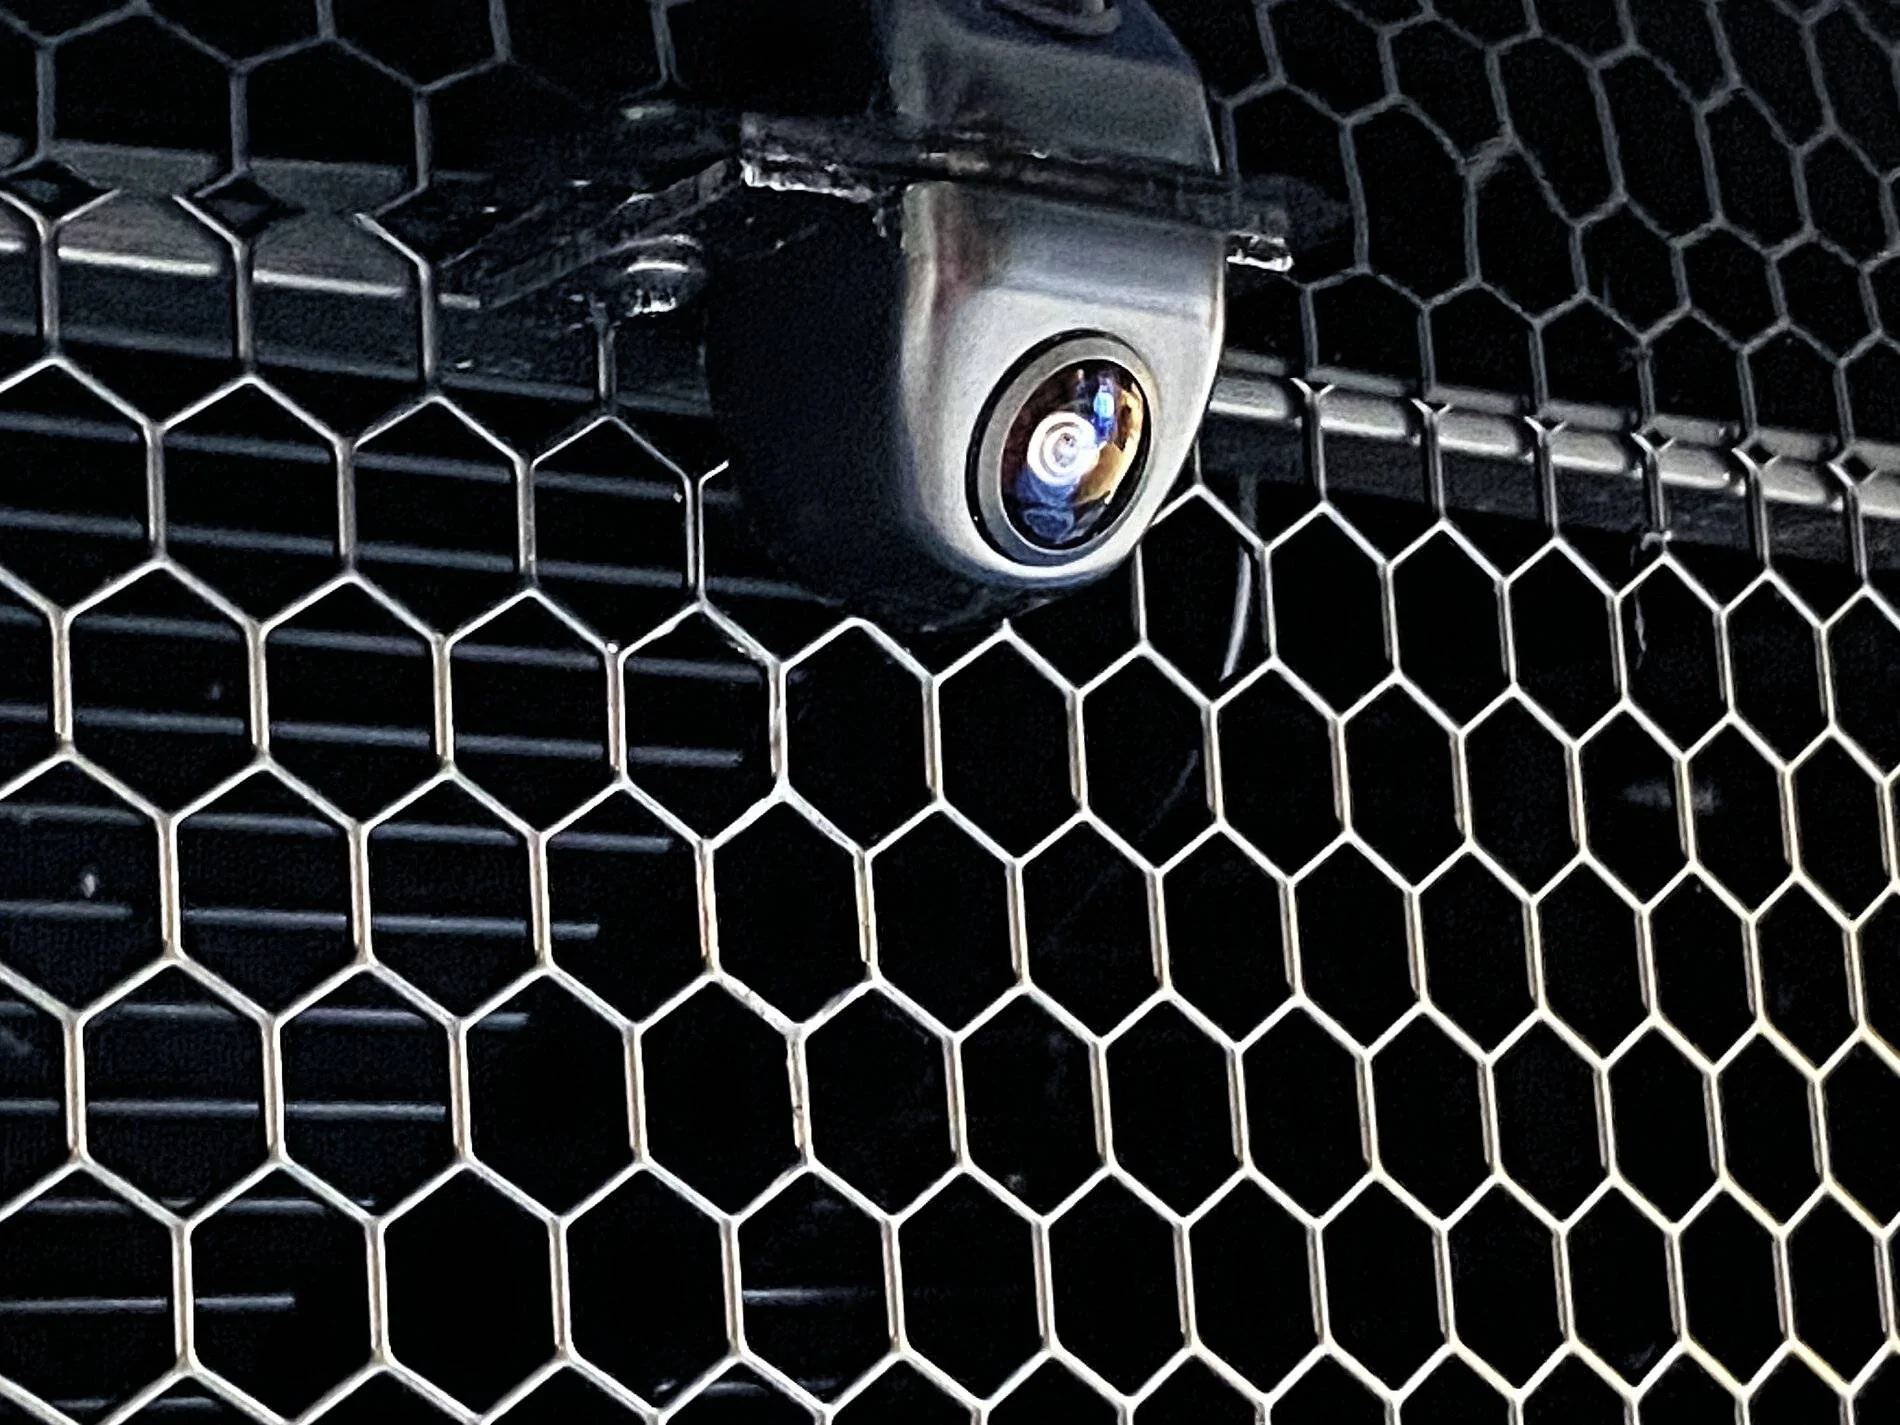
This is the camera I went with:
https://www.amazon.com/NATIKA-Backup-Camera-Waterproof-Reverse/dp/B07H852D49
I did this about 9 months ago so I may be vague on remembering everything. I drilled about a 3/8" hole underneath the front bumper to allow the camera wire to go through. Mounted the camera to a thin piece of metal then mounted the metal to the bumper. Ran the wire inside the car and attached it to a Naviks interface box that will display the video from the camera onto the Sync 3 screen. I set up the Naviks box to show the front camera automatically after I shift out of reverse for 10 seconds (completely configurable) and also hooked up a switch so I can turn the camera on and off manually.
I adjusted the level of the camera so the red part of the guide lines were touching the front splitter which makes the yellow line one foot away and blue line two feet away. Below are photos of the push button switch for the camera, the camera itself and the Sync display while the camera is on. The video from the camera looks much better in person than the photos shows.


Loved my Airlift on my last mustang. I don’t want to mess with perfection on this car, so I’m no going there. Yes, it had been done already. Don’t remember who, but saw one quite a while ago.I’ll probably get some hate for this: Air lift kit ordered. I don’t think anyone’s done air yet on a GT500.
There was a blue one that was edited probably in the first 1-3 months the car came out. It was a good edit so a lot of people believed it if you meant thatLoved my Airlift on my last mustang. I don’t want to mess with perfection on this car, so I’m no going there. Yes, it had been done already. Don’t remember who, but saw one quite a while ago.
Mark,Tom, the Naviks interface box allows the video from the camera to be displayed on the Sync 3 screen. It comes with the necessary adapter plugs/wiring to connect to the back of the Sync system. I cannot remember if you remove the display or the box below the display to connect the plugs.
Normally you should not need a switch to activate the camera as the interface box should be able to connect to one of the switches on the steering wheel to turn the camera on and off. Unfortunately when I bought the Naviks box, it was early this year around March and they had not written the software to work with the 2020 Mustang. So I added a separate switch which can be connected to the Naviks box to turn the camera on and off. Also you can program the box to display the video from the camera for a predetermined about of time after you shift out of park. I have mine set to display for 10 seconds.
The Naviks box is quite expensive as it does way more than what we need to just display a camera. I think it has 3 video inputs including HDMI and options to do more things. By now there might be a much cheaper solution to just display the video on the Sync than buying the Naviks box. Here is the link for the one I got as back then, it was the only one I could find to interface with Sync 3. https://naviks.com/i-24076613-2016-...dmi-video-interface.html?ref=category:1136682
I like that, did you need a tune with the lid?PBD Supercharger lid.
30rwhp dyno proven gains ;)
plaque will go on later
Hey Tom, sorry not on the forum all that much lately. You have to remove the top section of the console so you can get to the lower screws on the display trim. You also have to remove the right side dash trim to get to the upper screws of the display trim. Check page 4824 in the service manual for removing the upper part of the console trim.@marklboris,
Mark, how much of the center console did you have to rip apart to get to the APIM to make the connections?
Thanks Mark,Hey Tom, sorry not on the forum all that much lately. You have to remove the top section of the console so you can get to the lower screws on the display trim. You also have to remove the right side dash trim to get to the upper screws of the display trim. Check page 4824 in the service manual for removing the upper part of the console trim.