db252
Equinsu Ocha
- Joined
- Jan 1, 2016
- Threads
- 44
- Messages
- 1,473
- Reaction score
- 890
- Location
- Bay Area, CA
- Vehicle(s)
- 16 GT Premium/PP/Nav
- Thread starter
- #1
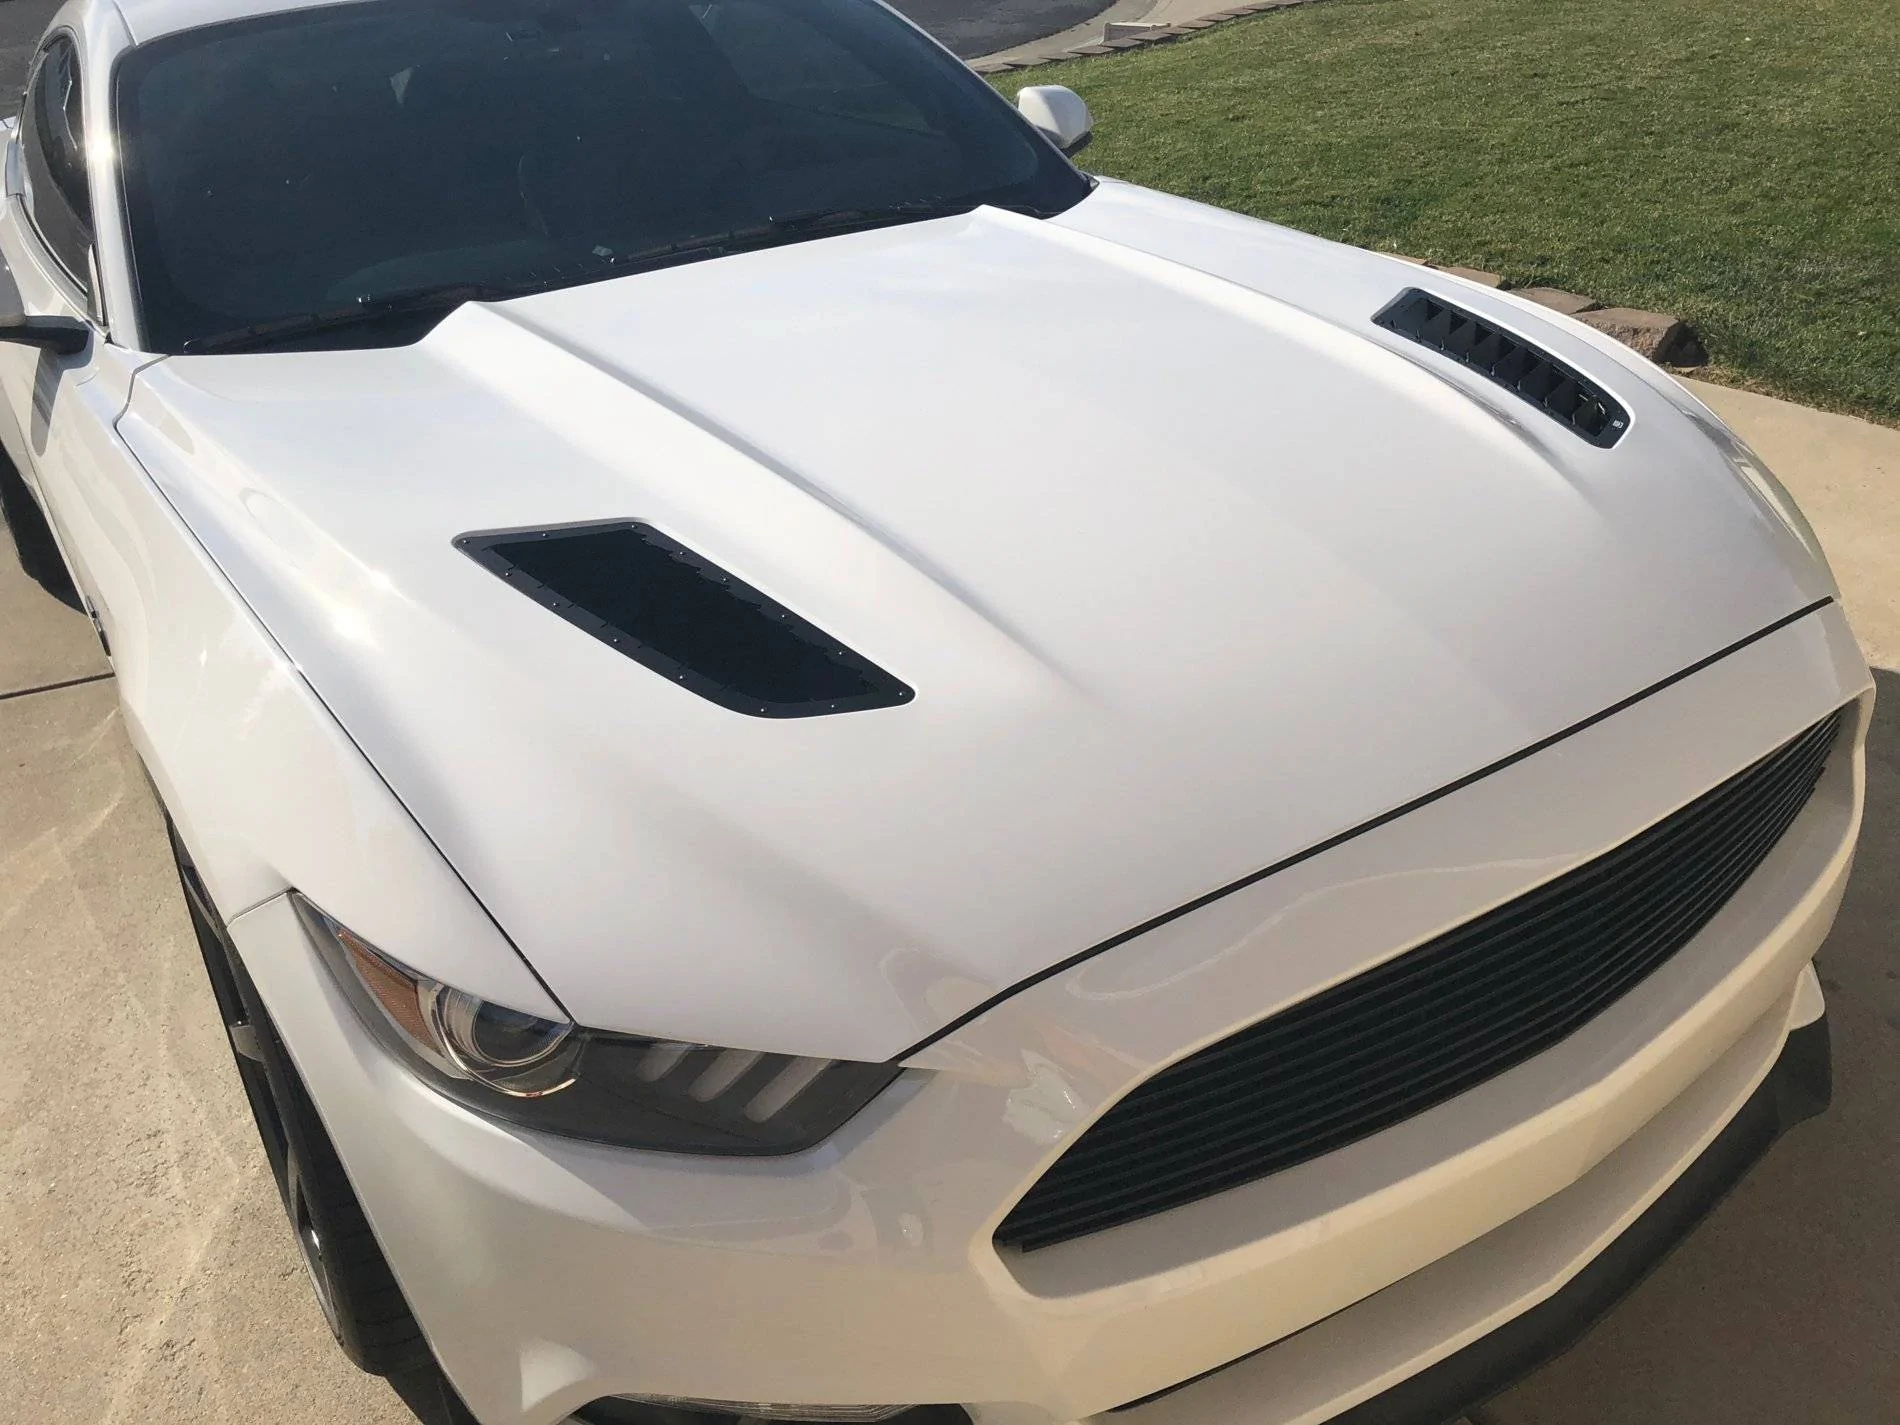
Just showing off my recent install of these vents. A little background; I found them by accident looking for an alternative to what I had which was gutted Roush vents along with some under hood cutting to let it breath better. Any of us that track or hit high speeds know of the hood lift as air is trying to get out which also creates lift on the front end as well. I wasn't looking to do hood pins as this obviously doesn't correct the problem. Well, my Roush mod did well and took out significant hood lift which had to help also with front end lift and heat extraction. Last time I was at the track, I saw my passenger side Roush vent flopping around and noticed that it had separated with it's lower section to half of it which I glued down again at the minimal contact spots that keep it together. So, fixed for now but for how long so I started surfing and looking for an alternative.
This brings me to finding a new vent design for our cars (15-17) that is the best looking and most functional we can get without going to a new hood design. The company is called TRACKSPEC and their website is http://trackspecmotorsports.com which you can then navigate to our section.
This modification requires a bit of cutting to the under hood side and a little trimming of the upper supports for the stock or Roush vents so it may not be for everyone but the results are awesome in my opinion both physically and I can't see how not functionally as well.
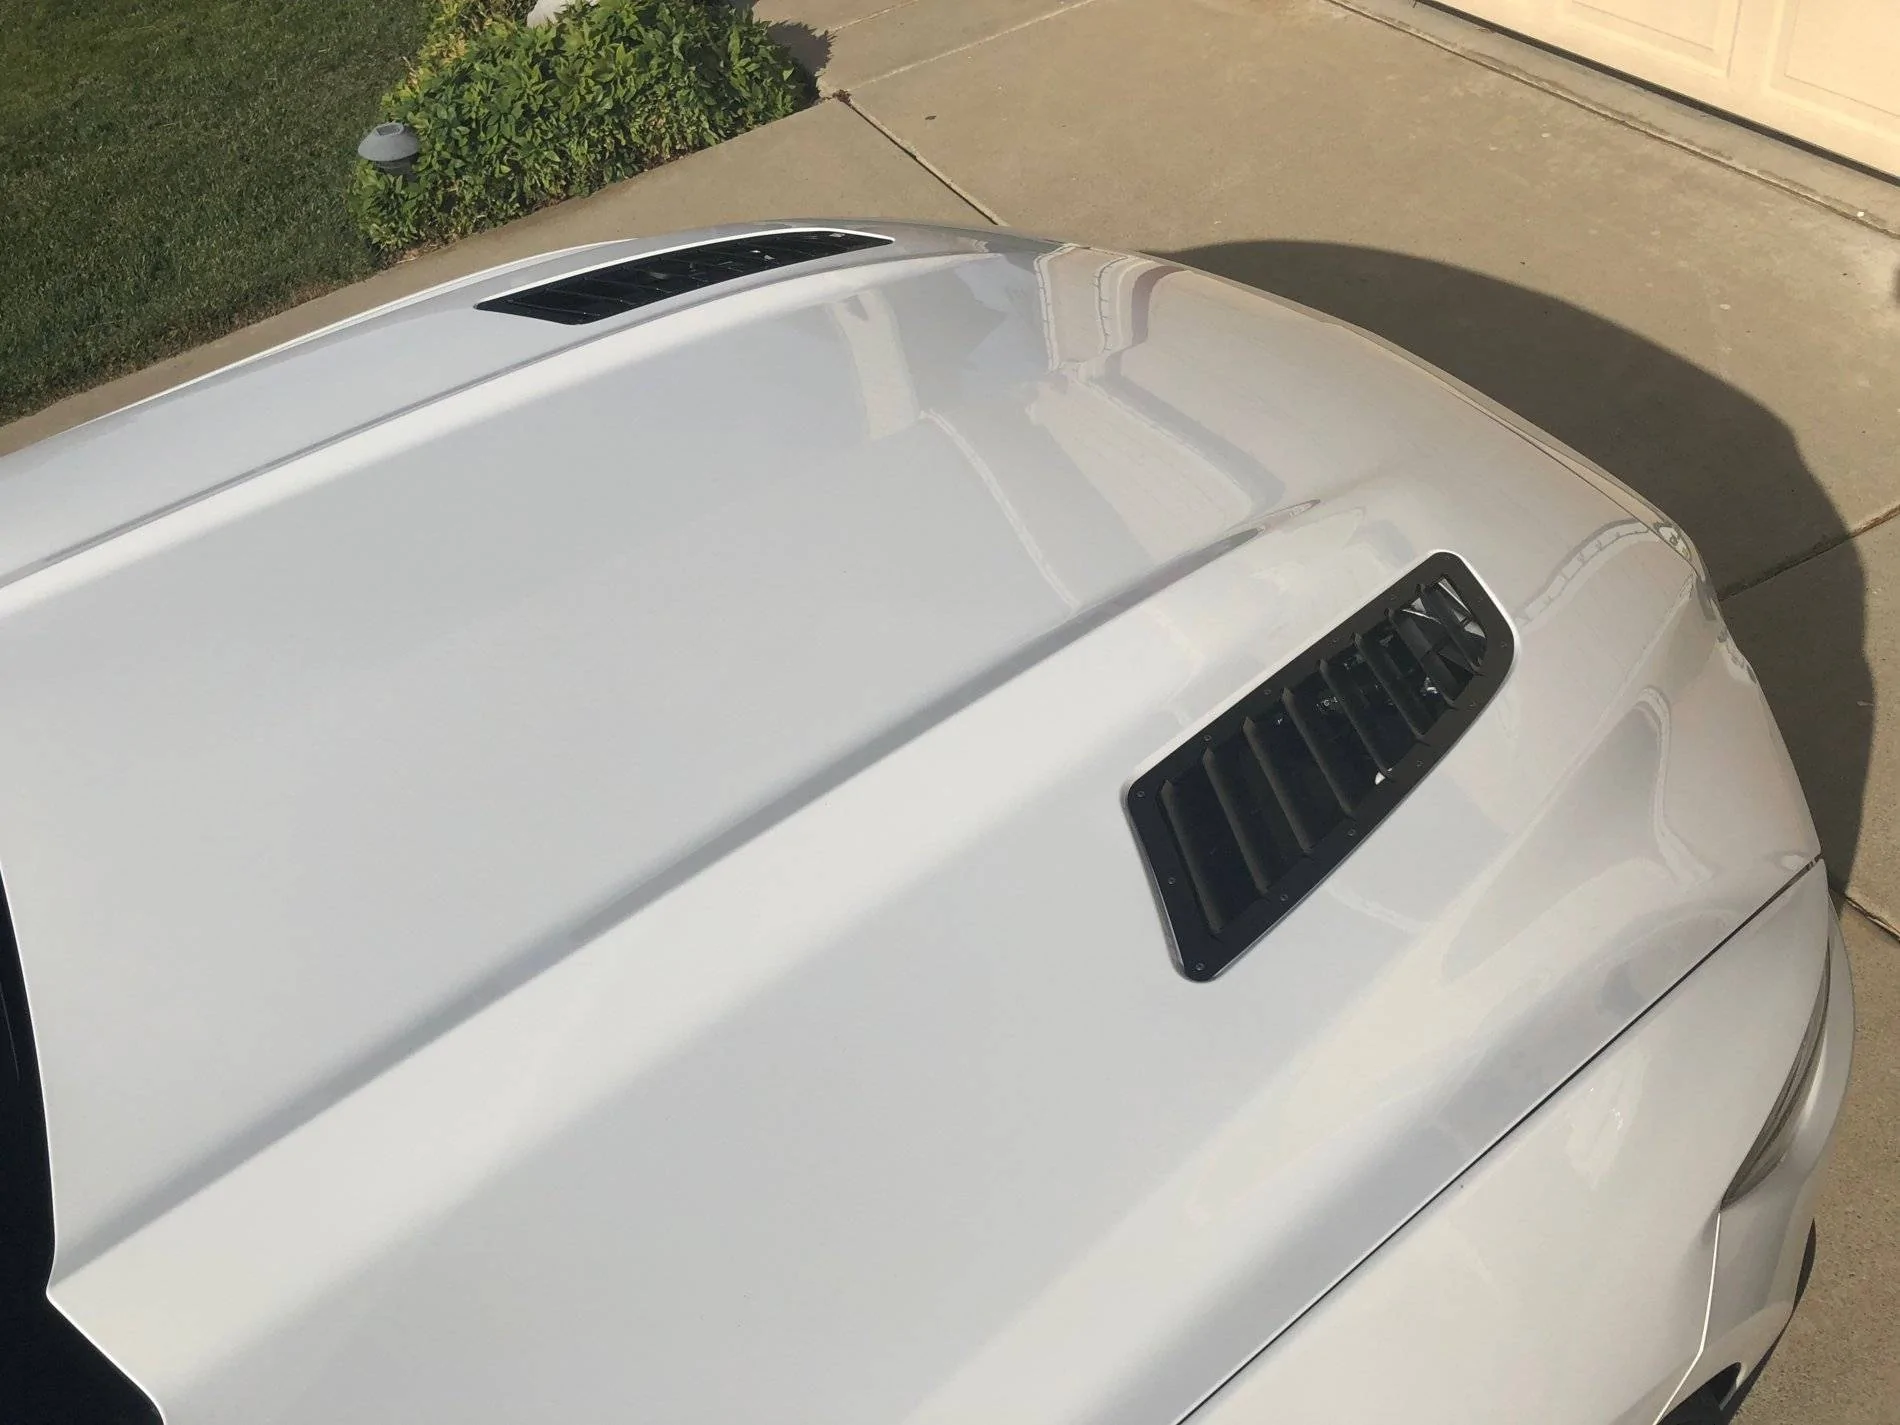
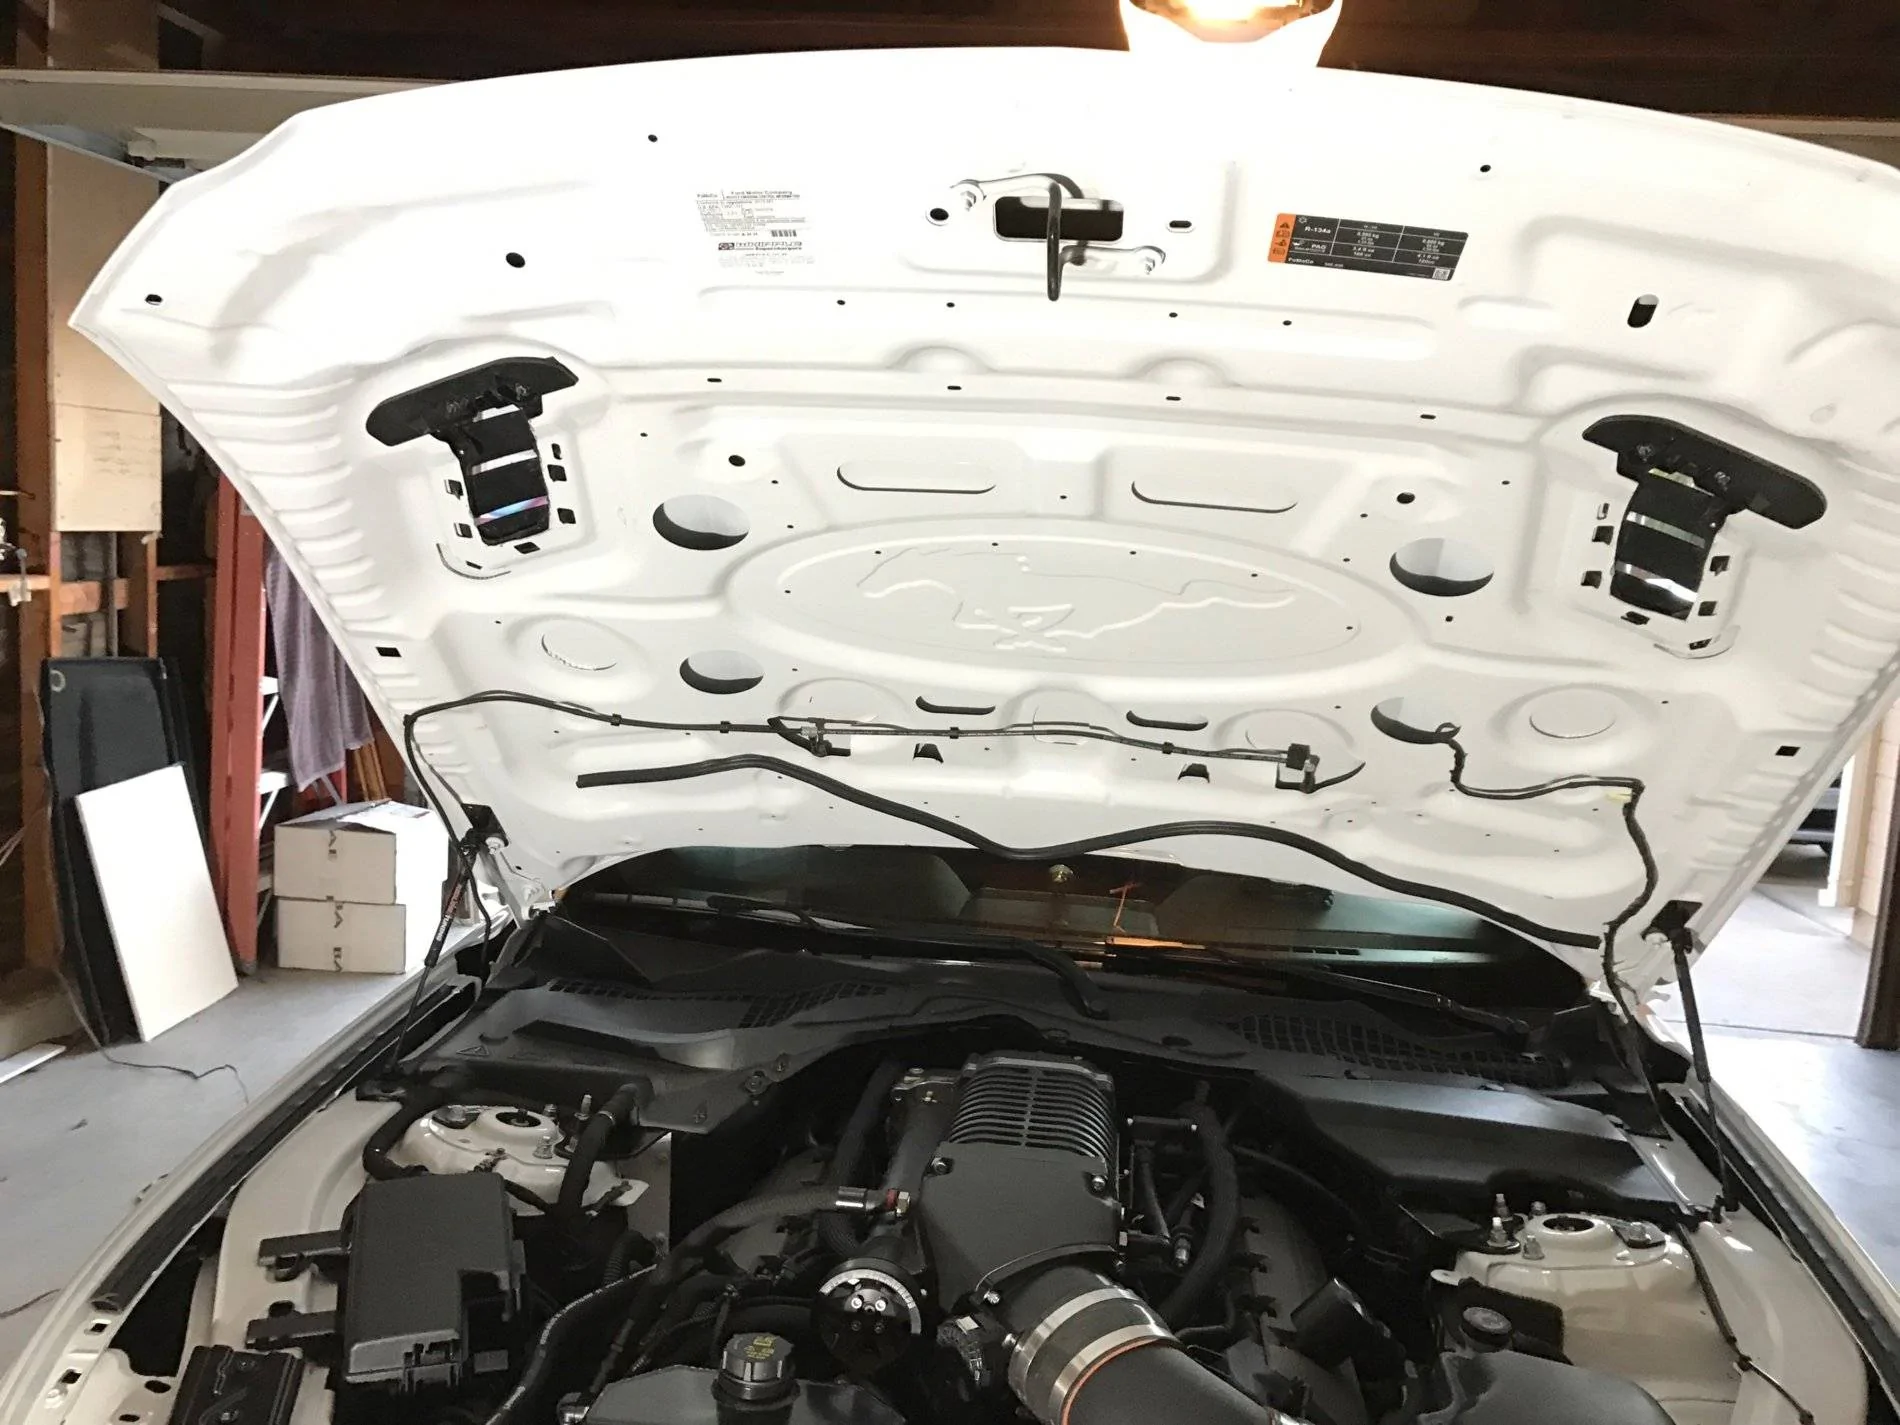
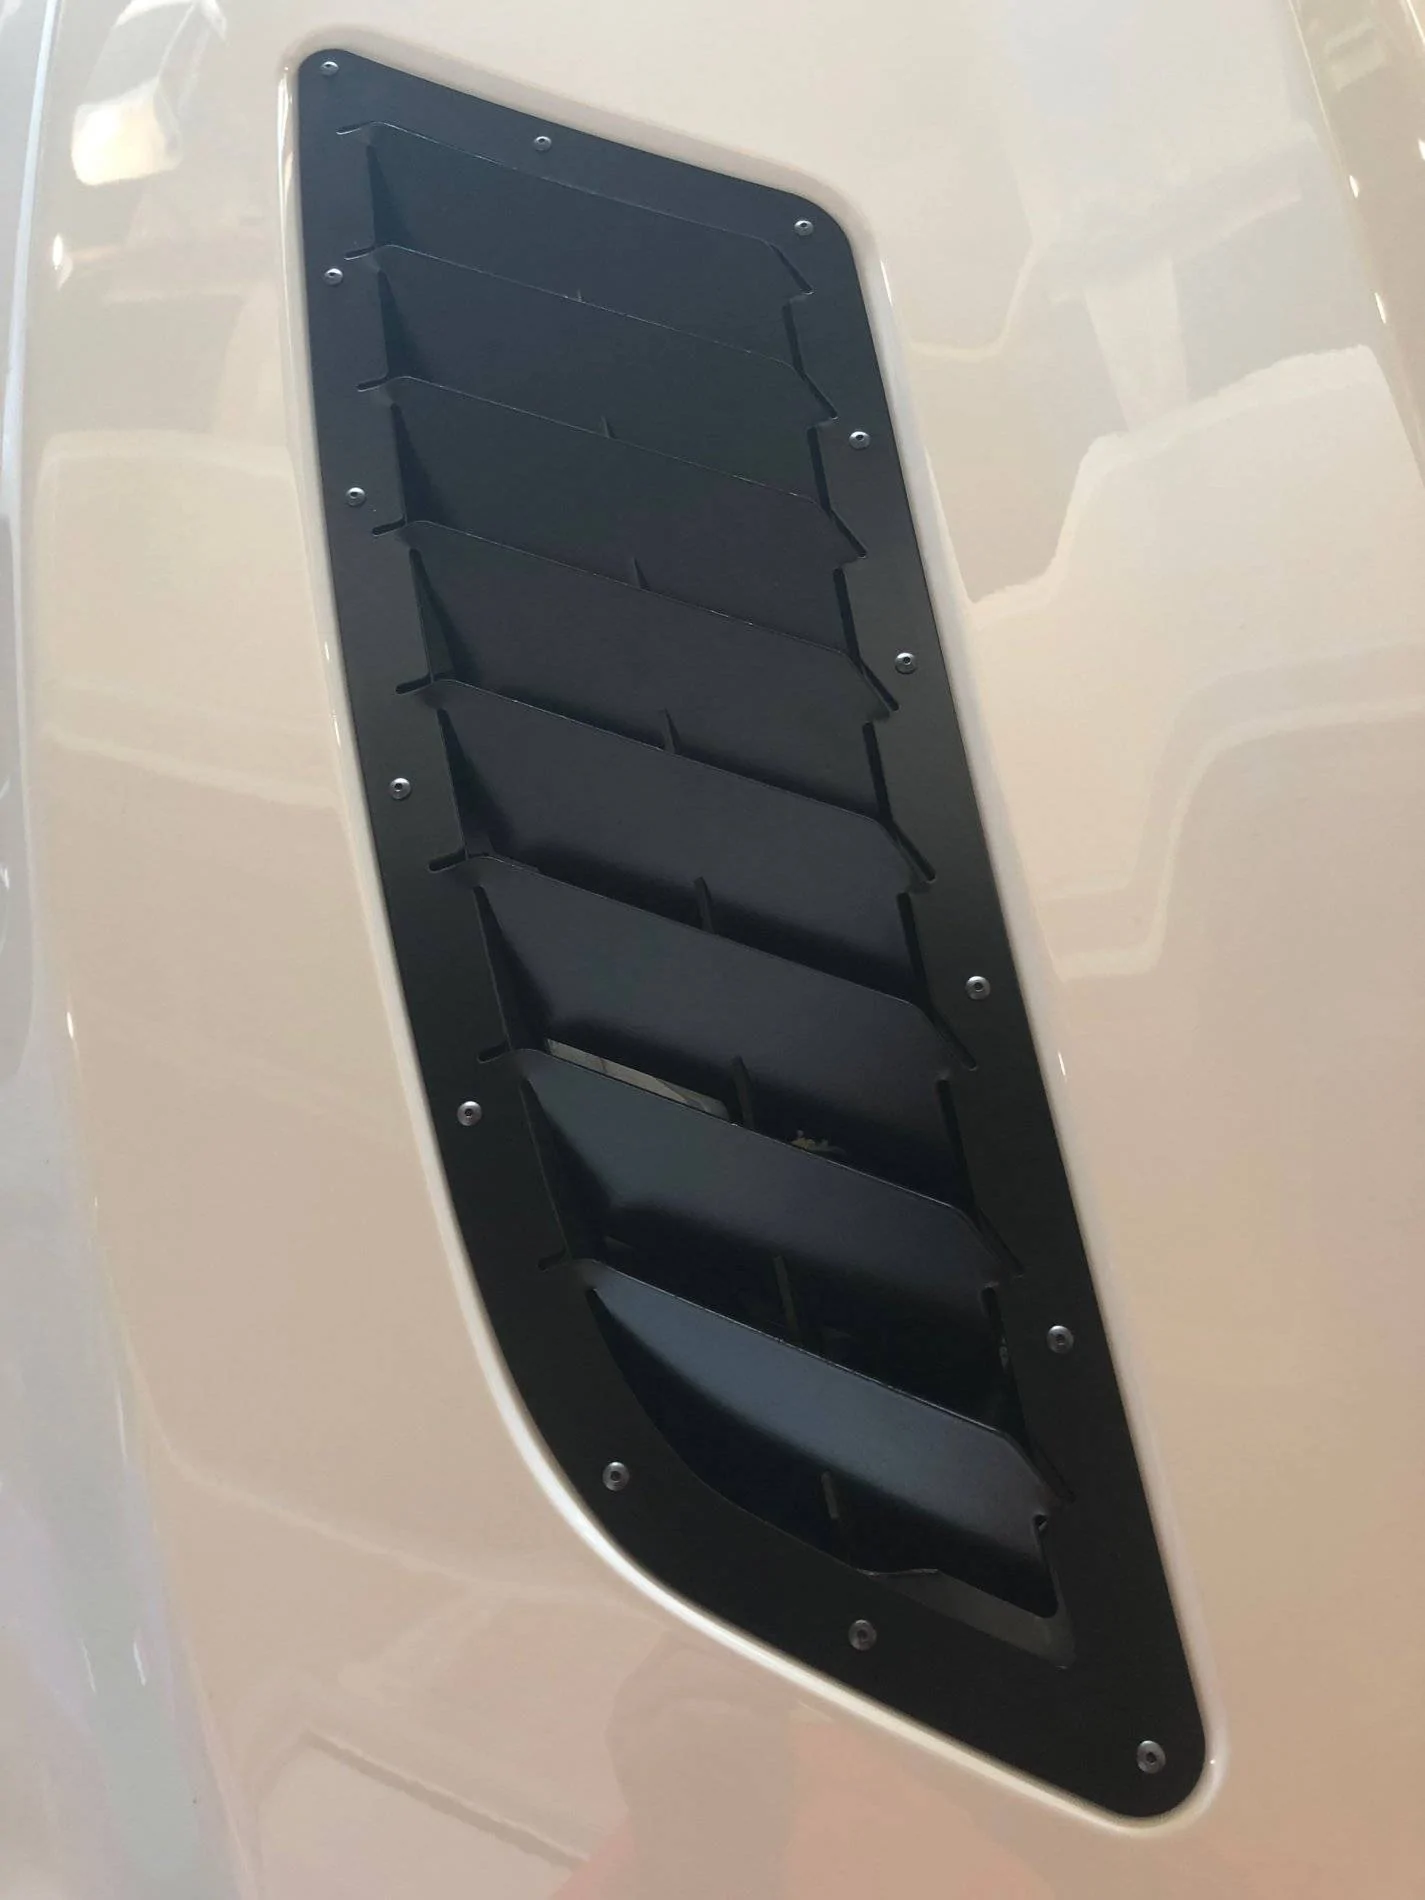
Here is a completed picture of the top and then I'll show my process which for the most part followed their instructions but I added a couple steps myself which I will point out.

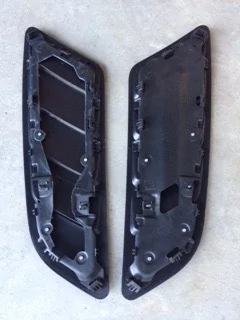
Let me start by saying the quality of materials and finish are topnotch on this product. The main parts consist of the top vent, under mount bracket, and bolts with washers and nuts. Packaging was also something considered for problem free delivery.
So here is where I started even before this. I took my Roush vents and gutted them like in this picture and then did some minor trimming of the hood to let better airflow out. That small hole in the uncut Roush vent is what is stock on this and our stock vents. I truly believe they are more more water draining than anything else as they are just worthless for venting. Please excuse the pics from going one side to the other but wanted to show the difference.

Stock

Cut section
Old new hole
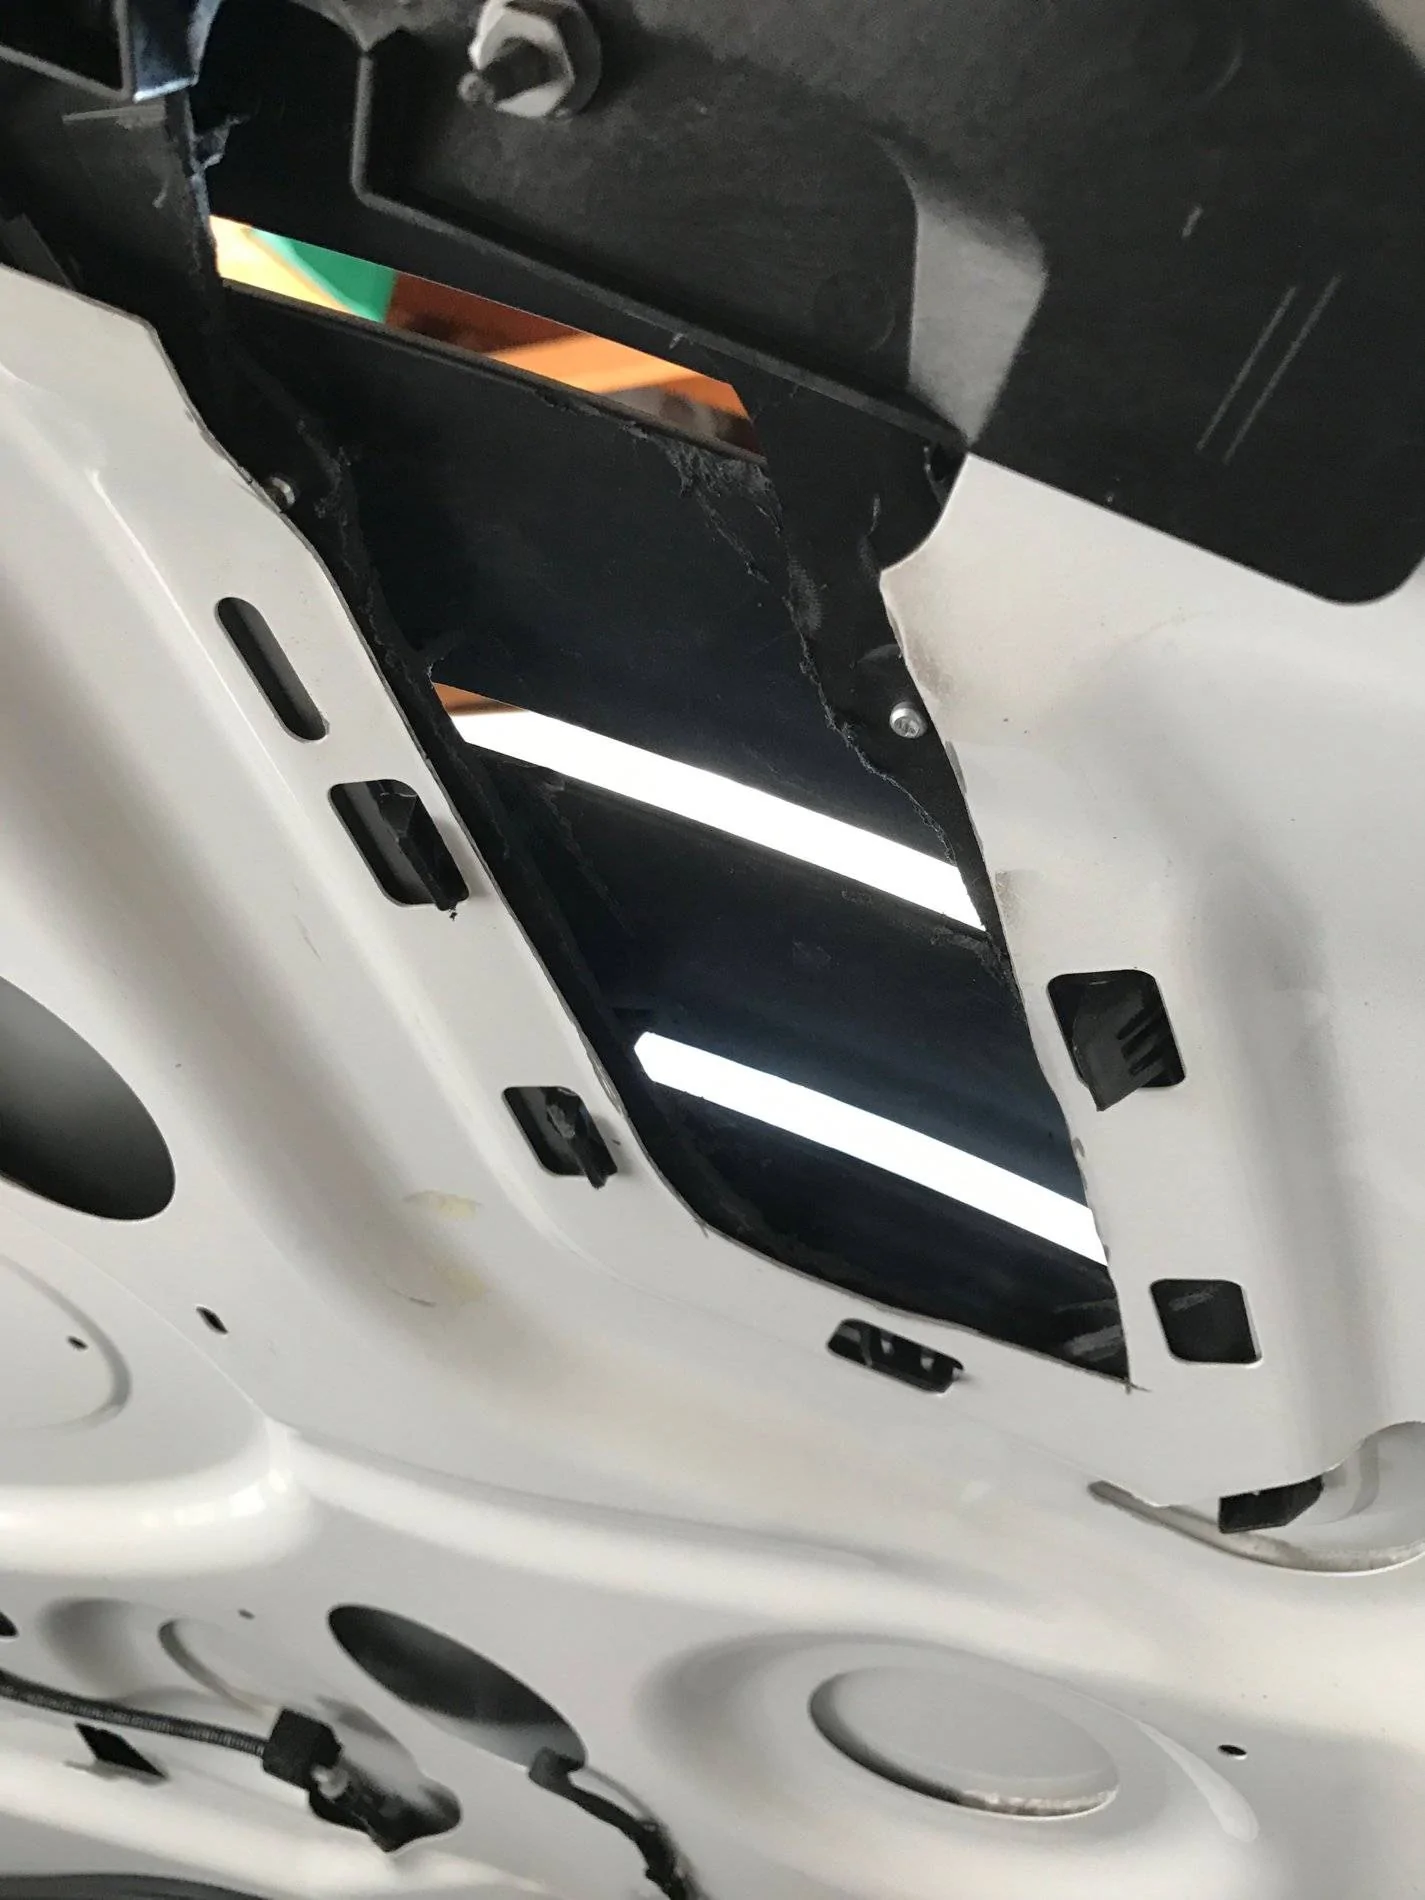
And with the gutted Roush vent installed for better air flow
Ok, so I said this was helping but not as much as needed to be so here is the next process with the TRACKSPEC vents.
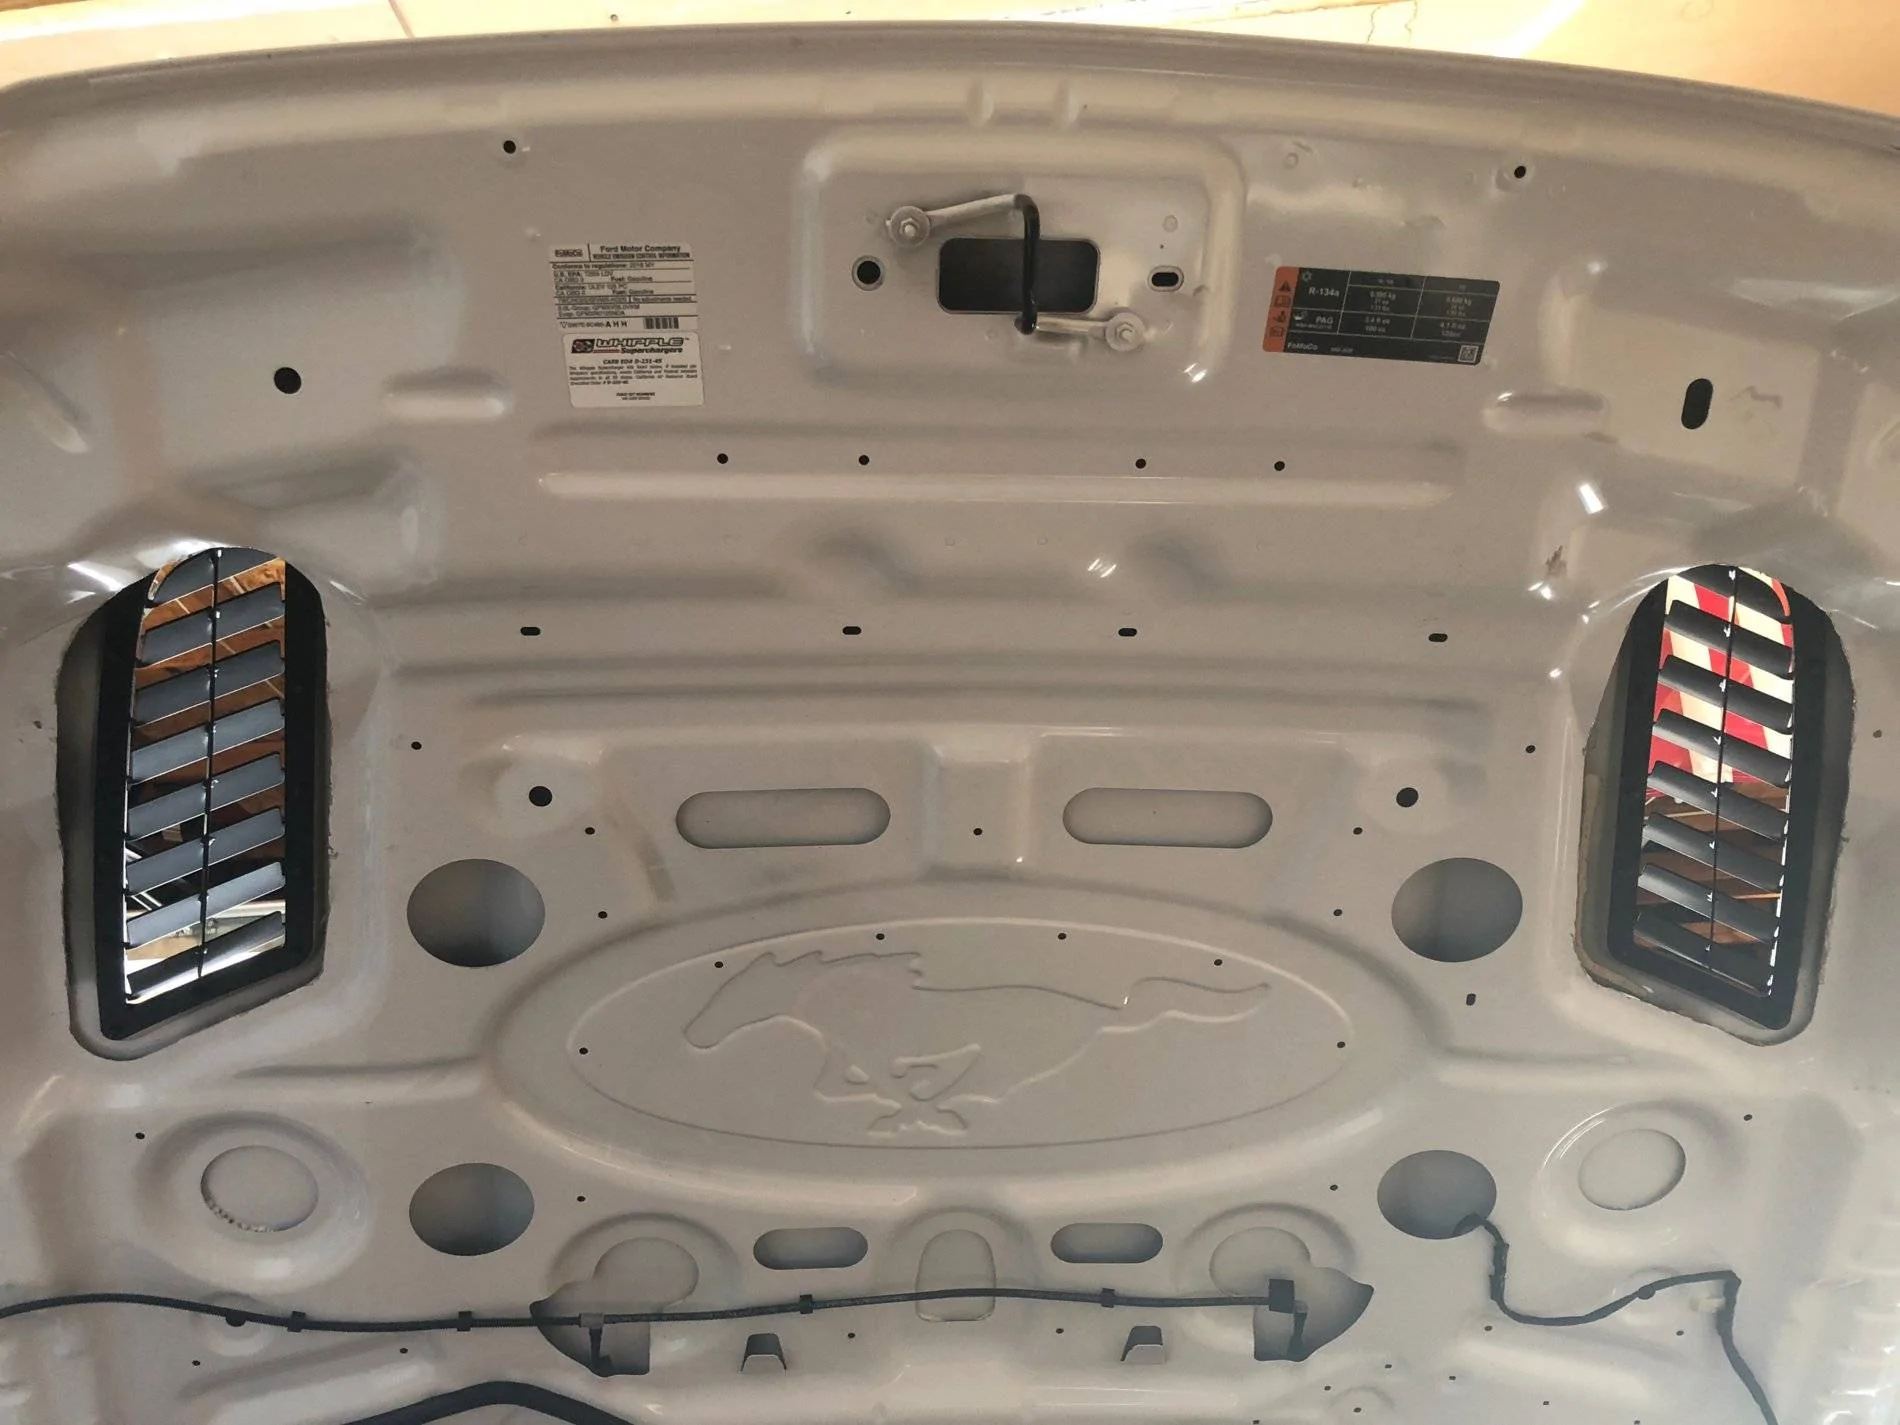
This is what I cut out now.....Boom.
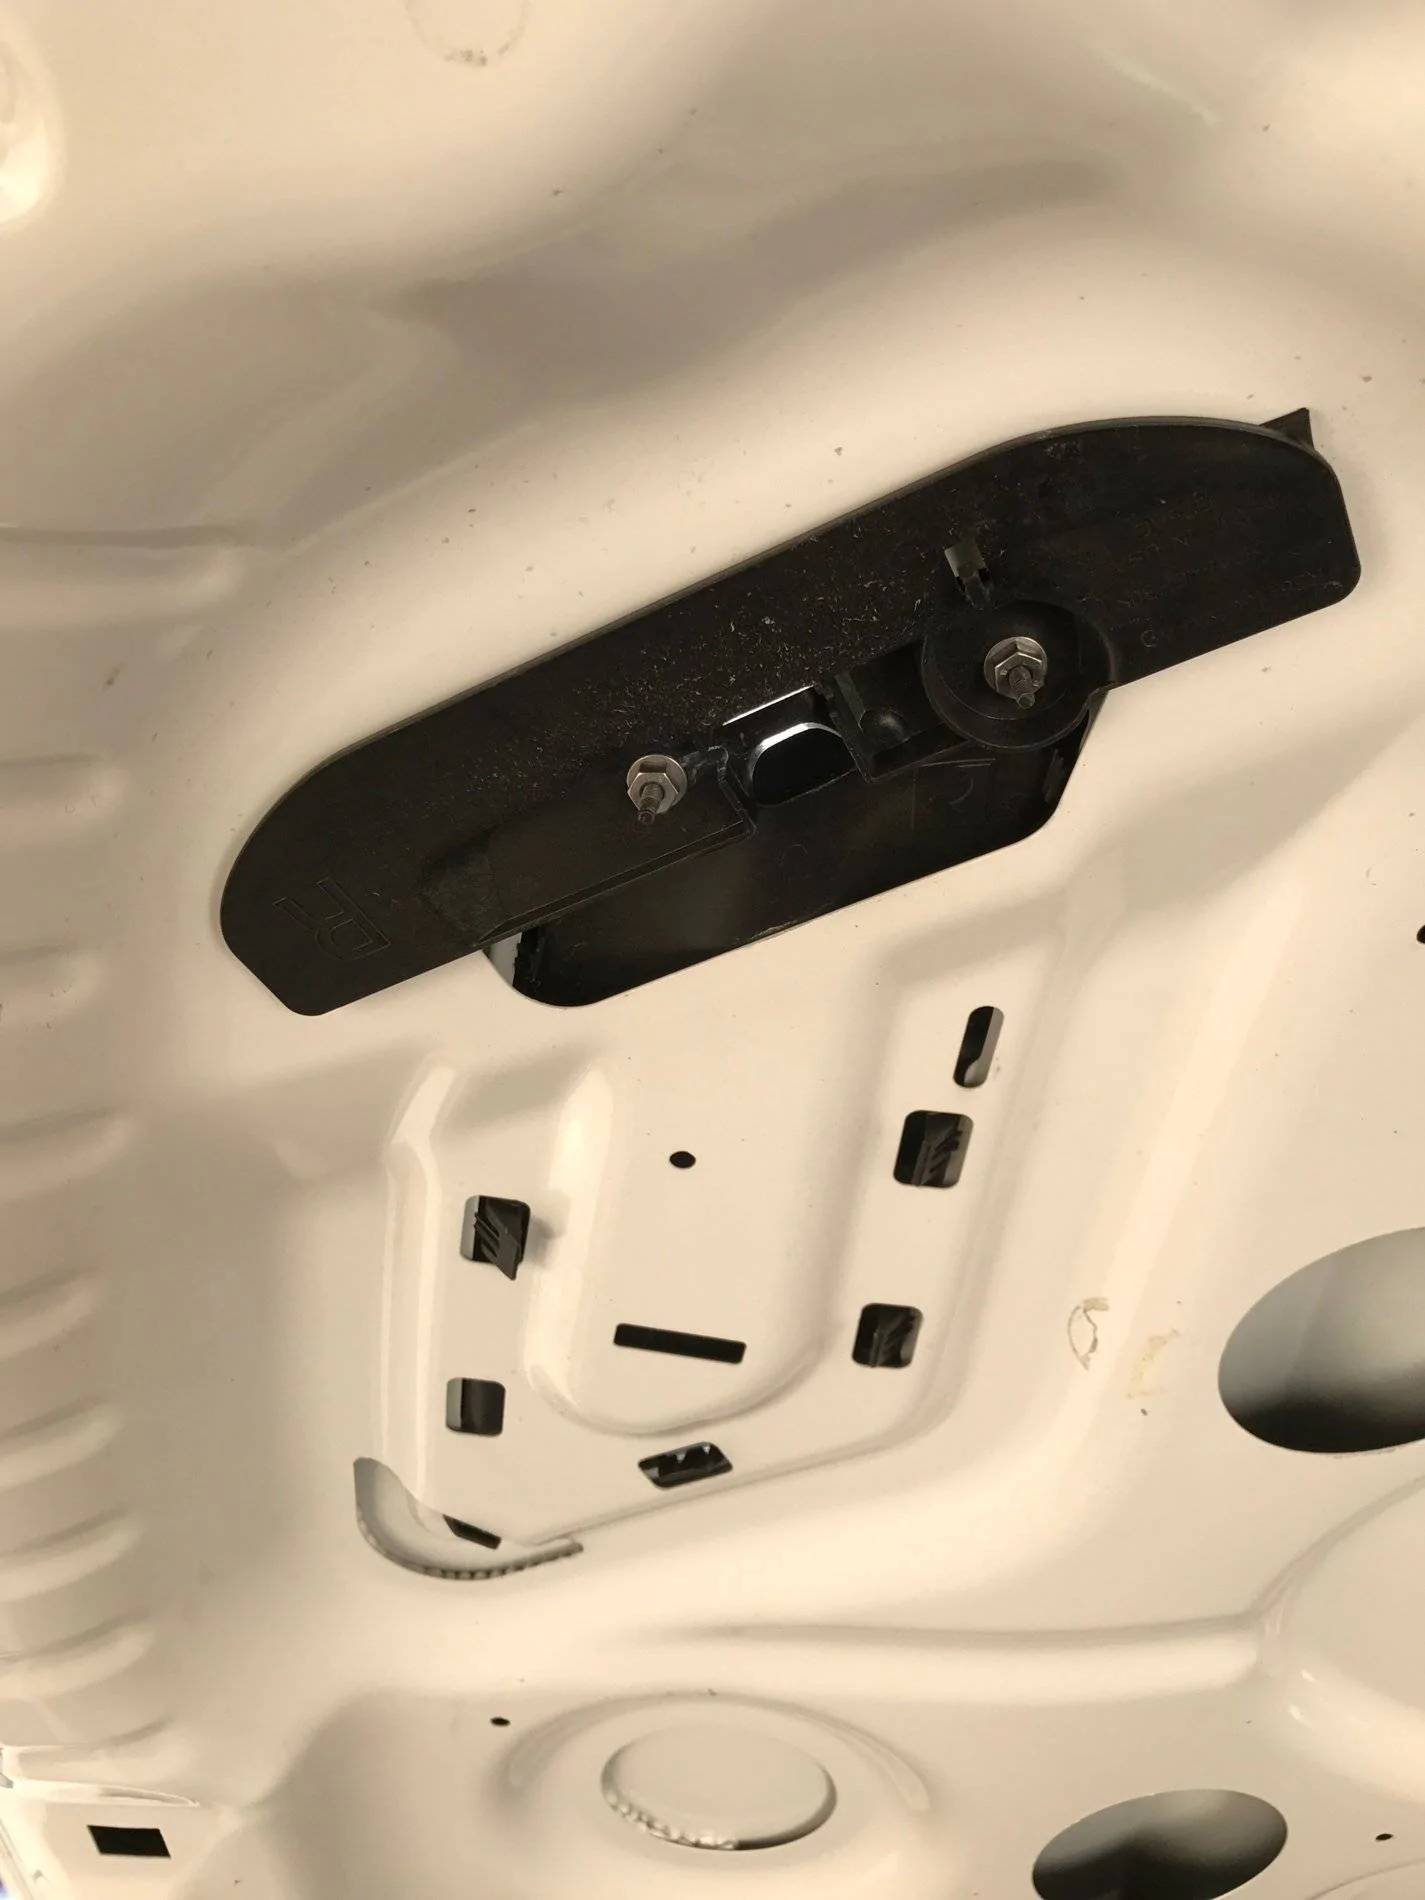
You can see in the above pic I chose to drill holes in the two corner sections that line up with the holes in the vent. In the instructions they just have you grind those out but I liked how I could set the vent and knew where it laid perfectly and center punched the area and drilled. This worked very well but their way would have been fine to.
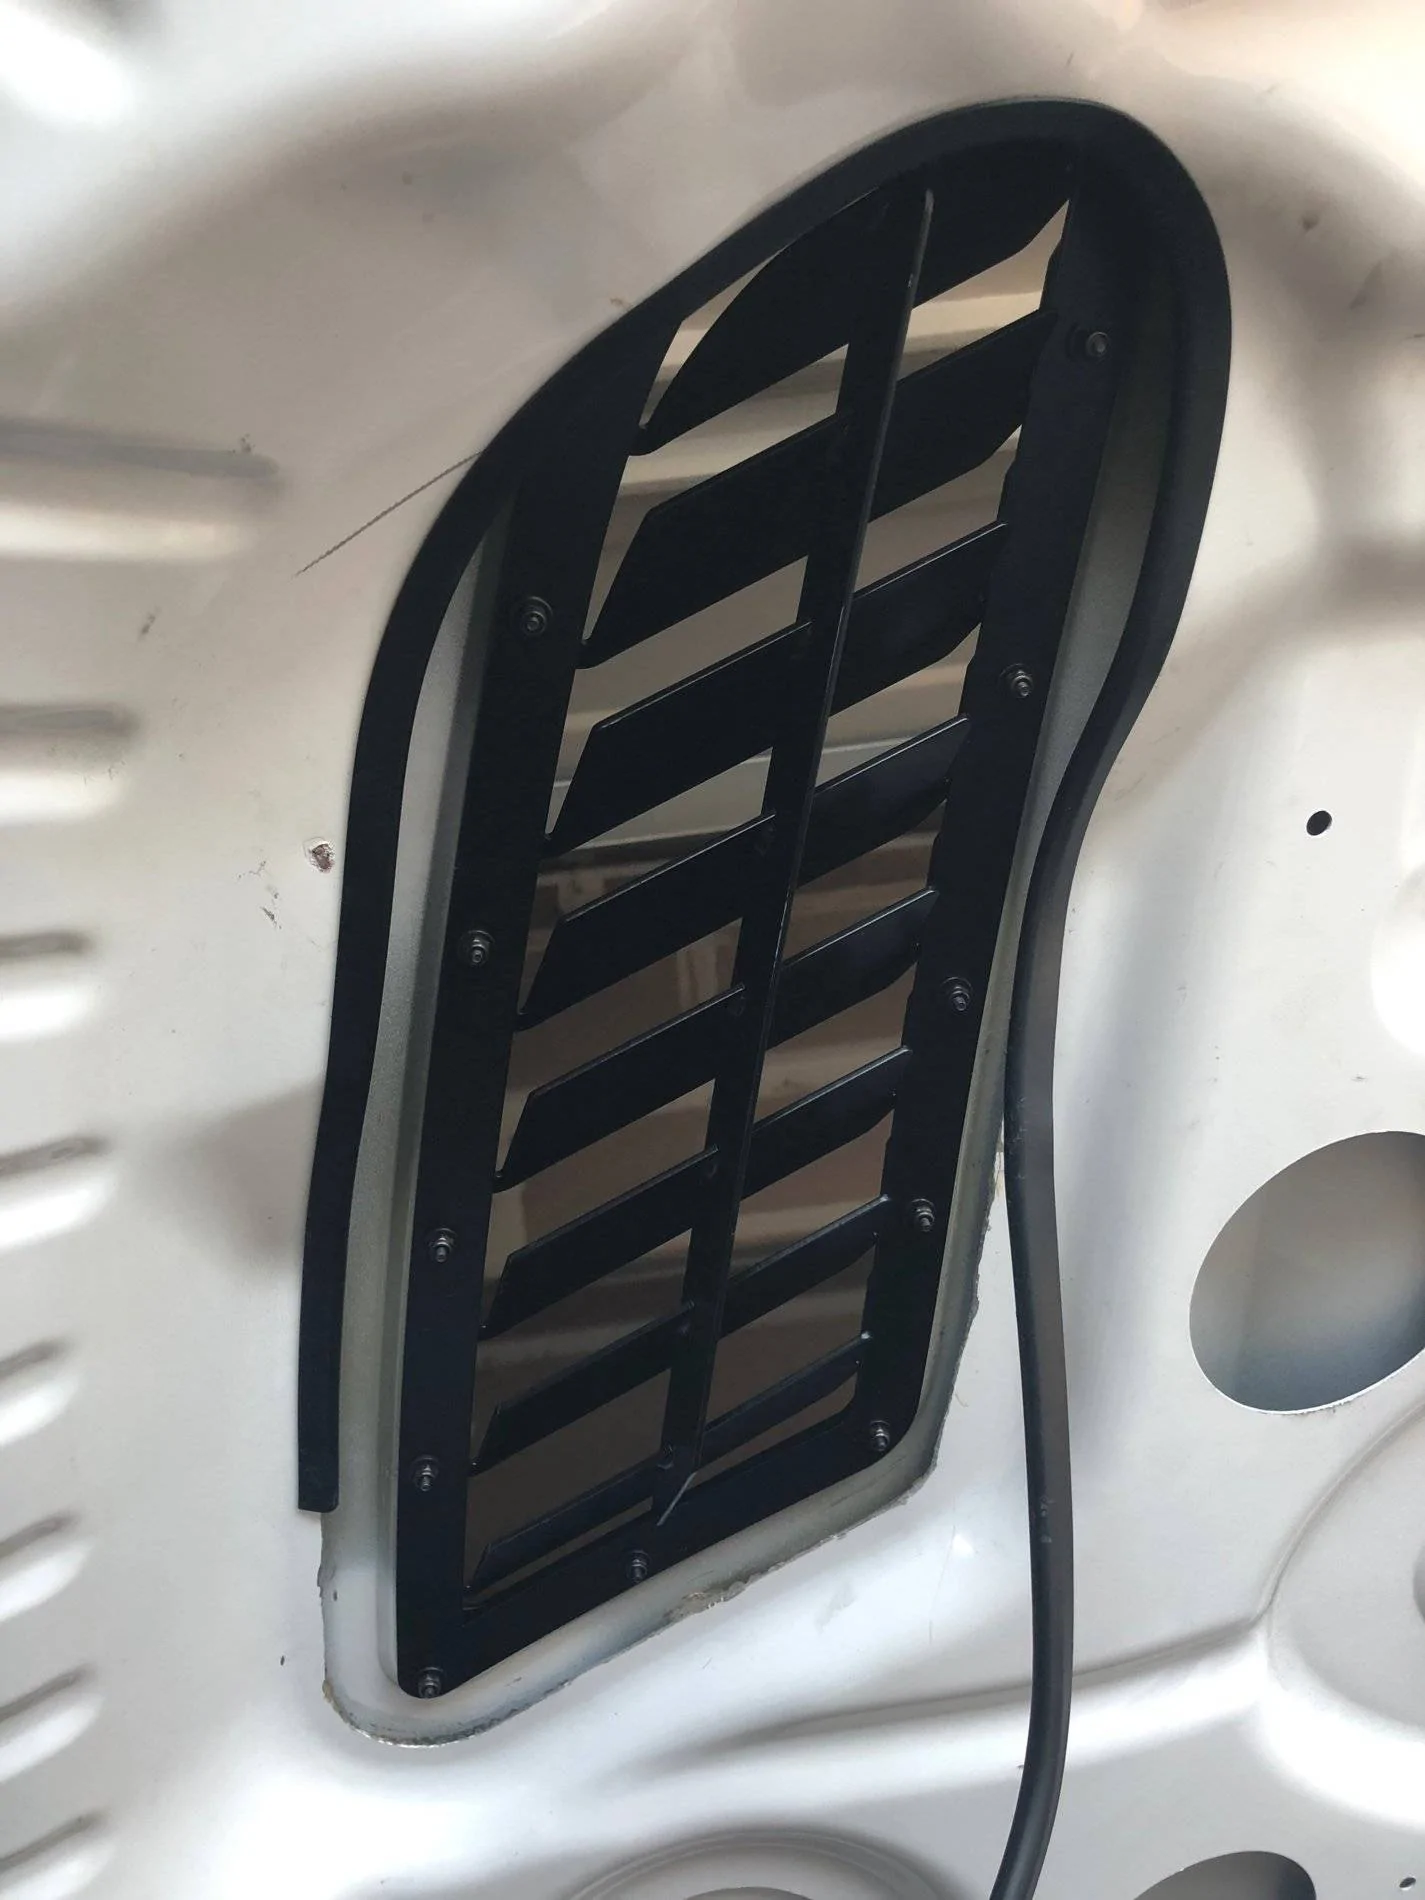
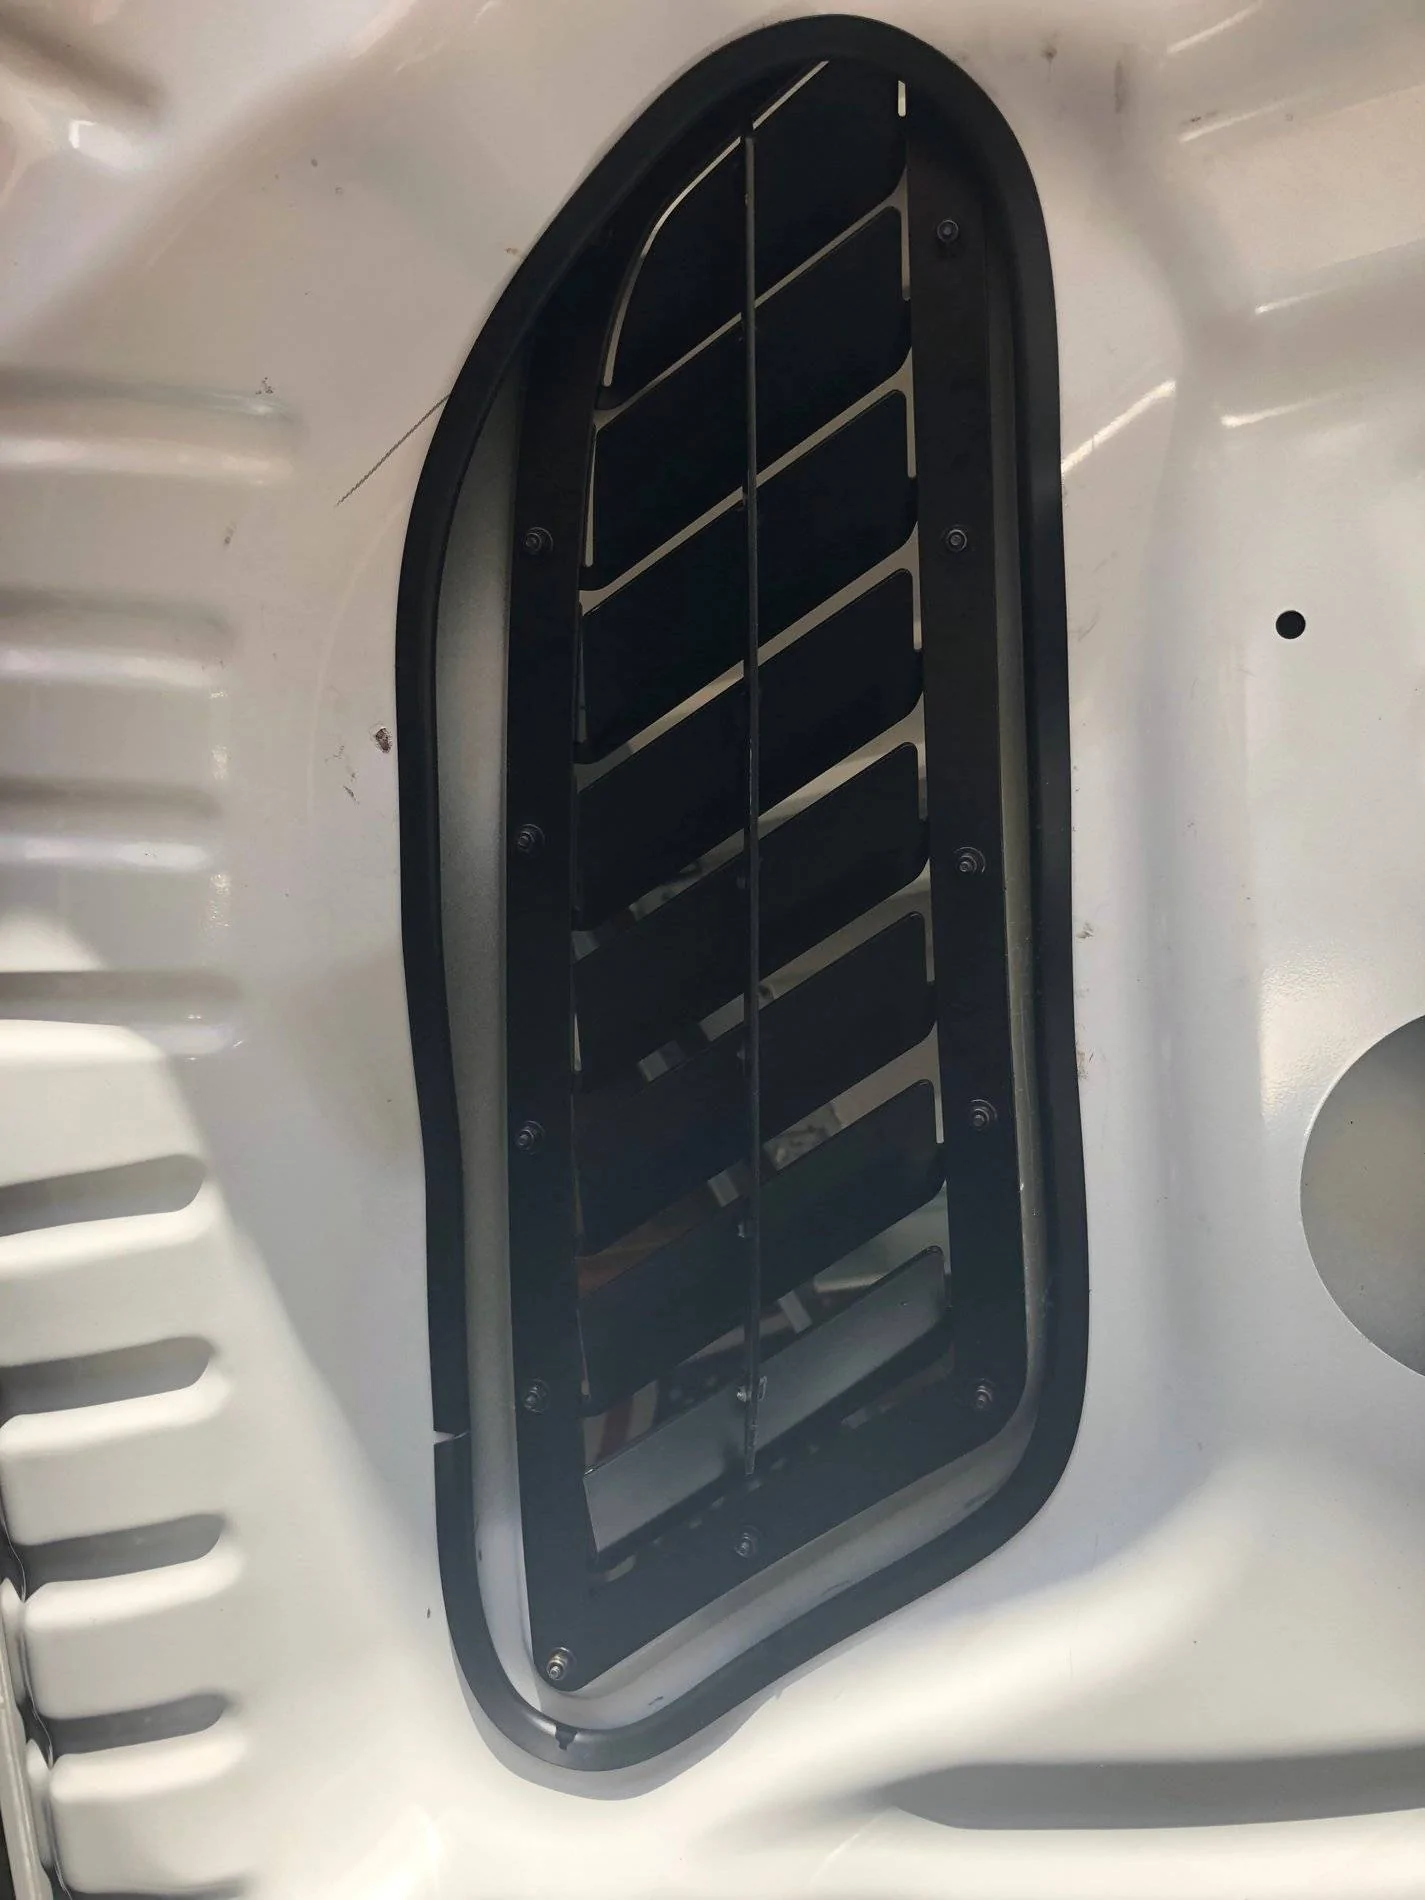
Now mounted
And then I added some door trim to finish off the underside which was my own doing.
I couldn't be happier with the way it turned out. If anyone chooses to do this, TAKE YOUR TIME. I had to remind myself this 20 thousand times. I did mine with the hood attached and if you want an excellent core workout, this is for you. I would say that it would be easier to take the hood off just so you don't have to contort yourself but not everyone wants to remove the hood. The cutting will make a mess so if you decide to do it with the hood on, use long sleeves, eye protection and cover the engine compartment with a sheet or whatever as tons of aluminum shavings will be everywhere.
If you have any questions don't hesitate to ask. I have plenty more pics if there is something specific you'd like to see or I can take any of the completed setup. These things are rigid and can't move at all. The amount of air and heat plus preventing lift will be extremely welcome and the looks of them couldn't be better. Thanks for looking.
This brings me to finding a new vent design for our cars (15-17) that is the best looking and most functional we can get without going to a new hood design. The company is called TRACKSPEC and their website is http://trackspecmotorsports.com which you can then navigate to our section.
This modification requires a bit of cutting to the under hood side and a little trimming of the upper supports for the stock or Roush vents so it may not be for everyone but the results are awesome in my opinion both physically and I can't see how not functionally as well.
Here is a completed picture of the top and then I'll show my process which for the most part followed their instructions but I added a couple steps myself which I will point out.
Let me start by saying the quality of materials and finish are topnotch on this product. The main parts consist of the top vent, under mount bracket, and bolts with washers and nuts. Packaging was also something considered for problem free delivery.


So here is where I started even before this. I took my Roush vents and gutted them like in this picture and then did some minor trimming of the hood to let better airflow out. That small hole in the uncut Roush vent is what is stock on this and our stock vents. I truly believe they are more more water draining than anything else as they are just worthless for venting. Please excuse the pics from going one side to the other but wanted to show the difference.
Stock
Cut section
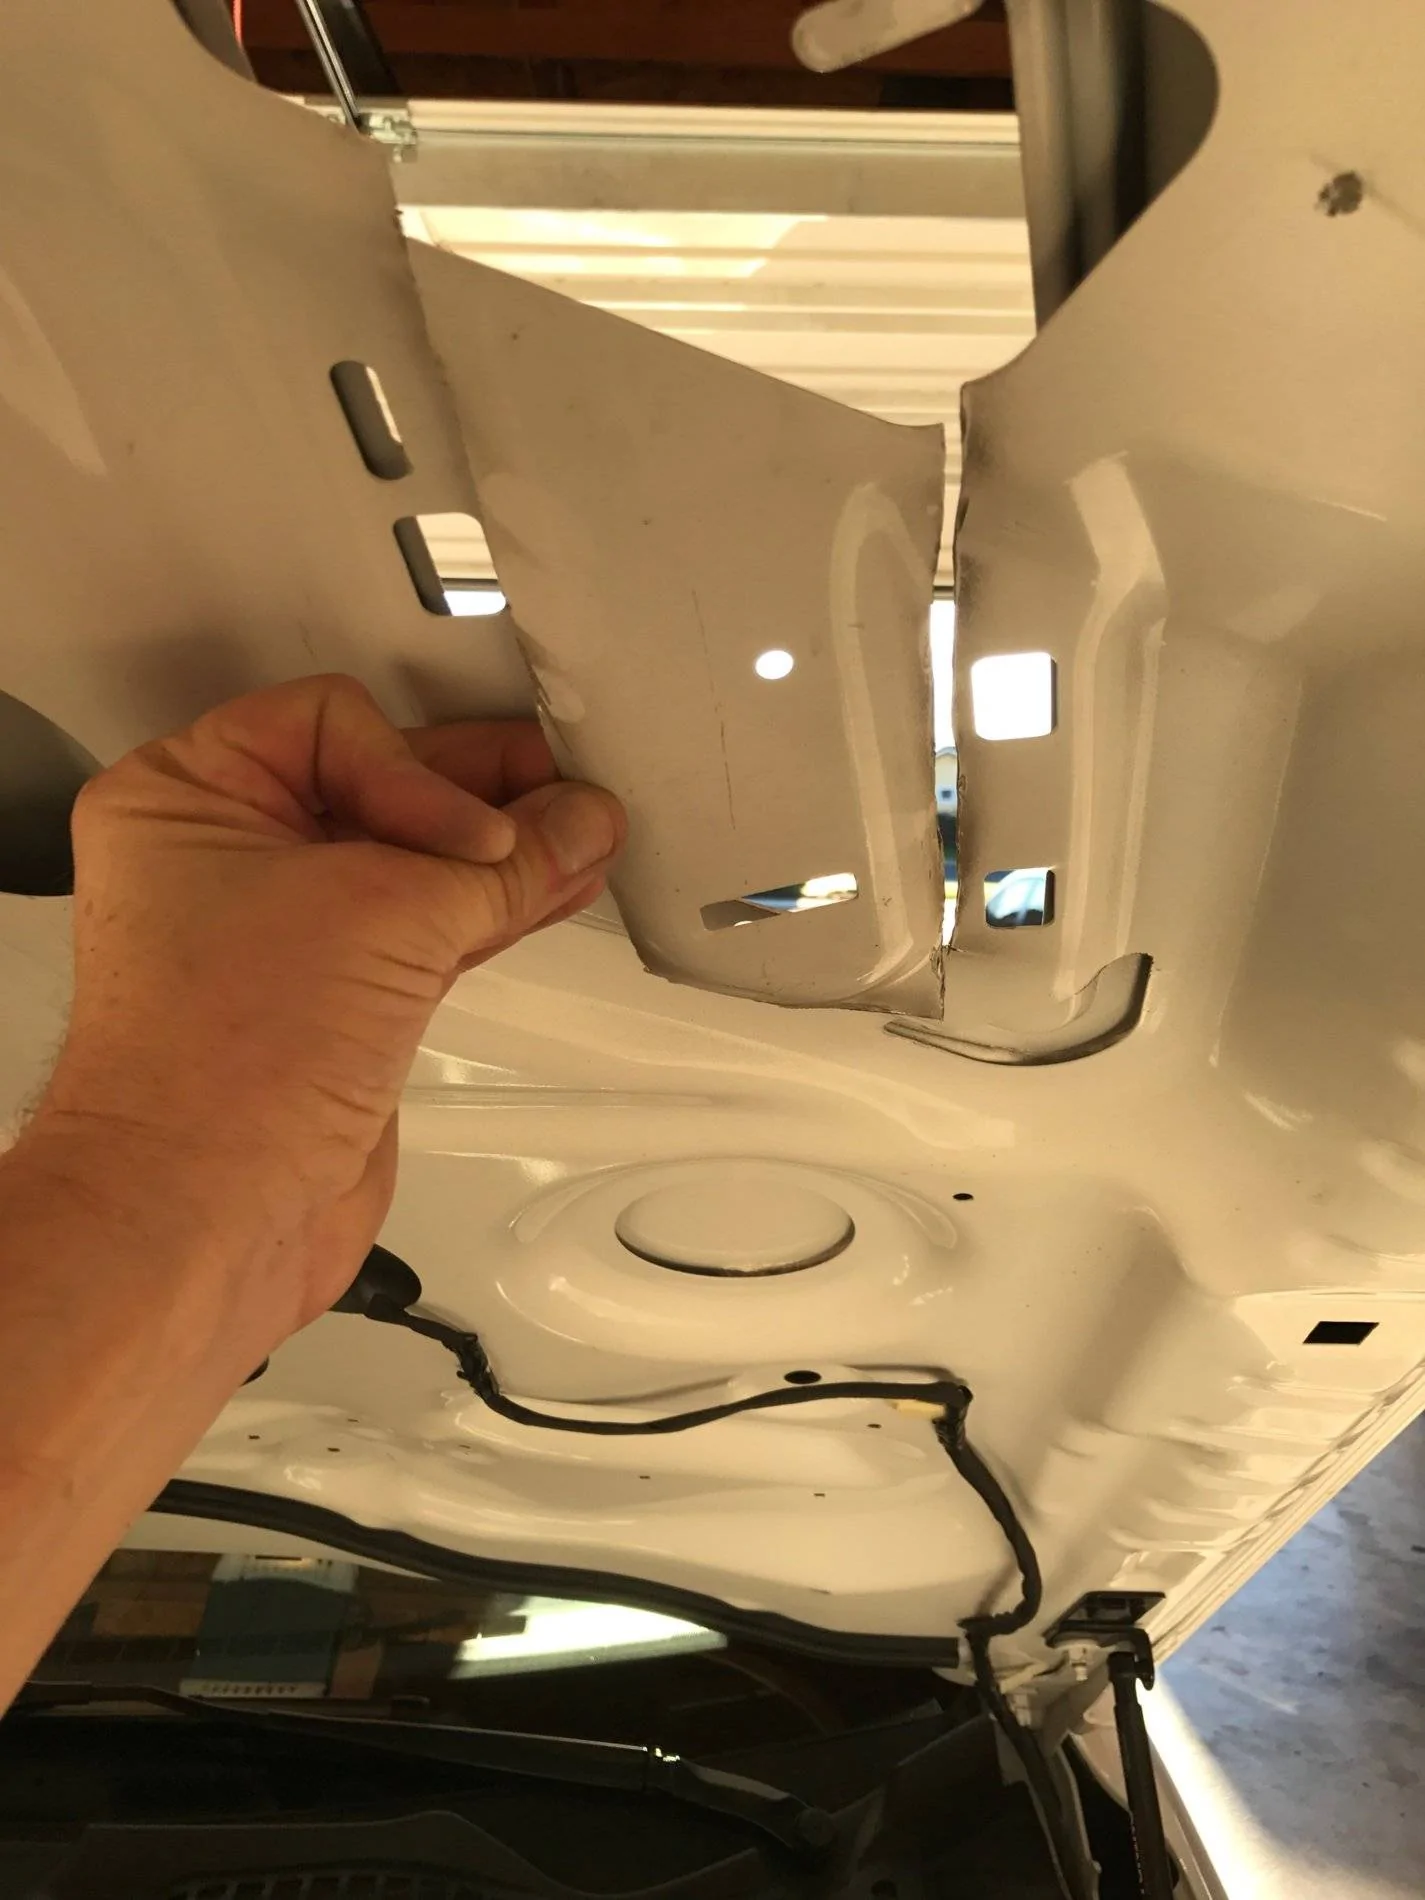
Old new hole

And with the gutted Roush vent installed for better air flow
Ok, so I said this was helping but not as much as needed to be so here is the next process with the TRACKSPEC vents.
This is what I cut out now.....Boom.

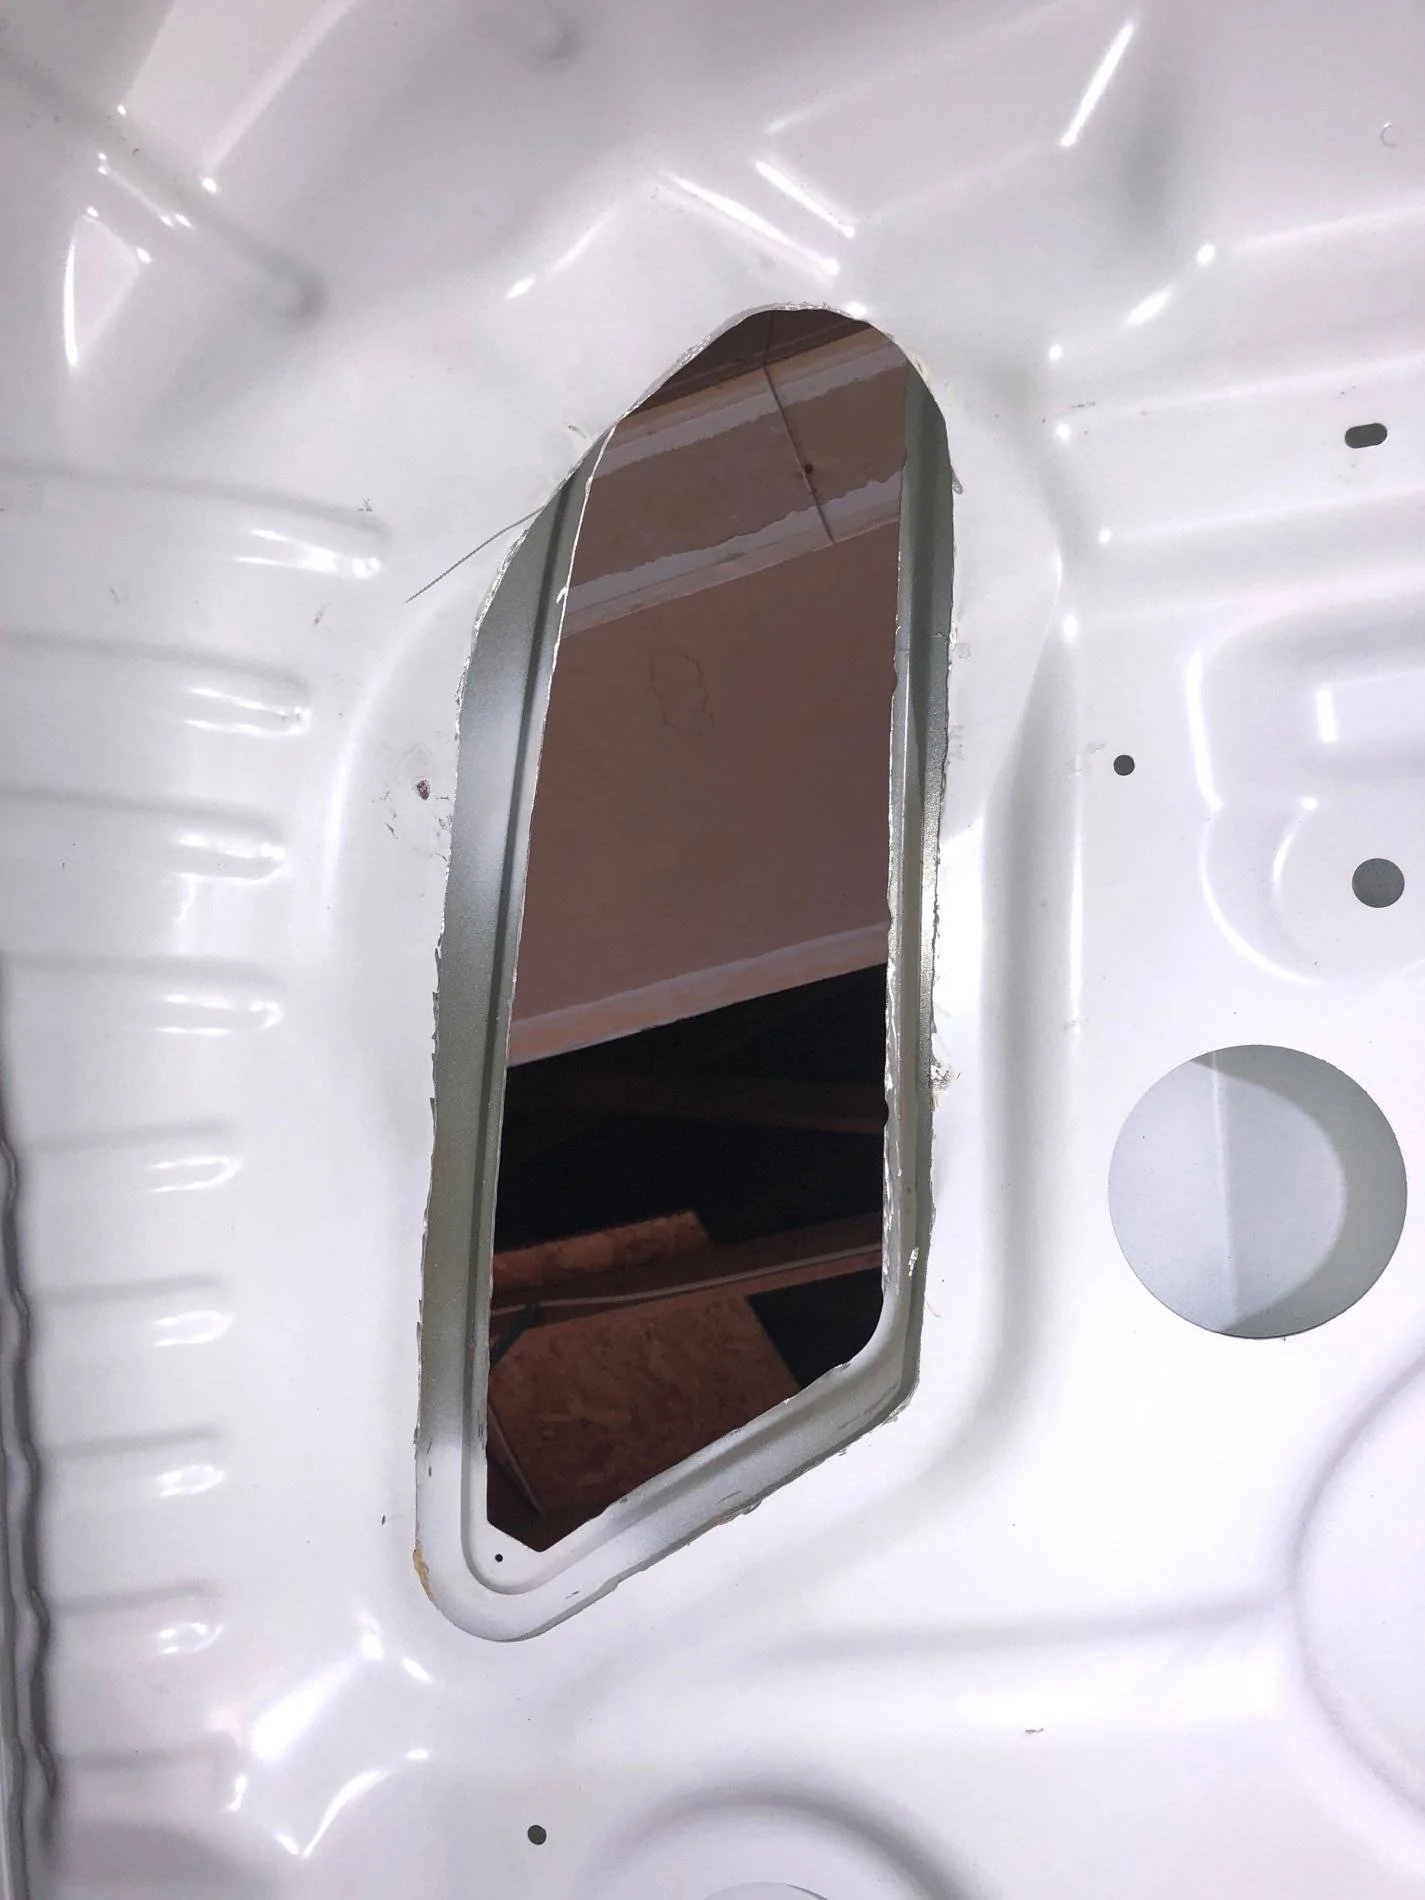

You can see in the above pic I chose to drill holes in the two corner sections that line up with the holes in the vent. In the instructions they just have you grind those out but I liked how I could set the vent and knew where it laid perfectly and center punched the area and drilled. This worked very well but their way would have been fine to.
Now mounted

And then I added some door trim to finish off the underside which was my own doing.

I couldn't be happier with the way it turned out. If anyone chooses to do this, TAKE YOUR TIME. I had to remind myself this 20 thousand times. I did mine with the hood attached and if you want an excellent core workout, this is for you. I would say that it would be easier to take the hood off just so you don't have to contort yourself but not everyone wants to remove the hood. The cutting will make a mess so if you decide to do it with the hood on, use long sleeves, eye protection and cover the engine compartment with a sheet or whatever as tons of aluminum shavings will be everywhere.
If you have any questions don't hesitate to ask. I have plenty more pics if there is something specific you'd like to see or I can take any of the completed setup. These things are rigid and can't move at all. The amount of air and heat plus preventing lift will be extremely welcome and the looks of them couldn't be better. Thanks for looking.
Sponsored
Last edited:


