5.0 Probie
Well-Known Member
- Joined
- Apr 12, 2015
- Threads
- 2
- Messages
- 155
- Reaction score
- 50
- Location
- Puget Sound
- Vehicle(s)
- 2014 GT
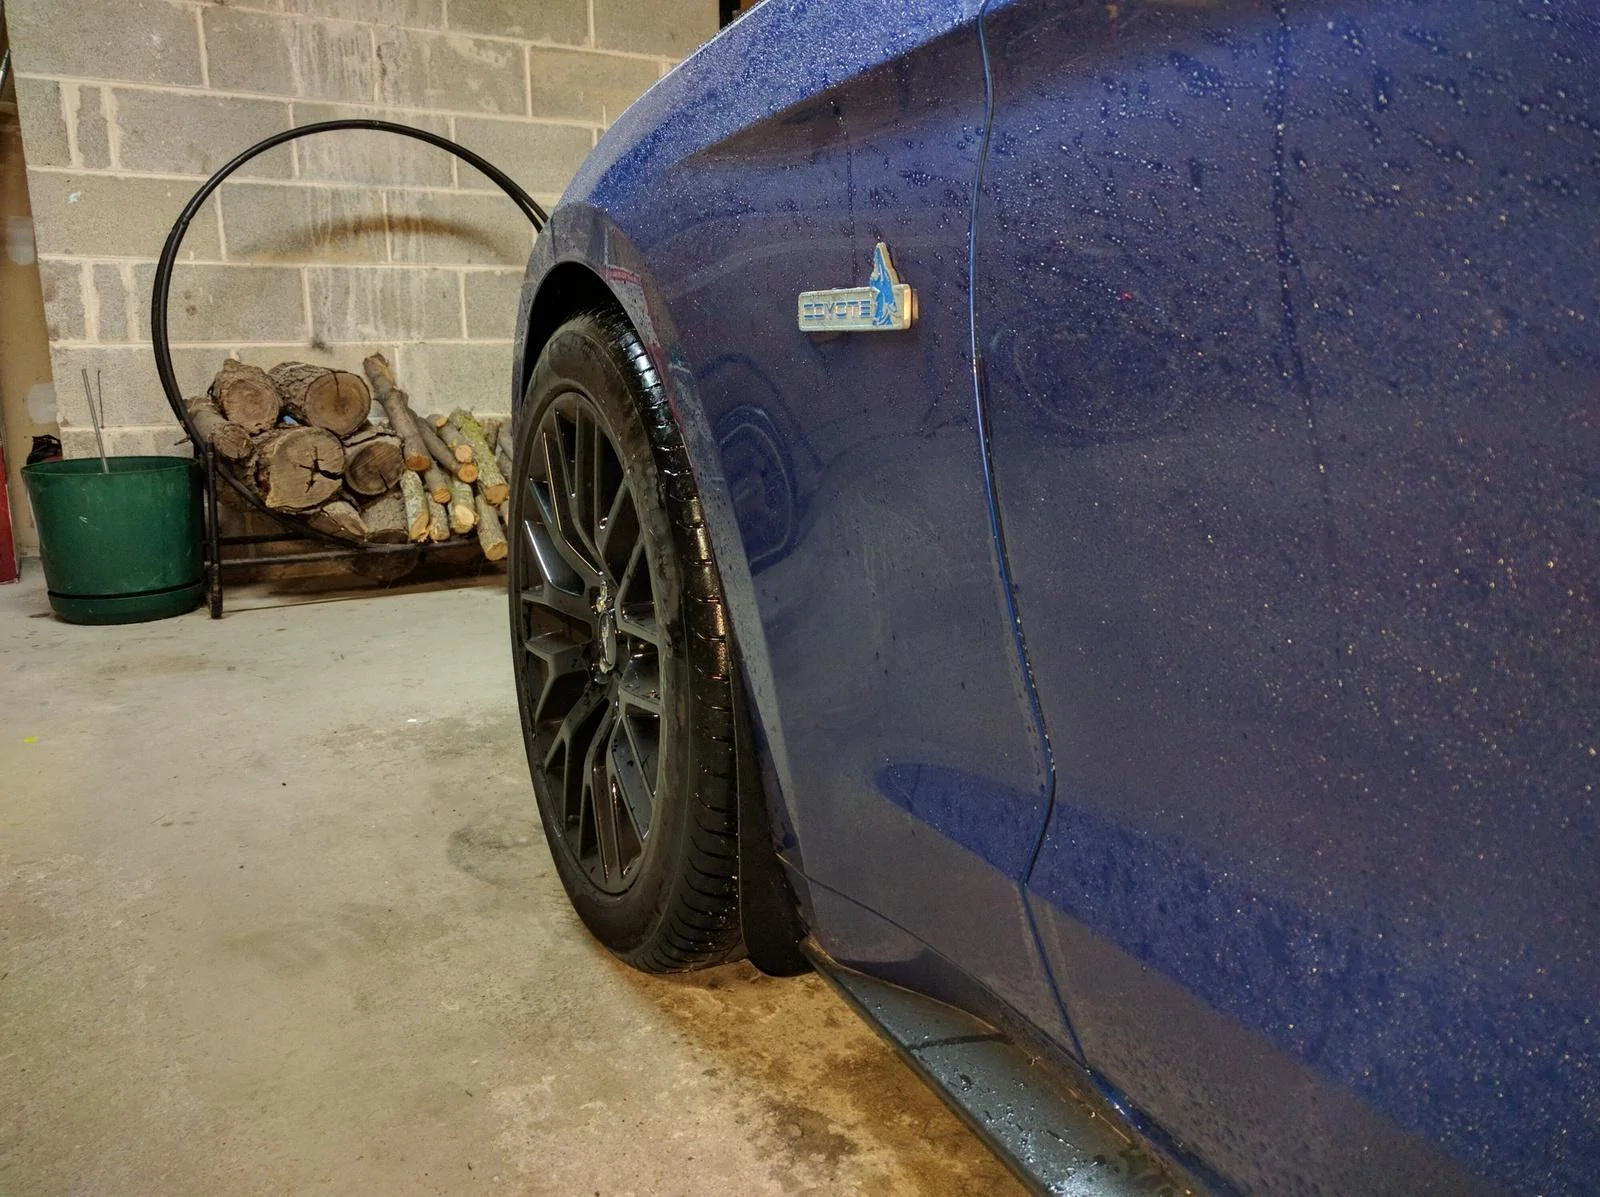
I installed the fronts. Not very happy. Neither of them had the 3M tape in the same position as the other. And once mounted, one of them took me 15-20 minutes using my nails to get rid of the excess tape. In fact, as far as overall usable length goes, the top is inward to the wheel-well 1/2" more than the other-side is that did not require any "Cleanup".
Pretty disappointed overall. Waiting for a warm weekend to try the rears.
Defiantly looking forward to custom fit ones...
Pretty disappointed overall. Waiting for a warm weekend to try the rears.
Defiantly looking forward to custom fit ones...
Sponsored