MyLilPony
Naw It's Stock
- Joined
- Apr 15, 2015
- Threads
- 47
- Messages
- 1,613
- Reaction score
- 657
- Location
- Prosper, TX
- First Name
- Kris
- Vehicle(s)
- 2015 Black GT, 18 JLUR, 15 JK
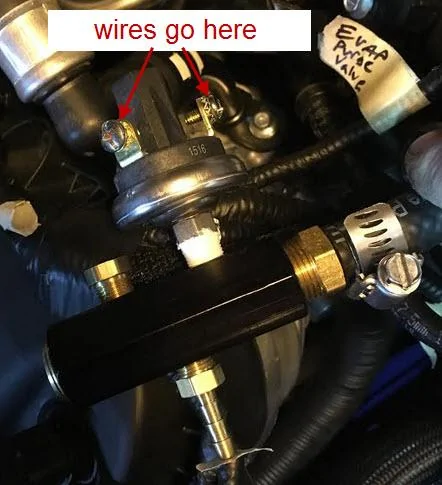
Did you not get the plug and play bap? Still slightly confused on why anything related to the BAP is running under the hood.all I remember doing is plugging it in at the fuel pump, at the pedal, and sourcing power and ground.
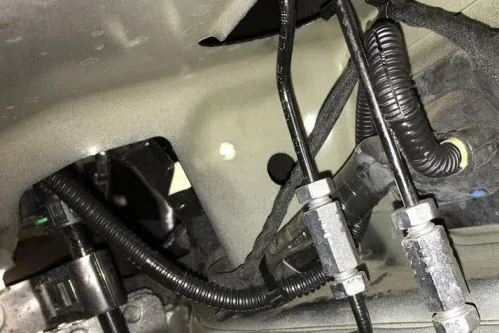
Above is the best place for access though. Also if it's small enough you can use the old sound tube hole in the fire wall. If you pull the pedal off you have a big hole to use.
Above is the best place for access though. Also if it's small enough you can use the old sound tube hole in the fire wall. If you pull the pedal off you have a big hole to use.
Sponsored

")
