Sponsored

Mach 1 M6150

OP
OP
RobZ71LM7

RobZ71LM7

Well-Known Member
Joined
Oct 14, 2021
Threads
11
Messages
496
Reaction score
862
Location
Louisville, KY
First Name
Rob
Vehicle(s)
2021 Mach 1, 2019 F-150
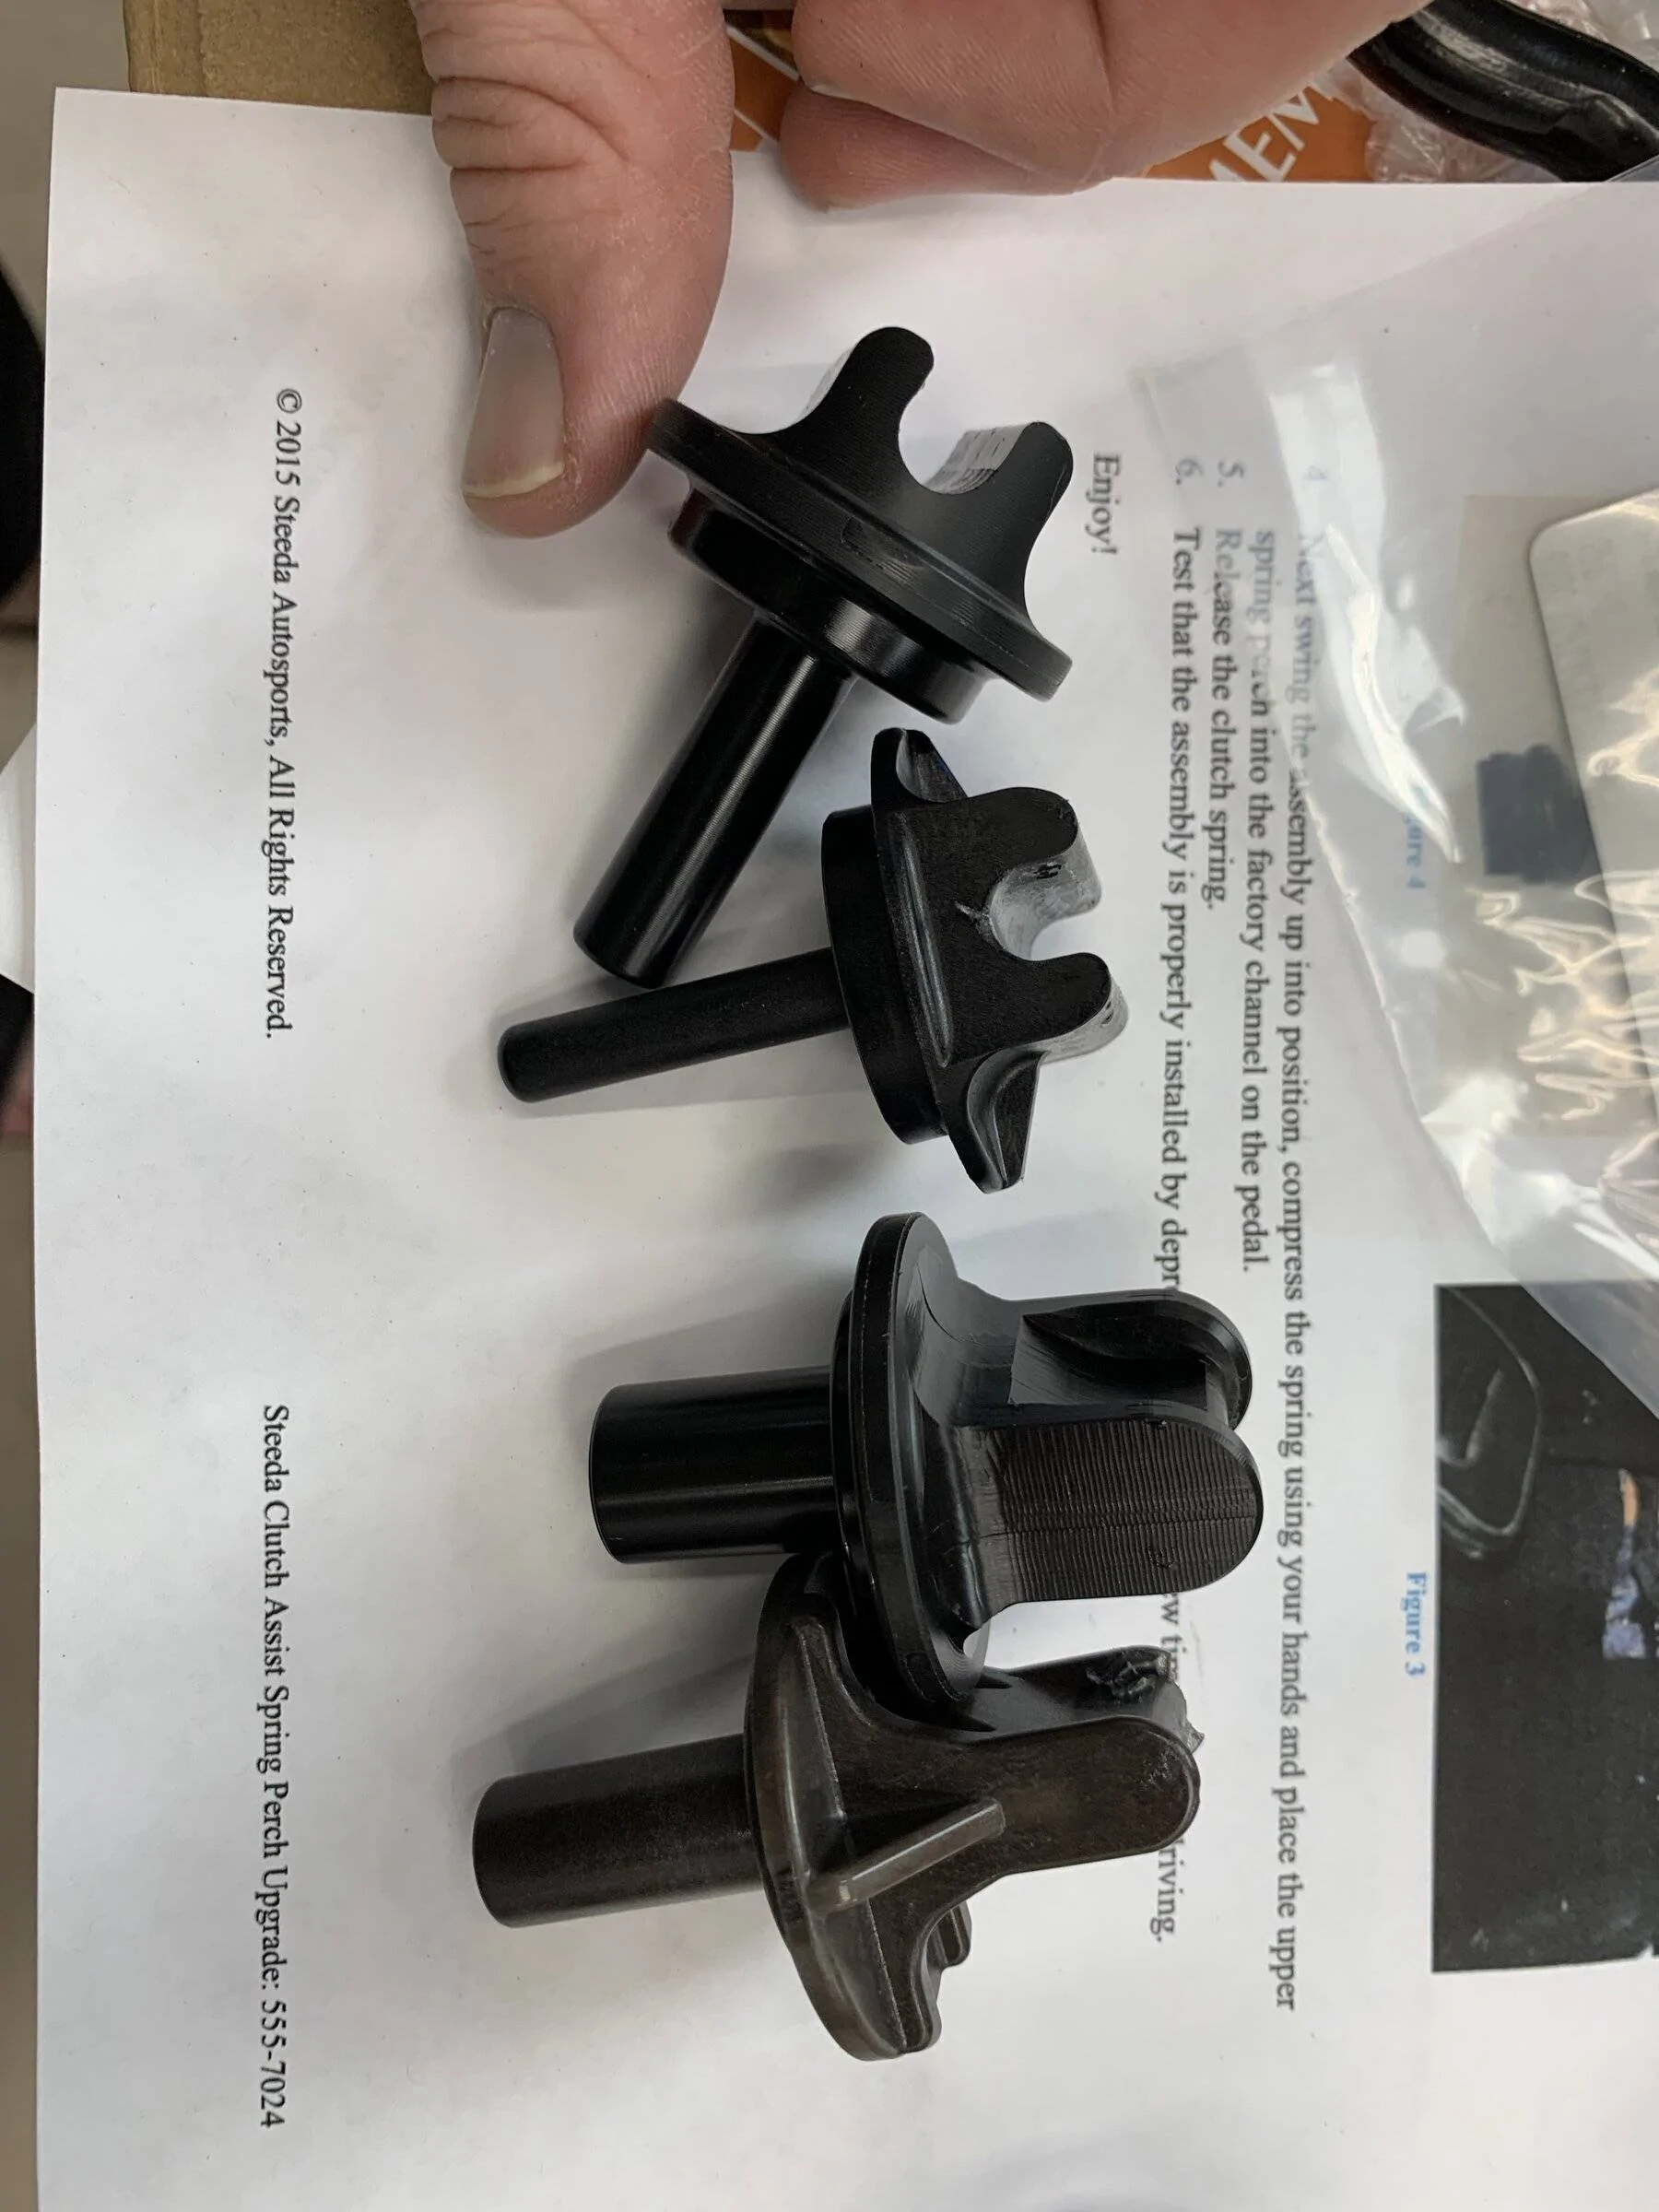
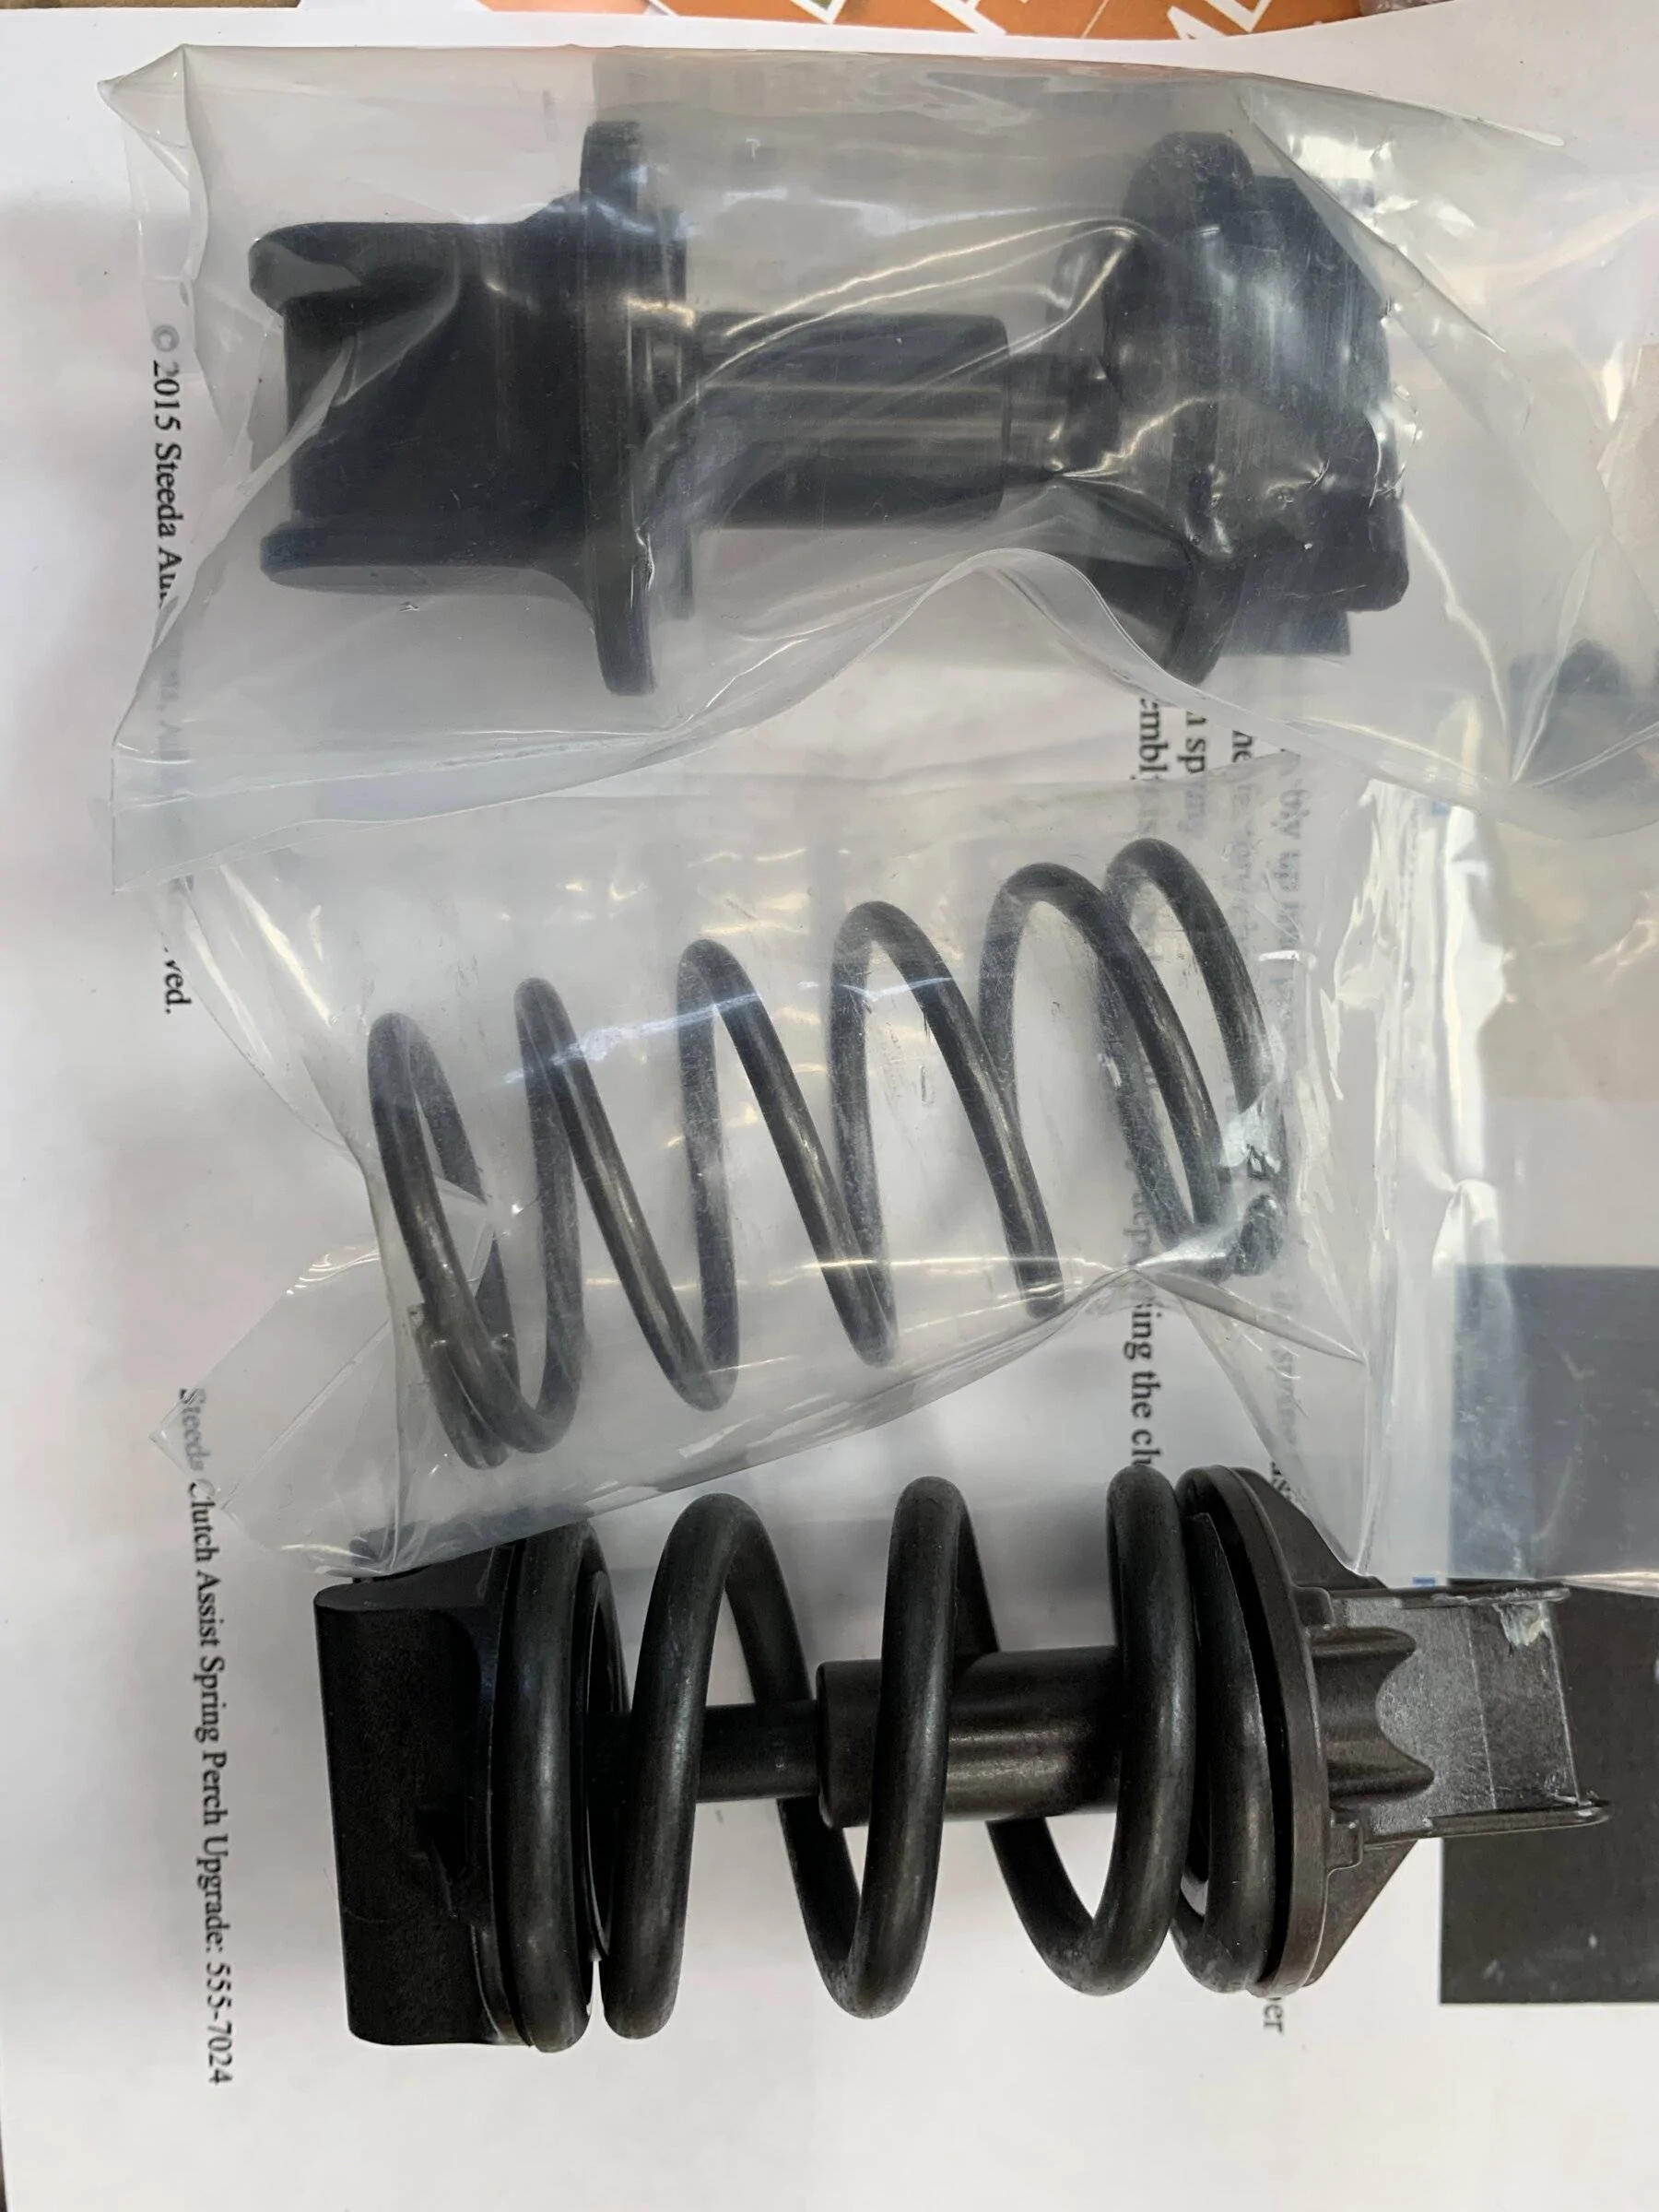
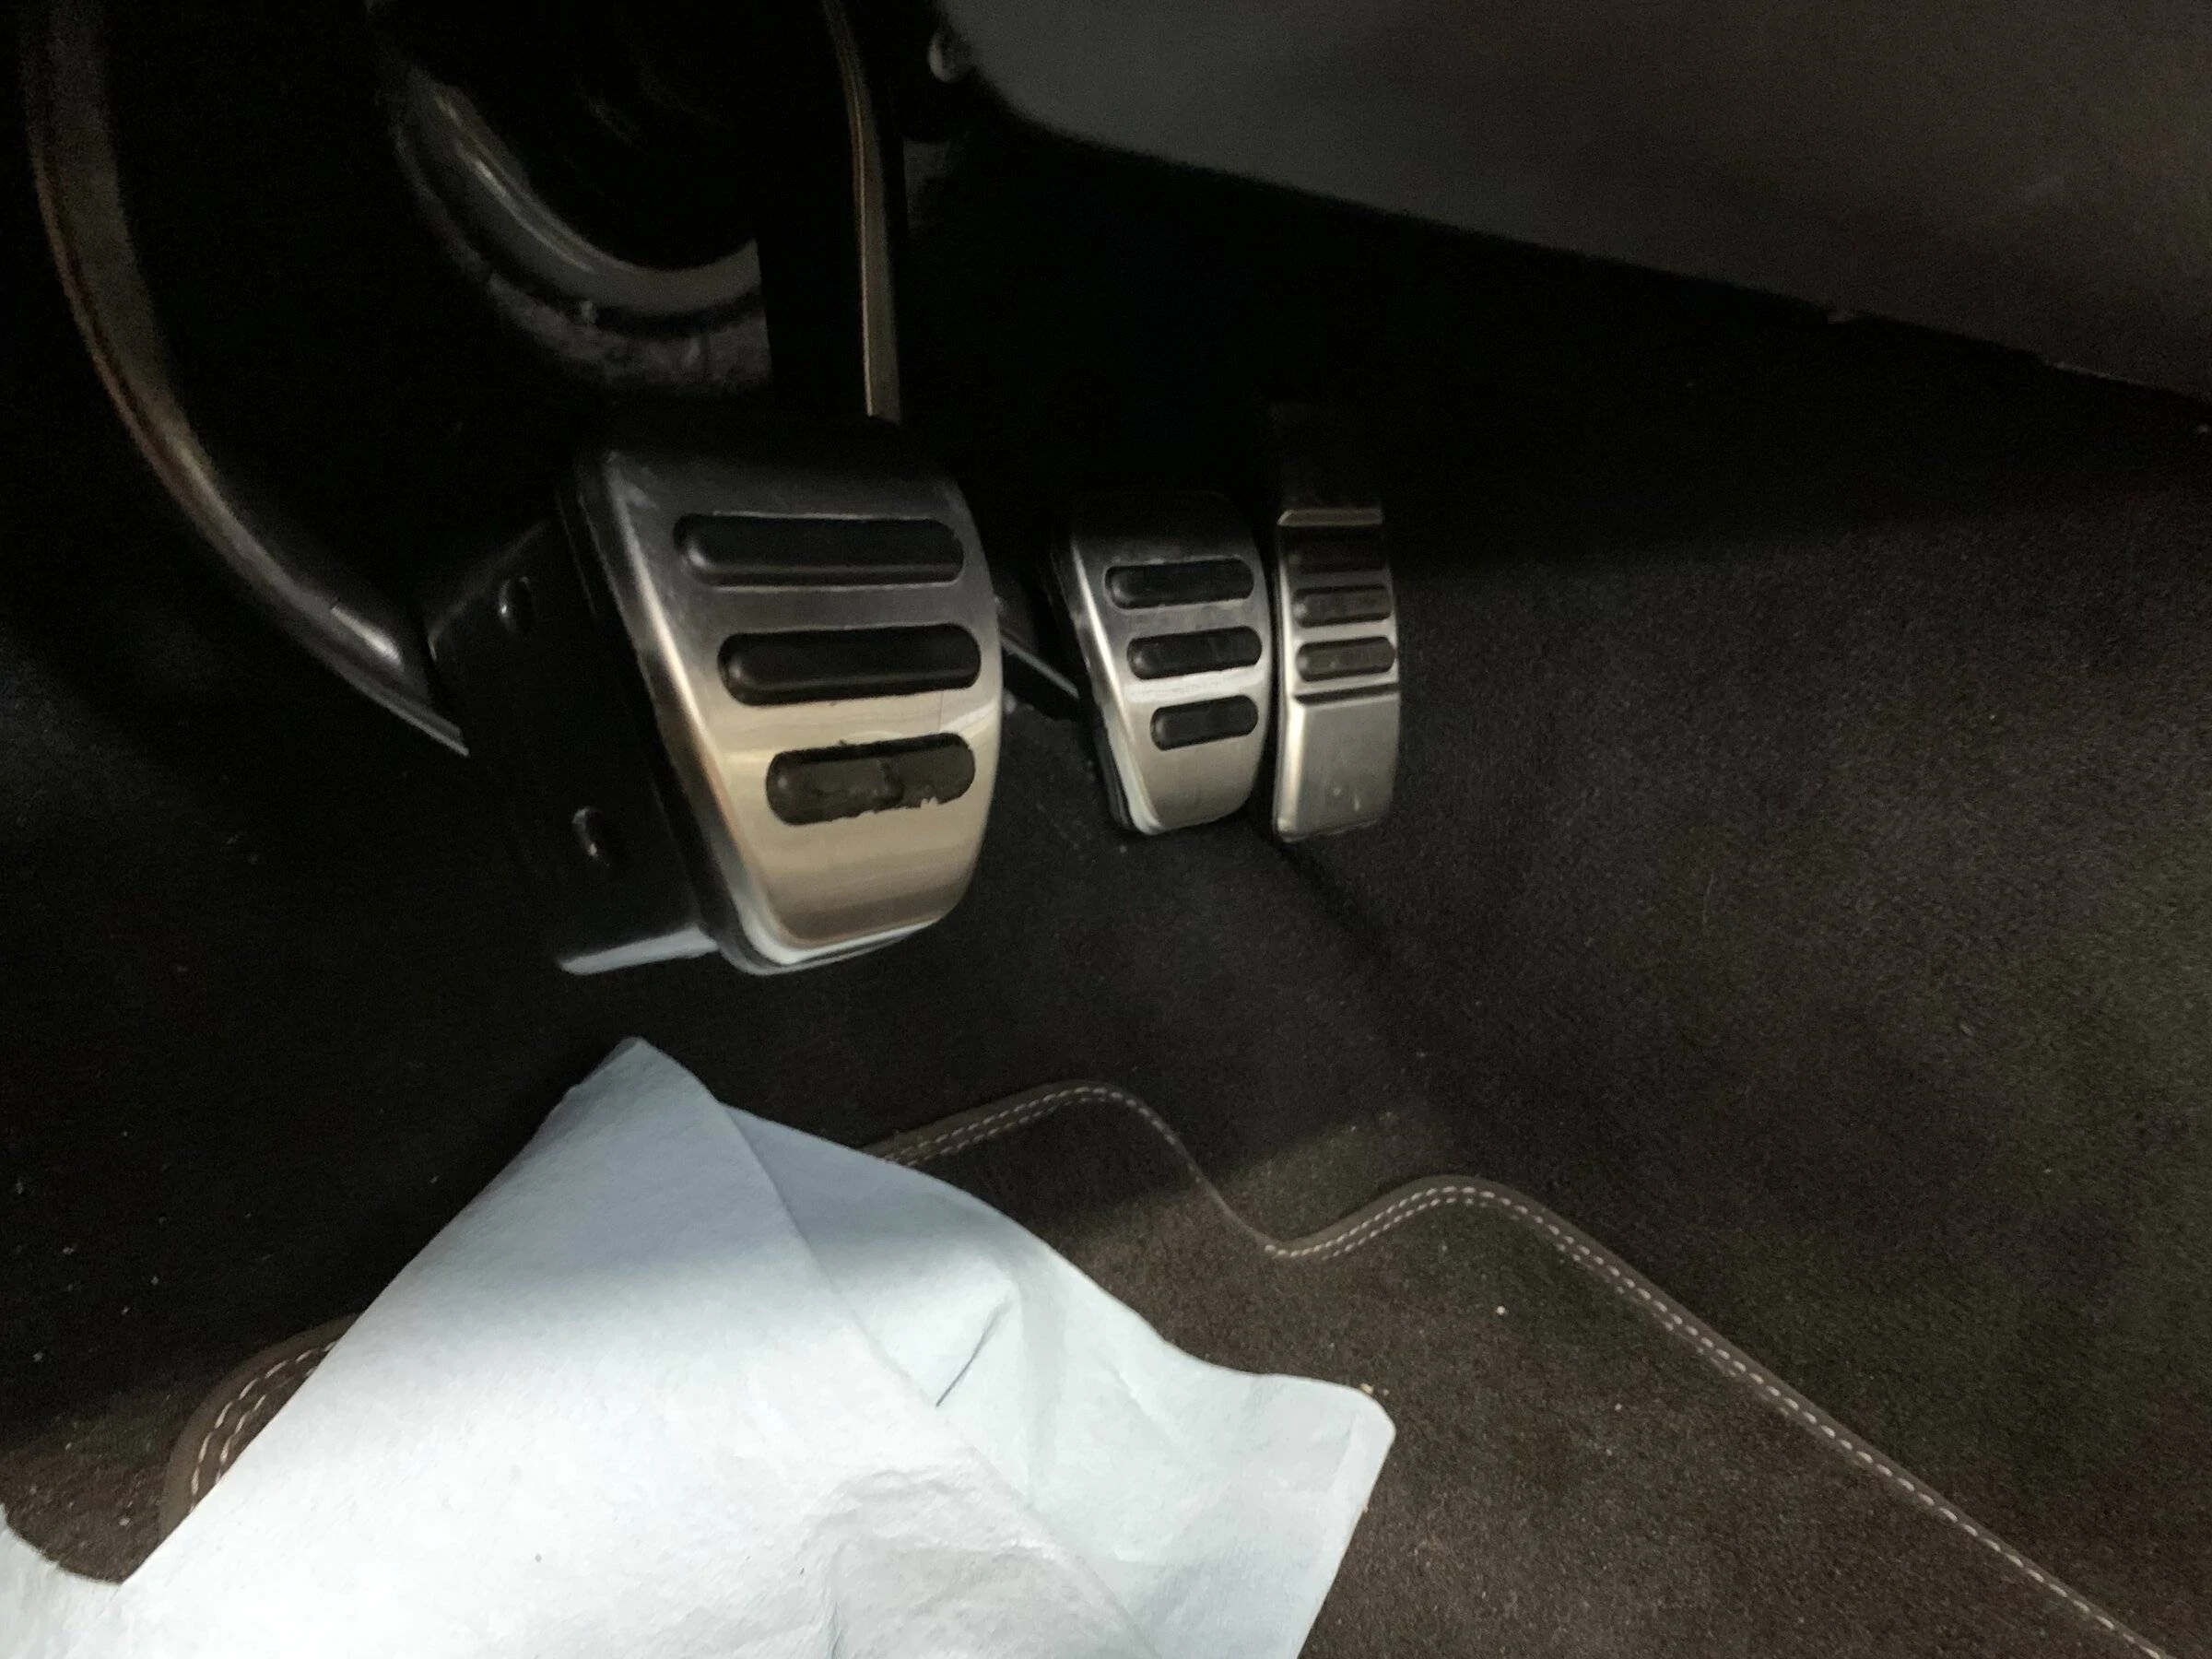
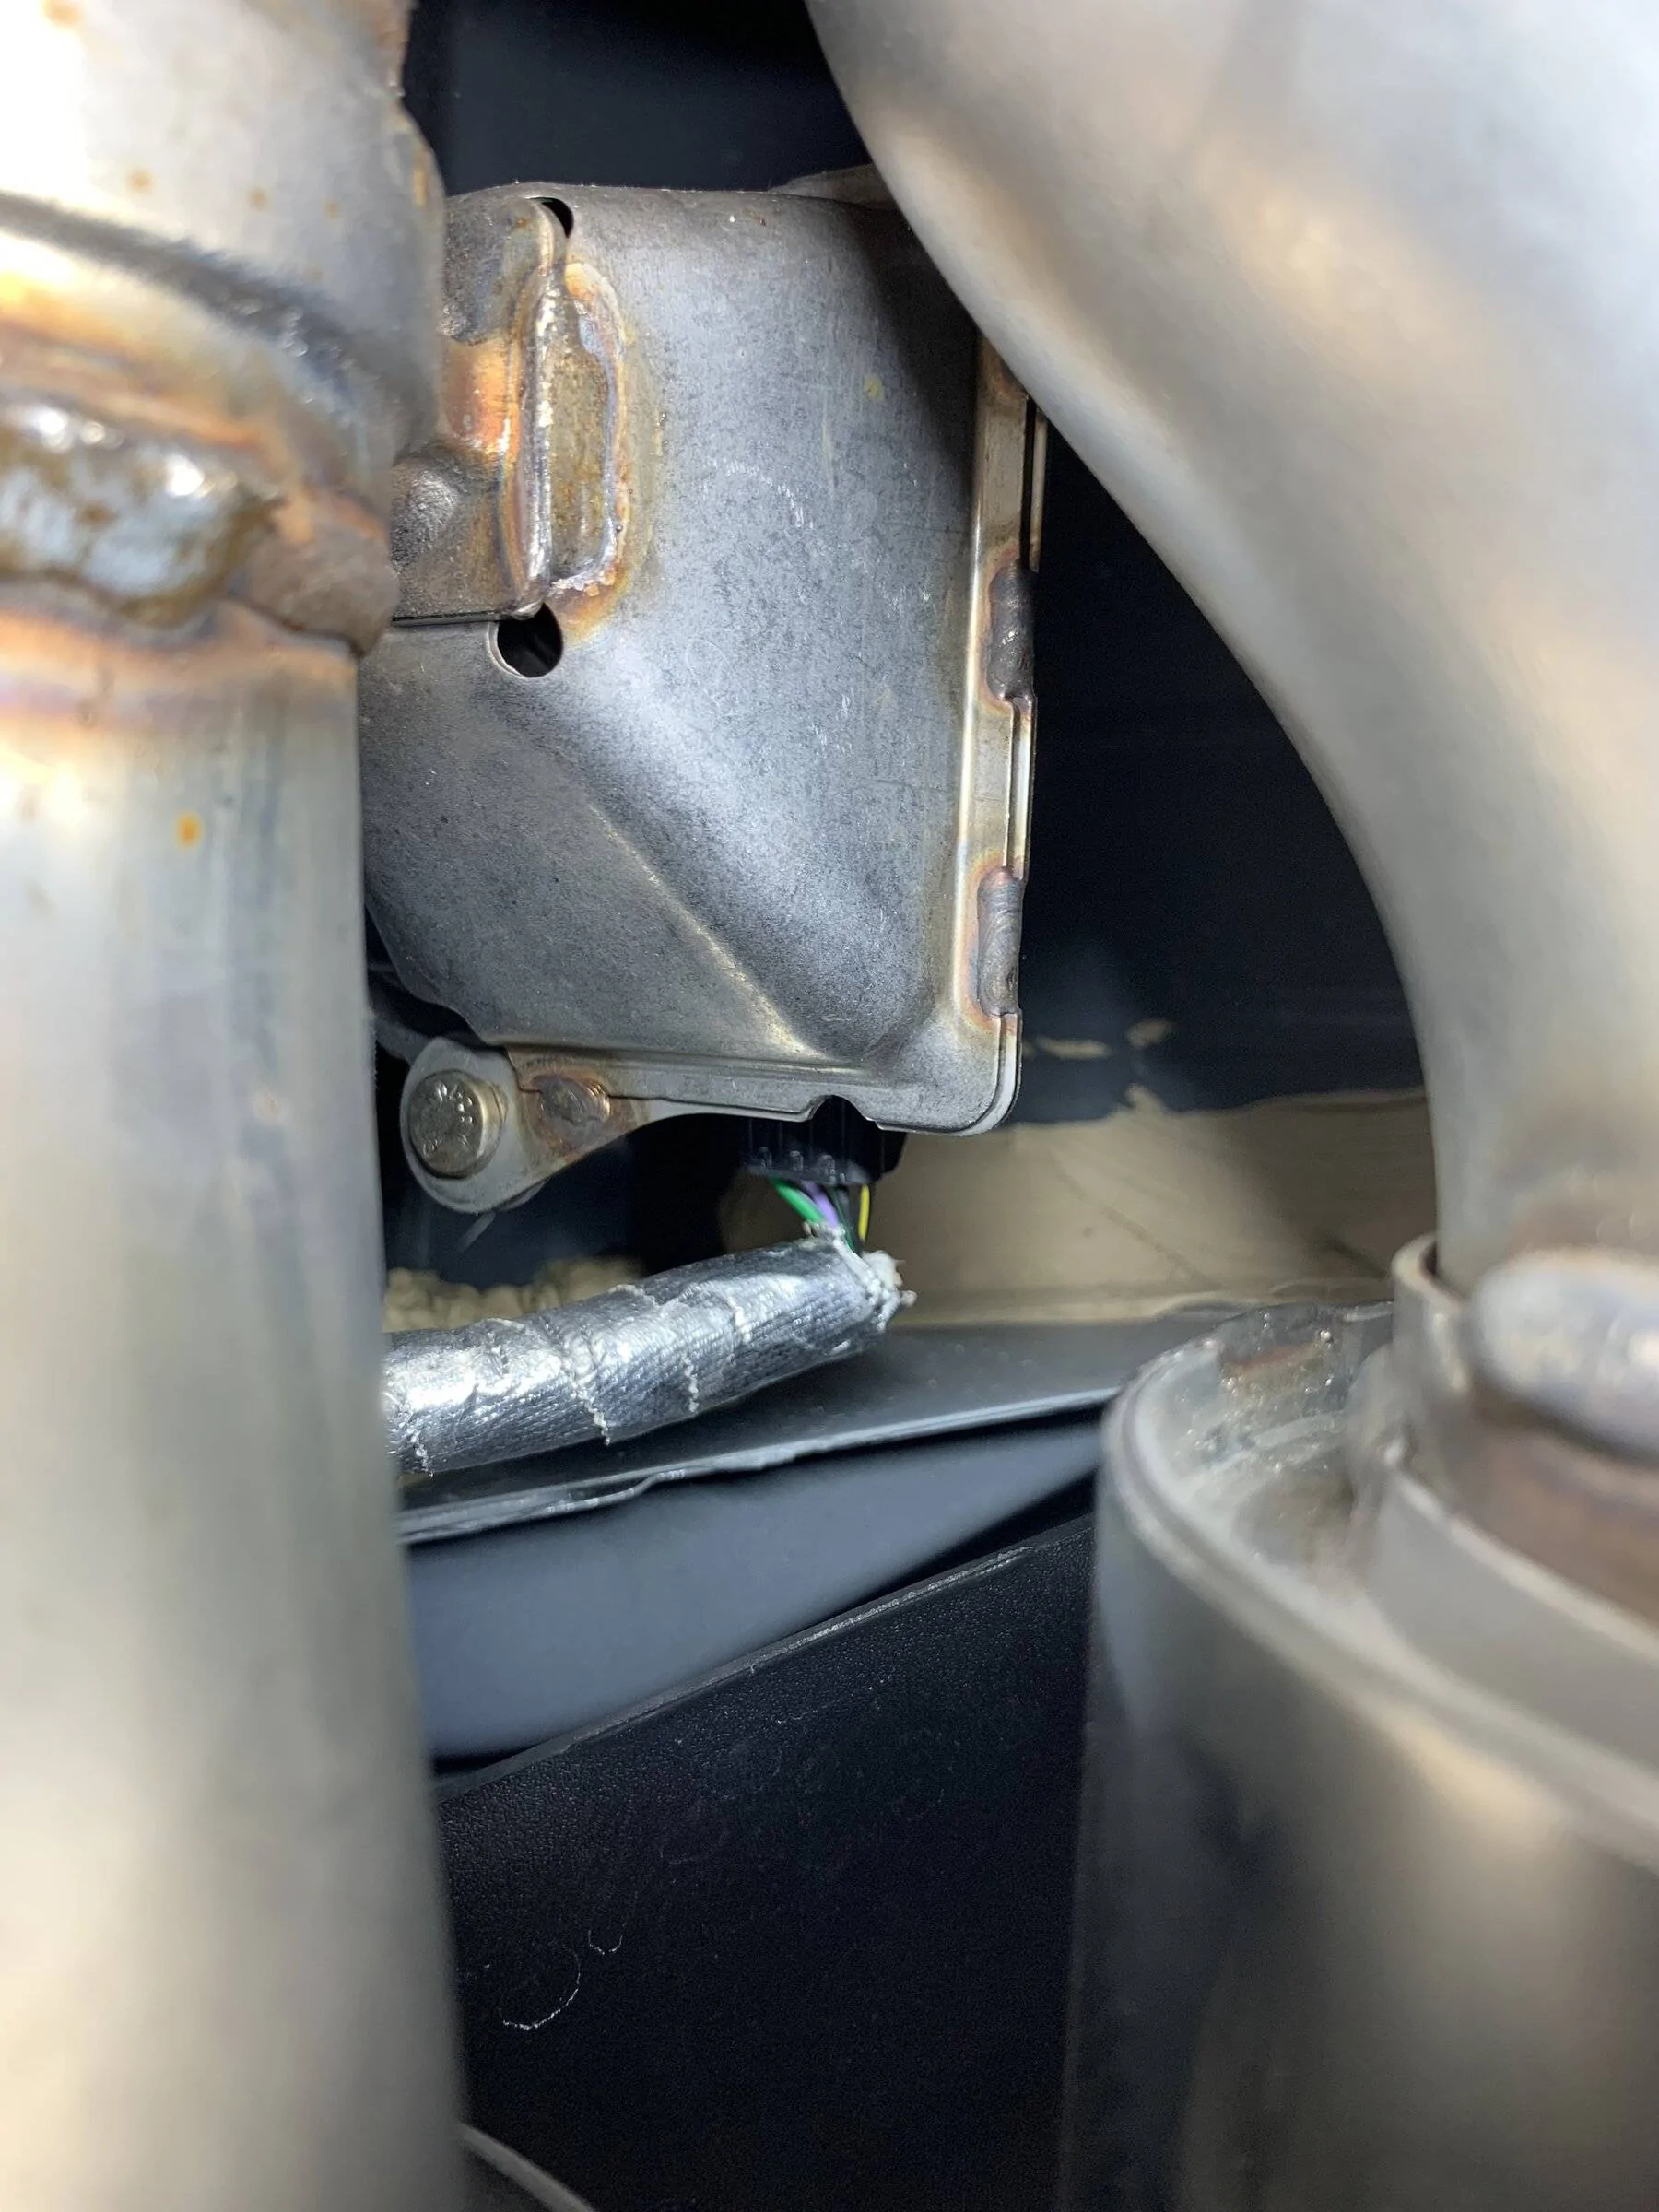
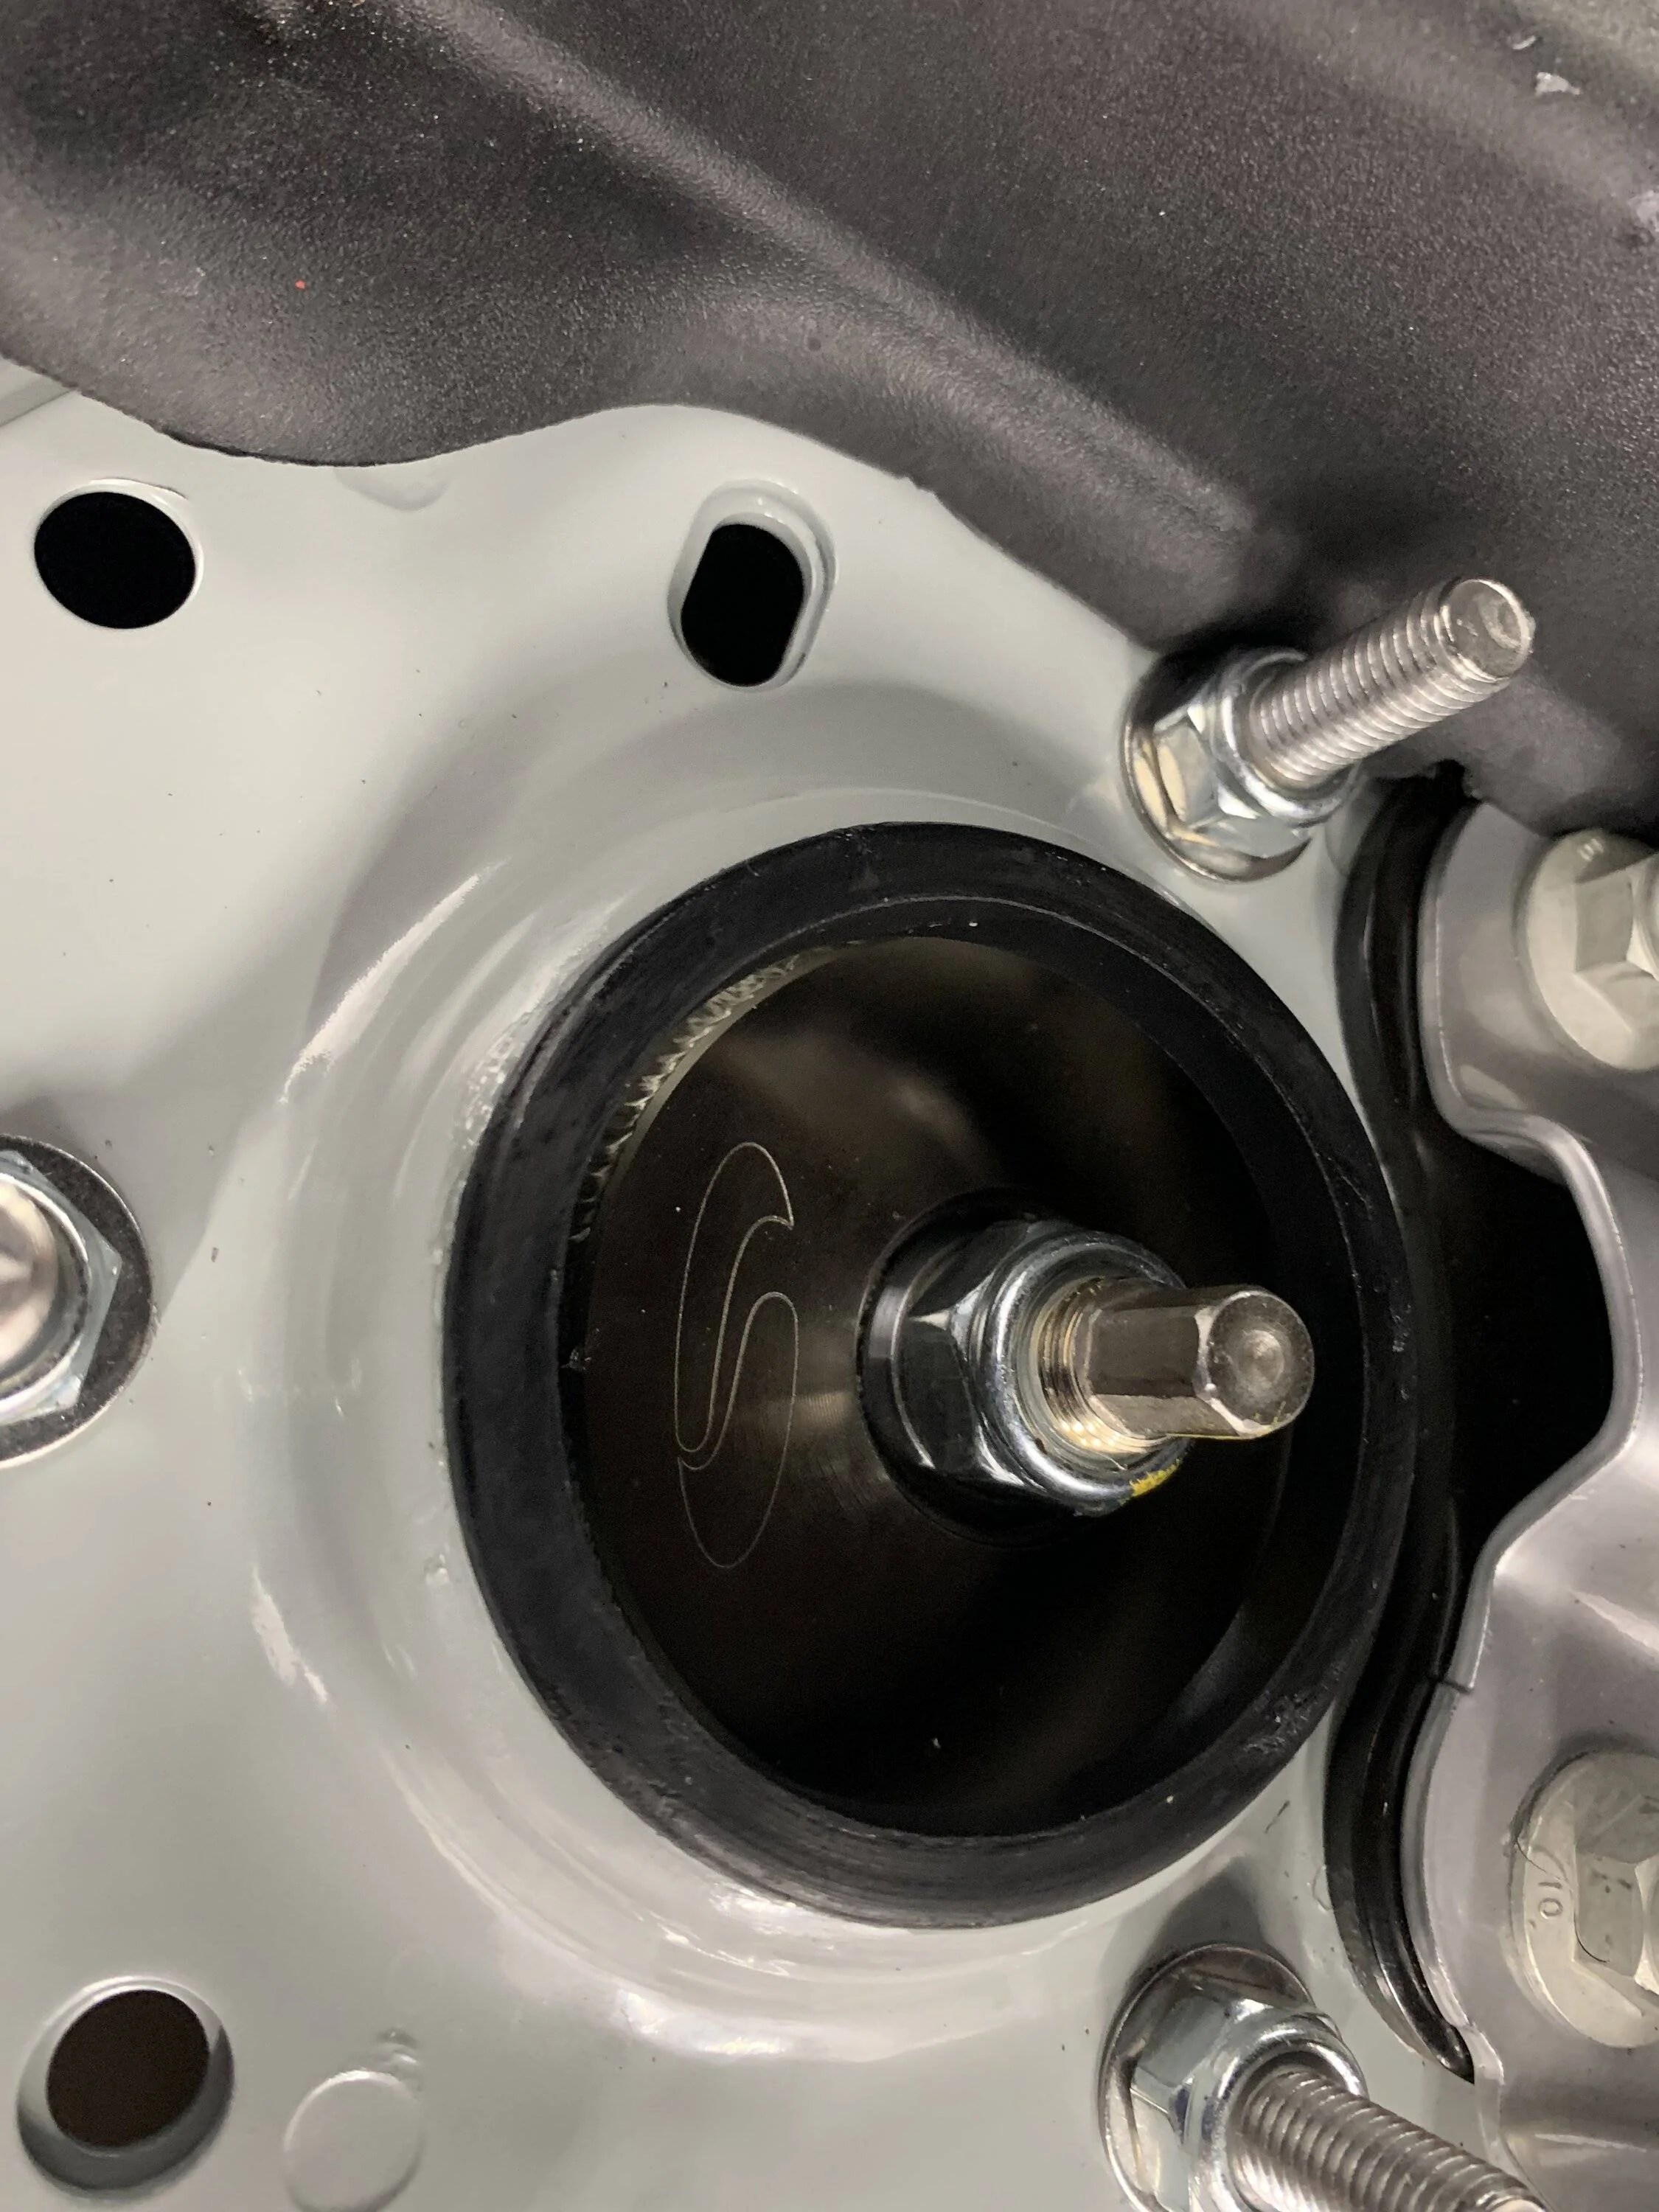
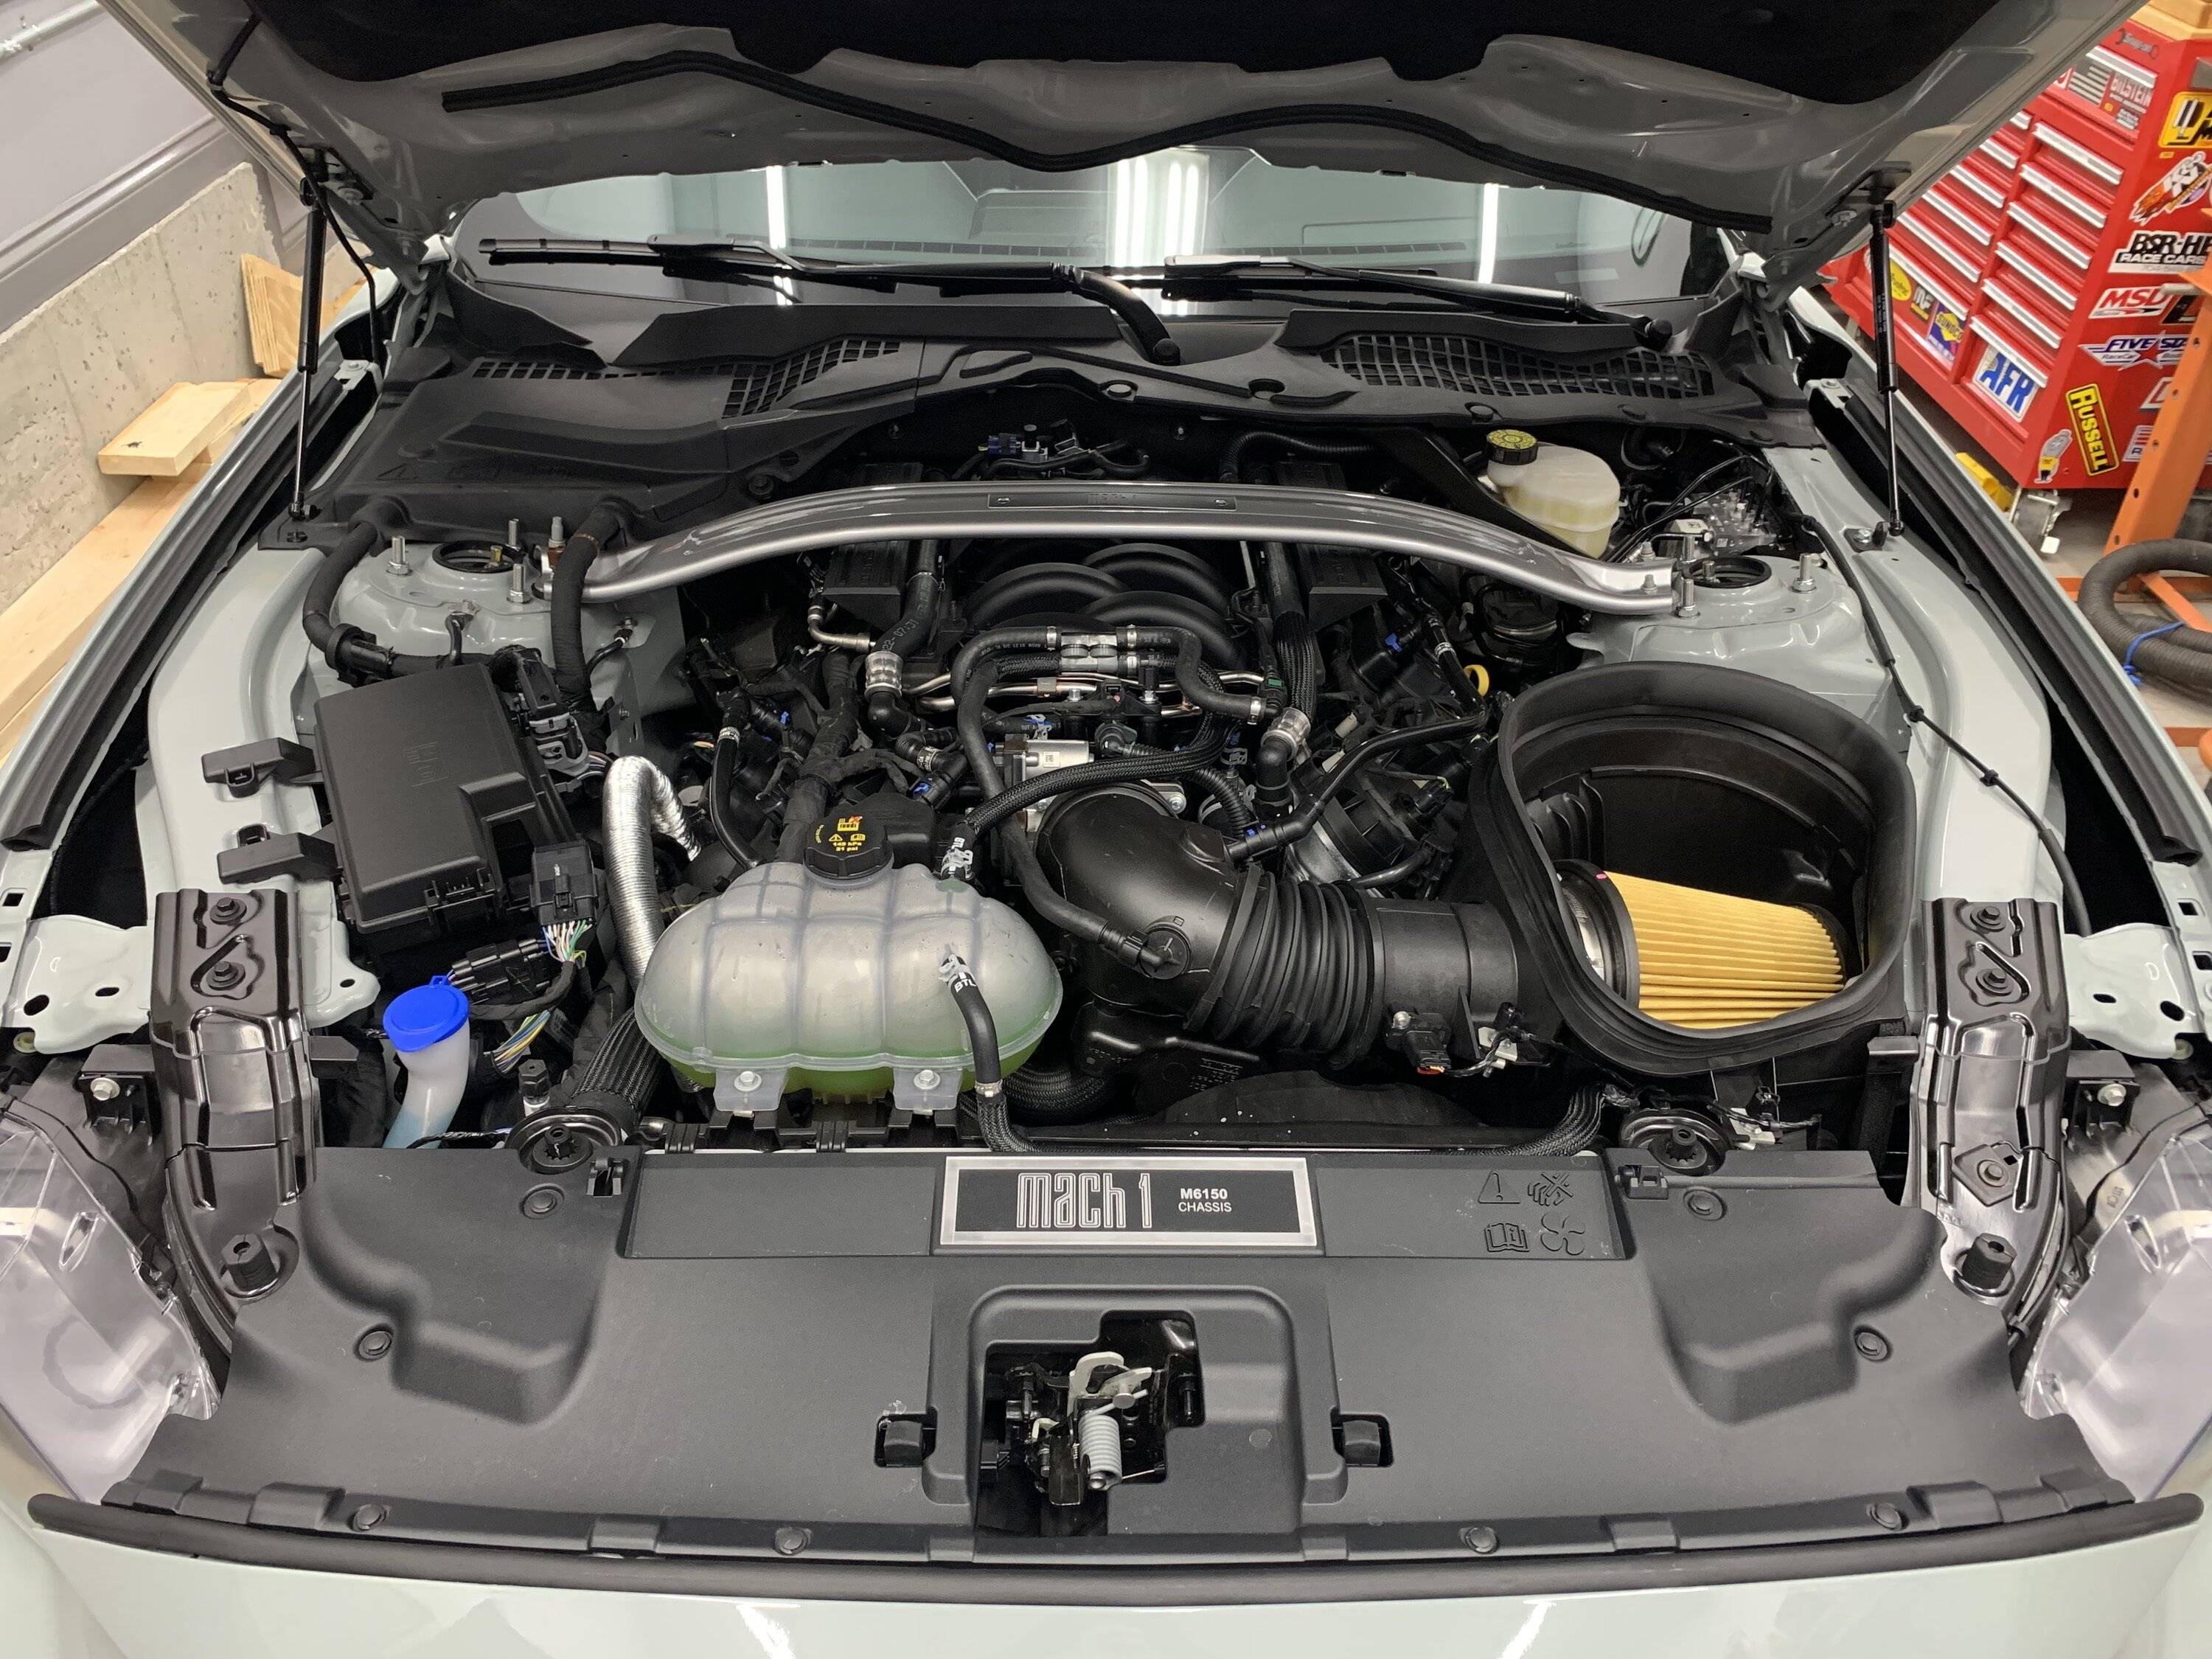
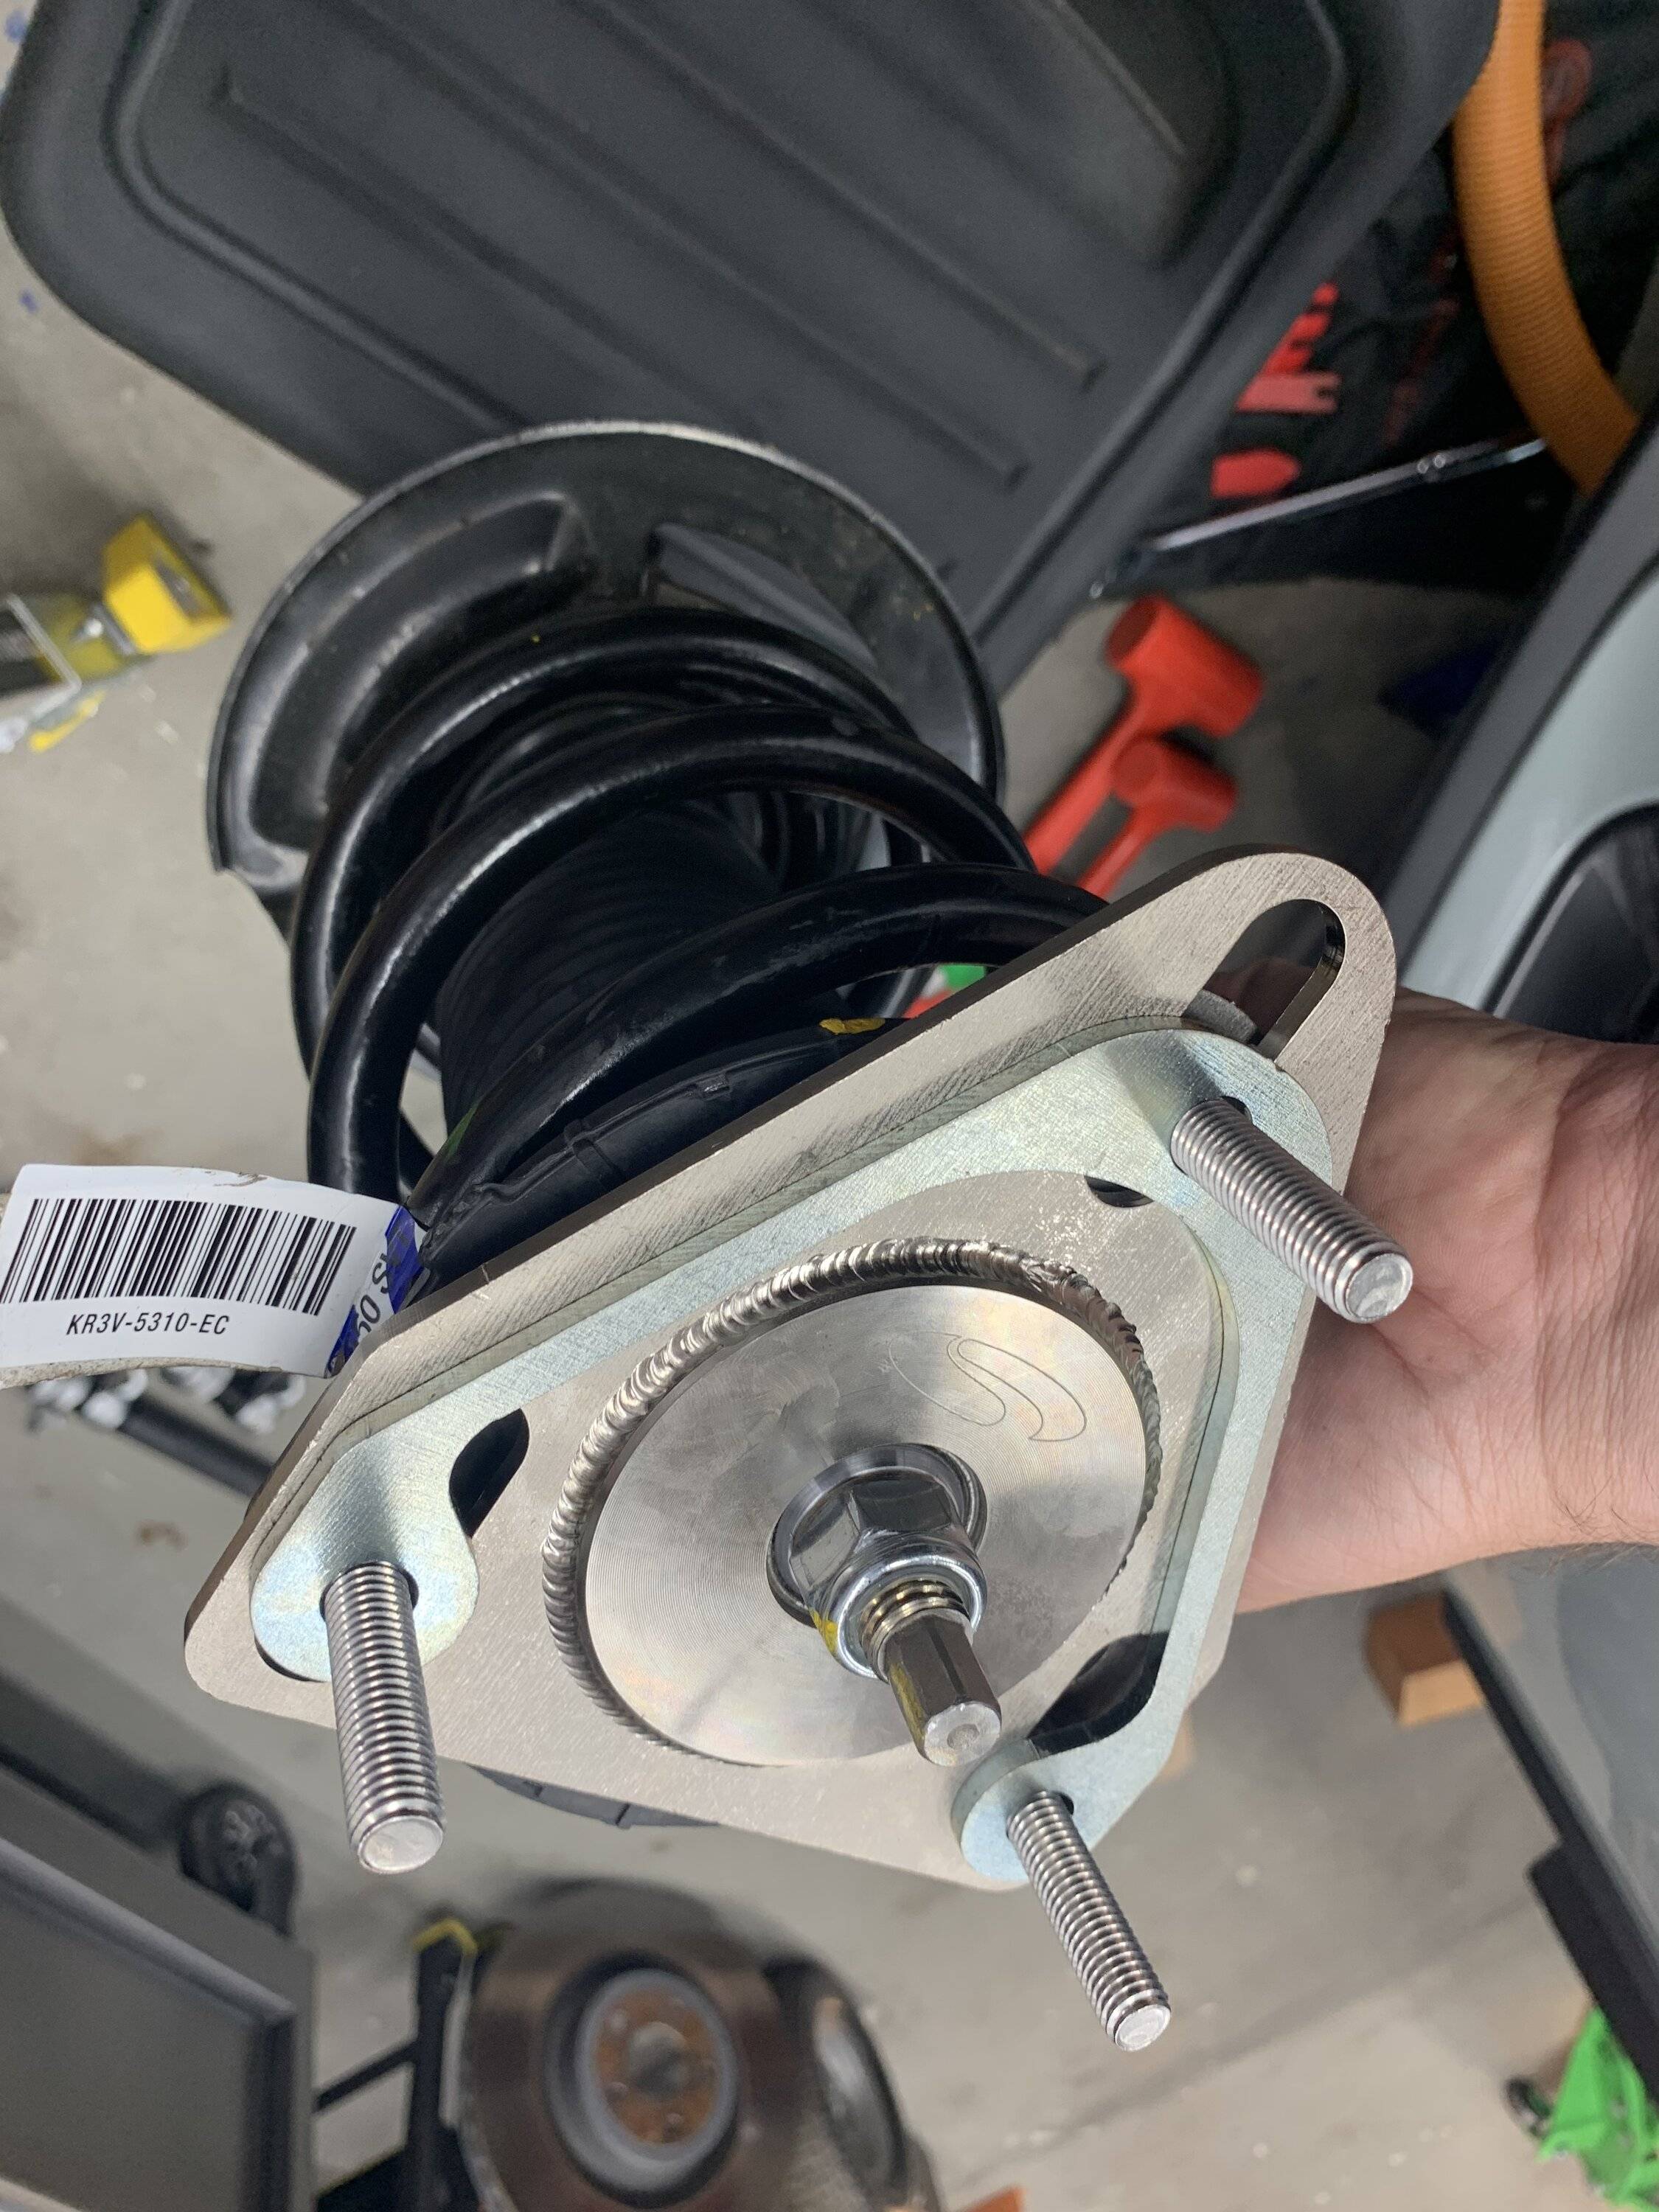
Steeda clutch spring and perch installed today along with a clutch pedal extender. My wife is short and although I'm 6' tall, I have a long torso and very short legs (30" inseam jeans are a touch too long) and the extender makes it easier for both of us to be comfortable with the clutch pedal. The pedal pad I learned the hard way is not meant for the rubber and metal to separate. Anyways a heat gun and prying got it on. I may replaced it where the rubber got mangled. Looking into whether or not the Steeda aluminum pedal covers could be made to work with the extender. I believe they would have to drill through the extender and the pedal both.

The spring I'm impressed with, the clutch actually has feel now and not so numb. It's def a lot easier to find/feel the engagement point. I'm glad I got the updated perch as I clipped an ear on the OEM one prying it out.

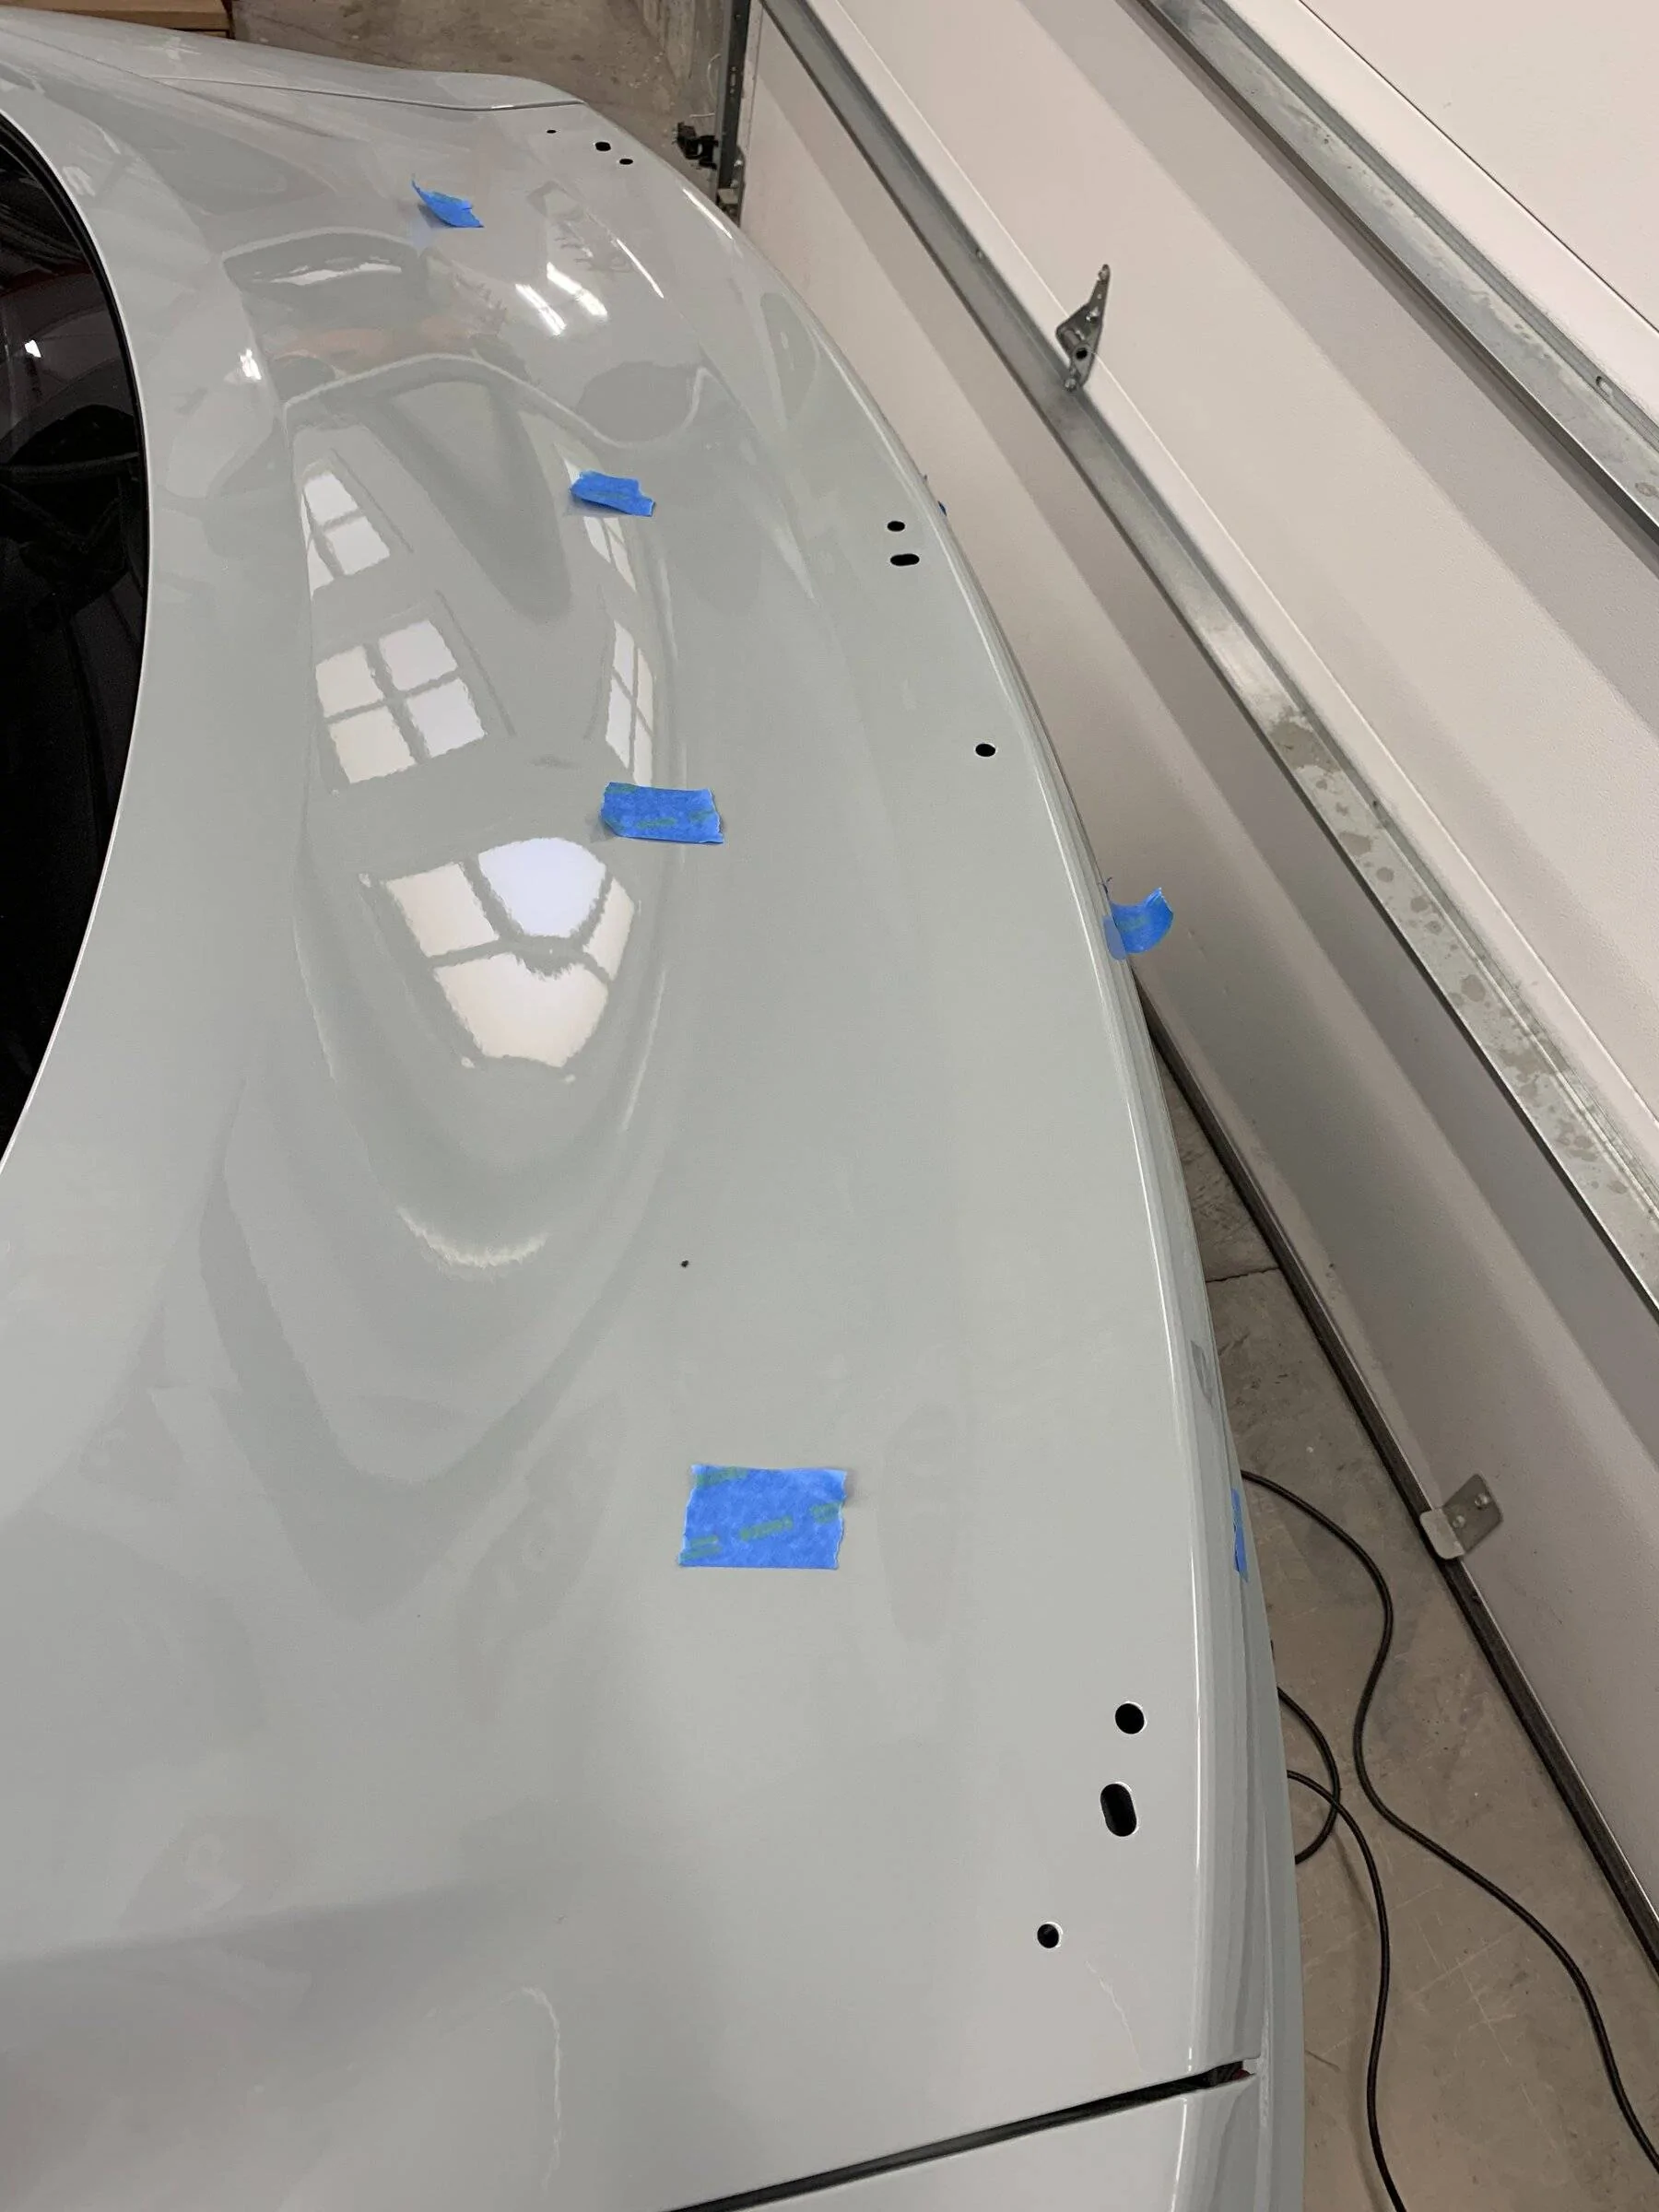
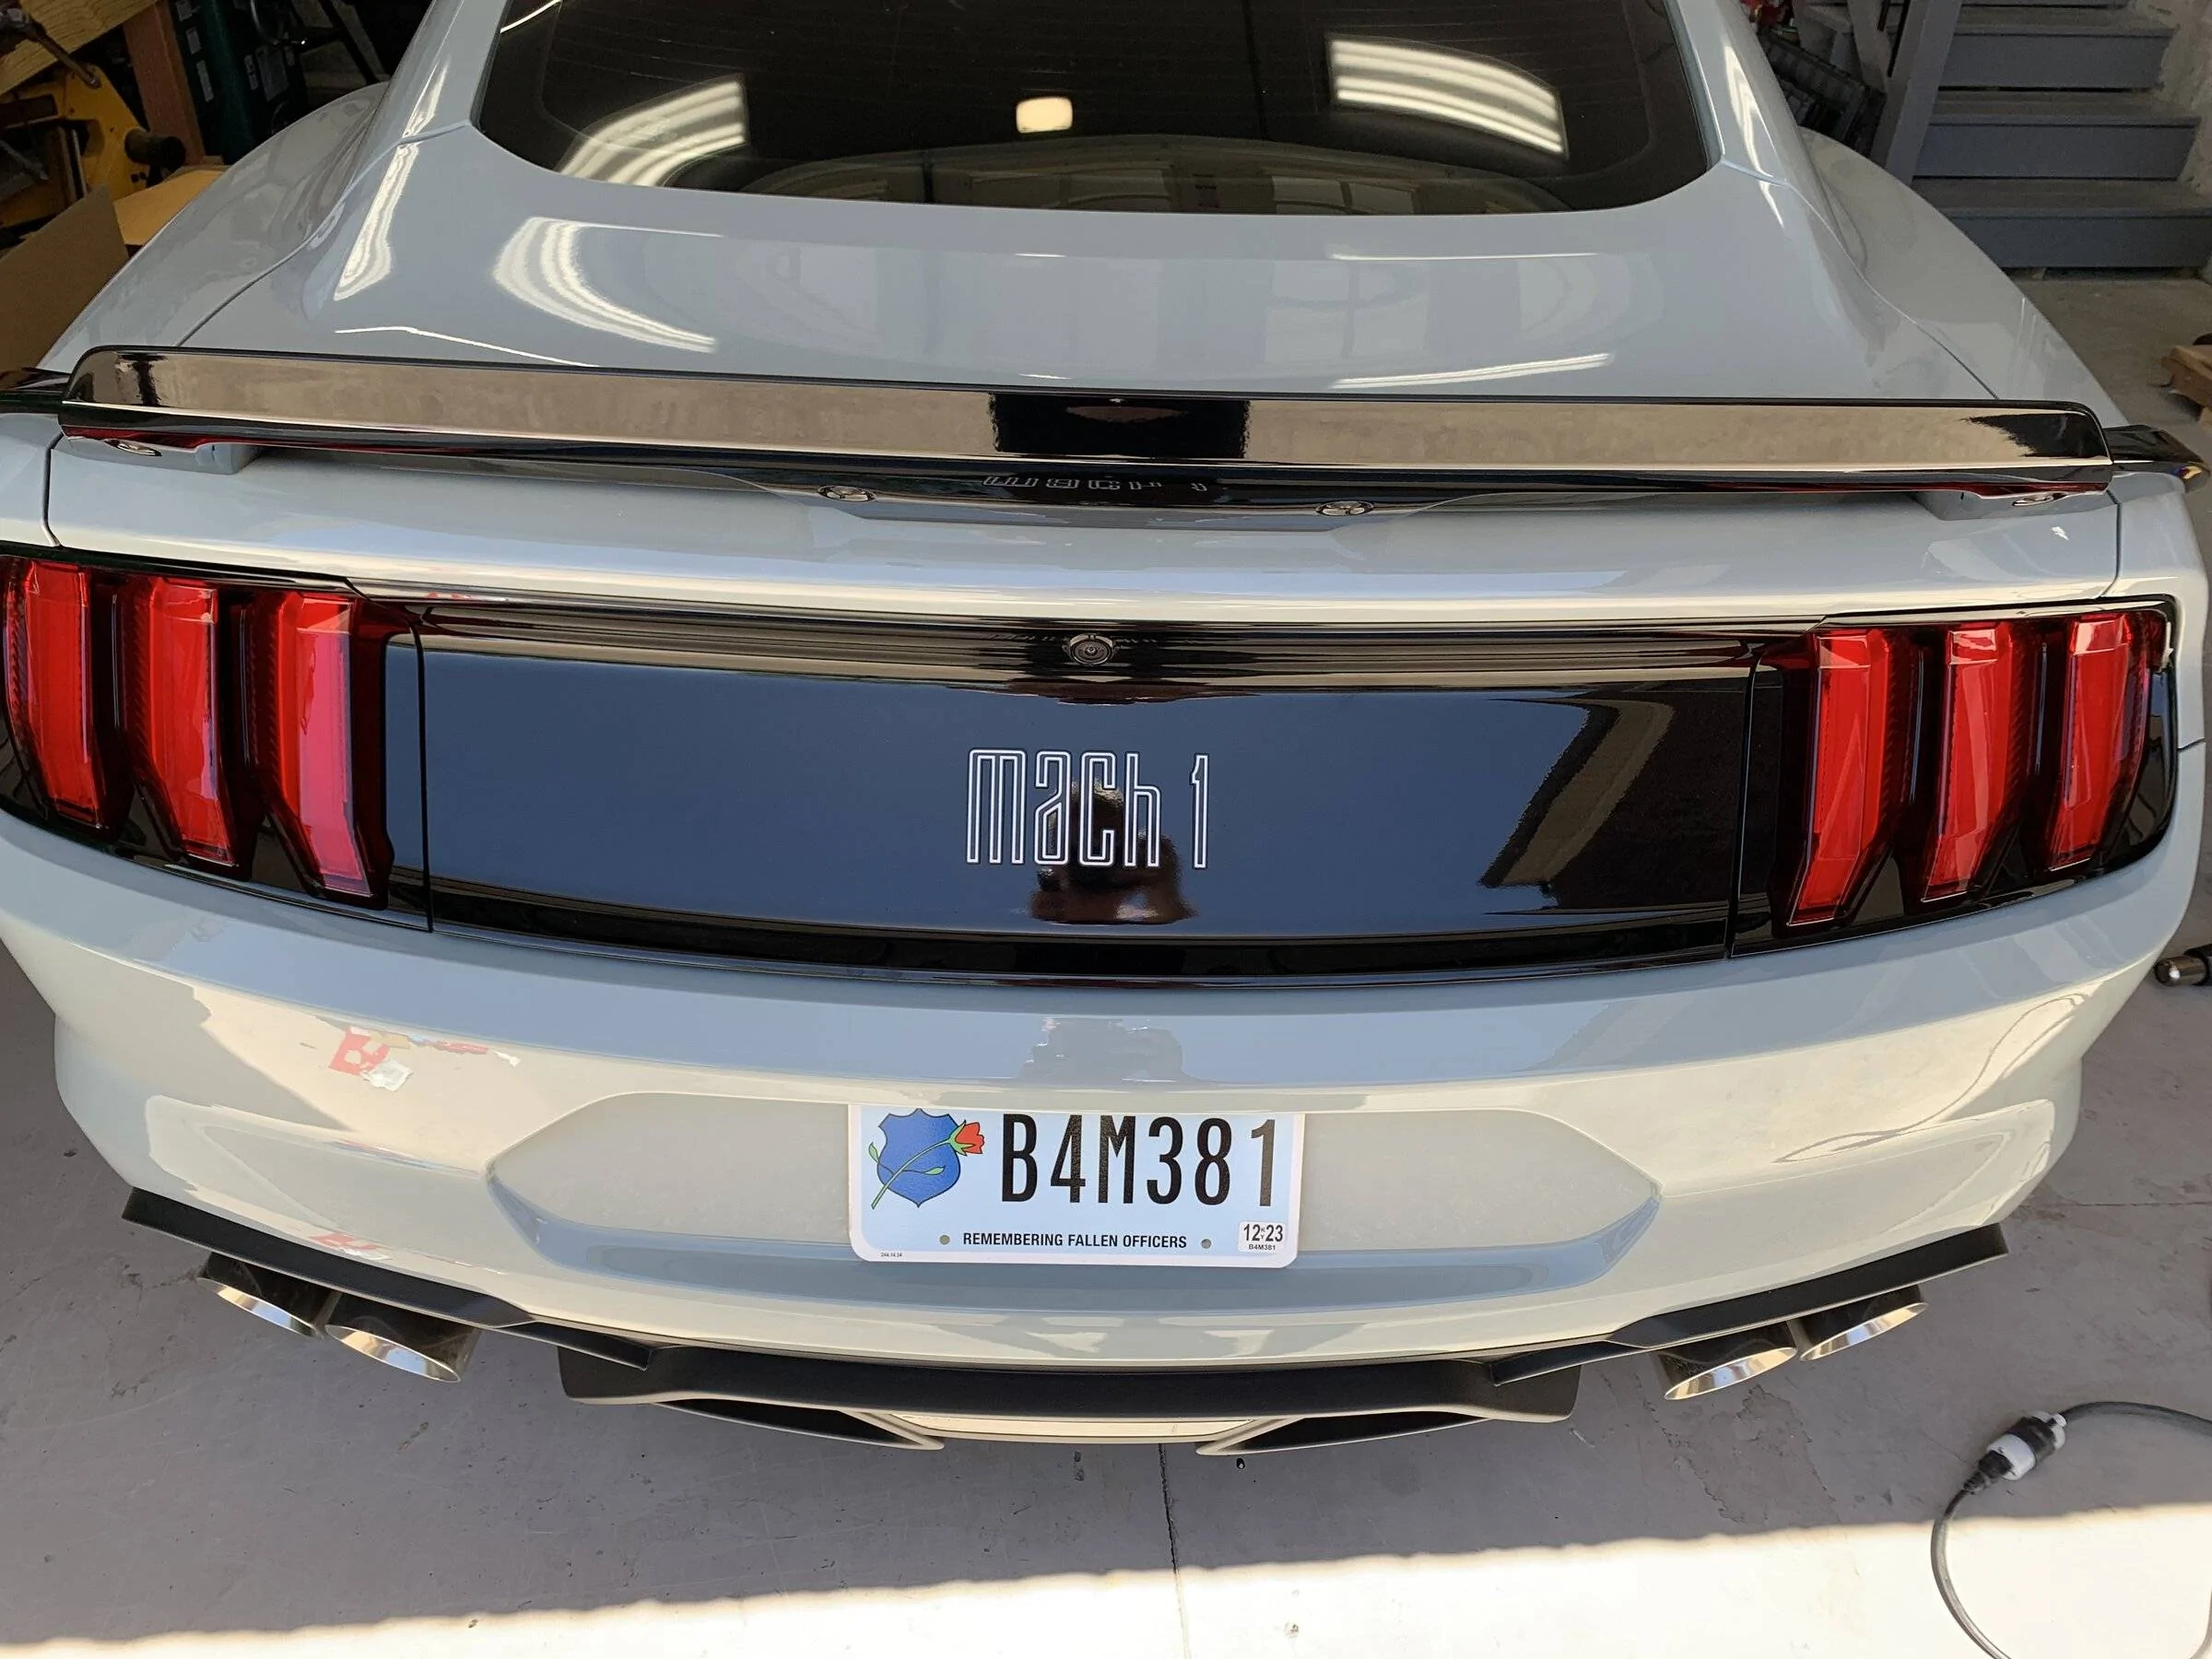
In other news personalized plate application for "M6150" has been approved.

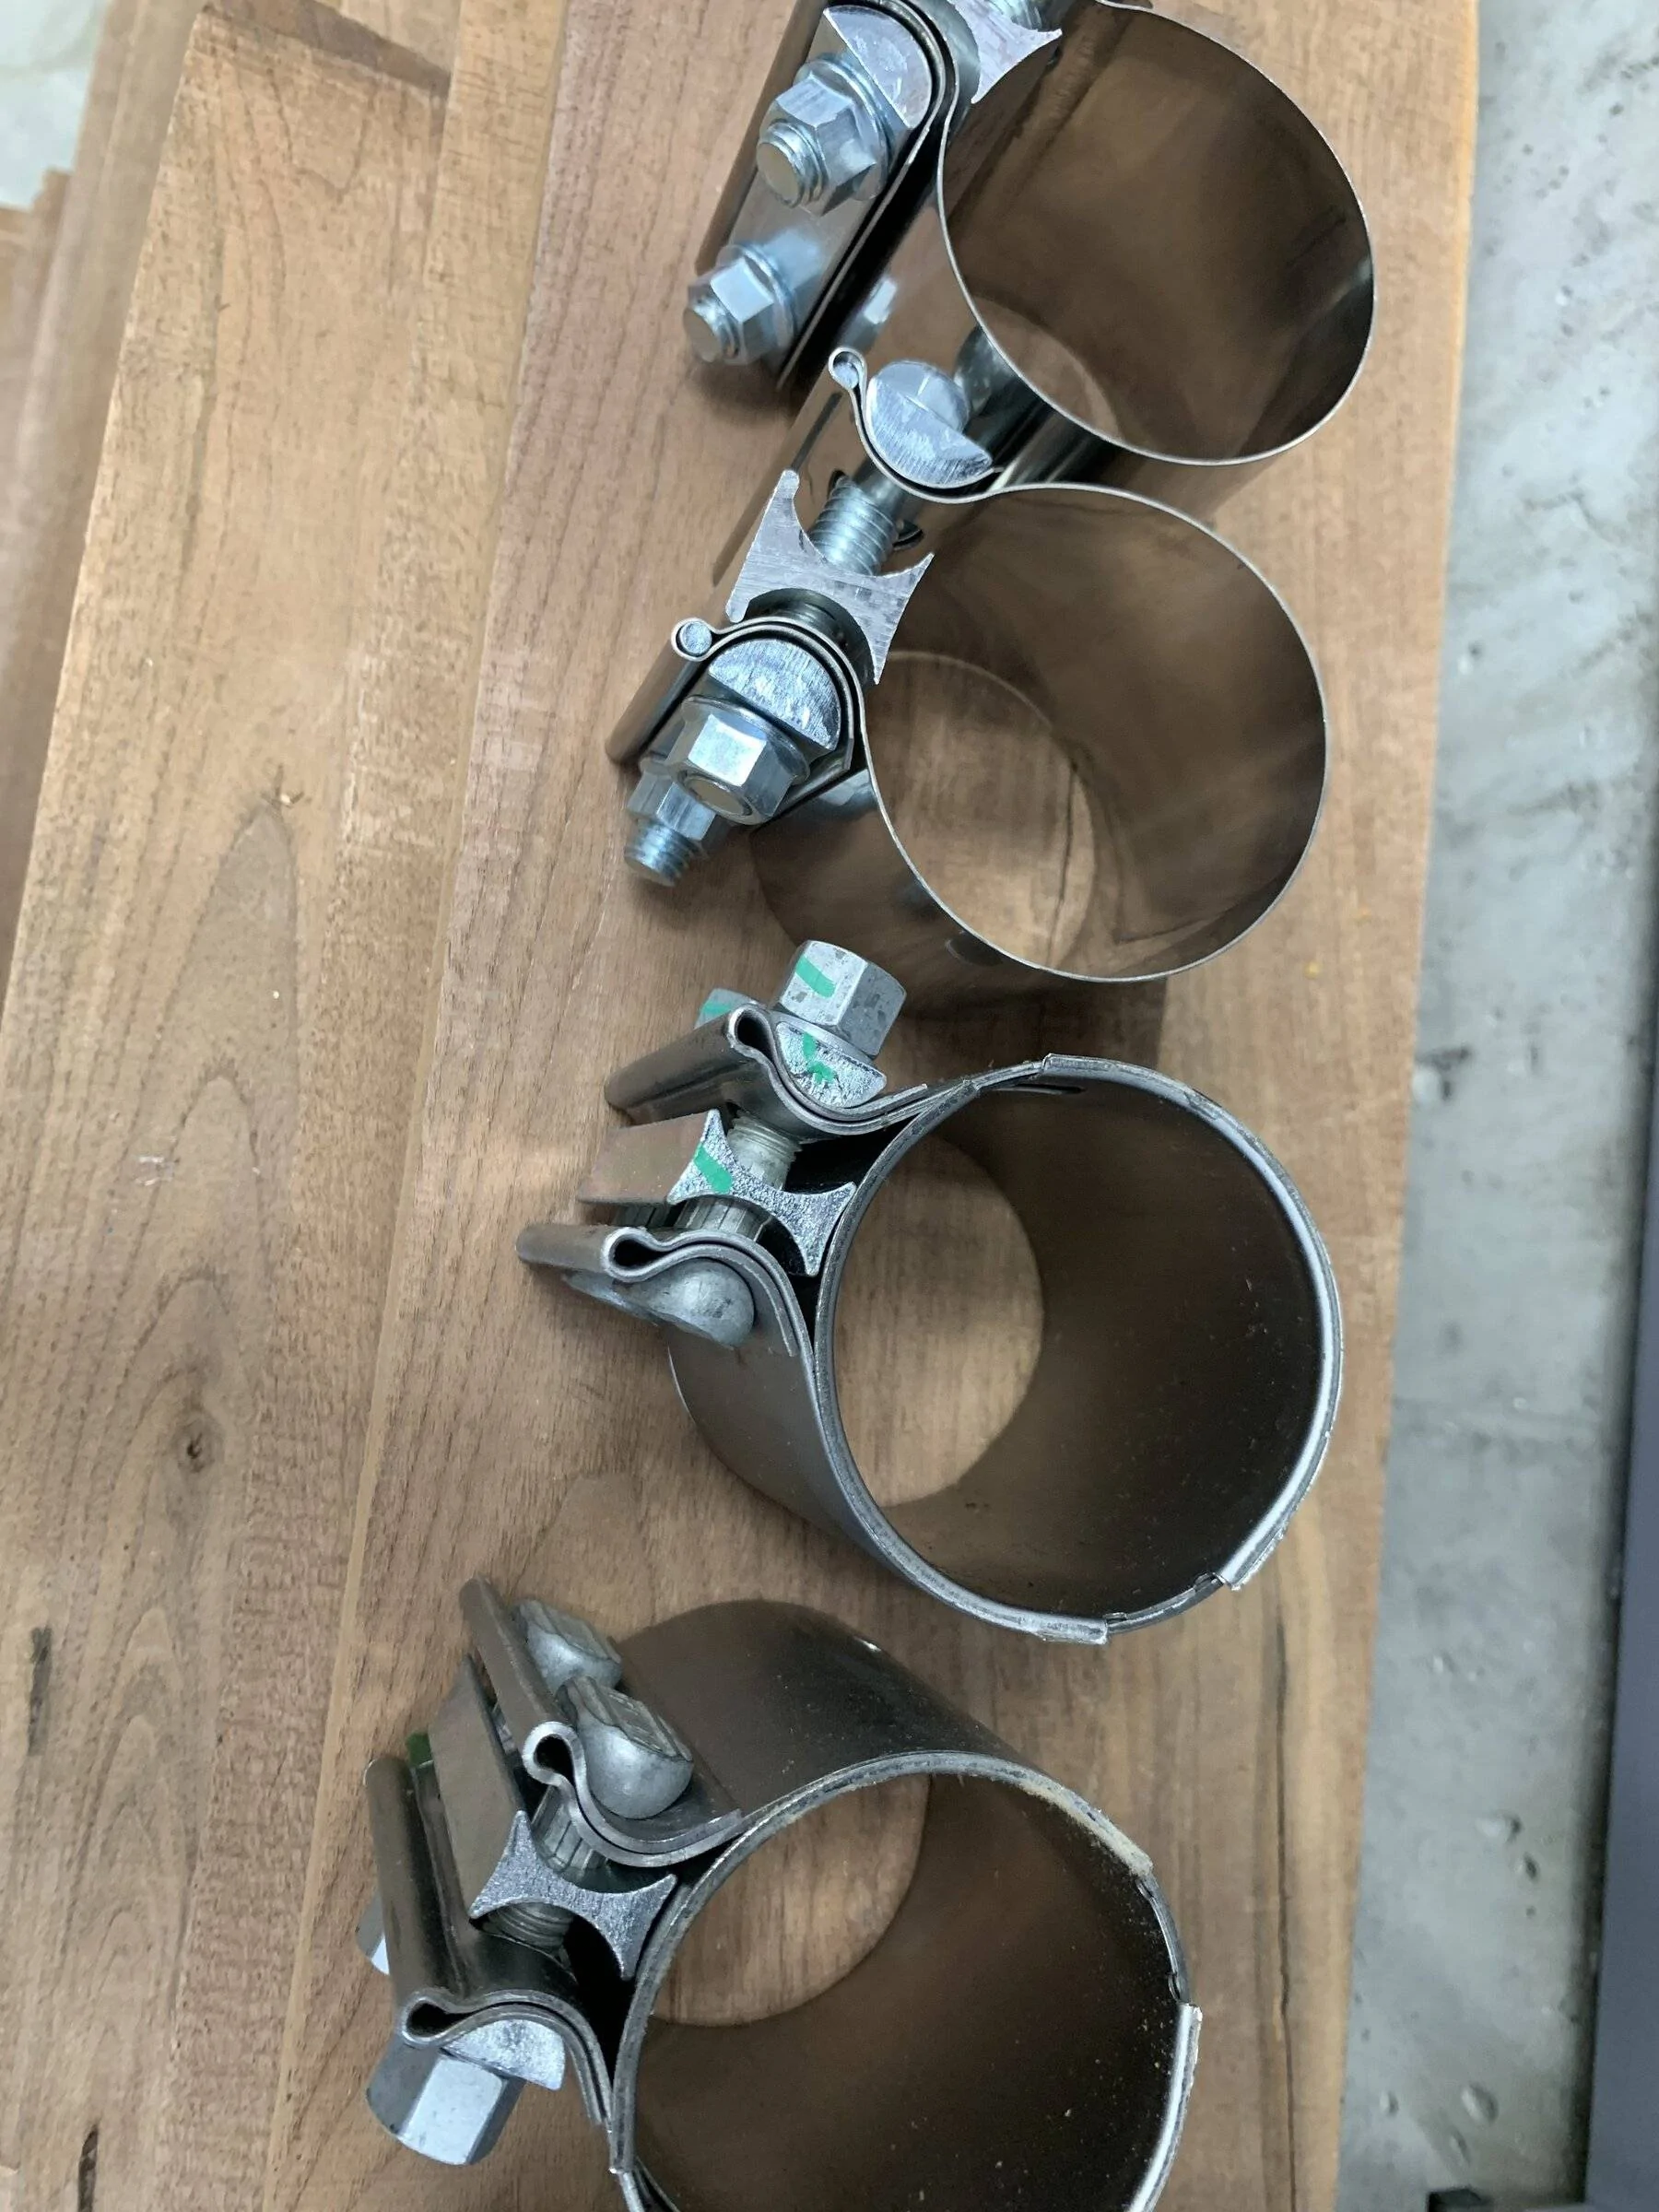
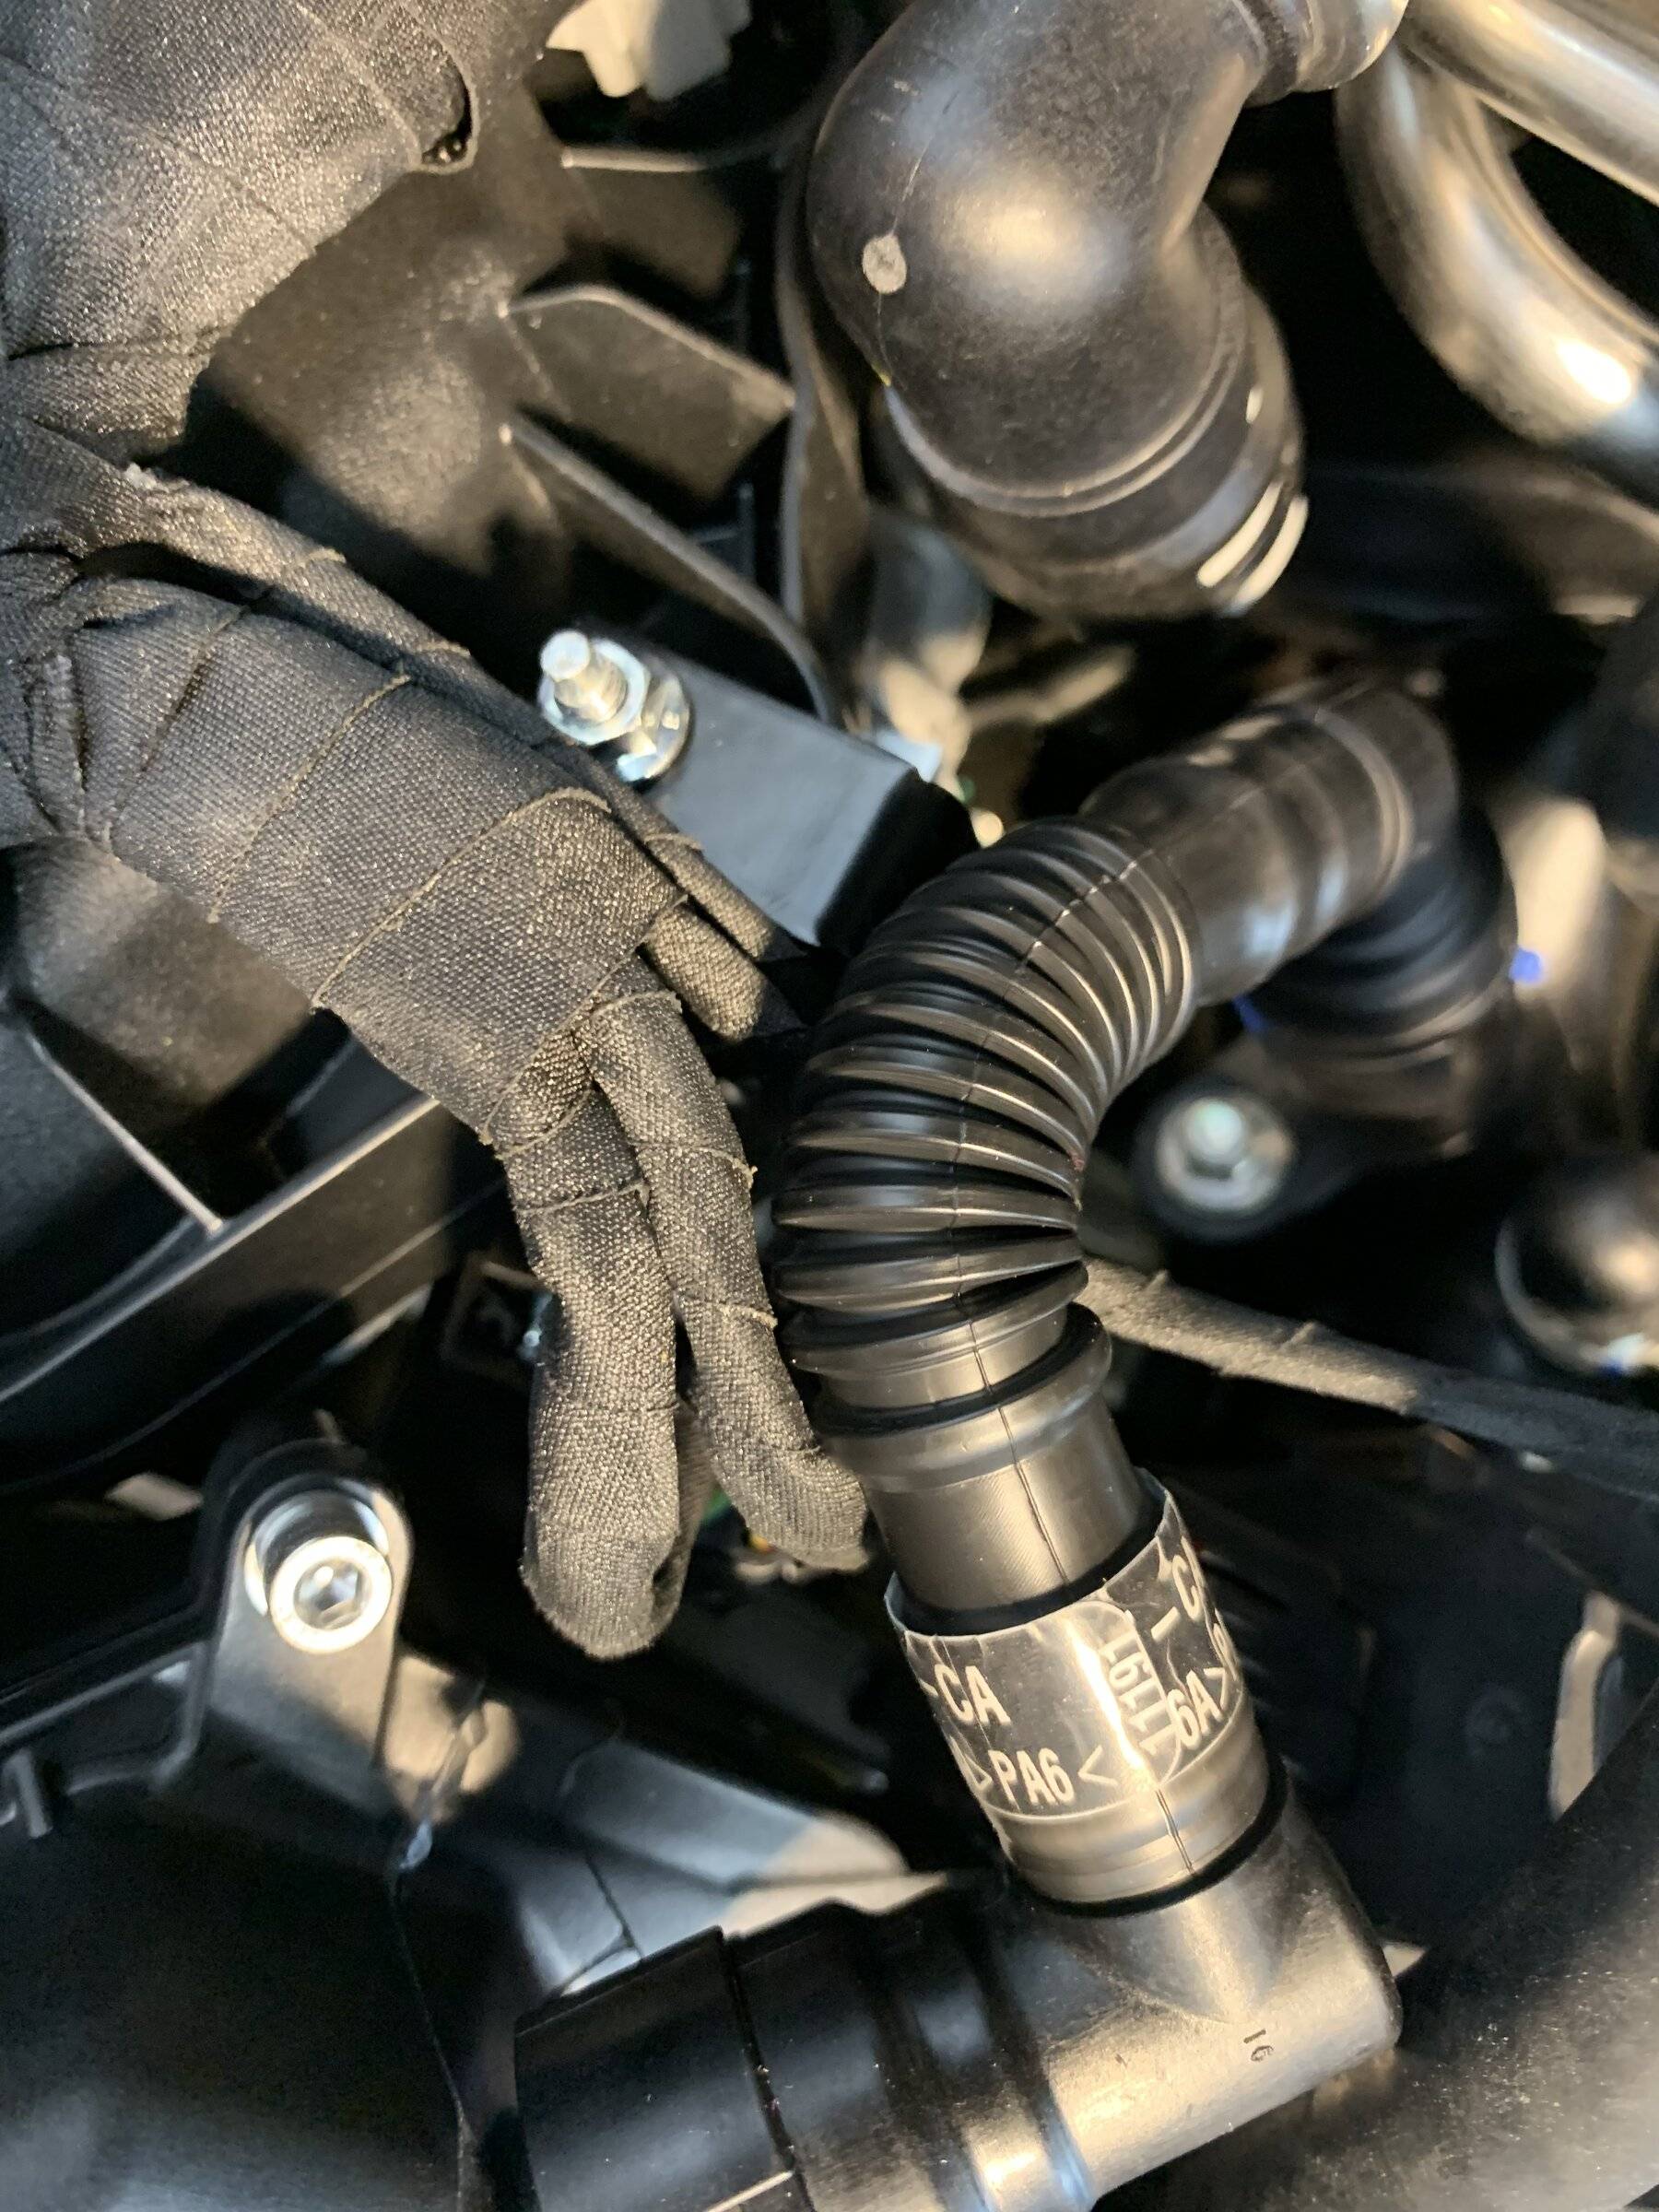
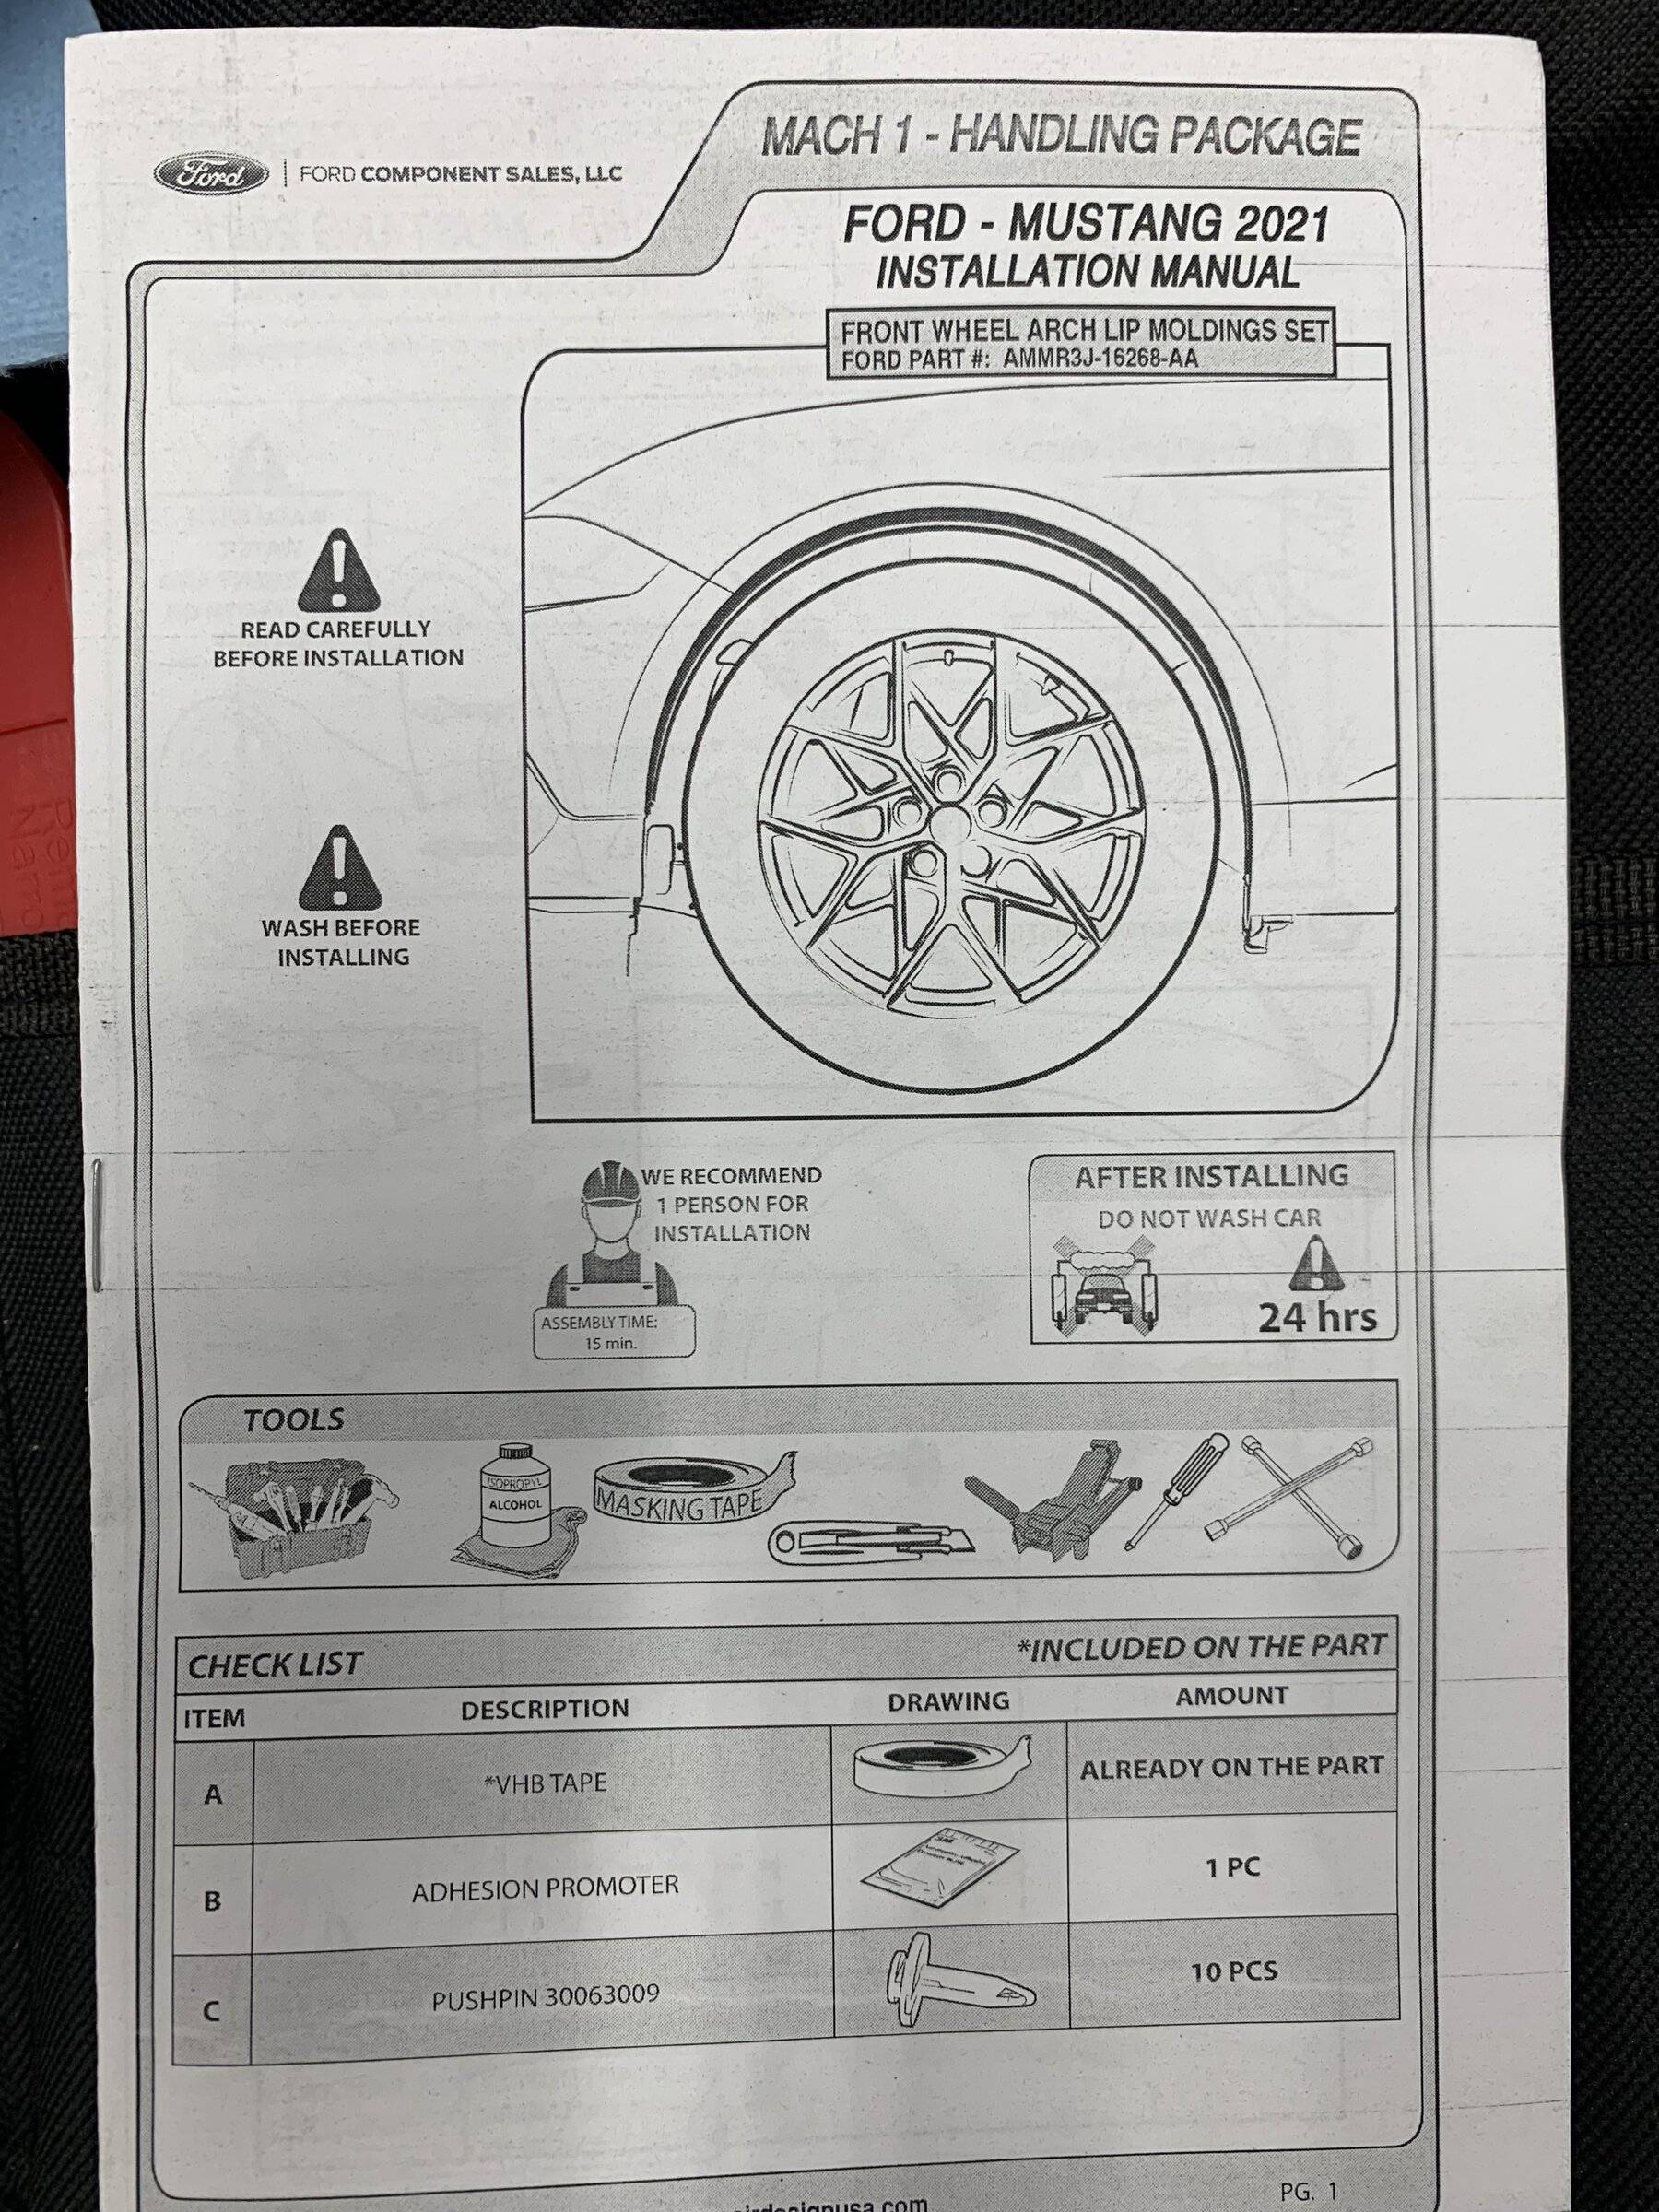
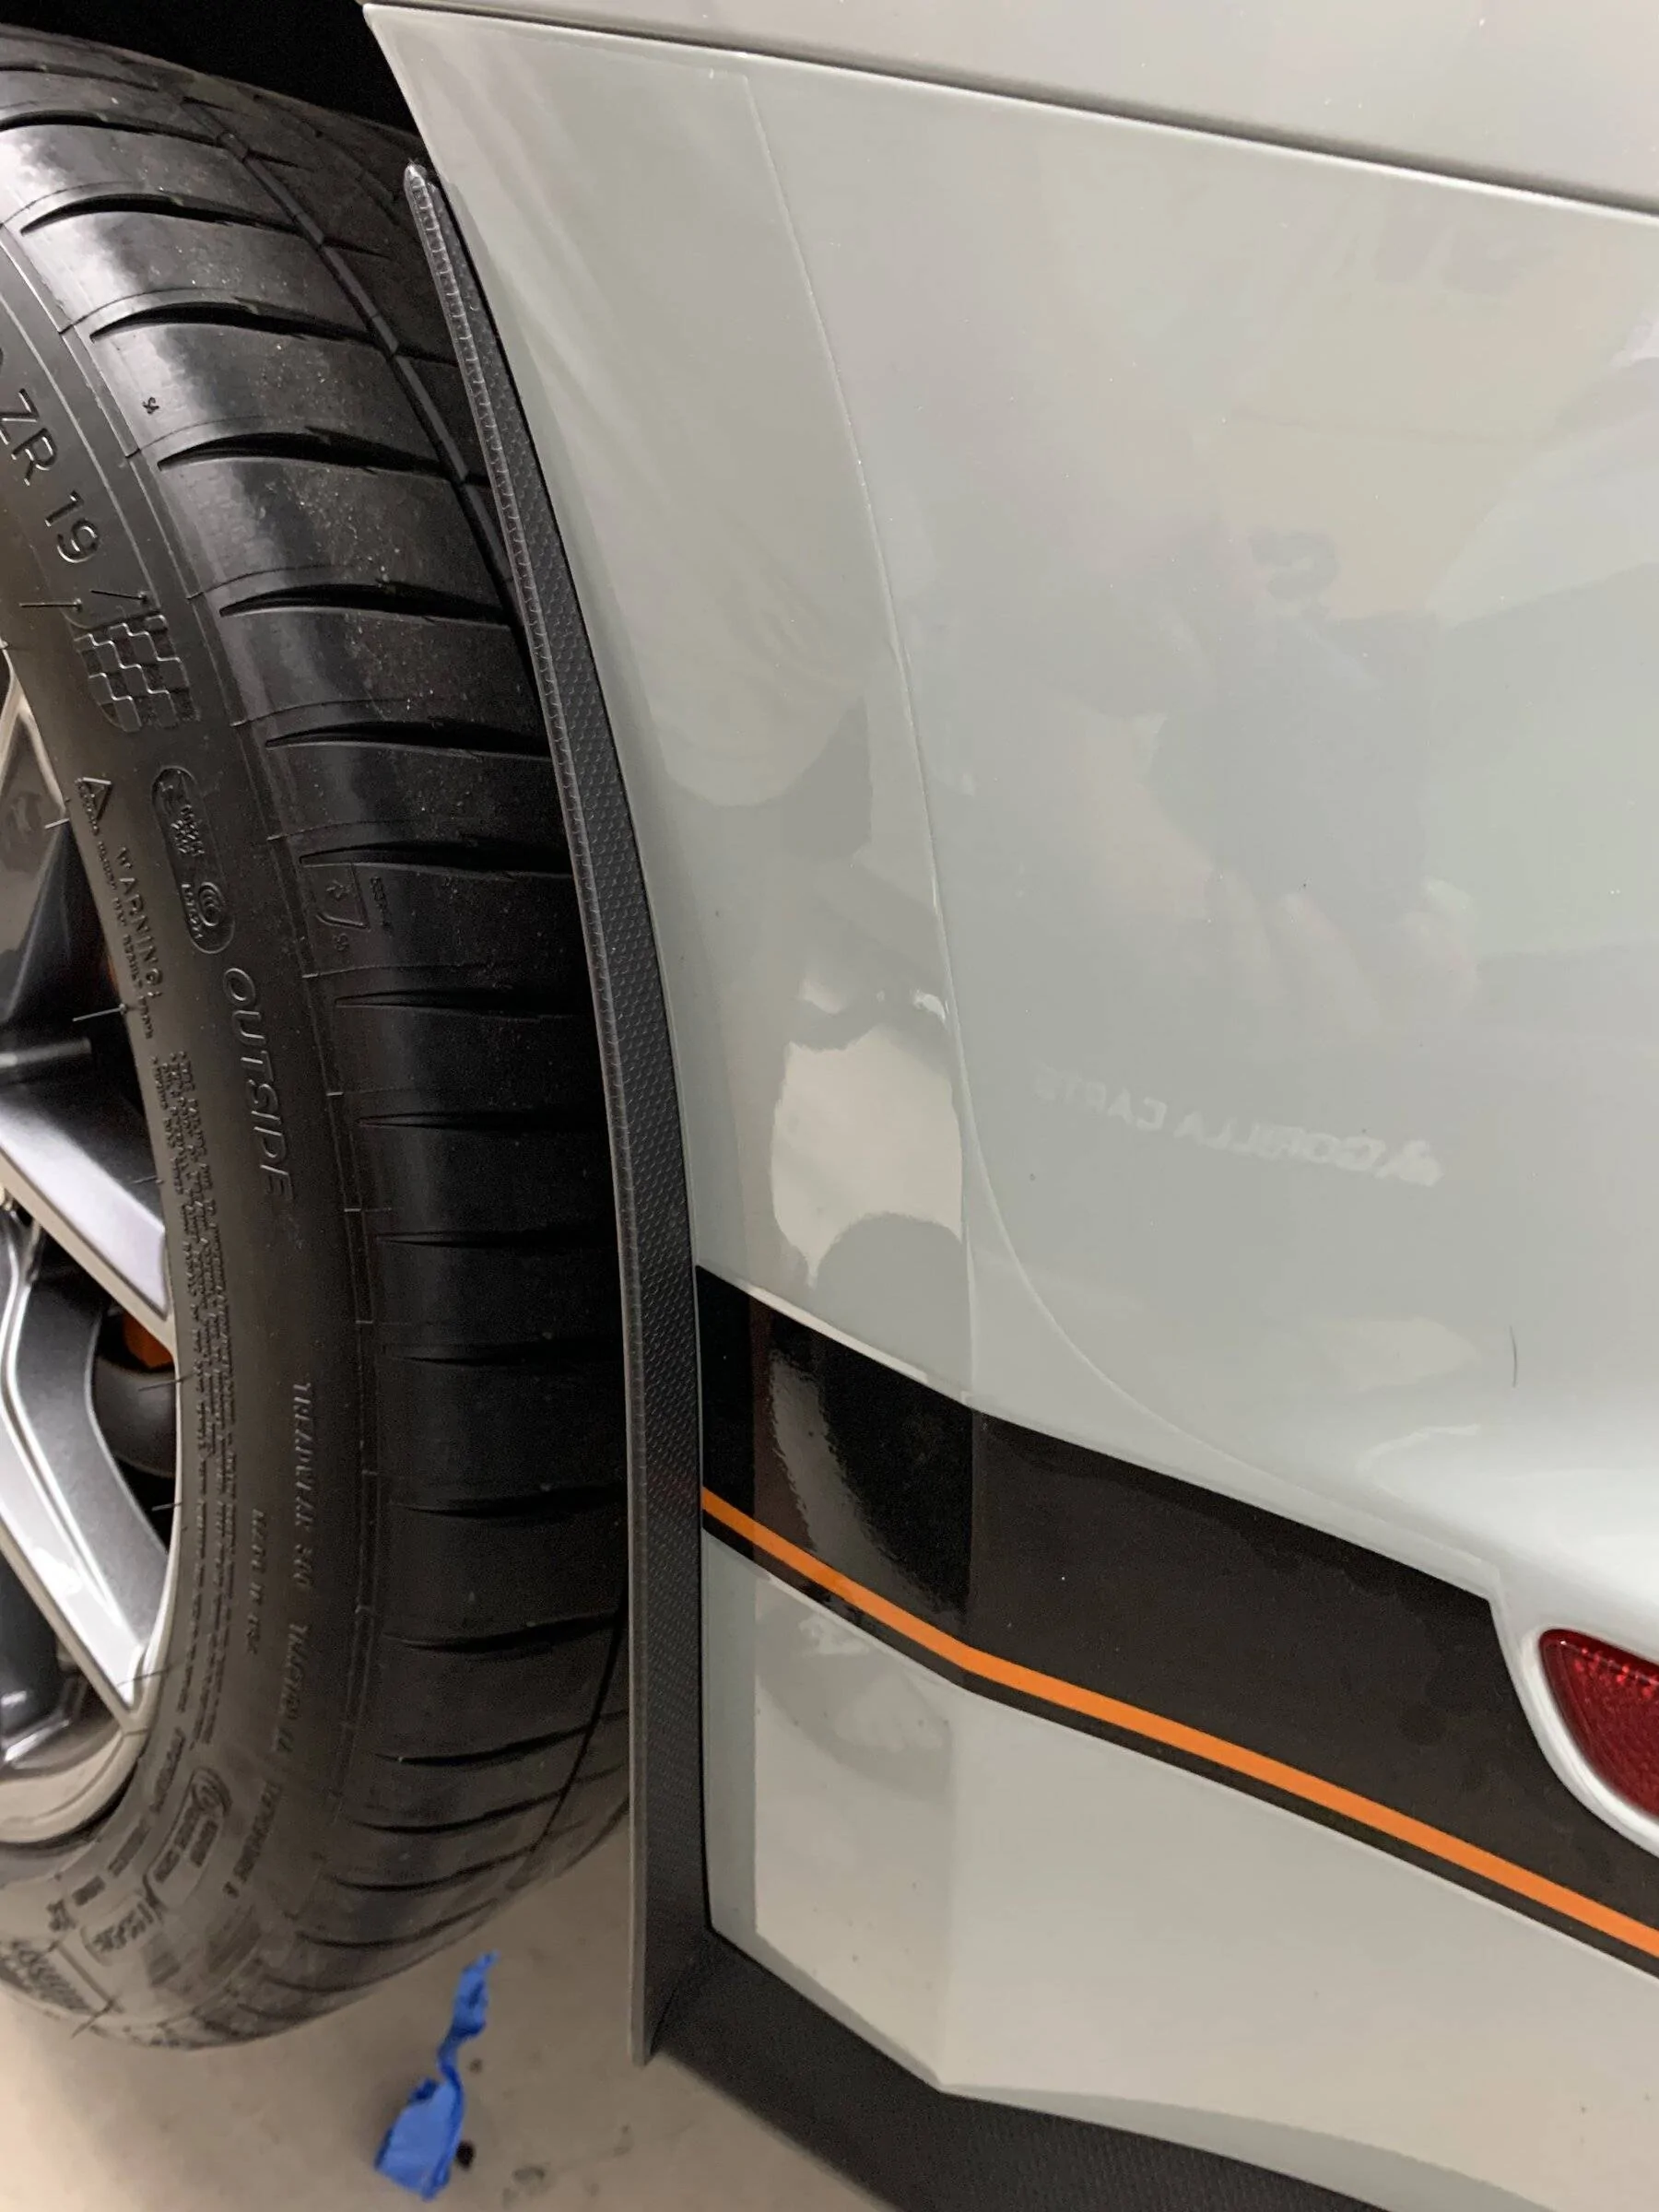
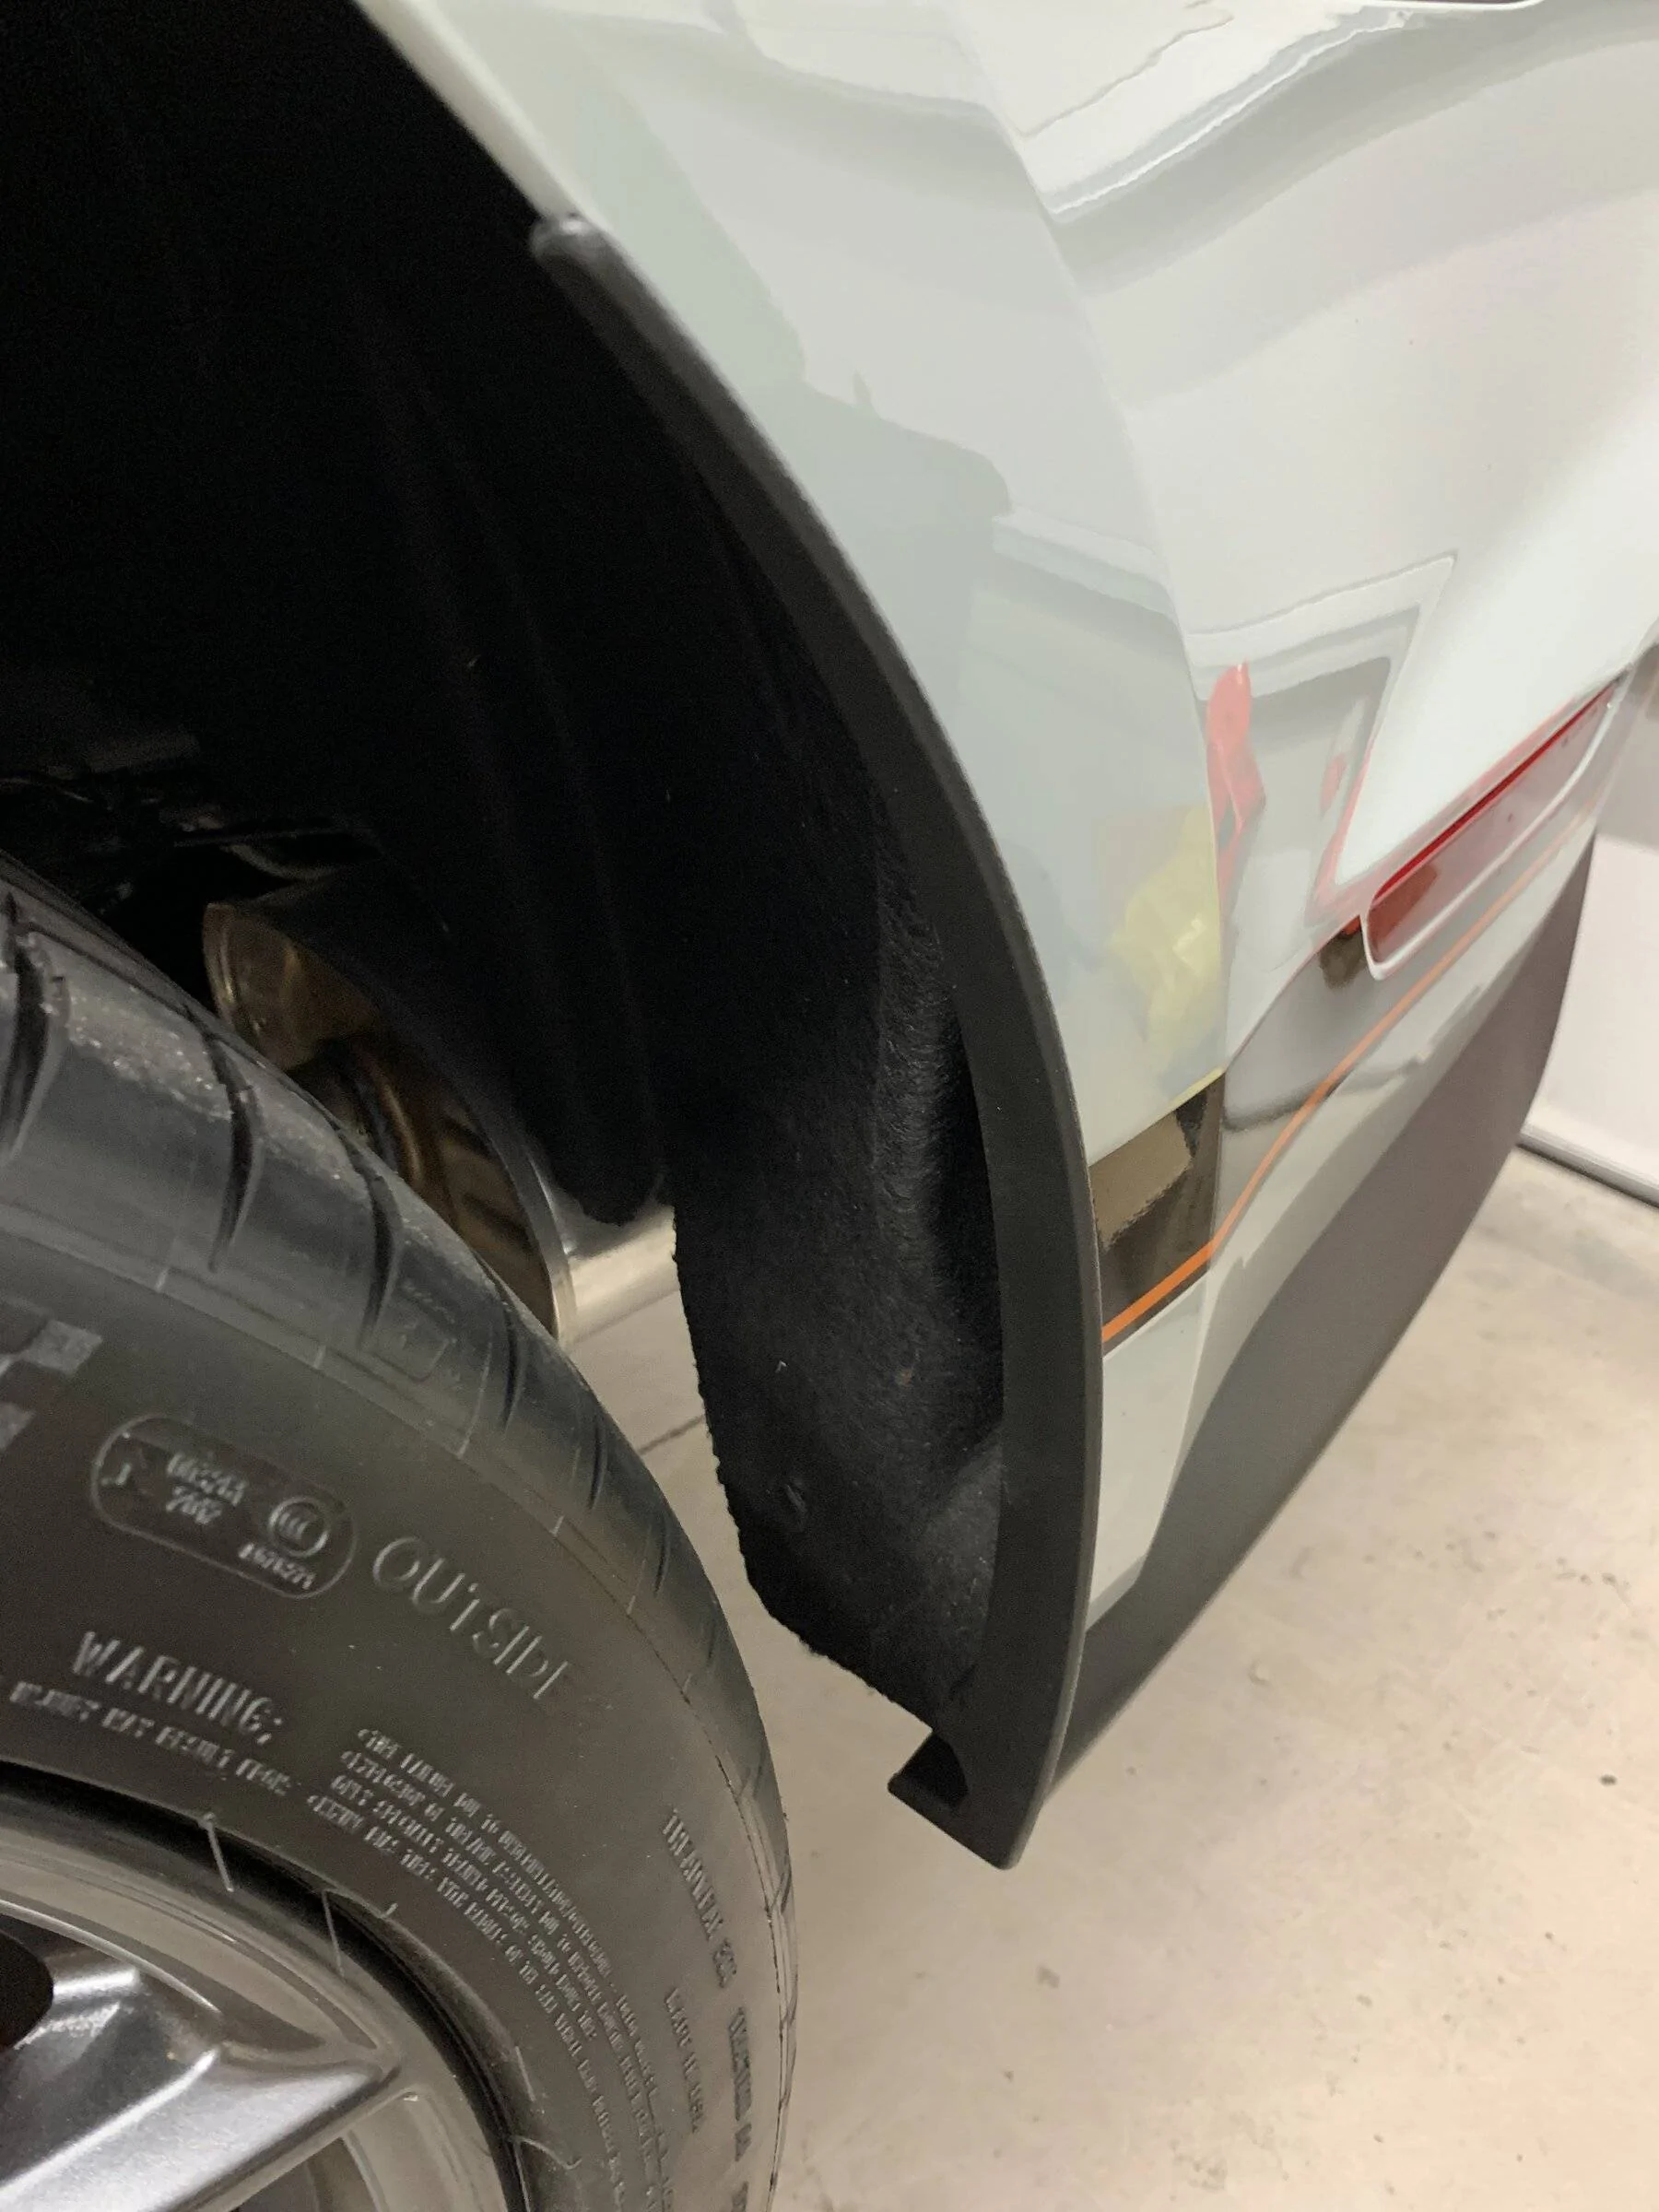
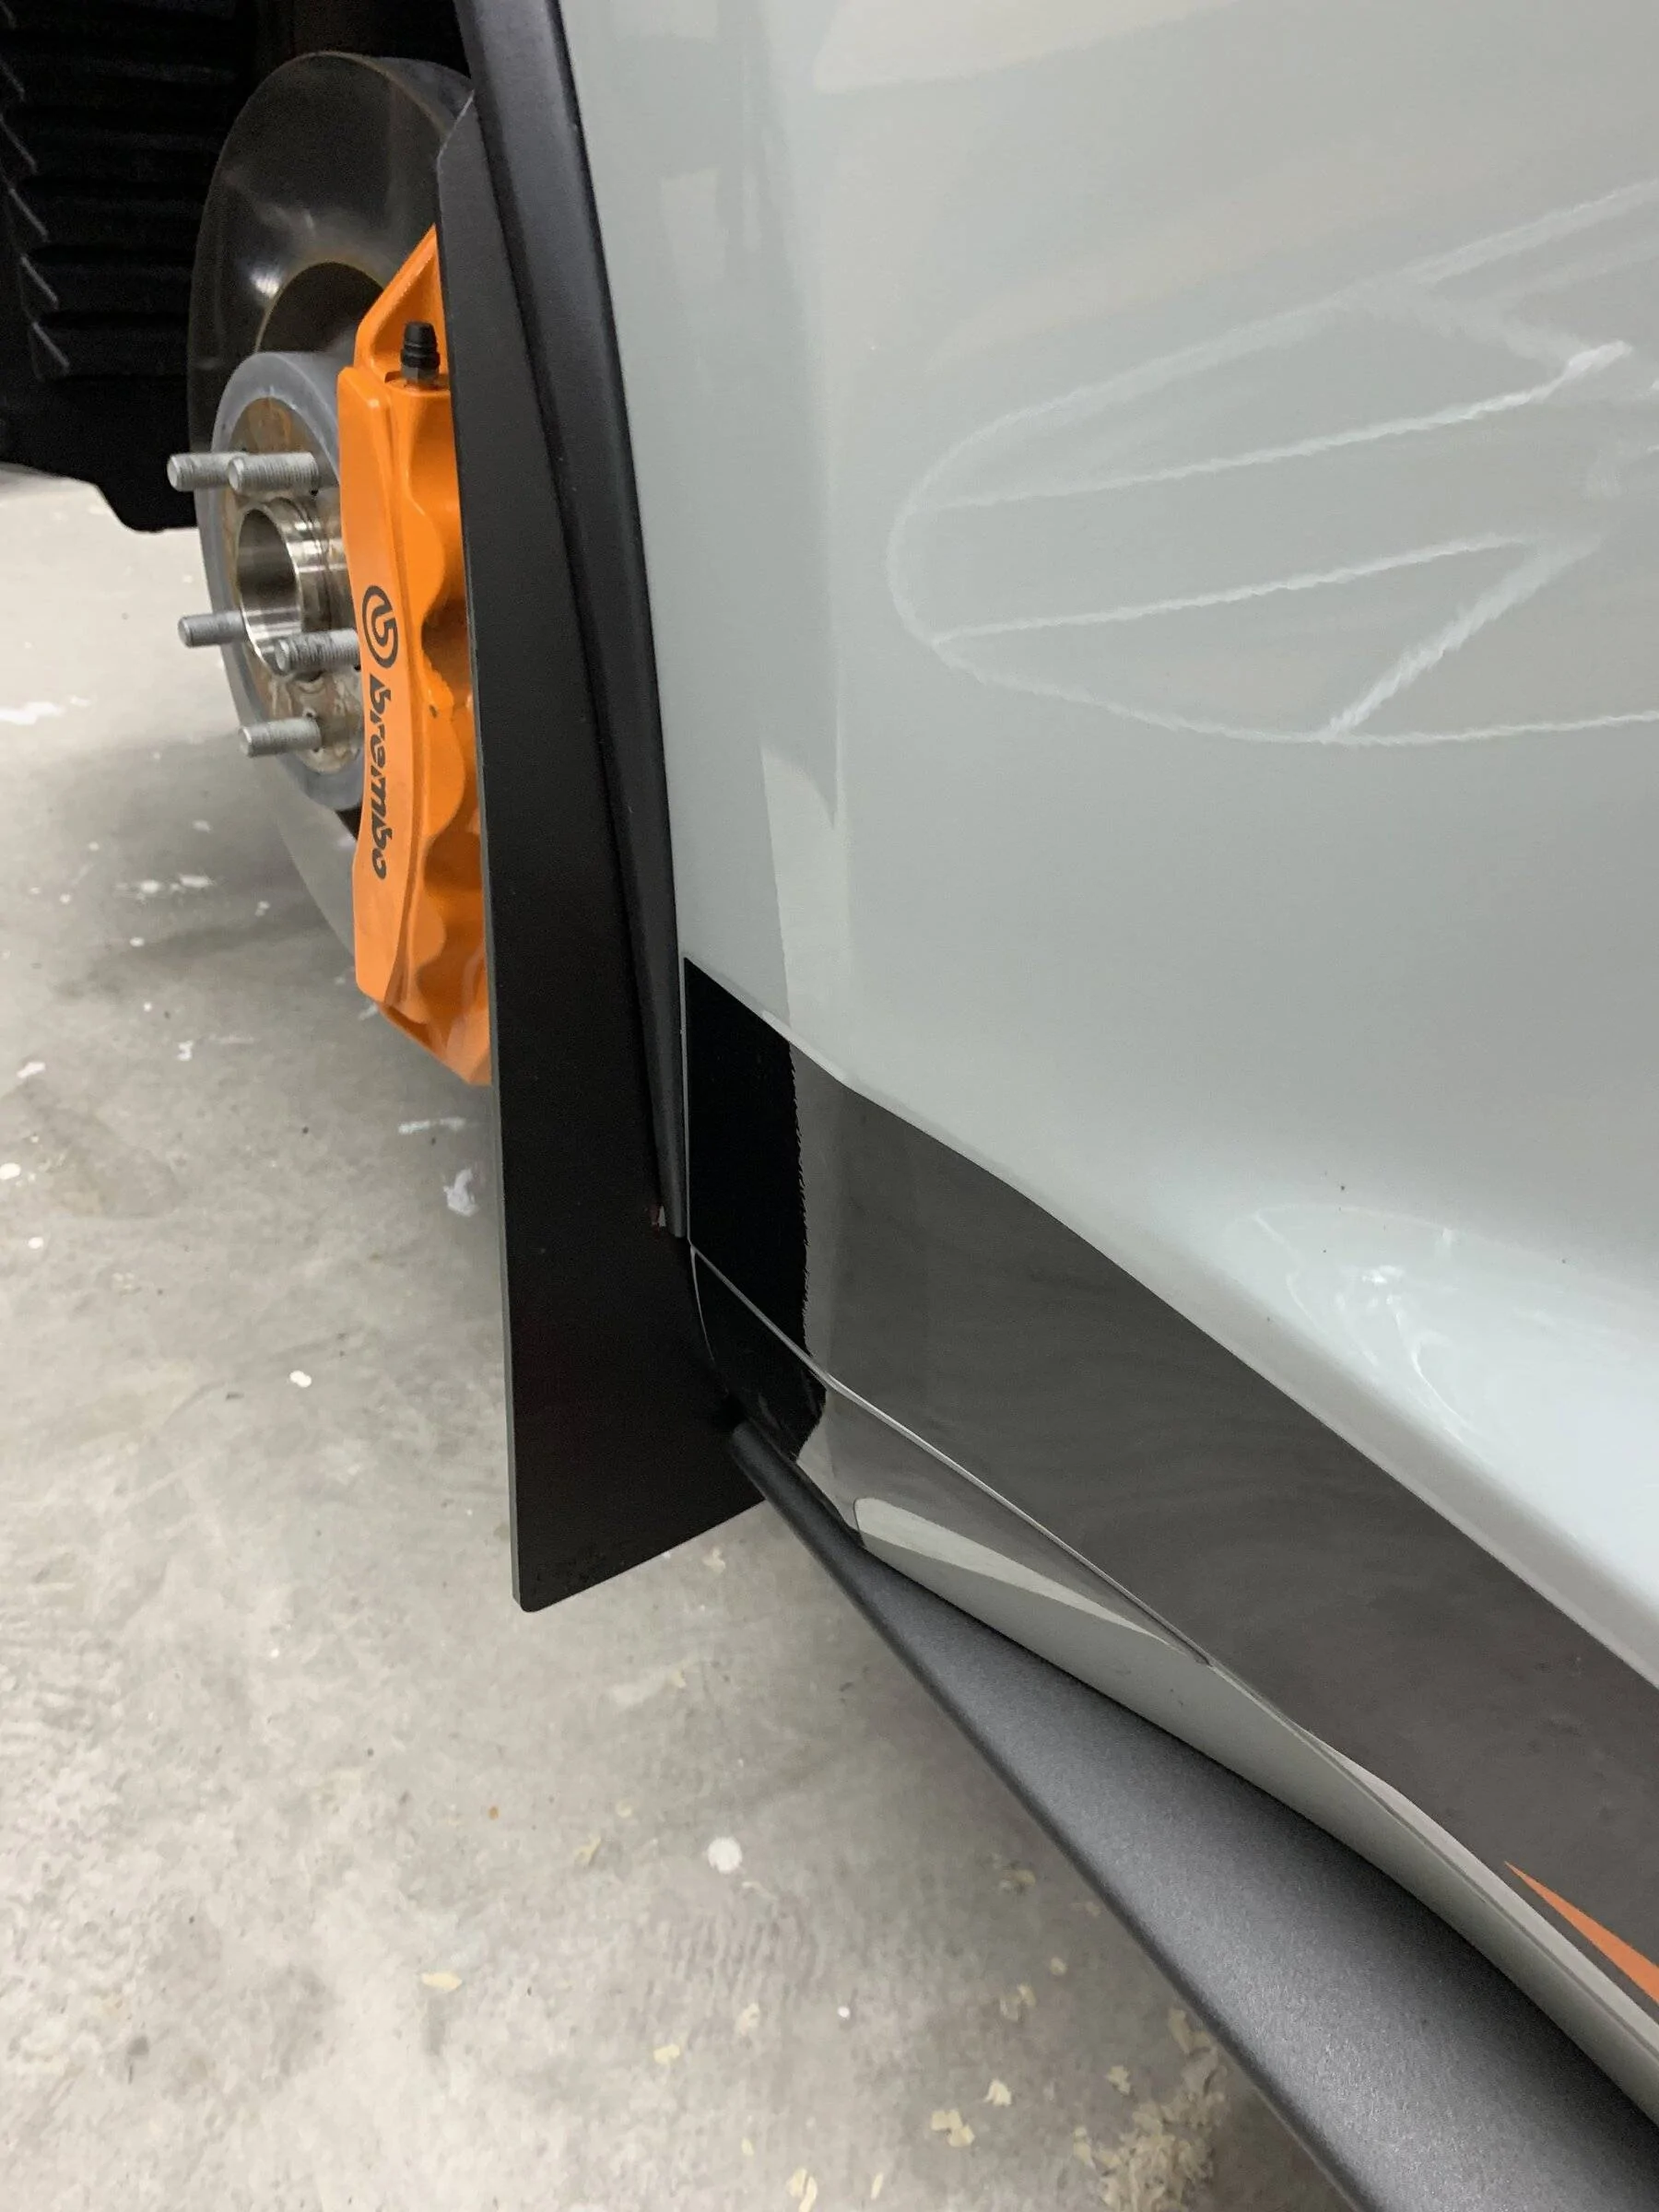
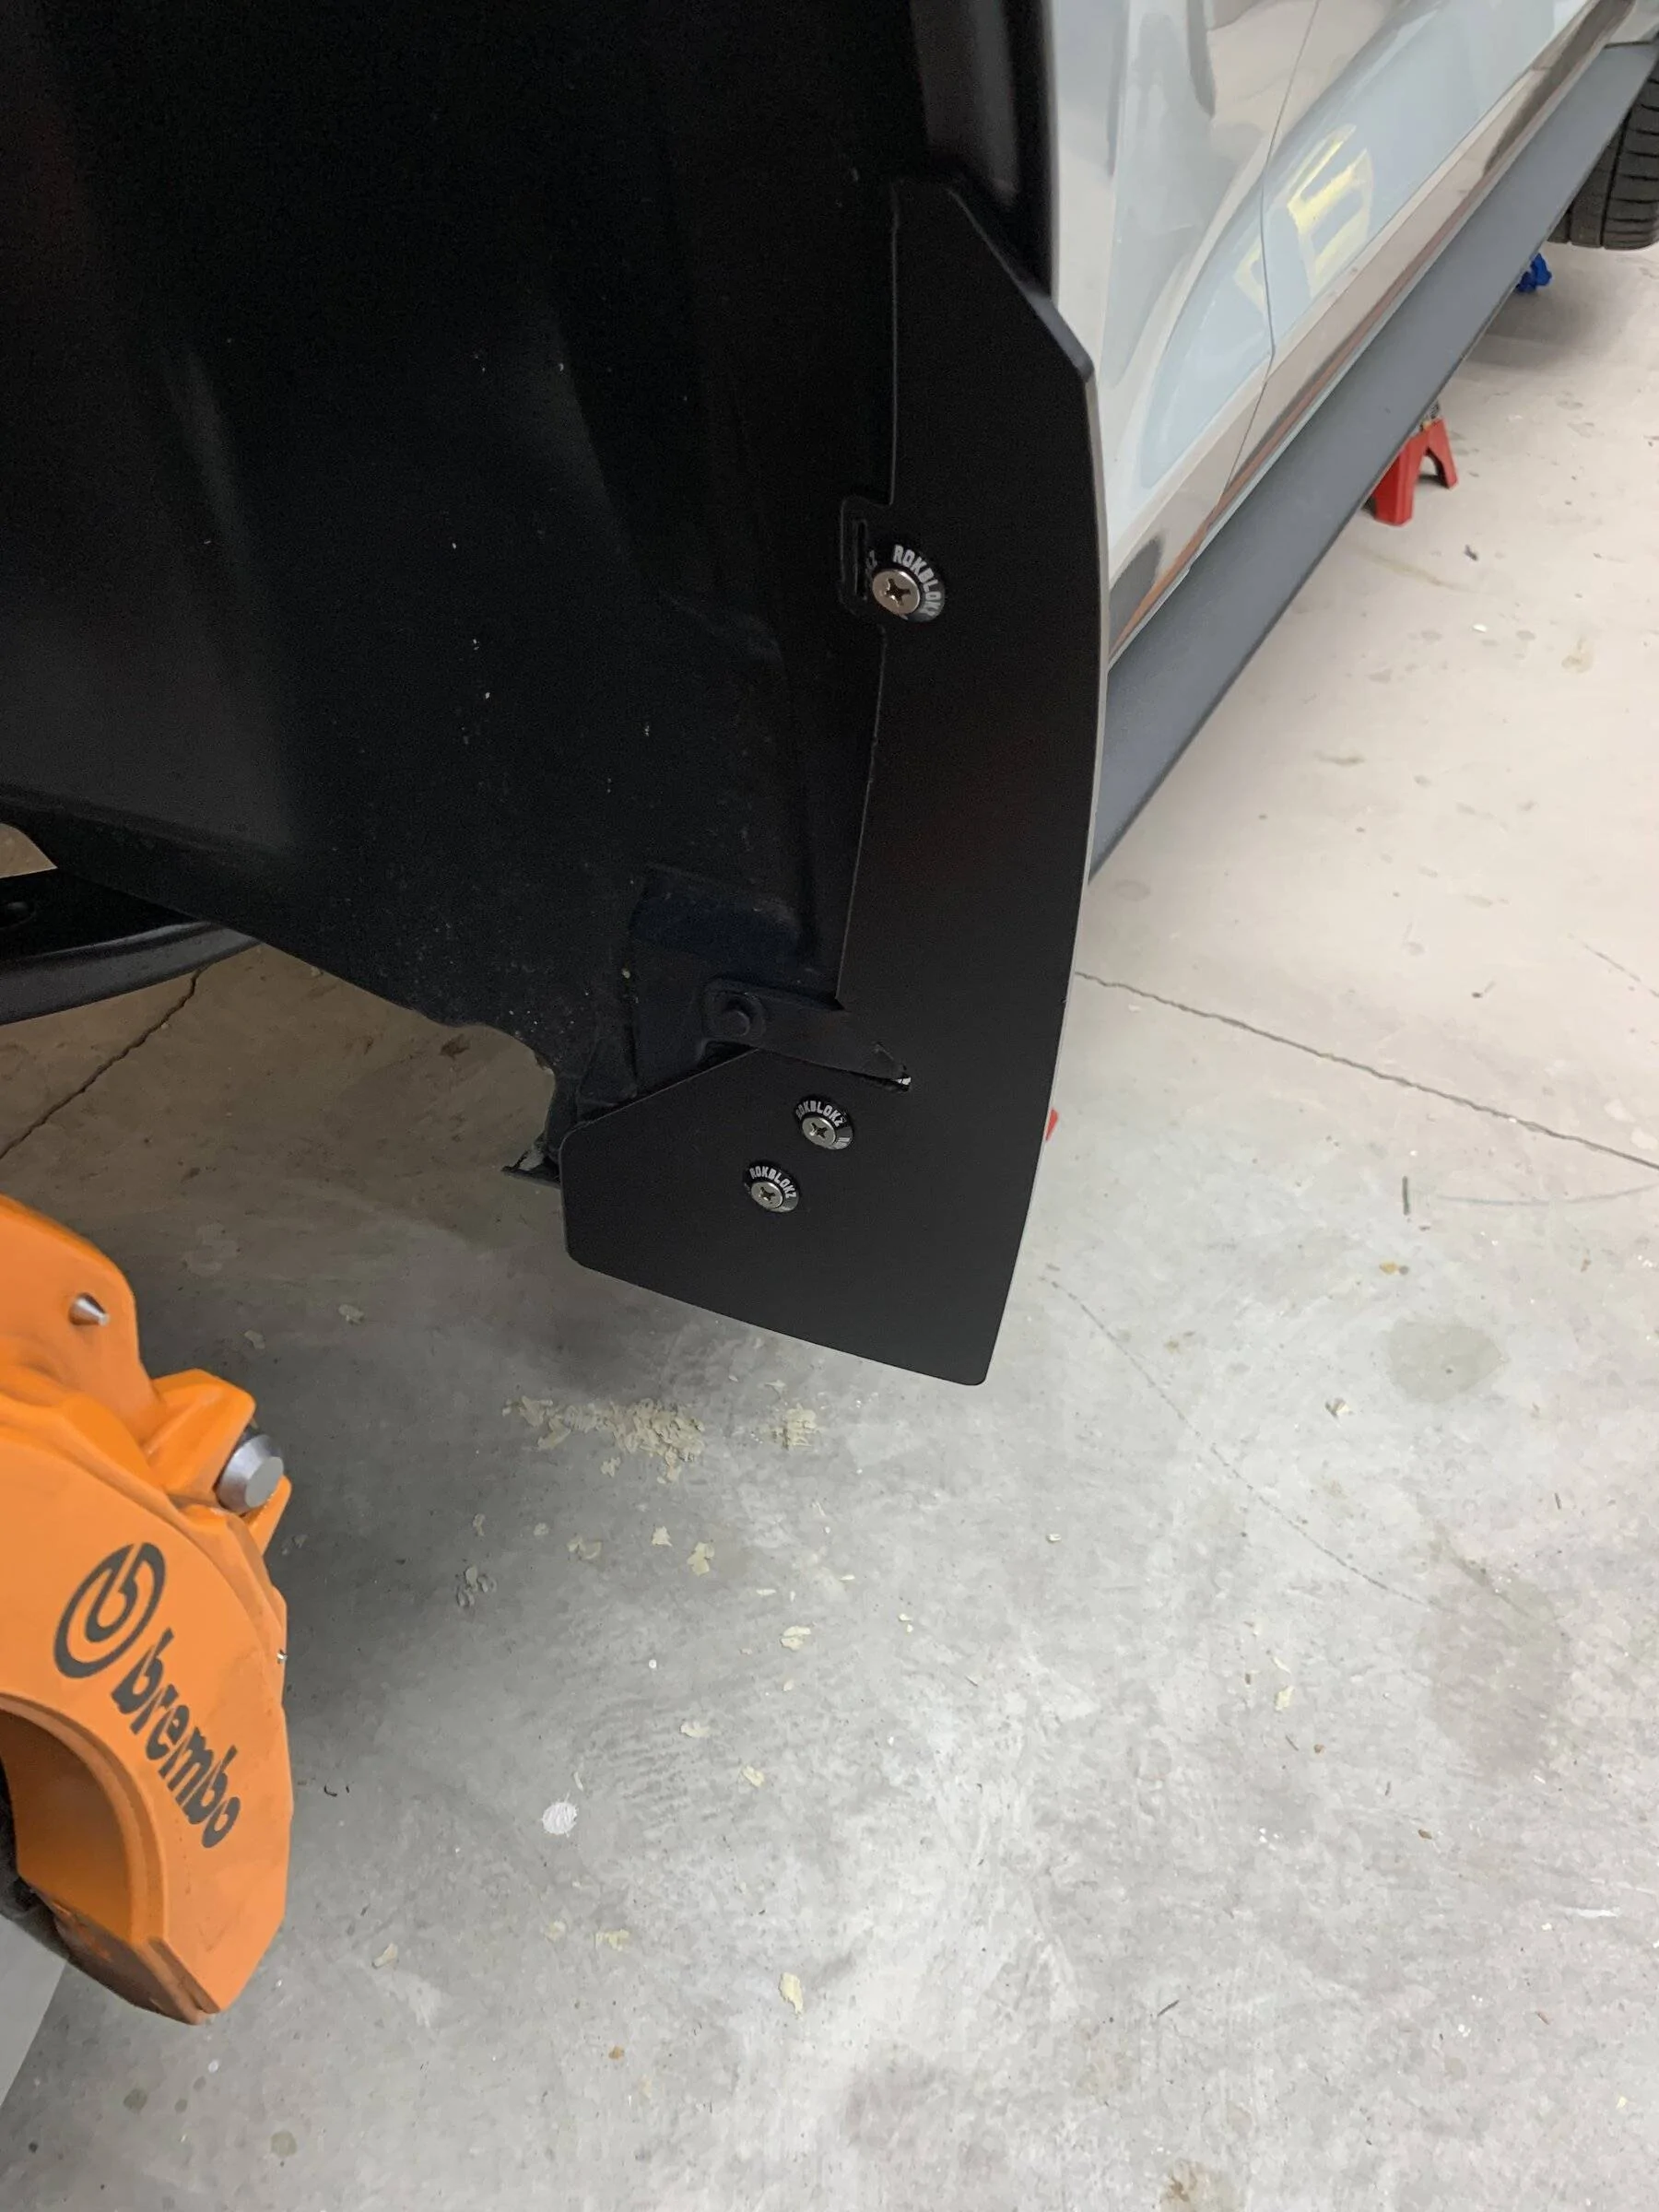
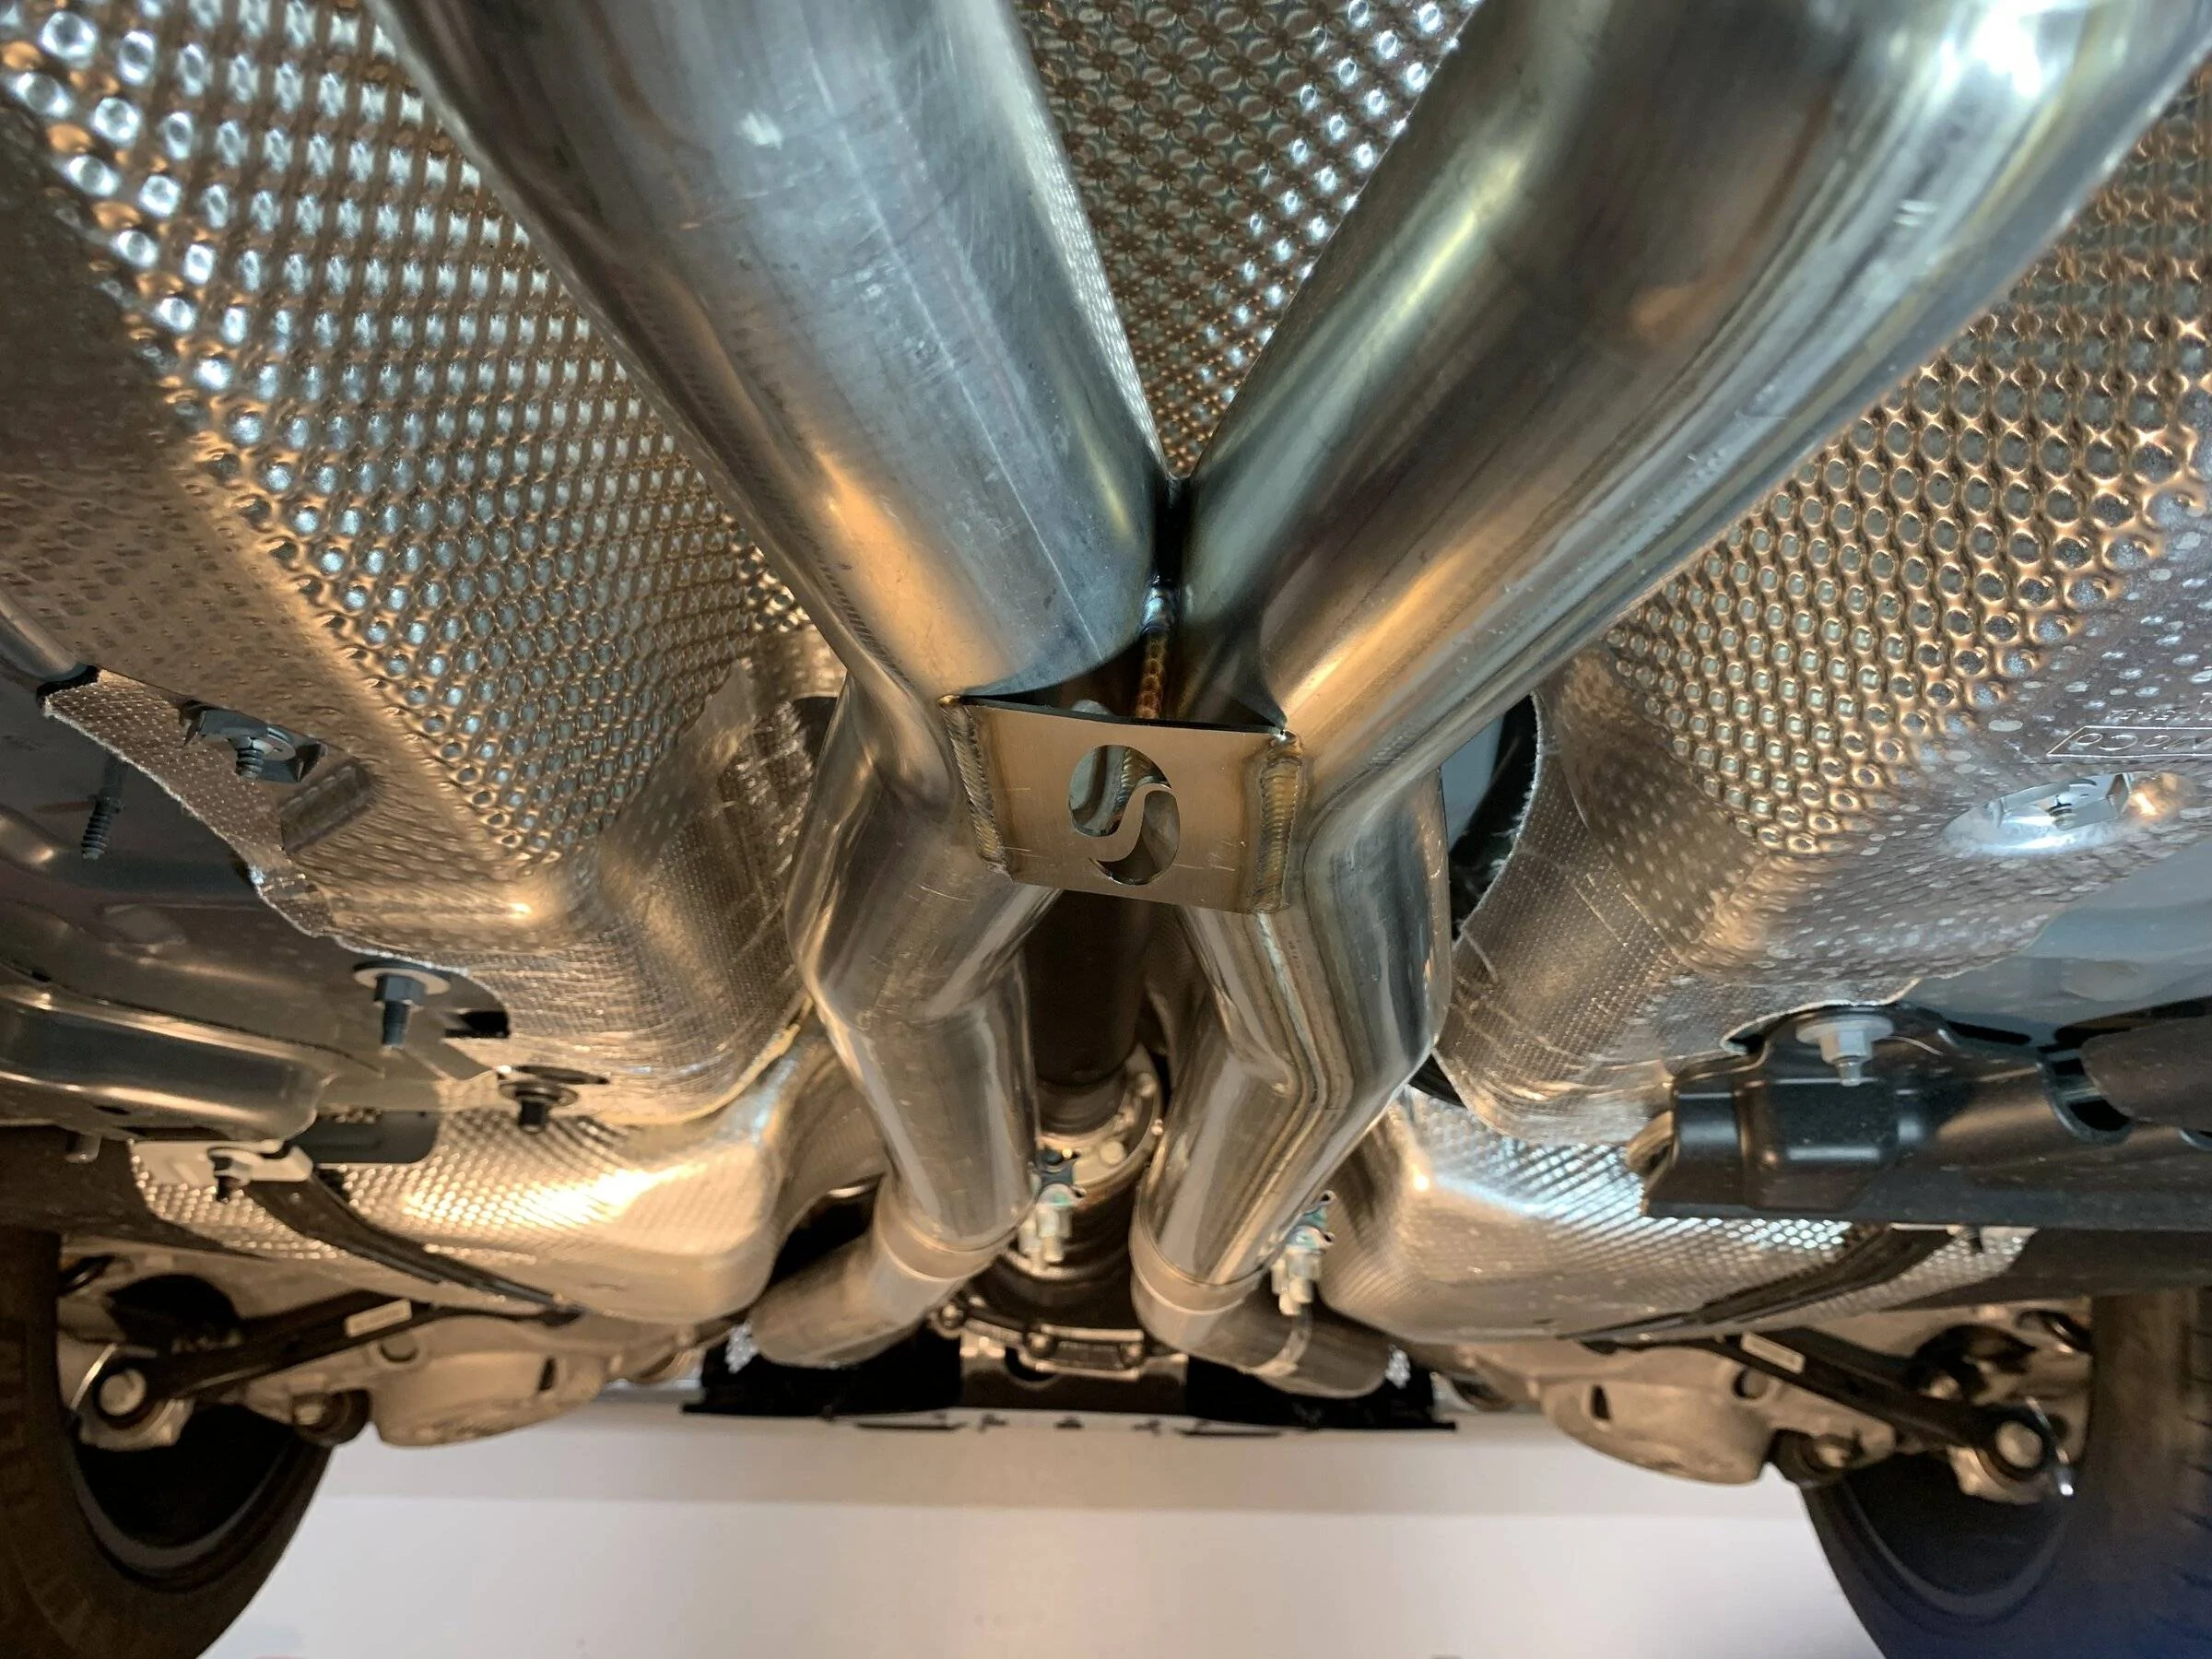
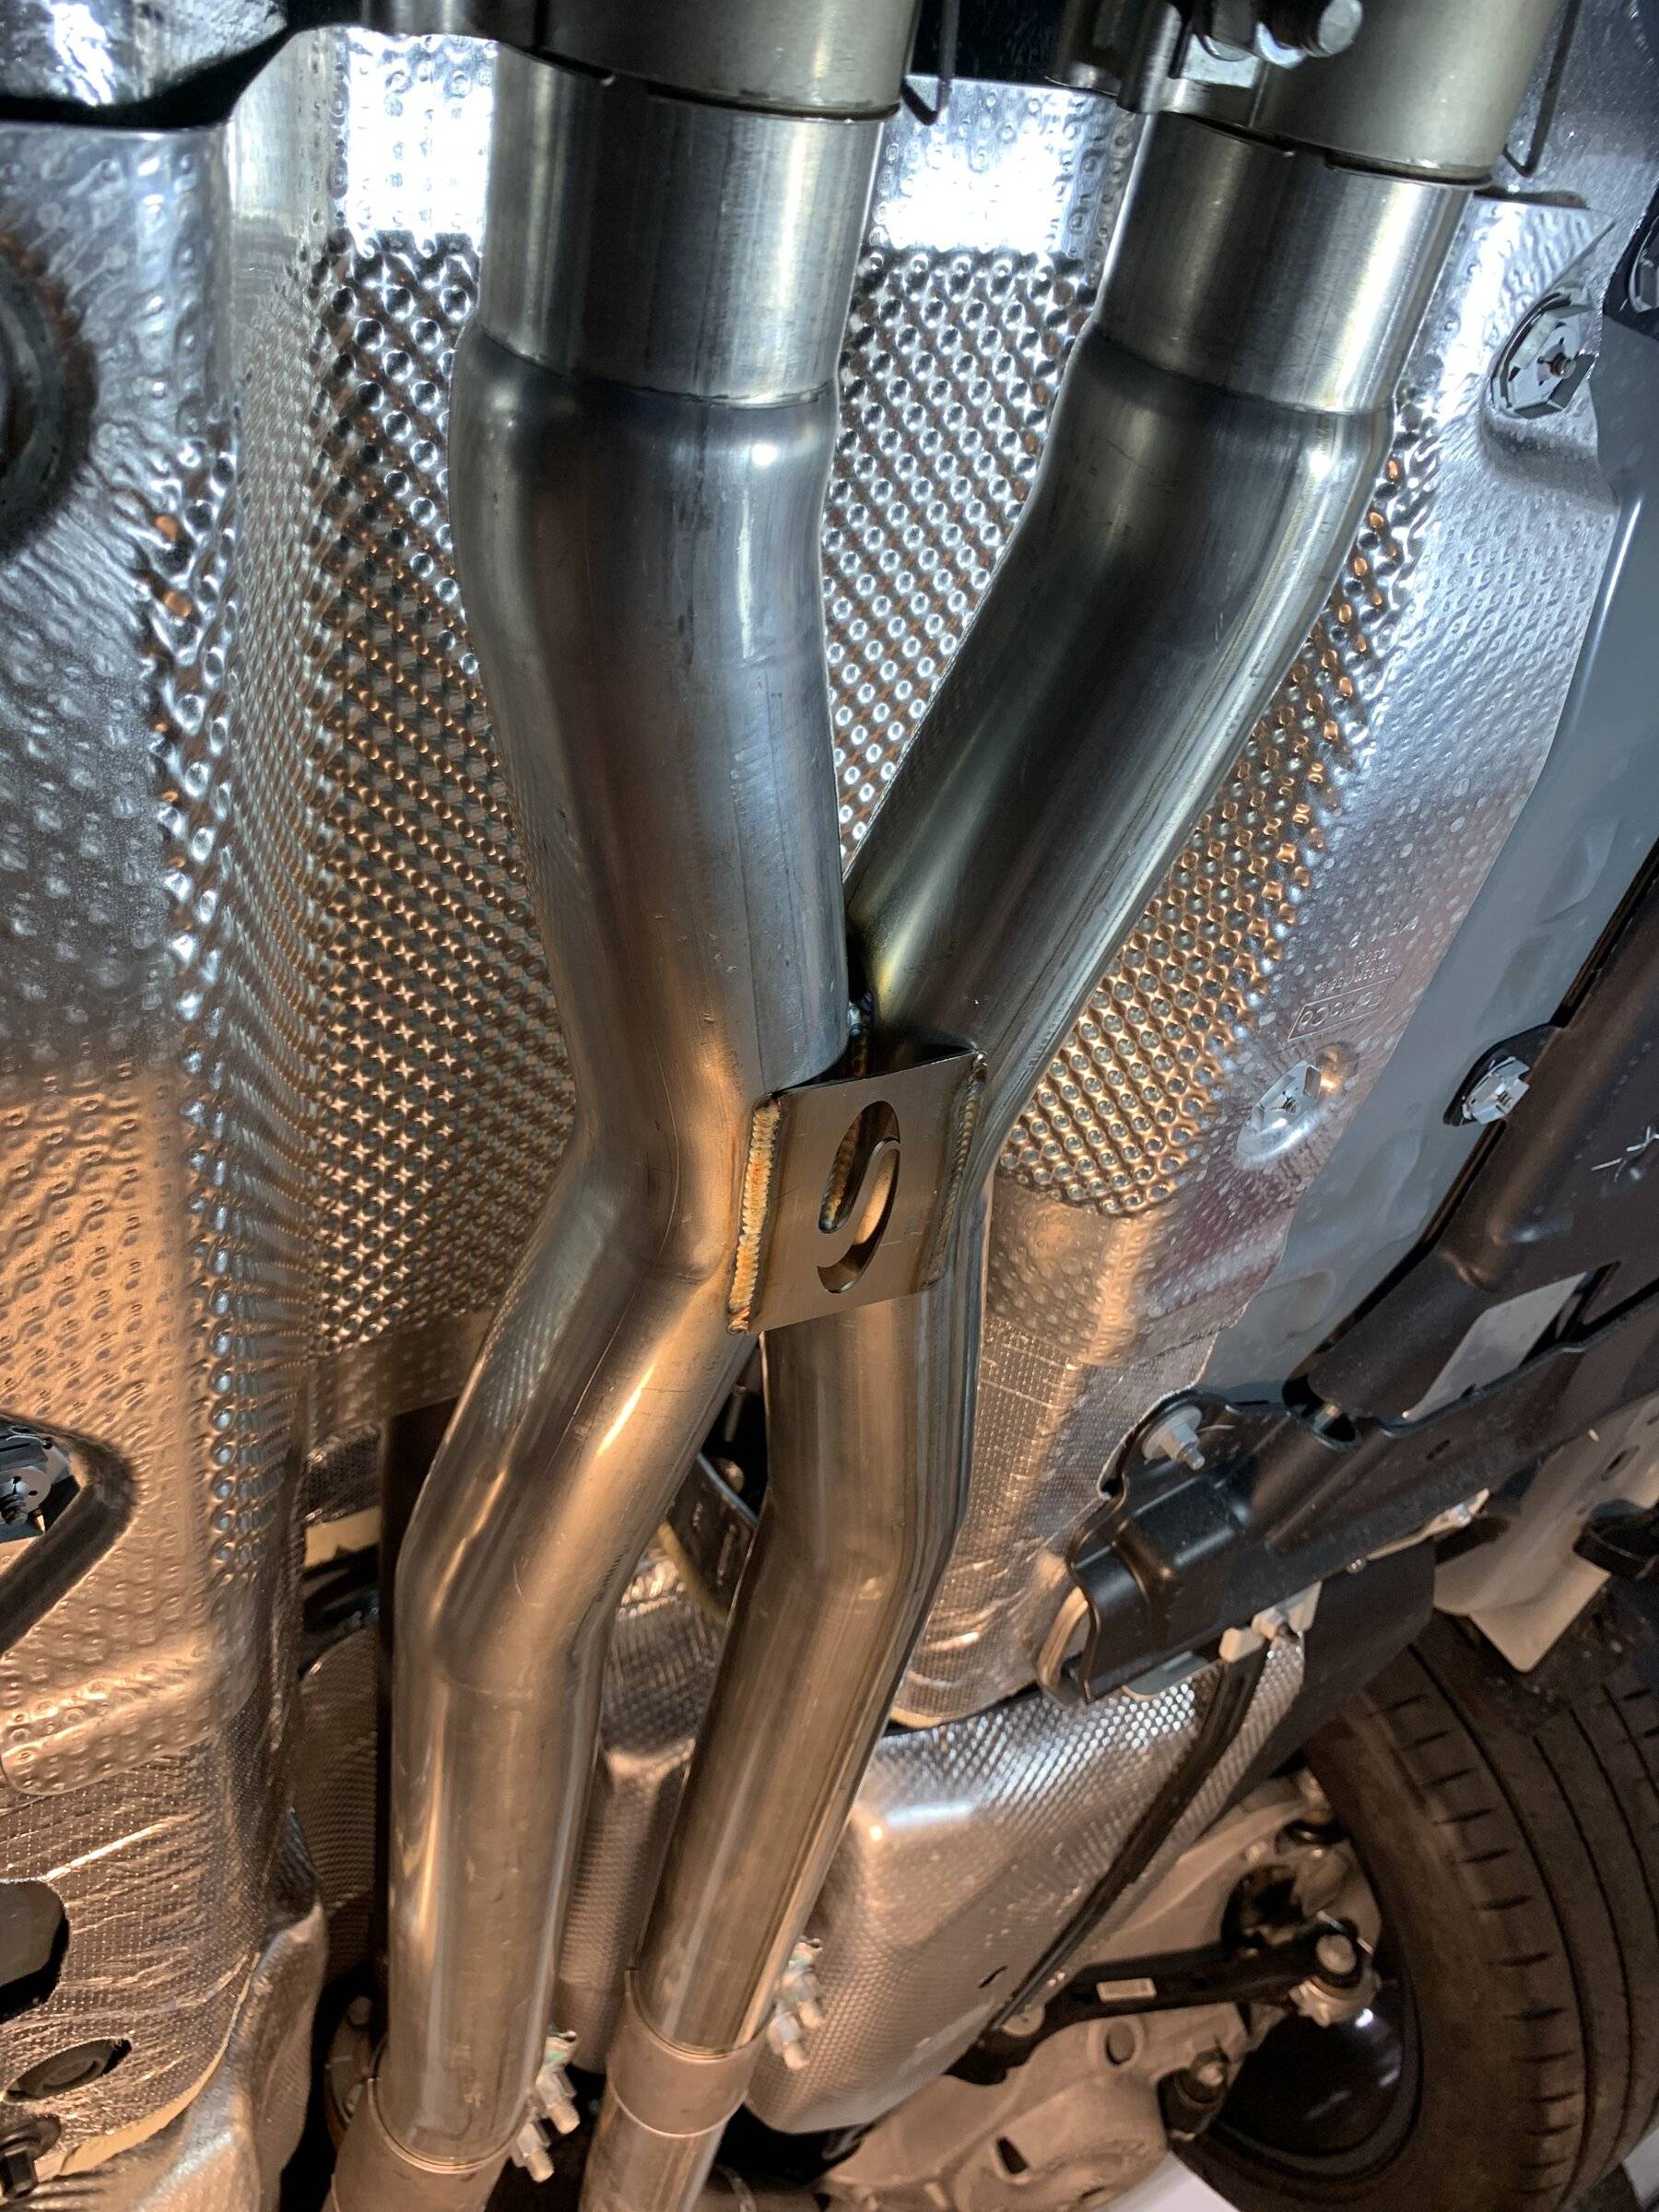
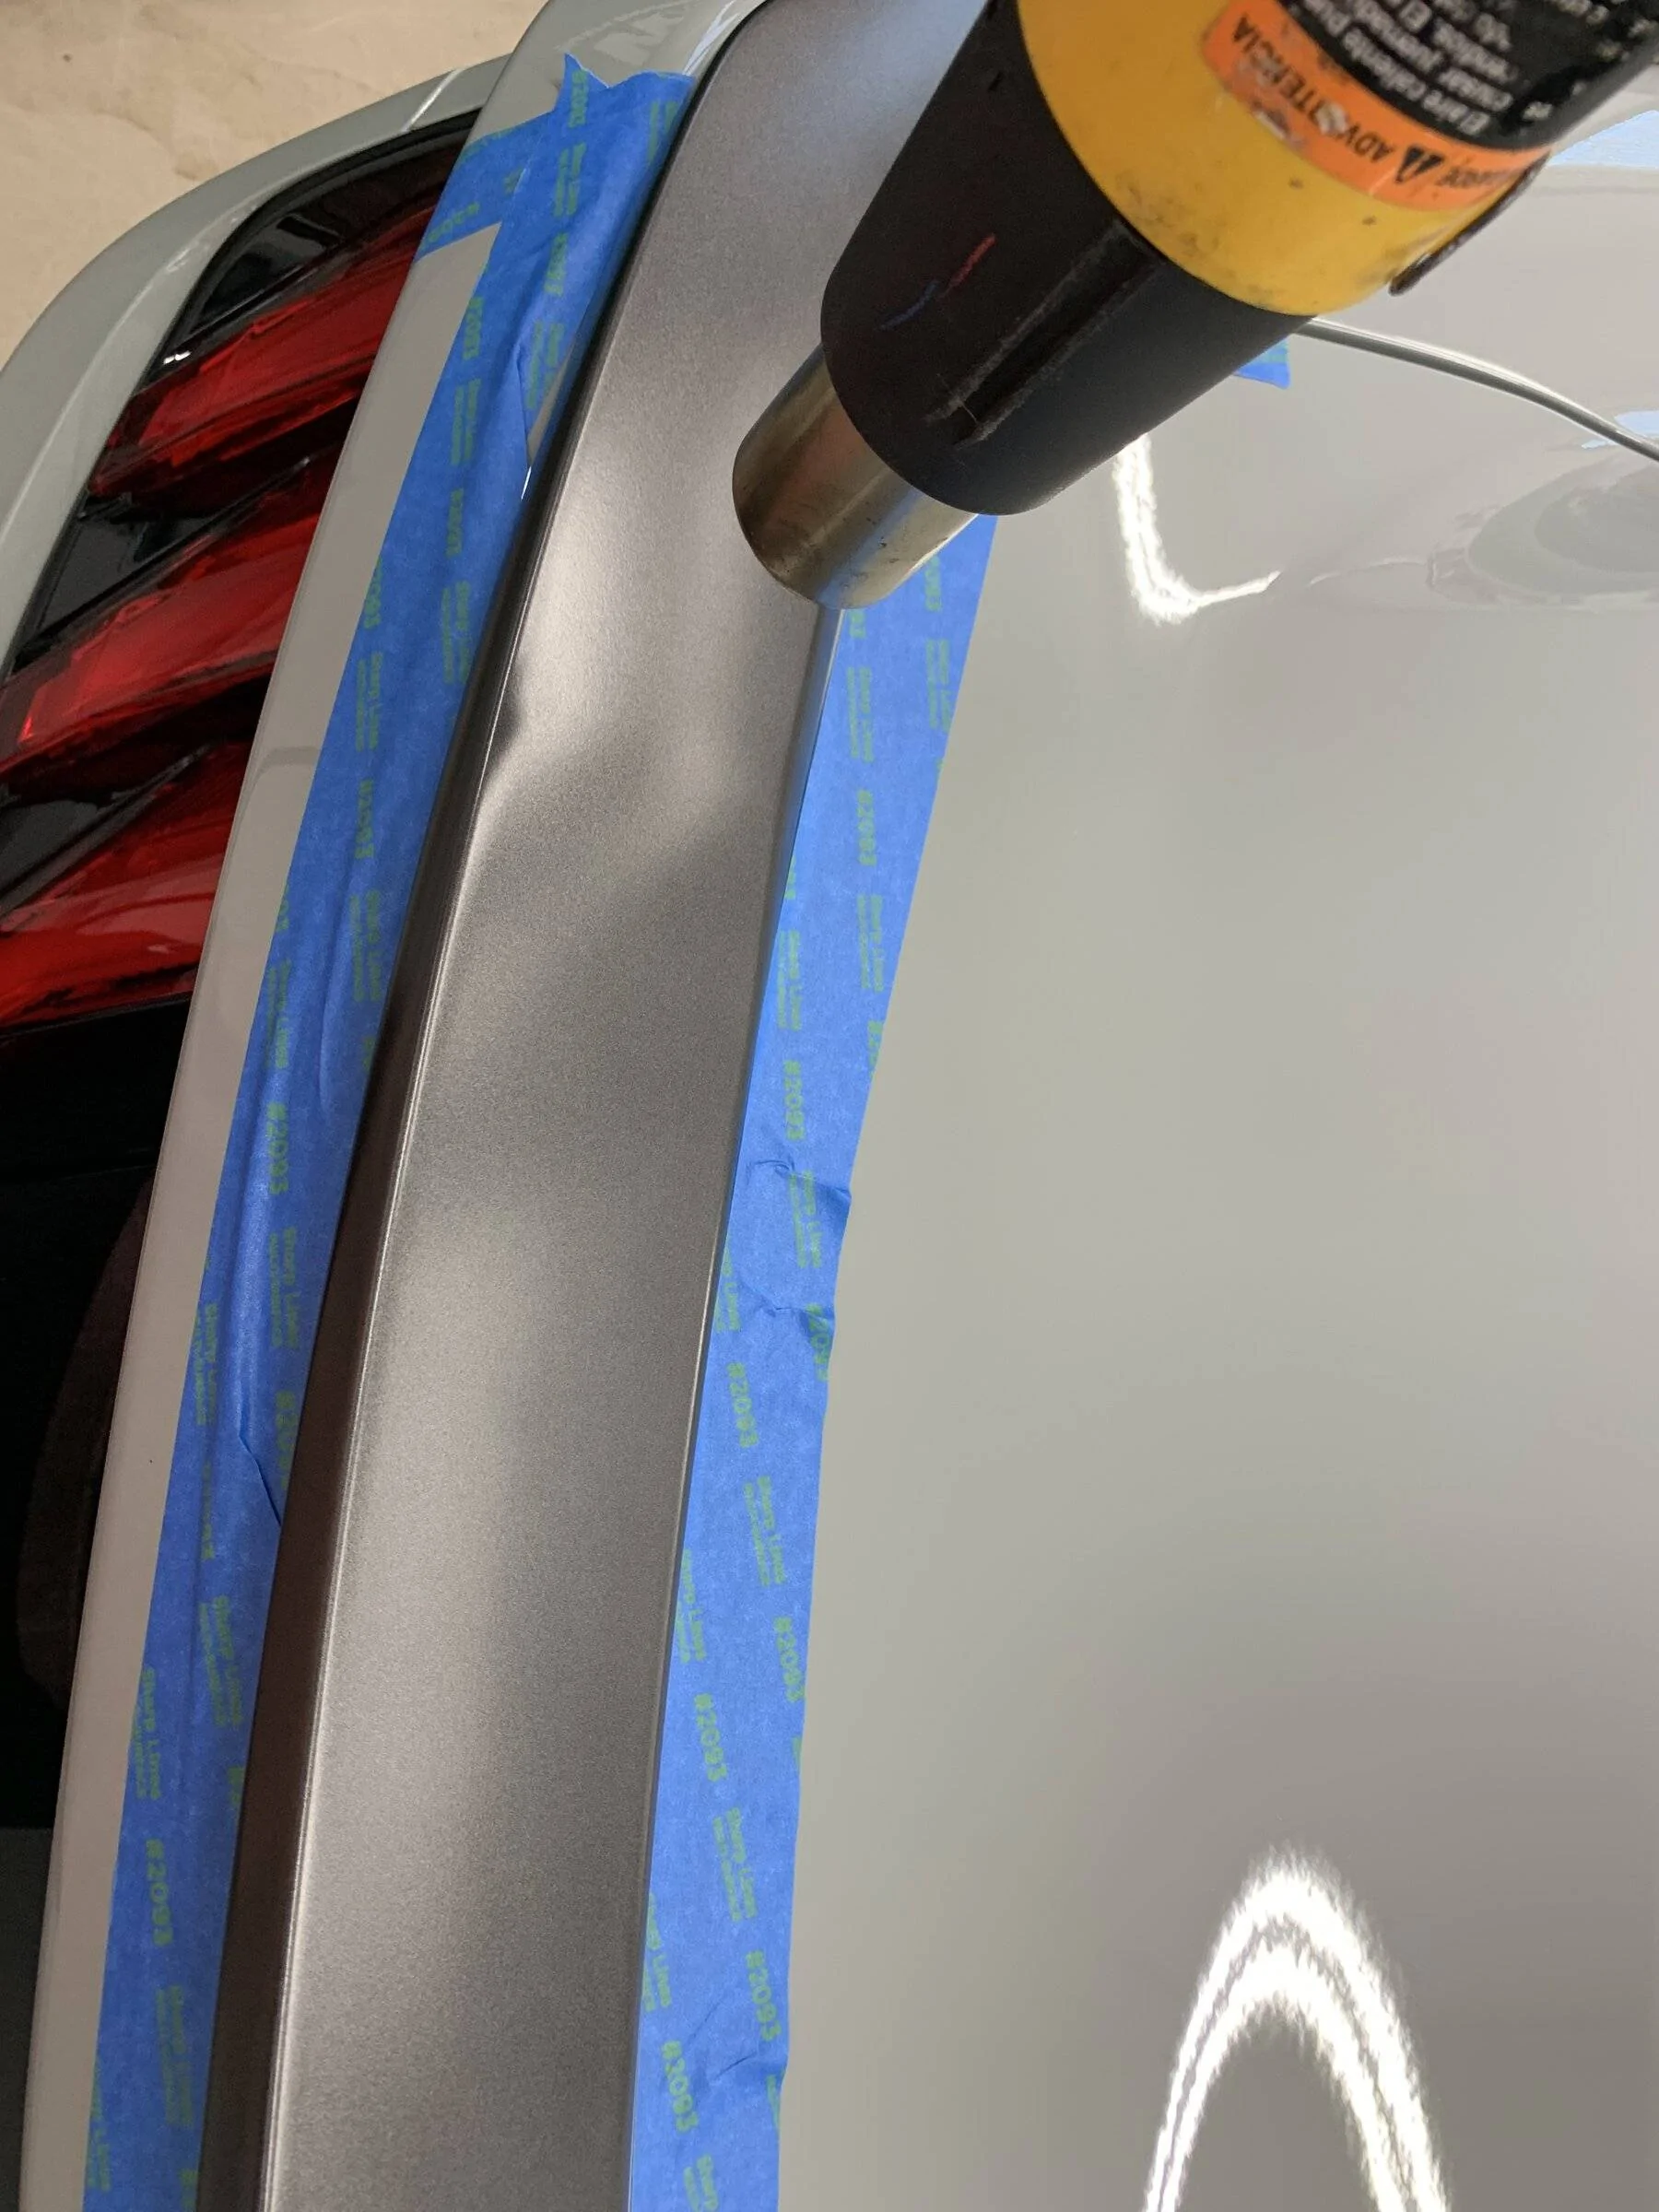
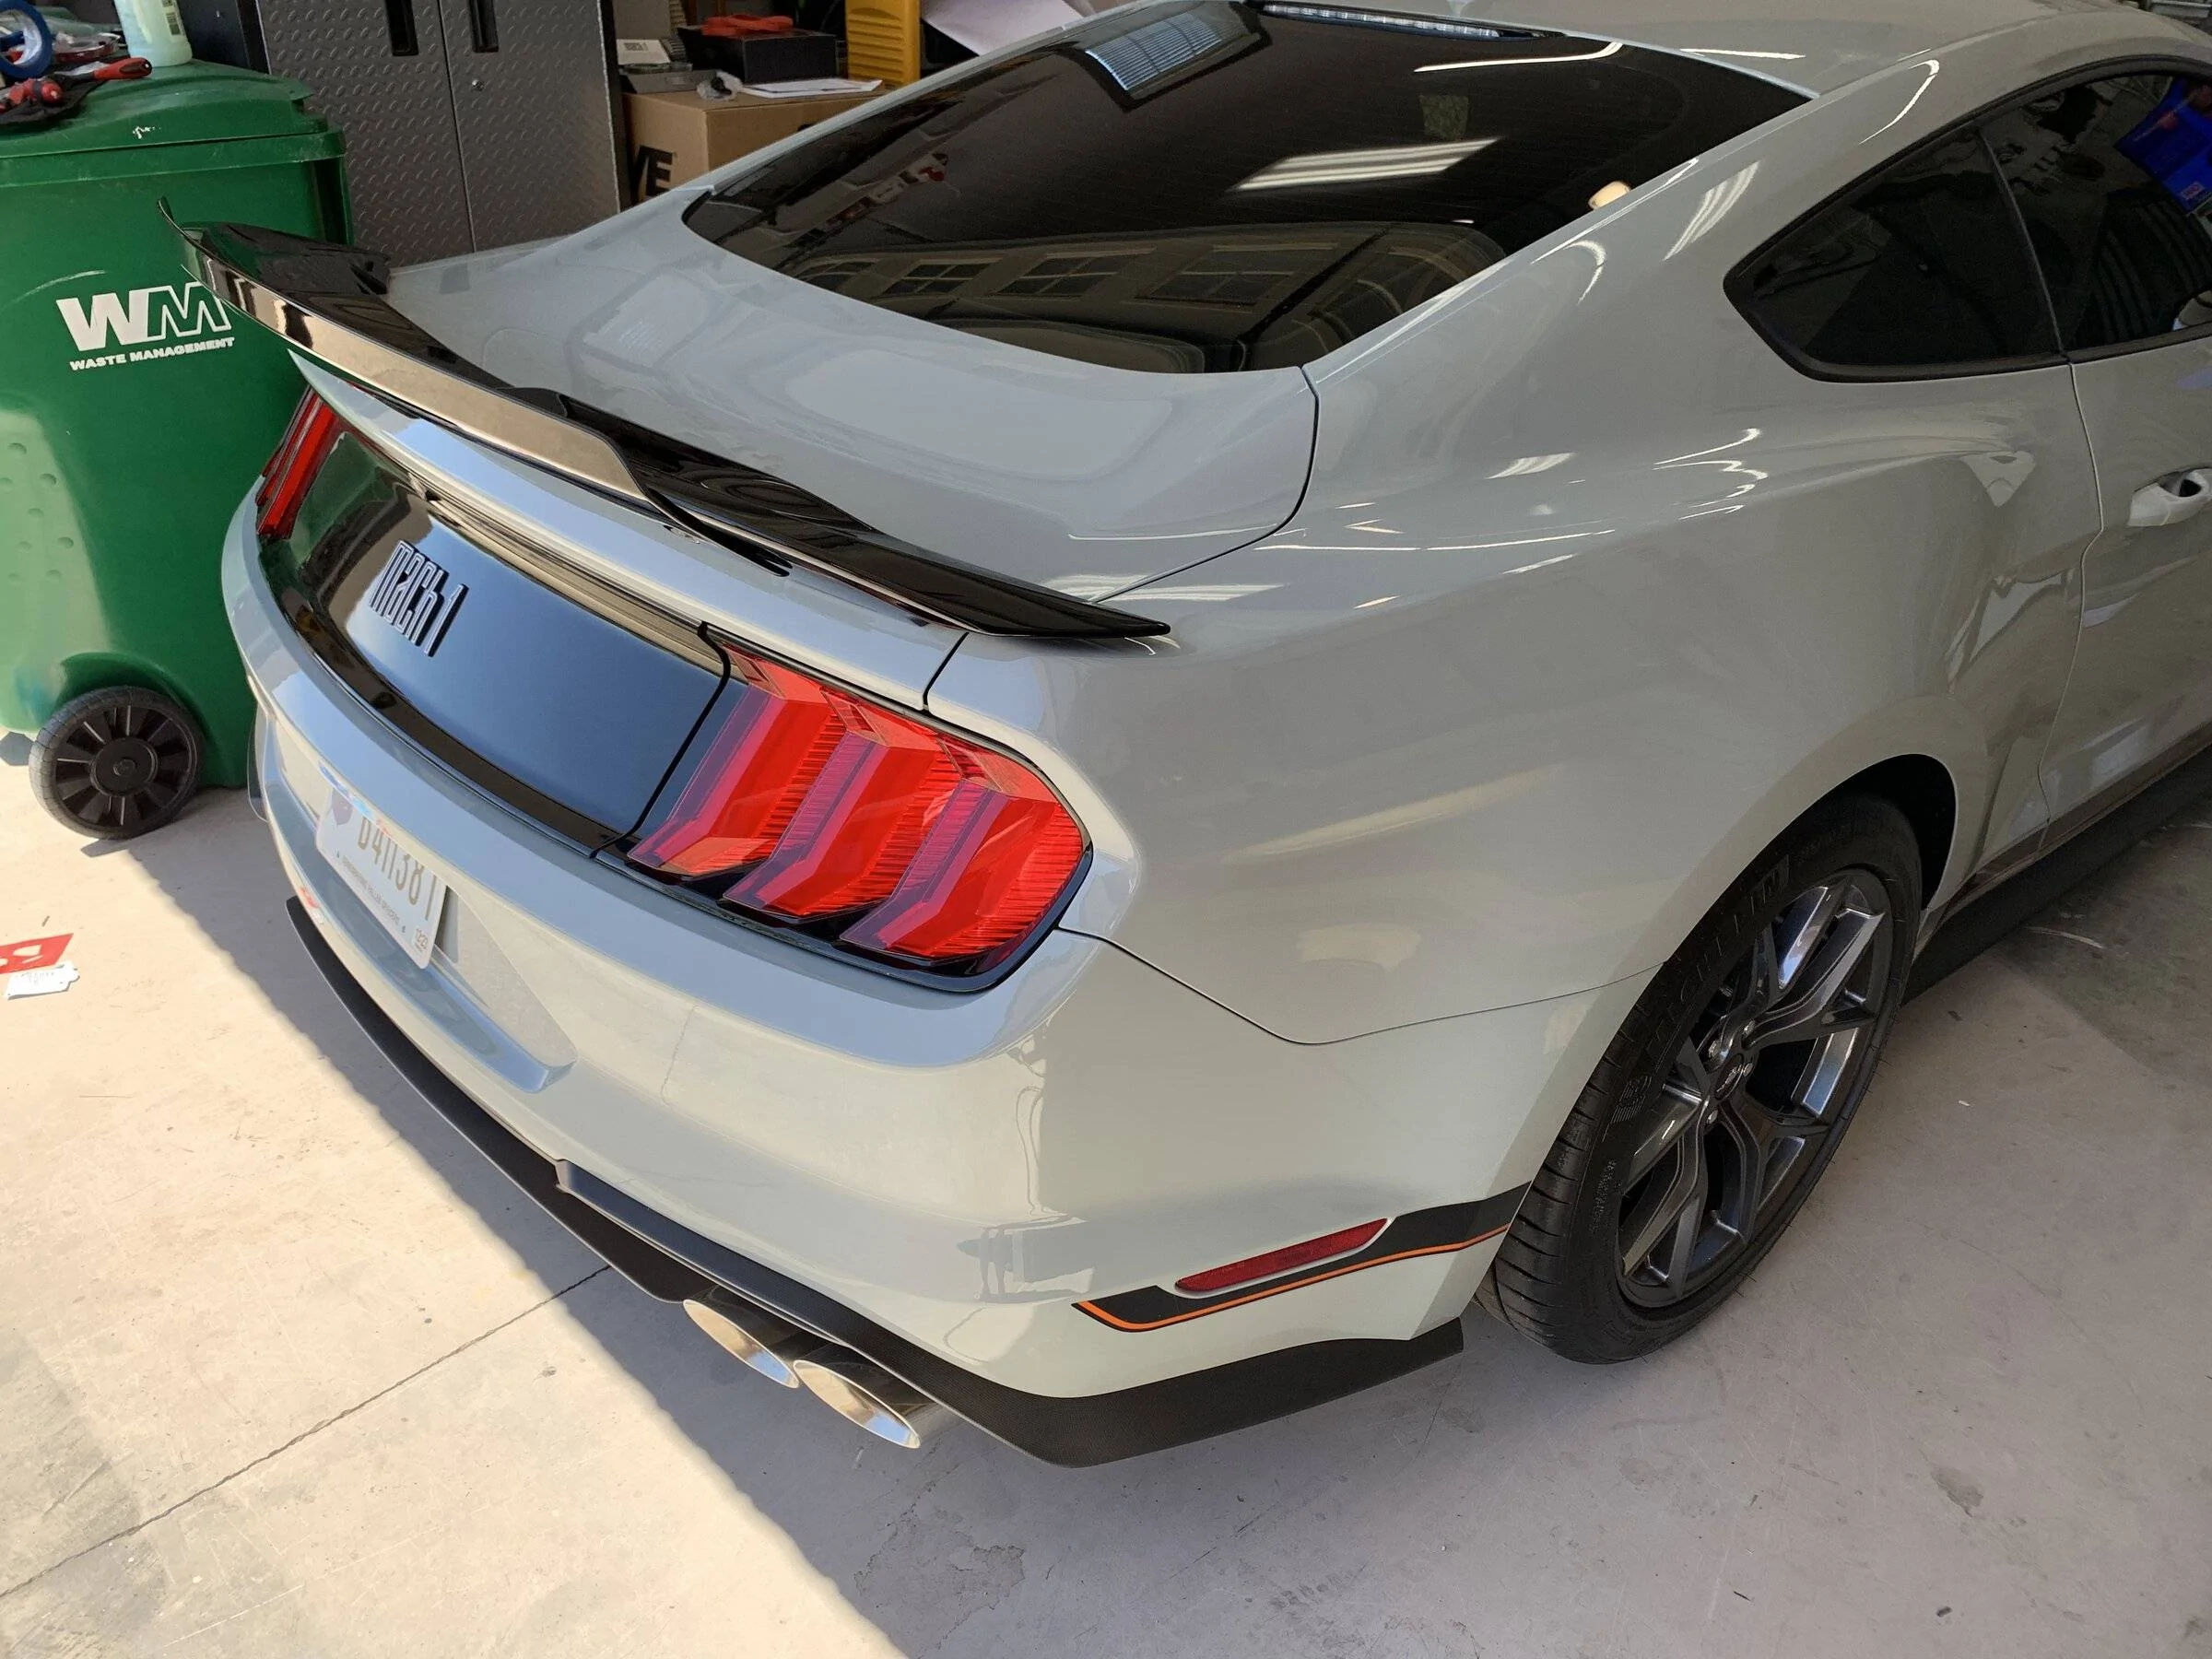
X-pipe install along with rear tire spats and front fender lip trim should be next up whenever time allows-2 more weeks of maintenance outage at work.

IMG-0265.jpg


IMG-0267.jpg
IMG-0266.jpg


IMG-0269.jpg


IMG-0270.jpg


IMG-0273.jpg


1652705708735.png
Sponsored

 
Last edited:

cerbomark

Well-Known Member
Joined
Jun 17, 2021
Threads
38
Messages
1,662
Reaction score
2,271
Location
TN
Vehicle(s)
21 Mach1 700, 6 Spd.#5558
wow, steeda doesn't t make a clutch pedal extender for the s550. I called. ??
 
OP
OP
RobZ71LM7

RobZ71LM7

Well-Known Member
Joined
Oct 14, 2021
Threads
11
Messages
496
Reaction score
862
Location
Louisville, KY
First Name
Rob
Vehicle(s)
2021 Mach 1, 2019 F-150

cerbomark

Well-Known Member
Joined
Jun 17, 2021
Threads
38
Messages
1,662
Reaction score
2,271
Location
TN
Vehicle(s)
21 Mach1 700, 6 Spd.#5558
so you had to home rig the aluminum pedal cover?
 
OP
OP
RobZ71LM7

RobZ71LM7

Well-Known Member
Joined
Oct 14, 2021
Threads
11
Messages
496
Reaction score
862
Location
Louisville, KY
First Name
Rob
Vehicle(s)
2021 Mach 1, 2019 F-150
Today's mods:

Ford Performance Oil-Air Separator M-6766-A50A
I had to bend the upper bracket some so it would seat on the replacement valve cover stud-the added but made it too high
Easy install-no need to unclip wires
Be easy with the harness clip on the lower stud-I used a tiny flat blade screwdriver to relieve tension so I could take it off with little force without breaking it
I found the intake manifold side hose installs easier when backwards-less strain on the ports and electrical harness this way

Handling Package Front Fender lip molding
Easy install
Prepped twice with denatured alcohol, then adhesion promoter
Install top pin first then slowly peel back tape ribbon and press firmly-recommend a dry run before.

Handling Package / GT500 rear tire spats
Easy install and looks great
Be sure to order plastic rivet, nutserts/clips, and correct screws (there are two part #'s floating around, but you want the one with the bigger washer built-in, I'll update with part #)

Rokblokz PP2 side front rock guards
I trimmed these to fit better with the HP lip molding
If I had to do it over again, I'd consider trimming the fender lip molding short and use the rokblokz unmodified
Only potential issue is the top secures with a plastic clip that doesn't really like the added thickness of fender liner/fender/lip molding, but I think it will be okay. Worst case I can glue it with black silicone or 3M-need to test on material
YES, they are large, but I'll be running 19x11's up front (SVE's w/25mm OP spacers), but if they end up too big

Steeda X-pipe
Nice piece, good fitment
Welds, although pretty, have some undercut which I don't care for personally. Part of my day job is boiler and pressure vessel repair (read: 1000's of pressure welds that have to pass x-ray or phased array testing) and I've been over a lot of jobs with so I'm picky and prefer quality over instagram. #rant
Cheap clamps-inferior to OEM, upgraded to double wall Vibrant clamps
Used multiple jacks and jack stands to adjust and hold muffler and tip alignment before torquing everything down.
I unplugged the active exhaust both sides to protect the harness and connectors
It's possible and easy to do alone, I used a jack and 12" x 12" piece of plywood to hold the x-pipe against the resonator to mark cuts. I loosened the OEM clamps up front and pulled them back to verify the x-pipe was dead even with the factory exhaust. I marked a circle on both with blue painters tape and made it about 1/4" shorter than stock to gain clearance between the AE harness & plugs versus the body. I also verified I now have what looks to be plenty of clearance on the AE plugs and harness as shown.
Dewalt single handed "hackzall" is awesome.
Haven't started it yet-it was 10pm and I really like my neighbors

D89C4607-BA6D-4063-A548-E3BD1BD8ADDE.jpeg


49FEDA1B-58EA-4BFE-9E7E-030A66EAEC30.jpeg


A2E8EE3B-4DF6-4C94-84D9-C3B8BB77880C.jpeg


5C0B57D0-E294-4466-AAF9-4C7C788B57C4.jpeg


D19F2747-3326-4147-94AA-FF9E720C9D9D.jpeg


56170AC1-795D-49FA-B388-5E6409708A4F.jpeg


96D70B85-1421-4204-96E2-248B61382E08.jpeg


CCF88F6D-E49D-4100-9C72-DB7D5430B0C7.jpeg


8065B54F-B34B-4CD4-B287-AE6976232698.jpeg


FA5E39E8-3350-473B-BE11-E5106B327D85.jpeg


17CA5353-D857-4590-AD28-8BF2FAEBF371.jpeg


4B19135F-A3B9-4C6D-BB17-ADB2BAF77499.jpeg


A7A64157-A1C7-4279-A43F-4CB49D423ADD.jpeg


8B843C84-AEAF-44BE-AA49-5386C7B89D69.jpeg


B50D6B60-CED7-446F-B483-42B9BAA6C5E8.jpeg


EC105BF5-FCFE-495B-A5E5-B394F19476F1.jpeg


C6C97560-7492-450C-8FD3-68FDCA7C8396.jpeg


B67926AD-C6A7-4C3F-A944-8D91BE53C598.jpeg


E6DD94F7-85E0-464C-BF31-392C17EA426A.jpeg


A6EE4C0D-199A-49C2-95A7-E4191D2A0901.jpeg


7F6B2496-1344-4C46-9CBD-6C455230550B.jpeg


254E0CFC-A397-4DCB-92DD-76C8AF1A2BDC.jpeg


8716A276-88CA-415E-8DF0-BAF88D1DDF41.jpeg


8A7DF058-4FBD-458E-8309-1545A490F614.jpeg


3EEBCB73-6282-49C3-81D5-DA3B1D2486CB.jpeg
 

Sponsored

traxiii

Mustang is my middle name
Joined
Nov 8, 2012
Threads
32
Messages
2,675
Reaction score
4,013
Location
Nor Cal
First Name
Bill
Vehicle(s)
Mustang Thunderbird F150 & '22 Mach 1 on order.

cerbomark

Well-Known Member
Joined
Jun 17, 2021
Threads
38
Messages
1,662
Reaction score
2,271
Location
TN
Vehicle(s)
21 Mach1 700, 6 Spd.#5558
Today's mods:

Ford Performance Oil-Air Separator M-6766-A50A
I had to bend the upper bracket some so it would seat on the replacement valve cover stud-the added but made it too high
Easy install-no need to unclip wires
Be easy with the harness clip on the lower stud-I used a tiny flat blade screwdriver to relieve tension so I could take it off with little force without breaking it
I found the intake manifold side hose installs easier when backwards-less strain on the ports and electrical harness this way

Handling Package Front Fender lip molding
Easy install
Prepped twice with denatured alcohol, then adhesion promoter
Install top pin first then slowly peel back tape ribbon and press firmly-recommend a dry run before.

Handling Package / GT500 rear tire spats
Easy install and looks great
Be sure to order plastic rivet, nutserts/clips, and correct screws (there are two part #'s floating around, but you want the one with the bigger washer built-in, I'll update with part #)

Rokblokz PP2 side front rock guards
I trimmed these to fit better with the HP lip molding
If I had to do it over again, I'd consider trimming the fender lip molding short and use the rokblokz unmodified
Only potential issue is the top secures with a plastic clip that doesn't really like the added thickness of fender liner/fender/lip molding, but I think it will be okay. Worst case I can glue it with black silicone or 3M-need to test on material
YES, they are large, but I'll be running 19x11's up front (SVE's w/25mm OP spacers), but if they end up too big

Steeda X-pipe
Nice piece, good fitment
Welds, although pretty, have some undercut which I don't care for personally. Part of my day job is boiler and pressure vessel repair (read: 1000's of pressure welds that have to pass x-ray or phased array testing) and I've been over a lot of jobs with so I'm picky and prefer quality over instagram. #rant
Cheap clamps-inferior to OEM, upgraded to double wall Vibrant clamps
Used multiple jacks and jack stands to adjust and hold muffler and tip alignment before torquing everything down.
I unplugged the active exhaust both sides to protect the harness and connectors
It's possible and easy to do alone, I used a jack and 12" x 12" piece of plywood to hold the x-pipe against the resonator to mark cuts. I loosened the OEM clamps up front and pulled them back to verify the x-pipe was dead even with the factory exhaust. I marked a circle on both with blue painters tape and made it about 1/4" shorter than stock to gain clearance between the AE harness & plugs versus the body. I also verified I now have what looks to be plenty of clearance on the AE plugs and harness as shown.
Dewalt single handed "hackzall" is awesome.
Haven't started it yet-it was 10pm and I really like my neighbors

D89C4607-BA6D-4063-A548-E3BD1BD8ADDE.jpeg


49FEDA1B-58EA-4BFE-9E7E-030A66EAEC30.jpeg


A2E8EE3B-4DF6-4C94-84D9-C3B8BB77880C.jpeg


5C0B57D0-E294-4466-AAF9-4C7C788B57C4.jpeg


D19F2747-3326-4147-94AA-FF9E720C9D9D.jpeg


56170AC1-795D-49FA-B388-5E6409708A4F.jpeg


96D70B85-1421-4204-96E2-248B61382E08.jpeg


CCF88F6D-E49D-4100-9C72-DB7D5430B0C7.jpeg


8065B54F-B34B-4CD4-B287-AE6976232698.jpeg


FA5E39E8-3350-473B-BE11-E5106B327D85.jpeg


17CA5353-D857-4590-AD28-8BF2FAEBF371.jpeg


4B19135F-A3B9-4C6D-BB17-ADB2BAF77499.jpeg


A7A64157-A1C7-4279-A43F-4CB49D423ADD.jpeg


8B843C84-AEAF-44BE-AA49-5386C7B89D69.jpeg


B50D6B60-CED7-446F-B483-42B9BAA6C5E8.jpeg


EC105BF5-FCFE-495B-A5E5-B394F19476F1.jpeg


C6C97560-7492-450C-8FD3-68FDCA7C8396.jpeg


B67926AD-C6A7-4C3F-A944-8D91BE53C598.jpeg


E6DD94F7-85E0-464C-BF31-392C17EA426A.jpeg


A6EE4C0D-199A-49C2-95A7-E4191D2A0901.jpeg


7F6B2496-1344-4C46-9CBD-6C455230550B.jpeg


254E0CFC-A397-4DCB-92DD-76C8AF1A2BDC.jpeg


8716A276-88CA-415E-8DF0-BAF88D1DDF41.jpeg


8A7DF058-4FBD-458E-8309-1545A490F614.jpeg


3EEBCB73-6282-49C3-81D5-DA3B1D2486CB.jpeg
Great !! TIP OF THE MONTH!!! Ford oil separator , the shorter hose was so tight, switched it to backwards and fits better with less tension.
 

JPJr

Well-Known Member
Joined
Apr 7, 2016
Threads
11
Messages
419
Reaction score
534
Location
Raleigh, NC
Vehicle(s)
2022 Mach 1 HP
Canceling my 2022 order and just picked up Mach 1 M6150 today!
You got me thinking...
A local dealer has the identical car I ordered, less the HP.
Made them an offer today to see if they will get rid of their $5k ADM.
They had 3. Purple, green, and FJG. The FJG is the only one still there.
It's 40minutes away.
Who knows when my 5/19/22 order will actually come in.
 

JetGray_Mach1

Well-Known Member
Joined
Jun 29, 2021
Threads
9
Messages
1,559
Reaction score
2,711
Location
Southern California
First Name
Martin
Vehicle(s)
2022 Mach 1 (HP)
Very nice build, she is looking really nice.

Regarding ceramic coating, does anybody know a good spot in southern Cali for ceramic coating and XPEL coating over the stripes?
 
OP
OP
RobZ71LM7

RobZ71LM7

Well-Known Member
Joined
Oct 14, 2021
Threads
11
Messages
496
Reaction score
862
Location
Louisville, KY
First Name
Rob
Vehicle(s)
2021 Mach 1, 2019 F-150
Great !! TIP OF THE MONTH!!! Ford oil separator , the shorter hose was so tight, switched it to backwards and fits better with less tension.
I triple checked the part number to ensure I had the correct kit. It's crazy how they want that hose to attach and route. And before anyone replies I know the hose ends can rotate on the hose. IT fit much better backwards on mine.
 

Sponsored
OP
OP
RobZ71LM7

RobZ71LM7

Well-Known Member
Joined
Oct 14, 2021
Threads
11
Messages
496
Reaction score
862
Location
Louisville, KY
First Name
Rob
Vehicle(s)
2021 Mach 1, 2019 F-150
You got me thinking...
A local dealer has the identical car I ordered, less the HP.
Made them an offer today to see if they will get rid of their $5k ADM.
They had 3. Purple, green, and FJG. The FJG is the only one still there.
It's 40minutes away.
Who knows when my 5/19/22 order will actually come in.
Yep, I'm still happy with my decision. I enjoy working on cars and I get to learn and do upgrades to some HP parts along the way. With the HP now being a $4500 option it's an even easier decision.
 

Madtel4

Well-Known Member
Joined
Dec 17, 2017
Threads
25
Messages
423
Reaction score
273
Location
Kansas
First Name
Lee
Vehicle(s)
21 MACH 1, HP 1064, 20 Ranger XLT & 20 Explorer ST
Thanks for this thread, I am enjoying it.
Lee
 
OP
OP
RobZ71LM7

RobZ71LM7

Well-Known Member
Joined
Oct 14, 2021
Threads
11
Messages
496
Reaction score
862
Location
Louisville, KY
First Name
Rob
Vehicle(s)
2021 Mach 1, 2019 F-150
Most of the suspension is now installed.

Today I finished installing (don't ask how slow I am):

Ford Handling Package front springs
Ford Handling Package rear springs
Ford Handling Package rear sway bar
BMR CB005 Cradle Lockout Level 2
AAD Rear Camber Arms
Steeda Camber Plates
Strut tower opening enlargement to 2.75" from 2" w/Steeda hole saw delrin insert


I have a set of Cortex toe links to install, but will likely do those tomorrow, but I'm half debating due to NVH concerns.

Last minute changes to my plans as in last week were Steeda camber plates, AAD rear camber arms, and cortex toe links. I discovered the factory camber plates are very limited in camber, Vorshlag was on backorder so I chose Steeda since they use the upper sprig mount-hoping this keeps NVH low. I also looked at the rear suspension camber adjustment and saw what a mess it is to adjust and maintain so I chose AAD camber arms. The toe links I have, but haven't put on yet.
I got so far as ready to pull the front sway bar (all bolts removed) and replaced with the GT350R unit and then stopped. I didn't want to fish it around all the A/C, brake lines and other delicate pieces without help. The factory front bar is also a bonded bushing bar so I'm not sure the 350R bar will be a lot stiffer-if I go to that effort in the future it will be a BMR 35mm front bar.

Up front: I used and recommend an OTC 6494 spring compressor. I lost 2 days because I assumed my conventional spring compressors would work. Front end work wasn't bad, but you have to be careful routing the wheel speed sensor and magneride wiring to avoid damage. The lower strut bolts need to be hammered out: 3 of the 4 were easy, but one required a ton of hits with a 4# hammer and the jack changing load at the hub. I replaced with new bolts. One bolt had difficulty going back in and seating fully but it eventually did at 184 ft-lbs. The endlinks were actually a bit of a pain to get installed and lined up-complicated by tight fit and bonded bushings/preload.

In the rear I used the CJ pony method of dropping one side of the cradle at a time by removing the front and rear cradle bolts and slowly lowering the jack. I still had to push on the control arm with my chest while using my arms to remove the rear springs-they come out pretty easily this way-but remember to pull out top first. I installed the BMR lockout kit at the same time-well made but a pain getting all the bolts to go in-the cradle does not want to move-and didn't much-the bolts all went in so it must be good. Dropping the cradle also makes the camber arm install super easy and possible to actually torque. The AAD arms and lockout tabs fit-but it was very tight.

I've only done a brief test drive and everything is quiet and seems fine. I did initially have a suspension fault, but that's from when I started the car to turn the wheel to help lineup sway bar endlinks with the struts unplugged and ride height sensors mechanically disconnected. It has cleared since and drive modes are all available. Tomorrow, I'm going to see which of the two local race shops can get me in for an alignment before a road trip-if not I'll align it myself (dear lord please no). The car does actually feel stiffer-even with the modest rate increase and only a 20 minute drive. I'm debating the toe arms at this point. Only other mods left are to install the front ARP wheel studs for the 19x11’s.

Fortunately the wife was away with her sister this past week and didn't watch me (other than the security cameras) disassemble a $60k+ car with only 985 miles. The last pony car I had was a '94 Camaro and this suspension makes it looks like a dinosaur. I was constantly worried about delicate electrical connectors on the struts, ride height sensors, and everything else on the car.

AF5073EB-48CB-468B-A748-752D85132D66.jpeg


0D77B41A-C302-4254-B101-DA3C26593D1A.jpeg


17A49952-E970-4A0A-B48A-45547F8B3E5B.jpeg


D60ED83E-F1AA-4986-9E6B-8F89BF3D448F.jpeg


6E847B42-4B2A-4E82-B6FD-B4BD7810D2CE.jpeg


8D6E6A5D-D26C-440C-BA1B-73A03E78CDB7.jpeg


85534DA6-3B4D-4312-8ABD-8B9B27566AC5.jpeg


6B3D1CEC-503A-40FC-8346-0A1E0EFE219C.jpeg


2B0CC677-0D87-45F8-B395-5D5B0FF4E0C8.jpeg


46B8BDFD-348B-4536-81AB-2D66FB1BADFE.jpeg


2F04672A-E362-4607-84F4-E5BF43A365C2.jpeg


4248A889-6595-4C5C-95F9-3887EBF9E441.jpeg


42F4FF07-1B61-4D4B-8F4E-9D532A6703F4.jpeg


3D7B342B-E297-4ECD-AF0D-4A588F68EEBB.jpeg


53ECA804-3287-4939-9024-A171B1E913C9.jpeg


CD40F0B7-FD1B-4E6A-B162-E3028F955C44.jpeg
 
Last edited:

Knockdown

Well-Known Member
Joined
Oct 23, 2021
Threads
13
Messages
154
Reaction score
285
Location
FL
First Name
Greg
Vehicle(s)
2021 Mustang Mach 1
Nice job on all of your mods!đź‘Ť
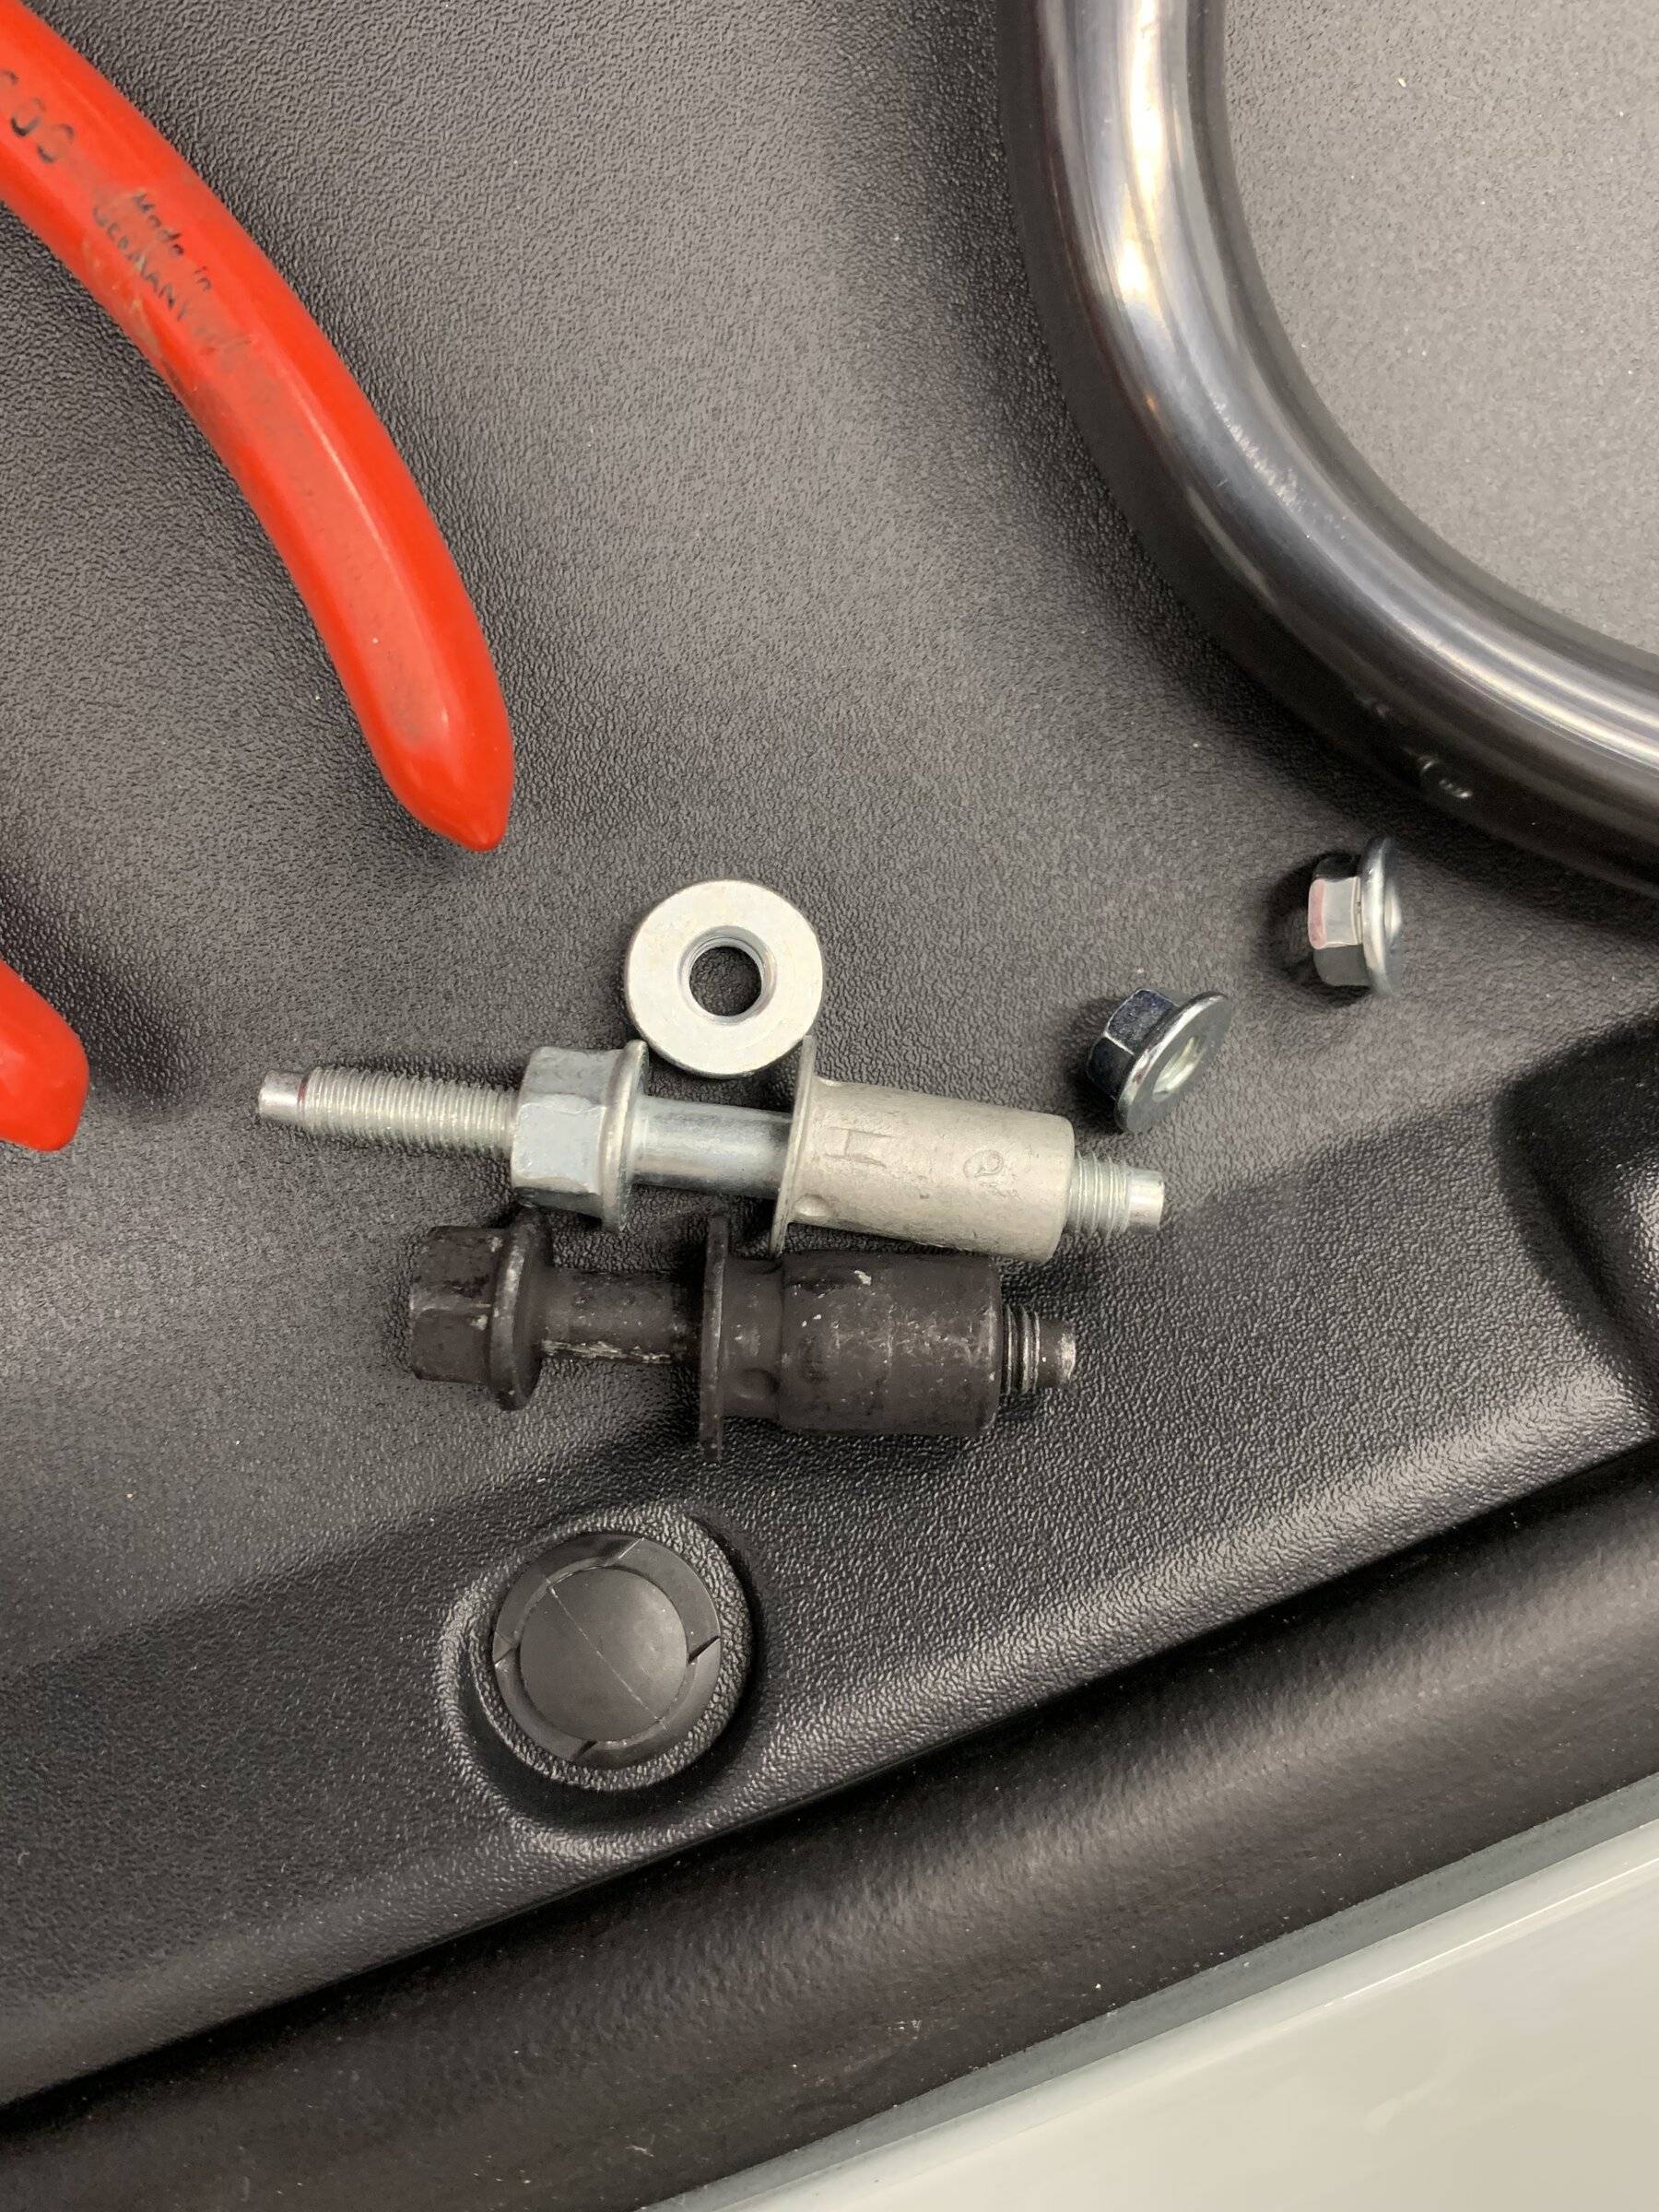
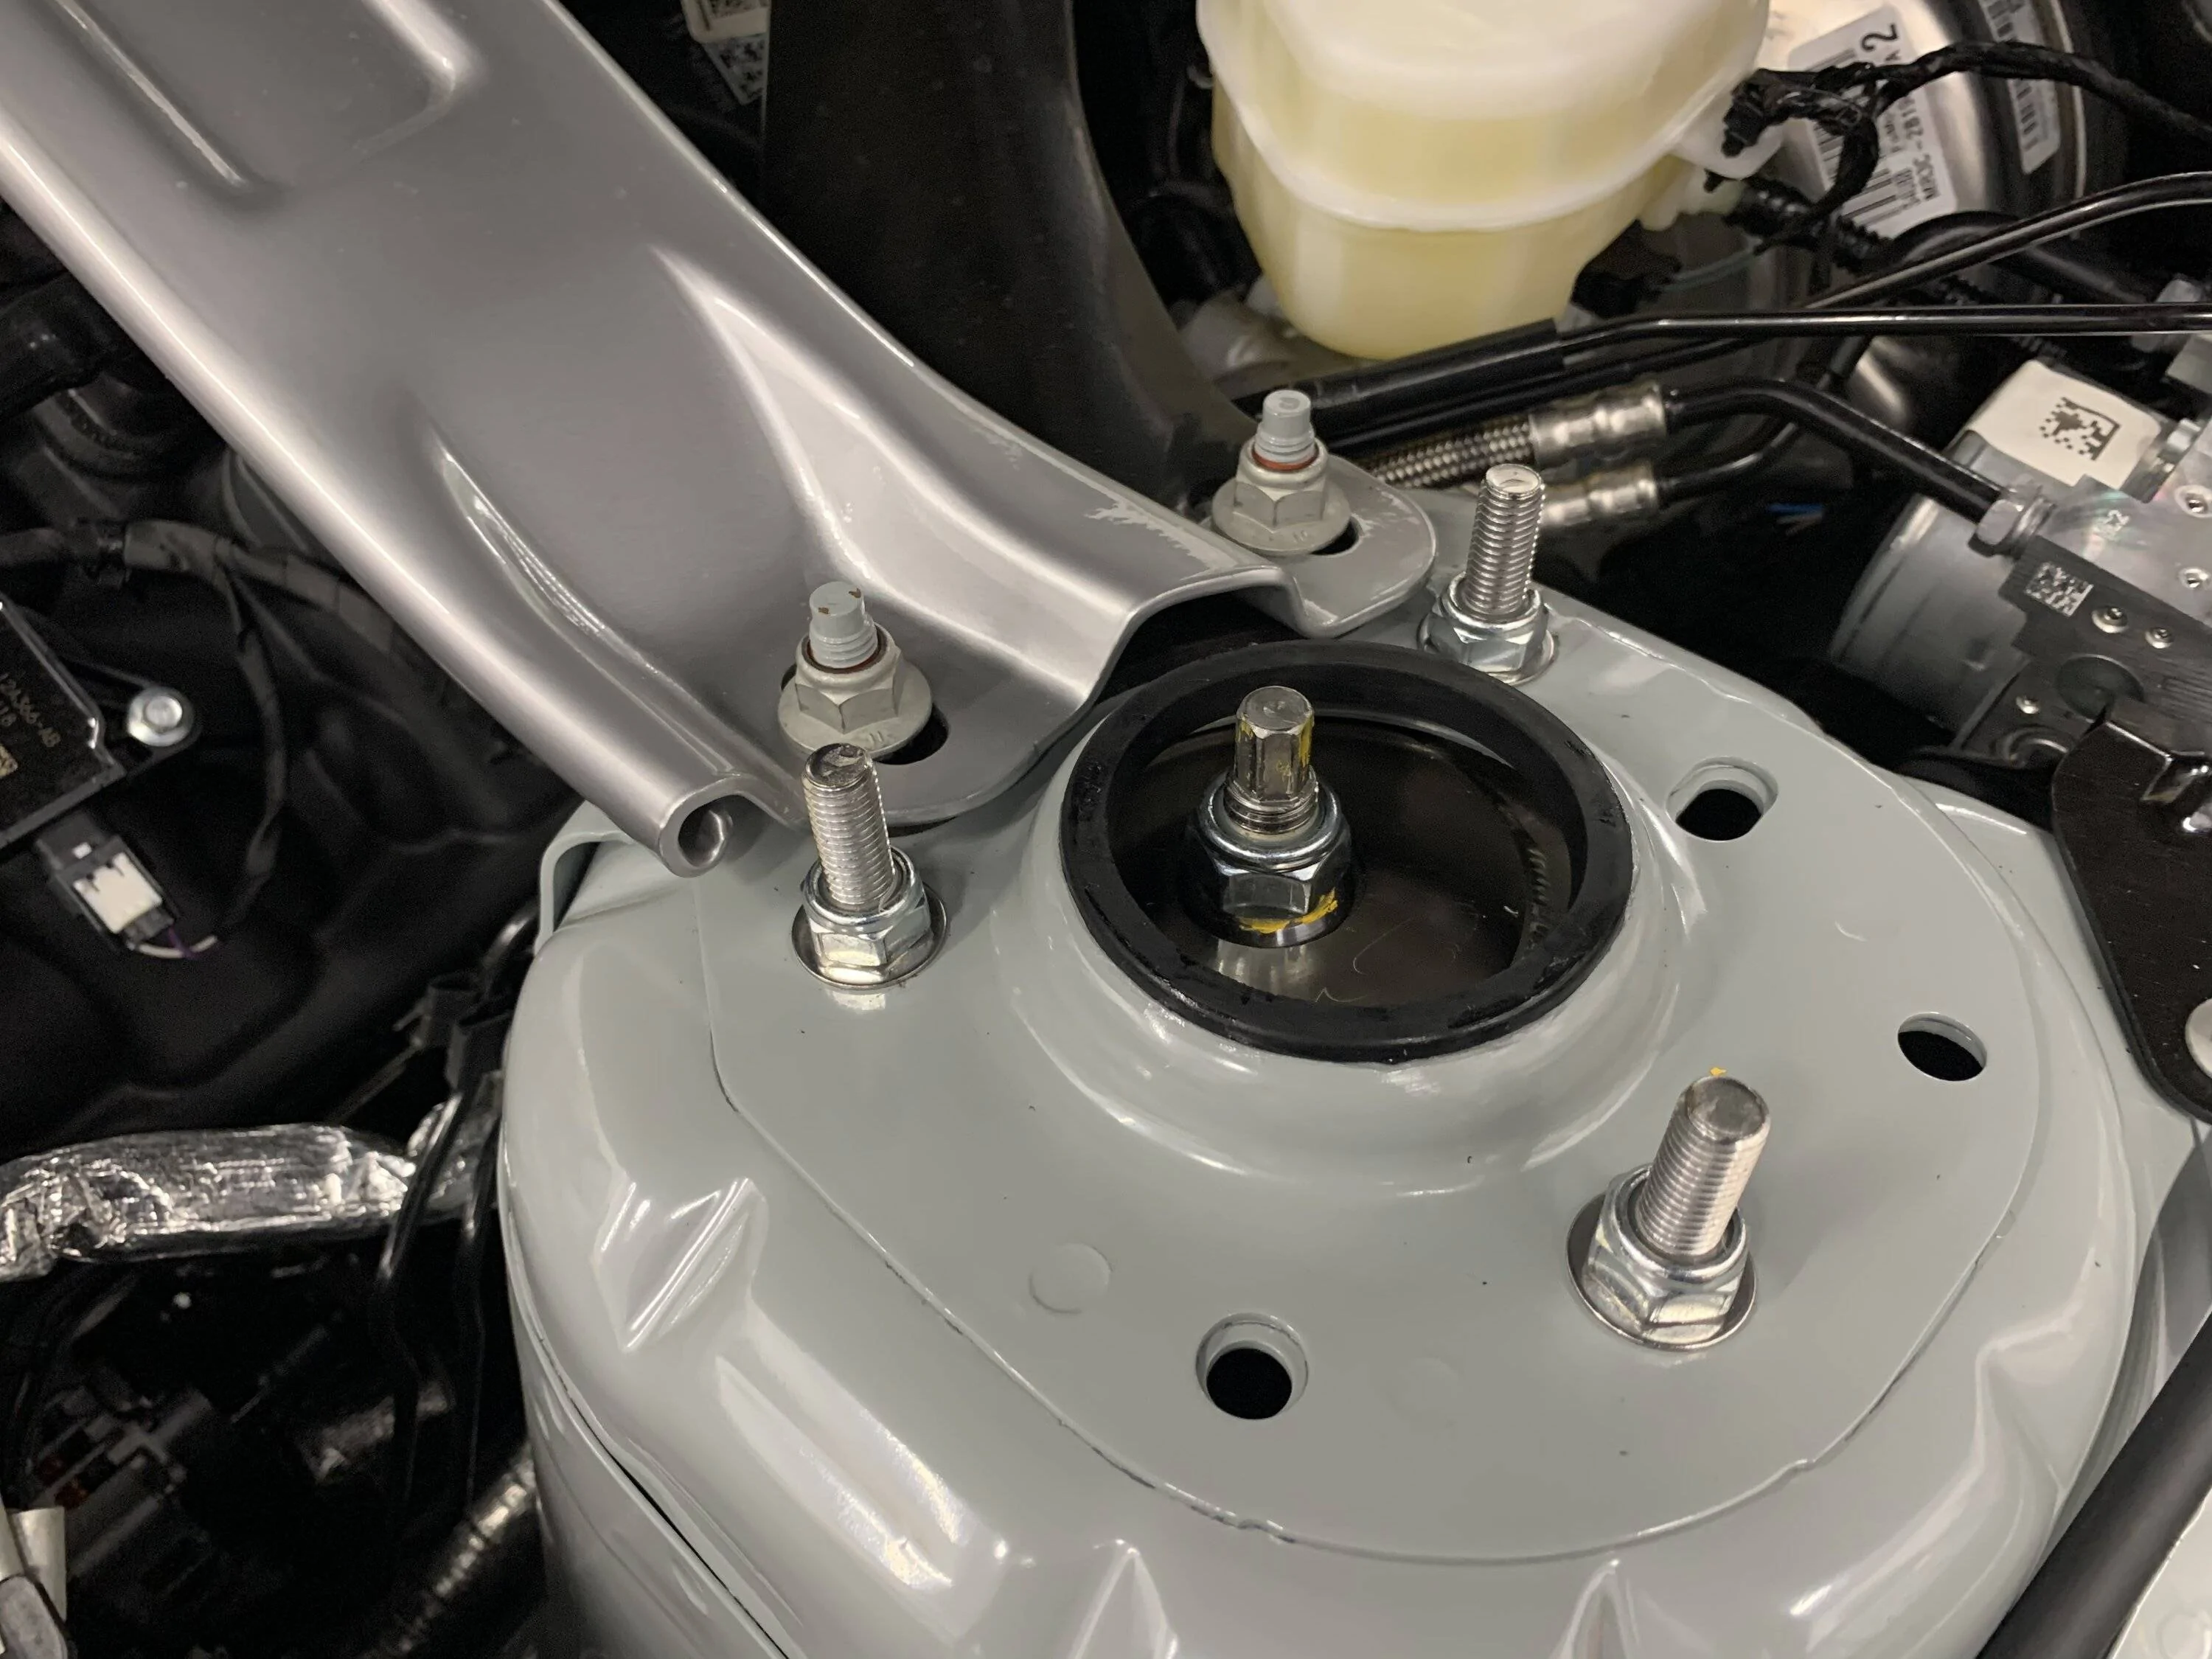
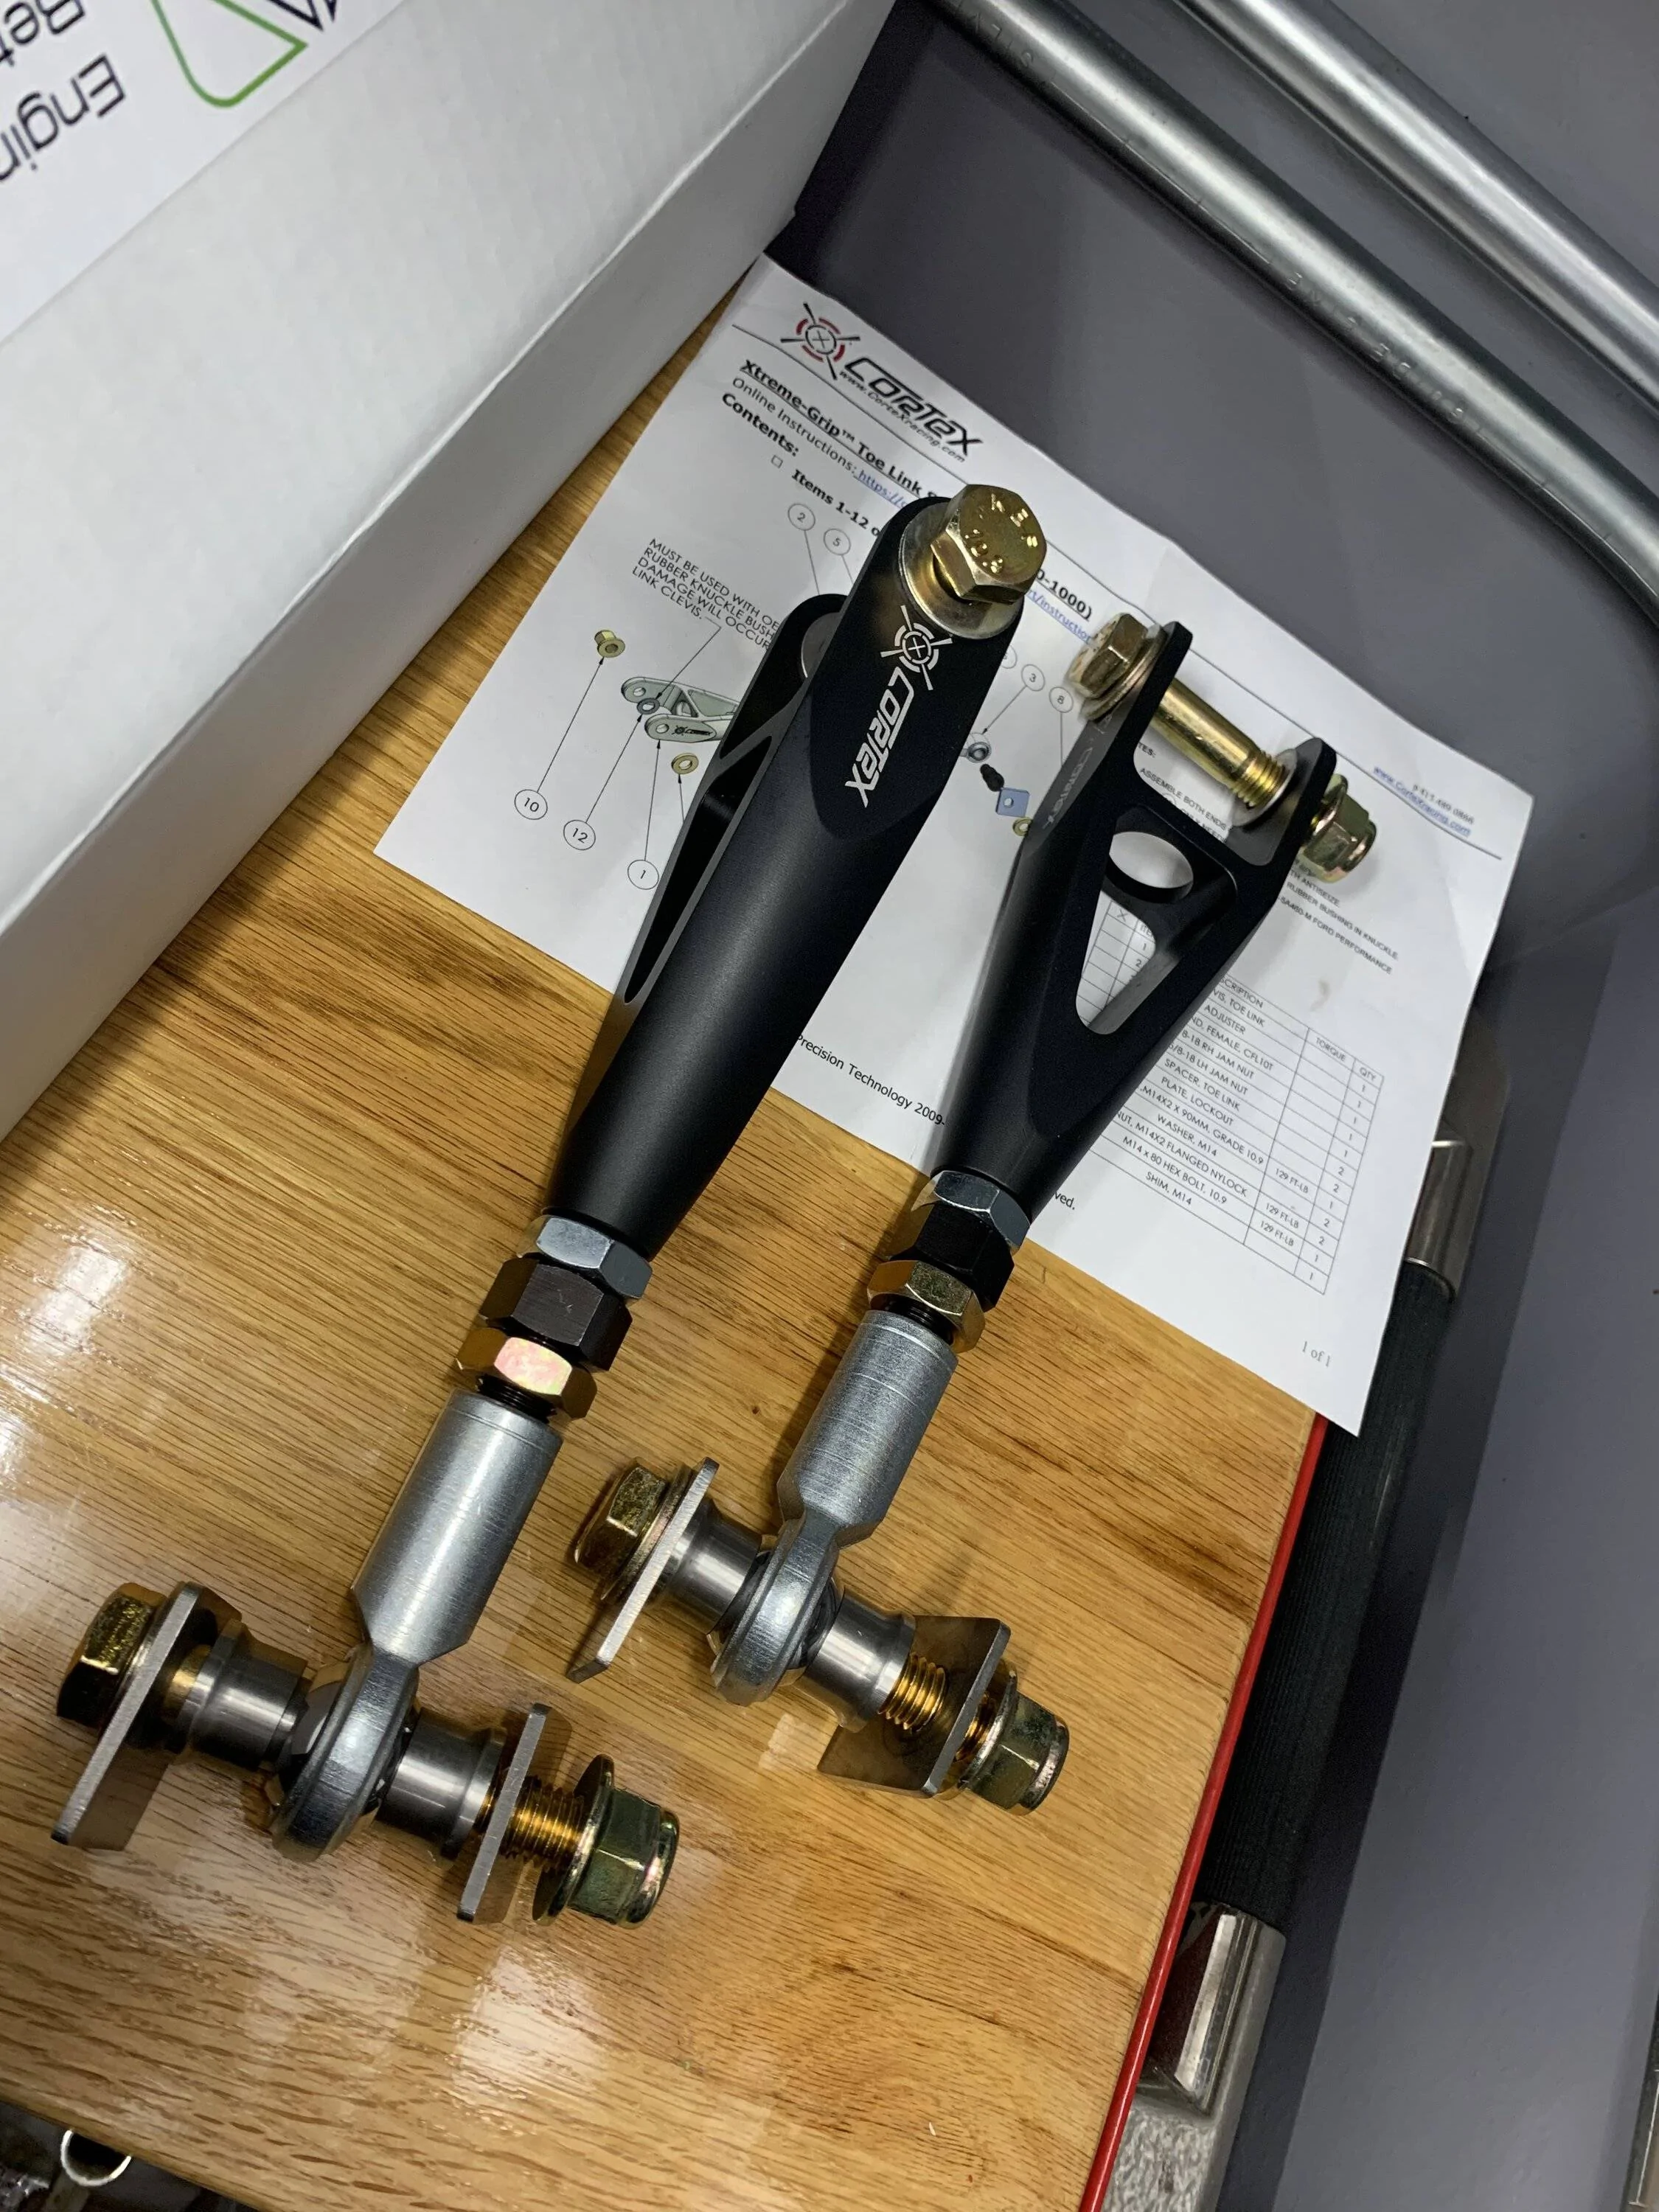
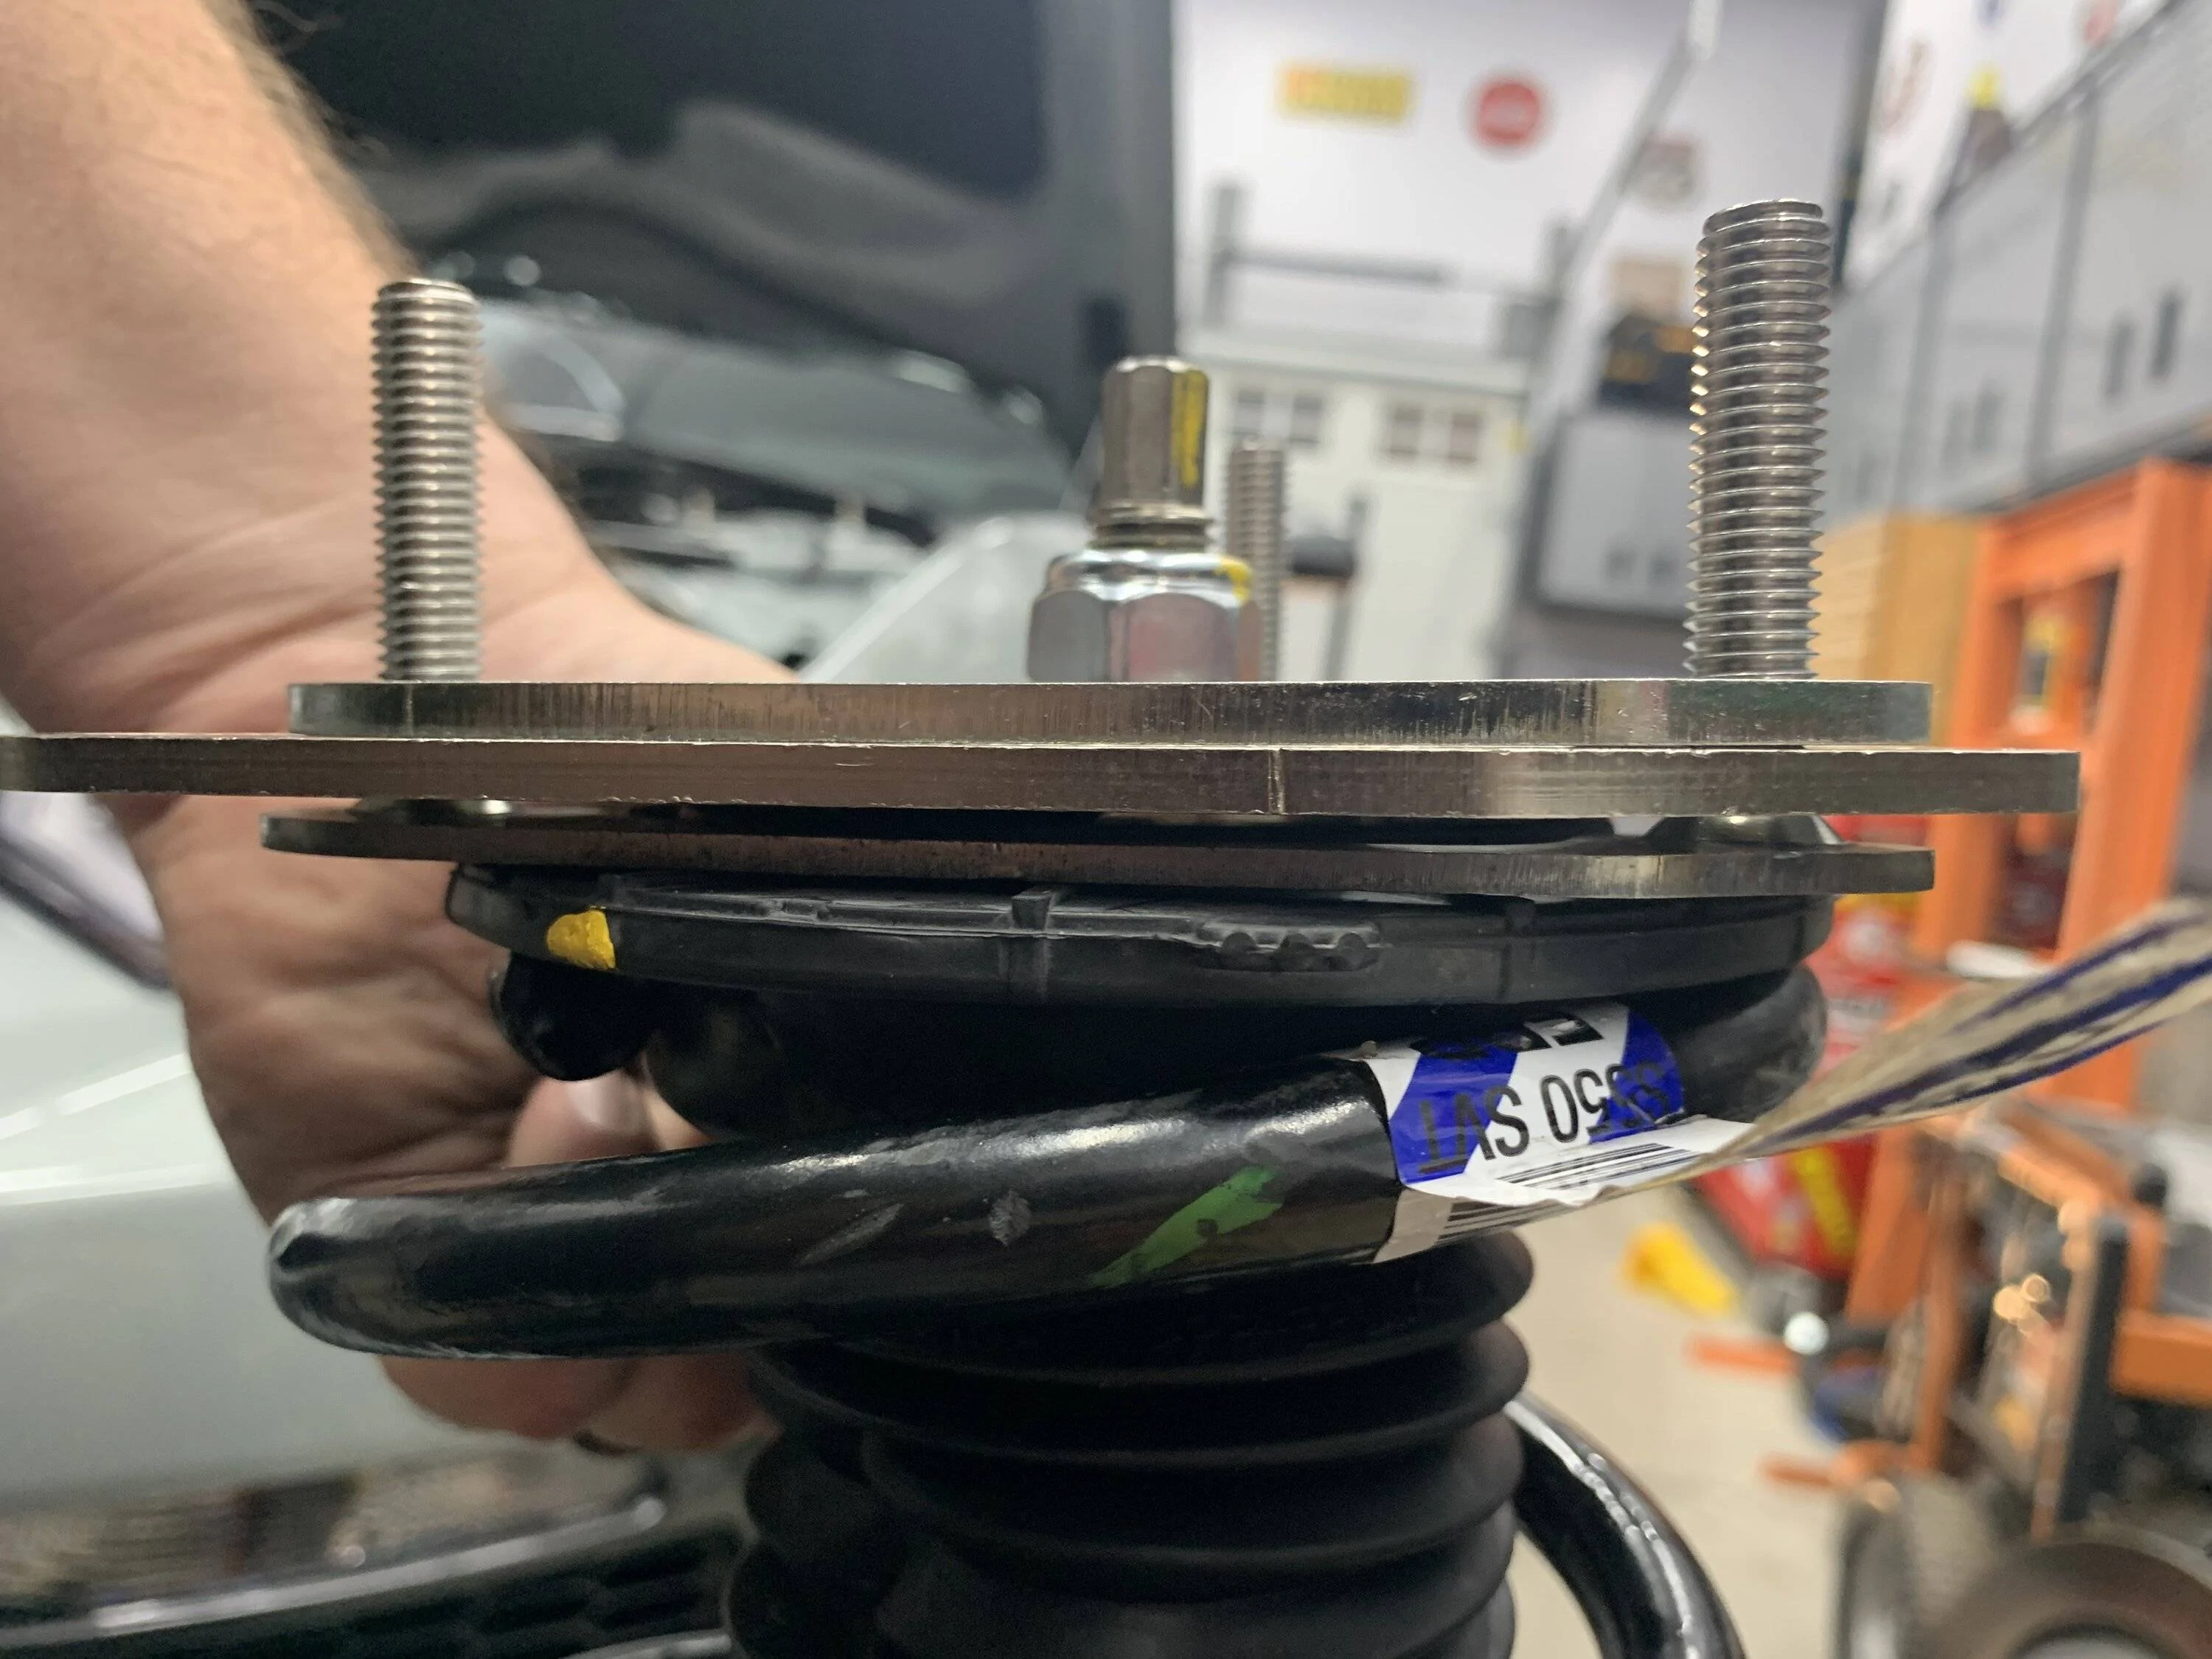
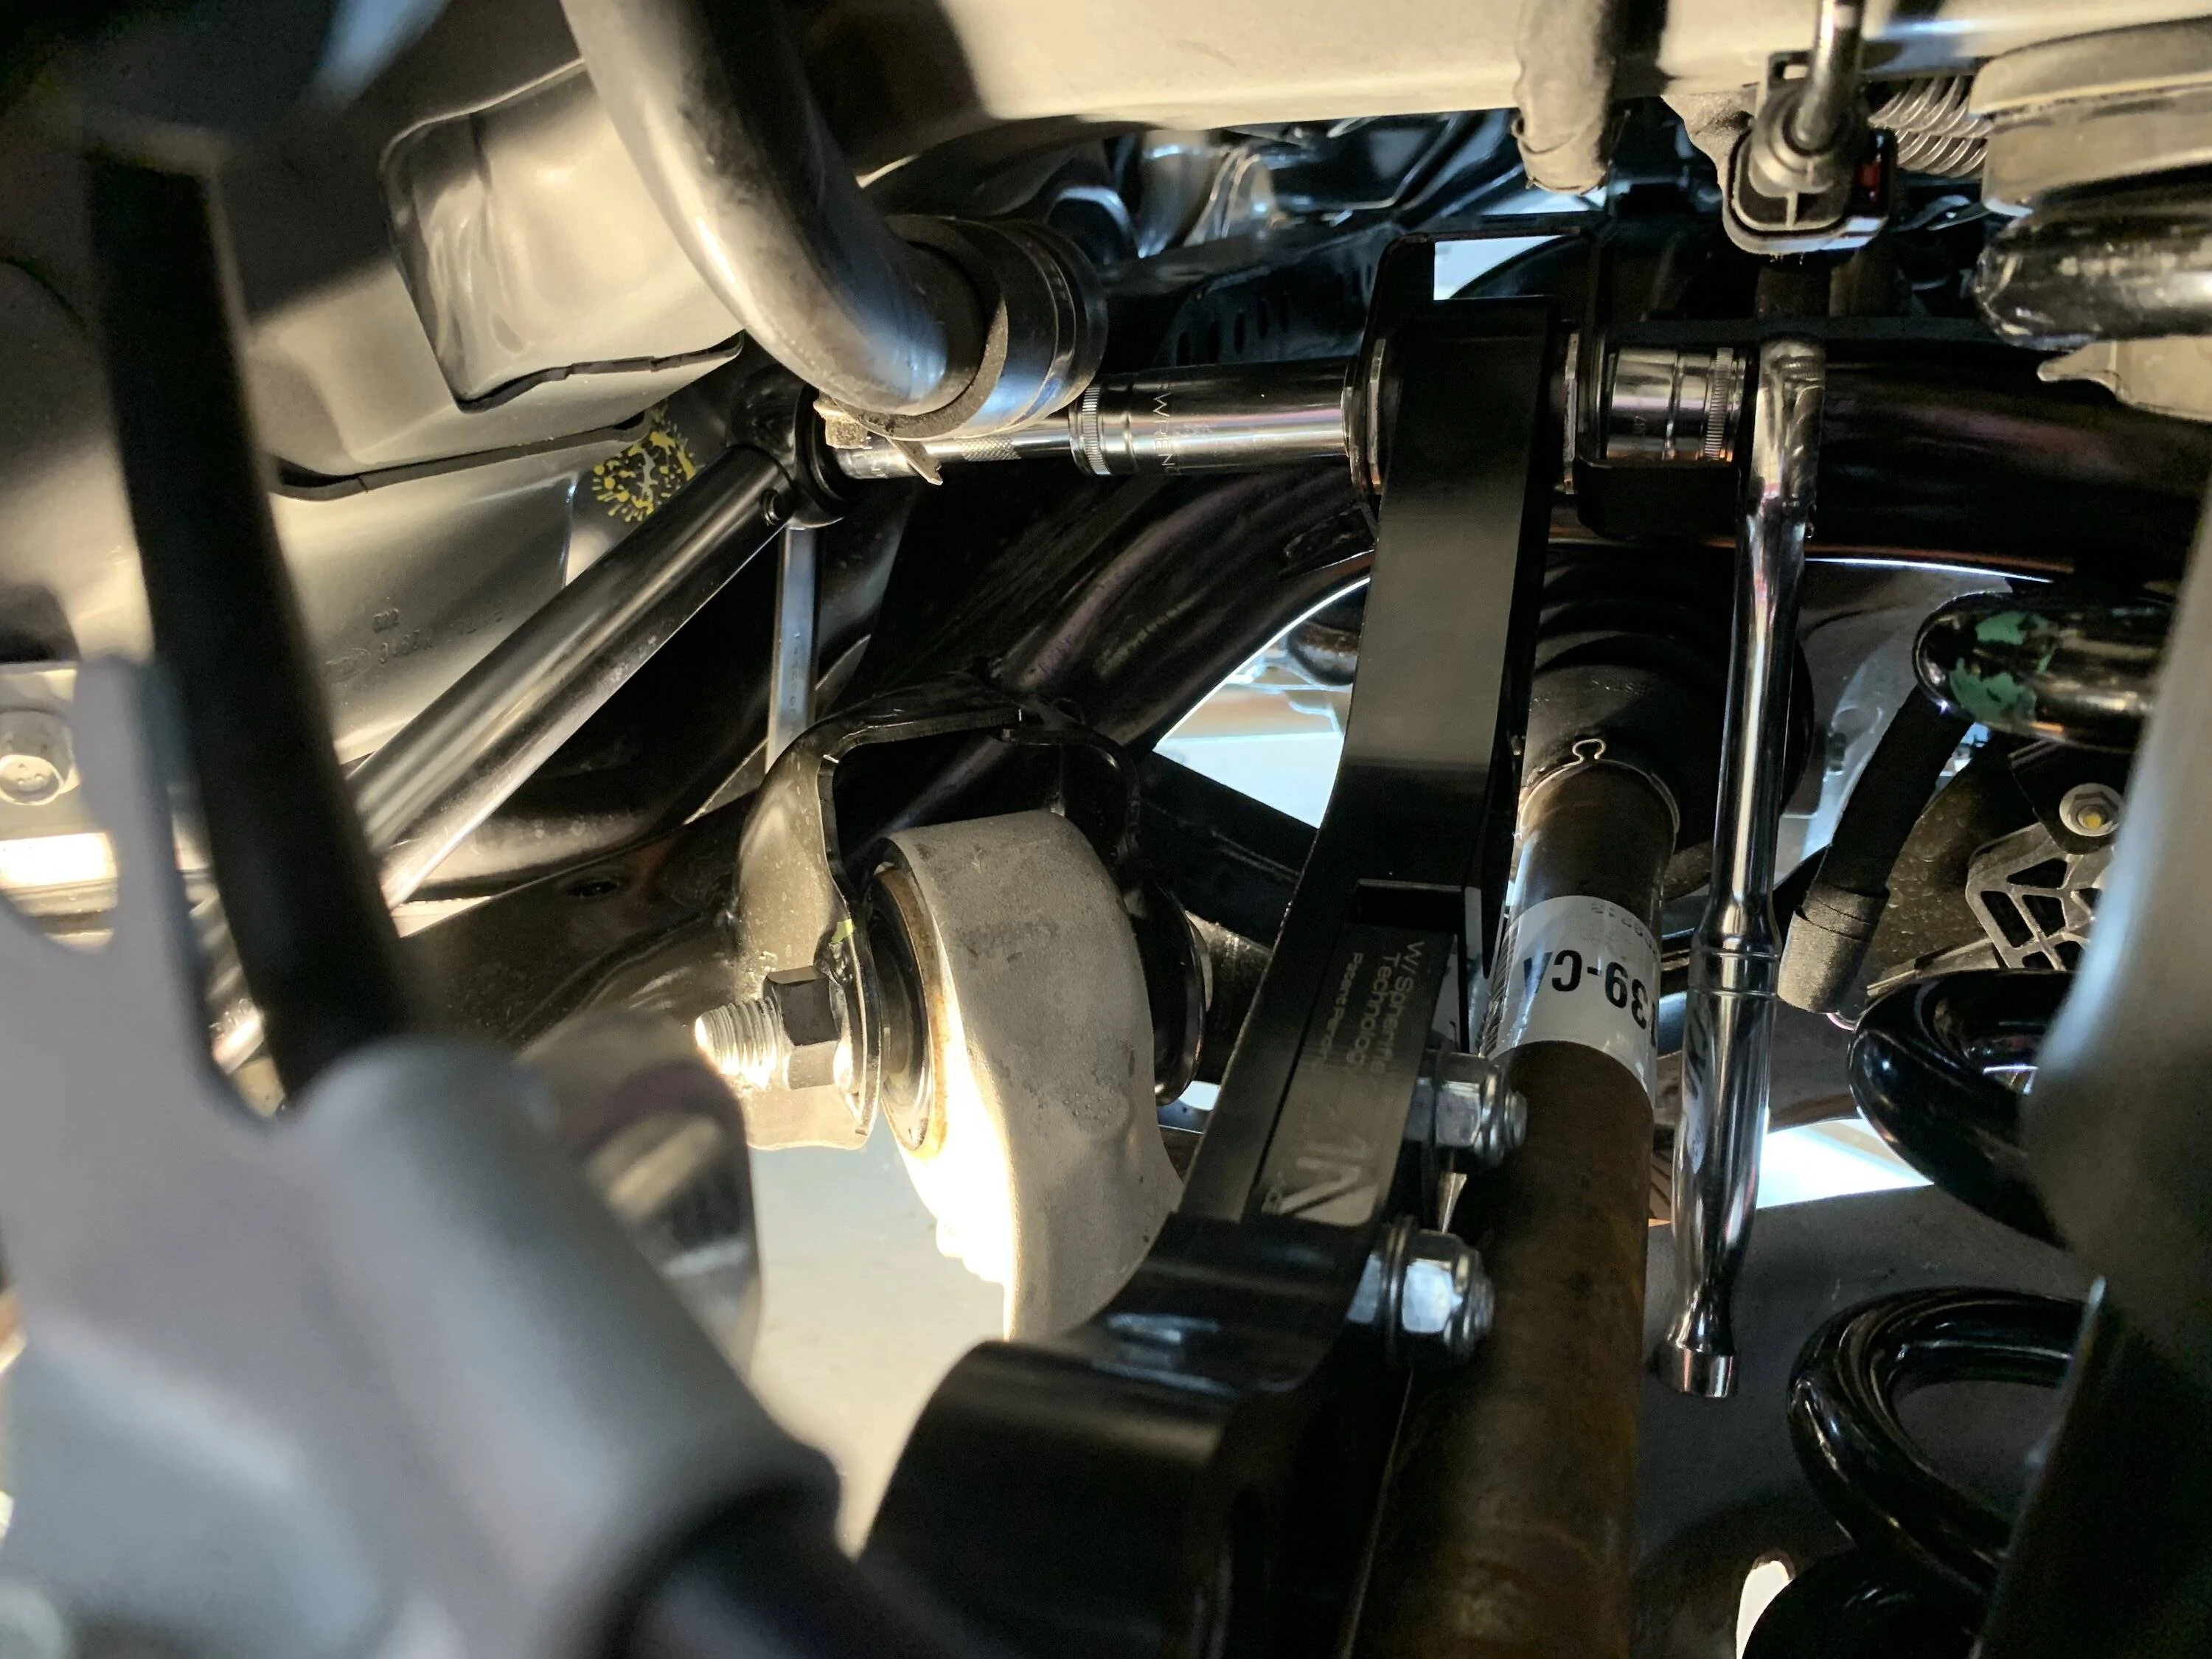
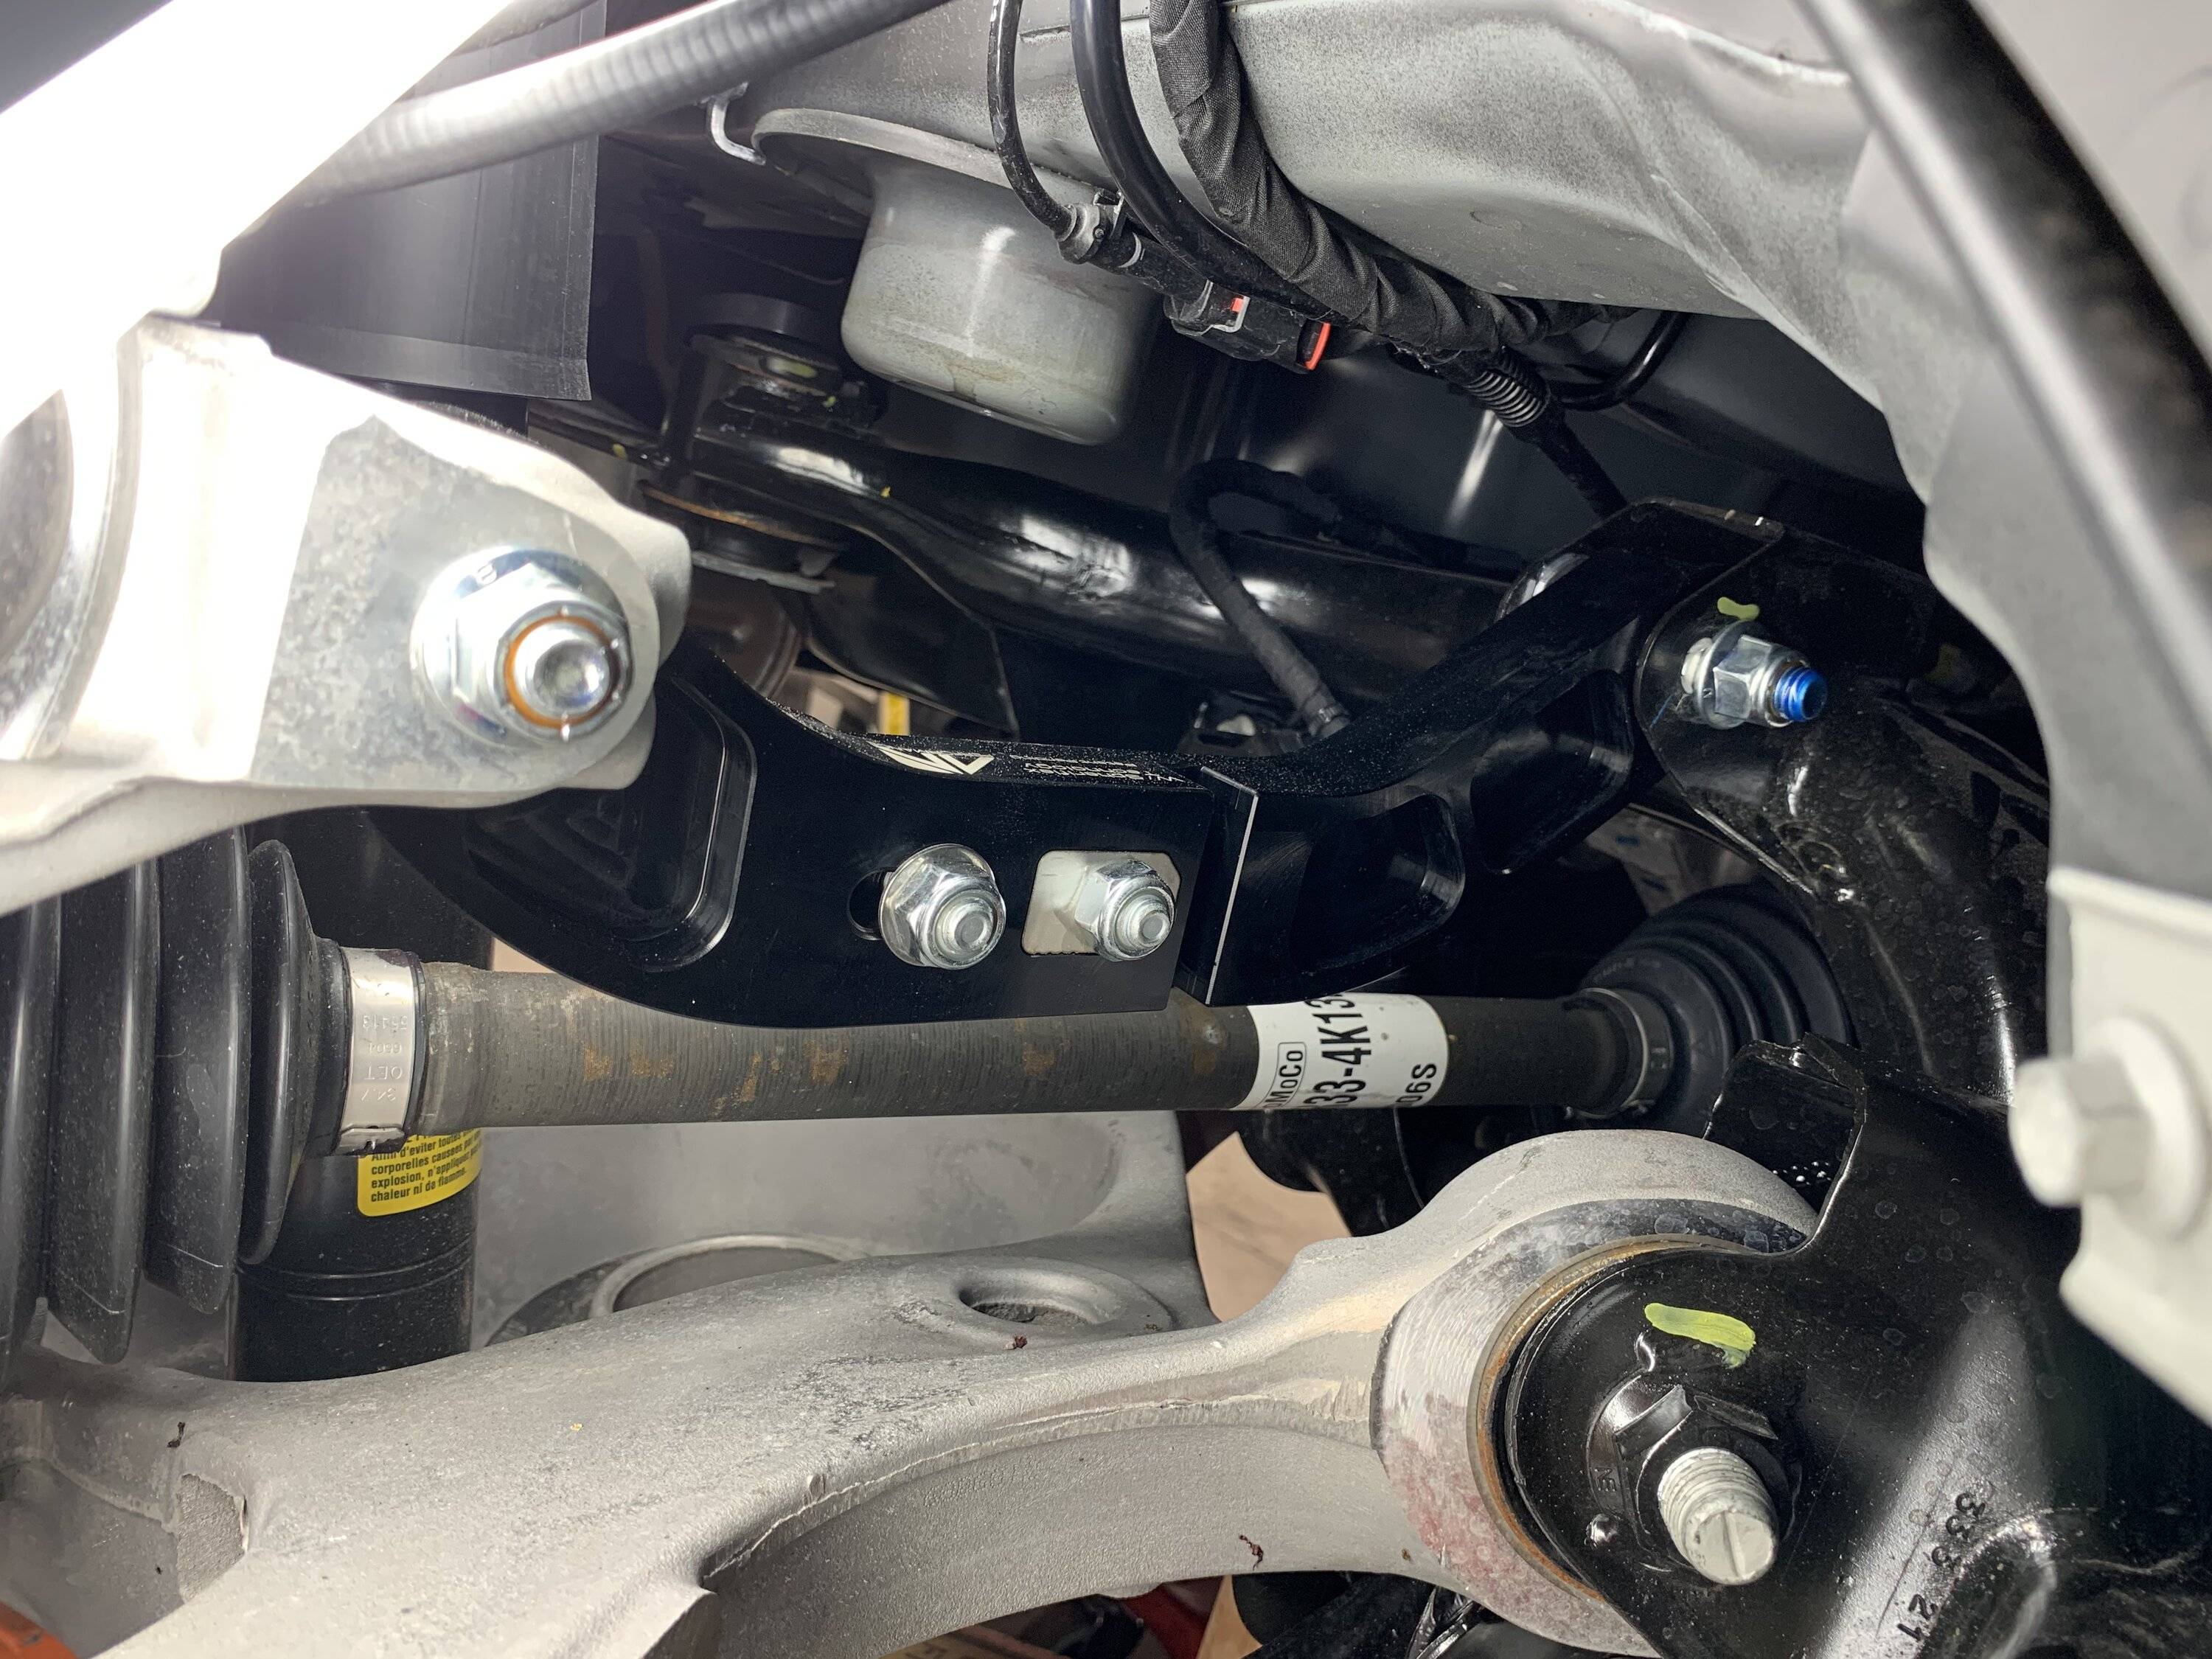
. That inside bolt on the rear drivers side camber arm is a bit of a PIA indeed.
 
OP
OP
RobZ71LM7

RobZ71LM7

Well-Known Member
Joined
Oct 14, 2021
Threads
11
Messages
496
Reaction score
862
Location
Louisville, KY
First Name
Rob
Vehicle(s)
2021 Mach 1, 2019 F-150
Life got busy, in addition to an unexpected funeral there is also a wedding this week so the car is on the backburner. On top of that the local race shop cannot get me in until next week for a custom alignment. It's also meant I didn't have time to align myself. I did however play around with camber front and rear. I nailed the front dead on on my first try and have -3.0* both sides.

The rear with AAD camber arms, stock +2 tabs, and index plates with holes at inboard/most negative camber position were -2.3*drivers side and -2.8* passenger side. I changed the passenger tab to one that made the camber arm ~4mm longer, this moved camber to -2.0*. The driver's side will get moved 1 to 2mm. Given the uniqueness of the arms I'm trying to make the shop's job shorter. I've seen AAD claim ~.15* per mm for Ford and .25* for Mopar.


Here's my target spec's I'll give the shop

Front
-2.9 to -3.0* Camber
Zero toe

Rear
-2.0 Camber
0.30* total toe in (evaluating this one)

IMG-0018.jpg


IMG-0016.jpg
Sponsored


Top