drummerboy
Well-Known Member
- Thread starter
- #1
Just wanted to share, because I dig this so much more than the fob for how clean it is and not having to constantly replace batteries. I figure some others with the AWE unit may want to do something similar.
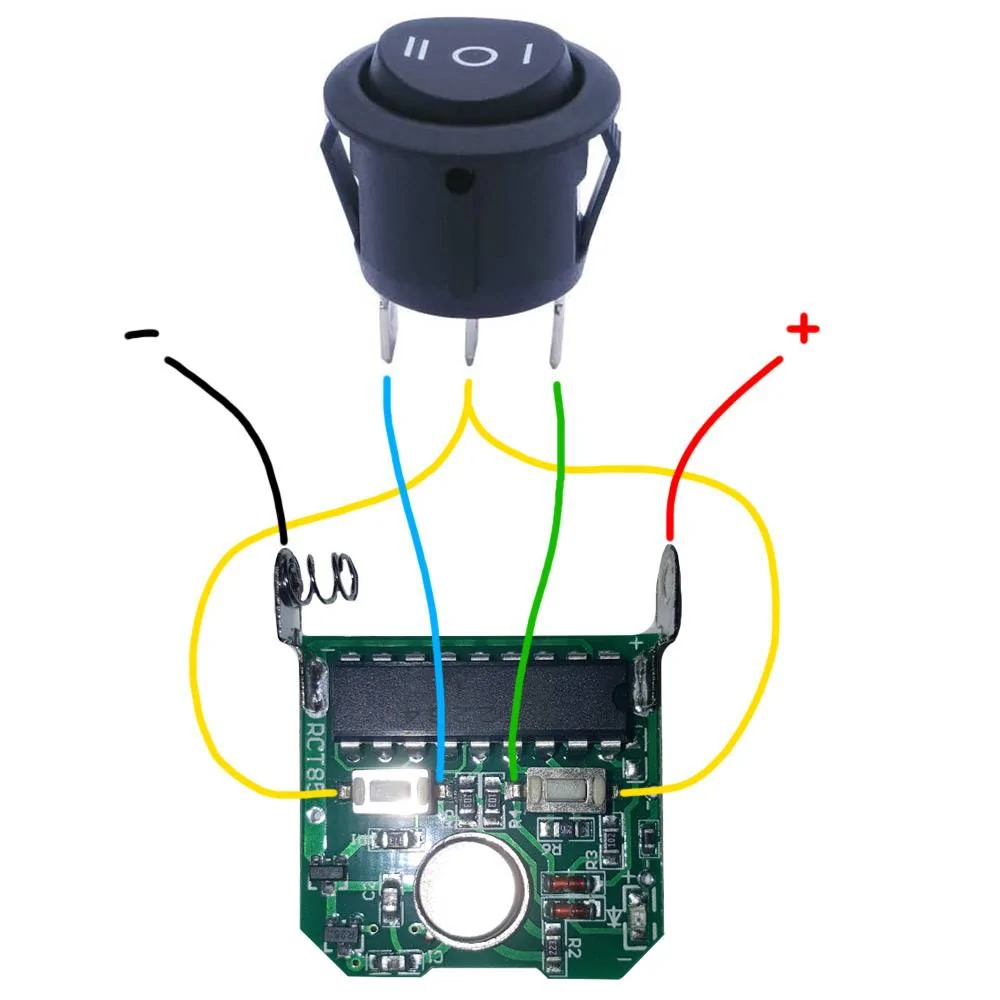
The switchpath comes with two wireless fobs for controlling the exhaust valves - two buttons for closed/open. Both of my fobs stopped responding very quickly after use, so I opened them up to find a battery that I am was unfamilar with, a tiny little 12V 27A (or A27) battery. I don't really want to be constantly replacing these batteries, so I figured since it's 12V I should just wire the fob into the car.
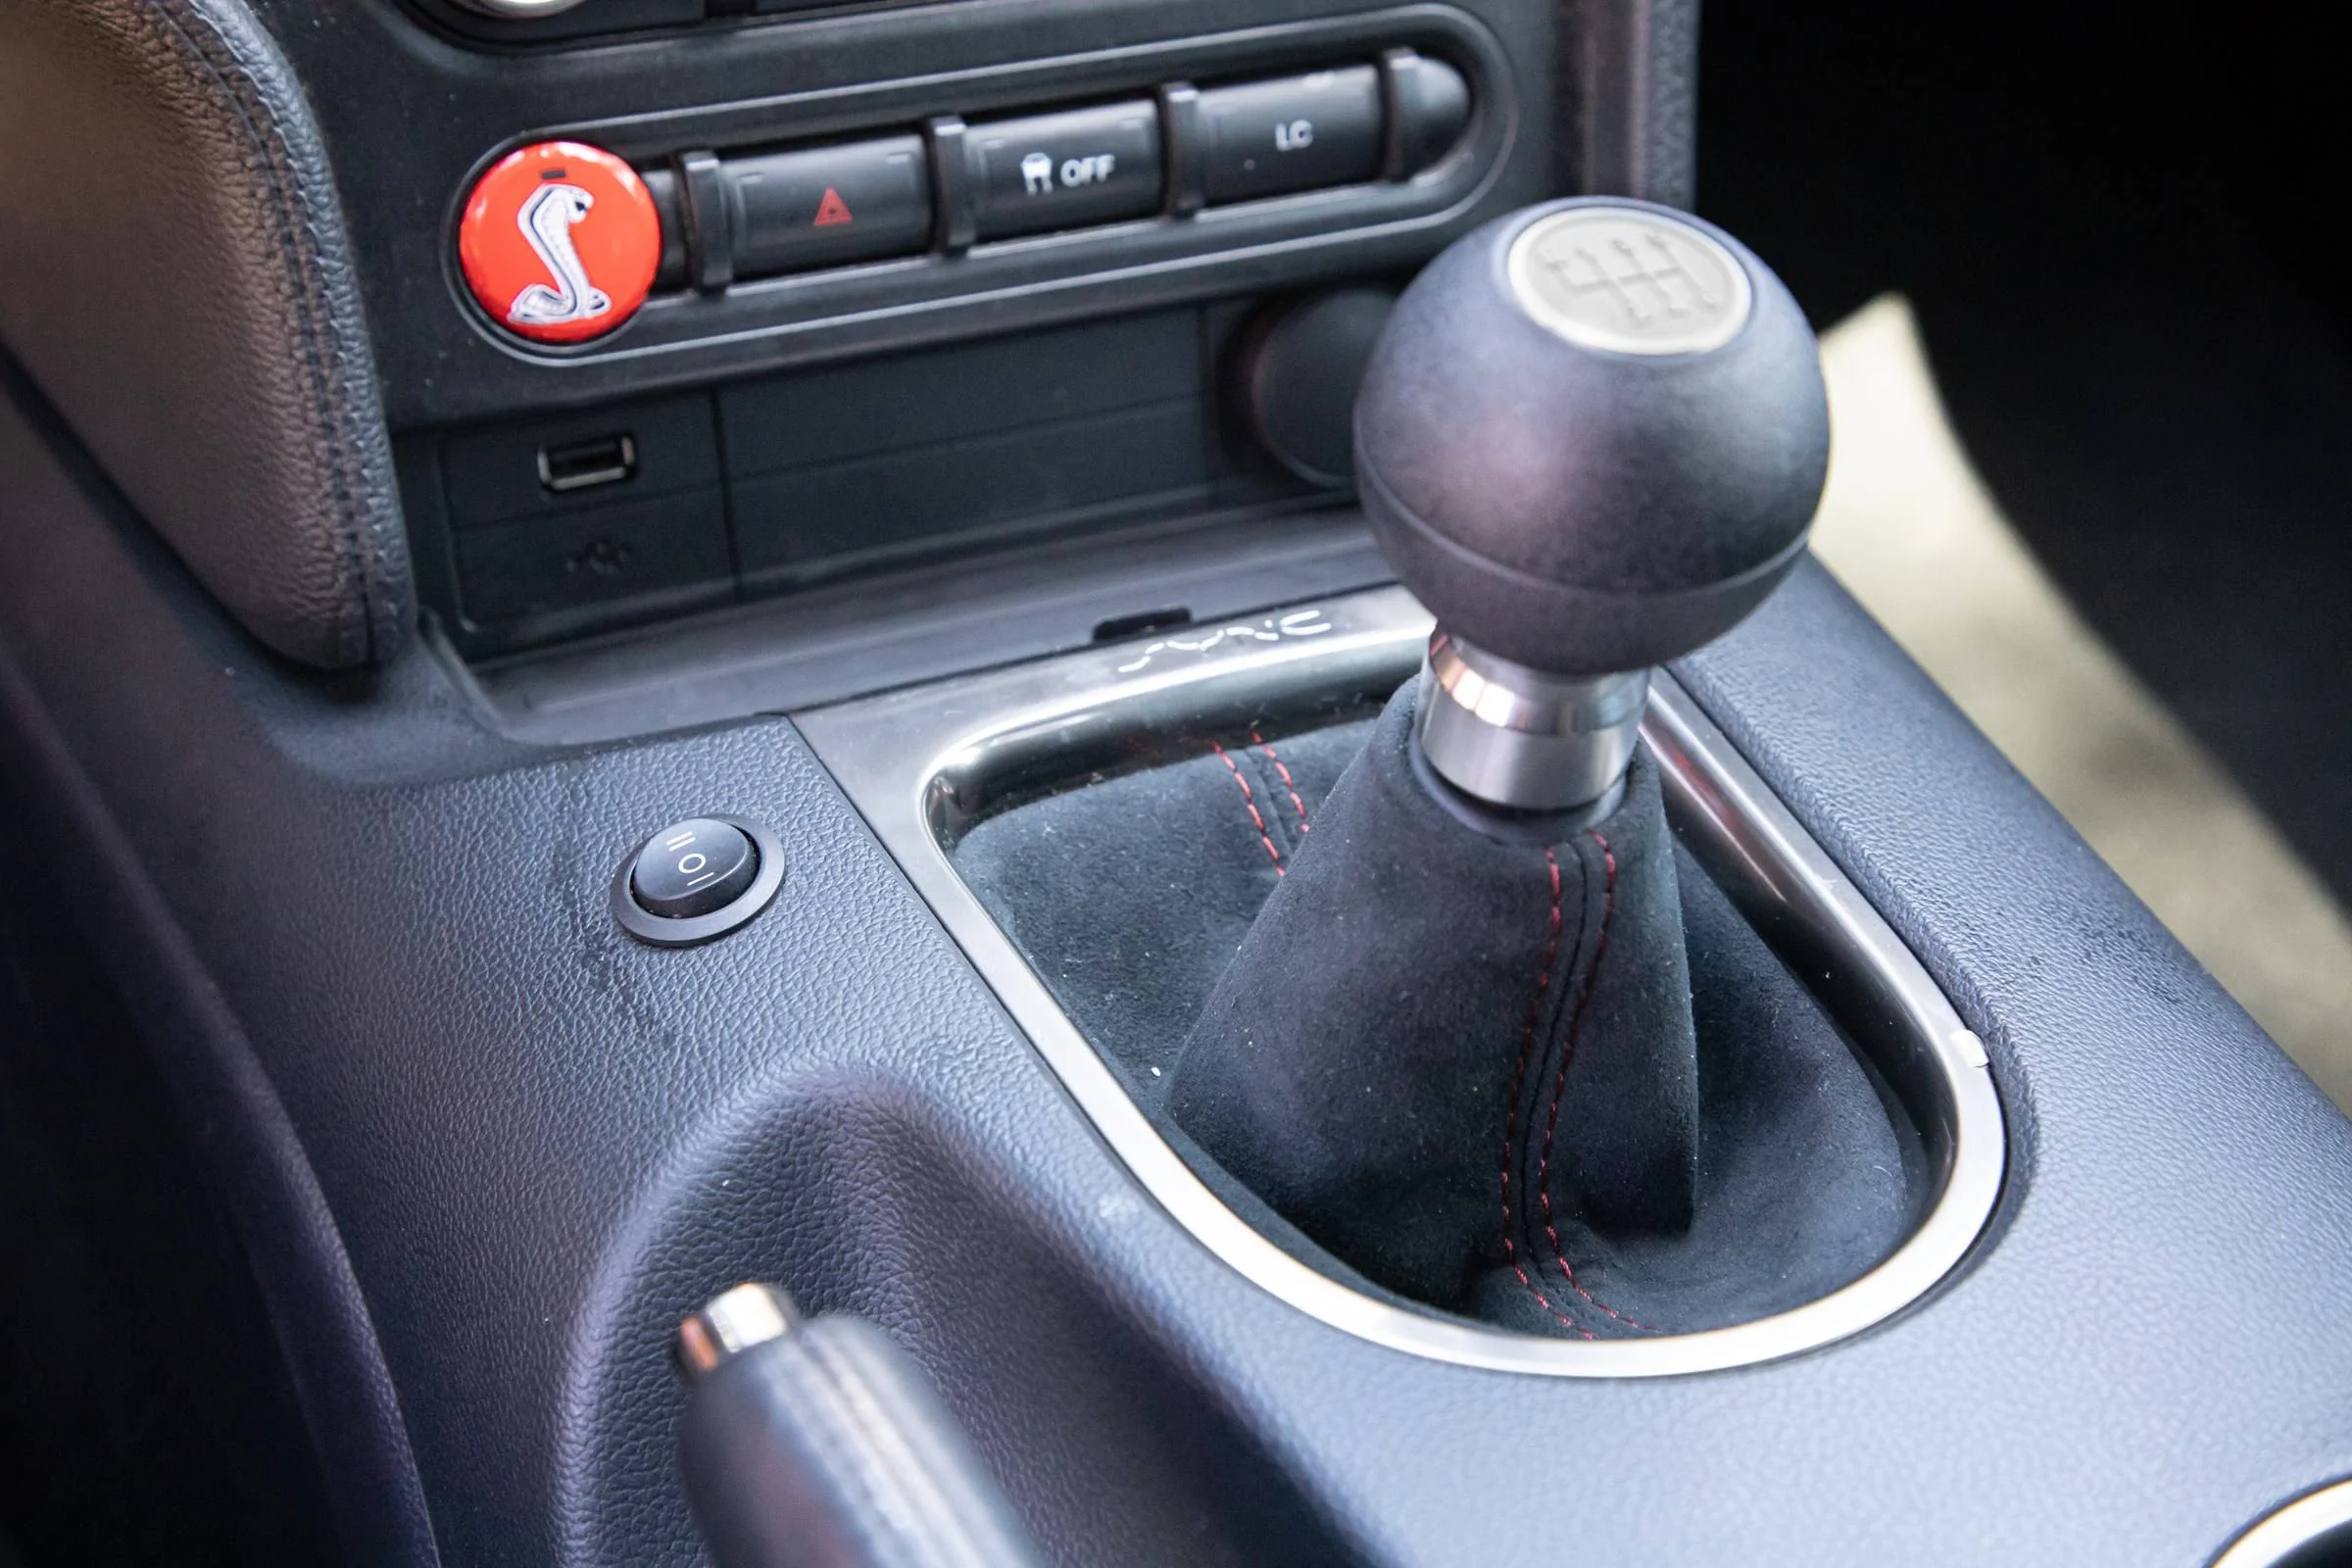
Had the local RC hobby shop solder 6 leads onto the circuit board for me - 2 for the power and 2 for each of the switches. One fuse tap and a two-way momentary switch later, and the switchpath is hardwired in. Well, sort of. Just the fob/transmmitter is hardwired in to power and uses my own switch instead of the buttons on the board. I may call AWE to inquire about the possibility of hardwiring the receiver to the switch in the future.

...3 years later:
WAIT - Look below at this post lower on this page:
garage door opener buttons (on sun visor)
Might be a much better option for you.
The switchpath comes with two wireless fobs for controlling the exhaust valves - two buttons for closed/open. Both of my fobs stopped responding very quickly after use, so I opened them up to find a battery that I am was unfamilar with, a tiny little 12V 27A (or A27) battery. I don't really want to be constantly replacing these batteries, so I figured since it's 12V I should just wire the fob into the car.
Had the local RC hobby shop solder 6 leads onto the circuit board for me - 2 for the power and 2 for each of the switches. One fuse tap and a two-way momentary switch later, and the switchpath is hardwired in. Well, sort of. Just the fob/transmmitter is hardwired in to power and uses my own switch instead of the buttons on the board. I may call AWE to inquire about the possibility of hardwiring the receiver to the switch in the future.

...3 years later:
WAIT - Look below at this post lower on this page:
garage door opener buttons (on sun visor)
Might be a much better option for you.
Sponsored
Last edited:


 My man, WHAT?!