Mach1NA
Well-Known Member
- Thread starter
- #1
I chose to adapt the @Diode Dynamics SS3 Fog lights for this project. I know another vendor had done the same already, but I wasn't happy with its current design and decided to give it a shot.

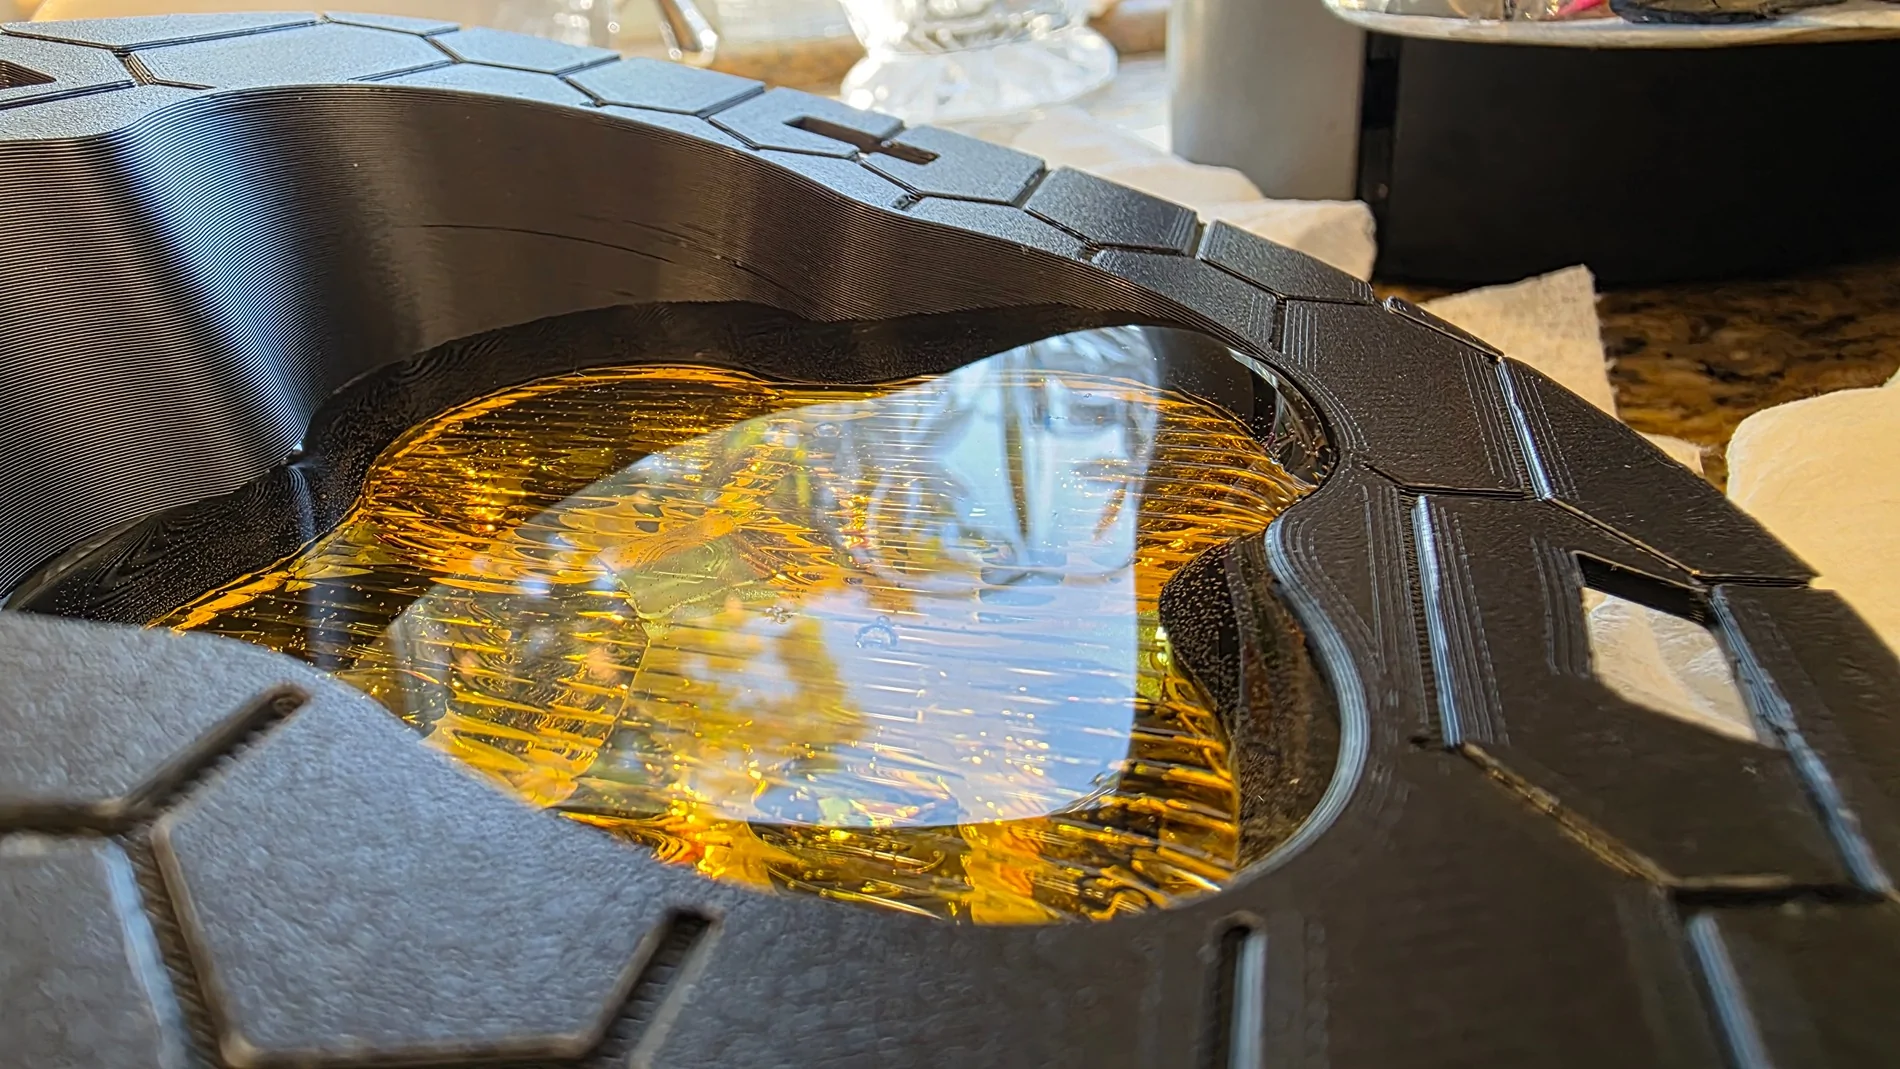
Diode Dynamics LED fog lights have excellent reviews and are Made in USA. The ability to customize lenses and choose from 3 different intensities, Sport, Pro, and Max was also an appealing option.
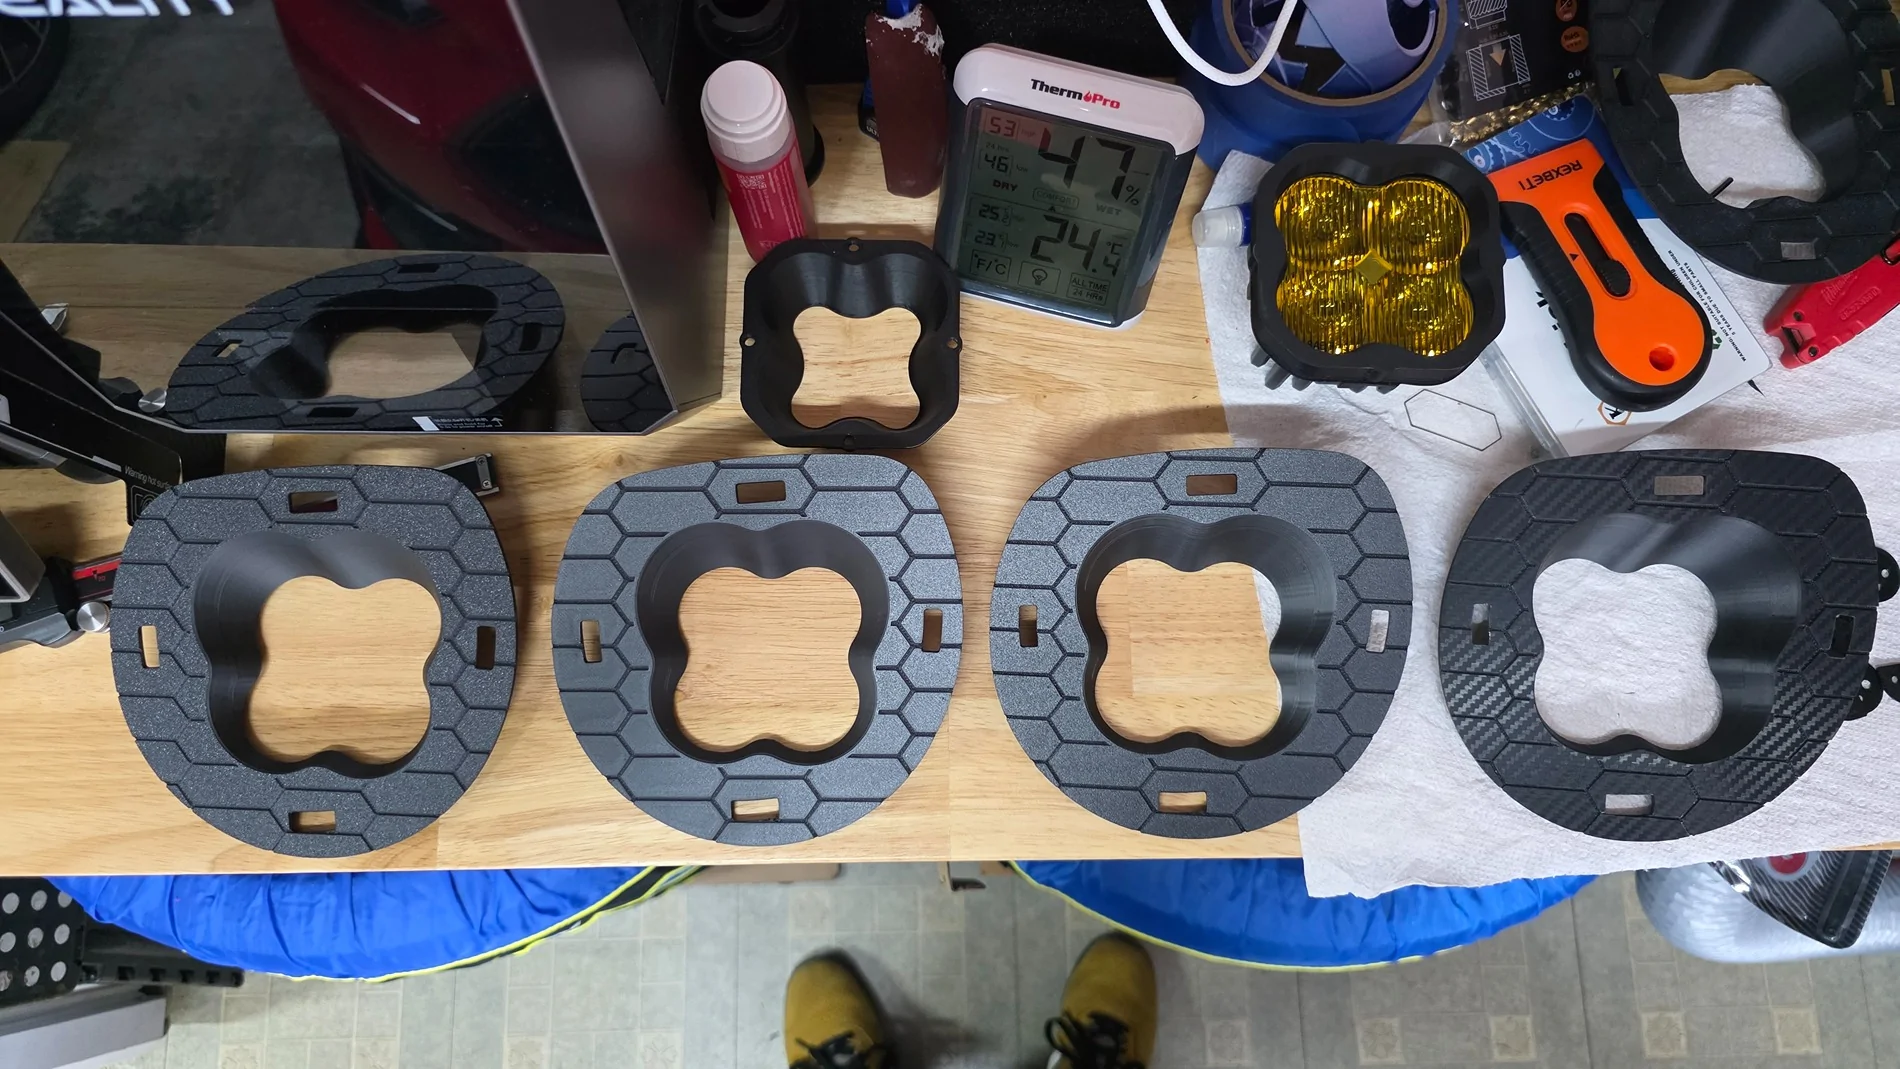
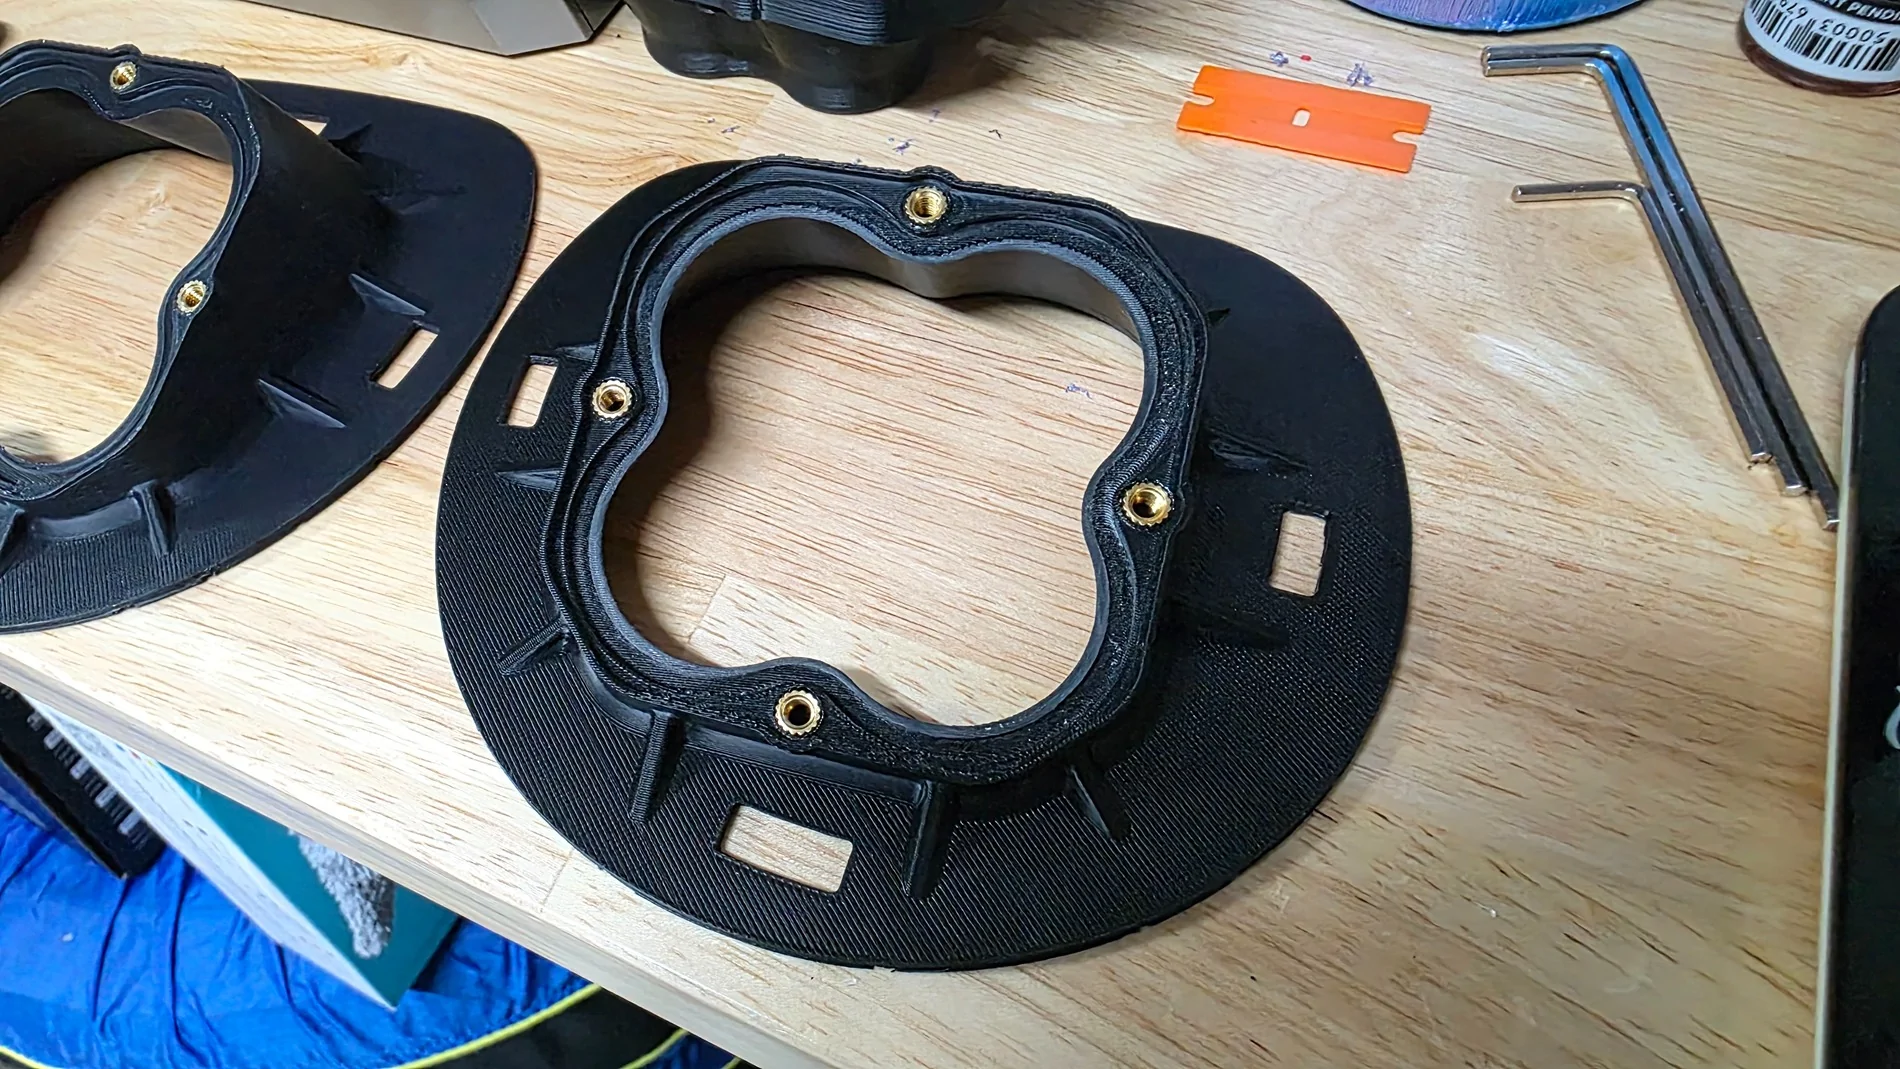
I 3d printed some parts. After several iterations in CAD, this is what I came up with. Plastic snap on adapters.


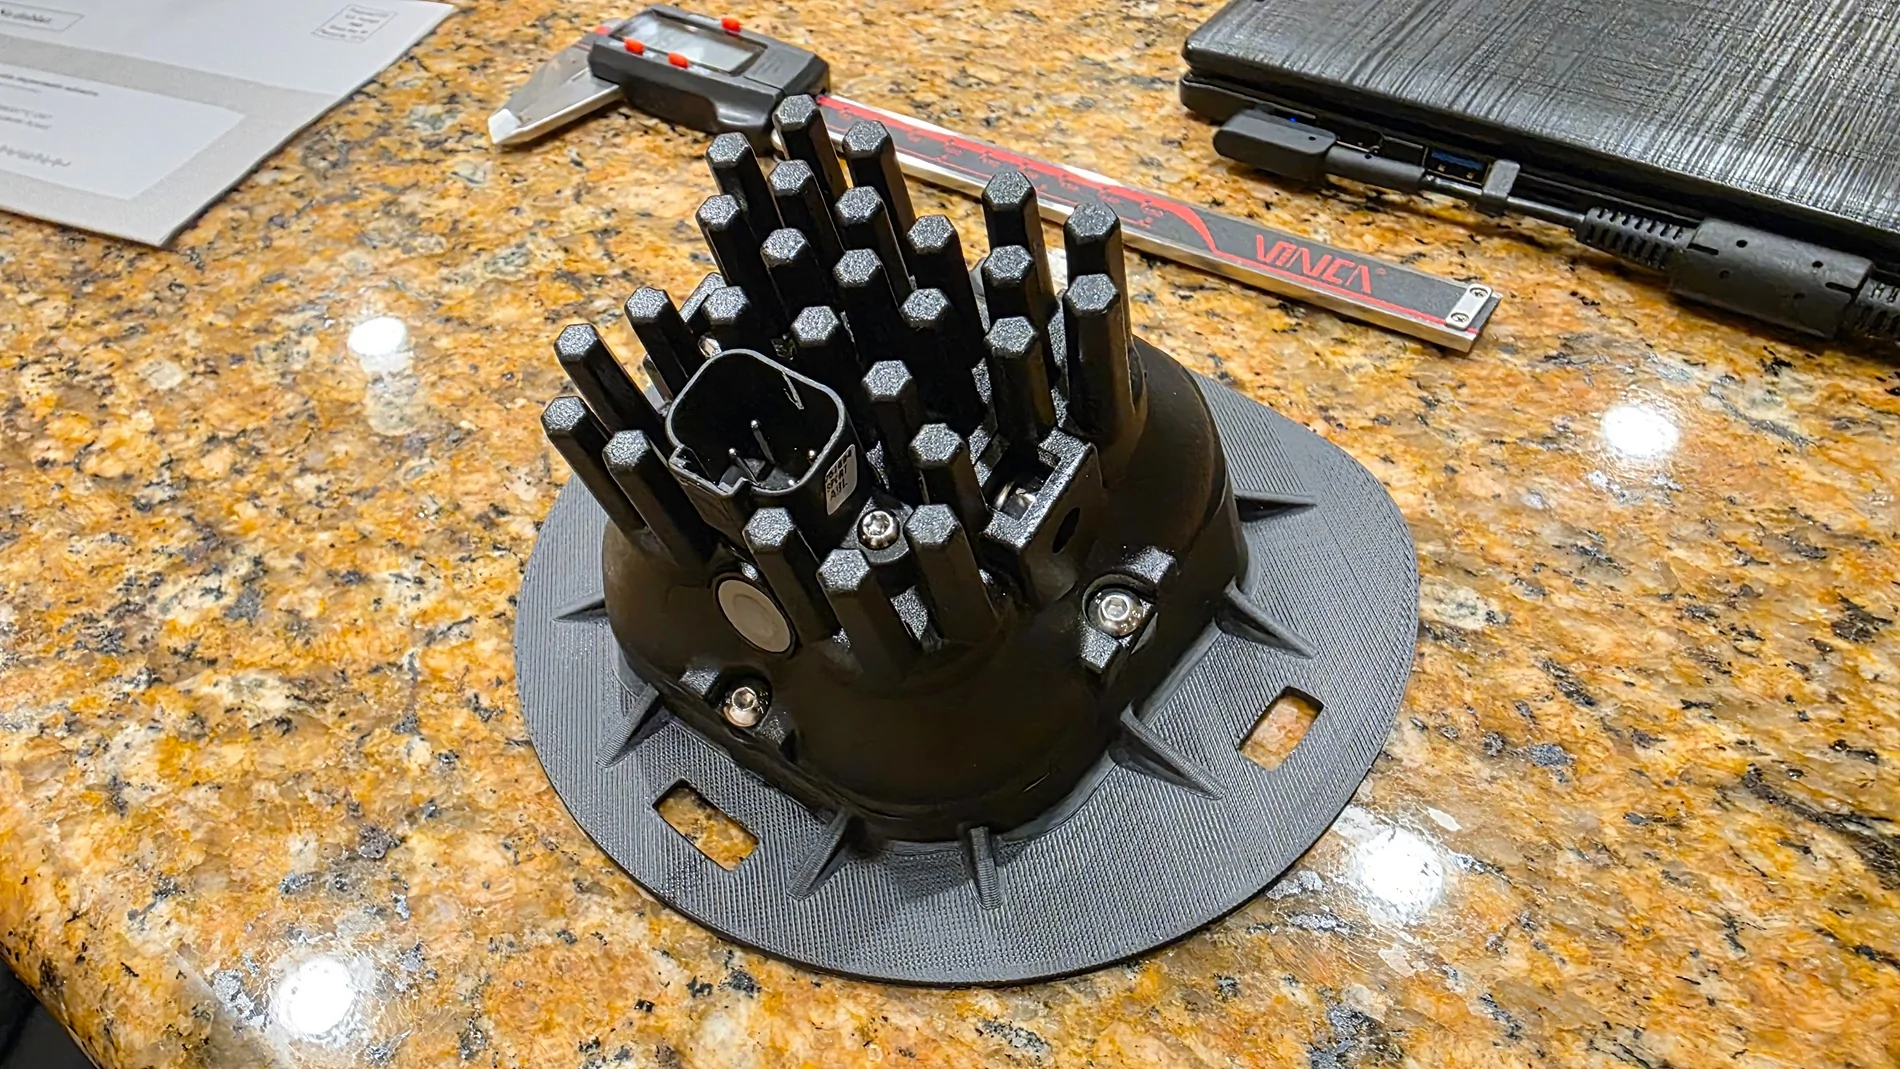
They feature similar slots for the factory retaining tabs to pass through. No cutting or drilling into the factory grill. The SS3's are mounted using blind fasteners and threaded inserts on the interior side of the housing for a clean look.
The back side of the adapter has an integrated seal groove to accommodate the SS3 lens. The groove helps with keeping water and moisture out. So far, it seems to hold up and can at least withstand some water sitting on top over night.
The housing is also angled slightly down to prevent blinding others, but still level enough to project down range for increased visibility. The walls surrounding the beam are also expanded to allow the light to project wider and make use of what the lenses are capable of.
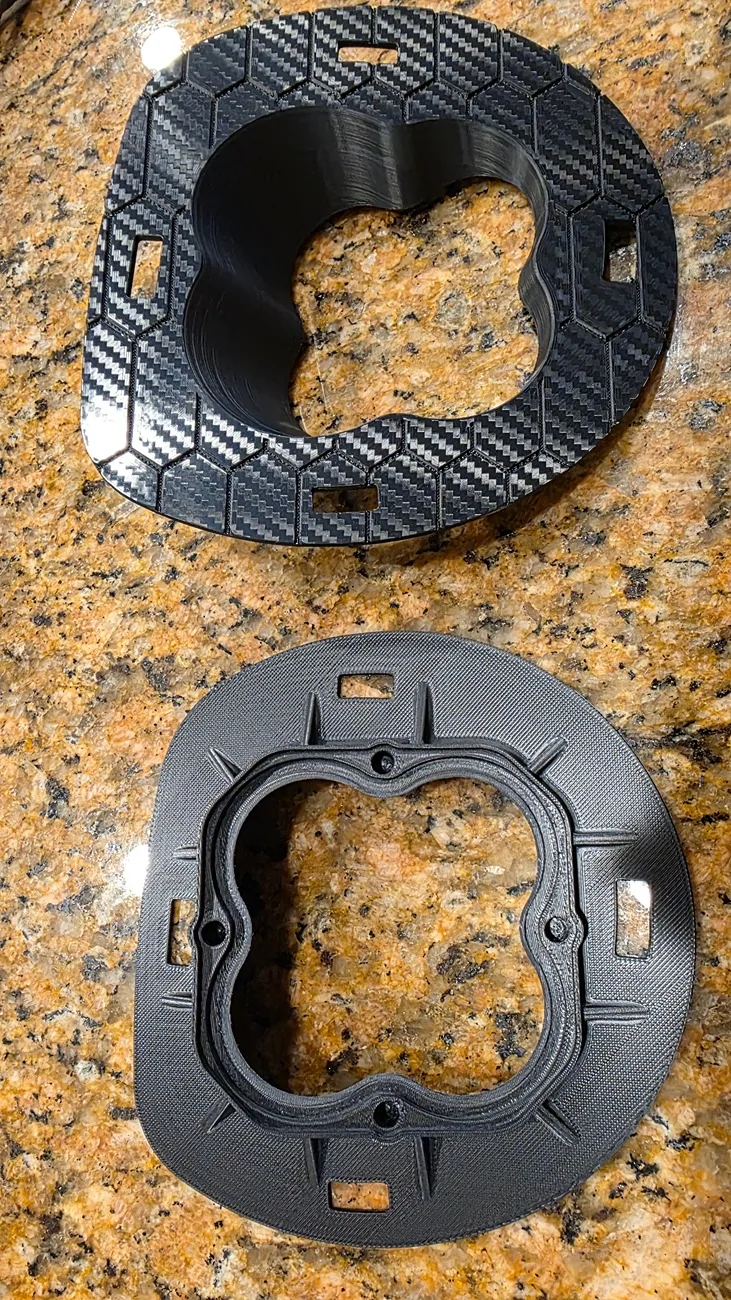
The plastic adapters are printed out of either ASA or ABS. I'm leaning towards ASA for its superior UV resistant properties. However ABS has been tested to print nicely. With ABS, I used a textured bed plate to get a faux carbon finish, as seen below. It should work with ASA as well, just haven't tried.
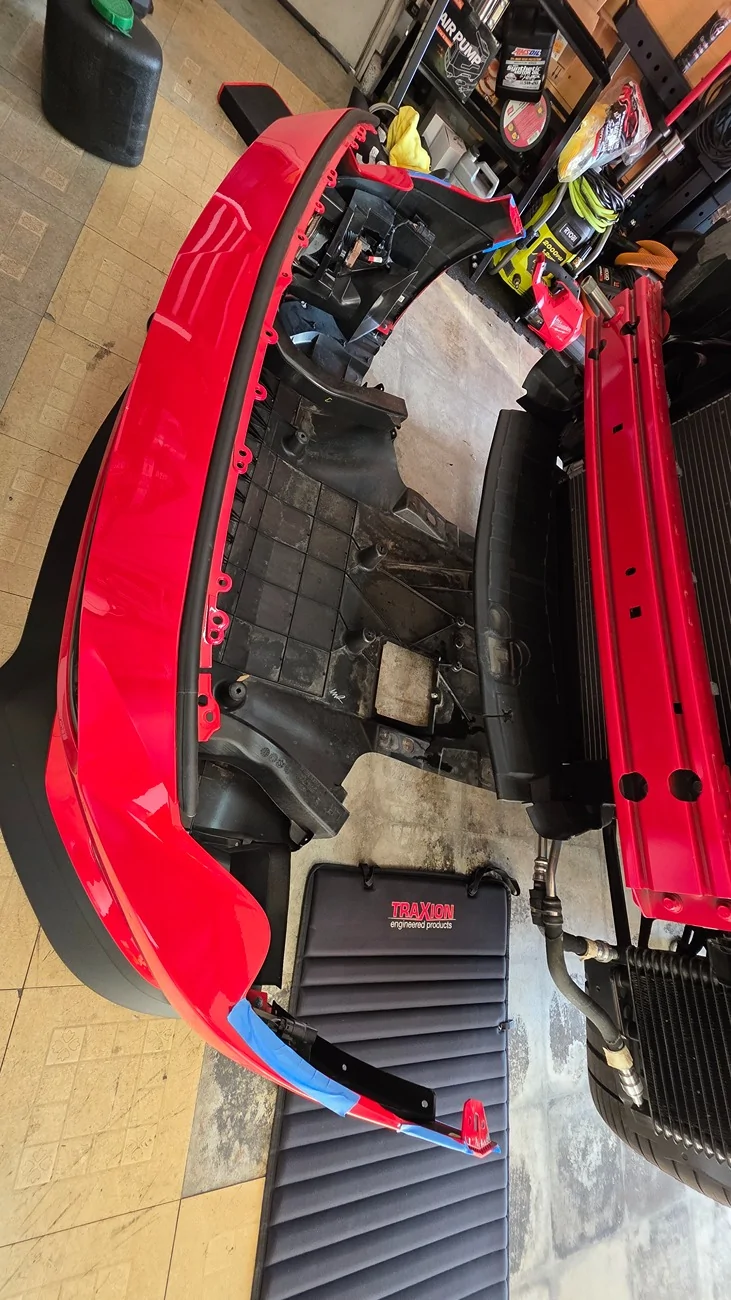
There are some challenges to overcome. First, is removing the entire bumper and under tray as one piece. Doing so, avoids drilling out the plastic rivets. Just need to be mindful of the brake ducts getting caught on the brackets.
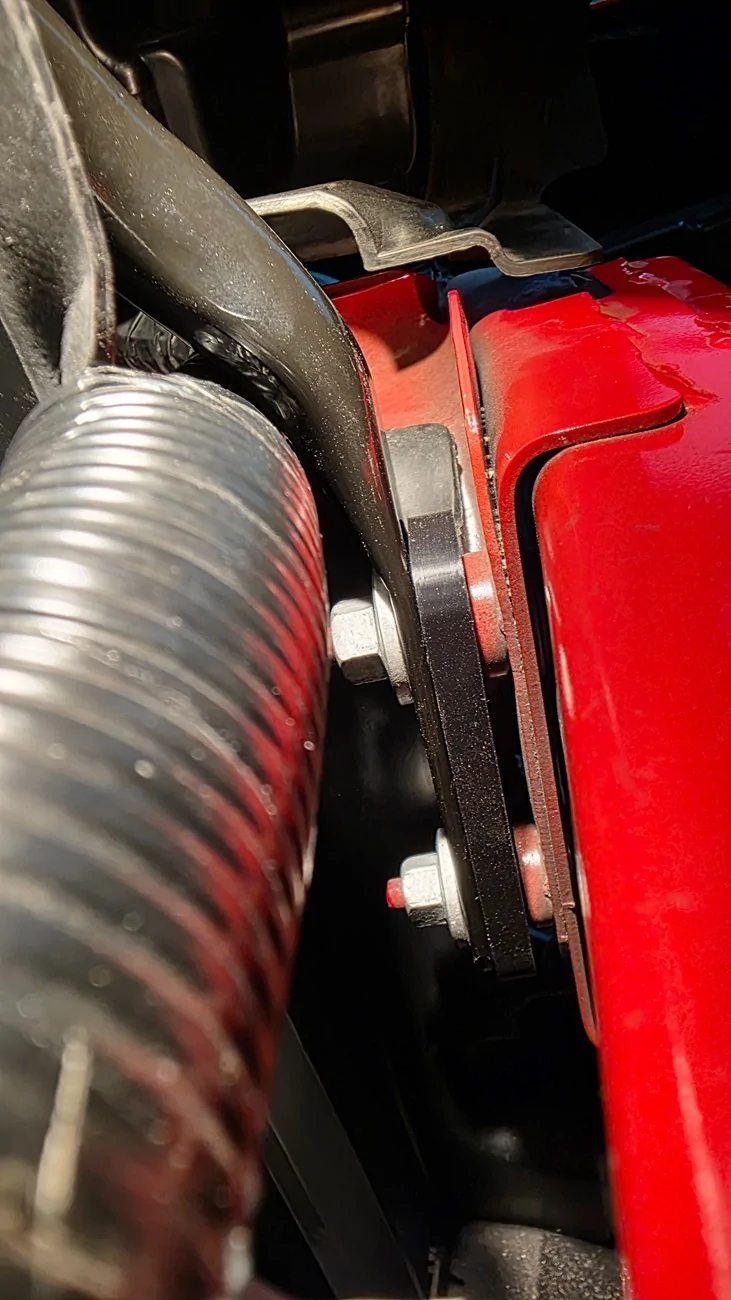
The other issue i ran into was clearance between the fog light housing and radiator support bar. I got around this problem by printing a spacer/shim that sandwiches in between the bar and the crash beam. The shim is a little thick for my liking, so im making adjustments to how deep the housing is recessed.
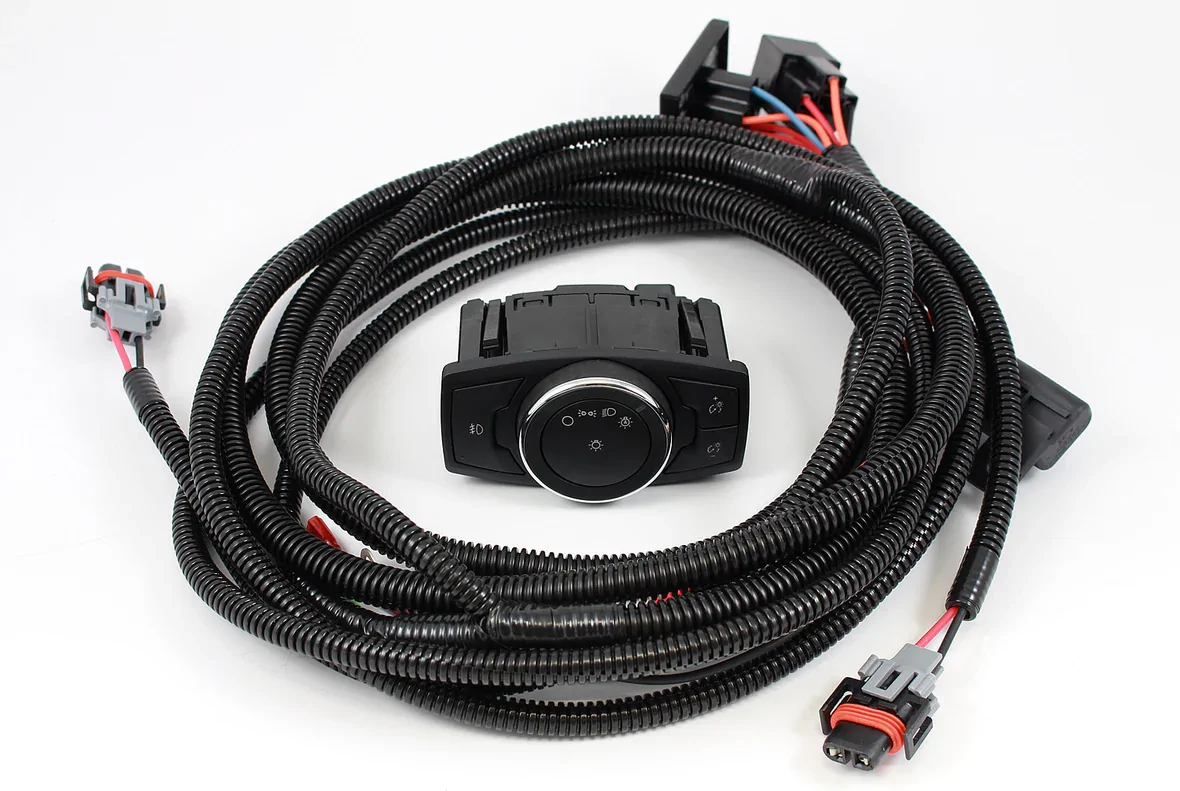
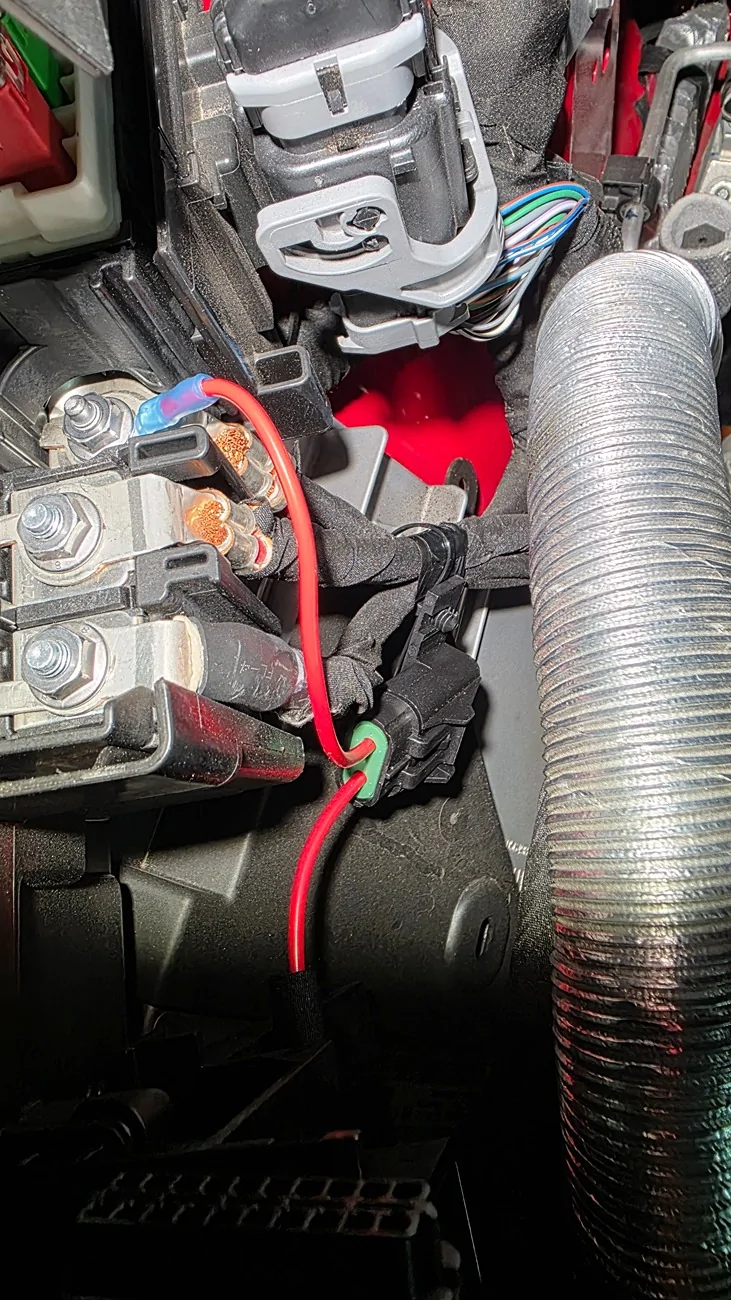
The last issue is the wire harness. I wired up a custom harness that includes a relay. You're likely going to need this for the higher two tiers of ss3 models as they can draw more than 3 amps each.
The relay is attached with a push pin through a hole located on the factory fusebox bracket.
All cables were wrapped in anti abrasion tape to give it an OEM appearance.
I tapped into the headlight harness for the 12V signal using posi- taps instead of regular t-taps.
There are two taps, one for the main beam and another wired in to the optional backlight. Posi-taps are nice because they are less invasive compared to your typical T-taps.
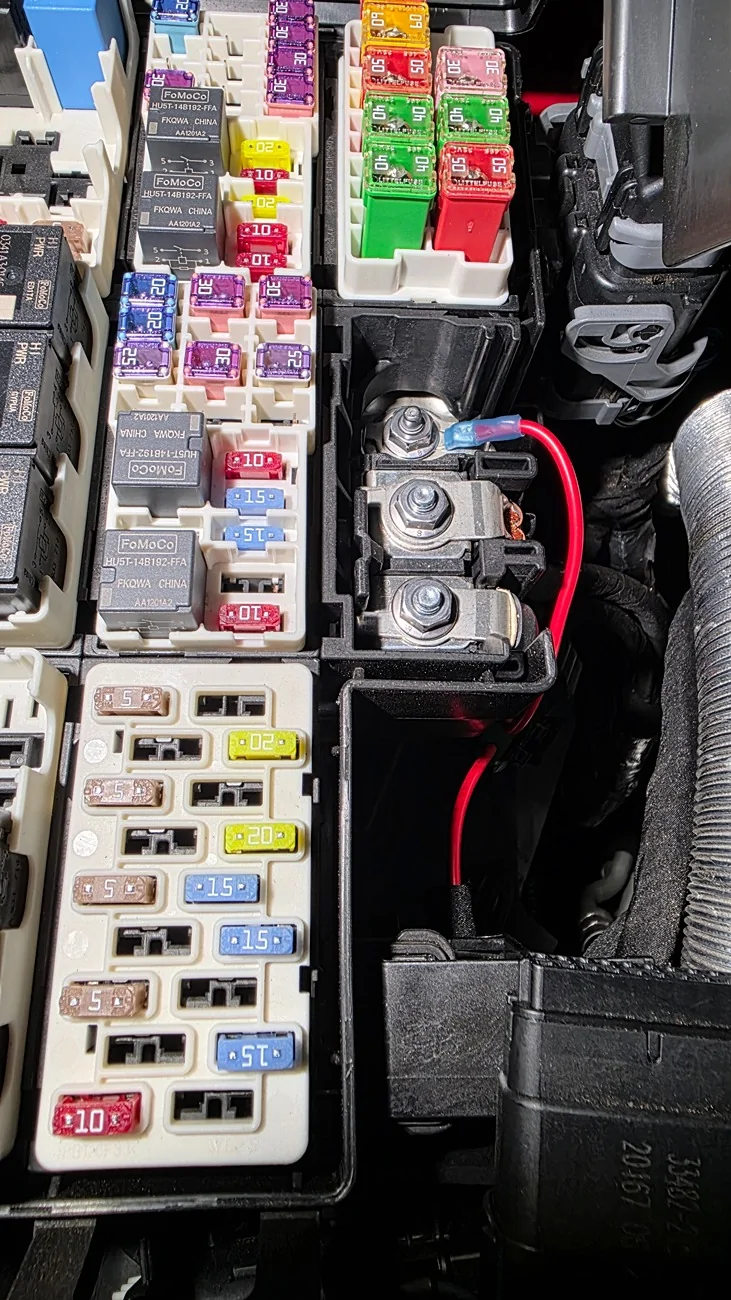
For those not wanting to tamper with the OEM harness, you can also obtain the signal wire from the fuse box, using a fuse tap.
The 12V power source is taken from the fuse box terminal. The harness is also attached to an inline fuse. The ground is located at the frame where there are pre-existing grounds.
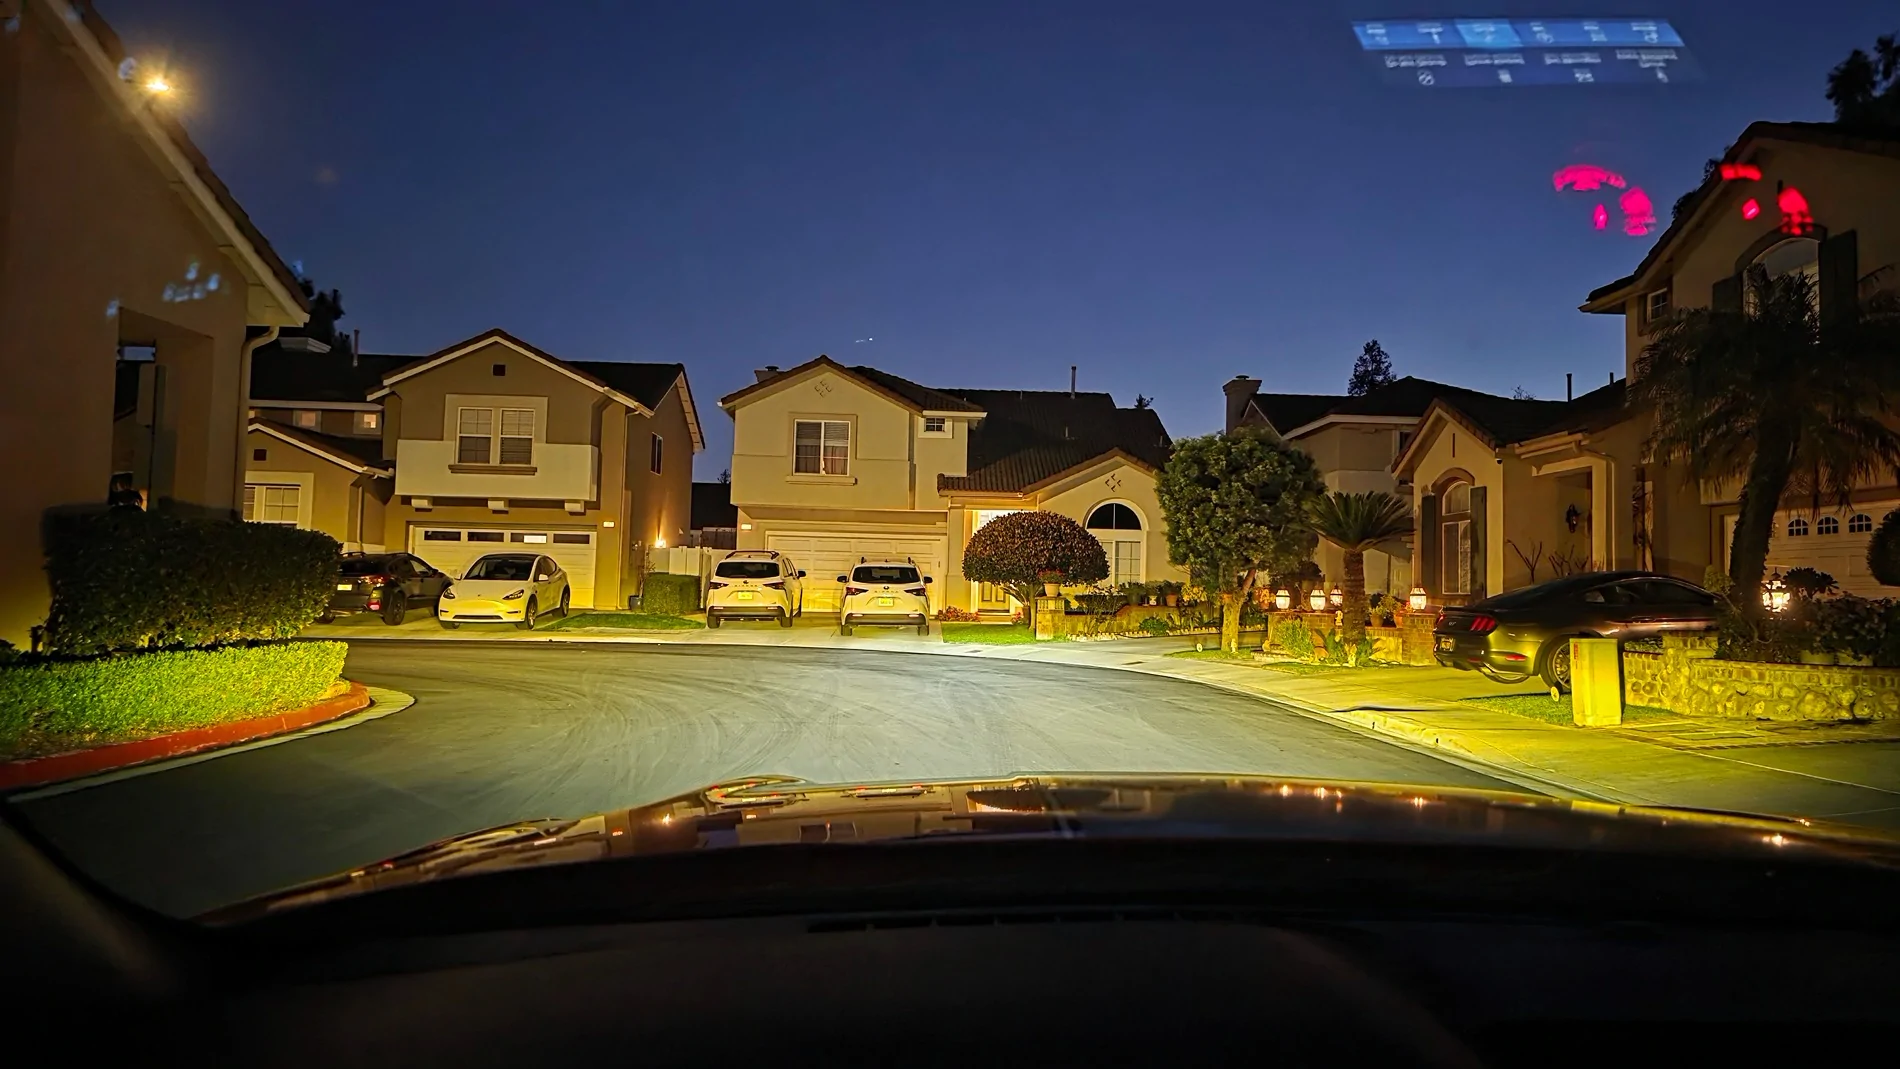
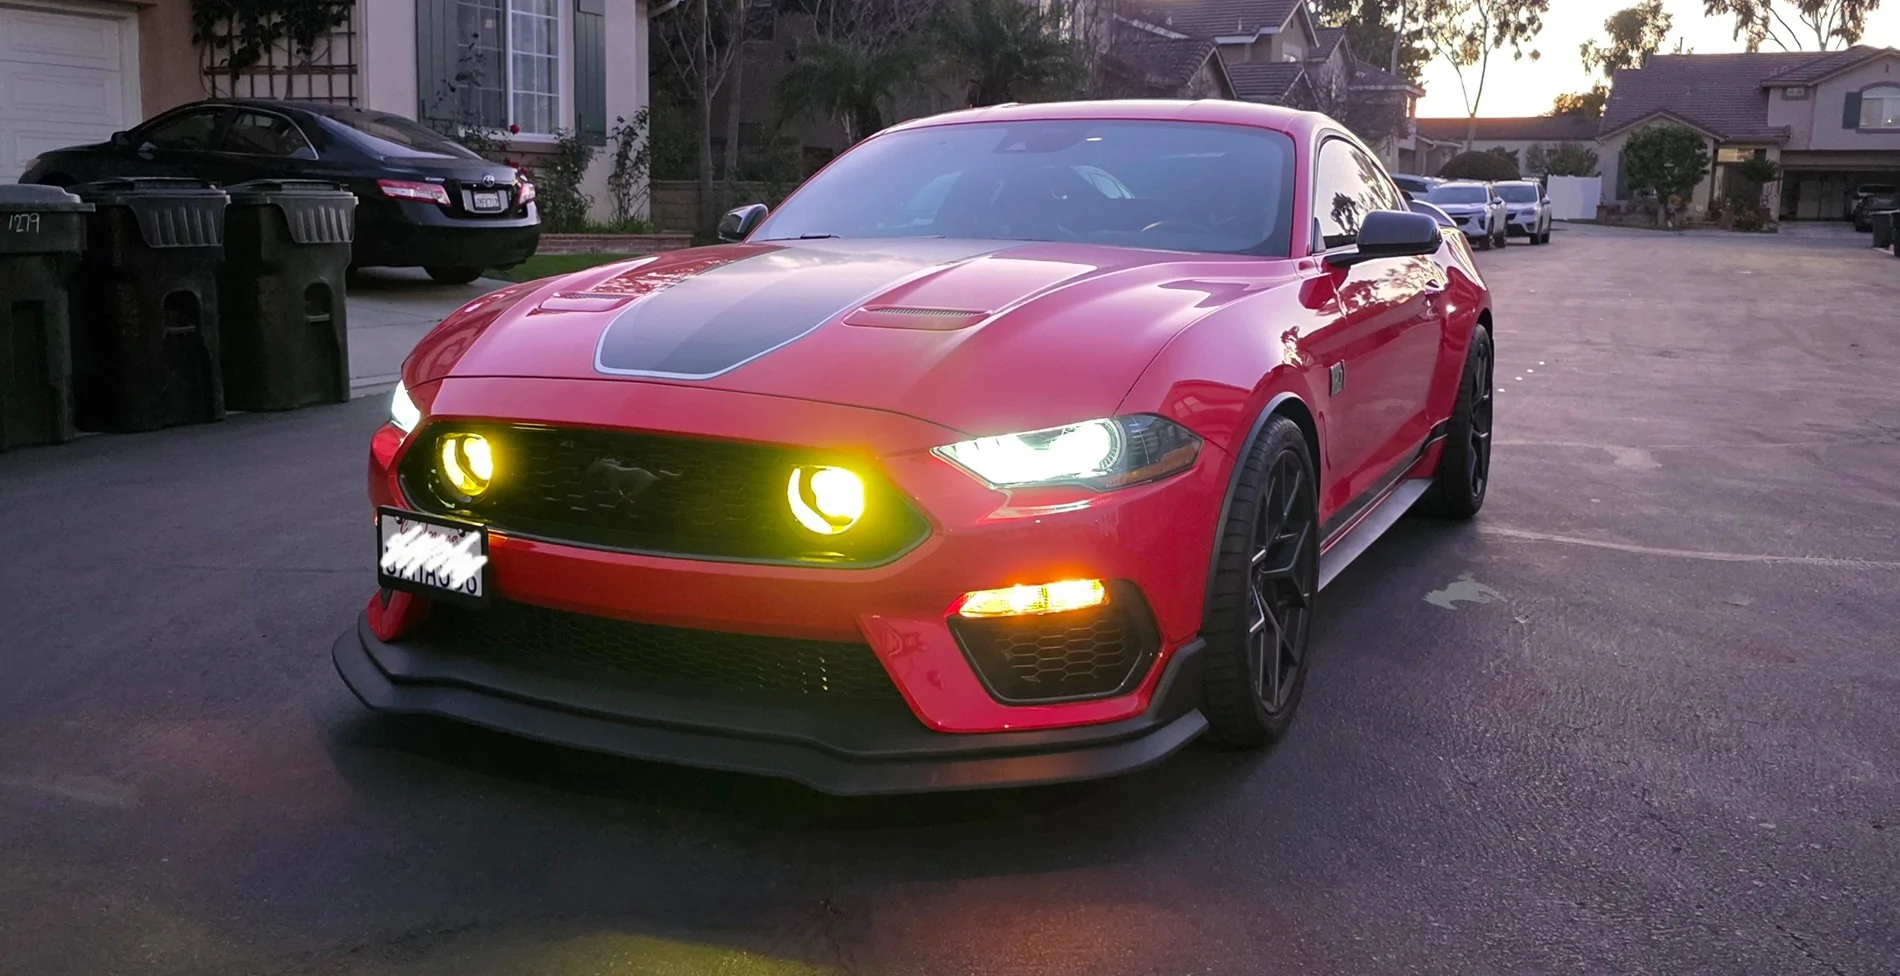
I chose the SS3 Sport tier, which is the lowest intensity available. As you can see from the photos below,
They are nice and bright.

The beam is wide and the cut off point is just right. I have it slightly lower than stock. May experiment with lowering it just an inch or two, but I'm happy with how high it is for now.
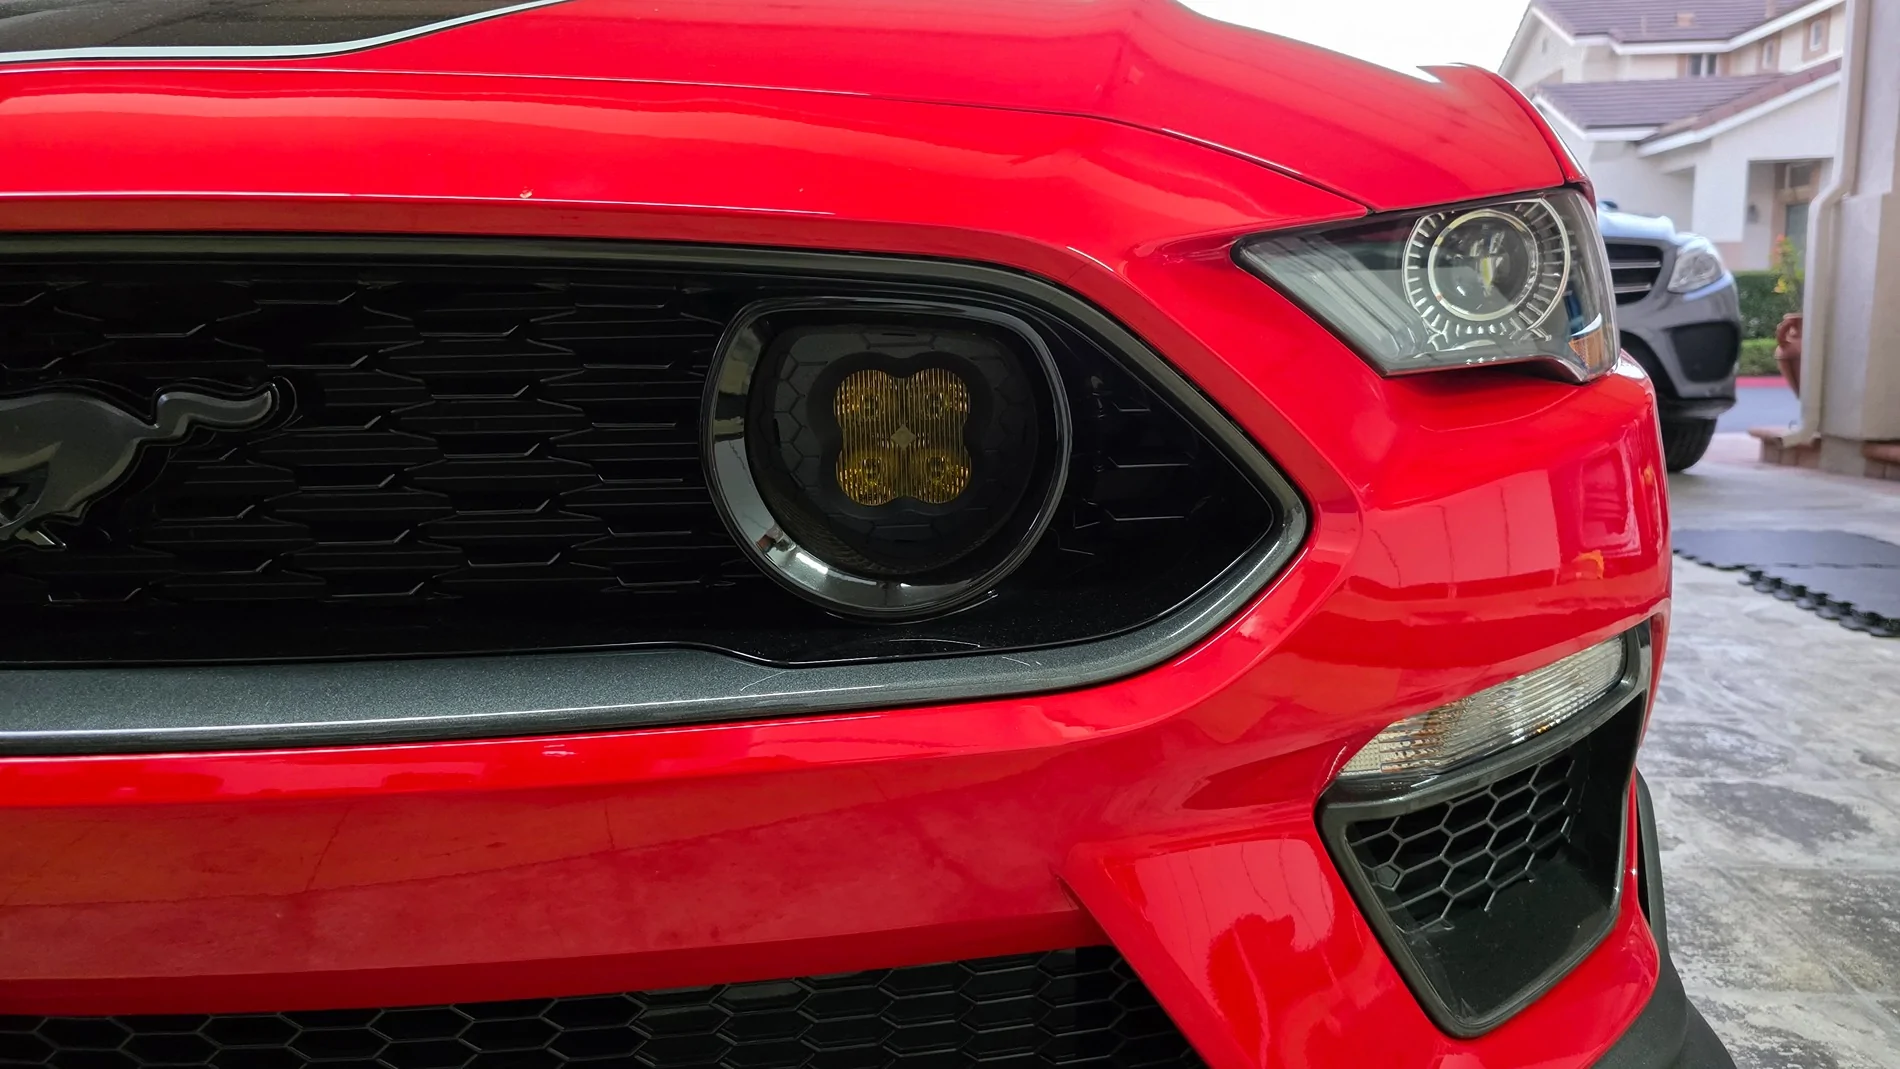
Here's how it looks during the day.

I plan on making a few pairs of these adapters for anyone that's interested. That is, if anyone still cares for this mod. It's been a long time coming. If there is, I'll post them up on Etsy. Leaning towards selling just the adapters and spacer. Harness could be optional.
Anyhow, thanks for reading this far! Would be interested in any feedback. This was really fun to work on and wish I had done it sooner.
Some more photos


Diode Dynamics LED fog lights have excellent reviews and are Made in USA. The ability to customize lenses and choose from 3 different intensities, Sport, Pro, and Max was also an appealing option.
I 3d printed some parts. After several iterations in CAD, this is what I came up with. Plastic snap on adapters.


They feature similar slots for the factory retaining tabs to pass through. No cutting or drilling into the factory grill. The SS3's are mounted using blind fasteners and threaded inserts on the interior side of the housing for a clean look.

The back side of the adapter has an integrated seal groove to accommodate the SS3 lens. The groove helps with keeping water and moisture out. So far, it seems to hold up and can at least withstand some water sitting on top over night.
The housing is also angled slightly down to prevent blinding others, but still level enough to project down range for increased visibility. The walls surrounding the beam are also expanded to allow the light to project wider and make use of what the lenses are capable of.
The plastic adapters are printed out of either ASA or ABS. I'm leaning towards ASA for its superior UV resistant properties. However ABS has been tested to print nicely. With ABS, I used a textured bed plate to get a faux carbon finish, as seen below. It should work with ASA as well, just haven't tried.

There are some challenges to overcome. First, is removing the entire bumper and under tray as one piece. Doing so, avoids drilling out the plastic rivets. Just need to be mindful of the brake ducts getting caught on the brackets.

The other issue i ran into was clearance between the fog light housing and radiator support bar. I got around this problem by printing a spacer/shim that sandwiches in between the bar and the crash beam. The shim is a little thick for my liking, so im making adjustments to how deep the housing is recessed.
The last issue is the wire harness. I wired up a custom harness that includes a relay. You're likely going to need this for the higher two tiers of ss3 models as they can draw more than 3 amps each.
The relay is attached with a push pin through a hole located on the factory fusebox bracket.
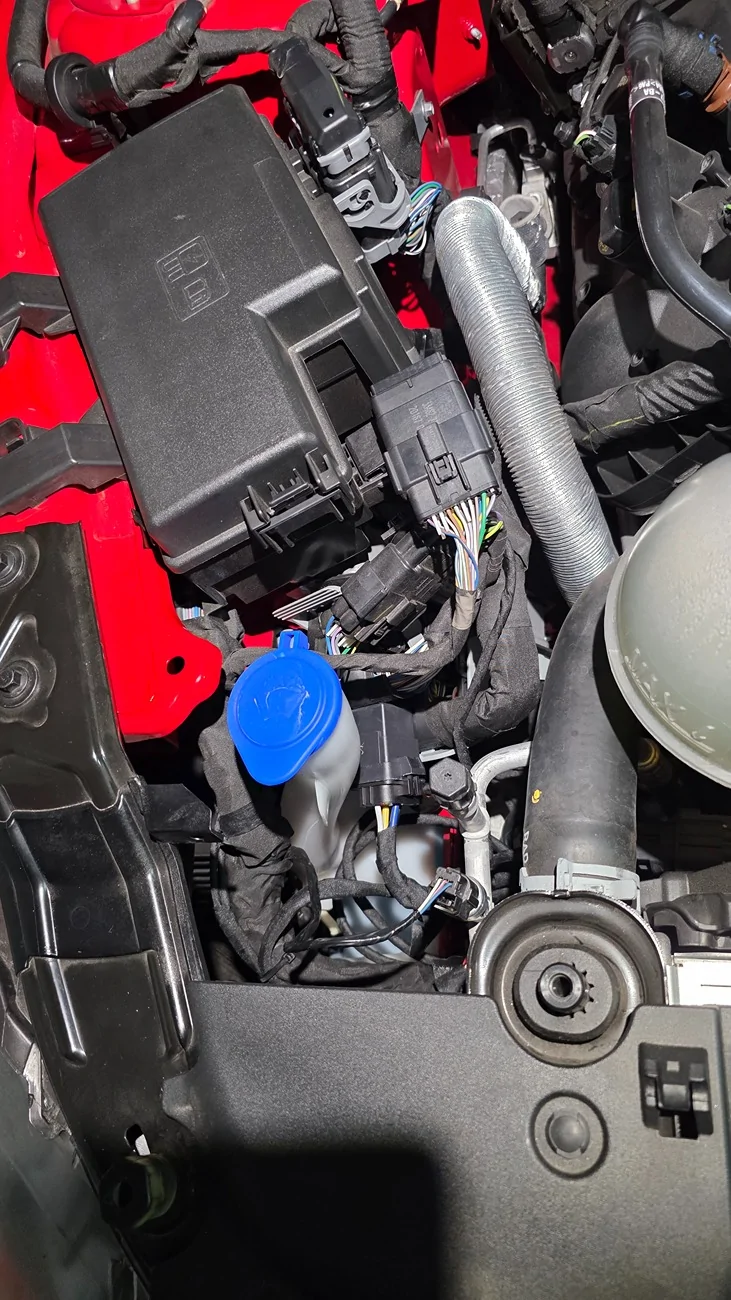
All cables were wrapped in anti abrasion tape to give it an OEM appearance.
I tapped into the headlight harness for the 12V signal using posi- taps instead of regular t-taps.

There are two taps, one for the main beam and another wired in to the optional backlight. Posi-taps are nice because they are less invasive compared to your typical T-taps.
For those not wanting to tamper with the OEM harness, you can also obtain the signal wire from the fuse box, using a fuse tap.
The 12V power source is taken from the fuse box terminal. The harness is also attached to an inline fuse. The ground is located at the frame where there are pre-existing grounds.
I chose the SS3 Sport tier, which is the lowest intensity available. As you can see from the photos below,
They are nice and bright.

The beam is wide and the cut off point is just right. I have it slightly lower than stock. May experiment with lowering it just an inch or two, but I'm happy with how high it is for now.
Here's how it looks during the day.

I plan on making a few pairs of these adapters for anyone that's interested. That is, if anyone still cares for this mod. It's been a long time coming. If there is, I'll post them up on Etsy. Leaning towards selling just the adapters and spacer. Harness could be optional.
Anyhow, thanks for reading this far! Would be interested in any feedback. This was really fun to work on and wish I had done it sooner.
Some more photos


Sponsored
Last edited: