OP
OP
2017GBGTPP
Well-Known Member
- Joined
- Jul 2, 2016
- Threads
- 14
- Messages
- 570
- Reaction score
- 748
- Location
- Albuquerque, NM
- First Name
- Dan
- Vehicle(s)
- 2017 Grabber Blue Premium GTPP w/ Recaros
- Thread starter
- #61
A better gauge mount
It's time to upgrade from the suction mount to something more integrated into the car. I went with a cheap but nice looking option, the Glowshift 52mm Universal Single Pillar Pod.
To install it the A-pillar needs to be removed. First, a push pin needs to be removed from inside the door to allow the molding to come out.

Once the molding is out of the way pulling at the top of the A-Pillar releases a couple of clips. You don't want to pull it away too far though since there is a lanyard holding it on. This needs to be twisted a couple of times to get it through and release it.
Further down is the electrical connector for the tweeter.
Disconnect that and then the entire cover pulls up and out. Now to take it inside and test fit the gauge pod.
It's not quite a perfect fit, but that was expected as it is "universal" and not specifically made for Mustangs. By heating it up with a heat gun the edges can be bent into shape to get it to follow the curve of the pillar properly.
This bent the opening a bit, but the gauge still fits ok. I then drove the four included screws into the corners by hand and it shaped perfectly to the pillar. The only issue this caused is that now there are four sharp screws poking through the back side.
I confirmed the location of the curtain airbags to make sure that these sharp points didn't stick directly into them, but I figured I should play it safe and cover them. The pod came with a thick piece of foam that is supposed to go between the pillar and pod but didn't seem to work well, so instead I cut pieces off of it and taped them over the screws.
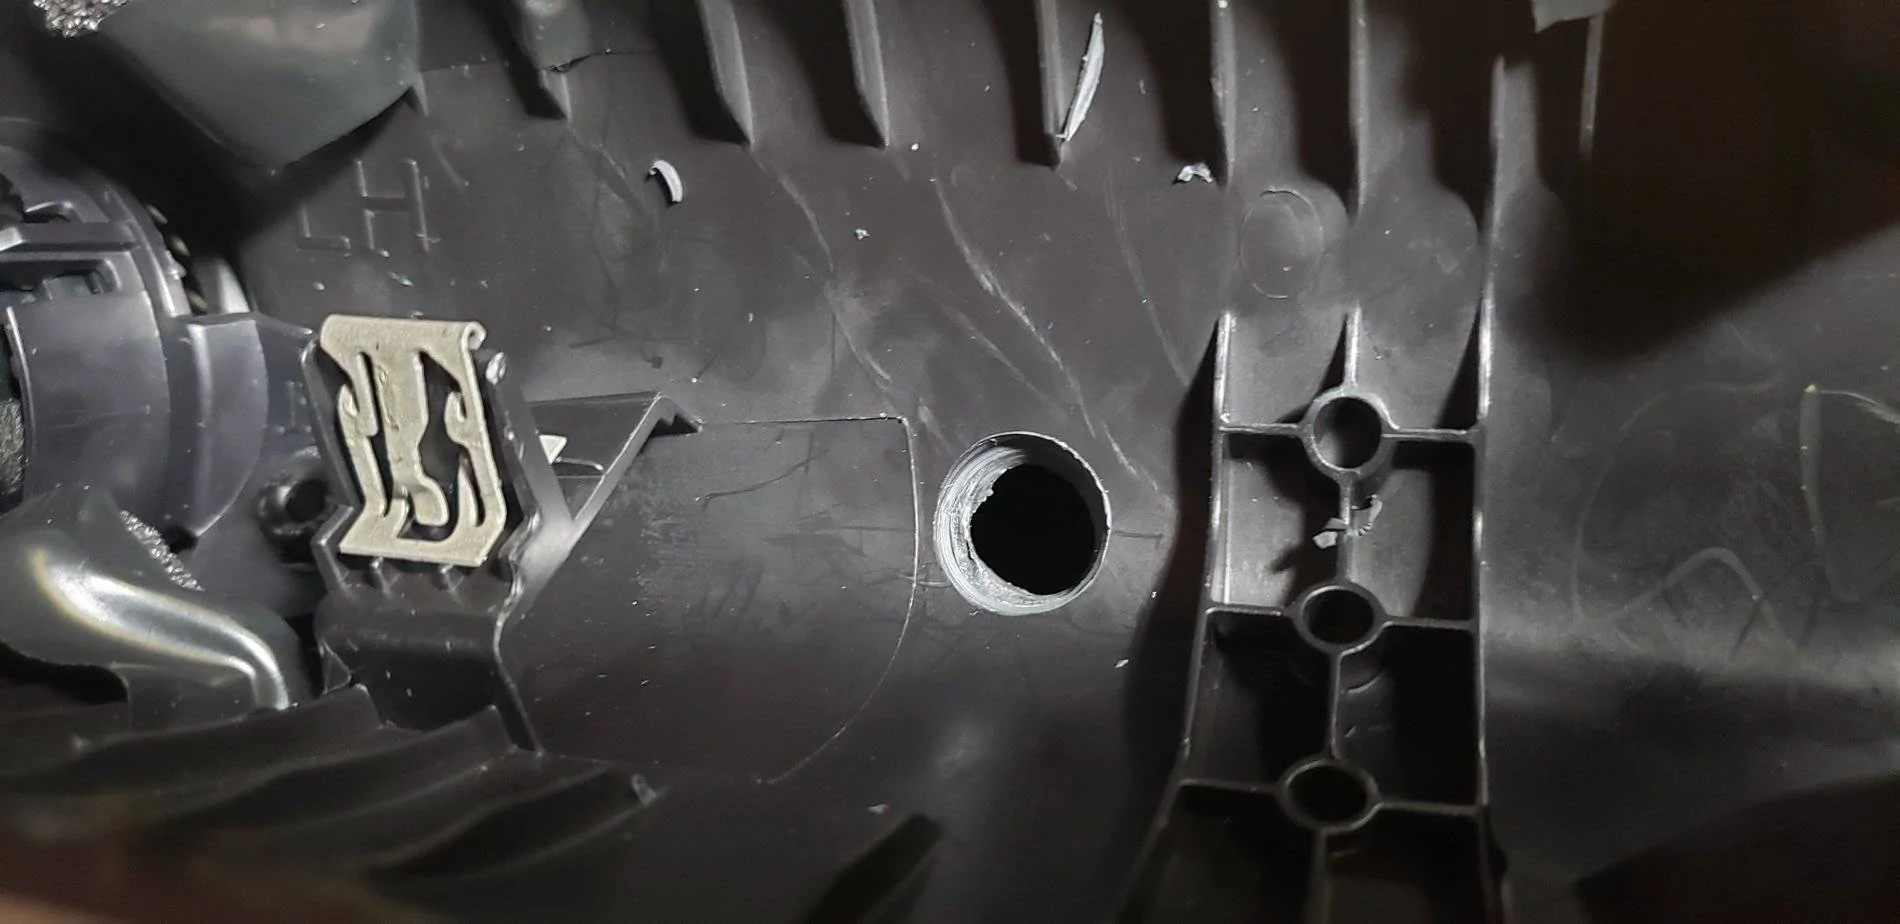
Finally, I drilled a hole big enough to feed the cable through.
I then installed it back onto the car, first feeding the cable through the hole, reconnecting the tweeter and lanyard, then clicking it all back into place. After pushing the molding and push pin back into place, I added some double sided tape to the back of the gauge to make sure it was secure and installed it into the pod.
The position is closer and more in my line of sight then the suction mount, and it looks much cleaner. The plastic of the pod is a darker and shinier black than the A-pillar, but since most of it is hidden behind the gauge it's barely noticeable. It was cheap and easy to install, and I think it looks great.
It's time to upgrade from the suction mount to something more integrated into the car. I went with a cheap but nice looking option, the Glowshift 52mm Universal Single Pillar Pod.
To install it the A-pillar needs to be removed. First, a push pin needs to be removed from inside the door to allow the molding to come out.
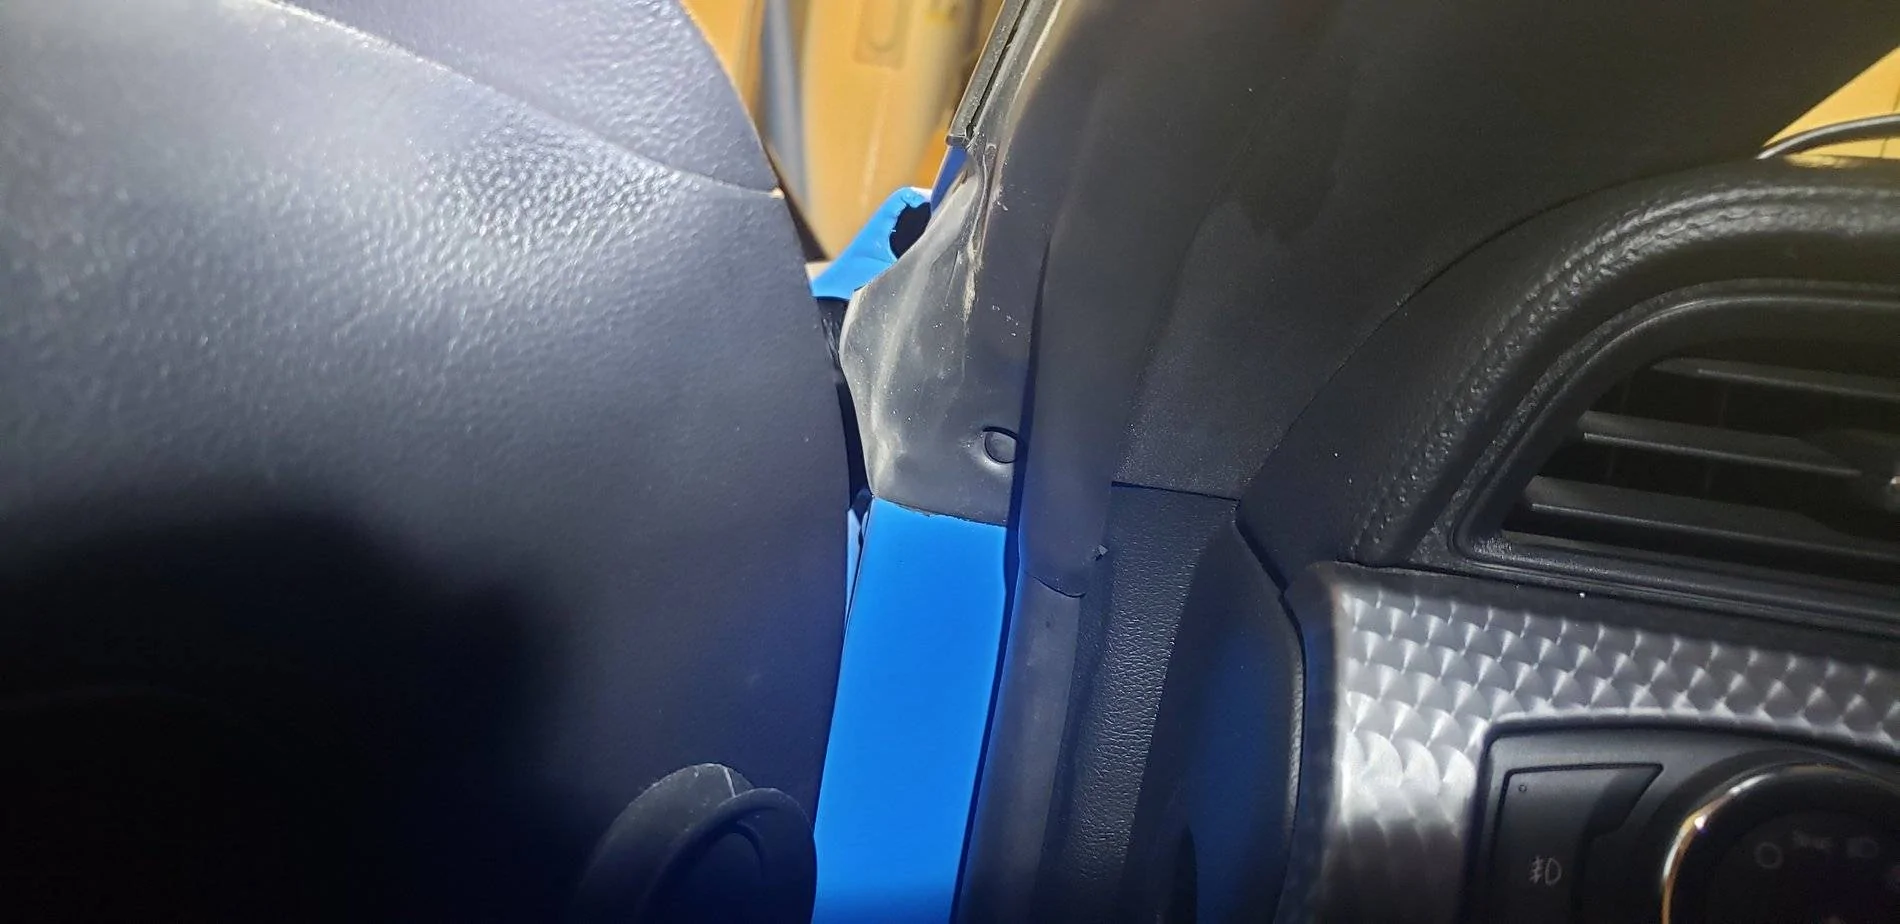
Once the molding is out of the way pulling at the top of the A-Pillar releases a couple of clips. You don't want to pull it away too far though since there is a lanyard holding it on. This needs to be twisted a couple of times to get it through and release it.

Further down is the electrical connector for the tweeter.
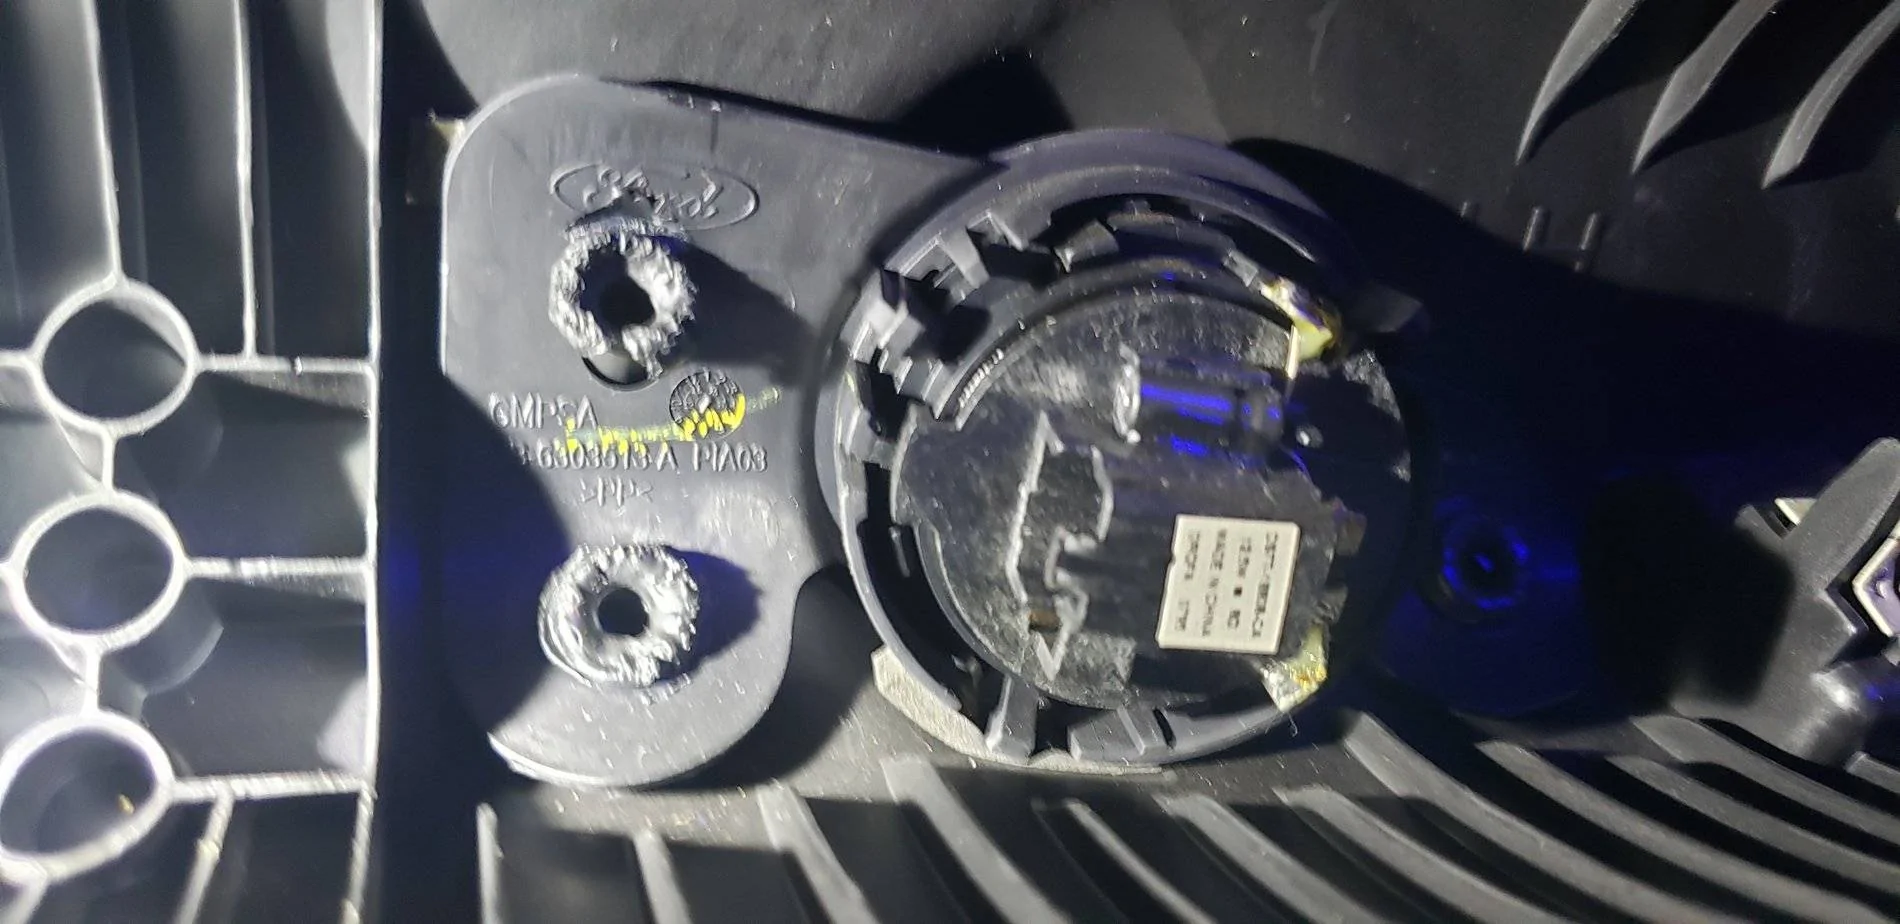
Disconnect that and then the entire cover pulls up and out. Now to take it inside and test fit the gauge pod.
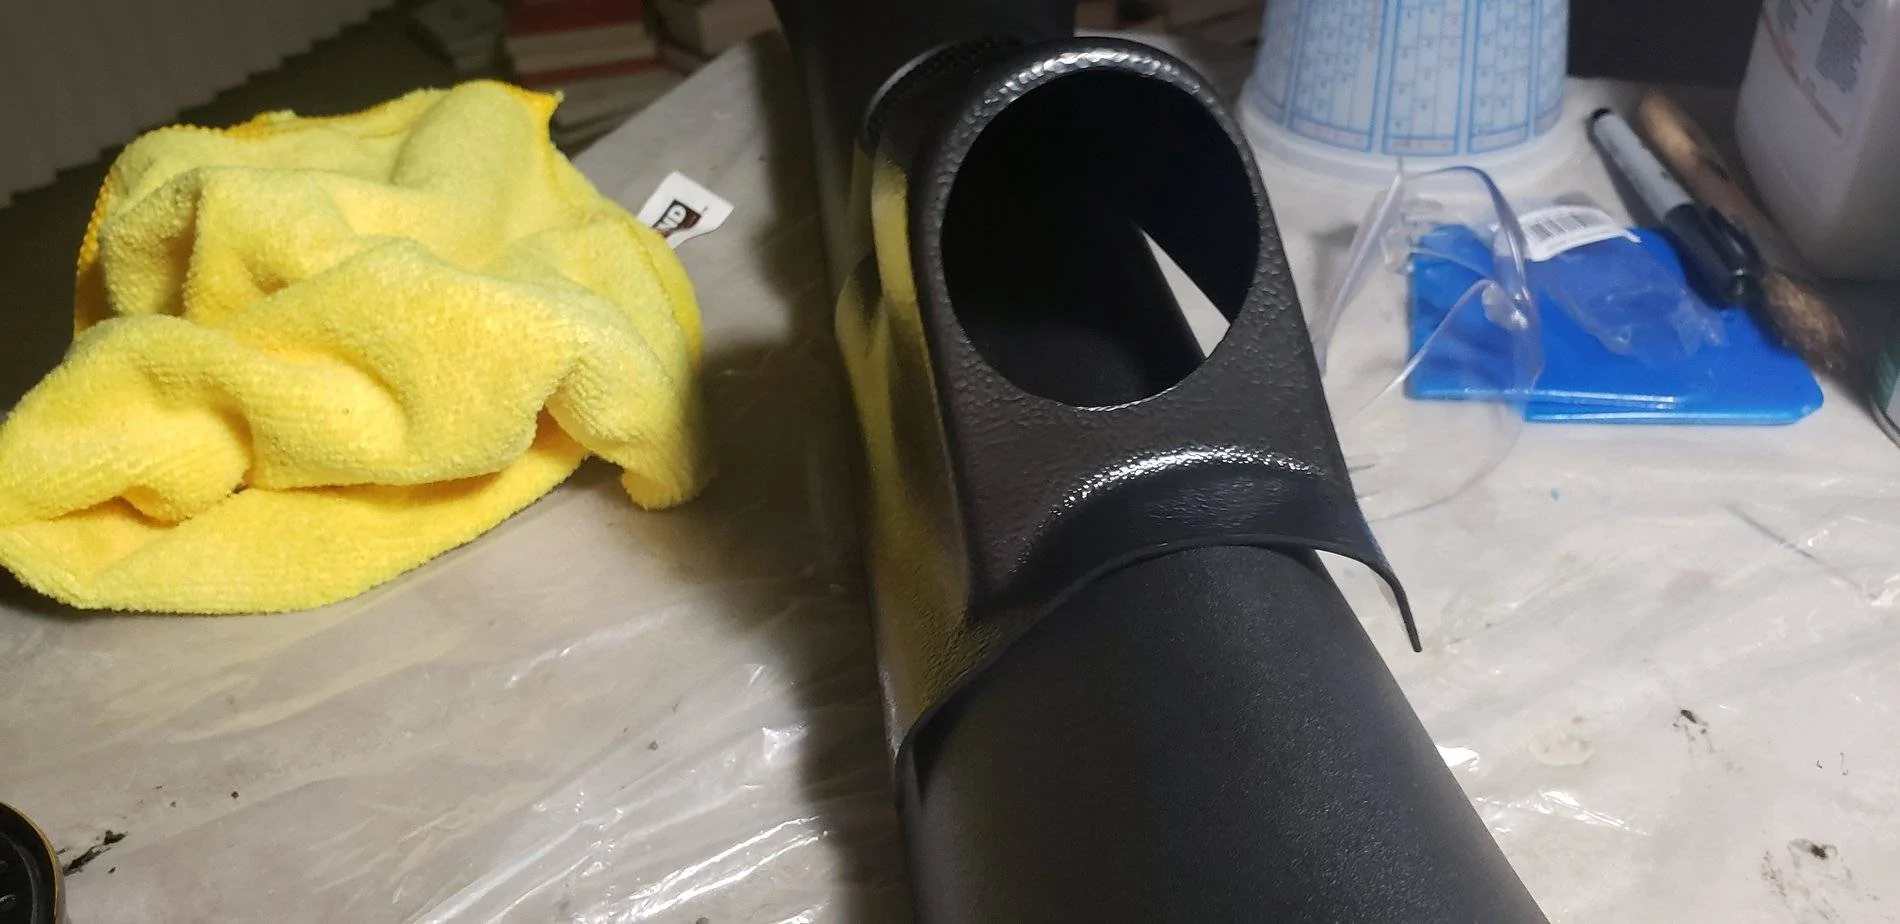
It's not quite a perfect fit, but that was expected as it is "universal" and not specifically made for Mustangs. By heating it up with a heat gun the edges can be bent into shape to get it to follow the curve of the pillar properly.

This bent the opening a bit, but the gauge still fits ok. I then drove the four included screws into the corners by hand and it shaped perfectly to the pillar. The only issue this caused is that now there are four sharp screws poking through the back side.

I confirmed the location of the curtain airbags to make sure that these sharp points didn't stick directly into them, but I figured I should play it safe and cover them. The pod came with a thick piece of foam that is supposed to go between the pillar and pod but didn't seem to work well, so instead I cut pieces off of it and taped them over the screws.

Finally, I drilled a hole big enough to feed the cable through.
I then installed it back onto the car, first feeding the cable through the hole, reconnecting the tweeter and lanyard, then clicking it all back into place. After pushing the molding and push pin back into place, I added some double sided tape to the back of the gauge to make sure it was secure and installed it into the pod.
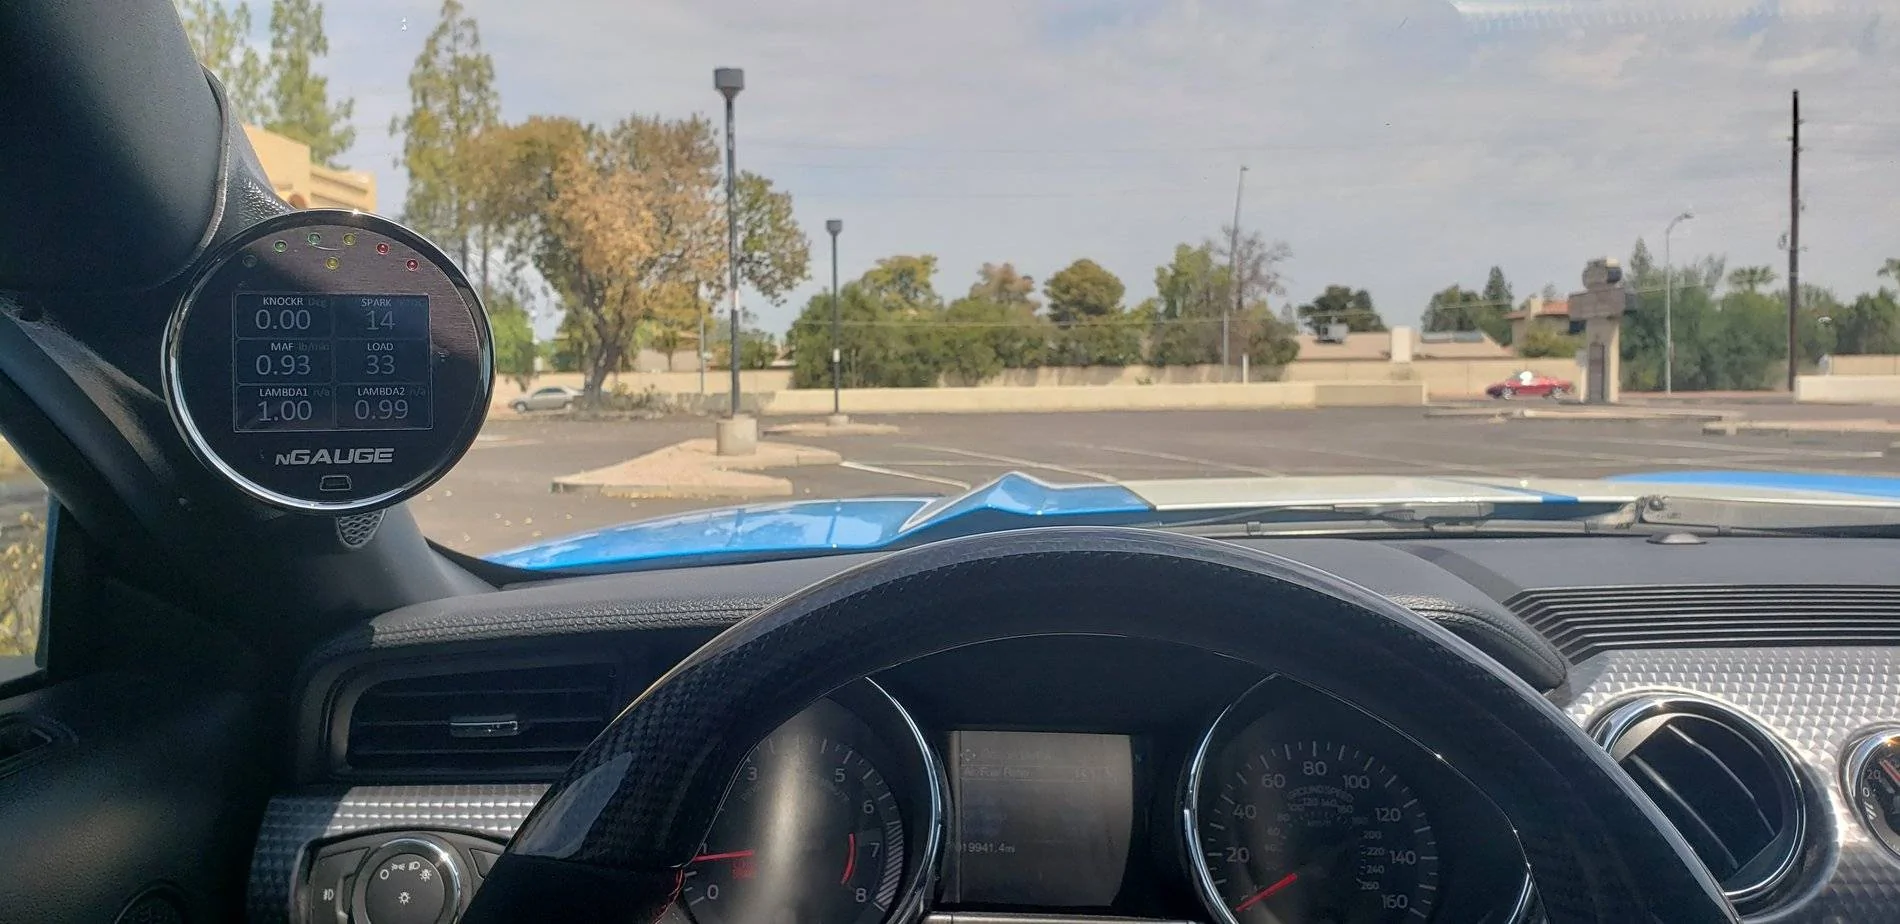
The position is closer and more in my line of sight then the suction mount, and it looks much cleaner. The plastic of the pod is a darker and shinier black than the A-pillar, but since most of it is hidden behind the gauge it's barely noticeable. It was cheap and easy to install, and I think it looks great.
Sponsored