Sponsored

Angela III - Daily Driver Build Thread

OP
OP
2017GBGTPP

2017GBGTPP

Well-Known Member
Joined
Jul 2, 2016
Threads
14
Messages
574
Reaction score
734
Location
Albuquerque, NM
First Name
Dan
Vehicle(s)
2017 Grabber Blue Premium GTPP w/ Recaros
Can you upgrade the stereo by downgrading?

As many know, the secondary sound system in the car sucks (The primary sound system being music off and just listening to the V8). Sometimes I want to listen to music, but the vocals sound distant and hollow. I have the 9 speaker Shaker system, and after much research I have found that the Instrument Panel Speaker, AKA the center speaker, is the weakest link and causes the poor vocal sound. Many have just ripped this out and found it to be an improvement, so I decided to try it.

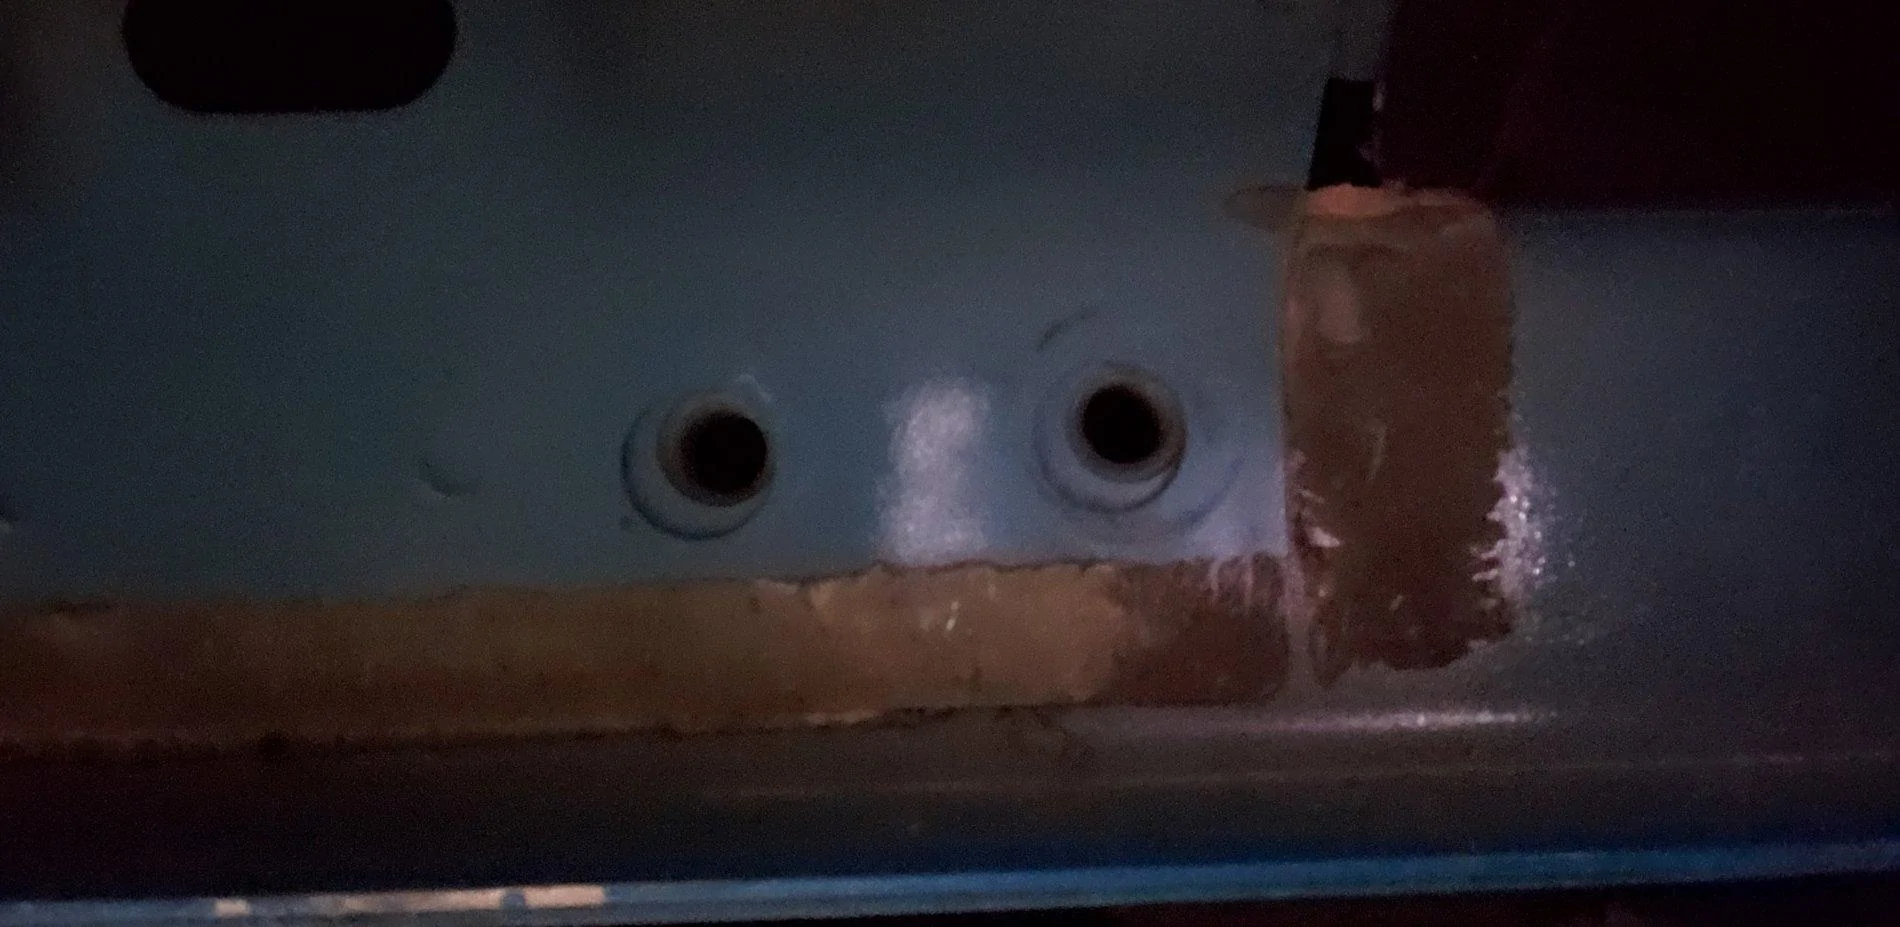
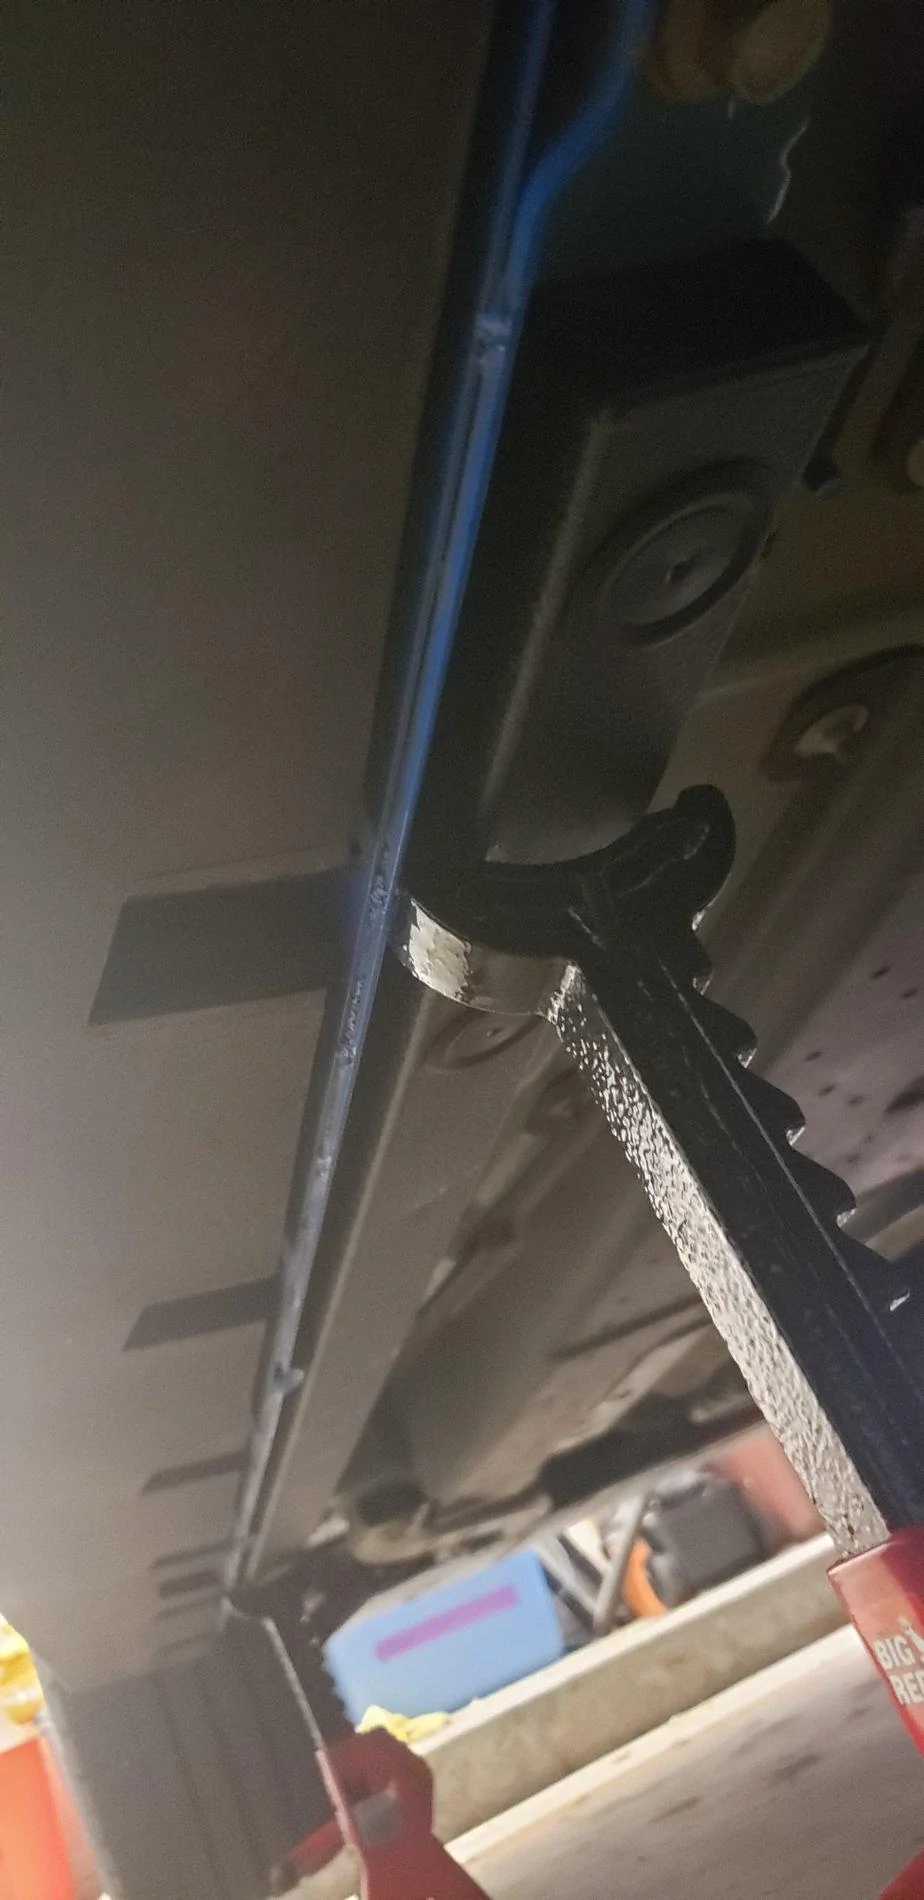
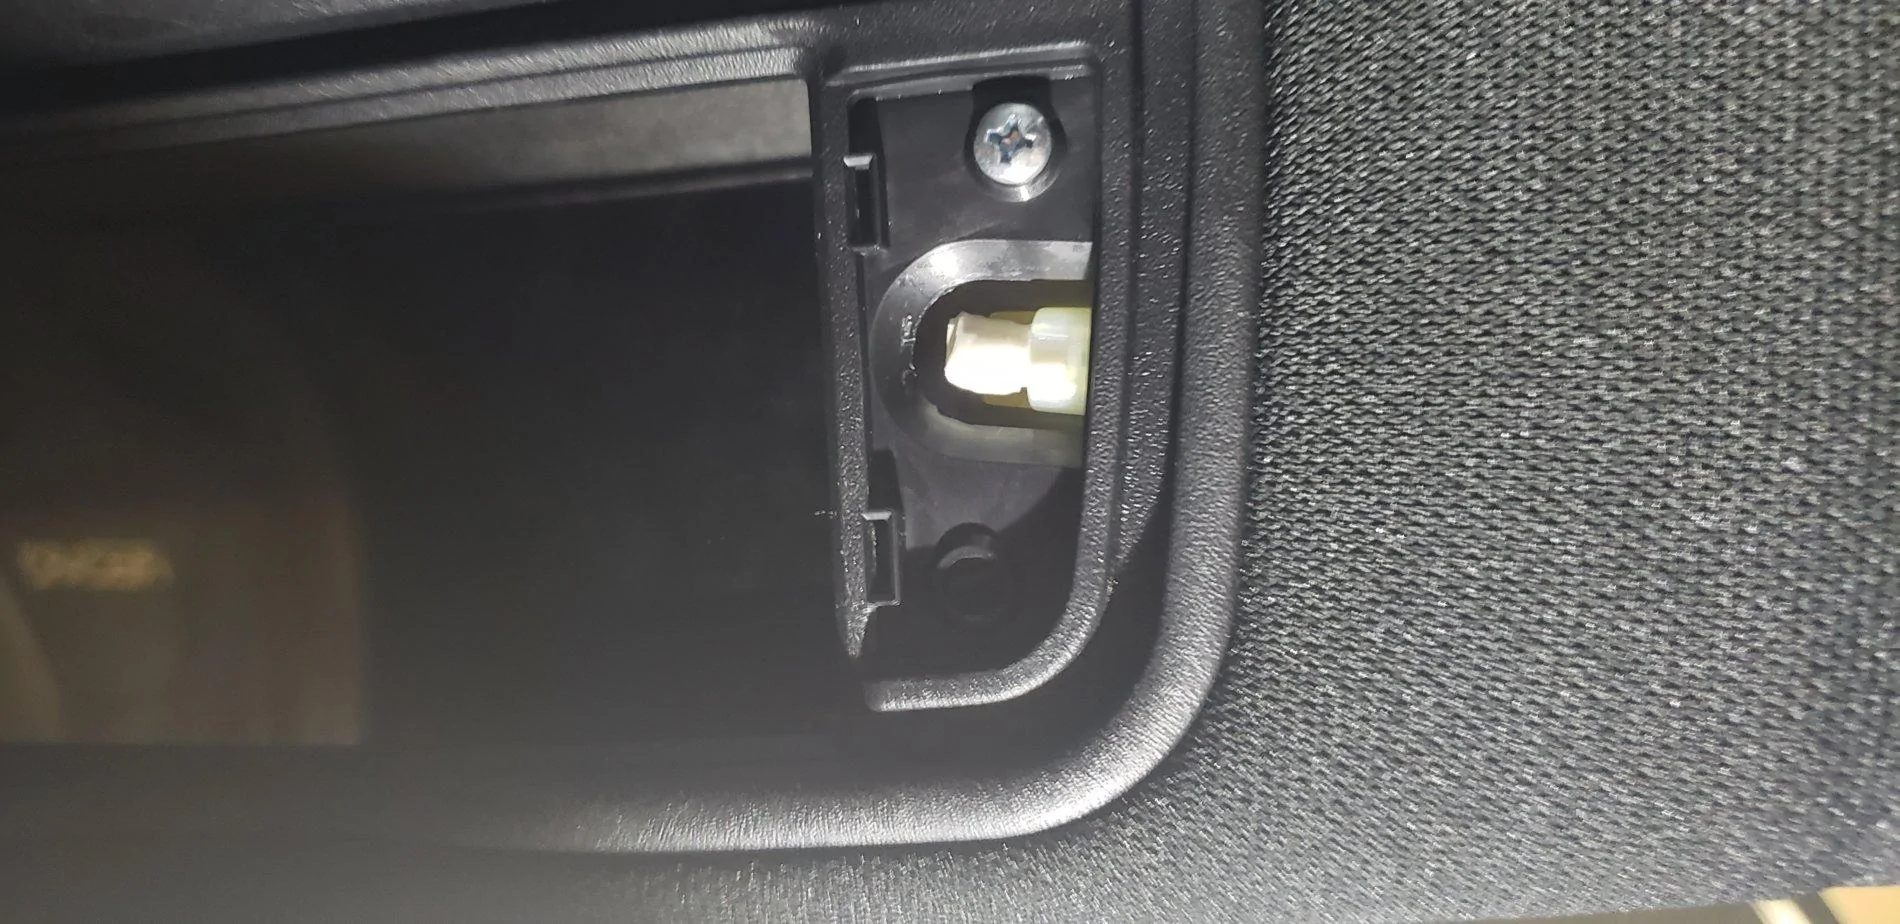
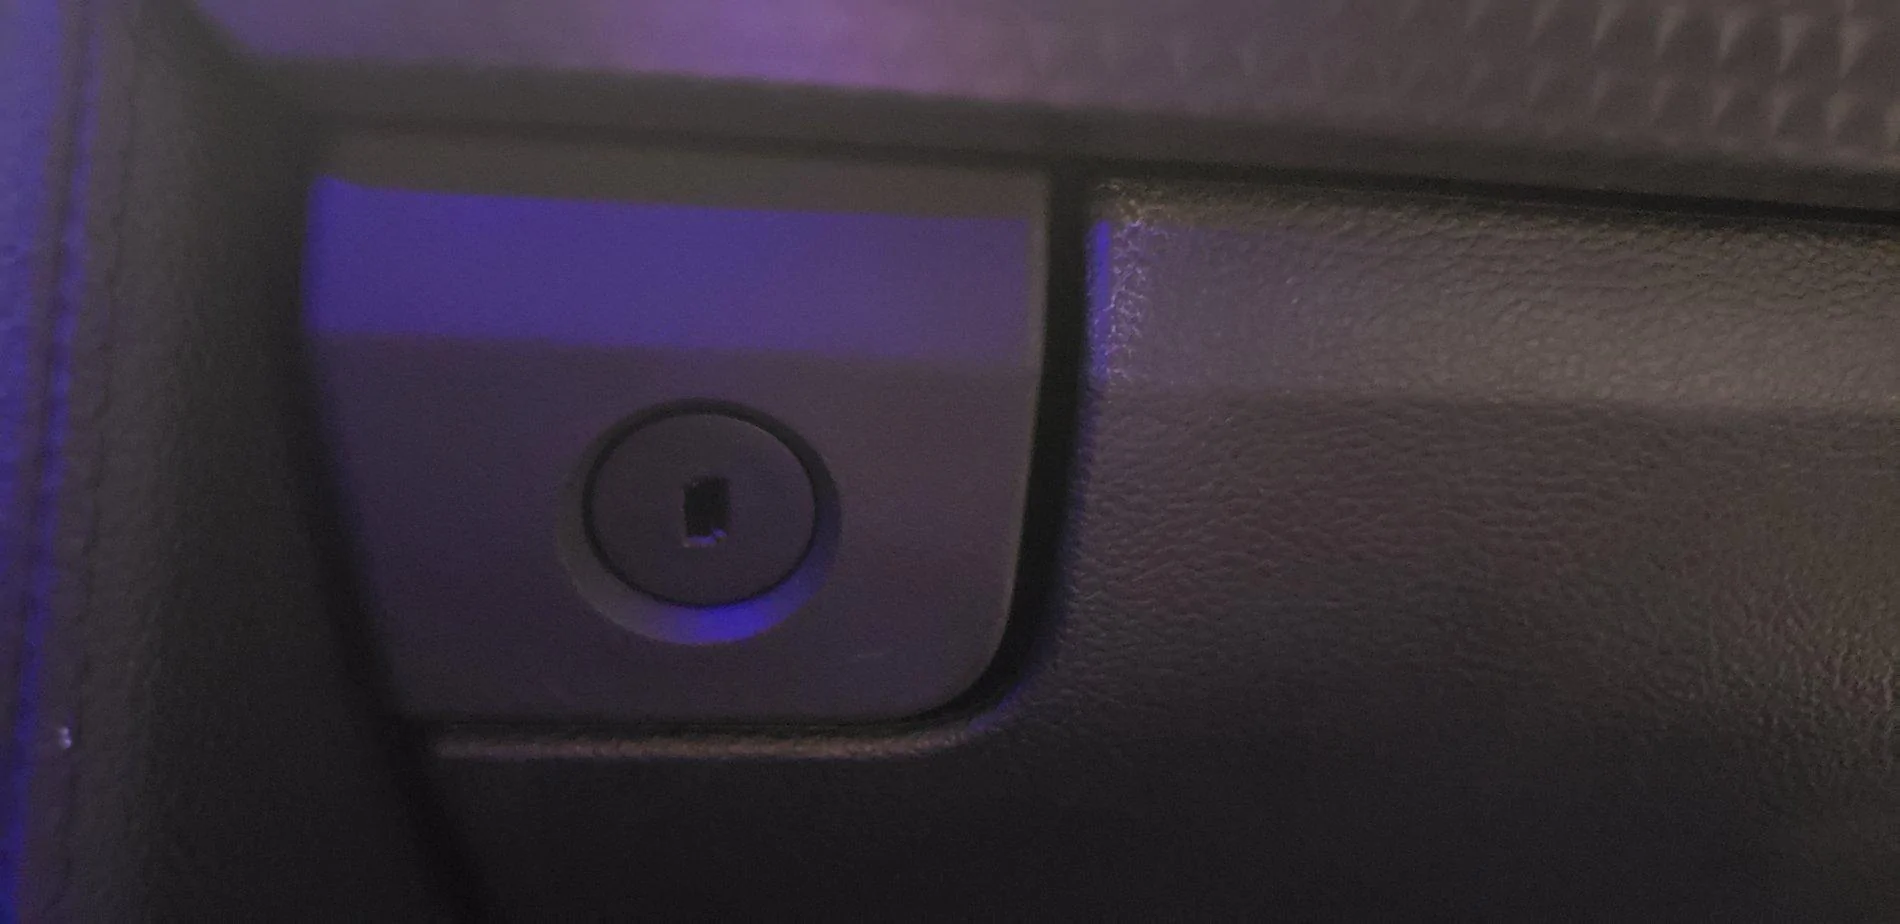
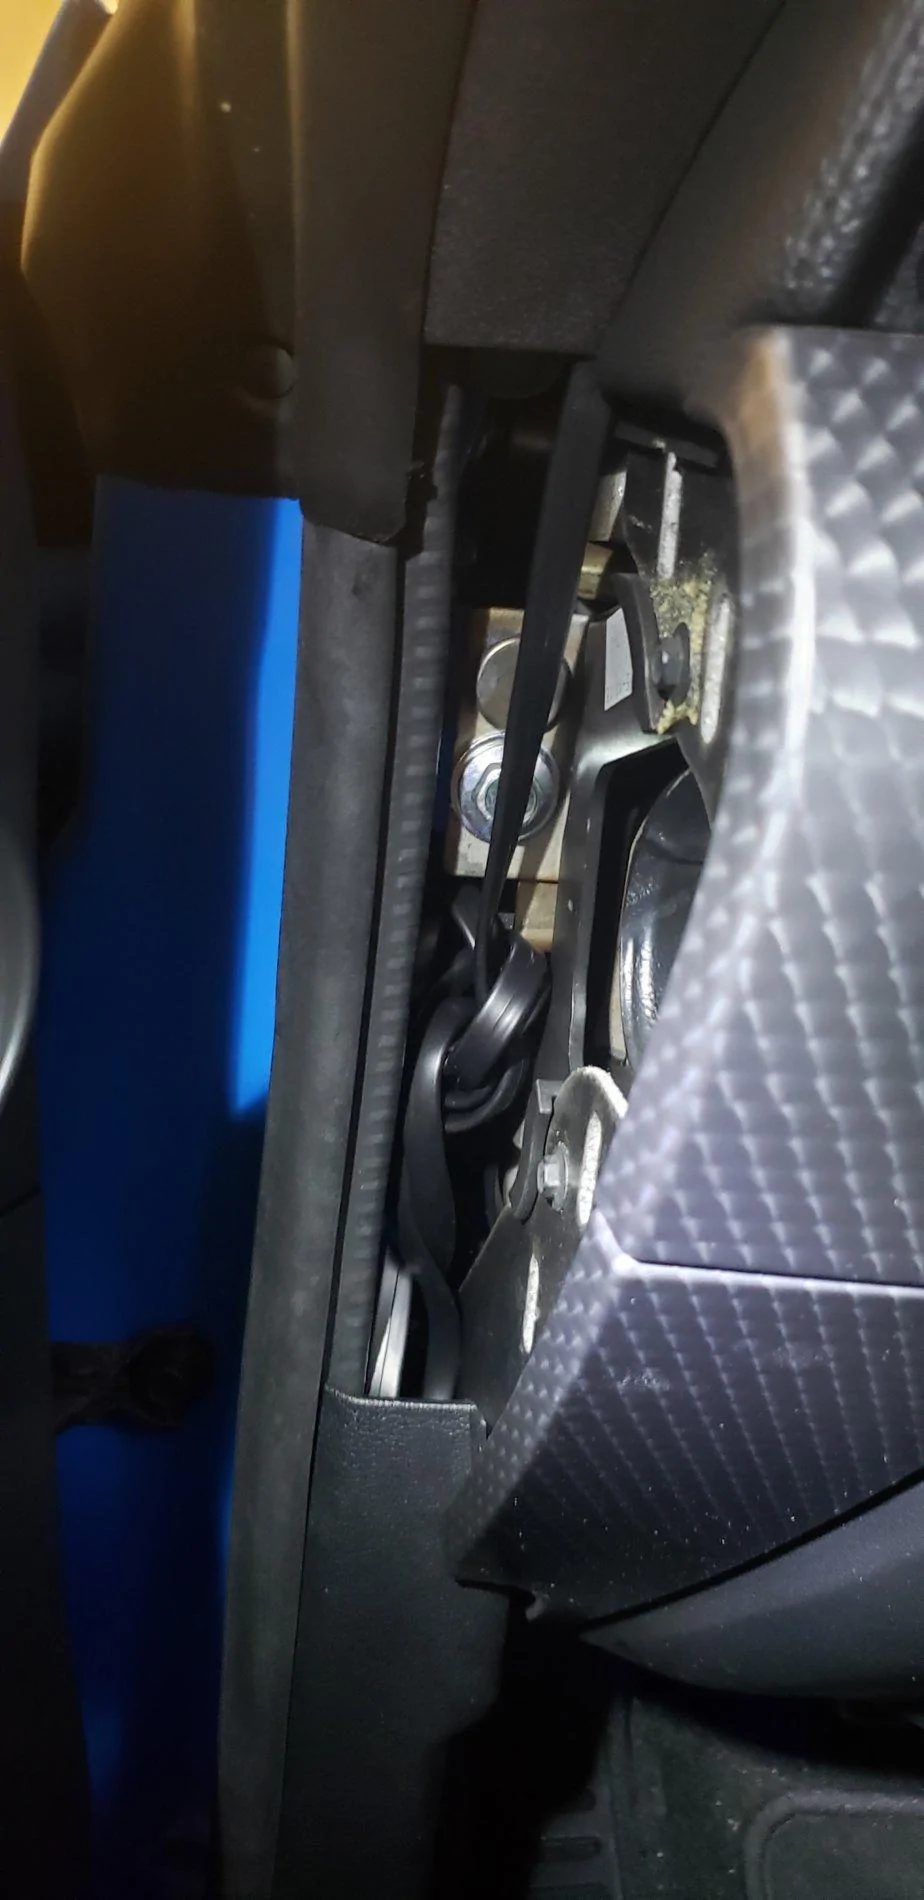
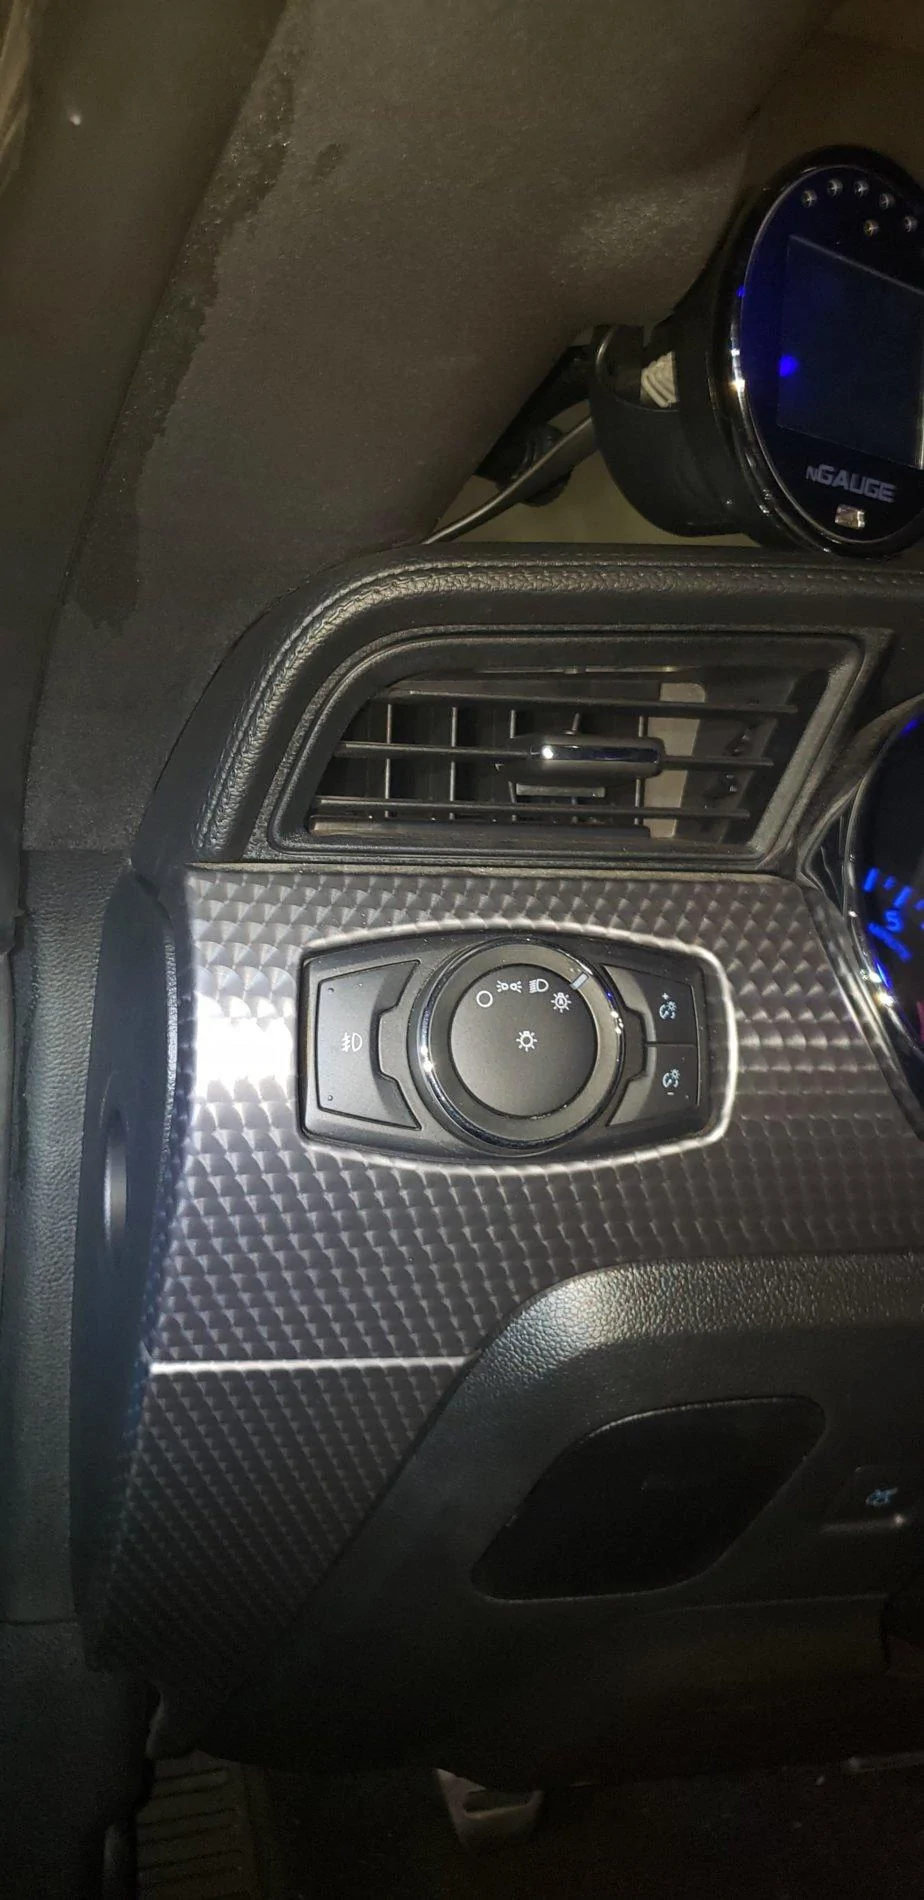
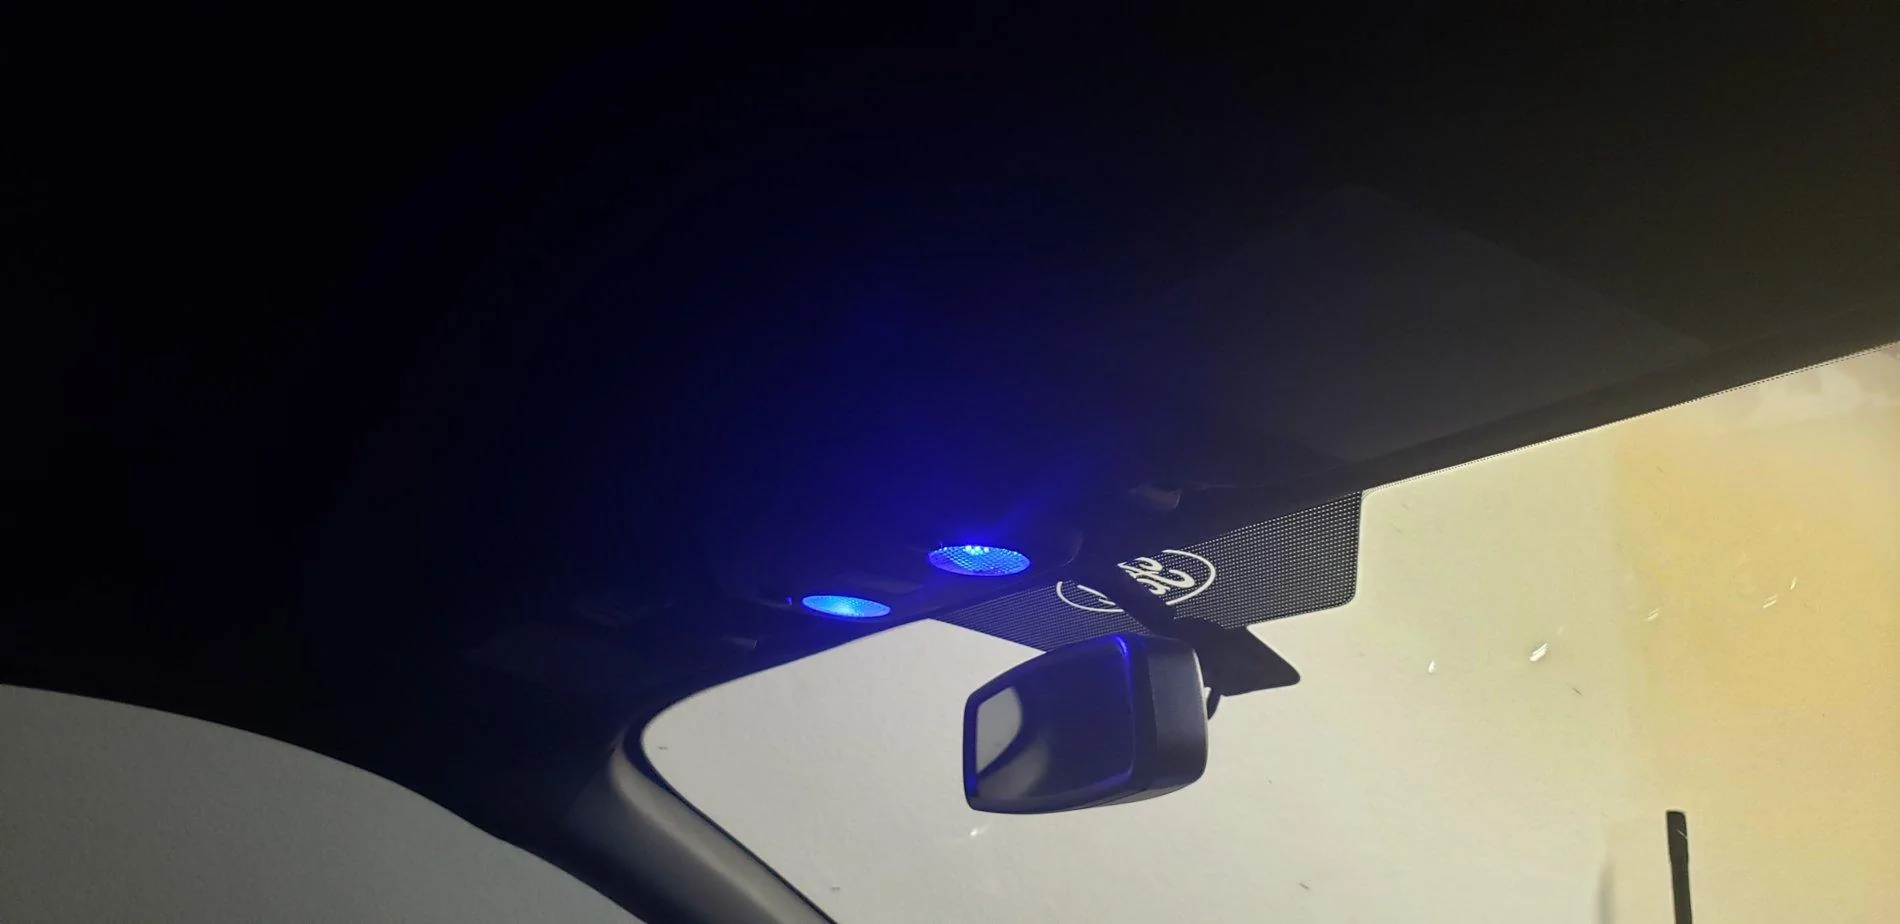
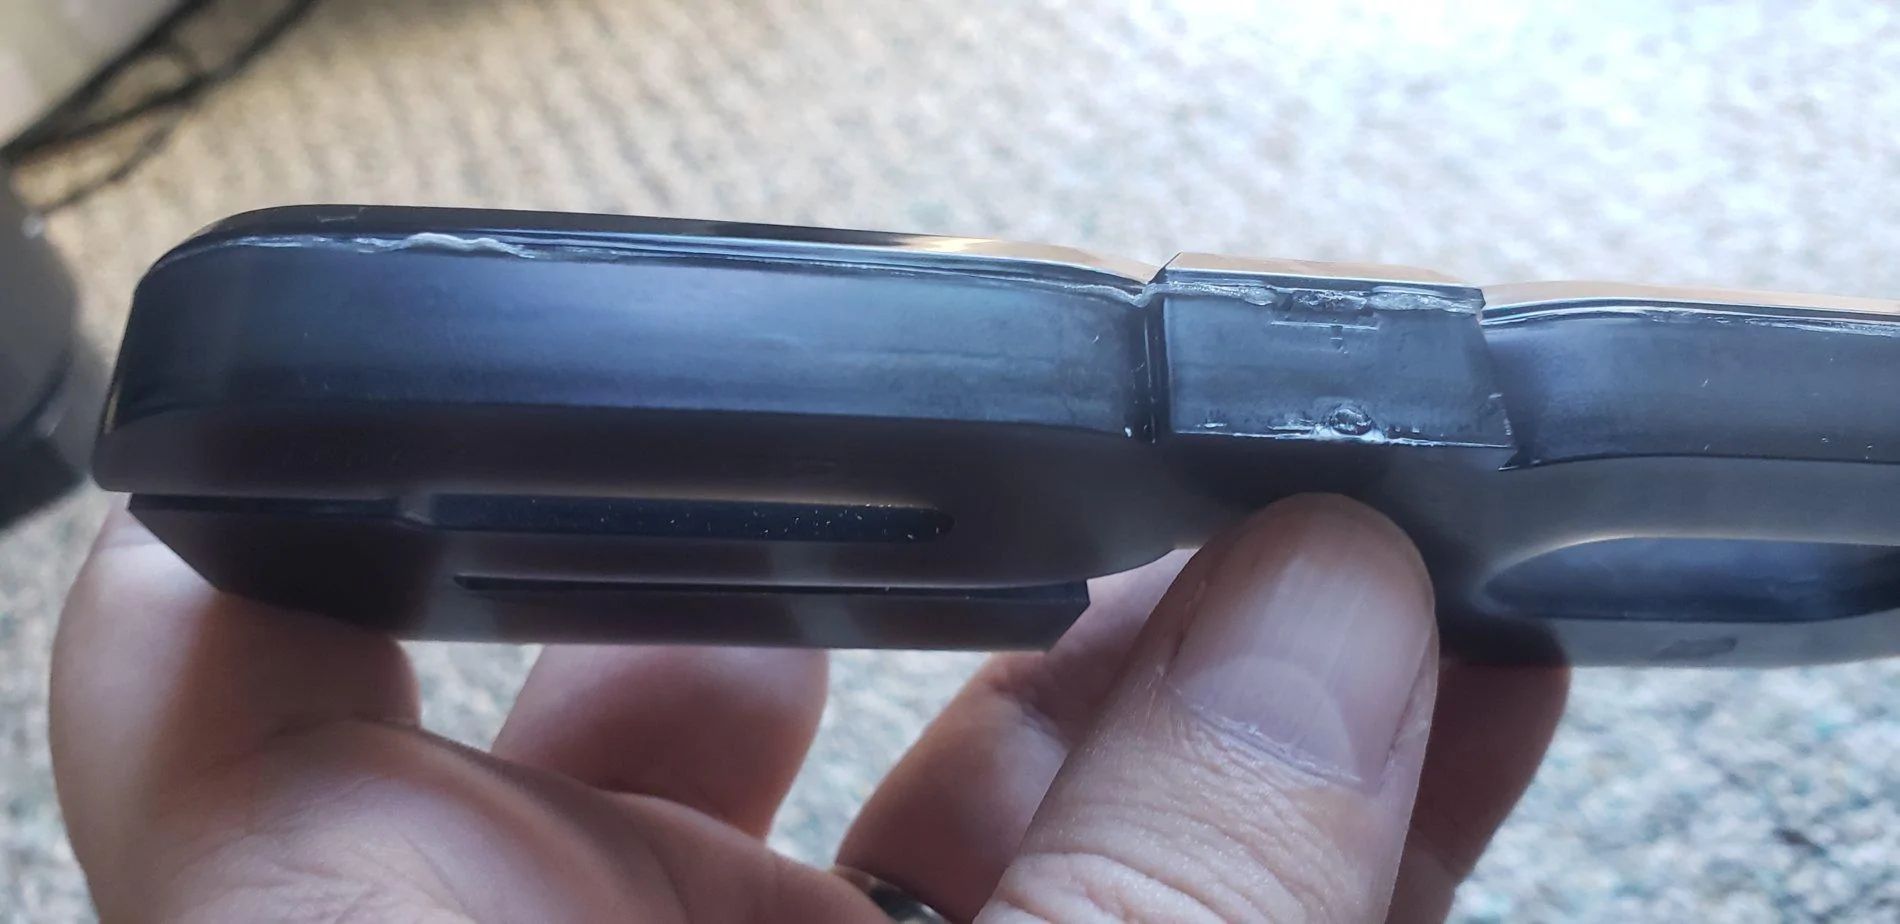
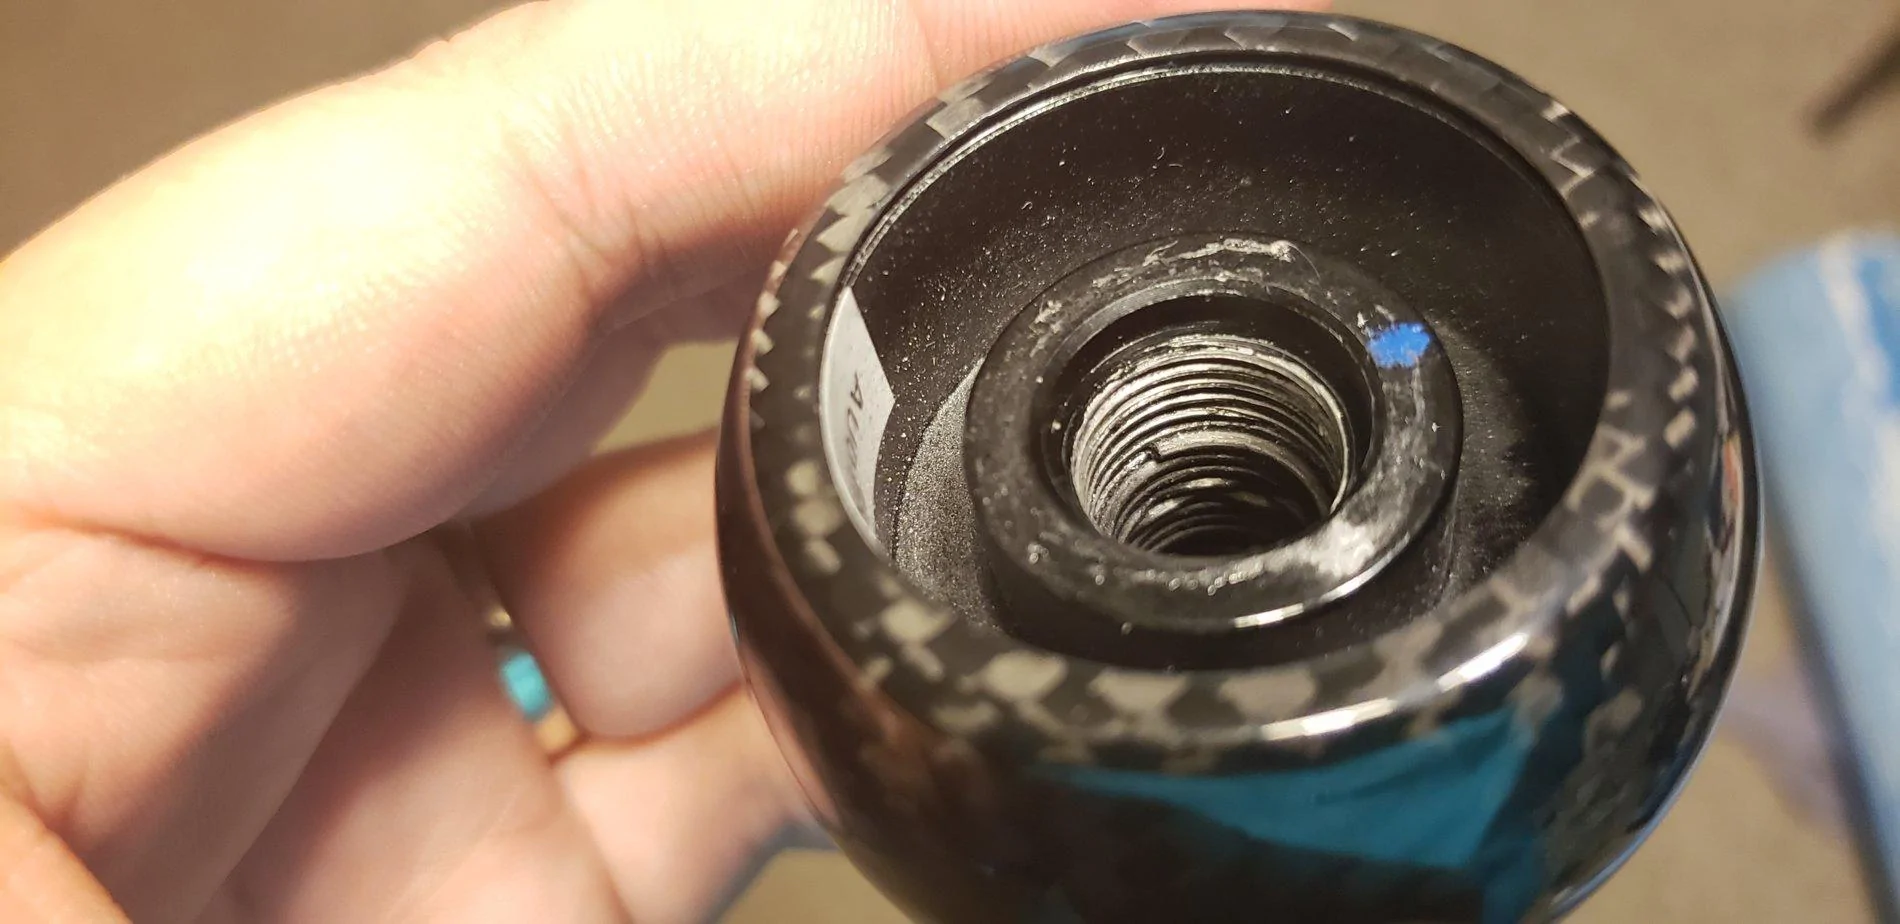
I bought some cheap trim removal tools to keep from scratching up the interior. These will probably come in handy for removing the engine bay clips I have complained about previously too. The first part to come off is a small panel to the right of the glove box, which is connected to the dash by two clips and also connected to the Instrument Panel Center Finish Panel by a different kind of clip. The two primary clips pry off easily with the tools. I would suggest not even trying to disconnect the 3rd clip to the Center Finish Panel as it doesn't need to come off and it isn't difficult to break the tab it connects to. Ask me how I know. Or better yet don't, you already know. This is the tab that can break:

20190729_202950.jpg


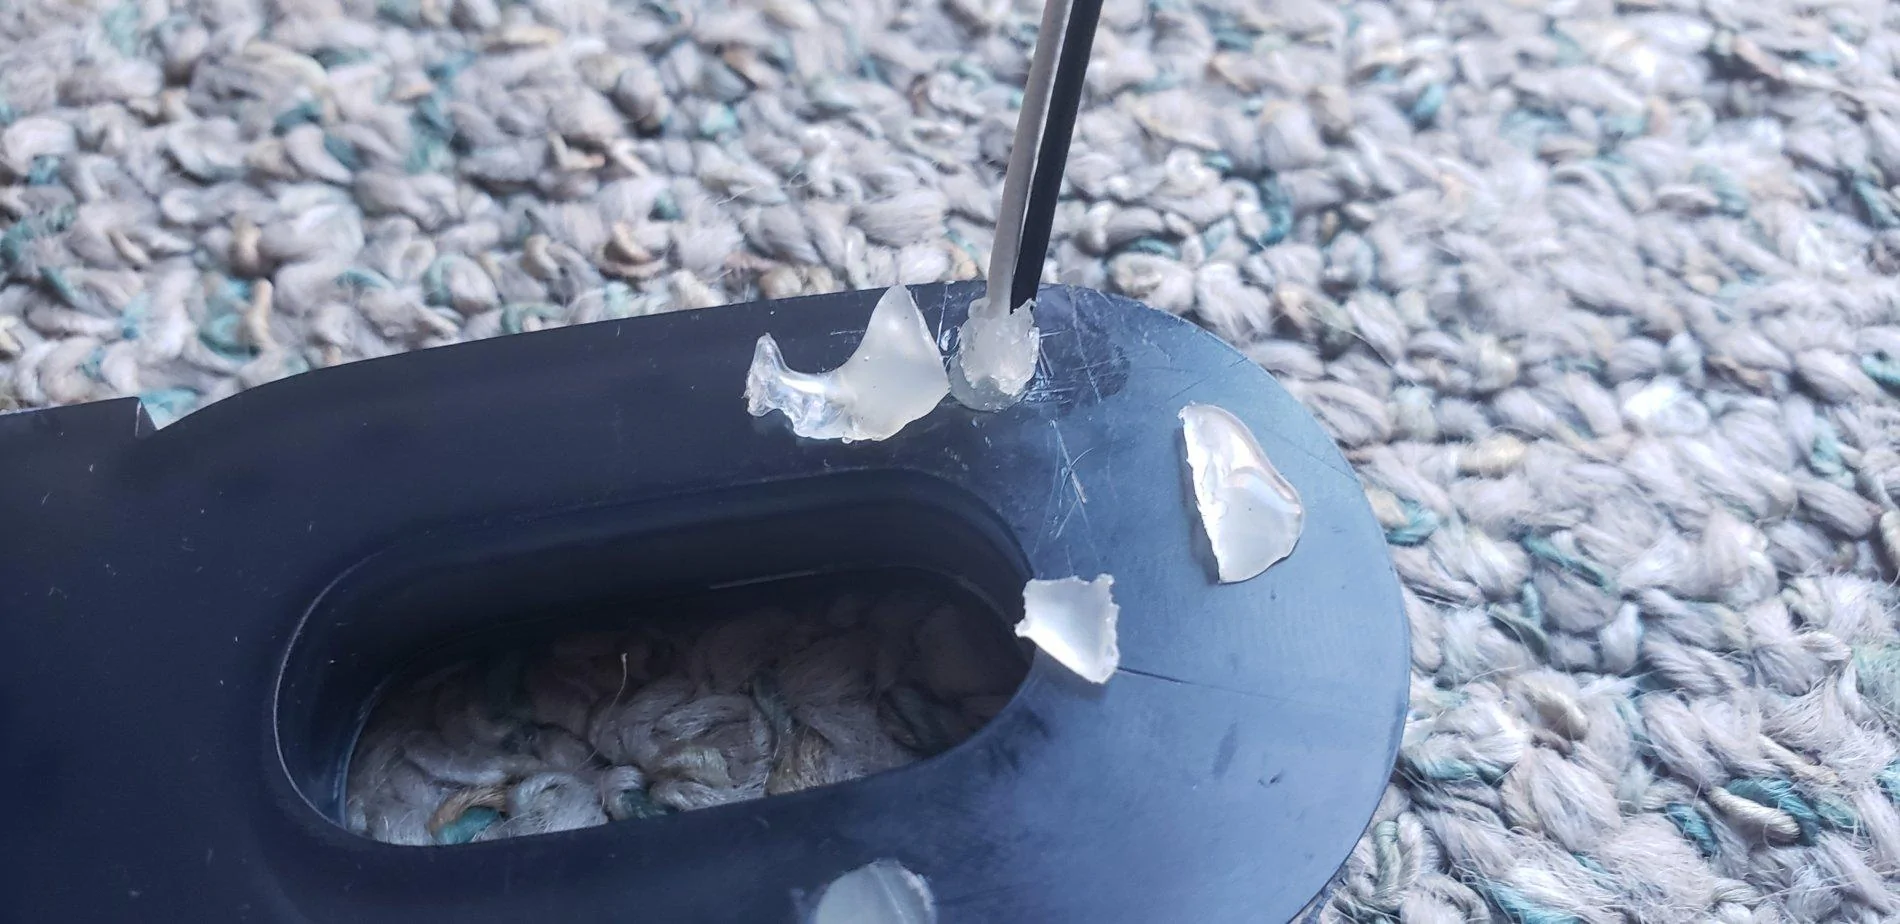
I was able to glue it back together with Gorilla Glue.

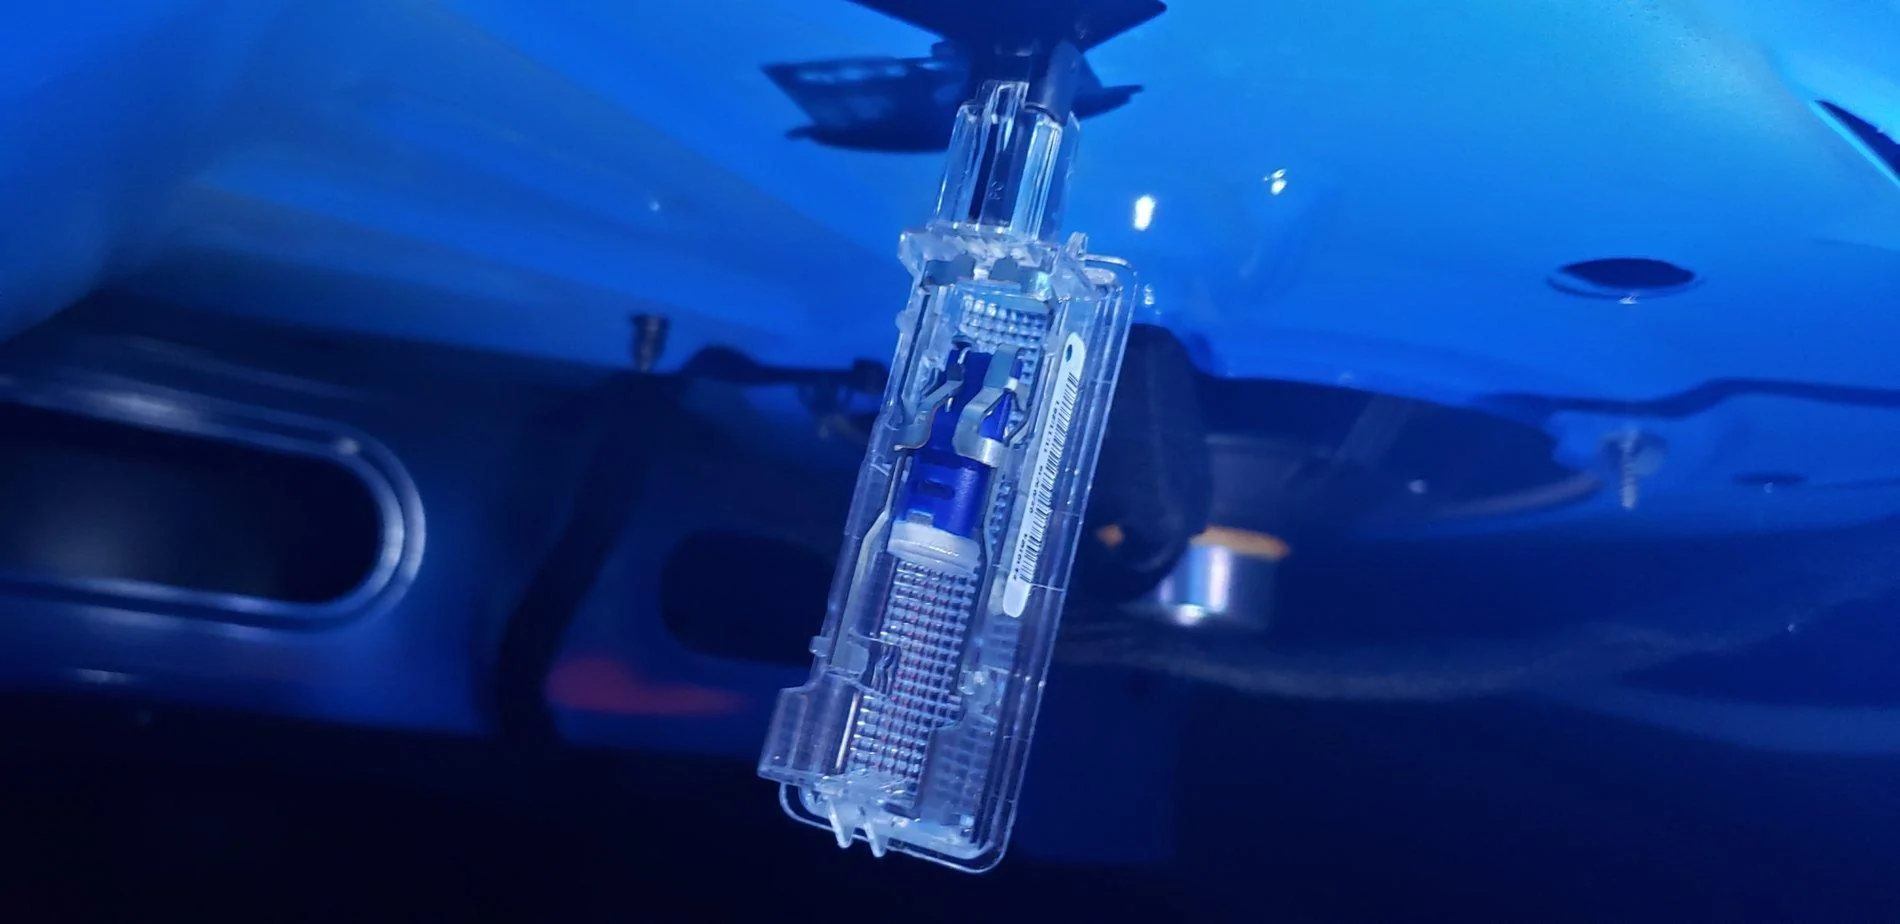
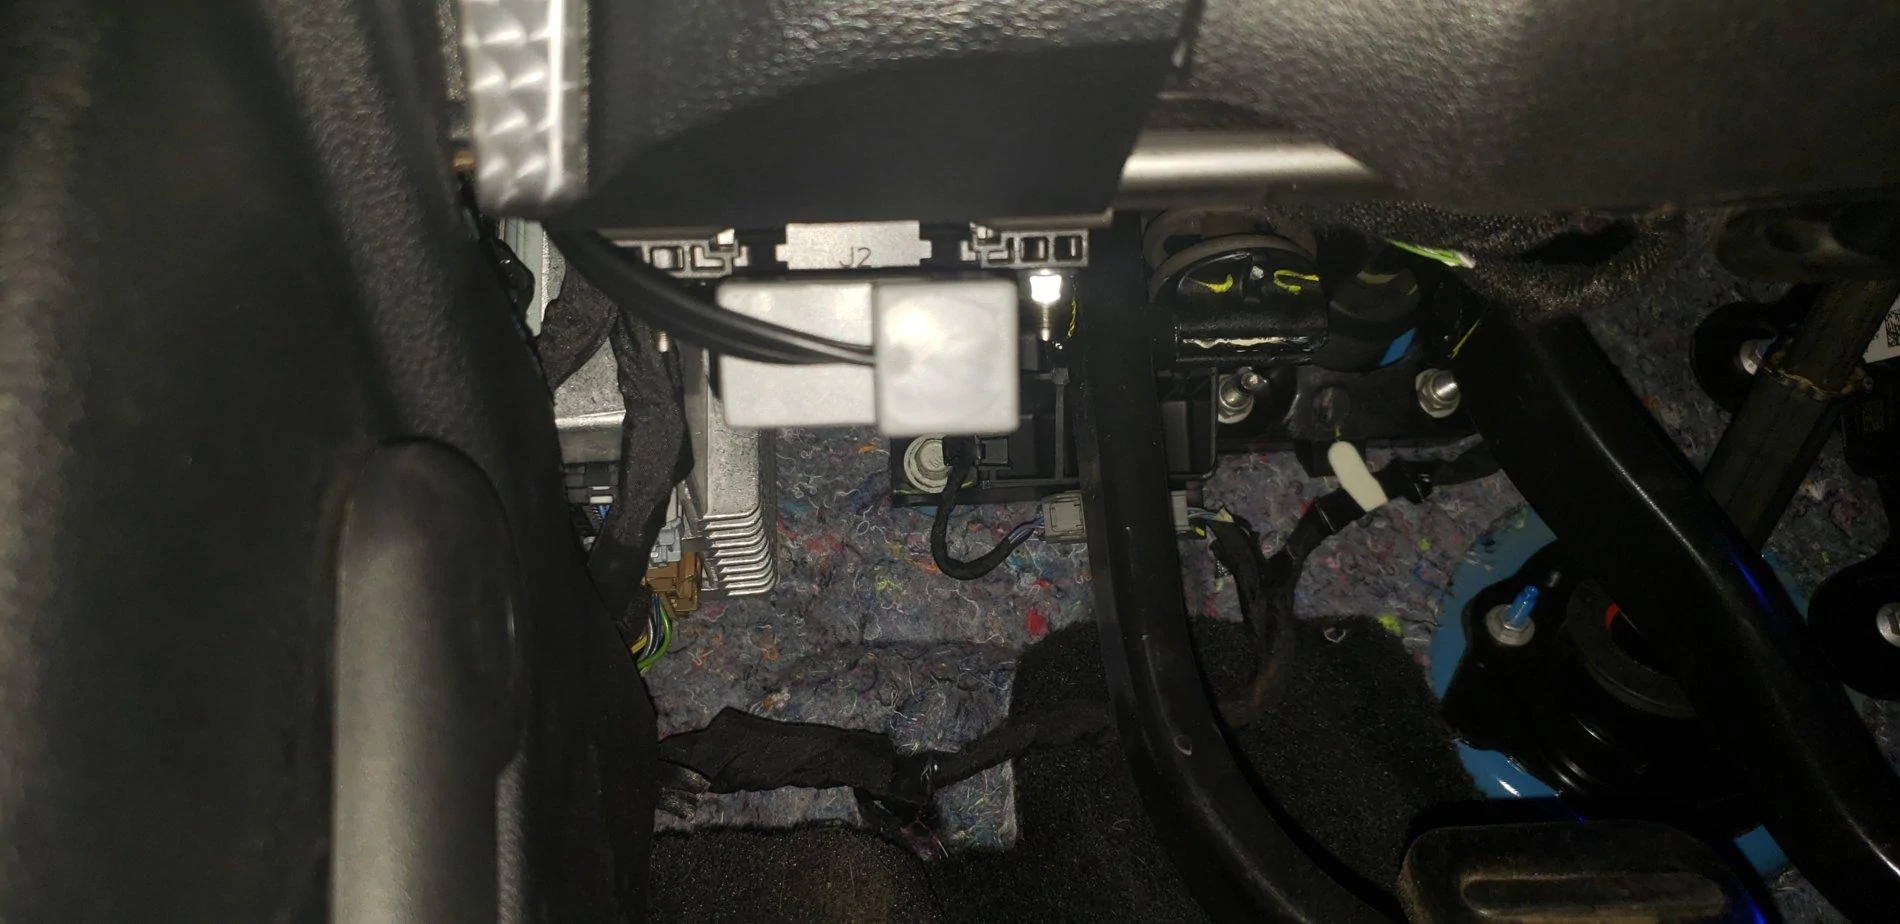
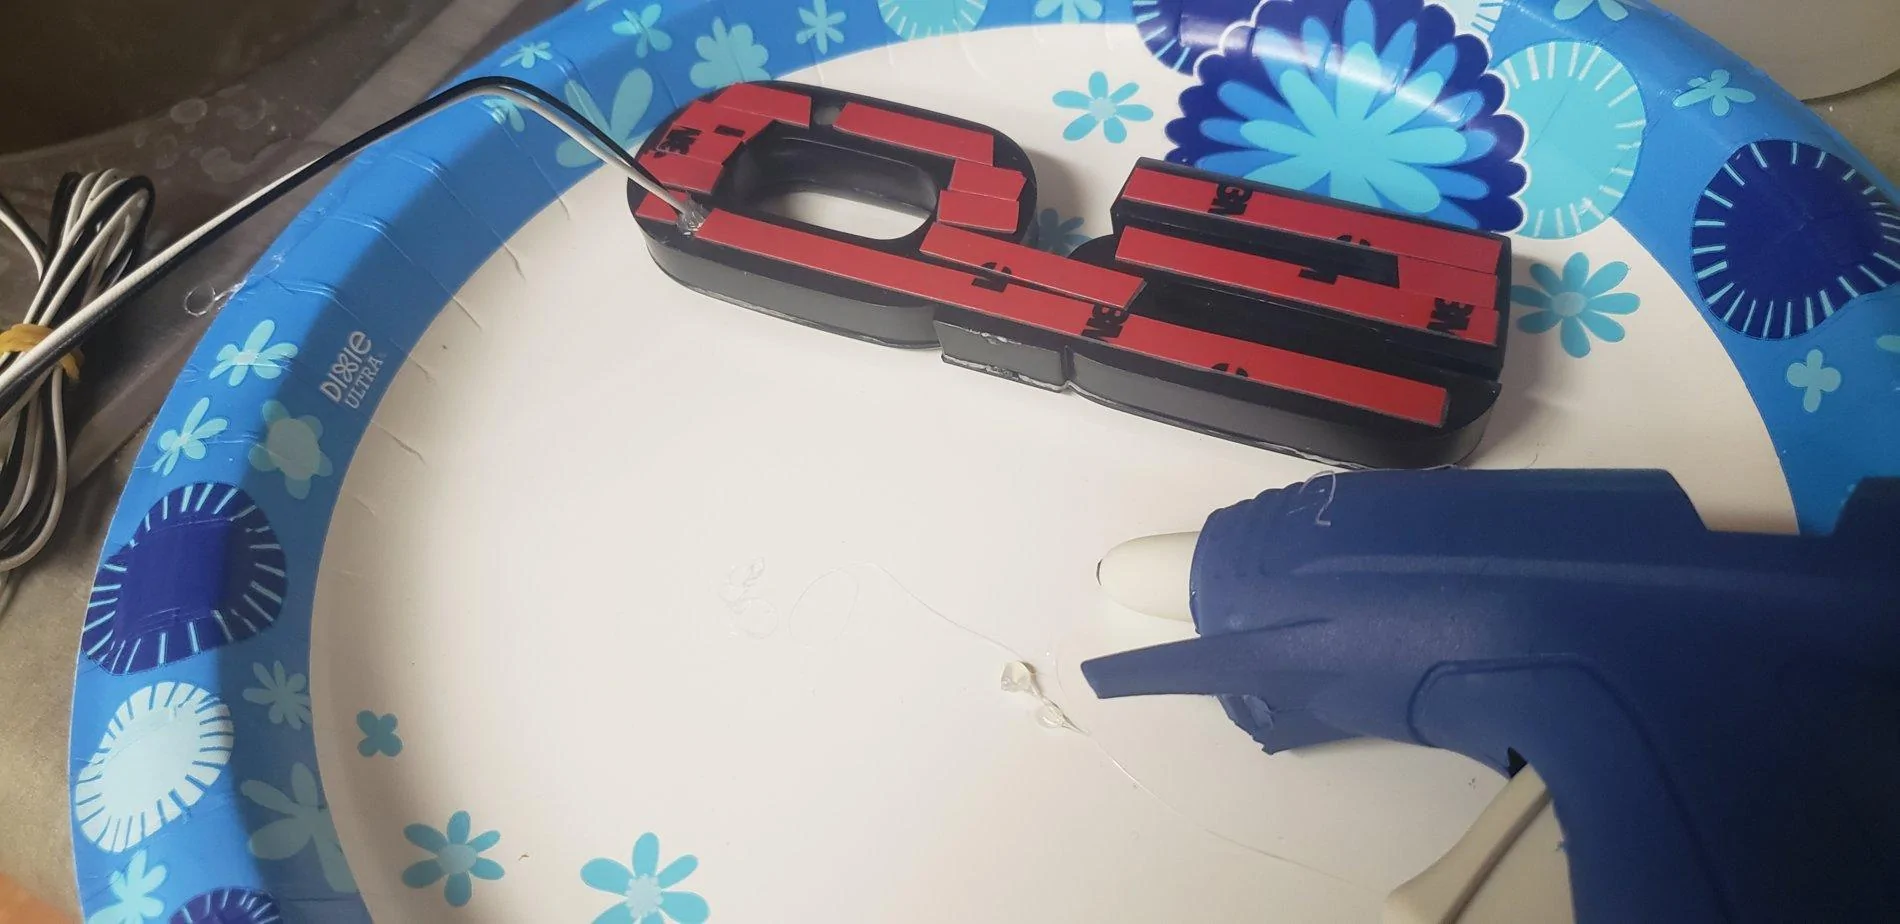
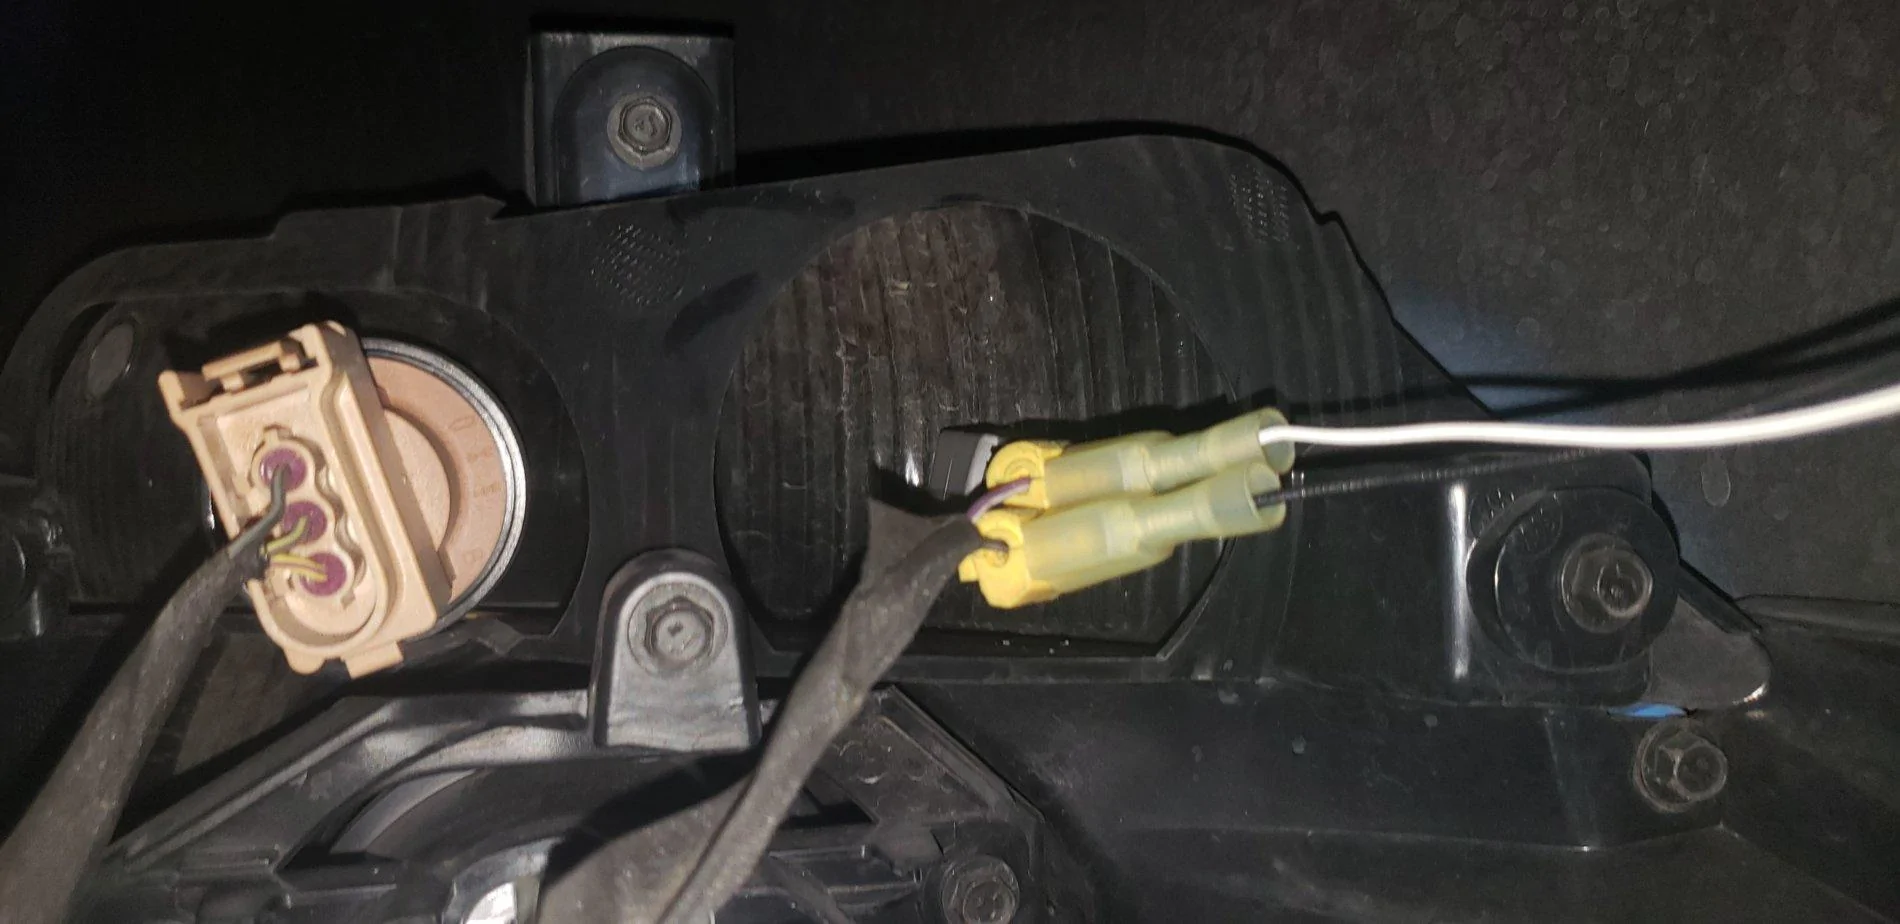
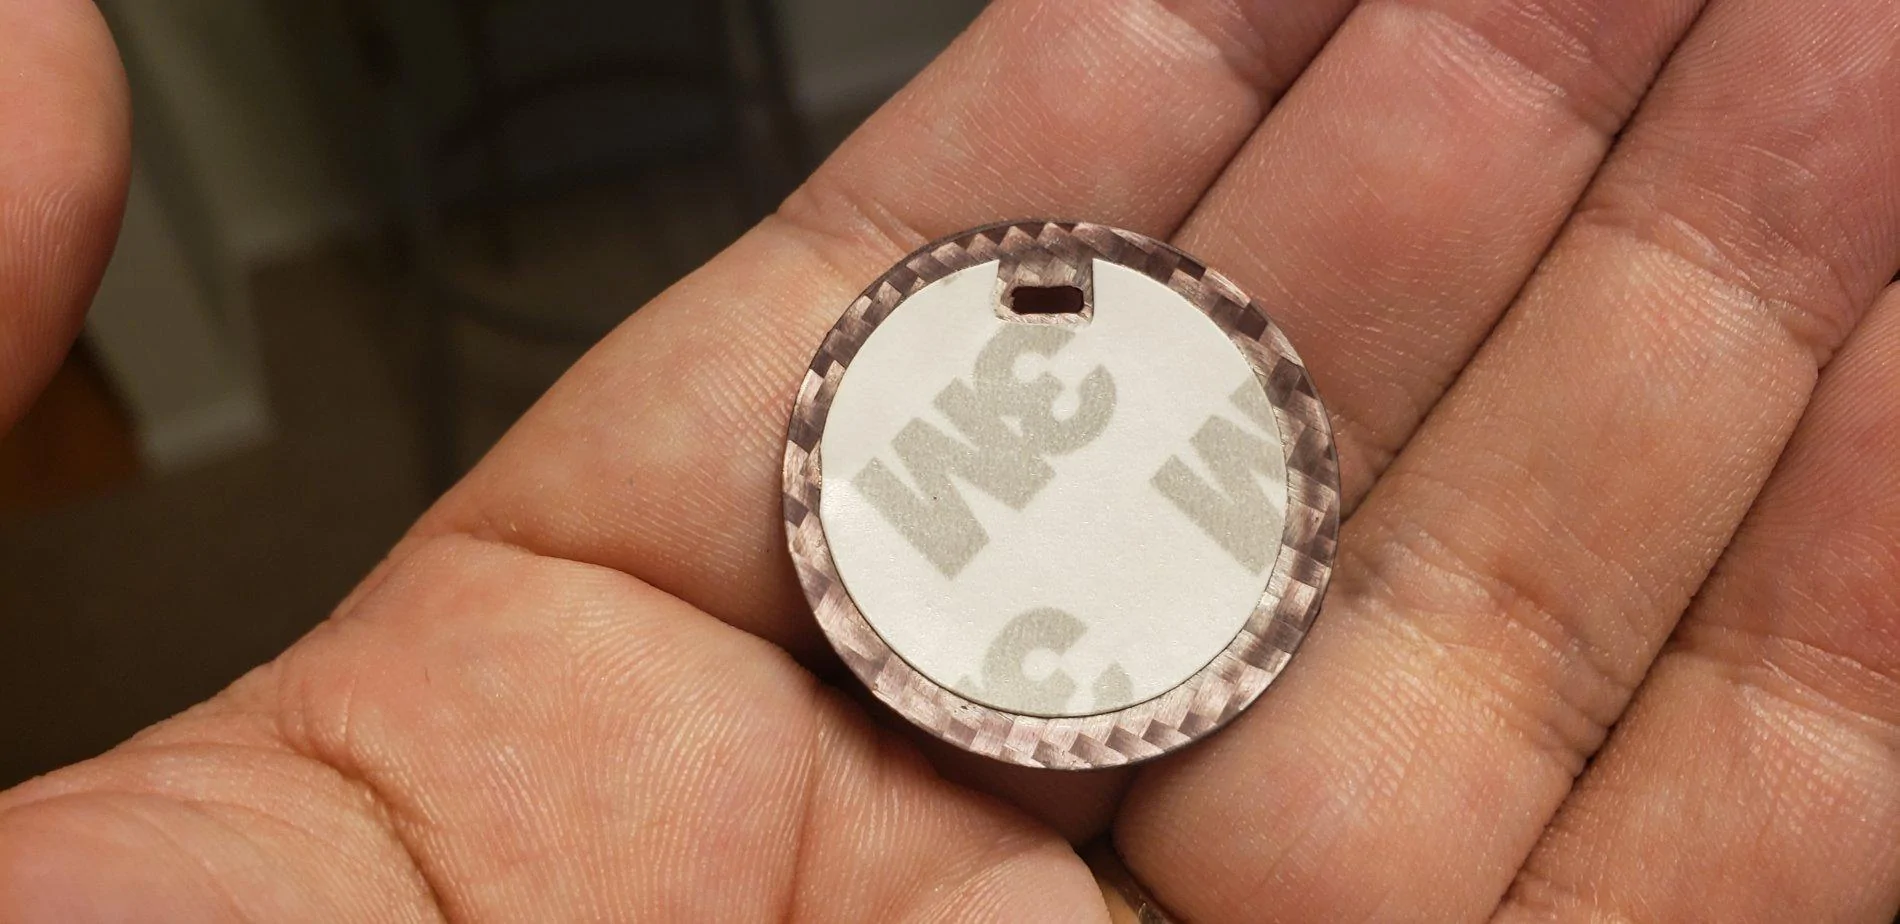
Once that is loose, just pry at the far right of the Center Finish Panel to pop off those clips, then work your way left until the whole thing comes off. If you have the PP gauges like me then you need to disconnect a cable behind the gauges by pushing in the tab and pulling it out. Here is a picture of the backside of these trim pieces that shows where all of the clips are, they are yellow, blue, and white:

20190729_202929.jpg


I guess these clips can be broken but I was careful enough that none broke. I did have one that came off the trim panel and stayed in the dash, I was able to pull it out with some needle nose pliers and put it back on the trim piece. Now the dash is exposed:

20190729_203452.jpg


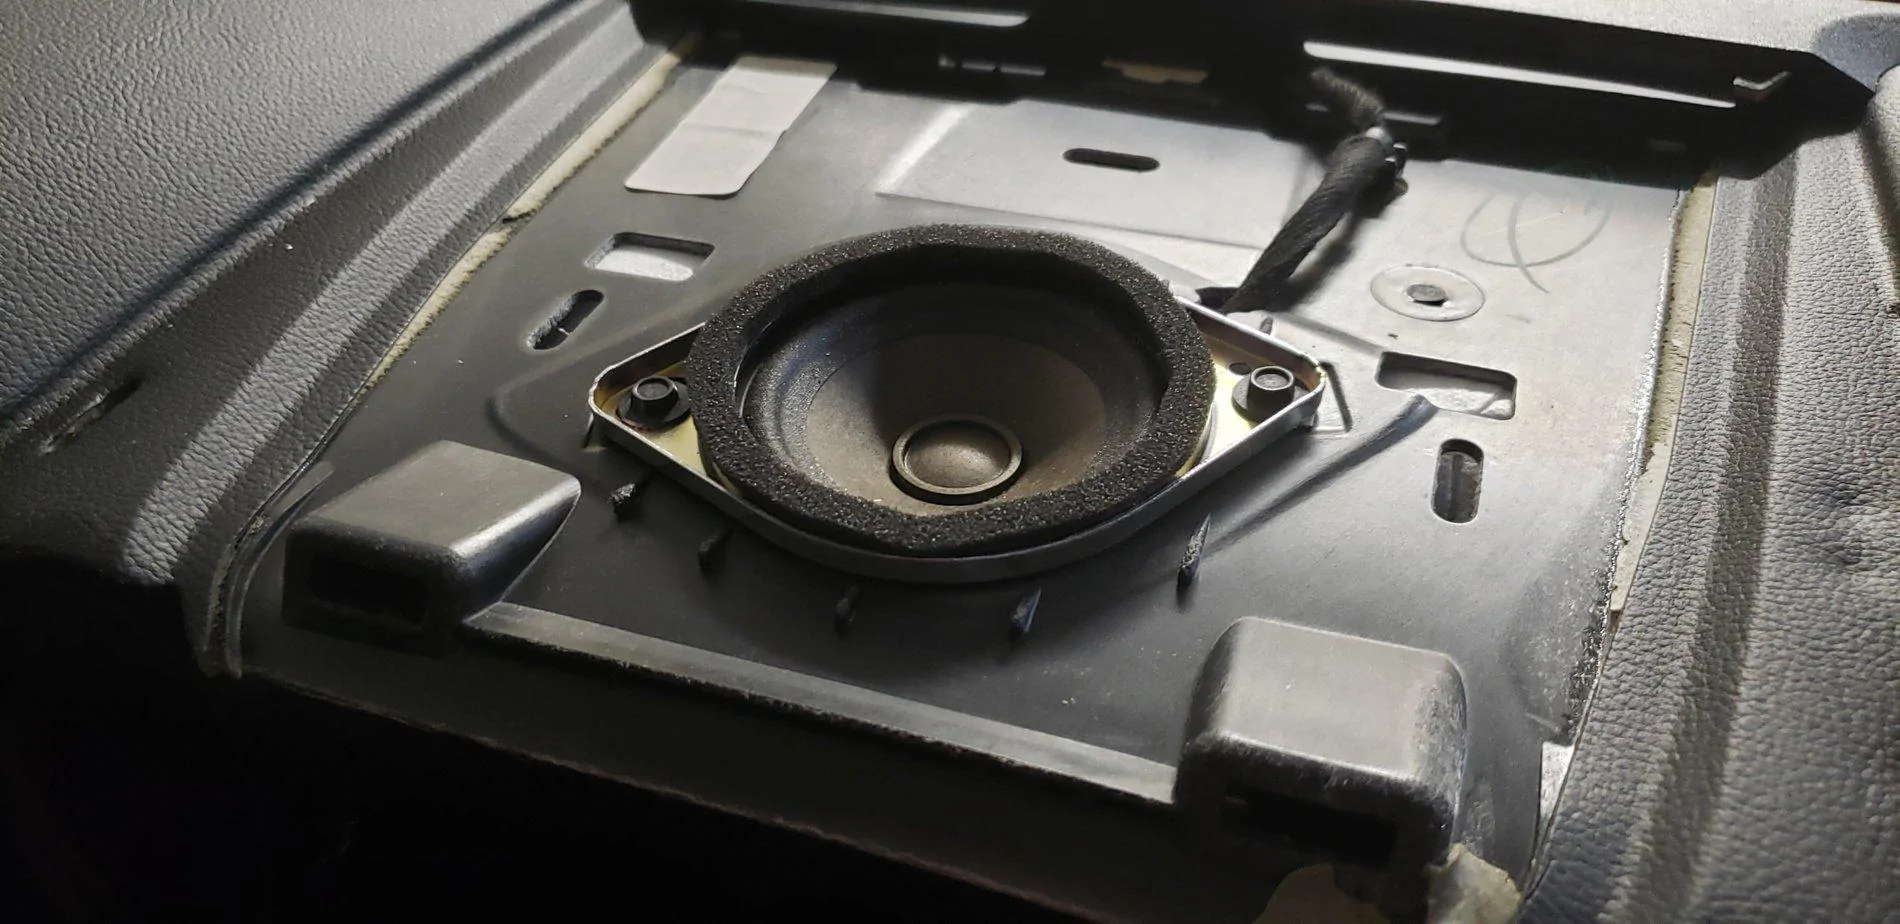
This allows the panel on top of the dash with the little grill to be removed. There are two clips right at the front corners, once those pop off the other two clips release with a tug upward.

20190729_204347.jpg


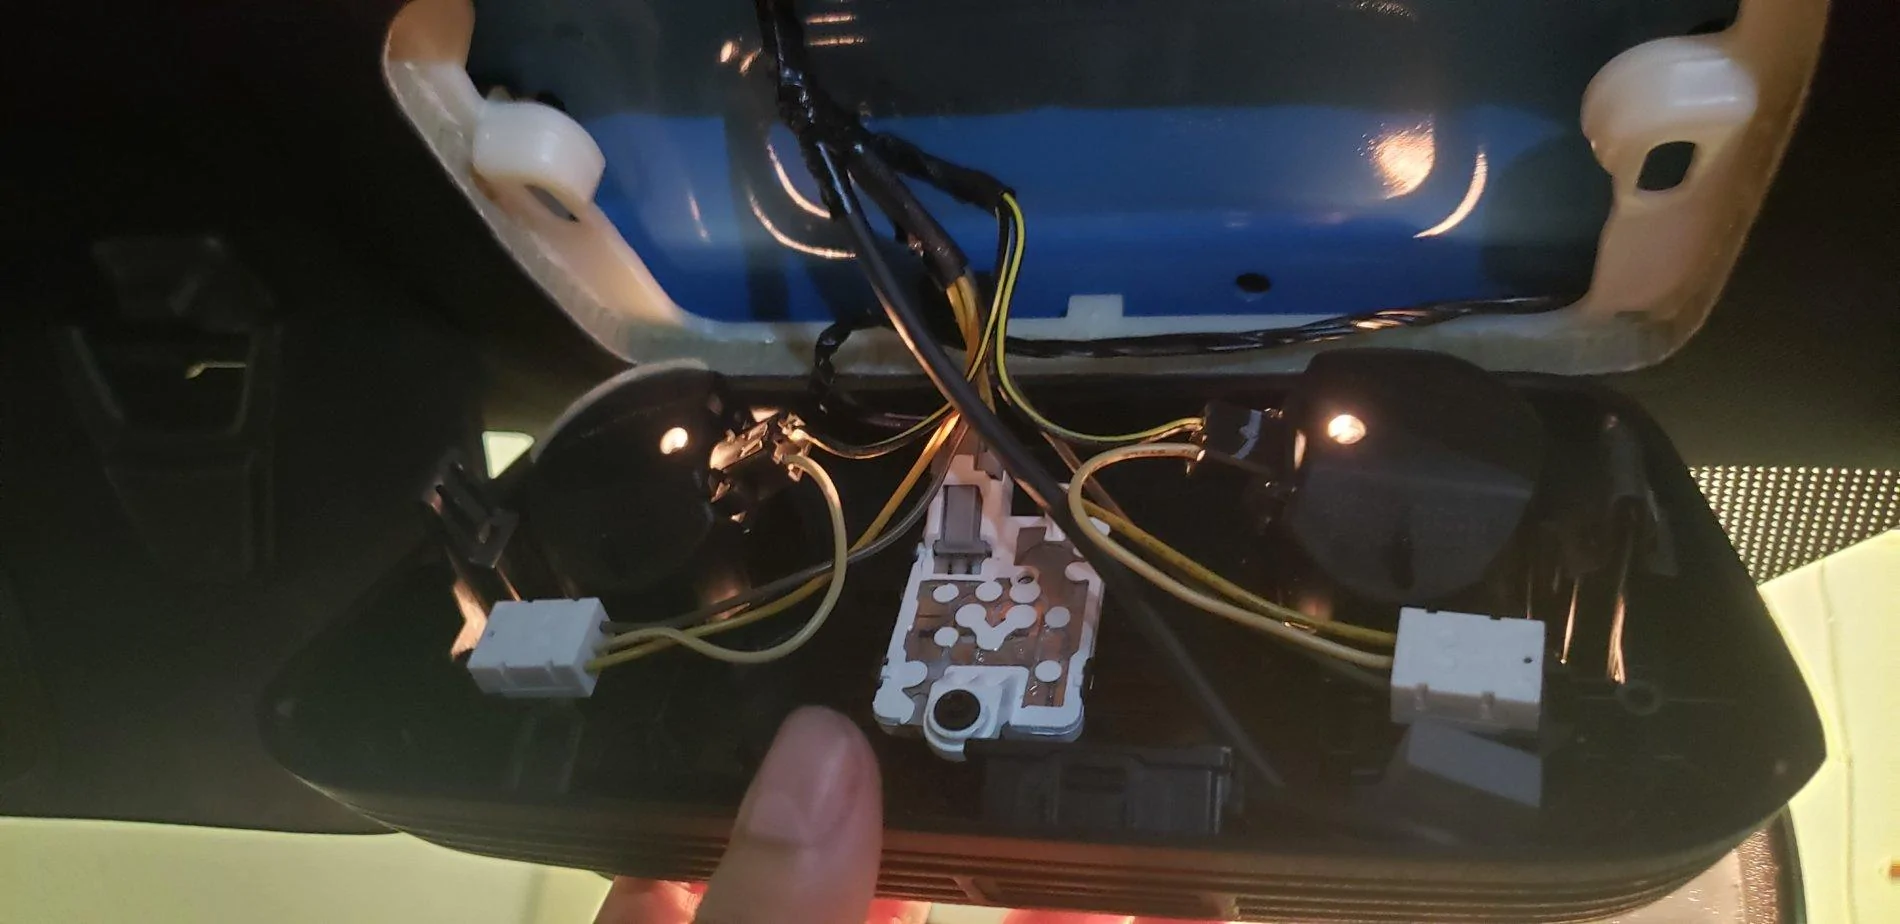
And with that I could see how truly crappy this speaker is

20190729_203521.jpg


I swear the cone is made out of construction paper.

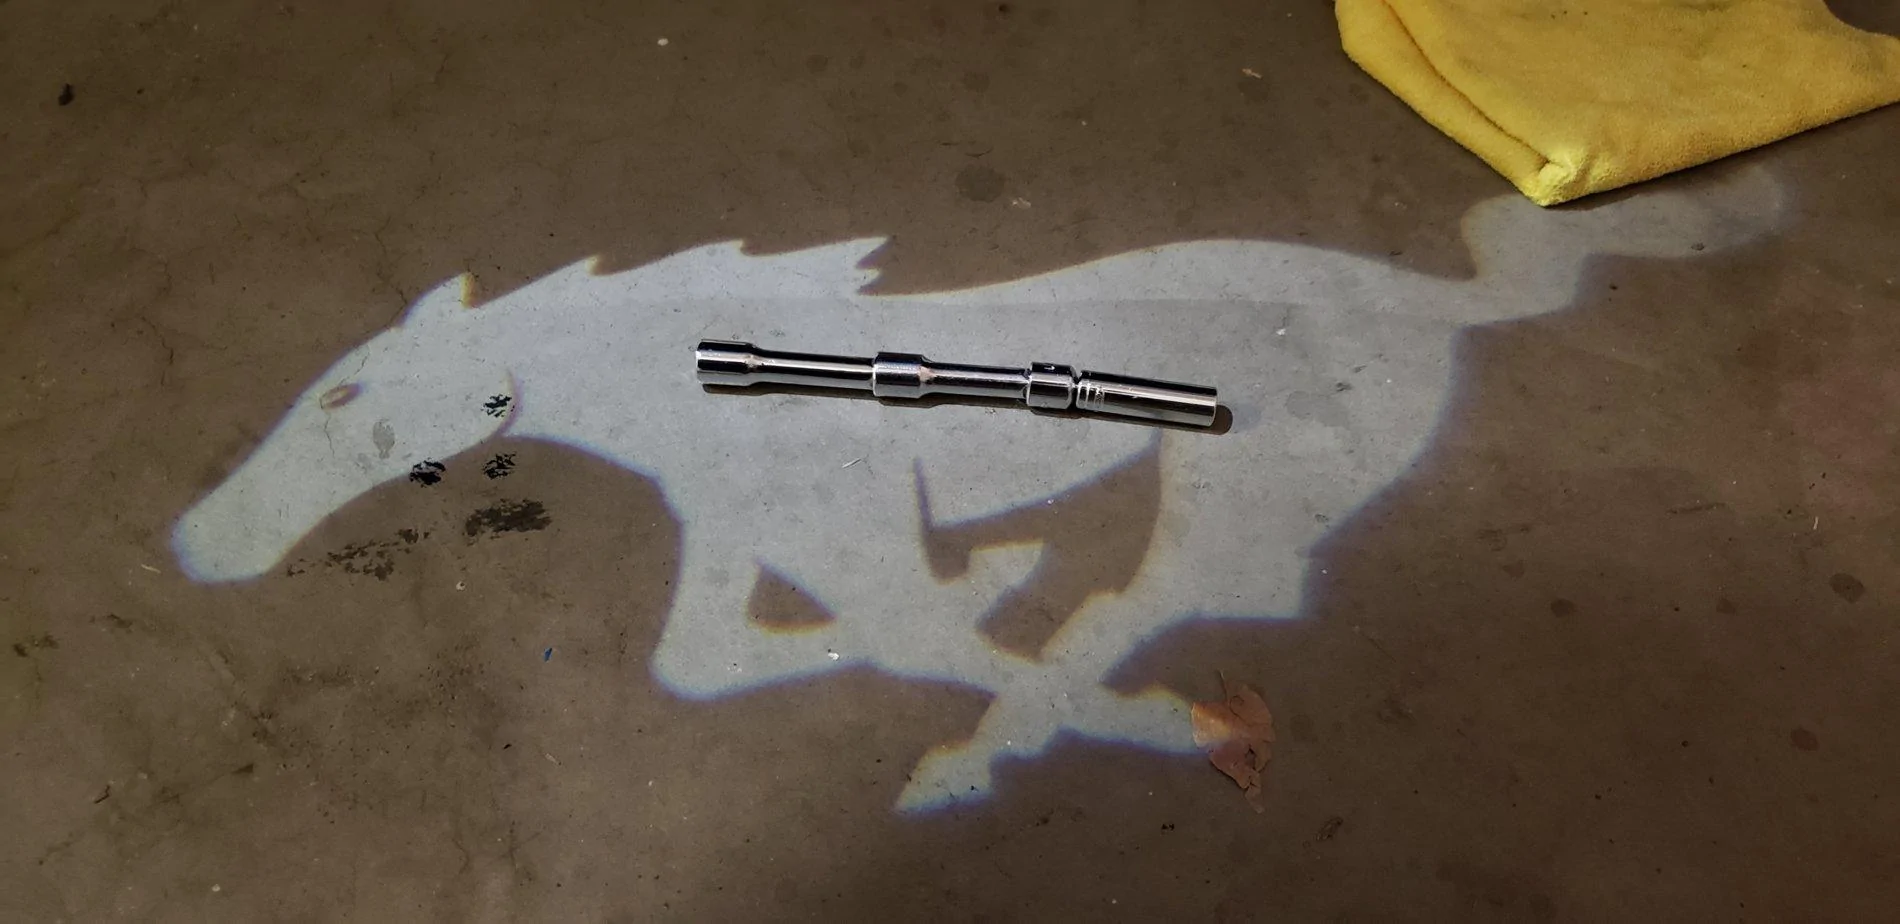
Two 7mm screws hold it in place. Once it comes out, the piece is connected to the electrical system with a clip. Easy!

20190729_204107.jpg


I'm no audio/electrical expert, but I imagine that I'm going to need to disconnect that clip from the speaker and attach it to any aftermarket speaker I buy, so I'm going to keep the old speaker for now.

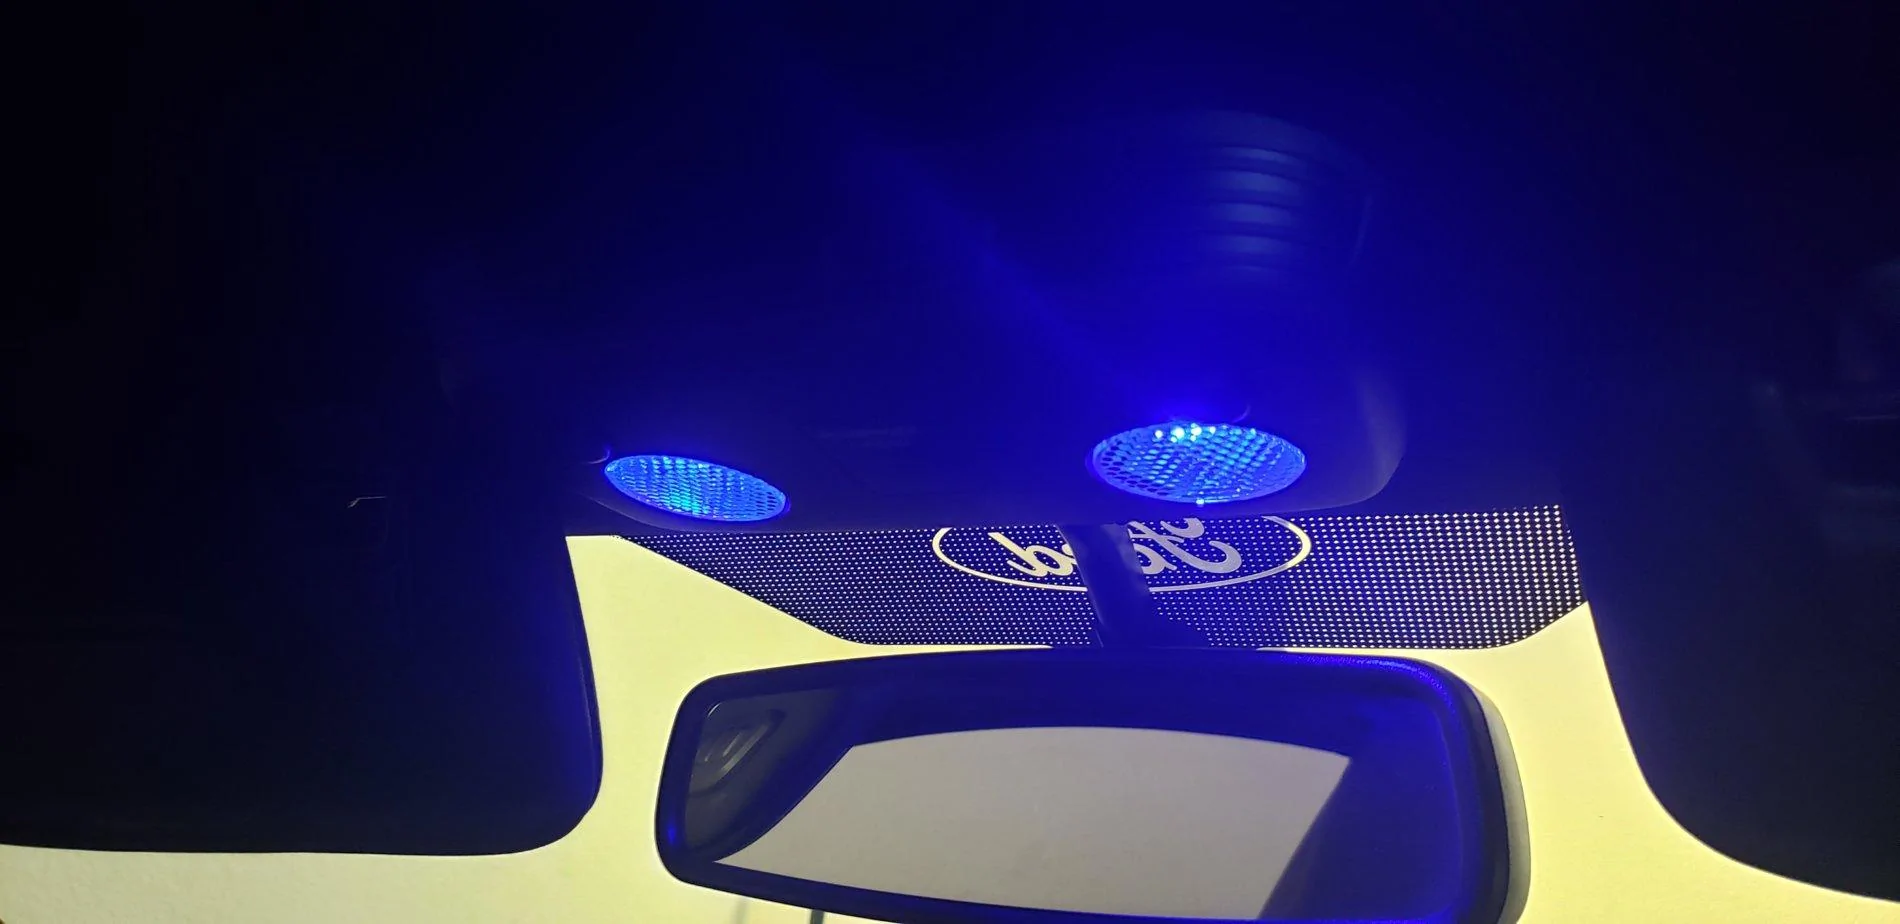
The vocals no longer sound hollow and distant, but the volume compared to the other levels is still a bit low for my taste. I'm going to run without the speaker for awhile, but in the future I will be replacing it with something better.
Sponsored

 
OP
OP
2017GBGTPP

2017GBGTPP

Well-Known Member
Joined
Jul 2, 2016
Threads
14
Messages
574
Reaction score
734
Location
Albuquerque, NM
First Name
Dan
Vehicle(s)
2017 Grabber Blue Premium GTPP w/ Recaros
I got some goodies from Steeda today!

The full length jacking rails look great, very nice finish. These go on this weekend:

20190819_180148.jpg


The carbon fiber shift knob looks AMAZING. This goes on whenever I get too restless to not do it (which might be tonight):

20190819_180222.jpg


Instead of a heel-toe pedal I opted for an NGauge window suction mount. Somehow on the shipment over it went through some kind of transformation/multiplication process and turned into 3 VENT mounts! :surprised:

20190819_175436.jpg


I guess I'll be calling Steeda up tomorrow to get that sorted out. Now for the worst part; letting these parts sit at home while I go to work this week! :computerrage:
 

tj@steeda

Well-Known Member
Diamond Sponsor
Joined
Mar 21, 2014
Threads
526
Messages
6,386
Reaction score
3,873
Location
Florida
First Name
Timothy
Vehicle(s)
2019 Steeda Mustang - White Carbon Edition
Vehicle Showcase
1
Thank you for choosing Steeda - we appreciate your support & feedback!

TJ
 
OP
OP
2017GBGTPP

2017GBGTPP

Well-Known Member
Joined
Jul 2, 2016
Threads
14
Messages
574
Reaction score
734
Location
Albuquerque, NM
First Name
Dan
Vehicle(s)
2017 Grabber Blue Premium GTPP w/ Recaros
Now it's a railcar!

So the shift knob was defective (more on that in a later post), but Brian at Steeda is taking care of that and the NGauge mounts for me. In the mean time, it's time to put on the Steeda Full-Length, Ultra-Light, and Low-Profile Chassis Jacking Rails! (Whew, that's a mouthful!) These are the cheapest, lightest, and longest of Steeda's offerings for jacking rails, which makes me wonder why the other ones even exist? Is there some advantage to the other ones in certain situations? Why would you pay more for something heavier and shorter? There must be some reason. But anyway, these ones seem perfect for me.

They came out of the box in perfect condition, as seen in the photos in the previous post. Installation was easy, I did it with the car on the ground and the hardest part was scraping off the factory seam sealer which was getting in the way. I used the biggest piece of my trim removal set to scrape it away, and it took about 10-15 minutes of scraping on each side to get them off. This can probably be done super easy if you use a heat gun to soften it, but I don't have one yet and my wife is the only woman in the world with long hair and no blow dryer. But it came off with a bit of elbow grease and sweat.

20190824_095816.jpg


20190824_095837.jpg


I removed the front two bolts on each side per Steeda's instructions, but while they said it is common to have to remove less than four bolts, they failed to mention that you might need to remove one of the rear set of bolts on both sides too. That was pretty apparent when I went to line up the rail and a bolt was in the way. So I removed the forward bolt on the back end and it fit on perfectly. All four bolts on each side went in easily, and tightened on at 45 lb/ft.

Speaking of torquing to spec, I have yet to talk about my torque wrench preference. Most go with the click type torque wrench because they are more accurate, but I find that they are accurate until they fail and you overtorque a bolt, potentially causing thousands of dollars in damage. For that reason I opt for the old style split-beam torque wrench. It may not be accurate to the exact lb/ft, but it gets close enough and when it fails it straight up snaps before causing damage to the car. At $20 they are cheap to replace, and I would rather pay that several times than costly repairs from a failed click wrench.

20190825_115823.jpg


Once the bolts were in, the holes cover up with a plastic cap to make it look pretty. I then jacked up the car and was able to get the car to full lift height only needing to move the jack twice as opposed to the 7-10 times before. I have a very tight garage and I'm not mean enough to kick my wife's car out every weekend, so this is a huge time saver.

For those with a tight garage like mine, my method with the rails is to jack up one side halfway, move to the other side then jack so it's even. Lower onto the stands then just readjust and jack to full height, then move back to the other side and lift. I do it in rounds just because I can't get my jack perpendicular to the car and still be able to lower the arm, so the jack can't roll with the shifting car. If I were to try to lift the car too much at once the car could slide on the jack and have disastrous results.

Now I can get under the car super easy, so let the suspension mods begin!

20190825_112821.jpg
 
OP
OP
2017GBGTPP

2017GBGTPP

Well-Known Member
Joined
Jul 2, 2016
Threads
14
Messages
574
Reaction score
734
Location
Albuquerque, NM
First Name
Dan
Vehicle(s)
2017 Grabber Blue Premium GTPP w/ Recaros
Let there be (better) light!

Yesterday I recieved a set of interior LED lights from Diode Dynamics. Instead of getting the complete pack of lights I got each once separately so that I could get blue lights for the map and trunk lights and get more functional white lights for the glove box and the vanity mirrors. It ended up being cheaper that way just because I was able to get a few bulbs that were of lesser brightness than the combo pack had. All of them are still brighter than the stock incandescent bulbs though, so I was fine with that. I got a Diode Dynamics decal too! I'm probably not going to use it though...

20190905_190647.jpg


I decided to start with the glove box light because that seemed easiest. I also wanted to get that one out because I had noticed recently some light coming through the glove box gaps when closed, meaning that light wasn't turning off like it was supposed to. The bulb was quite a bit hotter than the others, and sure enough as soon as I touched it with a set of tweezers the bulb burnt out.

20190905_192614.jpg


I checked the vanity lights, and they were no longer lit meaning that bulb had taken the fuse with it. I pulled the fuse panel on the right side of the passenger footwell to find the interior fuse box:

20190905_195350.jpg


The Workshop Manual said that slot #1 was the right fuse, so I pulled it with tweezers and verified that it was no longer making a connection. I didn't feel like going that night so I planned to swing by Pep Boys after work the next day.

I continued working while I couldn't do any more damage and put in the new glove box light, then pulled the vanity lights and put the new ones in there. I had trouble getting the covers off as I couldn't get any tools underneath, so I stuck a razer in there until it popped up enough to do so. Tweezers were also very handy for all of this.

20190905_202542.jpg


Then I went into the trunk. The plastic cover for the light had a tab on the left side that needed to be pushed in and it came right out. I pulled out the old bulb and popped in the new one.

20190905_201422.jpg


Then onto the Map light, which is on a different fuse so it was still working. Using a trim tool I just pulled down on the map light cover and it popped off easily. I have heard that the 2018+ models are more securely held in place, so don't do this if that's your model. Be sure to look it up before breaking anything.

20190905_203543.jpg


The lights pull directly out of the housing and pop off. Then I just put in the new ones and clicked the housing back into place and I was done for the night!

20190905_203950.jpg


20190905_204037.jpg


The next day I picked up a set of 5- 10 amp micro2 fuses for $5 and replaced it. I had to rotate one of the vanity lights 180 degrees because it didn't light up, and then everything worked perfectly! Here's the glove box before:

20190905_191349.jpg

And after
20190906_172019.jpg

The vanity light after:
20190906_172325.jpg

And the trunk light after:
20190906_172451.jpg


20190906_172537.jpg


This cost me about $35 total and was a nice upgrade to the cheap incandescent bulbs. Now that my lights were working I wanted to fix that glove box light not turning off, which you can see in the crack:

20190906_173938.jpg


I checked the latch and the light housing, everything seemed secure and the off button functioned, but the door just wasn't quite closing enough to trigger the switch. I decided on a cheap and easy solution. I cut a small piece of electrical tape and stuck it to the part of the door that contacts the switch, then layered it until it worked properly. It only took three pieces, but I put a fourth on for good measure.

20190906_174941.jpg


20190906_174950.jpg


You can't even see it with the glove box open unless you bend down into it, so I'm not concerned with making it look pretty as long as it works.

And that's another project complete! Next up, I just got a box with some Steeda IRS Subframe Braces that will go on this weekend.
 
Last edited:

Sponsored

OP
OP
2017GBGTPP

2017GBGTPP

Well-Known Member
Joined
Jul 2, 2016
Threads
14
Messages
574
Reaction score
734
Location
Albuquerque, NM
First Name
Dan
Vehicle(s)
2017 Grabber Blue Premium GTPP w/ Recaros
Stopping the hop

The next thing I wanted to fix was the launch and handling of the car. The major issue I was experiencing was tire hop as well as some sway in the rear during heavy acceleration and turning. I decided the Steeda IRS Subframe Support Braces were exactly what I was looking for to help resolve both of these issues.

20190906_152543.jpg


These were a pretty easy install. The only issue I ran into on the first brace was the rear bolt on the forward bracket got wedged behind the bar and I couldn't get a socket around it.

20190908_112244.jpg


I had to loosen all of the other bolts to adjust the bar out of the way and get a socket around it. I then just tightened that one first before moving onto the others. Knowing that, the second brace went on super easy as I just did that bolt first. I was fortunate enough that everything went on tight without having to loosen and adjust the subframe bolts.

20190908_121818.jpg


Since I was already under the car I decided to try to adjust my parking brake. It was a bit loose when disengaged, and while it didn't seem to engage by itself over bumps or anything, it did move up and down quite a bit. I found the adjustment nut hidden behind the giant suitcase resonator on the H-pipe:

20190908_122712.jpg


This thing was a bear to get to. I first attached a 10mm deep socket to the adapter and then to the longest extension I had. This ended up being too long and I couldn't get to the nut at the right angle. I tried the shorter extension, but this one was too short and I couldn't reach far enough past the resonator to get it in place. I then connected the short extension to another short extension I had from a cheap ratchet set I use around the house and everything fit perfectly. Now the only problem was that the ratchet only had enough space between the H-pipe and the driveshaft to turn about 1/16 turn at a time and this just took forever. So I disconnected the extension from the ratchet and just wedged my arm up between the H-pipe and manually turned the socket. This worked juuuuuuust right.

20190908_130227.jpg


I then pulled the handbrake 5 times from inside and tightened the nut a bit more. This all tightened up the brake nicely, but it was still a bit loose when disengaged. Im not sure if I just can't tighten it enough by hand from that weird angle or if it's an issue with the brake boot pulling on the handle.

After driving the car for a couple of days I can say that the braces are a massive improvement. It didn't improve my launch as much as I had hoped, but I think that just confirms that the wheel hop wasn't a big issue with my MP4S tires, as I had suspected. Where I did see massive improvements was turning and heavy acceleration. I have made a number of sharp turns in 1st gear and they have been super smooth with no sign of giving out like it would before. I have also gotten a few clear freeway onramps to really let her go and there was zero sway, the car stayed straight as an arrow. This one piece has greatly increased my confidence in the car and I no longer feel on the verge of losing control at times. I would highly recommend this as a first or even only suspension upgrade. The results were impressive, the install was easy, and the price is cheap compared to coilovers or other expensive suspension mods. If you don't feel confident in your car at times, get these now!
 
Last edited:
OP
OP
2017GBGTPP

2017GBGTPP

Well-Known Member
Joined
Jul 2, 2016
Threads
14
Messages
574
Reaction score
734
Location
Albuquerque, NM
First Name
Dan
Vehicle(s)
2017 Grabber Blue Premium GTPP w/ Recaros
Blastin' 'em with a 6-gauge

Brian at Steeda helped me sort out my NGauge mount issue and now I have the right piece in hand, the Lund Ngauge Window Suction Mount. I wanted it mounted to the window on the lower left, right next to the A-pillar, and wanted everything tucked away as much as possible so there weren't any loose wires. I grabbed my trim tools to pop off the side panel, gripped the panel by the big hole in the center and.... it just popped off. I didn't even need to use the tool, I was able to grip it well enough to pull two of the clips out with ease. A couple more clips needed to be pulled and it was out.

20190913_190500.jpg


I then tucked the wire tightly between the A-pillar and the console and ran the wire into the gap at the back, loosely tying it up so it wouldn't hang out the bottom any more than needed to plug it into the OBD port.

20190913_190953.jpg


20190913_191052.jpg


Then I just put the side panel back on, being careful to tuck it behind the trim on the left and the top like it was before.

20190913_191601.jpg


I set the gauges to read KnockR, Spark, MAF, Lambda1 and 2, and some random A/C reading. I couldn't think if a sixth thing to monitor at the moment. Now I can check normal readings while I prepare for a flex tune!

20190913_192007.jpg


Update: This worked nicely, but I upgraded to a pillar pod for aesthetic reasons.
 
Last edited:
OP
OP
2017GBGTPP

2017GBGTPP

Well-Known Member
Joined
Jul 2, 2016
Threads
14
Messages
574
Reaction score
734
Location
Albuquerque, NM
First Name
Dan
Vehicle(s)
2017 Grabber Blue Premium GTPP w/ Recaros
Zombified Ponies

I got a package from Zombie here on the forums who runs Zombie's Sticker Shack.

20190917_212927.jpg


I put on the light blue puddle lamp overlays first. There was a little card with detailed instructions on how to line them up. The effect was very subtle, and at first I was a bit disappointed. But Zombie, being the awesome guy that he is, sent me three sets of the overlays in case I screwed up. So I thought "what if I just doubled them up?" I tried it and they were now awesome!

20190919_210205.jpg


Next up were the visor warning label covers. This also came with detailed instructions and a warning that they are cut to be an exact fit. It took a few tries to get it lined up just right, but eventually they blocked every bit of the labels.

20190919_211857.jpg


And he sent me extra stickers!

20190919_212128.jpg


Overall, they were top notch quality, a great price, and quick service. I ordered on Friday and pulled them from my mailbox on Tuesday. Everybody should check out his store!
 

kent0464

Well-Known Member
Joined
Aug 31, 2019
Threads
12
Messages
399
Reaction score
213
Location
Virginia
First Name
Kent
Vehicle(s)
1983 Ford Ranger, 1986 SVO Mustang, 2017 Mustang GT PP, 2017 F150 3.5 Eco
Vehicle Showcase
1
Awesome write up with some good ideas!
 
OP
OP
2017GBGTPP

2017GBGTPP

Well-Known Member
Joined
Jul 2, 2016
Threads
14
Messages
574
Reaction score
734
Location
Albuquerque, NM
First Name
Dan
Vehicle(s)
2017 Grabber Blue Premium GTPP w/ Recaros
Clearance Bling

I browse through American Muscle from time to time to find good deals, and sometimes I find great ones. I had noted the MP Concepts White LED 5.0 Fender Emblems before, but after reading the reviews I had decided against them. Then I saw them on clearance for $15. How could I turn that down? Even if they ended up being trash it's $15 lost, no biggie. (FYI, they were that price for one day, and have since gone back up to $58).

Once I recieved them a quick inspection showed the reviews to be true. The overall quality seemed OK, but the workmanship was pretty shoddy. There was excess glue everywhere.

20190920_164314.jpg


A knife and some shaving got rid of most of it. There was also a giant blob of silicone/hot glue that was obviously going to get in the way of letting it sit flush with the car, which I tried cutting down first.

20190920_164149.jpg


Even cut down it was still in the way and didn't really seal the internals very well. I verbally wished that I had a hot glue gun and my wife replied "We do!" She had one from some crafts that she does, and that fixed the issue perfectly.

20190921_091421.jpg


The next issue was the supplied electrical connectors. I couldn't quite figure out how they were supposed to work as they didn't match the ones in the instructions and seemingly only had one place for a single wire, not the two that were needed.

20190920_165930.jpg


After some research I found these to be 3M Scotchlok Female Quickslide Disconnects. According to 3M's site;

Use to electrically tap into a wire in mid-span without cutting or stripping the wire. Connector then mates with a .250 inch (6.35 millimeter) male tab, making a reusable quick-connect wiring termination.

The first part made absolute sense. The second part meant I was missing something. AM didn't provide a male tab. Well, $3 at Pep Boys fixed that.

20190921_103918.jpg


Finally, with everything I needed I got to work. I sprayed the outsides of the stock emblems with Goo Gone then starting cutting through the old adhesive with some of my wife's stronger and thinner yarn. Once I had the sides cut through a bit (after a few breaks of the yarn) I shoved a trim tool in there and pushed it through. This cut right through the adhesive with ease. Then a little pull and the emblems popped off. Unfortunately I did bend and crack one of them, so if I go back to stock I will have to buy new ones.

Then it was Goo Gone and scrape and Goo Gone and scrape and repeat. It took some work but it all eventually came off.

20190922_154052.jpg


I fed the cables through the appropriate hole and stuck the badges to the side with the 3M tape, pushing it perfectly flush. I used a level to get it straight.

The instructions said to open the front and rear of the wheel well to gain access to the cable as well as the connection point in the front. I tried this and found that I had about a 3 inch gap between the fender and the PP tires to reach the connection point. I jacked up the front, removed the front tire, then removed the entire wheel well. The wheel well is held on by a bunch of push pins so my trim tools made short work of this. Once it was off I had plenty of room to work with.

I found it easier to feed the wires from back to front by opening the hood.

20190922_191708.jpg


I then pulled it down below that lip and to the side of a foam piece underneath.

Next I tried just clipping the Female Scotchlok connectors onto the wire, believing that this probably wouldn't cut the wire insulation sufficiently. I was right, so I removed them and used a razer to pre-cut the insulation so the wire was exposed in a thin sliver where the connector would touch. I then slipped them on and crimped the Male connectors onto the end of the new wires. The males then clicked onto the end if the females.

20190922_163926.jpg


It took a few tries of cutting the insulation away a bit more and ensuring that the wires were properly seated in the males before I got a stable connection. The yellow connectors were a bit too big so that made this difficult. I would suggest buying a complete set of the blue scotchlock connectors (male and female) as the blues are made for smaller wire. I was able to get a pretty solid connection, but the drivers side would flicker a bit if I violently shook the connectors. I'm going to keep an eye on them and if I see any issues I will replace the yellows with some blues.

I wasn't sure about how the thicker black badges would look, but they ended up not being too noticeably bigger, especially from further away.

20190922_164108.jpg


But more importantly, I loved how it looked lit up.

20190922_164048.jpg


The LEDs are very bright and noticeable even in daylight. It took a lot of work to get them to be acceptable on my car, but the price was right and the work was worth it. I probably wouldn't pay $58 for them, but if you can find them on the cheap and like them it's worth it.

20190924_104258.jpg


Update: The driver's side was indeed too loose, and I was noticing it flickering so I bought some blue connectors and redid them. No amount of shaking will cause them to flicker now, so I definitely recommend getting them and saving the hassle.

20191005_112523.jpg


Update 2: I got tired of their bulky look and removed them here.
 
Last edited:

Sponsored
OP
OP
2017GBGTPP

2017GBGTPP

Well-Known Member
Joined
Jul 2, 2016
Threads
14
Messages
574
Reaction score
734
Location
Albuquerque, NM
First Name
Dan
Vehicle(s)
2017 Grabber Blue Premium GTPP w/ Recaros
A heavier shift knob is supposed to be better, but...

I have made it pretty clear how I feel about carbon fiber. I want some more on the interior without going too overboard, so my next piece was the Ford Performance S550 Carbon Fiber Shift Knob. I originally got this with the jacking rails from Steeda. The carbon fiber is beautiful, the size is about the same as the stock knob, and it is very slightly lighter than stock.

20190819_190545.jpg


The stock knob popped off with a pair of gloves and some elbow grease. You just need to give it a few seconds of consistent twisting to get it loose. I then twisted on the new knob which turned 3 times and stopped dead. No matter how hard I twisted it wouldn't budge. I took it back off and looked at the threads.

20190819_192405.jpg


It's pretty hard to see in the picture, but while that thread in the middle is actually supposed to stick out (that second set of threads are the ones that actually thread onto the shifter), they are uneven and stick out further at the beginning and in several places underneath. This unevenness made it impossible to install properly.

I got in contact with Brian at Steeda who sent me a return label for this and the NGauge mount I discussed in an earlier post. They then sent me a new one:

20190913_163002.jpg


Whoops, this one's for a Focus ST. Just for the hell of it I tried it to see if it fit, but the opening was too small to fit over the reverse lockout collar. So now you know; Focus knobs don't fit the S550. But as they say, the third time's a charm. Here is the last one they sent, and what the threads should look like;

20190930_201539.jpg


They still stick out, but they are nice and even all the way down. There are some twists a few rows down, presumably to keep the knob tight and in place.

I first started by following the instructions and turning the knob 5 times. This seemed too few as the stock knob twisted off 8 times, and sure enough it sat way too high at 5, leaving a gap between it and the collar.

20190930_181648.jpg


At this point the knob was on super tight, so to continue twisting I needed to add some masking tape and wear gloves for full grip. Slowly and steadily I turned it an additional 3 times. My wrists hurt after this, but it did the job.

20190930_210037.jpg


Now it sits just like the stock knob, and looks GORGEOUS.

20190930_211212.jpg


20190930_211836.jpg


Steeda was great to work with and was friendly and helpful through the whole process. It took a little while to fix, but I'm a patient person and am satisfied that it was eventually all worked out.

I'm a little disappointed in the bad threads from Ford Performance, though. This appears to be a common issue that I have found both on this board and in numerous reviews. I have even seen some pictures in reviews of people who obviously got ones with bad threads and wondered why it sat so high, but still liked it anyway. The carbon fiber on all that I recieved was top notch though. You would think the threads would be the easy part to not screw up.
 

tj@steeda

Well-Known Member
Diamond Sponsor
Joined
Mar 21, 2014
Threads
526
Messages
6,386
Reaction score
3,873
Location
Florida
First Name
Timothy
Vehicle(s)
2019 Steeda Mustang - White Carbon Edition
Vehicle Showcase
1
Thank you for the follow-up & glad we were able to get you taken care of!

TJ
 
OP
OP
2017GBGTPP

2017GBGTPP

Well-Known Member
Joined
Jul 2, 2016
Threads
14
Messages
574
Reaction score
734
Location
Albuquerque, NM
First Name
Dan
Vehicle(s)
2017 Grabber Blue Premium GTPP w/ Recaros
The slow boat from China

After my success with carbon fiber from Dyna Performance I went on the hunt for more CF styling for the interior. I stumbled upon a store that appeared to carry the exact same items as Dyna and probably come from the same source. The difference was that they had more items, many of them with the option of red CF, and at less than half the price. That store is the TPIC Official Store on AliExpress.

I know, AliExpress has a variable reputation. It seems that quality can depend on the store itself, and TPIC had numerous positive reviews and very few negatives, so I decided to take the risk on a Red carbon fiber Start Button cover. I was loving the pictures of the red CF on their store but I knew that too big of a piece would look tacky in my all black interior. The only place that I felt red was warranted was the start button, so I ordered it.

The first time I ordered I used the new customer coupon of $3 and the order didn't properly get submitted. I found out that there is a glitch when using that coupon that makes this happen, so I went back and ordered again without the coupon. Fortunately for me, the price had actually dropped $4, so it was cheaper now without the coupon than it was before with it. I verified that I was only charged once and patiently awaited the shipment.

Eventually it arrived in a small yellow envelope, and it looked just like the pictures.

20191001_185414.jpg


The weave looks excellent. The only flaws were in the lettering. If you look closely you can see some gaps and folds in the white, but you have to look super close to see. I think the lettering is underneath a thin coat of resin, so hopefully they won't get any worse.

The piece is very thin but stiff and sticks on with 3M tape;

20191001_185421.jpg


I wanted to get the start button off to stick this on but I didn't have the proper pick. I tried a thick paper clip wrapped in electrical tape, but it wasn't strong enough to pull the button off. I gave up and did it the easy way, just sticking it on in place. It lines up perfectly with the start light and the outer edges. If you look super closely from the side you can see the red of the button underneath, but again you have to get real close which you never will. Another fantastic CF piece to add to the collection.

20191001_193840.jpg
 
OP
OP
2017GBGTPP

2017GBGTPP

Well-Known Member
Joined
Jul 2, 2016
Threads
14
Messages
574
Reaction score
734
Location
Albuquerque, NM
First Name
Dan
Vehicle(s)
2017 Grabber Blue Premium GTPP w/ Recaros
Re-Adding more color

So it has become very clear to me that my original brake caliper paint job did not cure properly. Here is what it looked like after a very thorough cleaning:

20191005_113637.jpg


As you can see, the white Brembo stickers look practically good as new but the red paint is blackened badly, and I won't even mention all of the runs and wrinkles (wait, I just did). Time to fix it (hopefully)!

I began by wet sanding them down with a 320 grit sanding sponge. I wet sanded because I didn't want to take all of the paint off (yet), I just wanted to smooth it out and prep for a new coat of paint.

20191005_115950.jpg


I still had quite a bit of the paint left, so I added two new coats waiting 30 minutes in between. Here is what I did differently this time:
1. It wasn't 110 degrees outside
2. I helped dry/cure it with a heat gun.

I took the heat gun to it full blast after the second coat and let it cool for an hour or so. Then heat gunned it again, let it cool, and repeated this several times through the day. The paint actually dried this time within a few hours. By the next morning there was no tackiness left, just a slight softness that could be felt if I really applied pressure to it. A few more heat cycles and 24 hours after painting it was hard as a rock with no runs, just a few minor flaws left from the previous attempt.

20191006_124331.jpg


In between heat cycles I also washed my wheels and applied some Mother's CMX, a hybrid ceramic/sealant that I intend to use on my car soon after some paint correction. I then used the CMX on the calipers once they were dry for some extra protection. Hopefully this stuff will repel the brake dust and make cleaning the wheels and calipers easier. I opted to wait to add new Brembo stickers until I'm sure that it fully cures, as last time the pressure from applying them while the paint was still soft created more flaws. The calipers look pretty good now, let's hope this time they stay that way!

20191006_173450.jpg
 
OP
OP
2017GBGTPP

2017GBGTPP

Well-Known Member
Joined
Jul 2, 2016
Threads
14
Messages
574
Reaction score
734
Location
Albuquerque, NM
First Name
Dan
Vehicle(s)
2017 Grabber Blue Premium GTPP w/ Recaros
Balancing out the Carbon Fiber

I ordered one last piece of carbon fiber for the interior to help balance the overall look (at least until I get a new steering wheel). This one also came from the TPIC Official Store. To confirm my suspicion that these come from the same manufacturer as Dyna Performance uses, I compared this new piece to the steering wheel cap and found it to be the exact same.

20191104_181531.jpg


This is also just a stick on. I'm not yet sure about the look though, it does seem to stick out a bit on the top and right side making it look like it's just a cover from certain angles, but maybe it's just in my head. It also doesn't catch the light very well because of the downward slant and the cover over it. I'll give it some time and see if I get used to it, the quality is good it just doesn't seem to pop like the other pieces I have.

20191104_183404.jpg
Sponsored


Top