Sponsored

Angela III - Daily Driver Build Thread

2017GBGTPP

Well-Known Member
Joined
Jul 2, 2016
Threads
14
Messages
574
Reaction score
734
Location
Albuquerque, NM
First Name
Dan
Vehicle(s)
2017 Grabber Blue Premium GTPP w/ Recaros
I have decided to start chronicling my Mustang journey here now that I am going to get more serious about modding. Up to this point I have done a few things, but now I have plans and a monthly budget to both keep me in check and make sure I'm actually doing something. I have very little experience working on cars as my dad wasn't into it and I've always been intimidated by doing my own car repairs and mods, but that is all changing now. I intend to show that there is nothing to be scared of, if you want to mod your car without experience all it takes is some intelligence, some patience, and a whole bunch of YouTube videos.
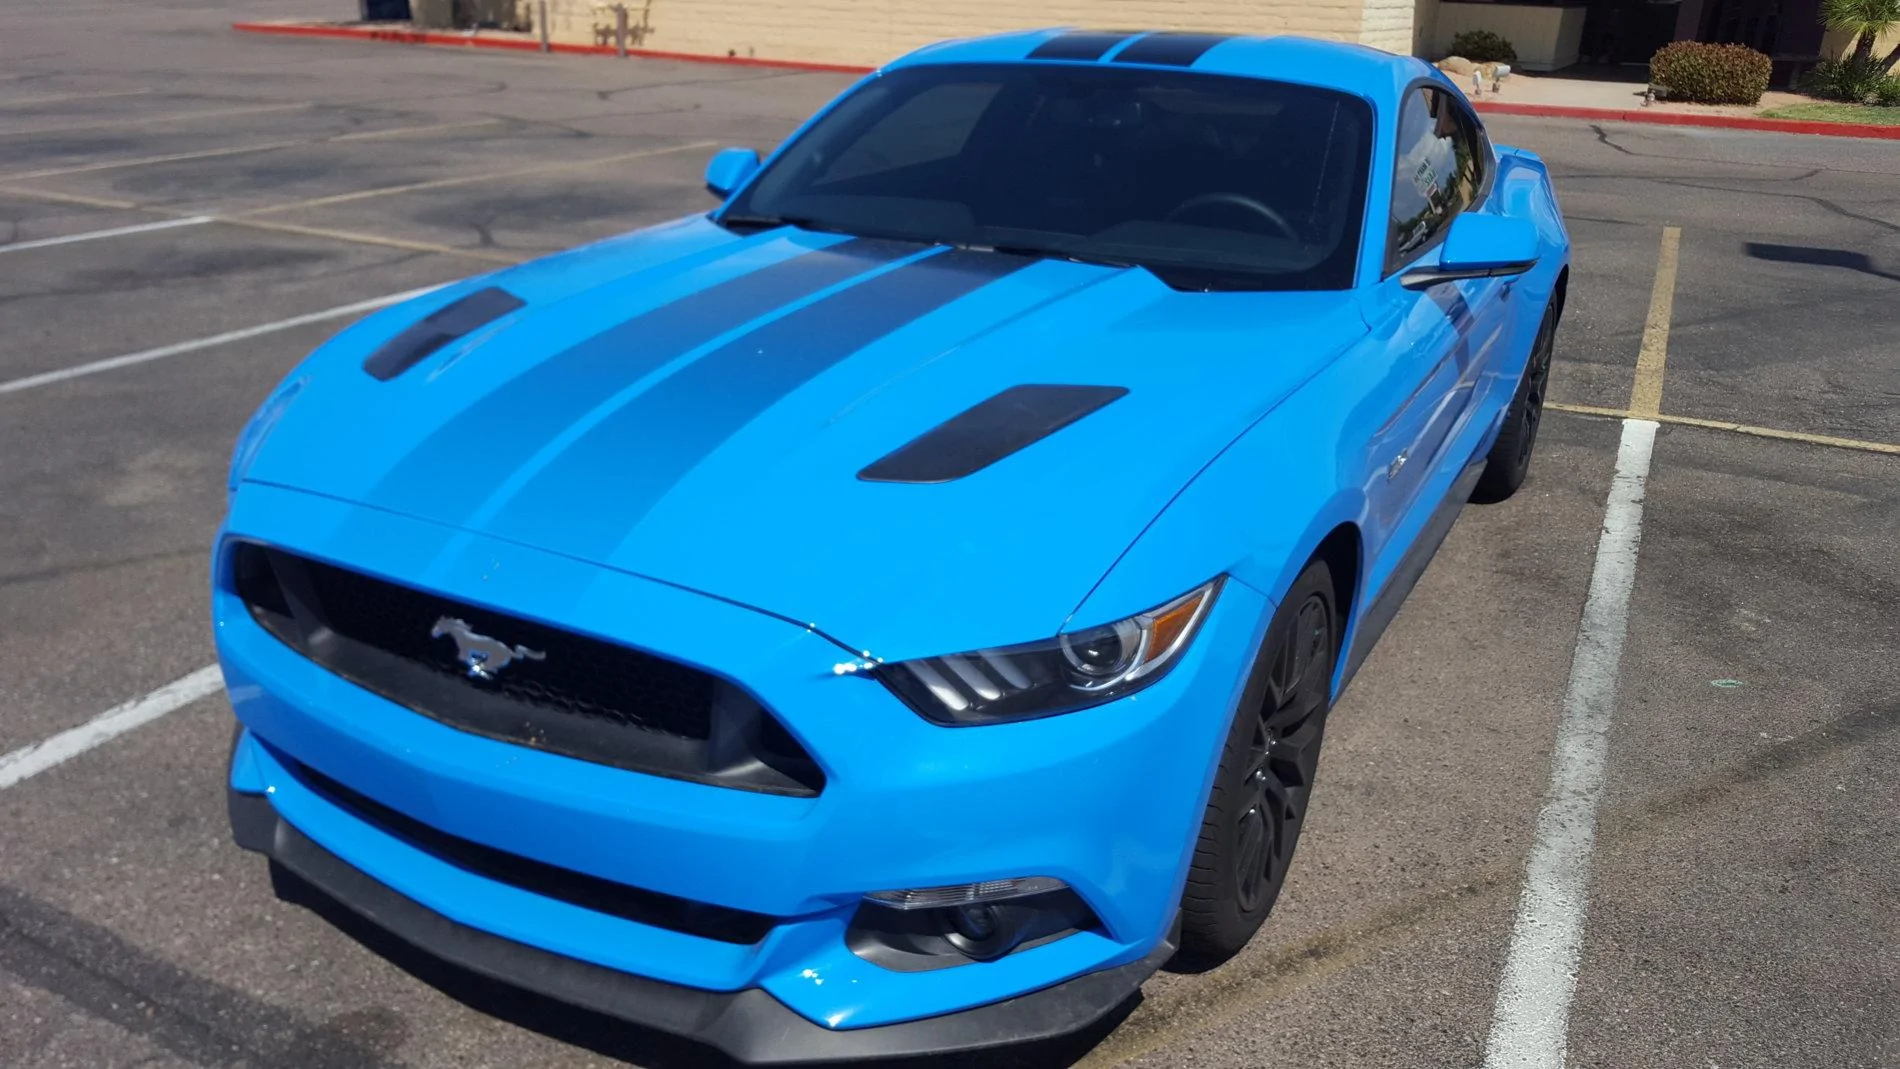
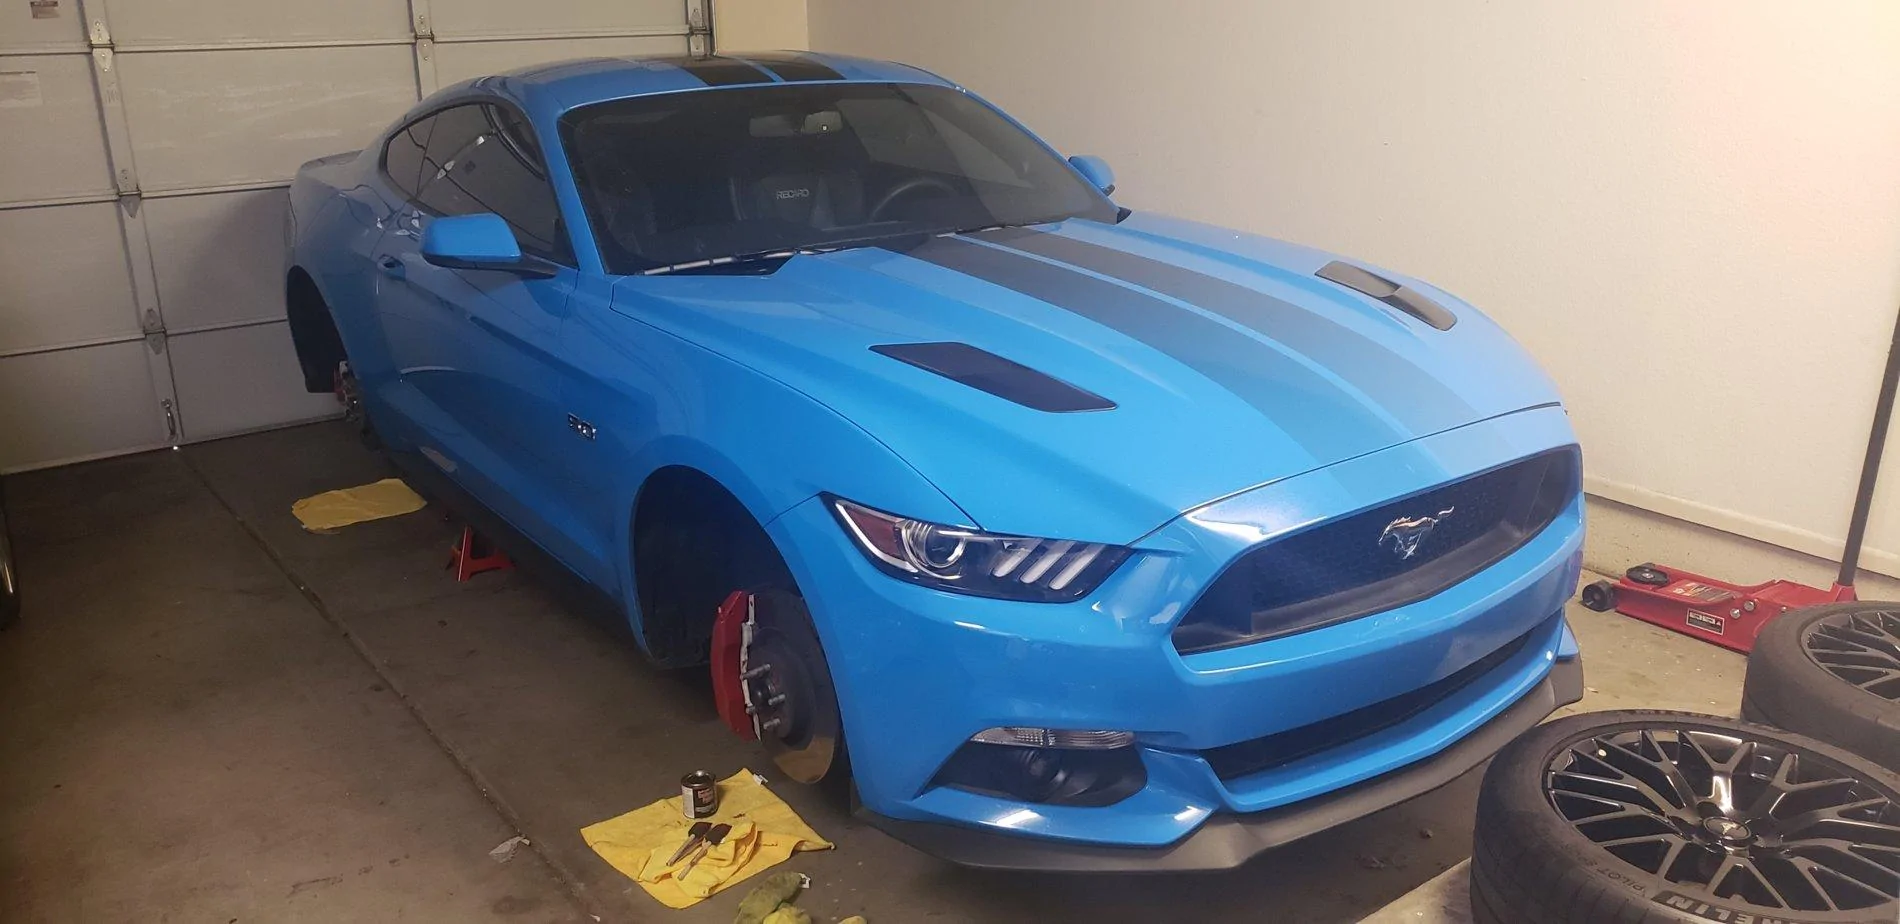
The starting car:
2017 Grabber Blue Premium Mustang GT with Performance Package and Recaro Racing seats with factory faded dual black stripes. Custom ordered from the Flat Rock assembly plant.

The Goal:
A fun street car for daily use with spirited driving. Quick launches from street lights and runs on the freeway on-ramp. Focus is on low end torque and traction on uneven surfaces and around turns, as well as making it look good.

The Budget:
$275 a month. I'm going to do everything one or two pieces at a time instead of blowing thousands of dollars all at once. This may end up costing more at the end, but I'm more hesitant to spend $1000 than $200, so this will actually help me bypass that psychological block to spend money without feeling like I'm overdoing it. This build will be all about the best bang-for-your-buck mods out there.

Current mods (to be updated as mods are added):

Engine/Power:
Lund Racing 91 Octane tune with NGuage with Lund Ngauge Window Suction Mount Glowshift Universal Single Pillar Pod
Velossa Tech Big Mouth Ram Air Intake Snorkels with LED lights
AEM Dryflow Air Filter

Suspension/Traction:
255/40ZR19 Michelin Pilot Super Sport tires (front)
275/40ZR19 Michelin Pilot Sport 4S tires (rear)

SVE SP2 19x10/11 wheels with 285/35 and 325/30 Firestone Firehawk Indy 500 tires
Steeda Full-Length, Ultra-Light, and Low-Profile Chassis Jacking Rails
Steeda IRS Subframe Support Braces
UPR Products IRS Subframe Bushing Lockout Kit
UPR Products IRS Subframe Alignment Kit


Transmission:
BG Synchro Shift II Synthetic Gear Oil
Full Tilt Boogie Racing S550 Shifter Reinforcement Bracket Kit
Steeda 35 lb/in Clutch Spring Assist

Exterior:
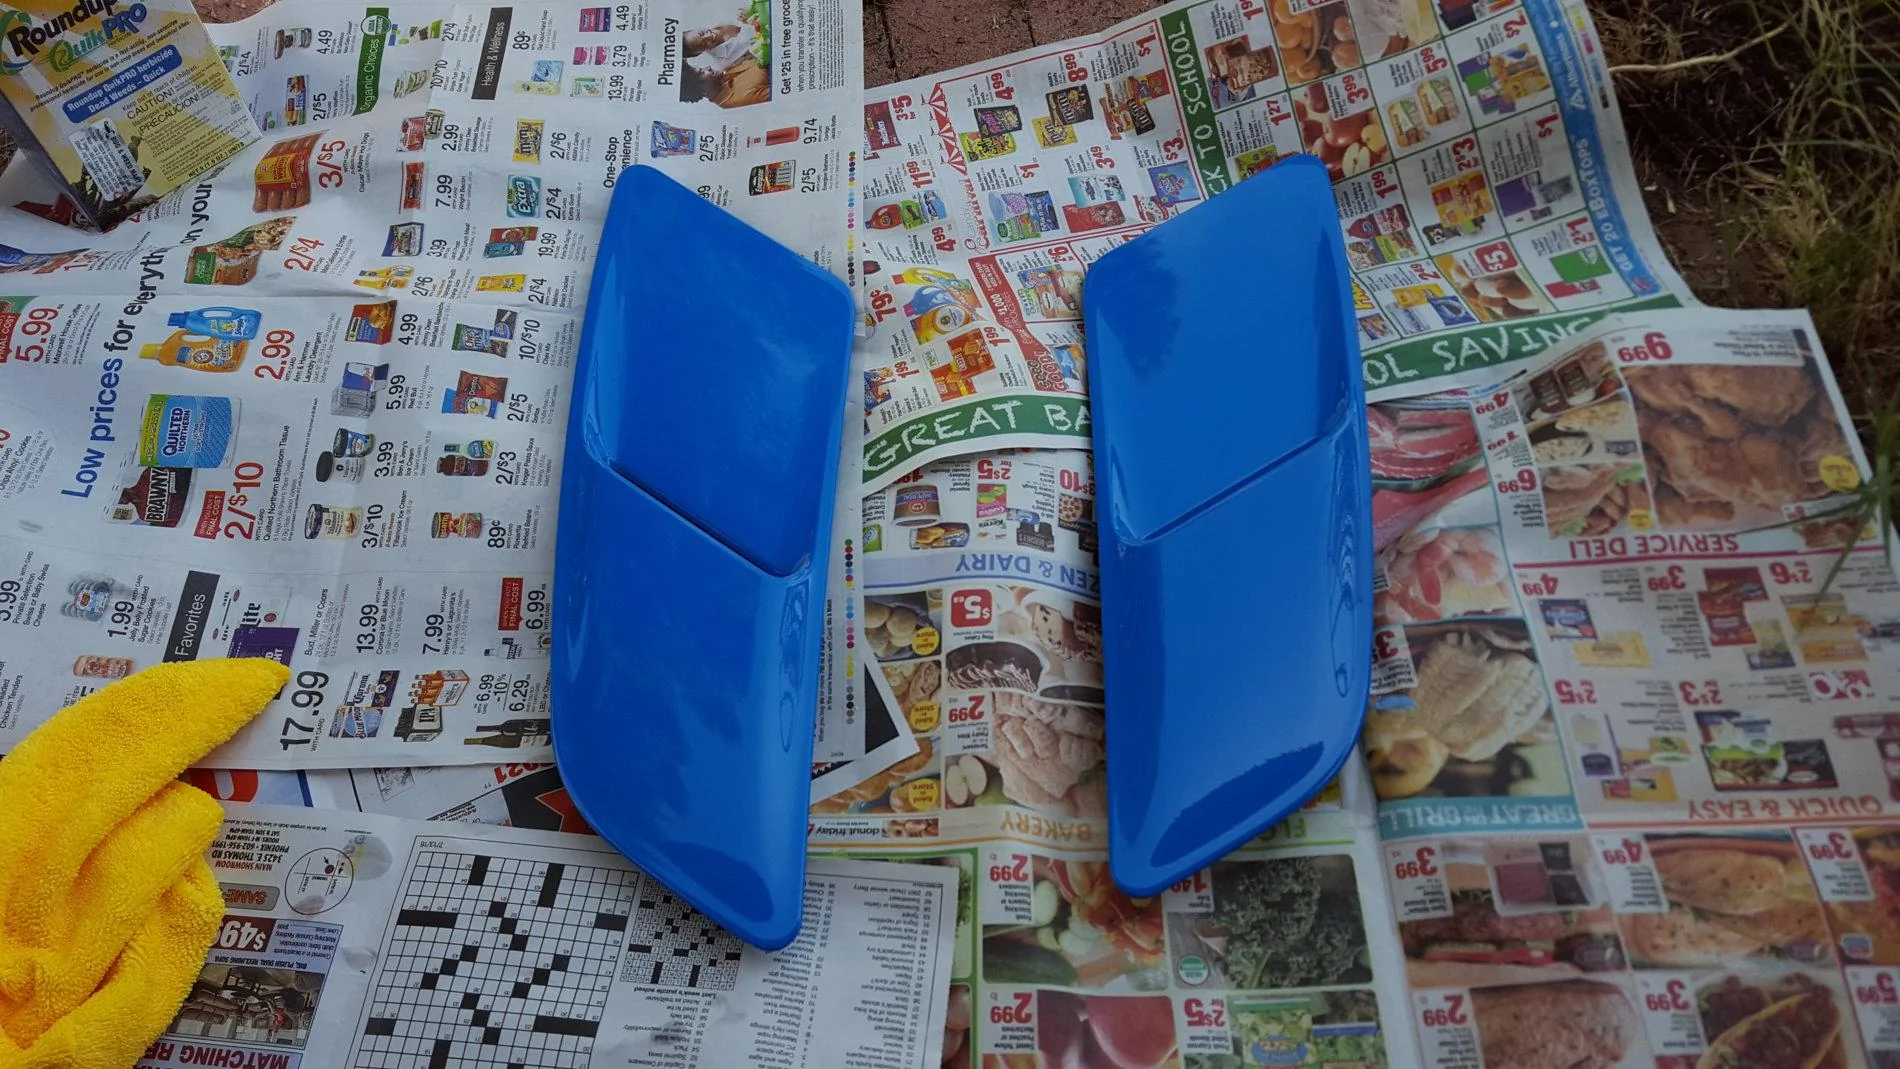
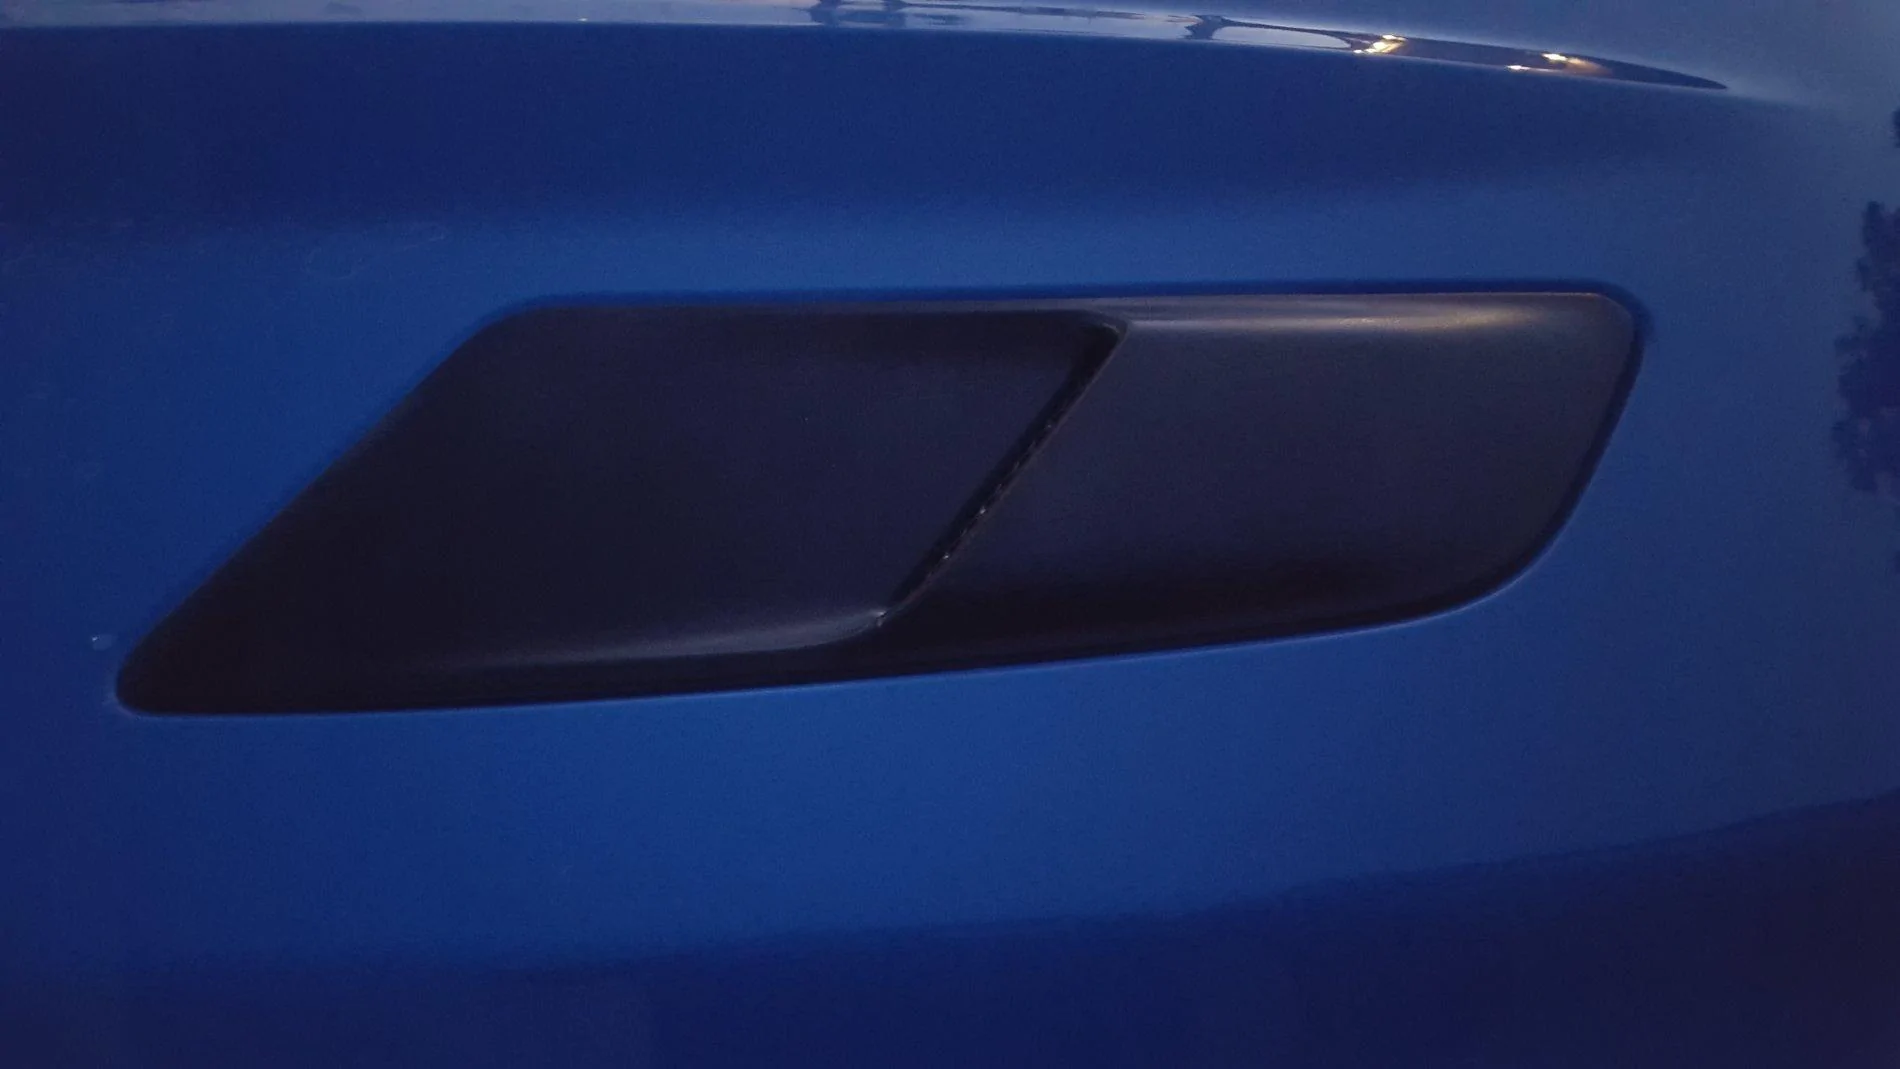
Black Plasti-Dip painted Heat Extractors
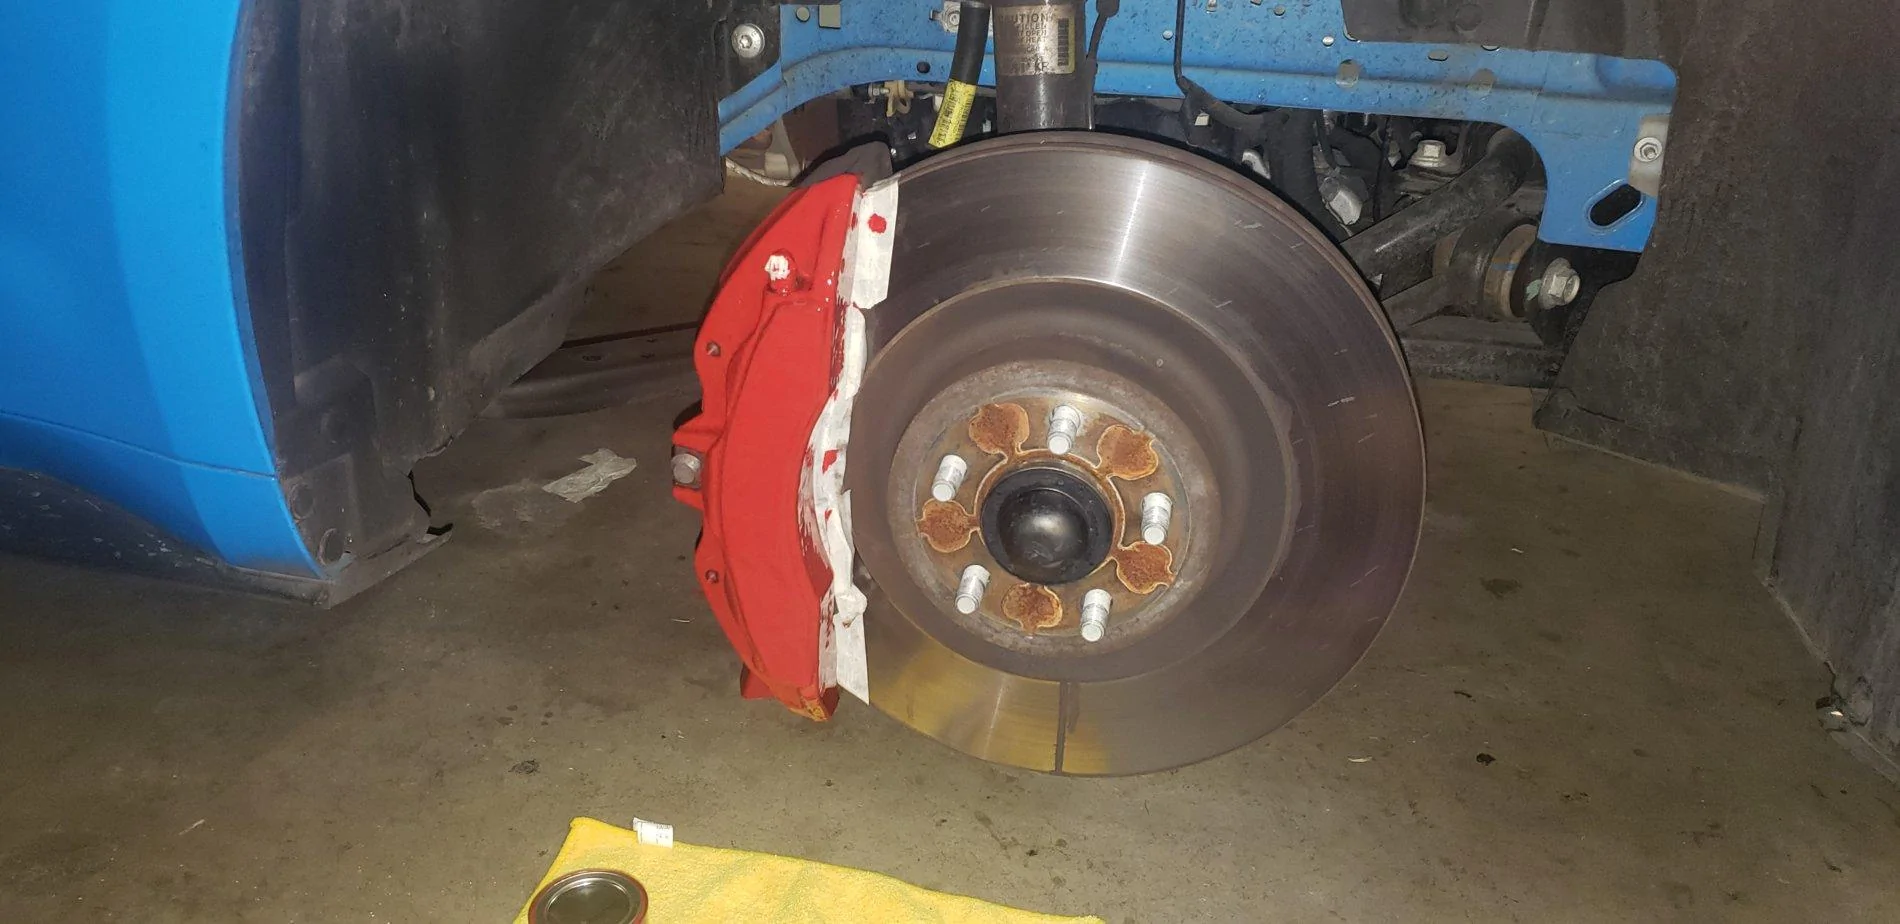
Red Duplicolor painted Brake Calipers with white Brembo stickers
Zombie's light blue Puddle Lamp Overlays
MP Concepts white LED 5.0 Fender Emblems removed and replaced with OE badges
Big Worm Graphics gloss white Dual Wide stripes with black pinstripes
LED Sidemarkers
Diode Dynamics LED Reverse Light Bulb
Winjet Front Sequential Turn Signals
Drake Muscle Cars billet and stainless steel modern Hood Pin kit
Carbon fiber side mirror Triangle Covers (skinned OE part)
Carbon fiber Quarter Window Scoops (skinned Cervini's Eleanor Style Quarter Window Scoops)

Interior:
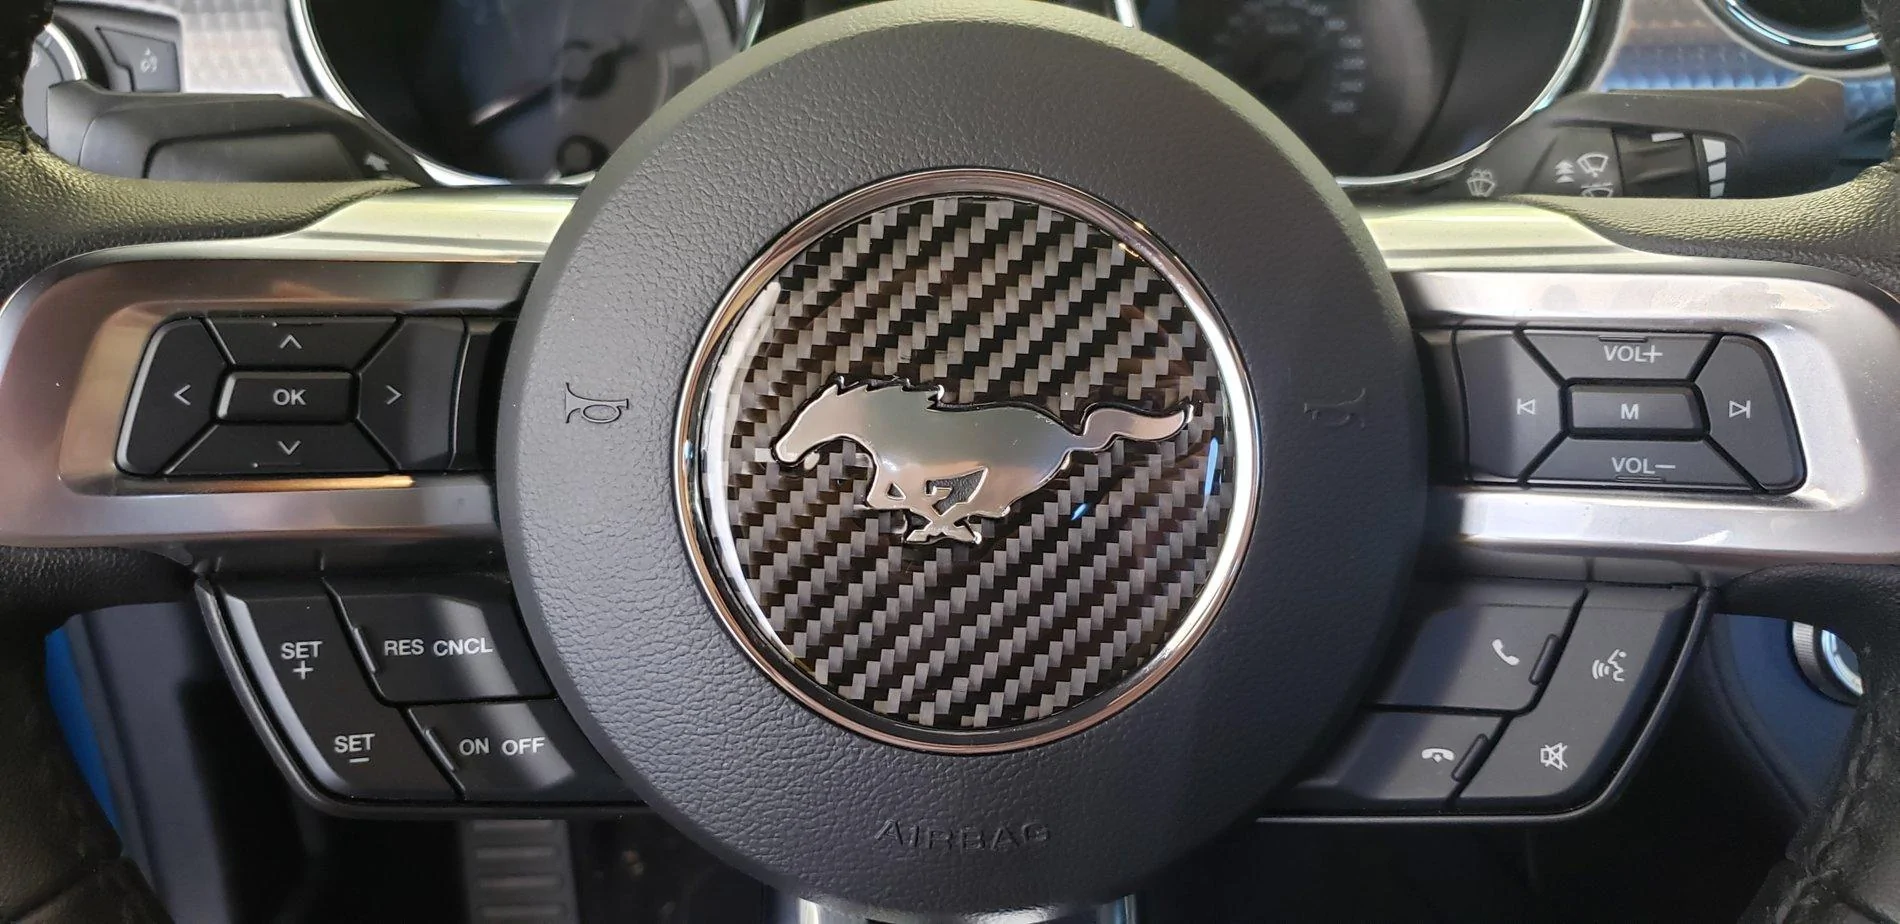
Carbon fiber Steering wheel Center Cap overlay
Removed instrument panel (center) speaker
Diode Dynamics blue LED map and trunk lights and white LED glove box and vanity lights
Zombie's visor Warning Label Covers
Ford Performance S550 carbon fiber Shift Knob
Red carbon fiber Start Button cover
Carbon fiber Passenger Dashboard strip overlay
Carbon fiber Steering Wheel with Alcantara grips
American Car Craft brushed stainless steel Dead Pedal Covers
Barton Industries brushed billet Reverse Lock out Adapter

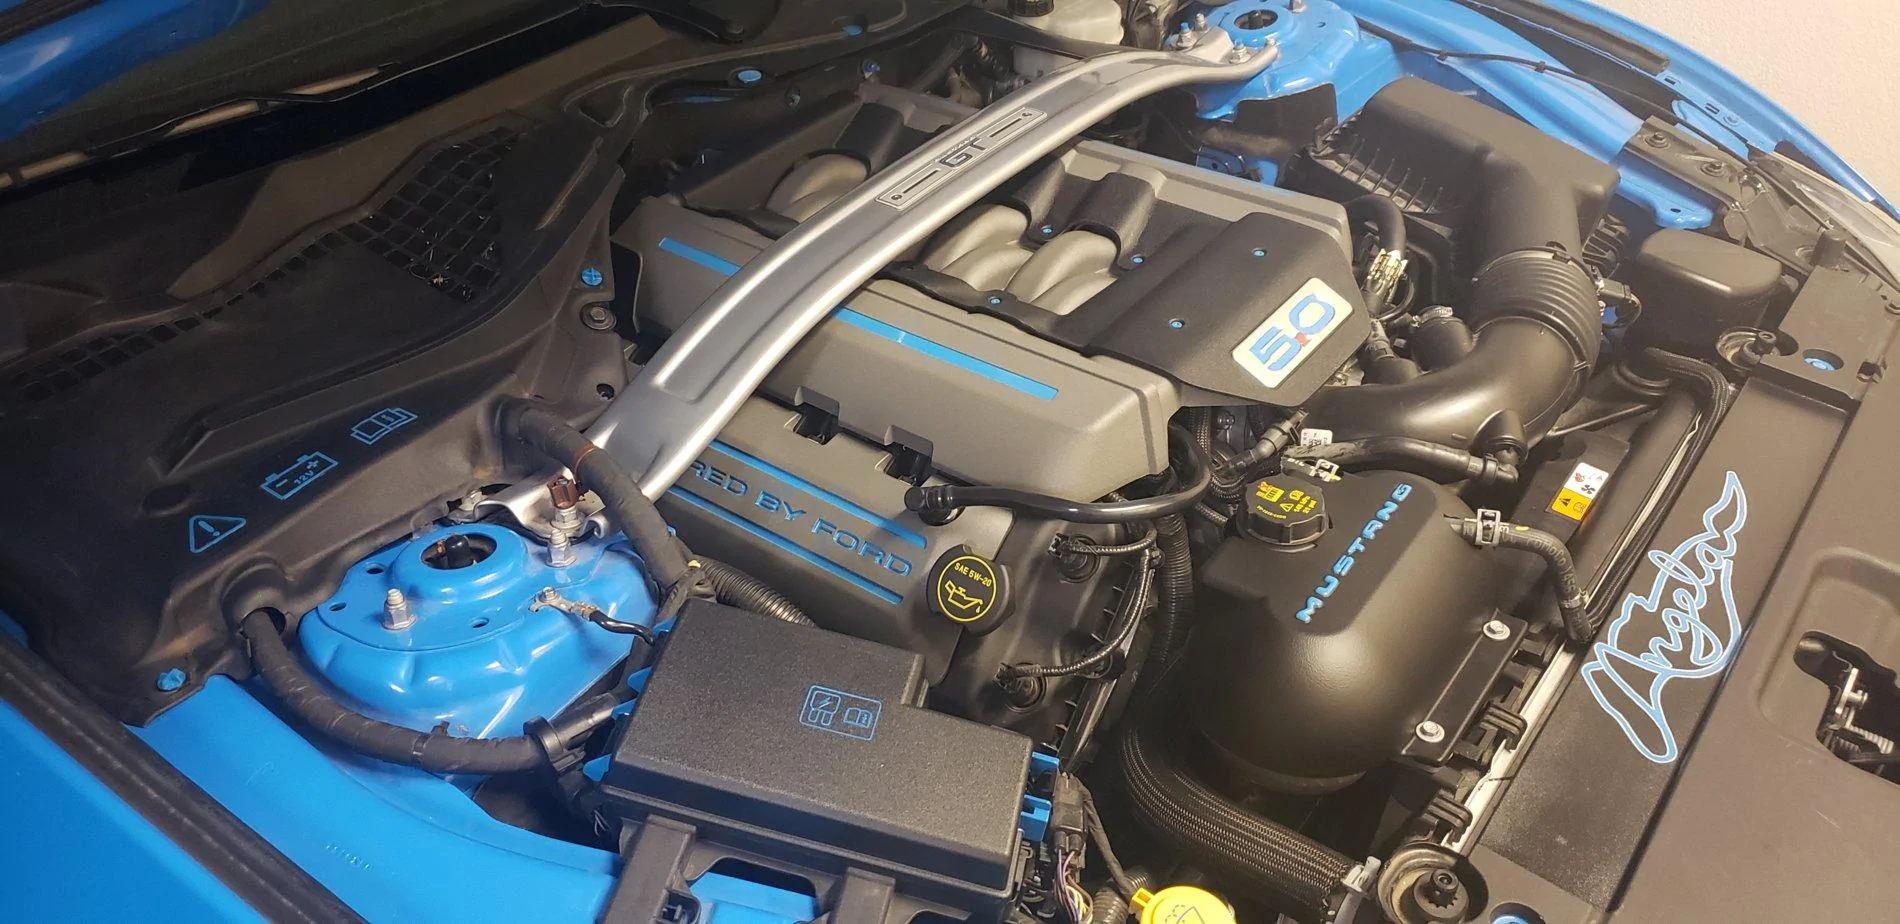
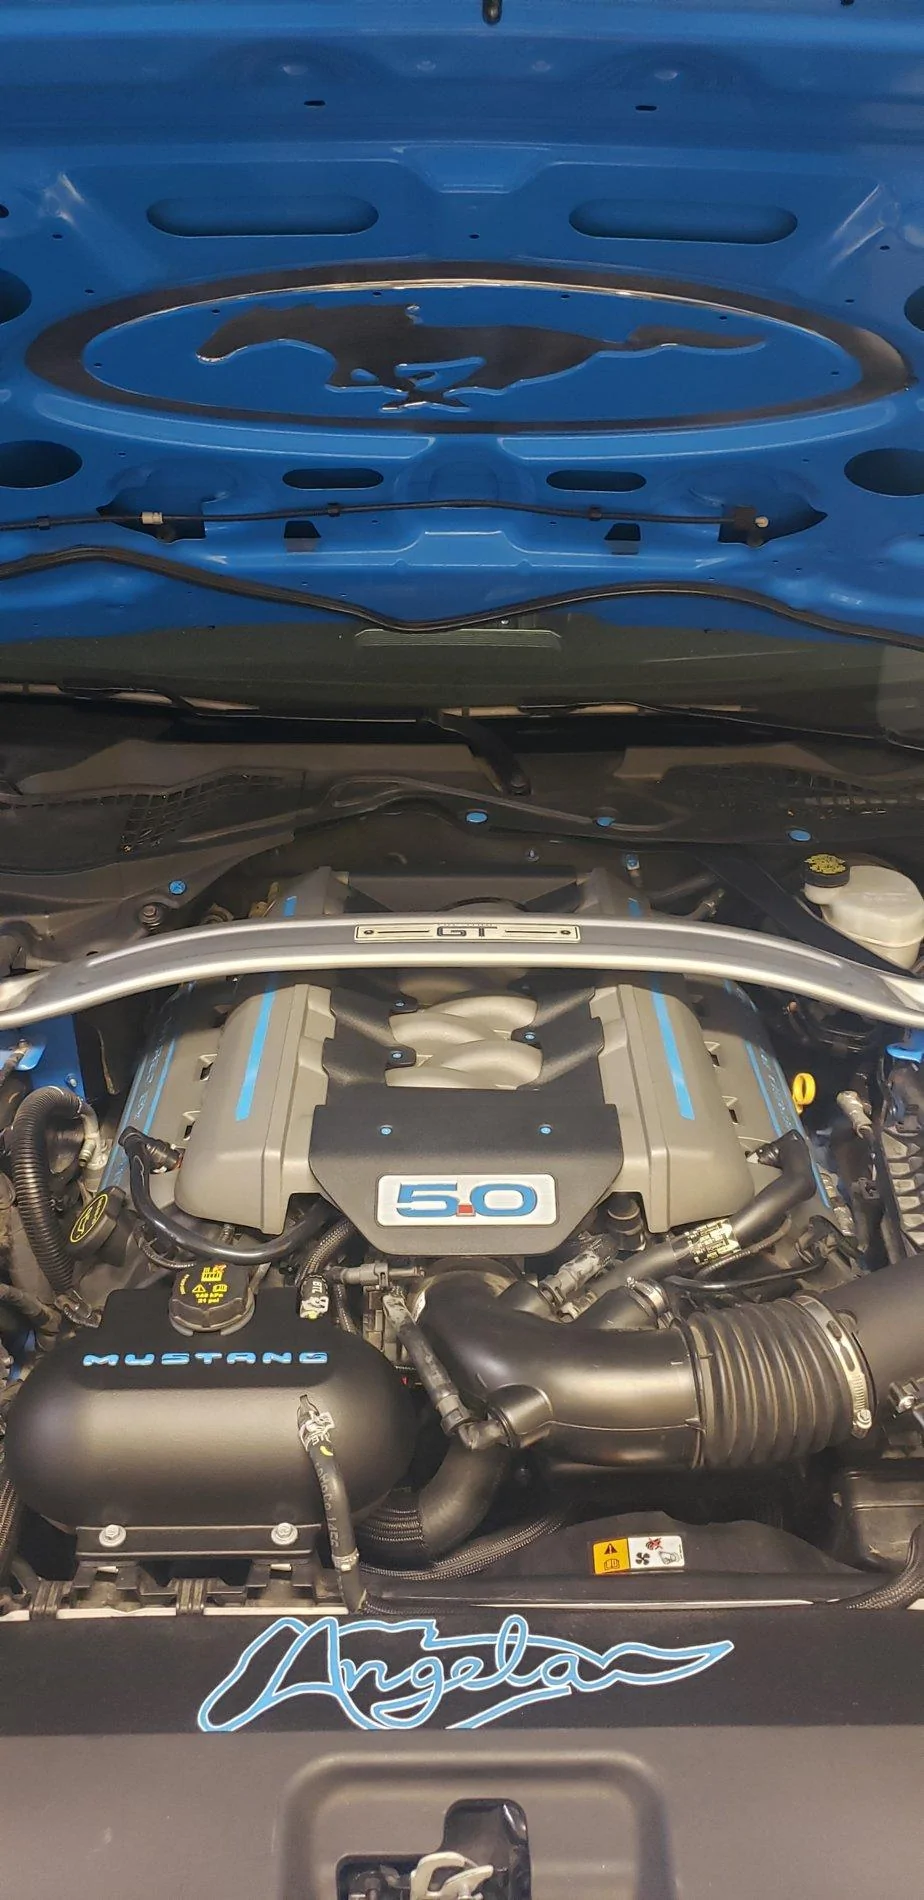
Engine bay Dress-up:
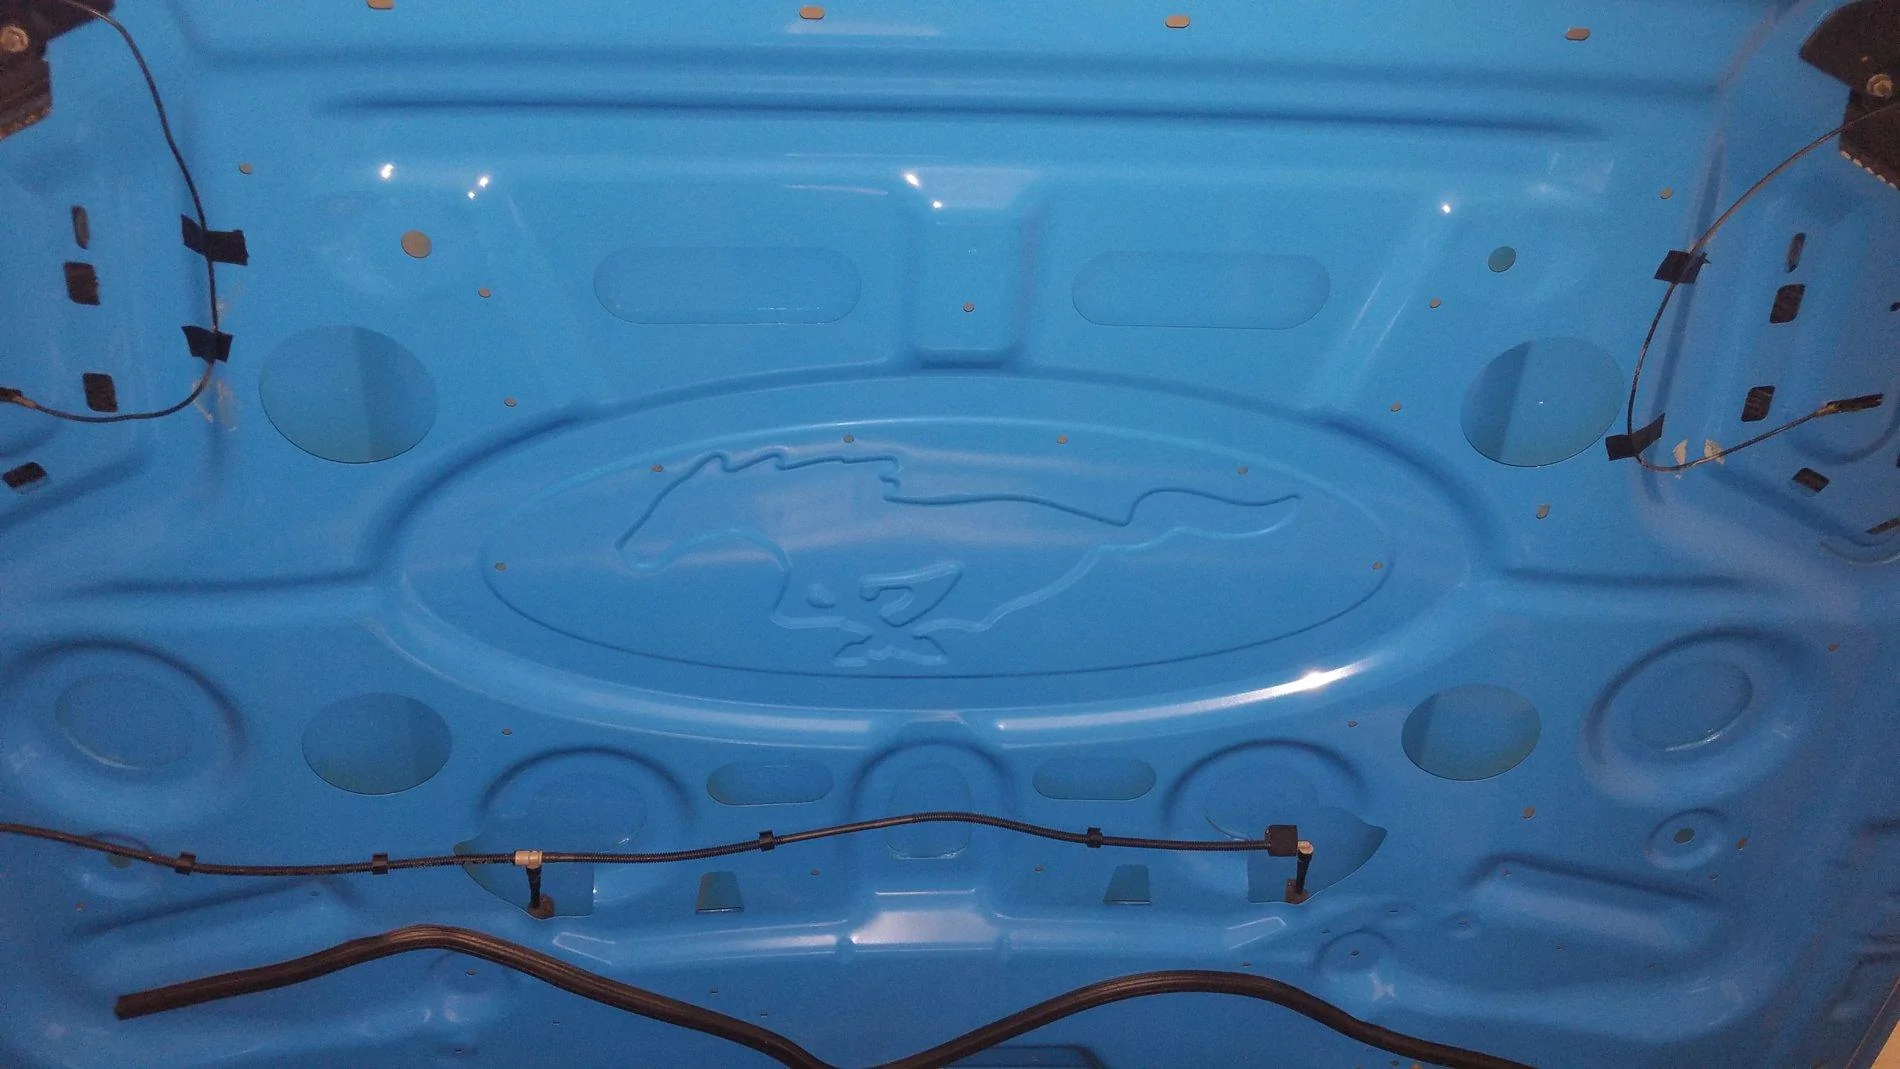
Removed hood liner, added chrome vinyl under hood Pony Logo
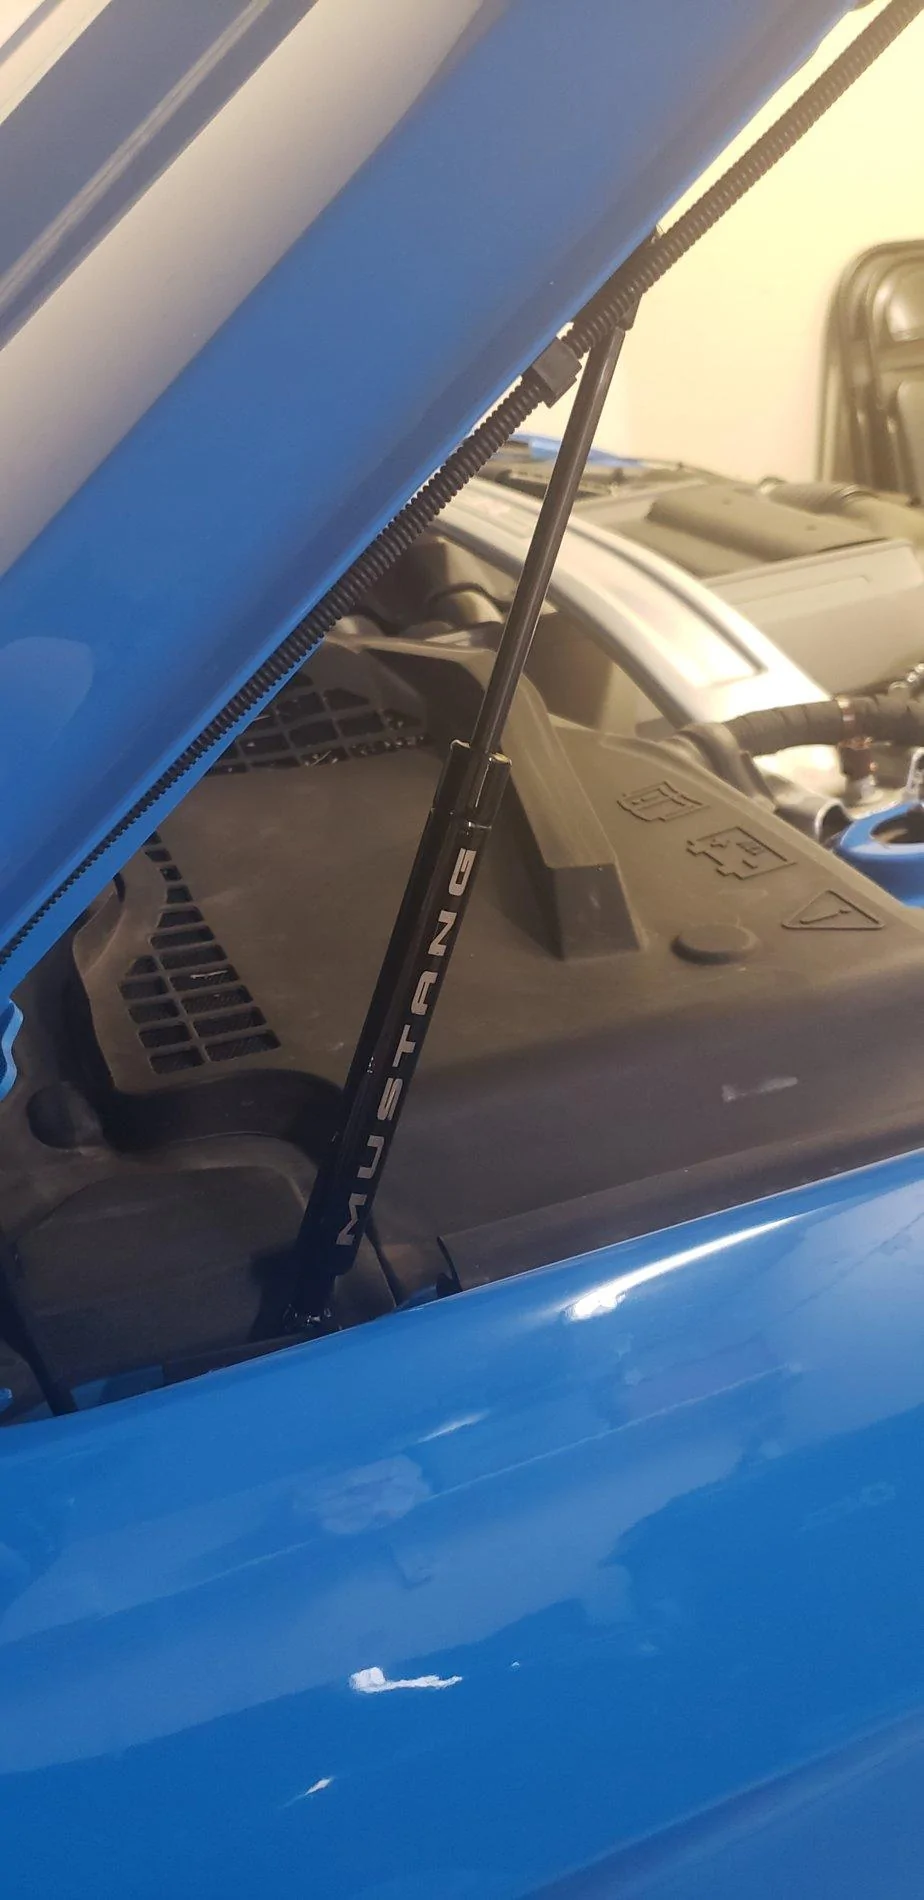
MMD automatic Hood Struts
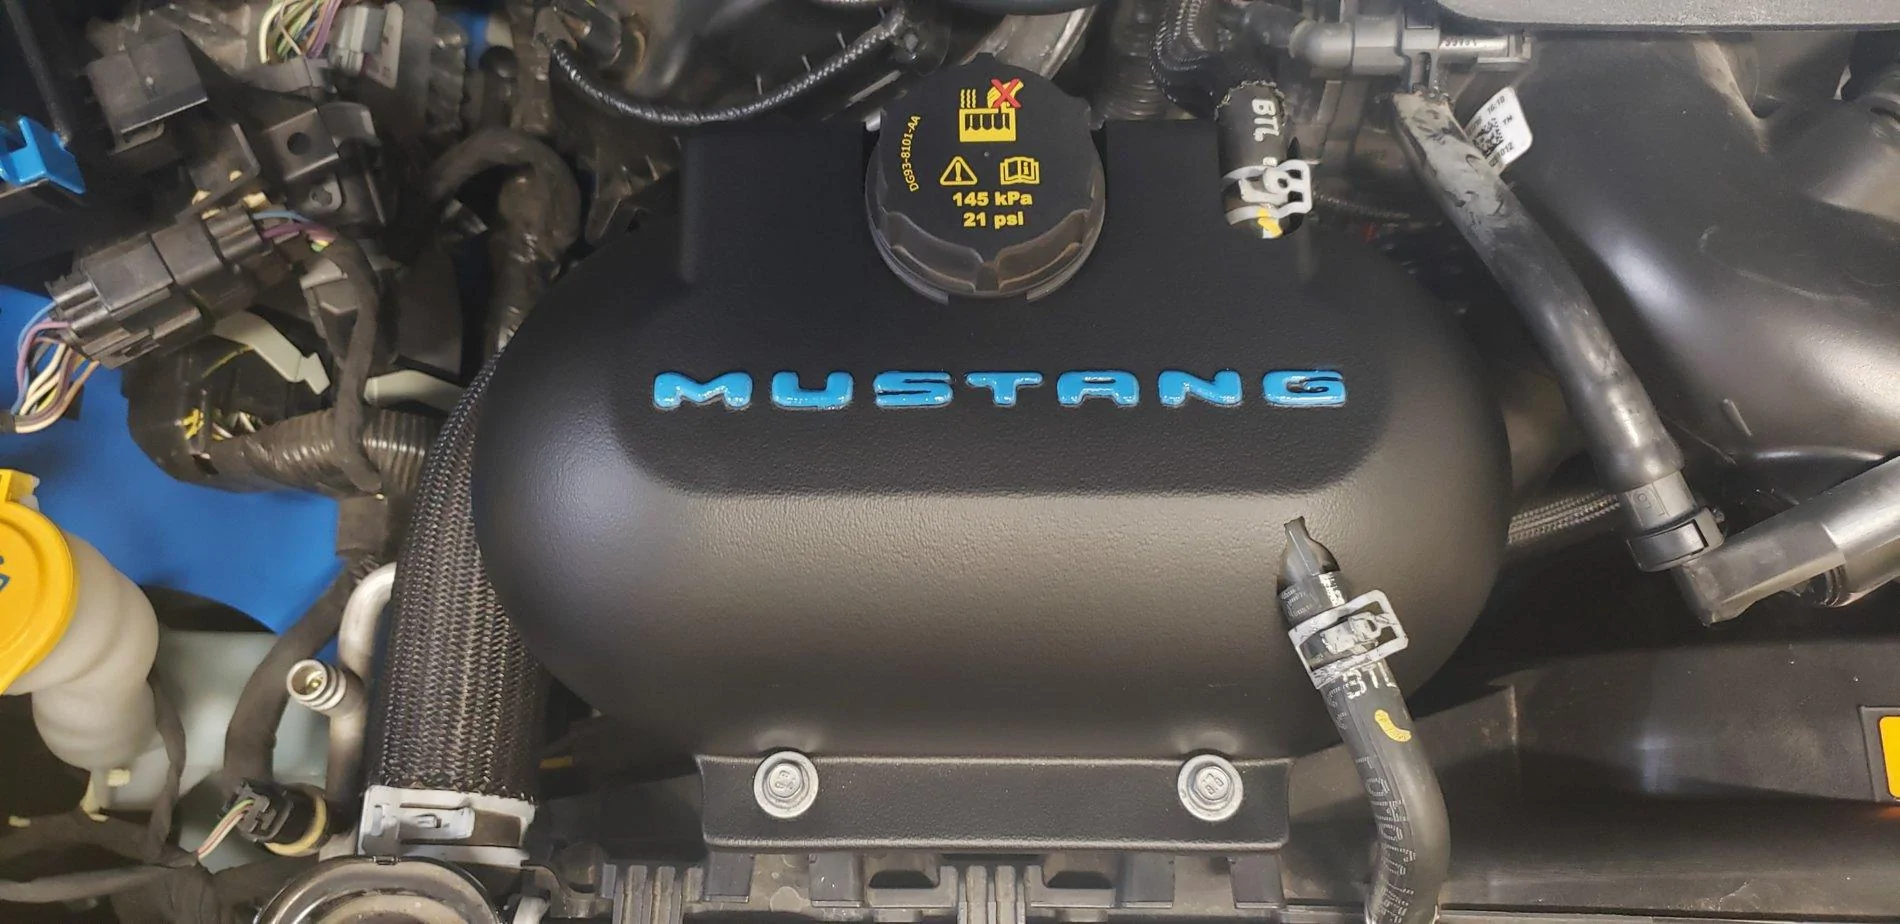
MMD Radiator Coolant Expansion Tank Cover
Sound tube delete
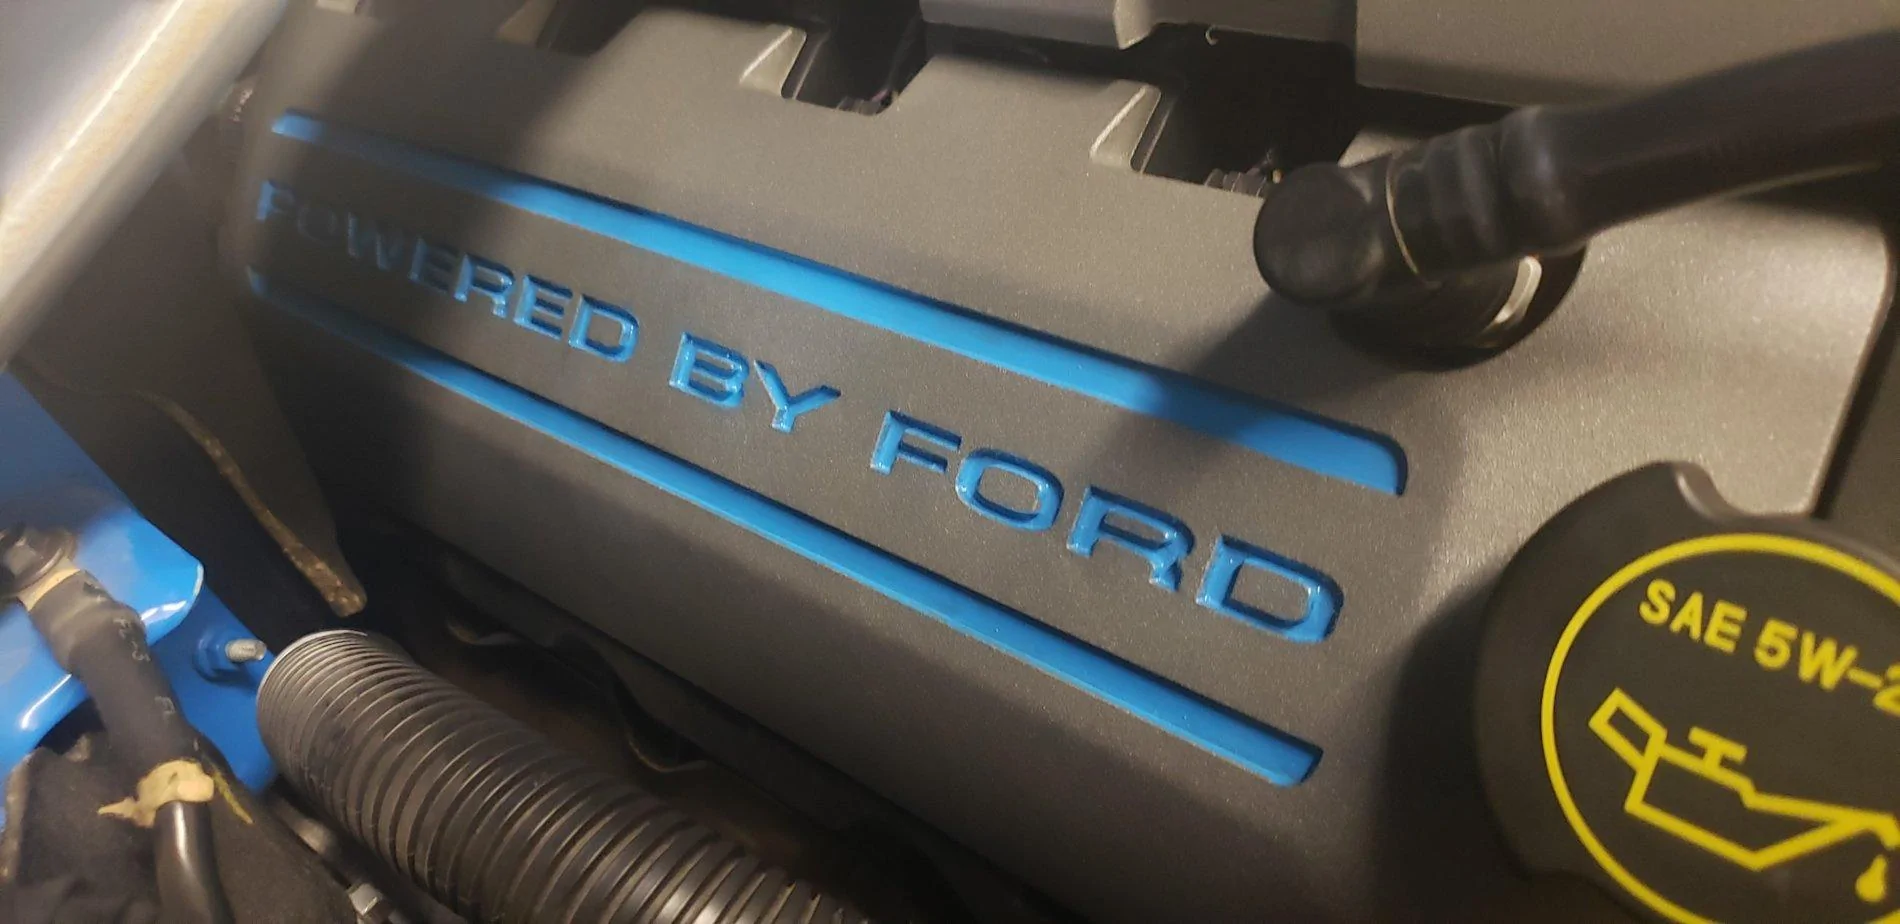
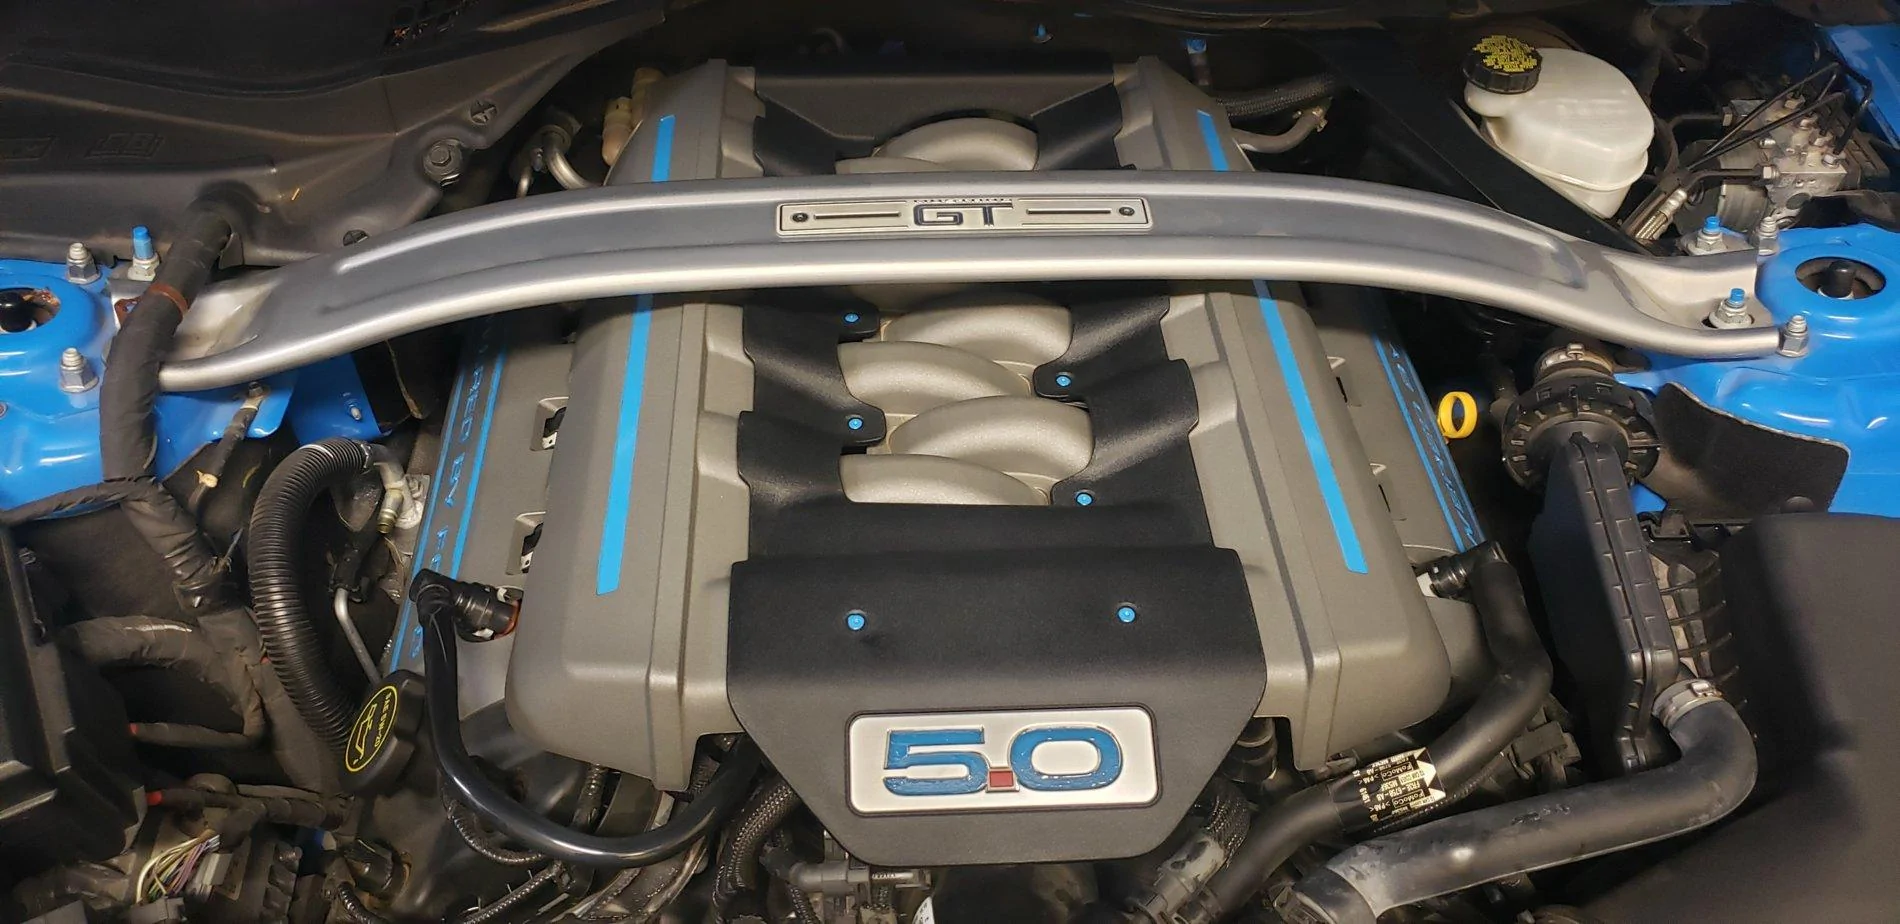
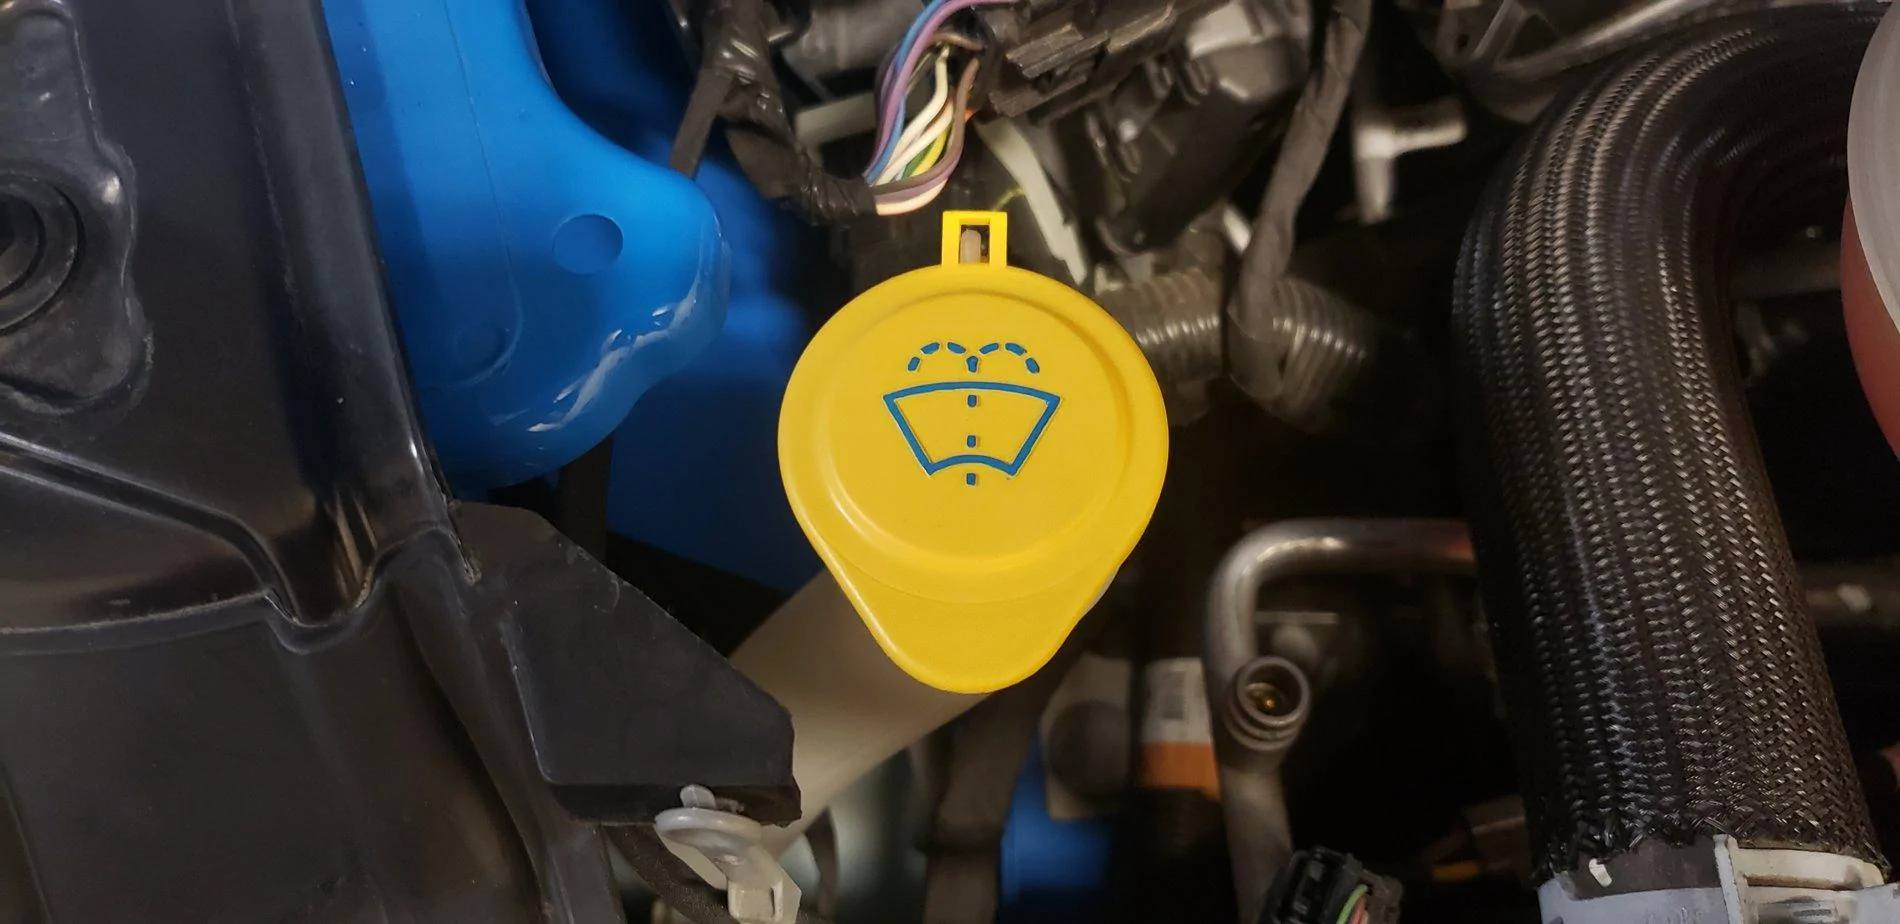
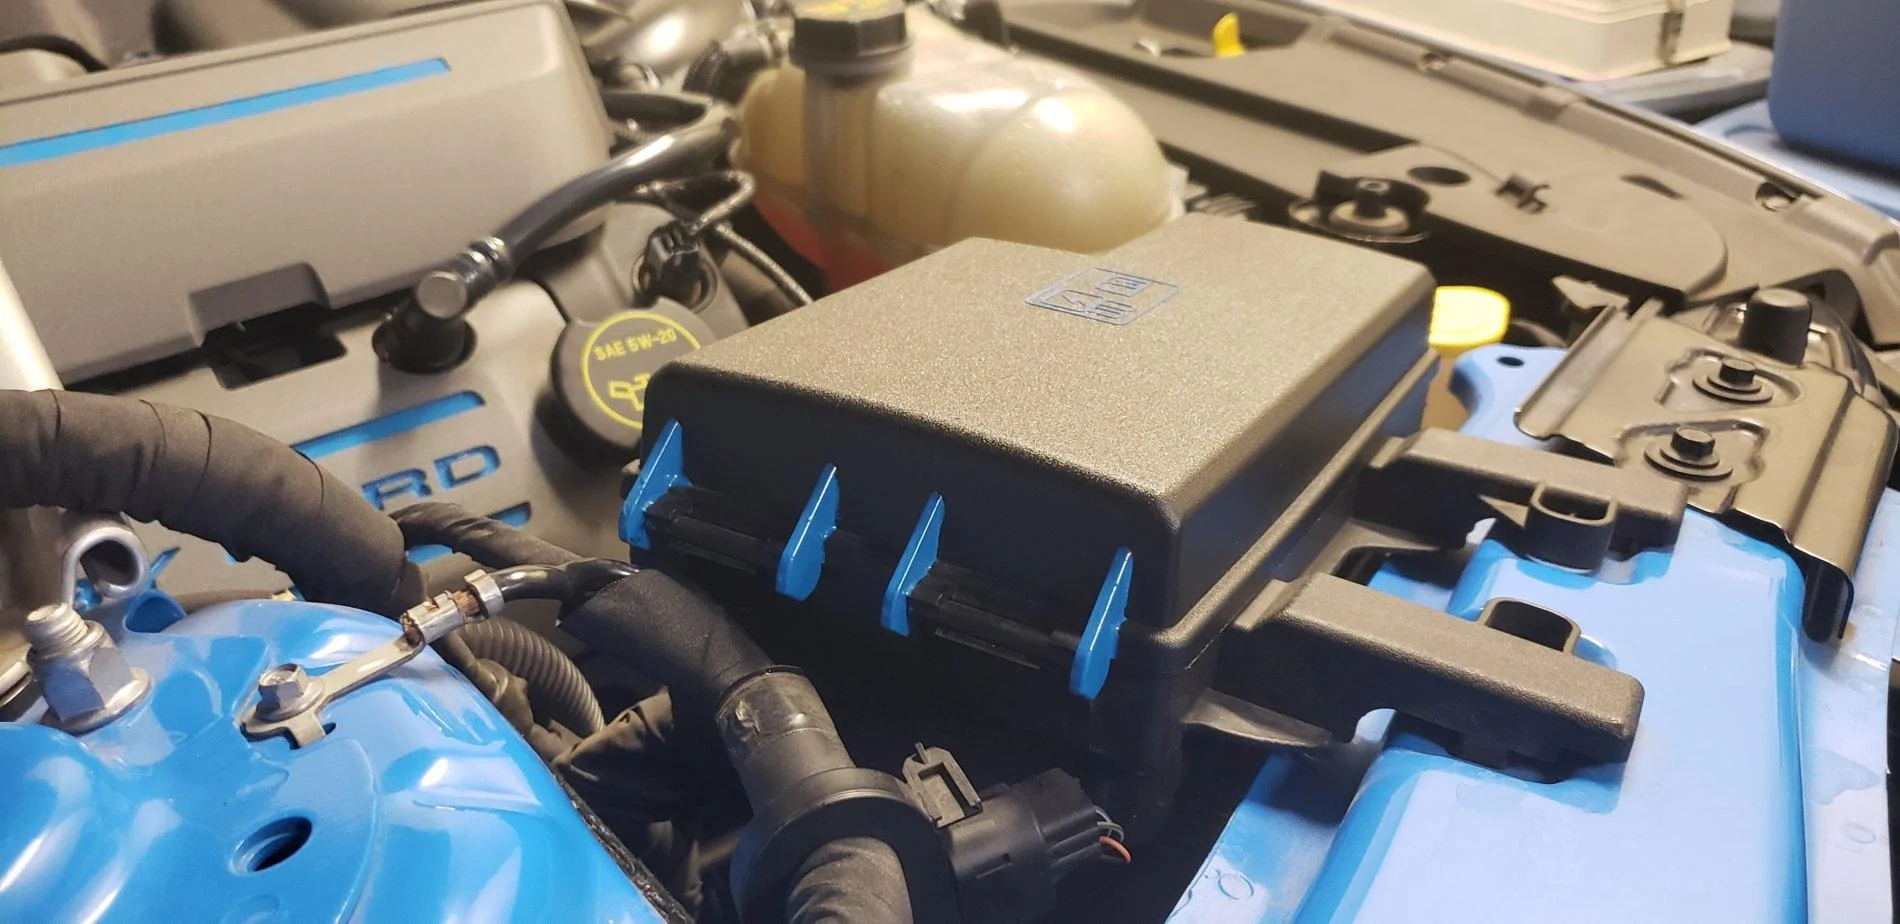
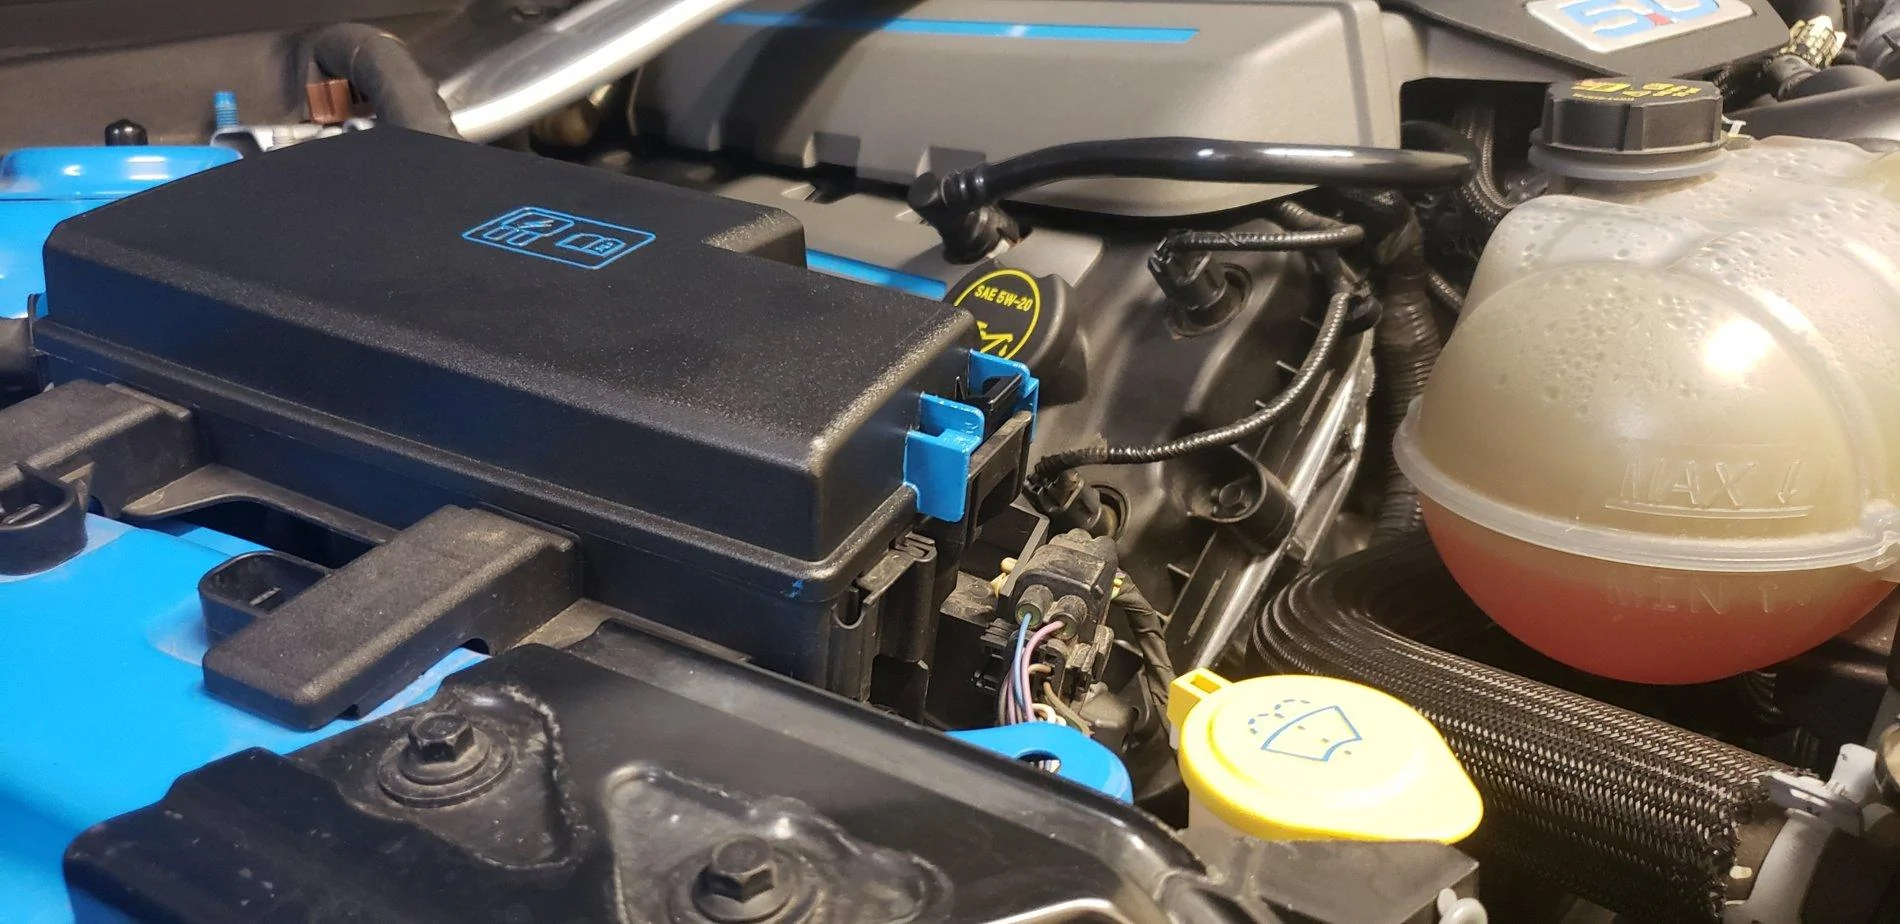
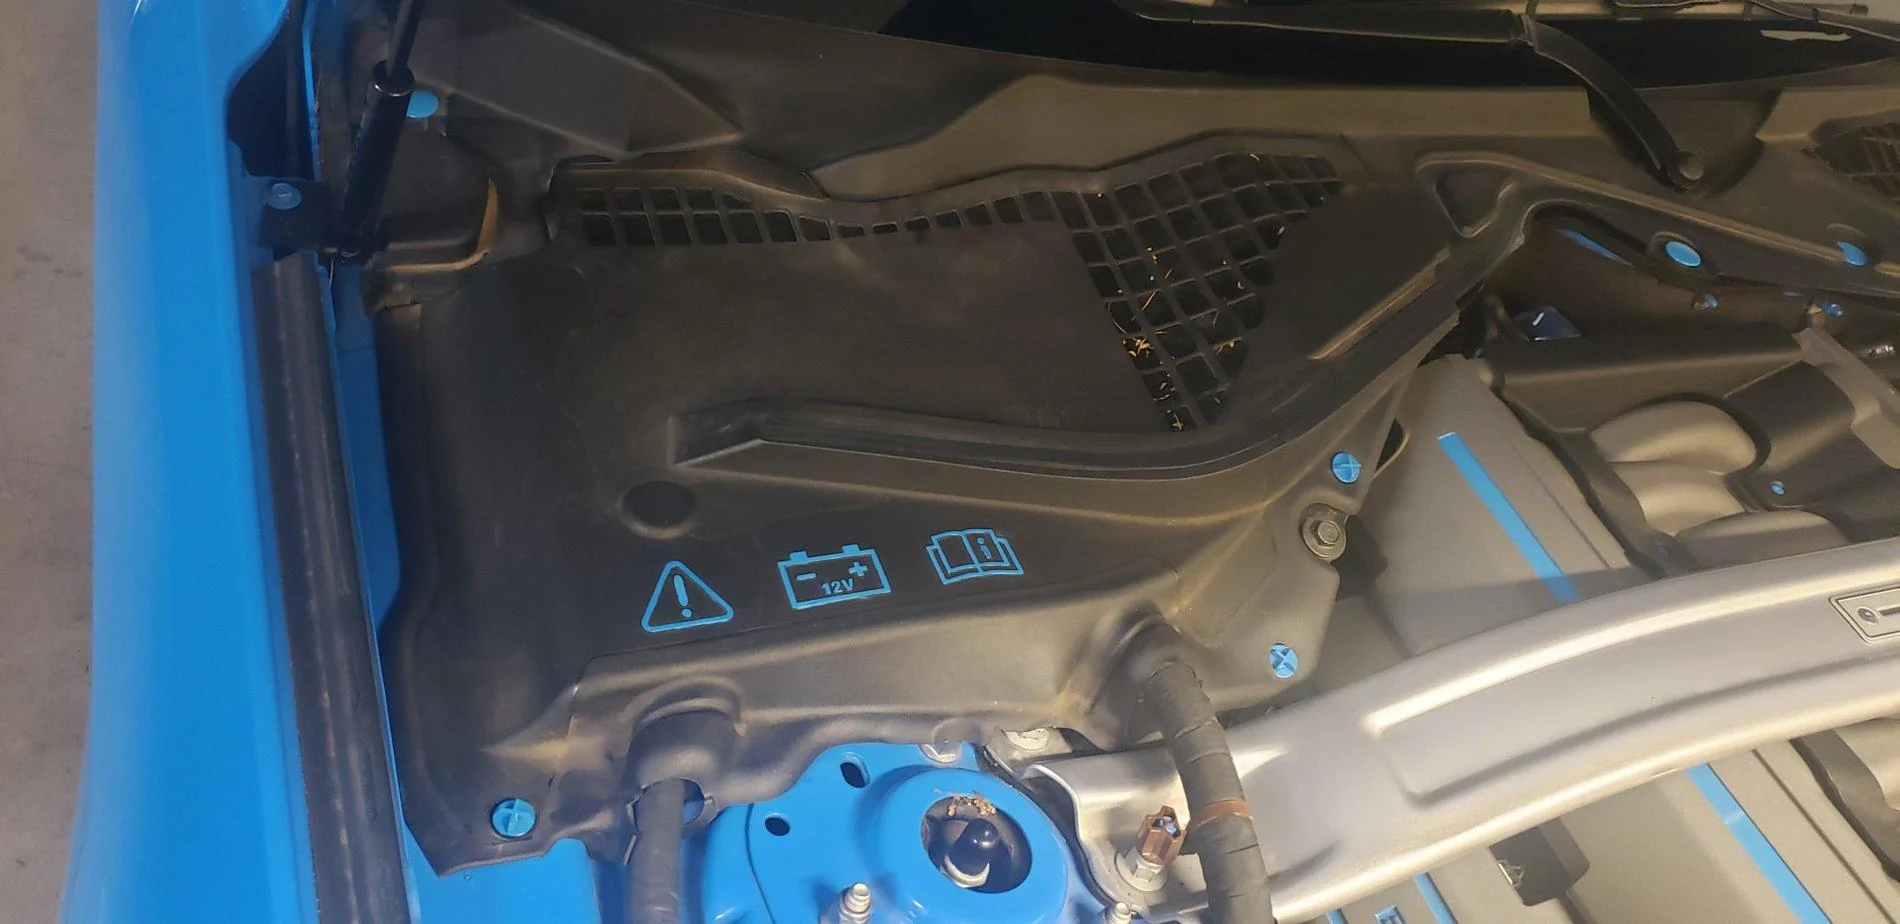
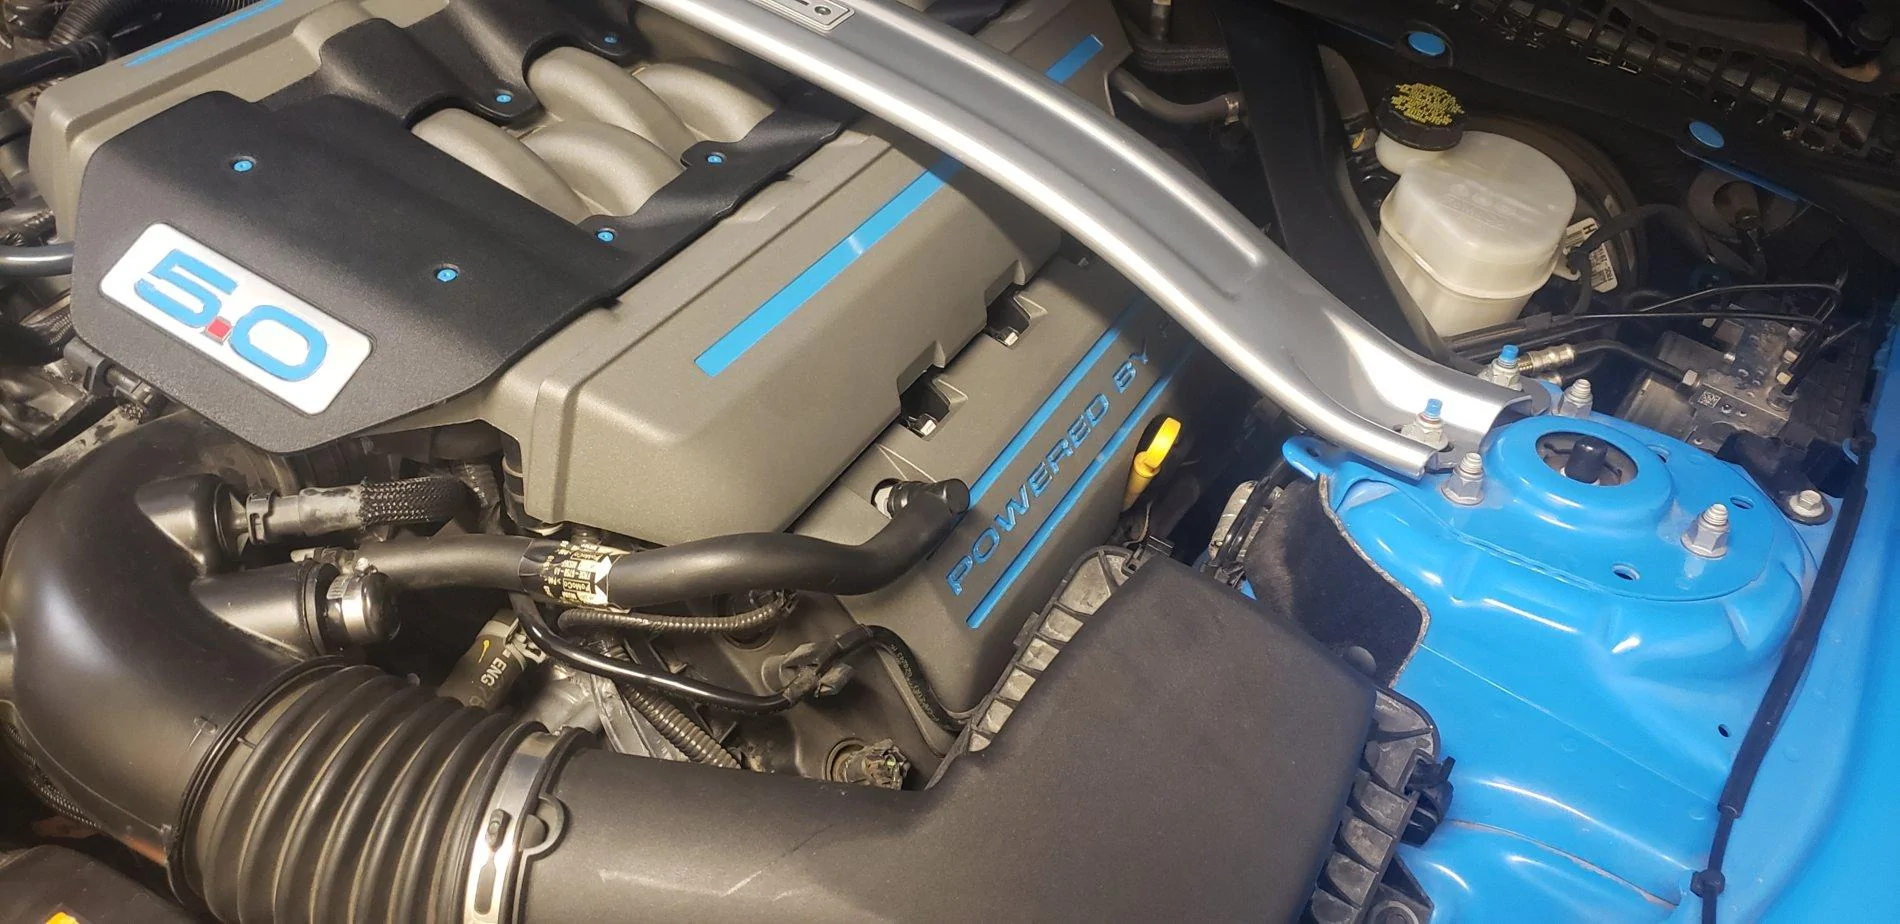
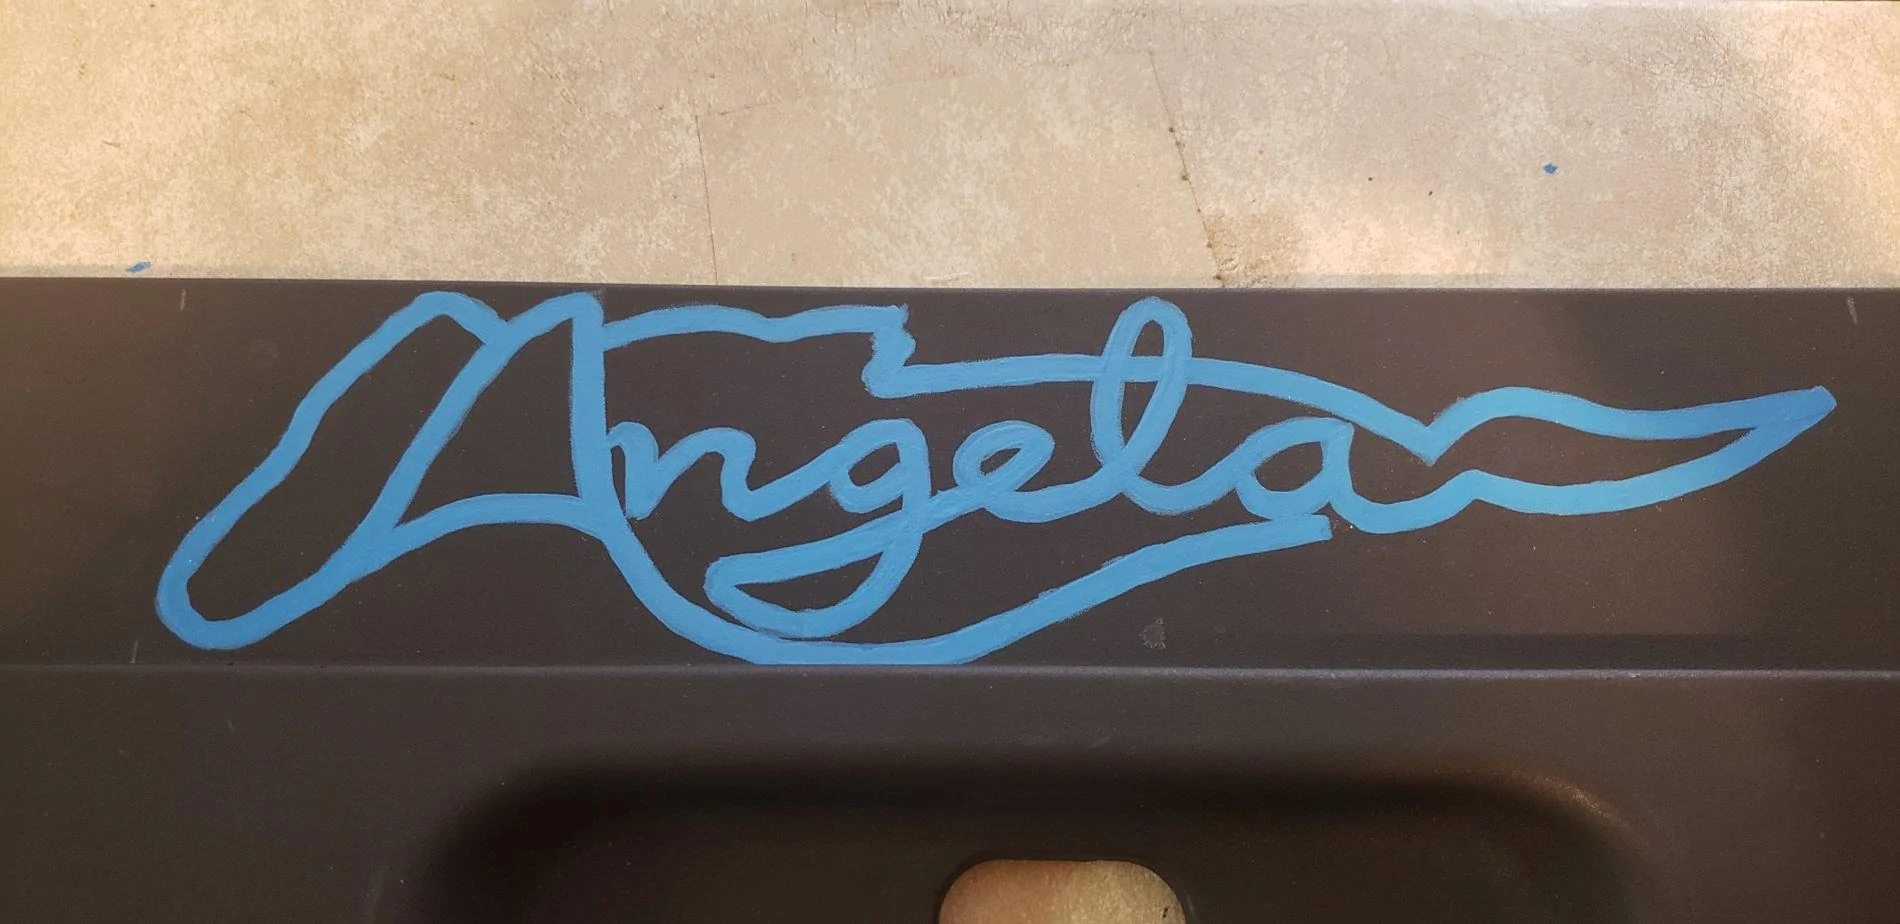
Grabber blue engine bay accent painting with "Angela" logo on radiator cover

How to:
Adjust the parking brake
Rejuvenate painted Brake Calipers
Oil change and multi-point inspection
Touch up paint with a paint pen and fix flaking paint
Fix valve cover leak
Replace rear wheel bearing
Measure alignment
Disable the parking brake warning
Check the battery and reset BMS
Recharge the A/C, and Vacuum and Full Recharge of A/C
Sponsored

 
Last edited:
OP
OP
2017GBGTPP

2017GBGTPP

Well-Known Member
Joined
Jul 2, 2016
Threads
14
Messages
574
Reaction score
734
Location
Albuquerque, NM
First Name
Dan
Vehicle(s)
2017 Grabber Blue Premium GTPP w/ Recaros
The History of Angela

I should start with a little background on my Mustang history.
I never owned a car until I graduated college at age 24. I bought a nice sensible 2004 Honda Civic. It was reliable and it got the job done.

Angela
In 2006 my then-fiancee graduated college and needed a new car. Hers was a beat up old Dodge Neon and wasn't going to make it for daily commuting. Since she wanted a nice reliable Honda she got the Civic and I got to upgrade. I had seen the new S197 Mustangs around and was a big fan of the style. I hadn't really liked a mustang since the early 70's models, although some of the late 90's to 2000's were OK.
After some research and a trip to a dealer I walked away with a good deal on a 2006 Windveil Blue Premium Mustang GT just like this one (not my photo)
00a4f376de170fd8ebd26bd083232bca---camaro-camaro-rs.jpg


I didn't know how to drive a manual, so it was an automatic. I have never been one for naming cars but after so many people asked me "What's her name?" I picked a name I liked and decided to unofficially dub her Angela just so I would have an answer.
I really enjoyed this car, it had much more get-up-and-go than the Civic (obviously) but I could tell that the automatic was holding it back. There was a solid lag from when I put my foot to the ground to when the car would go WOT. Anyway, I had plans to maybe start modding at some point but it never happened.
In 2010 I ended up traveling overseas for work and decided to sell Angela rather than letting her sit for several years until I got back.

Angela II
In 2013 it was time to come back home and I needed a new car. I still wanted something sporty, but I started by considering things like a V6 Honda Accord or a Nissan 350Z. I couldn't find anything I really liked though, and after expressing my dilemma my (now)wife, in her infinite wisdom, said I should just get another Mustang.
Once I went onto the Ford website and built a 2014 Grabber Blue Base Mustang GT with the Track Pack and Recaro racing seats, I was in love. Since I was still out of country I emailed my local dealership and came to a deal. They custom ordered exactly what I wanted and it was slated to arrive about a month after I returned home. I also asked them to have 12" dual white stripes installed, here she is (this IS my picture)
20130416_180801.jpg


I decided I would take a chance and learn to drive manual, I'm so glad I did.
Another thing I'm glad I got: The Recaros. I got them on a whim because I thought they looked cool, but they ended up being so comfortable! My wife and I drive up to Vegas occasionally and we used to be so sore after 4-5 hours in the car. With the Recaros we weren't sore at all! I don't think I can ever go back to the standard bucket seats.
Again, she needed a name. The problem was that this car, while significantly different, still had the same soul as the last one. So I decided to keep the name Angela.
Over the next three years I upgraded the tires to Michelin Pilot Super Sports and got a tune from Bama. I also got a few chrome billet pieces for the interior, which was pretty lacking and needed some major help. I had a long list of planned mods when I found out they were bringing back Grabber Blue for the 2017 MY. The IRS really had me interested as that was not something I could do with a simple mod. So I decided to go check out some 2016s at the dealer.

Angela III
And that's how we got to my current car. After sitting in an S550 and seeing how much of an improvement the interior was over the S197 and knowing how much better the IRS would perform, I said I would think about it and went home. After telling my wife how much better it was but how unsure I was about spending the money, she told me I should get. (Are you noticing a recurring theme here? Most wives sigh and nag about their husband's car addiction, mine pushes me along it. And she doesn't even care about cars!)
So I pulled the trigger on another custom ordered Mustang and waited for it to finally arrive, here she was on delivery day:
20160702_124432.jpg


Again, she seemed like an evolution of Angela and not a completely new car, so the name stuck.
And then began my (slow) modding...
 
OP
OP
2017GBGTPP

2017GBGTPP

Well-Known Member
Joined
Jul 2, 2016
Threads
14
Messages
574
Reaction score
734
Location
Albuquerque, NM
First Name
Dan
Vehicle(s)
2017 Grabber Blue Premium GTPP w/ Recaros
She needs fangs

One option I kind of liked but couldn't get were the black heat extractors of the California Special. I also kind of liked the spoiler. Unfortunately you can't have two packages at the same time, so the Performance Package triumphed for what should be obvious reasons.
I had recently heard about Plasti-dip, a rubberized plastic spray that can be easily removed at any time. I bought myself a can and began work.

First I had to remove the heat extractors, which required partially removing the felt hood liner. It is held in place by the most annoying type of push pins, the ones that basically require force and constant wiggling to get out. After some work they came loose and I could reach the underside of the heat extractors. I unscrewed the "lanyard" for the heat extractors and pushed the plastic clips holding them in place to the side and removed them. They popped off with ease.
20160730_102808.jpg


Laying out some newspaper (or at least the junkmail equivalent), I cleaned them up with soap and water then laid them out with the lanyards tucked underneath. Following the instructions, I sprayed them, letting it dry for a bit between coats. I did 3-4 coats and everything looked good.
Then it was simply a matter of letting it dry and putting everything back together. (Pardon the nighttime pic)
20160730_195641.jpg


Just the look I was hoping for! My first try had some drips and spots, so about a month later I pulled the plasti-dip off and redid them with thinner coats. It came out cleaner and glossier this time around. This picture shows the improved results.
20160823_141729.jpg


I think it cost $7 for the can, which makes a nice cheap mod that can really change the look of anything on the car. I would definitely recommend it. At the time of writing this it has been 3 years, 2 of which were spent sitting outside in the Arizona heat because I didn't have a garage, and it still looks great. (Here's a future mod spoiler pic that shows how well they have held up)
20190713_172520.jpg
 
Last edited:
OP
OP
2017GBGTPP

2017GBGTPP

Well-Known Member
Joined
Jul 2, 2016
Threads
14
Messages
574
Reaction score
734
Location
Albuquerque, NM
First Name
Dan
Vehicle(s)
2017 Grabber Blue Premium GTPP w/ Recaros
Dust them shoulders off

I know that this isn't a mod, but with the dusty Arizona summers I have to give a shout out to the California Duster. There is no way to wash often enough to keep a car clean here, but the Duster makes it a cinch! I just dust it off every day or so when I get home from work. It even works wonders after the occasional sand/rain storm!
20161103_093913.jpg
 
OP
OP
2017GBGTPP

2017GBGTPP

Well-Known Member
Joined
Jul 2, 2016
Threads
14
Messages
574
Reaction score
734
Location
Albuquerque, NM
First Name
Dan
Vehicle(s)
2017 Grabber Blue Premium GTPP w/ Recaros
Baby needs a new pair (quartet?) of shoes

After a year on the crappy stock Pirelli's they were getting worn and useless. I daily drive my car, but since I only drive 3 miles to work I only get 6,000 miles a year. Mind you I do drive in a spirited manner but I always avoid spinning the tires. Tires aren't cheap! Still, they were trash at 7,000 miles.
I had Michelin Pilot Super Sports on Angela II so it was a no-brainer to get them again. With their longevity and performance they are actually a bargain at their price. I obviously had interest in the newly released successors, the Michelin Pilot Sport 4S, but with the 2018 MY Mustangs coming out and using these tires the sizes I needed weren't available publicly yet. The MPSS would have to do.

I wanted to keep my stock rims for now and after some research I found that there was very little to gain from upsizing my tires. I ordered the stock size from Costco, who then installed them.

Fast forward about a year and I get home to hear a hissing sound coming from my driver's side rear. Sure enough, there's a big 'ole nail in there, awfully close to the sidewall. I pump it up and drive it over to Costco to see if they will replace it per their warranty. They just ran into one small problem; The MPSS was no longer in production. So, "unfortunately", they would have to replace it with the previously mentioned MP4S for free. This created another issue though; uneven tread pattern on the rears. This meant that they had to replace the other side too. They bought back the other tire for a prorated amount based on tread wear and replaced it with the MP4S. Replacing both tires cost me a grand total of about $80. I was very pleased with this and definitely recommend Costco as a place to get tires. They were extremely helpful and friendly, and I left with better tires than I went in with.
The thought has crossed my mind to throw a nail into one of my front tires to see if I can get the same deal, but unfortunately I am too honest a person to do this. While the MP4Ss are (somehow) even better than the MPSS on the back, the front isn't as in need of added traction so I'm OK for now.
 

Sponsored

OP
OP
2017GBGTPP

2017GBGTPP

Well-Known Member
Joined
Jul 2, 2016
Threads
14
Messages
574
Reaction score
734
Location
Albuquerque, NM
First Name
Dan
Vehicle(s)
2017 Grabber Blue Premium GTPP w/ Recaros
Dancing to a new tune

Angela II had a Bama tune which really woke up the car. Added horsepower, vastly improved throttle response, I knew it was a must have. Unfortunately, Bama doesn't seem to know what they're doing with the S550 so I opted for a tune from Lund Racing and purchased an NGuage. The tune came quickly and was easy to upload. The throttle response on the stock S550 tune was much better than on the stock S197 tune so that wasn't improved as much this go around, but the added horsepower was noticeable. It's definitely worth it and is the best bang-for-your-buck power adder there is.

I later mounted the NGauge to a window mount here.
 
Last edited:
OP
OP
2017GBGTPP

2017GBGTPP

Well-Known Member
Joined
Jul 2, 2016
Threads
14
Messages
574
Reaction score
734
Location
Albuquerque, NM
First Name
Dan
Vehicle(s)
2017 Grabber Blue Premium GTPP w/ Recaros
There's a pony logo there?

20180621_183551.jpg


I had no idea that this was hiding underneath the felt hood liner until somebody on these boards mentioned it. I researched the purpose of the liner and the safety in removing it to be sure I would be fine taking it off. It appeared that it was mostly for noise suppression (because I DON'T want to hear my V8???). There was some talk about it suppressing an engine fire, but I figured if my engine caught on fire the damage to my hood would be the least of my worries. I also saw it mentioned that it protected the paint on the hood from the heat of the engine, but I'm not sure it would really do that since the hood metal is still exposed to that heat as well as the hot Arizona sun. Several had said they had removed theirs with no negative effects. (Future note: I have had mine off for over a year now and have noticed nothing bad).

I purchased some chrome vinyl from O'Reilly's for super cheap and went about making some stencils. This was pretty tough as I didn't take my hood off, but I basically used some leftover tracing paper I had. I laid it over the logo and drew around the edges, then cut it out. This worked really well for the pony, but the circle around it was much more difficult. Both the tracing paper and the vinyl were shorter than the circle, so I had to do it in two pieces. While the circle came out pretty uneven the pony ended up looking great, and the flaws in the circle were less noticable from a few feet away since the pony was the focal point.

20180624_150617.jpg


At some point I will redo the circle. Hmmm... maybe soon. Thanks for the reminder, Build Thread!

Afterwards I noticed a couple of POSITIVE effects.
1. Reduced IATs and CHTs. Cooler air in the summer means more power! This actually cooled down the hood too as the heat was no longer being trapped and absorbed by the hood liner.
2. Improved engine sound. That liner was muffling the sound of the V8 significantly and pulling it off was a huge improvement without making it too loud.

Over the past year the vinyl has held up really well. The heat of the engine actually helped iron out the bubbles and now it looks better than ever.
 
OP
OP
2017GBGTPP

2017GBGTPP

Well-Known Member
Joined
Jul 2, 2016
Threads
14
Messages
574
Reaction score
734
Location
Albuquerque, NM
First Name
Dan
Vehicle(s)
2017 Grabber Blue Premium GTPP w/ Recaros
Ok AM, let's see what you got

American Muscle
sent me a credit of $10 off a purchase of $50 or more, so I decided to see if there was anything cheap I wanted. They ended up having MMD automatic hood struts on clearance for $50. Although I never really cared much about prettying up the engine bay, this was the right price so I ordered them.

They were an easy install. The only part not in the instructions was that the windshield washer hose needed to be pulled out of the way. I have heard with other struts this can be a difficult task, but these ones had a handy plate at the back of the hood which was perfect for pulling the hose out of the pinch zone. You can't quite see it in this picture but it's just off to the bottom left.

20190616_174924.jpg


It's only been a few months, but they have worked flawlessly with numerous openings and closings, and I like how discrete and out of the way they are.
 
Last edited:
OP
OP
2017GBGTPP

2017GBGTPP

Well-Known Member
Joined
Jul 2, 2016
Threads
14
Messages
574
Reaction score
734
Location
Albuquerque, NM
First Name
Dan
Vehicle(s)
2017 Grabber Blue Premium GTPP w/ Recaros
The Mod Bug bites me, hard

After installing the hood struts I removed the old manual strut to clean up the engine bay a bit. Then I realized that I had barely actually cleaned my engine bay in the past 3 years. So I gave it as good of a scrub down as I could by hand. I now have a garage but I don't have a driveway or even a hose now, so hosing down the engine was currently out of the cards.

Once it was mostly clean, ideas started running through my head. The engine area was so drab and boring. It needed a little color.

Related side info; Occasionally I get bored and feel the need to do something with my hands. This feeling will likely now be replaced by modding my car, but sometimes this need was filled by doing a plastic scale model. Sometimes it's boats, sometimes planes. Recently I did a Shelby Cobra and truck set. ModelMasters has an entire line of automobile enamel paints, one of which was Grabber Blue and is a spot on match. So obviously I painted the Cobra Grabber Blue.

20190726_090019.jpg


Model paints go a long way so I still had most of the bottle left. The engine covers have nice recesses that seemed perfect for adding some accent color, so I started with the valve covers.

They popped off pretty easy. You just have to remove the hoses towards the front by pushing open the little yellow clips at the connection point. The passenger's side hose clip was easy to get to, but the driver's side is hidden underneath the hose and being behind the stupid sound tube I needed to use a flat head screwdriver to get to it. It didn't end up being difficult once I figured that out. Temporarily remove the oil cap on the passenger's side and the valve covers will pop right off with a slight tug. Just remember to put the oil cap back on for now, you don't want anything accidentally falling in there!

I washed them thoroughly with soap and water, let them dry, and began painting. A few coats later and they were looking good.

20190616_162905.jpg


Enamel is a pretty hardy paint so I figured I would be good without a protectant or clearcoat. I might be wrong, but if the paint starts to fade I can just repaint them and protect it then, I'm not worried about it.

20190616_174545.jpg


Next up, the plenum cover. This came off even easier, it just pulls right up with a tug. Just do one corner at a time. If you are painting the entire cover I would suggest moving the brace out of the way as it will likely get scratched on reinstallation. I was just doing the stripes on the side so I wasn't concerned about it and just pulled it off and carefully pulled it out while it slightly rubbed against the brace.

Once I painted the stripes on the side I decided to paint the little pins along the cover too. I then decided to try painting the 5.0 blue. I knew this part would be more challenging as the logo isn't as enclosed as the other bits I had done. It would require a steady hand on smooth metal to make it look even. I took a chance knowing I could always just wipe it away with paint thinner, but it ended up coming out great!

20190616_201312.jpg


And now put back in place:

20190616_204916.jpg
 
Last edited:
OP
OP
2017GBGTPP

2017GBGTPP

Well-Known Member
Joined
Jul 2, 2016
Threads
14
Messages
574
Reaction score
734
Location
Albuquerque, NM
First Name
Dan
Vehicle(s)
2017 Grabber Blue Premium GTPP w/ Recaros
Less is more, but more less is even more!

With some inspiration from the Dressed up engine bays thread and the awesome people on this forum, I continued adding some Grabber Blue accents to the engine bay.

I started with the windshield washer reservoir cap and fuse box cover. The washer cap pulls off easy, just check the back side and you will see a slot that it can be slid out of. The fuse box cover just clips on at the hinges, open it up and pull at an angle and they pop off. For these ones I just painted the raised symbols along with the hinges and front clip on the fuse box.

20190617_203847.jpg


20190617_212711.jpg


20190617_213452.jpg


20190617_213510.jpg


Next up were the battery cover and firewall cover. The battery cover is held on with pins that turn loose then pull out. The firewall cover pins require you to pull up the top layer to loosen, just look for indentations on the edges. I didn't bother removing the firewall cover since I wasn't going to paint anything on it, I just wanted to paint the heads of the pins. I also did the raised symbols here.

20190618_172434.jpg


20190618_202445.jpg


20190618_202502.jpg
 
Last edited:

Sponsored
OP
OP
2017GBGTPP

2017GBGTPP

Well-Known Member
Joined
Jul 2, 2016
Threads
14
Messages
574
Reaction score
734
Location
Albuquerque, NM
First Name
Dan
Vehicle(s)
2017 Grabber Blue Premium GTPP w/ Recaros
What is even the point of this thing?

It was time for the sound tube to go. It kept getting in my way, making checking the oil more of a pain than it should be, and doesn't seem to improve the sound in the cabin. I purchased a kit for $10 from AM which came with good instructions. The parts are pretty cheap so you can probably buy them cheaper if you want to really DIY, but $10 wasn't asking too terribly much.

There were two parts that were more of a hassle than they should have been. The first was the clip holding the middle portion of the sound tube on. It was one of those clips like on the hood liner, which without the right tools are a pain to get off. I ended up breaking it and dropping half of it into the engine bay black hole, never to be seen again. No matter, it was all going in the trash anyway. The second pain was pulling the tube from the firewall. My mistake here was in trying to pull it straight out. Once I lifted the whole tube assembly up towards the hood and twisted it popped right off. If only I had tried that 5 minutes earlier it would have saved me some aggravation.

Getting the plug into the firewall also took some reaching into tight spaces, but it got in there easily enough. I just needed a light to see where I was going. The plug onto the intake was super simple.

And now the engine bay looks much less cluttered, and I can reach the dipstick!

20190621_172609.jpg


Removing this actually improved the V8 sound. It was only sending a muffled sound into the cabin, and after removing the hood liner I was already getting a better sound coming through the front. Now the engine sounds real and raw, much better.
 
OP
OP
2017GBGTPP

2017GBGTPP

Well-Known Member
Joined
Jul 2, 2016
Threads
14
Messages
574
Reaction score
734
Location
Albuquerque, NM
First Name
Dan
Vehicle(s)
2017 Grabber Blue Premium GTPP w/ Recaros
The pink football

The ugliest thing in the engine bay is definitely the coolant reservoir tank, something had to be done about it. I considered using Plasti-dip, but after searching around I found these nice MMD covers on AM. They were a bit overpriced, but I really liked the raised lettering that I would be able to paint.

20190621_202532.jpg


It even came with instructions to temporarily remove the hose and get it on, super simple. It just covers the top so you can look at the side and check if you are under the minimum line, and since it's a thin plastic it can be lifted a bit to see where the fill is actually at.

20190622_174032.jpg


Much better.
 
OP
OP
2017GBGTPP

2017GBGTPP

Well-Known Member
Joined
Jul 2, 2016
Threads
14
Messages
574
Reaction score
734
Location
Albuquerque, NM
First Name
Dan
Vehicle(s)
2017 Grabber Blue Premium GTPP w/ Recaros
The piece de resistance

It was time to finish the engine bay painting and finally make her name official. My first thought was to paint "Angela" on the radiator cover in cursive, but it just didn't seem to be enough. My wife had the idea of blending the "A" into a mustang head, then I thought of blending the "a" at the end into a tail. After some back and forth and some sketches, we came up with this:

20190619_180319.jpg


Using this as a stencil, I darkened it up with a sharpie so I could see it through the other side then traced the back side with some chalk. I then laid it in place on the radiator cover and pressed down to transfer the chalk onto the plastic. Enough of it transferred to give me a good guideline. I then started with overlaying it with the grabber blue paint, giving it a few good coats.

20190620_201526.jpg


It was looking good, but definitely needed an outline. Using a super thin brush I outlined it in white.

20190622_164434.jpg


While I wasn't concerned about the longevity of the other painting in the engine bay, this one took a bit more work and care so I wanted to protect it. I used some Rustoleum Engine Enamel to spray a clearcoat.

20190623_132940.jpg


As you can see, I also painted the holes where the pins go as well as the pins themselves. And I was done!

20190623_145937.jpg


20190623_145543.jpg
 
OP
OP
2017GBGTPP

2017GBGTPP

Well-Known Member
Joined
Jul 2, 2016
Threads
14
Messages
574
Reaction score
734
Location
Albuquerque, NM
First Name
Dan
Vehicle(s)
2017 Grabber Blue Premium GTPP w/ Recaros
Hi, my name is Dan and I'm a Carbon Fiber Addict

I have always loved carbon fiber but have yet to splurge to get some. I constantly stalk the Carbon Fiber Addicts Anonymous Thread just dreaming of some day... well that day finally came when somebody pointed me to Dyna Performance. They had a steering wheel center cap cover for $30! Although I have always been more inclined to replace parts rather than use overlays, the pictures I was seeing looked great so I ordered one. It is made with rubber resin so has a nice soft feel rather than the hard plastic of structural carbon fiber. It sticks on with 3M tape (or whatever the Chinese equivalent is). And now the addiction has begun...

20190705_150123.jpg


Here it is in the direct sunlight:

20190712_124941.jpg
 
OP
OP
2017GBGTPP

2017GBGTPP

Well-Known Member
Joined
Jul 2, 2016
Threads
14
Messages
574
Reaction score
734
Location
Albuquerque, NM
First Name
Dan
Vehicle(s)
2017 Grabber Blue Premium GTPP w/ Recaros
Adding more color

I have always liked colored brake calipers. The PP comes with amazing Brembo brakes but they are a boring gray color. But that can be fixed! I opted to try the cheap route and got a red Duplicolor caliper paint kit. It came with brake cleaner and tape as well as a crappy brush. I used a cheap foam brush to do the job instead and it worked perfectly.

I jacked the car up onto jack stands and removed the wheels, then I cleaned up the calipers, first with just a rag then with the brake cleaner. Once that was dry I taped up the area around the calipers so I wouldn't get any paint on the rotors or anything. Next I started going around giving thin coats each time. The first coat barely darkened the caliper, but made a nice base coat for the others to stick to. By the third coat they were a nice solid red, and one more coat filled in the gaps.

20190713_152844.jpg


On the back I chose to just do the inner caliper. I wanted the fronts to be the ones that stood out, the backs just needed a bit of red for balance.

20190713_152923.jpg


After an hour they were still looking smooth and shiny, so I let them dry overnight.

The next day I checked on them and found that the paint had started to run in a couple of places. I think the flaw in my method was doing this in the summer in Arizona. I think the extreme heat didn't allow the paint to dry and cure properly, and as the paint dried it began weighing itself down, running in a slow semi-liquid manner. I was a bit disappointed, but it wasn't too terrible so I let it go for now.

I waited a full 24 hours before applying some white Brembo stickers I got on eBay, but the paint, while dry, was still malleable. This created even more flaws, but it was mostly going to be covered by the PP rims so it didn't need to be perfect. Once it was all put together and in the sun it looked pretty good.

20190715_175322.jpg


20190715_175343.jpg


I really like the subtle look, we will see how they hold up.

As of the writing of this post it has been two weeks including a trip up to Flagstaff. I washed the car today and found that some black gunk is sticking to the paint and wouldn't come off with soap and water or even brake cleaner. Granted, it is very hard to clean these with the PP rims (I'm going to have to figure out a method to do that), but I'm starting to think I should have added a clearcoat. I'm pretty sure the numerous flaws in the paint because of the heat problem created a bunch of pockets for the gunk to get into.

Lessons learned:
1. Don't paint calipers when it's 110 degrees outside
2. Either add a clearcoat or use a better paint. Maybe G2 would have worked better, I guess there's a reason it costs more.

Update: 2 month update and repair in this post.

And now I'm finally all caught up to today! Next on my agenda are some jacking rails, a carbon fiber shift knob, and I think a heel-toe pedal. This will probably all happen late August as I will be out of town for a couple of weeks next month.
Sponsored

 
Last edited:


Top