asci01
Well-Known Member
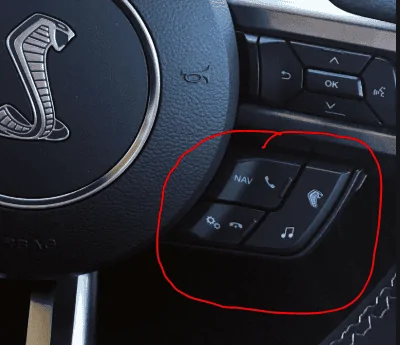
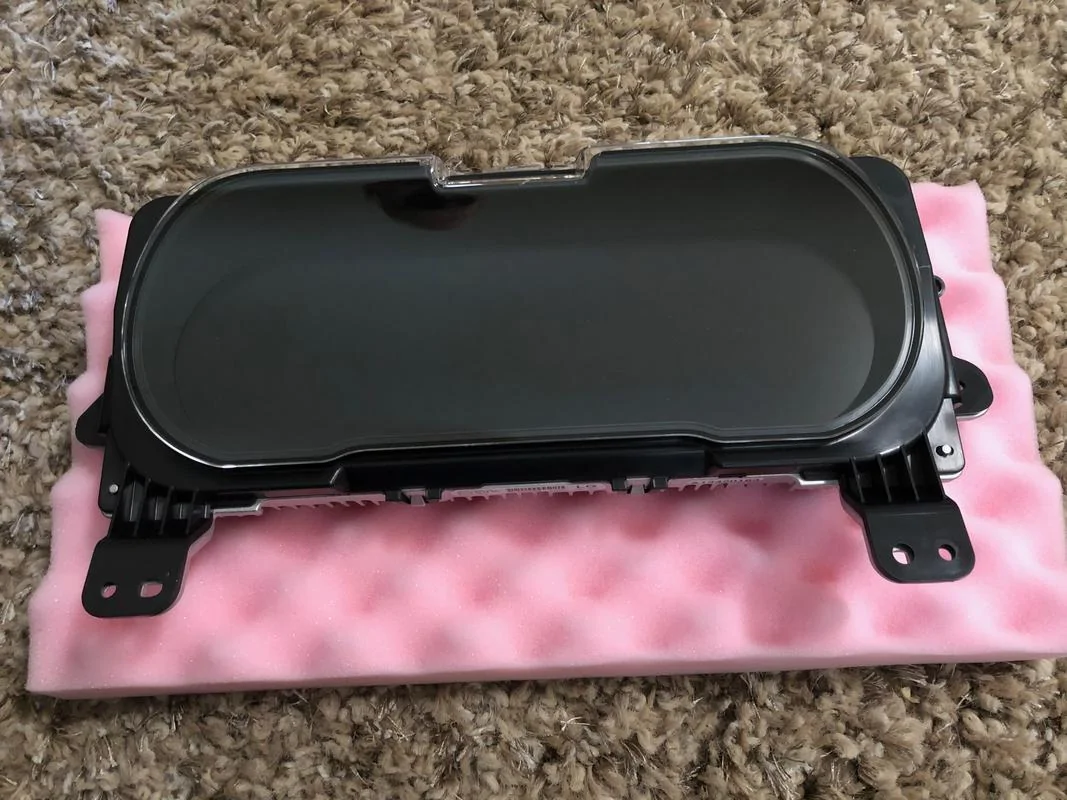
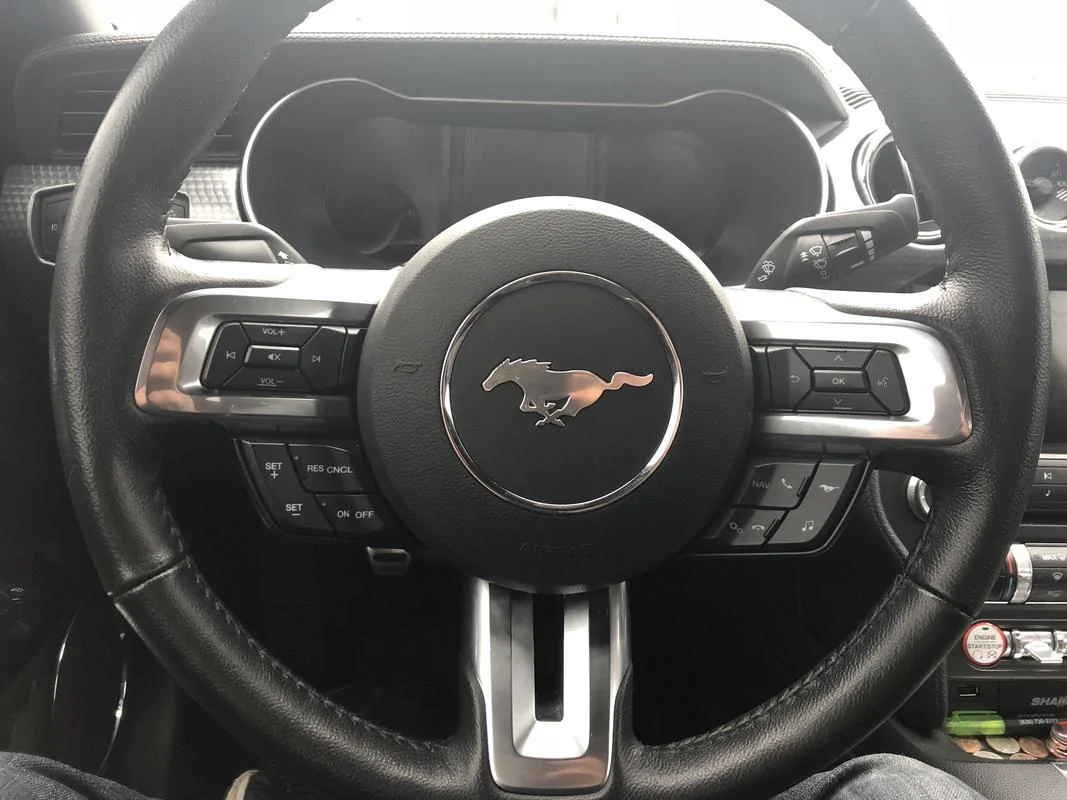
You can get to the trip, fuel, and tire pressure menu directly if you press the ‘gears’ button instead of the pony button. Also, I have paddle shifters and I can get to the air bag holes without taking the paddles out. I didn’t know the extensions would make a difference.I installed the new cluster in my 2016 Ecoboost Premium last Saturday. I purchased the kit from Hellhorse Performance with support from Sam. In my opinion, this is the way to go. Everything arrived extremely well packed and with everything needed to do the install. Sam answered several questions that I had. The files he sent for programming and the programming instructions were flawless.
It took me about 4 hours start to finish (with a break for lunch). The install went very smooth, with just a couple hiccups.
Huge thank you to everyone who has posted in this thread. It made this super easy!
Some things to take note of:
TAKE A PICTURE OF THE CURRENT MILEAGE BEFORE YOU DO ANYTHING
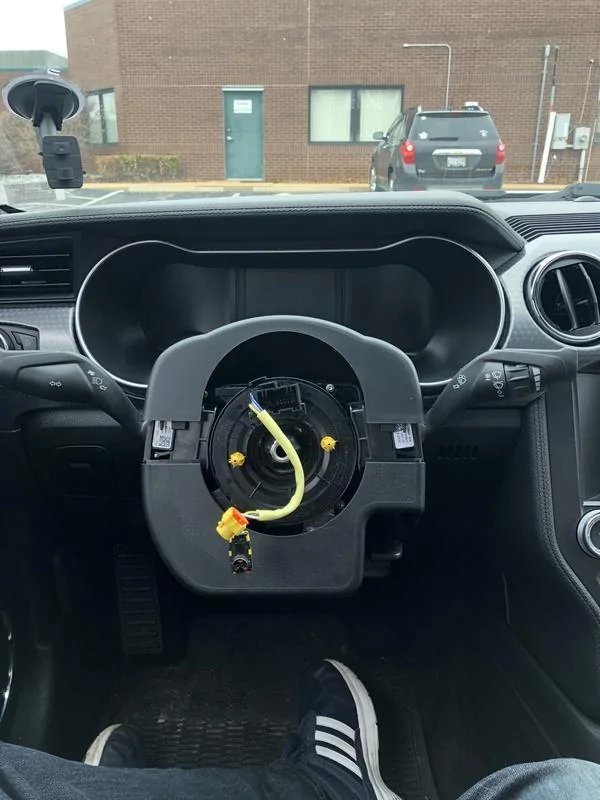
If you have an automatic and paddles shifter extensions you MUST remove them or you cannot access the holes to release the air bag...
Sign up for and log into a Forscan account in advance of the day you are going to do the install to make sure you can program it
Make sure the computer you are using has all the correct drivers and can connect to the car before you pull everything apart. Mine did not have the correct USB drivers for the computer, so it never saw the OBDII adapter
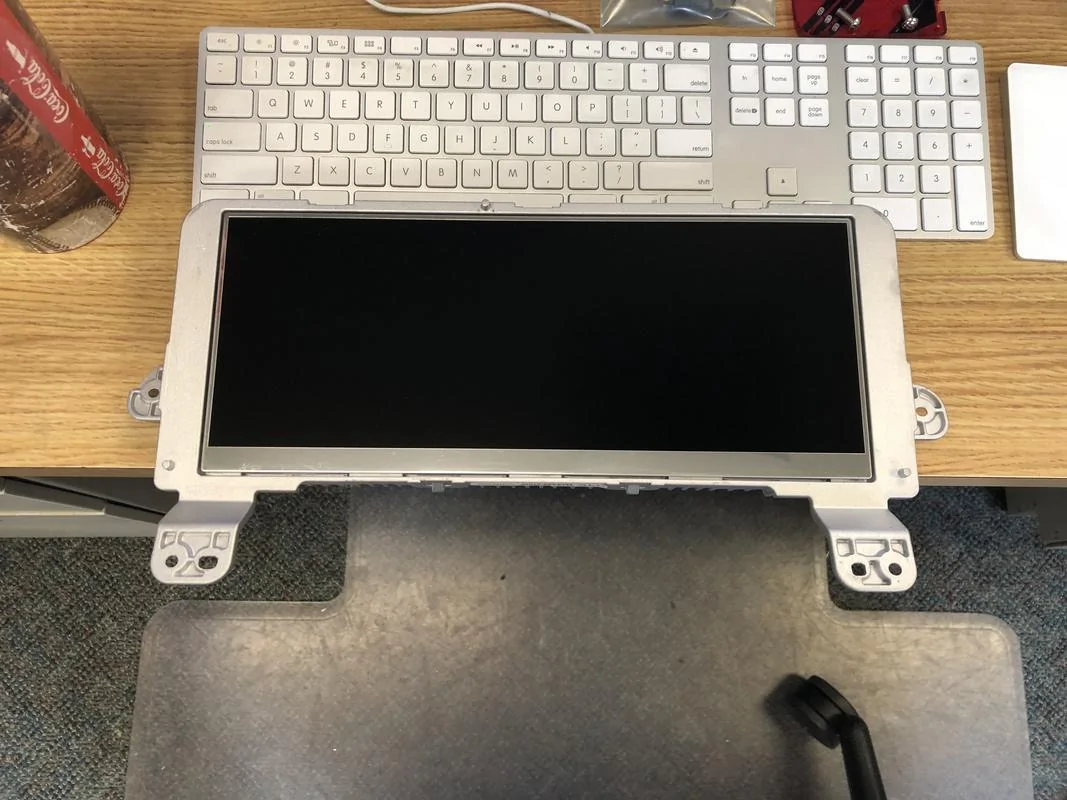
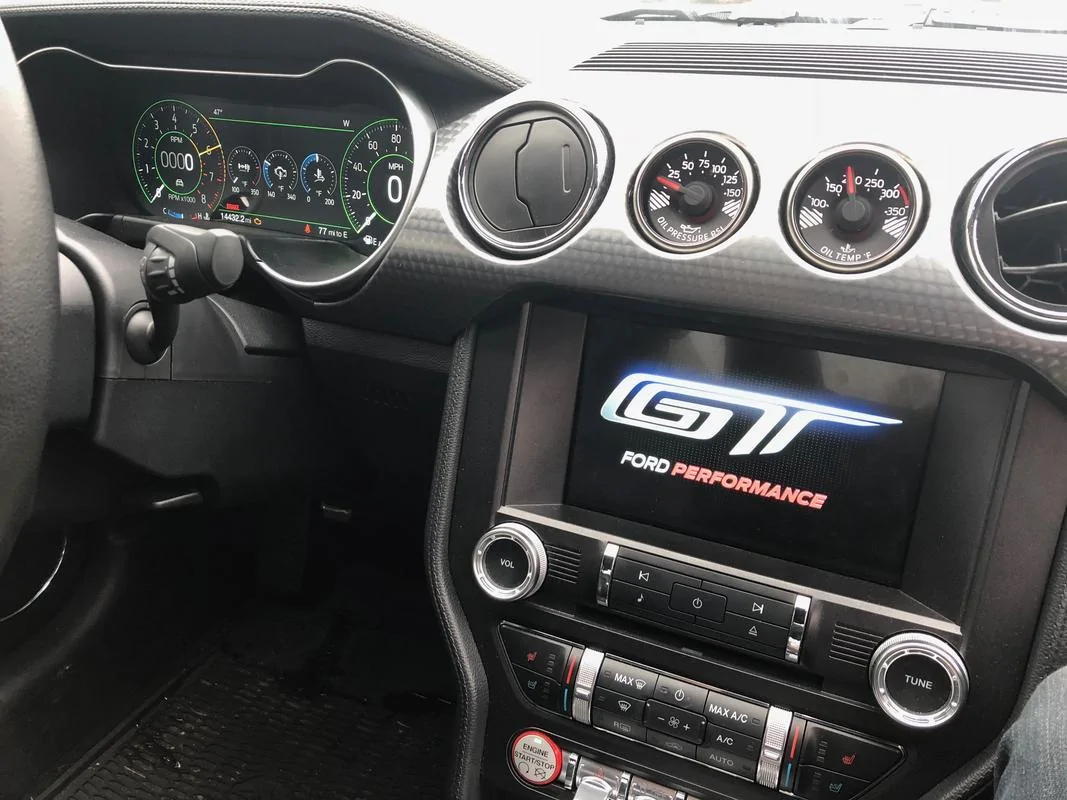
The digital cluster is amazing. Ford did a great job with the design and layout. Here's my observations after using it for a few days:
The good:
NAV in the cluster is cool!
Song titles in the cluster is cool!
Customizabilty is cool!
It just looks COOL!
The bad:
It takes a lot to in learn 3 years of where the buttons are. Now that the music controls are on the other side of the wheel it is hard to remember which button to push.
I want my Oil Temp gauge back! The data is there - let me have the gauge!
The radio interface SUCKS. I used to be able so select the 'band' using the middle button on the audio controls on the upper right side of the wheel, then scroll through stations using the left/right buttons in that same button set. Now, I have press the 'Music Note' in the lower right control set on the wheel, select the 'Band' on the cluster using the upper right up/down/OK button set. Then I can select the station from the cluster, or scroll through using the (now) left hand side audio controls. But I cannot change the 'band' anymore without taking my eyes off the road.
Getting to the Trip Info and Tire Pressure menus is cumbersome. It seems like it takes more clicking around to see that info, and then is not easy to get back to the gauges. Could be that I just need to re-learn the button presses to go through those menus
Those things aside, this is a really cool update to the car!
Sponsored