Sponsored
engineermike
Well-Known Member
I've found the Ford OBD diagnostic manual extremely helpful to understand how the different control systems and logic work. https://www.fordservicecontent.com/Ford_Content/catalog/motorcraft/OBDSM1802-2018.pdfIn theory, it has enough adjustability but it will trigger a code. One tooth off on a cam is about 8 degrees if my math is correct which would double on the crank sprocket.
For VCT diagnostics, see page 159. There is tons of great info in there, but probably the more relevant explanations are:
" The new logic calculates the instantaneous variance in actual cam position (the squared difference between actual cam position and commanded cam position), then calculates the long term variance using a rolling average filter (Exponentially Weighted Moving Average). Continued, slow response from the VCT system will eventually accumulate large variances. "
" In addition, logic has been added to determine whether the camshaft and crankshaft are misaligned by one or more teeth. This test calculates the absolute offset between one of the camshaft teeth and the crankshaft missing tooth at idle when that can [sic] is at its stop. If the error is greater than the malfunction threshold, a cam/crank misalignment error will be indicated (P0016 Bank 1, P0018 Bank 2). "
19BULLITTwhipple
Well-Known Member
- Joined
- Mar 23, 2021
- Threads
- 29
- Messages
- 272
- Reaction score
- 159
- Location
- California
- First Name
- Ramzi
- Vehicle(s)
- Bullitt 2019
Is the link working for anyone?I've found the Ford OBD diagnostic manual extremely helpful to understand how the different control systems and logic work. https://www.fordservicecontent.com/Ford_Content/catalog/motorcraft/OBDSM1802-2018.pdf
For VCT diagnostics, see page 159. There is tons of great info in there, but probably the more relevant explanations are:
" The new logic calculates the instantaneous variance in actual cam position (the squared difference between actual cam position and commanded cam position), then calculates the long term variance using a rolling average filter (Exponentially Weighted Moving Average). Continued, slow response from the VCT system will eventually accumulate large variances. "
" In addition, logic has been added to determine whether the camshaft and crankshaft are misaligned by one or more teeth. This test calculates the absolute offset between one of the camshaft teeth and the crankshaft missing tooth at idle when that can [sic] is at its stop. If the error is greater than the malfunction threshold, a cam/crank misalignment error will be indicated (P0016 Bank 1, P0018 Bank 2). "
AcceptableNebula
Well-Known Member
- Joined
- Apr 5, 2023
- Threads
- 19
- Messages
- 335
- Reaction score
- 927
- Location
- Massachusetts
- First Name
- Jake
- Vehicle(s)
- 2023 Ford Mustang GT Premium
If I copy and paste it yesIs the link working for anyone?
Mach VII
Well-Known Member
- Joined
- Mar 22, 2017
- Threads
- 15
- Messages
- 1,135
- Reaction score
- 2,634
- Location
- Berkshire Hills, MA
- First Name
- John
- Vehicle(s)
- 2019 Mustang GT 401A, 1989 Lincoln Mk VII LSC
Sponsored
OP
OP
NGOT8R
Well-Known Member
- Thread starter
- #261
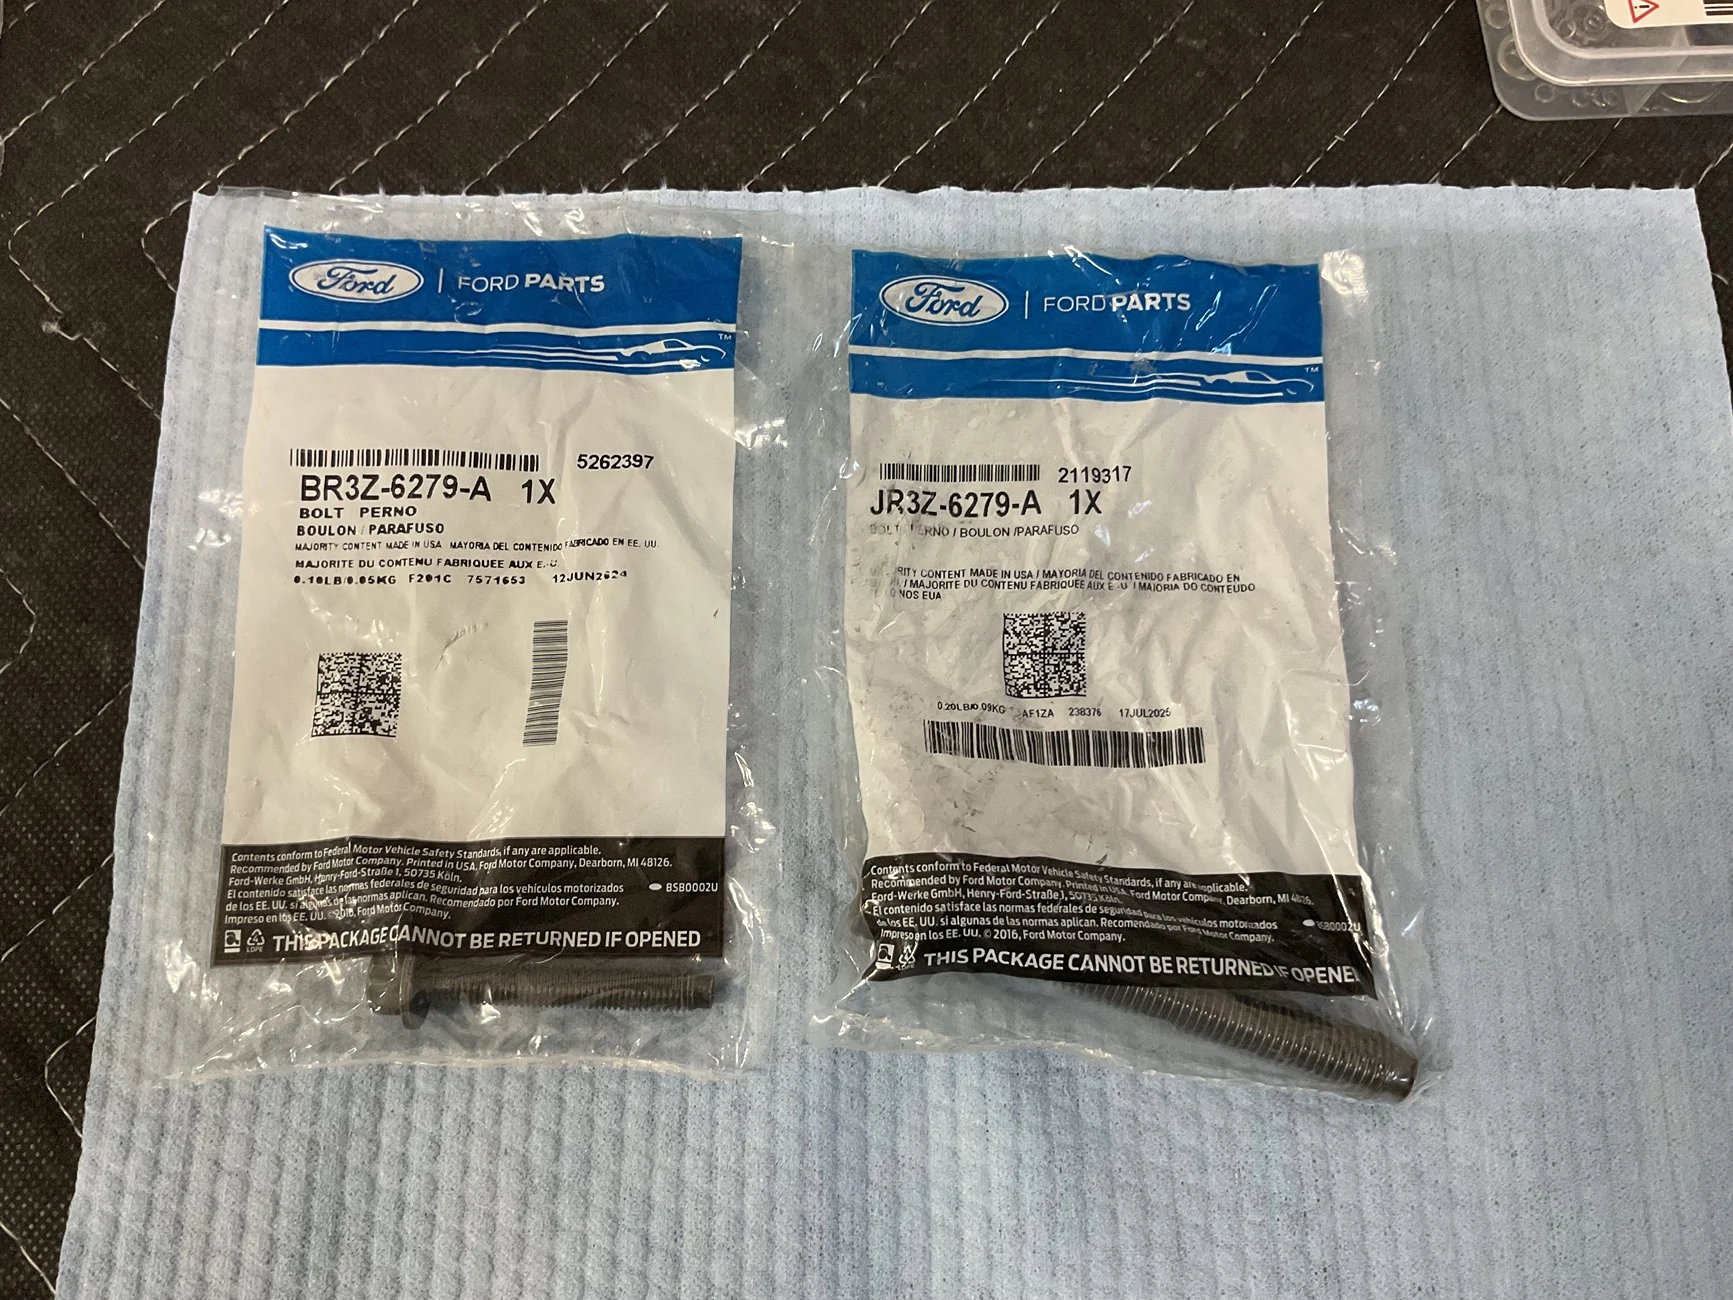
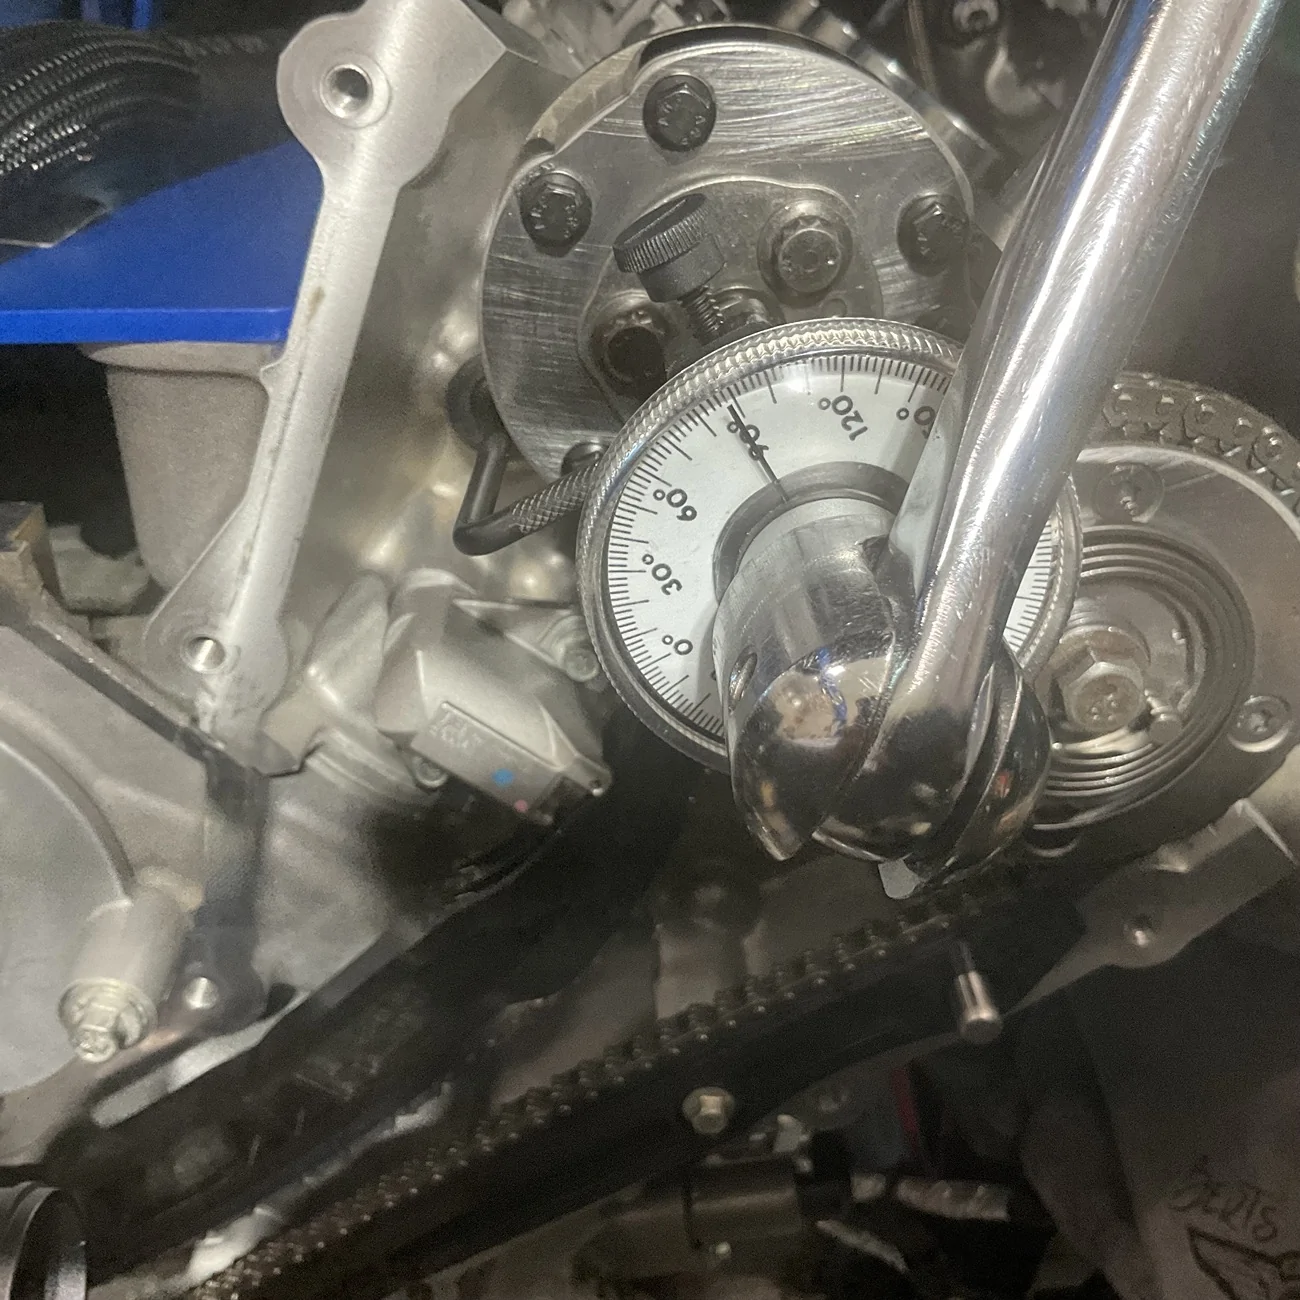
After spending a couple of days trying to locate the proper ARP bolts for both the intake and exhaust cam sprockets to camshaft mounting bolts, I gave up and called the dealership this morning. To my surprise, they had six of the 12 point intake cam bolts (3 for each cam sprocket) and two exhaust (one for each cam sprocket), which was exactly what I needed to put the timing cover and valve covers back on.
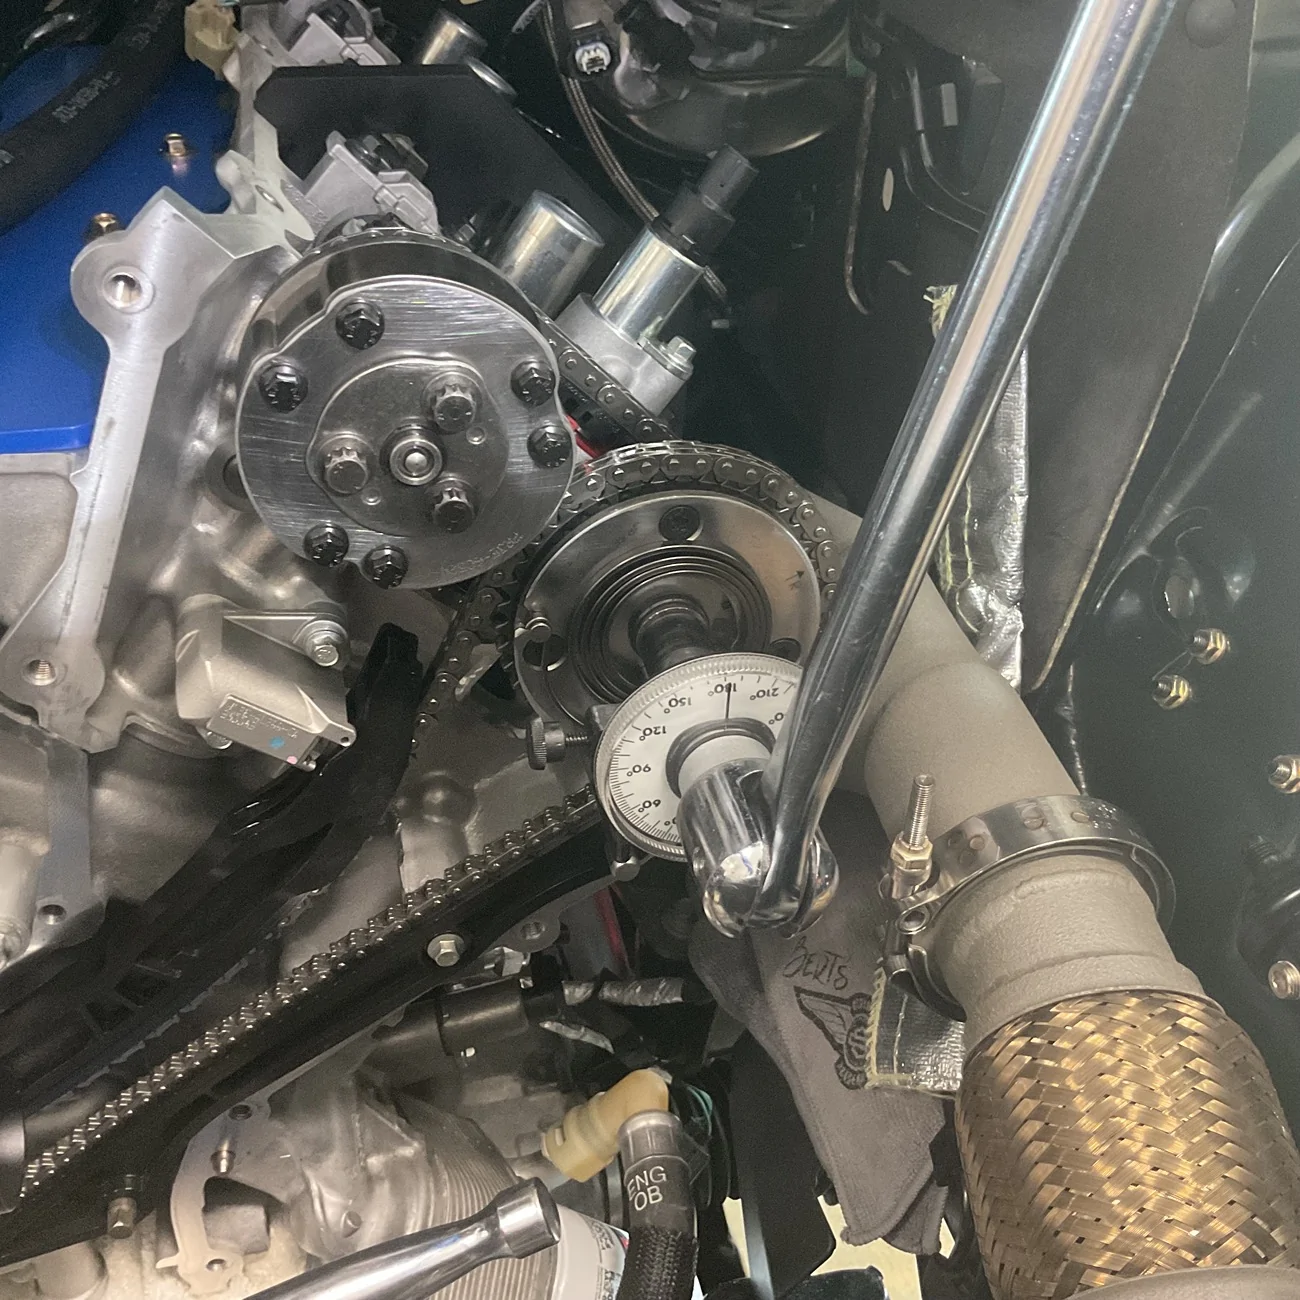
- Intake cam sprocket bolts were torqued to 133 in-lbs, followed by 90* of angle torque. The exhaust cam sprocket bolts were torqued to 30 ft-lbs, then backed off 360*, retorqued to 18 ft-lbs, followed by 180* of angle torque..
Note: Installing the timing cover was a time sensitive operation. According to the service manual, bolts 6, 7, 8, 9, 10 and 11 need to be torqued to 71 in-lbs within 5 minutes and all bolts torqued within one hour, or all RTV would need to be removed and reapplied before starting over. This was a scramble for me because I had to switch between shallow and deep well 10MM and 13MM sockets repeatedly, to find suitable spots for my angle gauge brace. After addressing bolts 6-11 (which btw are the ones where RTV sealer was used on the block), I torqued all 15 bolts to 18 ft-lbs, followed by 60*
I did not install the oil pan yet, but did take care to wipe off any excess RTV sealer from the bottom of the timing cover that oozed out of the seams, so that it wouldn’t interfere with the oil pan gasket obtaining a proper seal later, as there was no way to torque 15 timing cover bolts with a torque wrench and angle torque gauge and do the oil pan within an hour. Installation of the oil pan will happen on the next go-around.
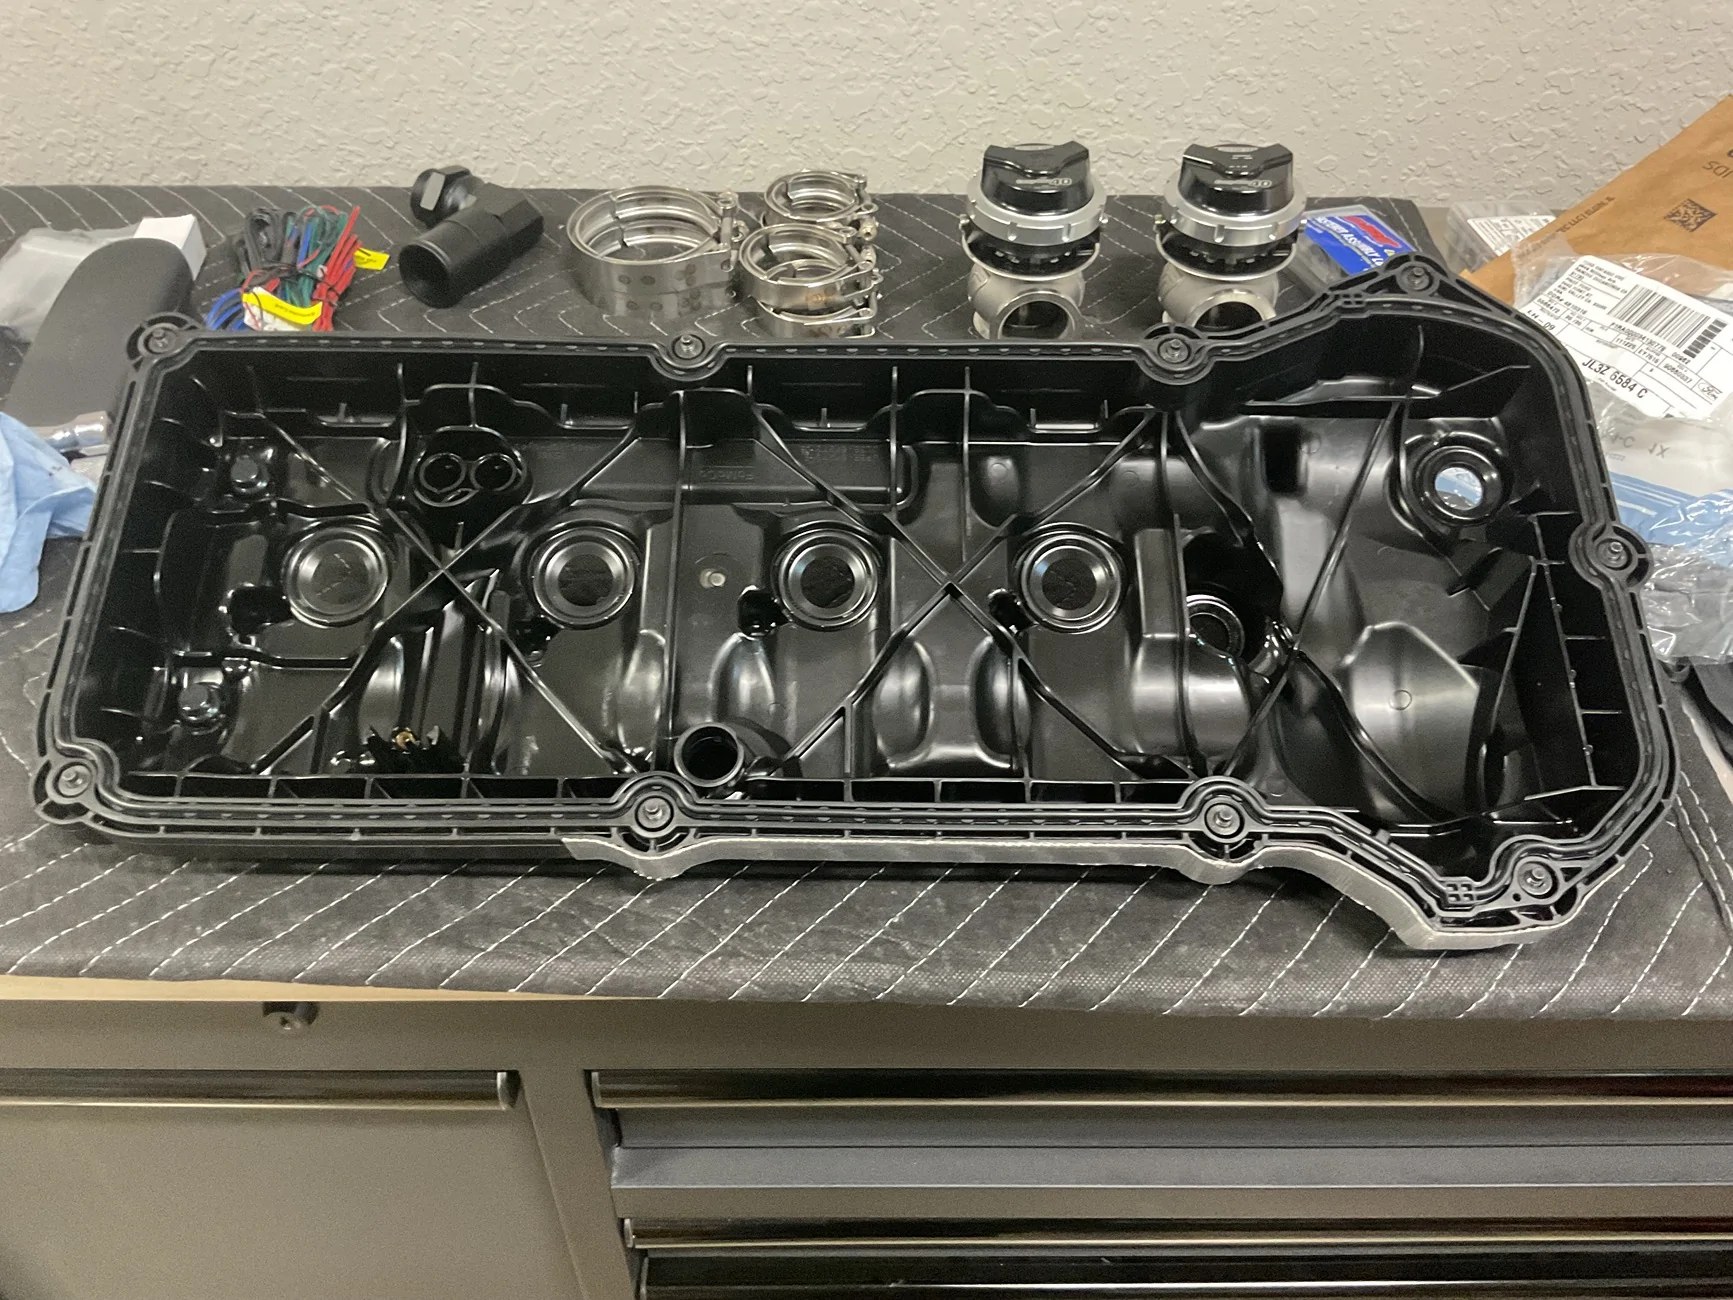
Lastly, new valve cover gaskets were installed and the covers torqued to 89 in-lbs.


- Intake cam sprocket bolts were torqued to 133 in-lbs, followed by 90* of angle torque. The exhaust cam sprocket bolts were torqued to 30 ft-lbs, then backed off 360*, retorqued to 18 ft-lbs, followed by 180* of angle torque..
Note: Installing the timing cover was a time sensitive operation. According to the service manual, bolts 6, 7, 8, 9, 10 and 11 need to be torqued to 71 in-lbs within 5 minutes and all bolts torqued within one hour, or all RTV would need to be removed and reapplied before starting over. This was a scramble for me because I had to switch between shallow and deep well 10MM and 13MM sockets repeatedly, to find suitable spots for my angle gauge brace. After addressing bolts 6-11 (which btw are the ones where RTV sealer was used on the block), I torqued all 15 bolts to 18 ft-lbs, followed by 60*
I did not install the oil pan yet, but did take care to wipe off any excess RTV sealer from the bottom of the timing cover that oozed out of the seams, so that it wouldn’t interfere with the oil pan gasket obtaining a proper seal later, as there was no way to torque 15 timing cover bolts with a torque wrench and angle torque gauge and do the oil pan within an hour. Installation of the oil pan will happen on the next go-around.
Lastly, new valve cover gaskets were installed and the covers torqued to 89 in-lbs.


wingnutt
Well-Known Member
lol, did you use a mini degree wheel for 60-90-180-360 degrees, but not for the afore mentioned 5 o’clock?
…askin for a friend, but I’m getting military crew-chief vibes here
…askin for a friend, but I’m getting military crew-chief vibes here
OP
OP
NGOT8R
Well-Known Member
- Thread starter
- #263
That is correct. I just eyeballed the 5 o’clock position on the crank. I did count my links on both sides multiple times.lol, did you use a mini degree wheel for 60-90-180-360 degrees, but not for the afore mentioned 5 o’clock?
…askin for a friend, but I’m getting military crew-chief vibes here
I don’t think eyeballing the 5 o’clock and 12 o’clock positions on the crank for timing purposes needs to be precise, but close. The most important part is making sure all colored links line up on the cam sprocket marks for the secondary and primary sides.
Some people use a crescent wrench to hold the cams still while tightening the intake and exhaust cam sprocket bolts and this is fine, but it can also be tricky IMO, that’s why I bought the camshaft holders for my build. They do the holding, with no chance of allowing cam movement, whereas the crescent wrench could because only the person holding the wrench is in control and could potentially and unknowingly flex and allow the chains to skip a tooth.
The cam holders allowed me to focus on torquing my cam sprocket mounting bolts without issue. To do it with a wrench would either require the use of a second pair of hands or one would be forced to hold the wrench with one hand and tighten the cam sprocket bolts with the other hand.,
Last edited:
HKusp
Well-Known Member
- Joined
- Jul 22, 2021
- Threads
- 37
- Messages
- 2,227
- Reaction score
- 2,875
- Location
- Hampton, Md.
- First Name
- Jason
- Vehicle(s)
- 2018 Mustang GT
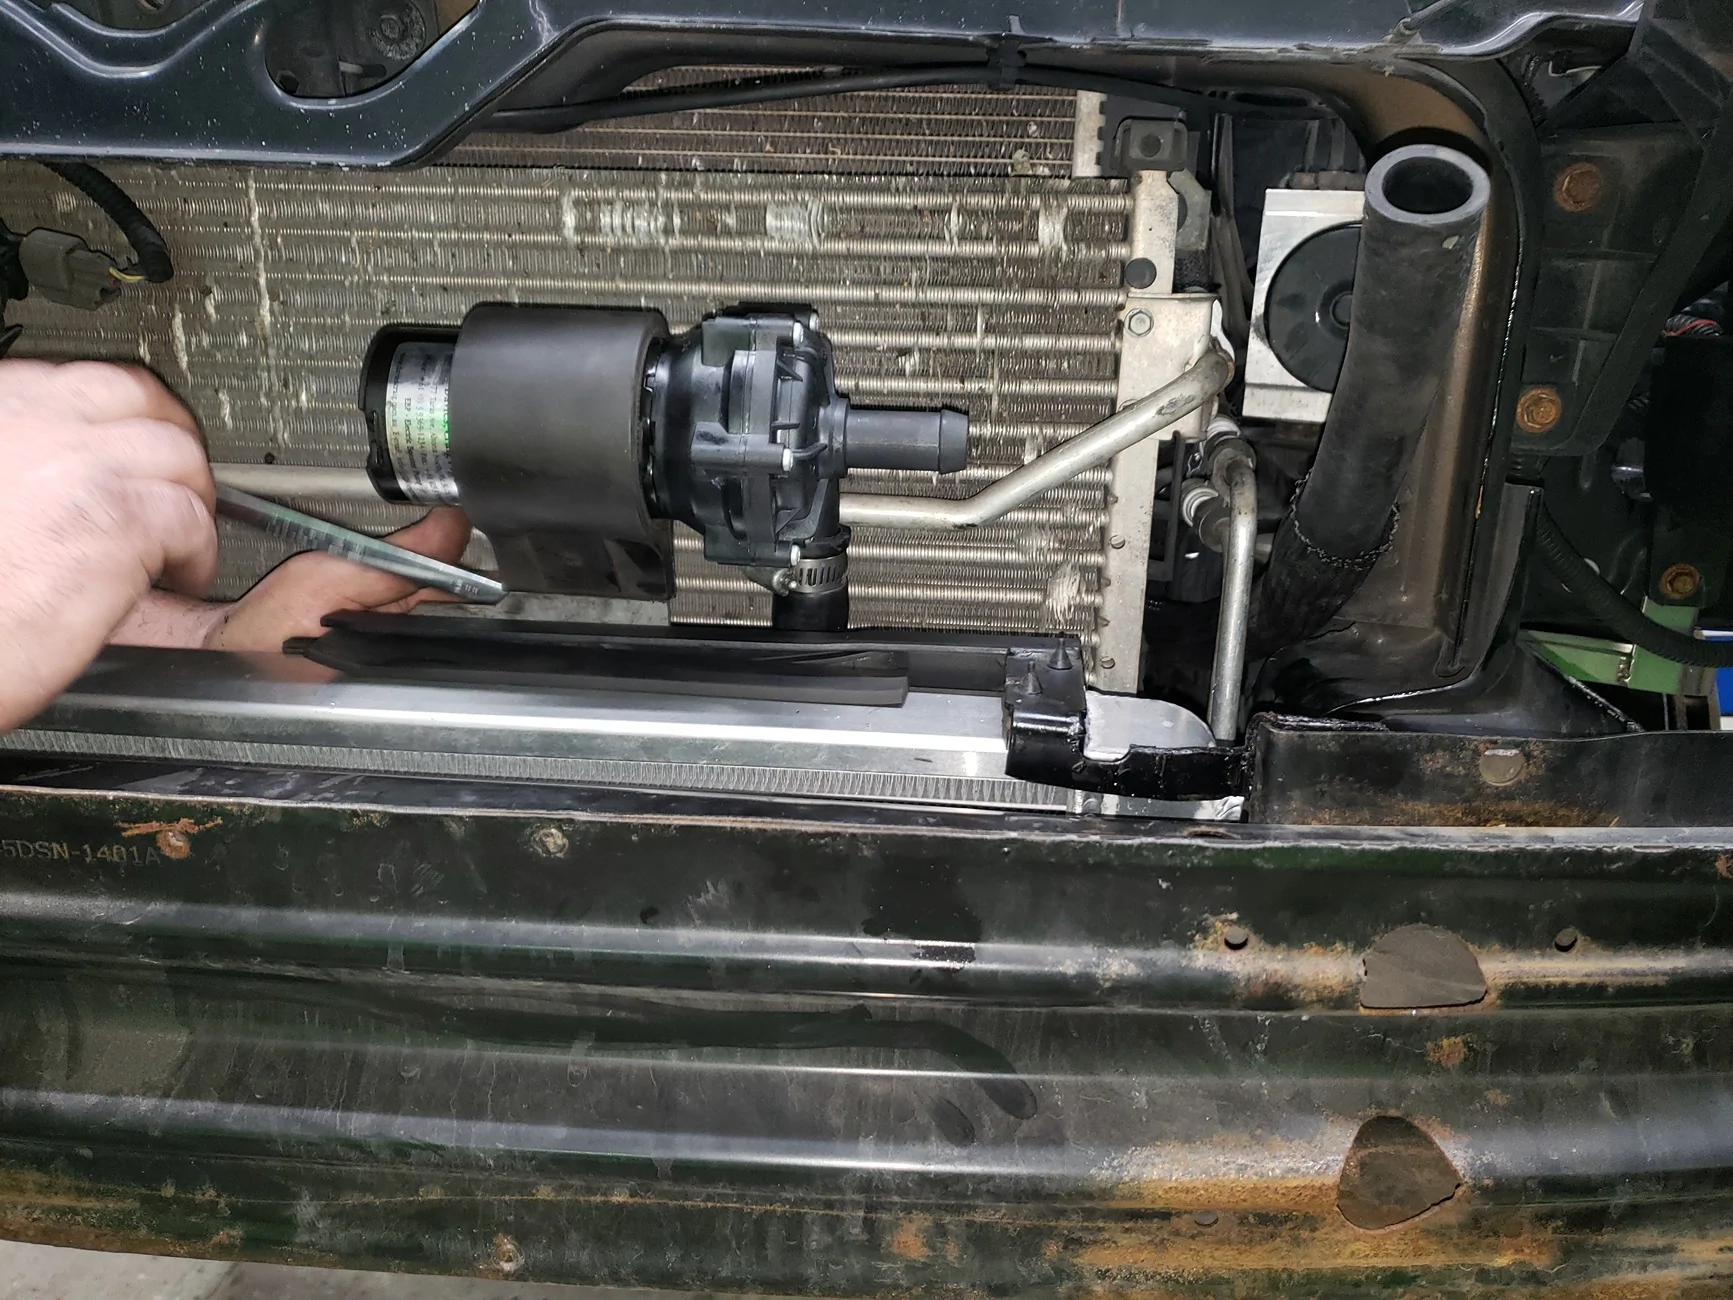
I know it's a different platform, but I did upgrade to the Davies Craig heat exchanger pump on my '09 GT500. I looked through 9000 pictures on my phone (no shit) and found a couple of the location. With you moving your radiator around, you should have room to do something similar.

OP
OP
NGOT8R
Well-Known Member
- Thread starter
- #265
Thanks for posting these. I’ll have to figure out a location soon. The passenger gear side where the AC compressor was may also be an option.I know it's a different platform, but I did upgrade to the Davies Craig heat exchanger pump on my '09 GT500. I looked through 9000 pictures on my phone (no shit) and found a couple of the location. With you moving your radiator around, you should have room to do something similar.
Sponsored
OP
OP
NGOT8R
Well-Known Member
- Thread starter
- #266
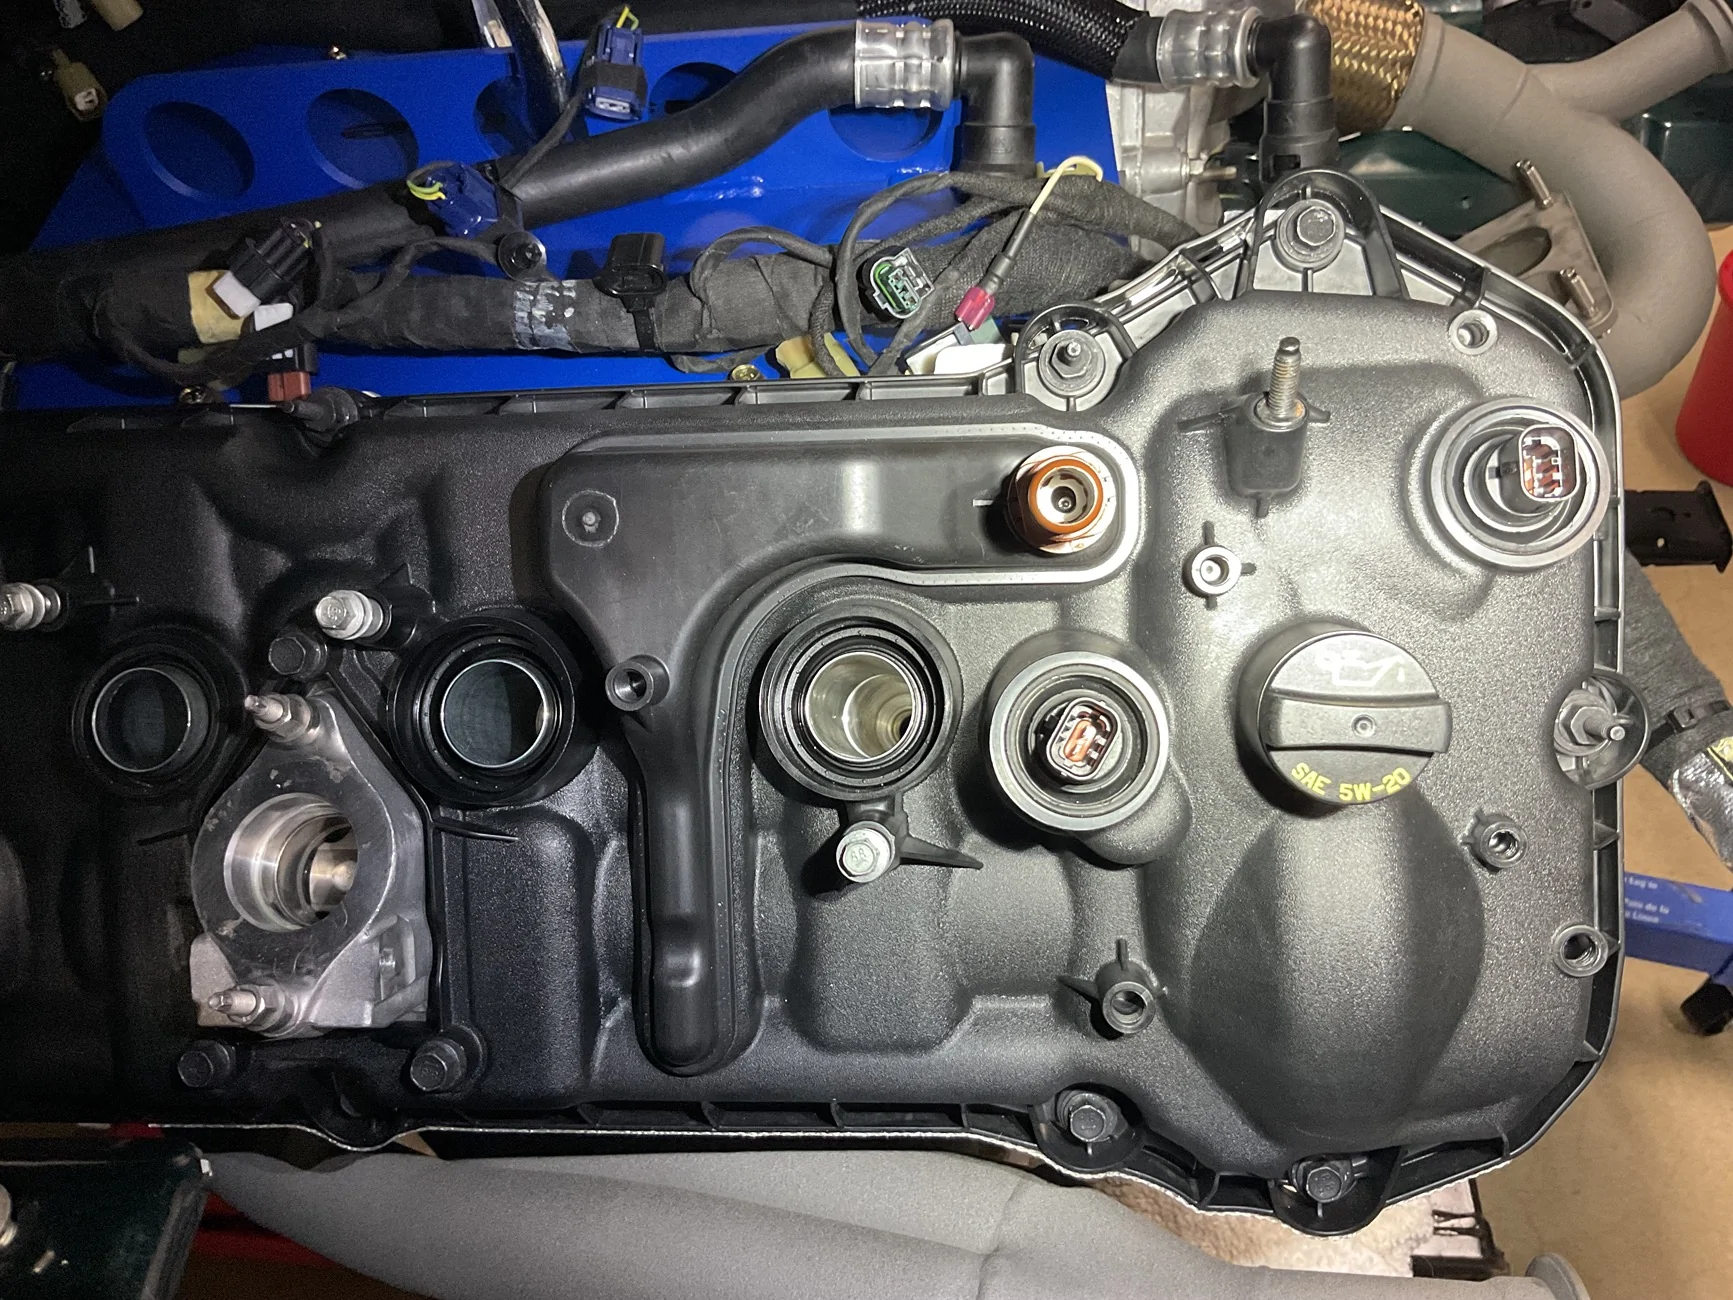
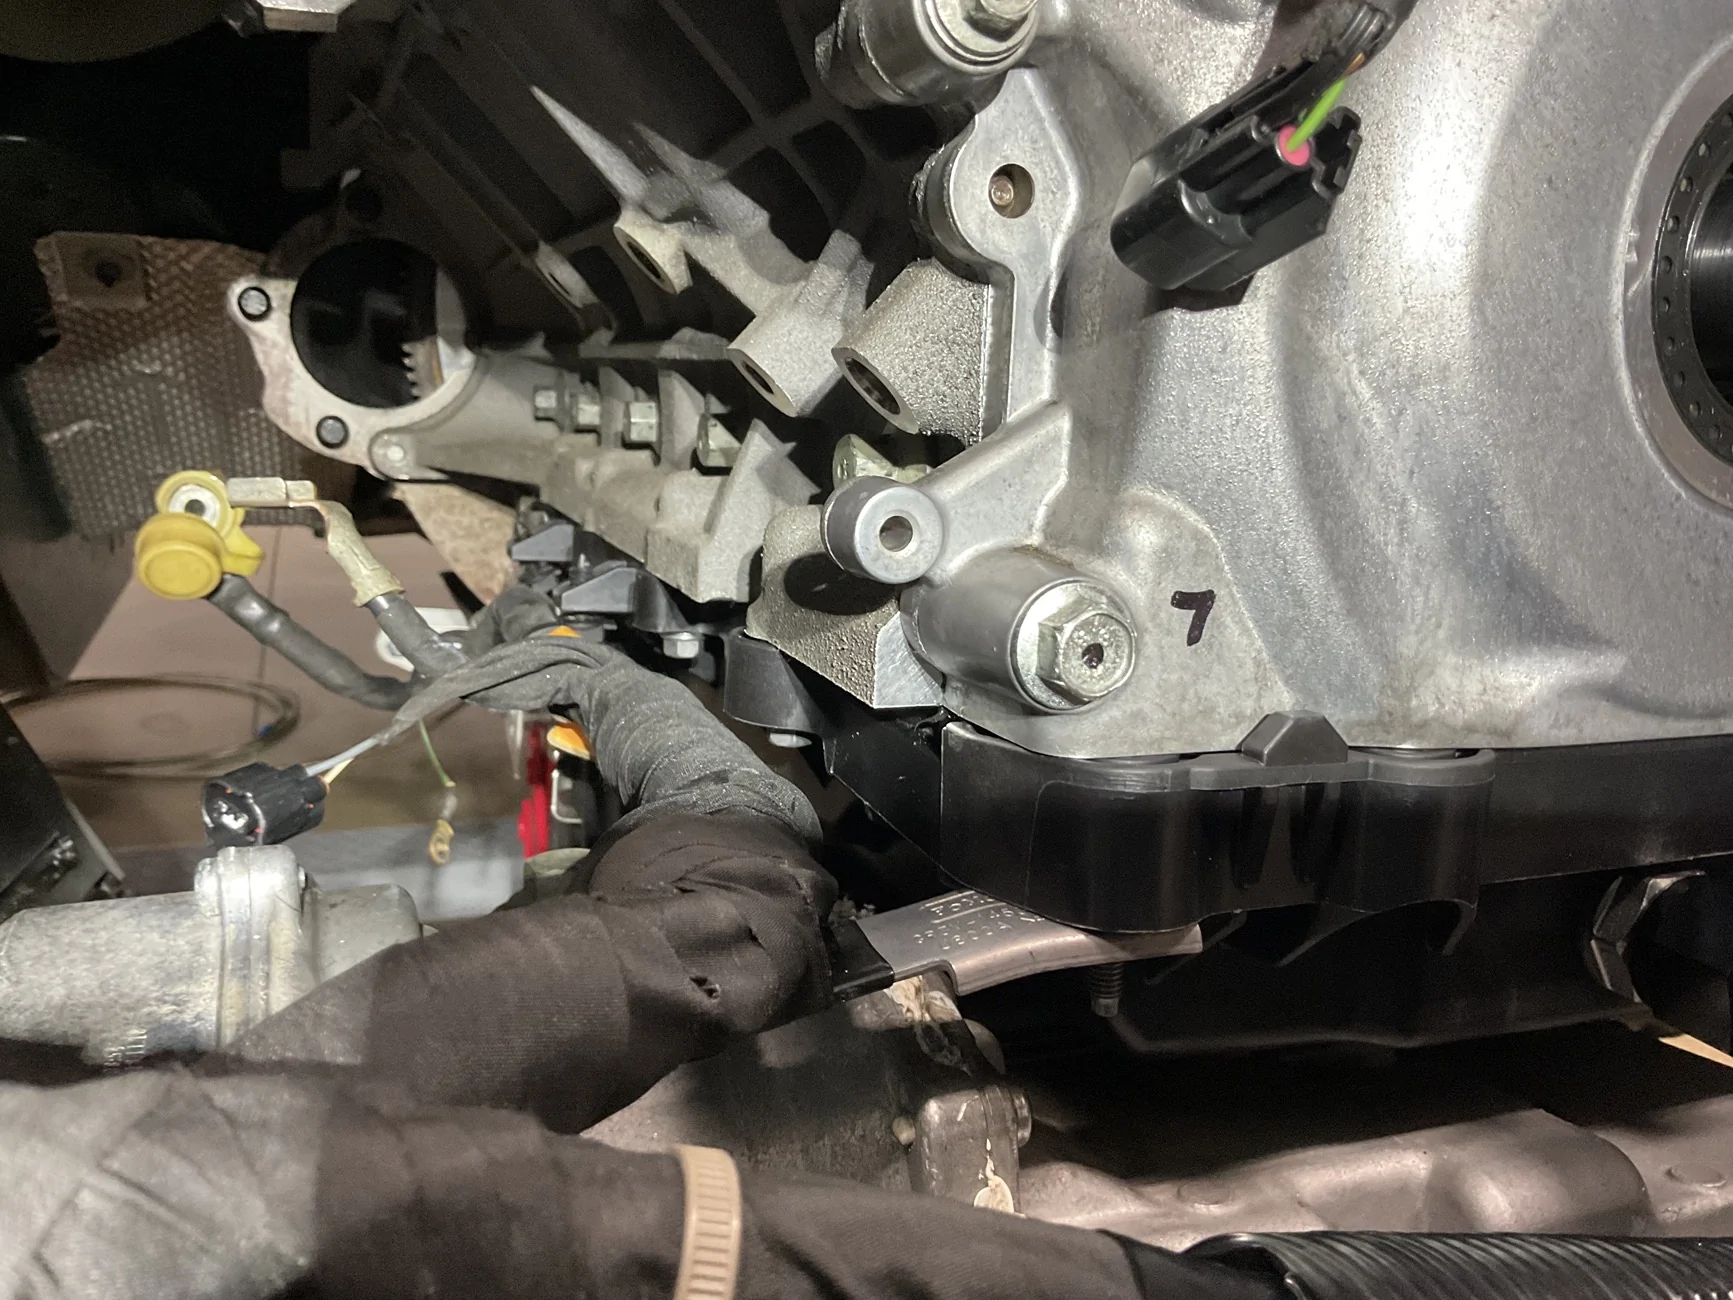
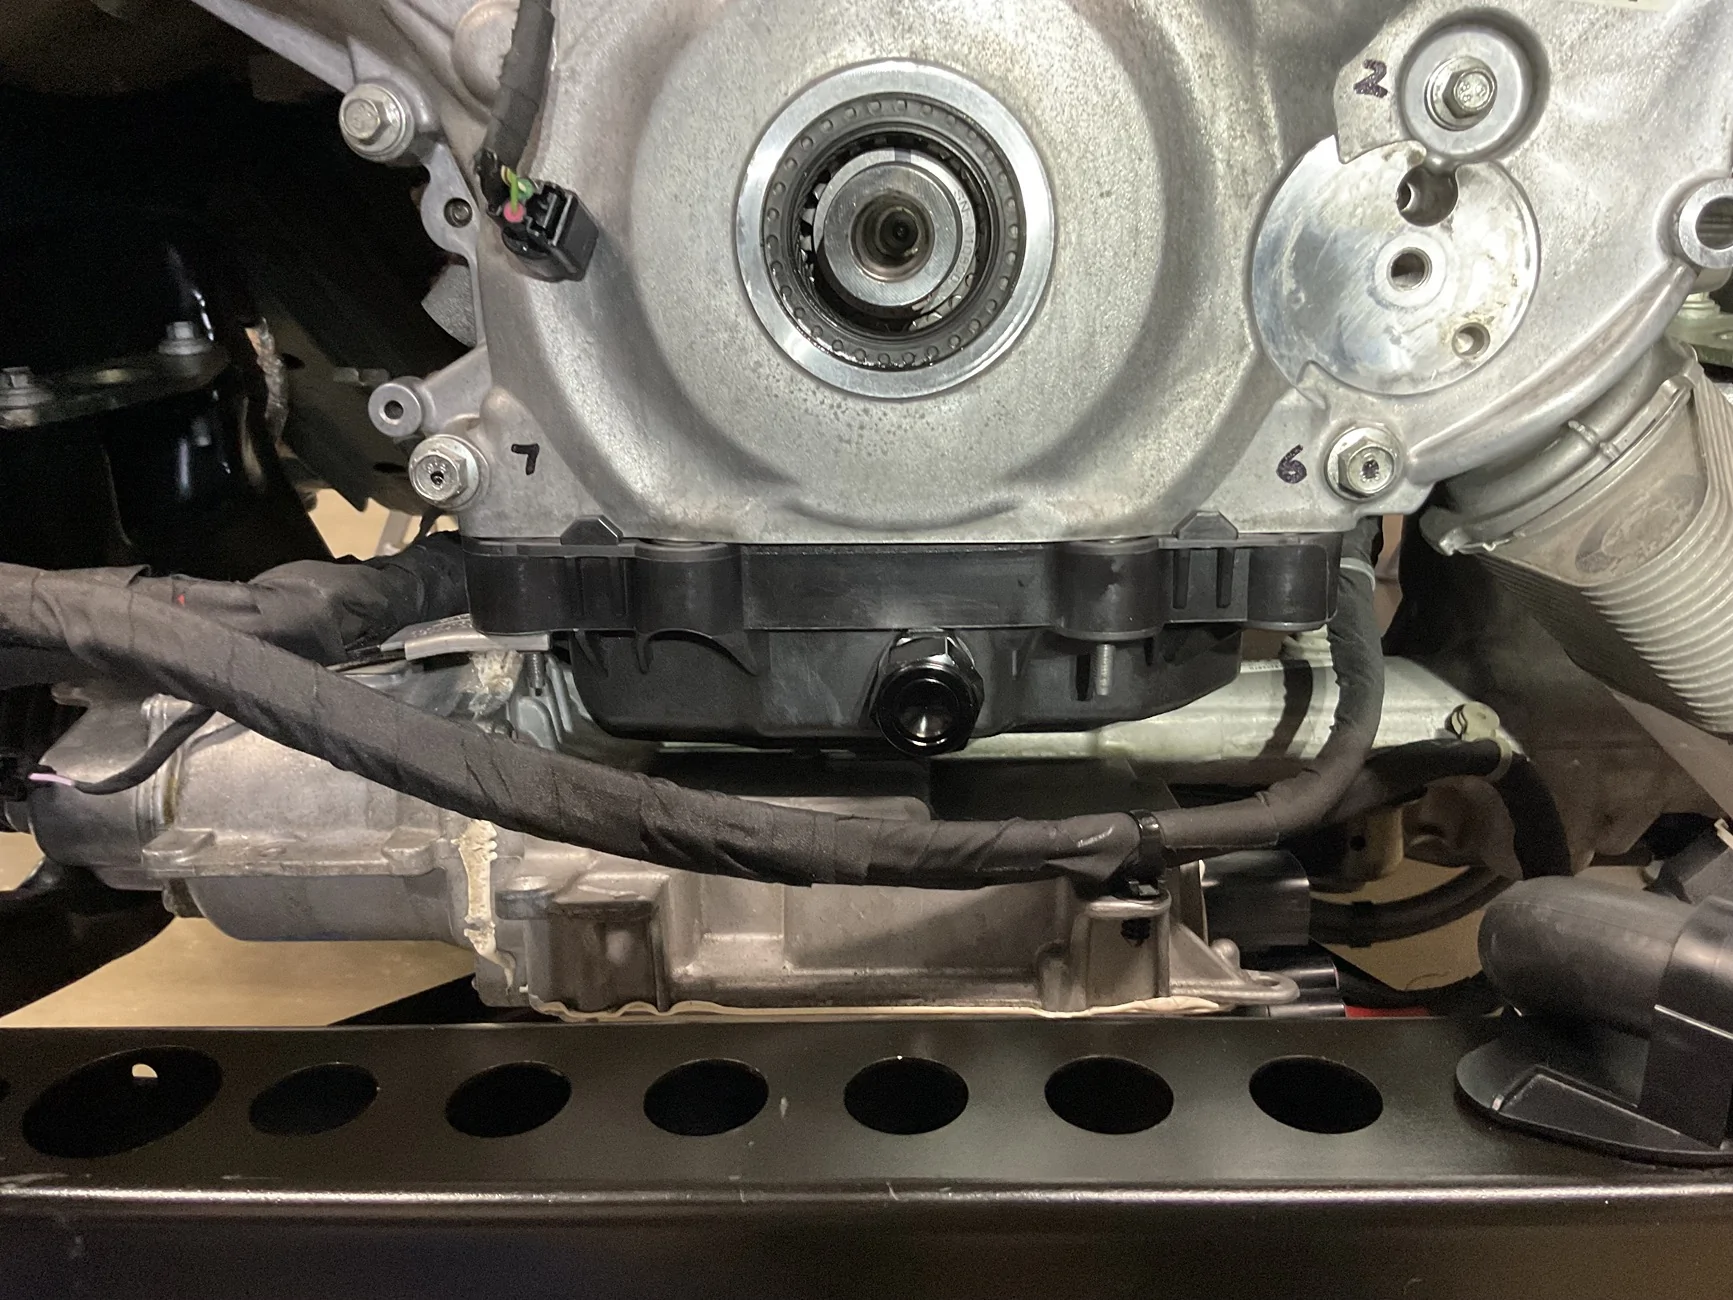
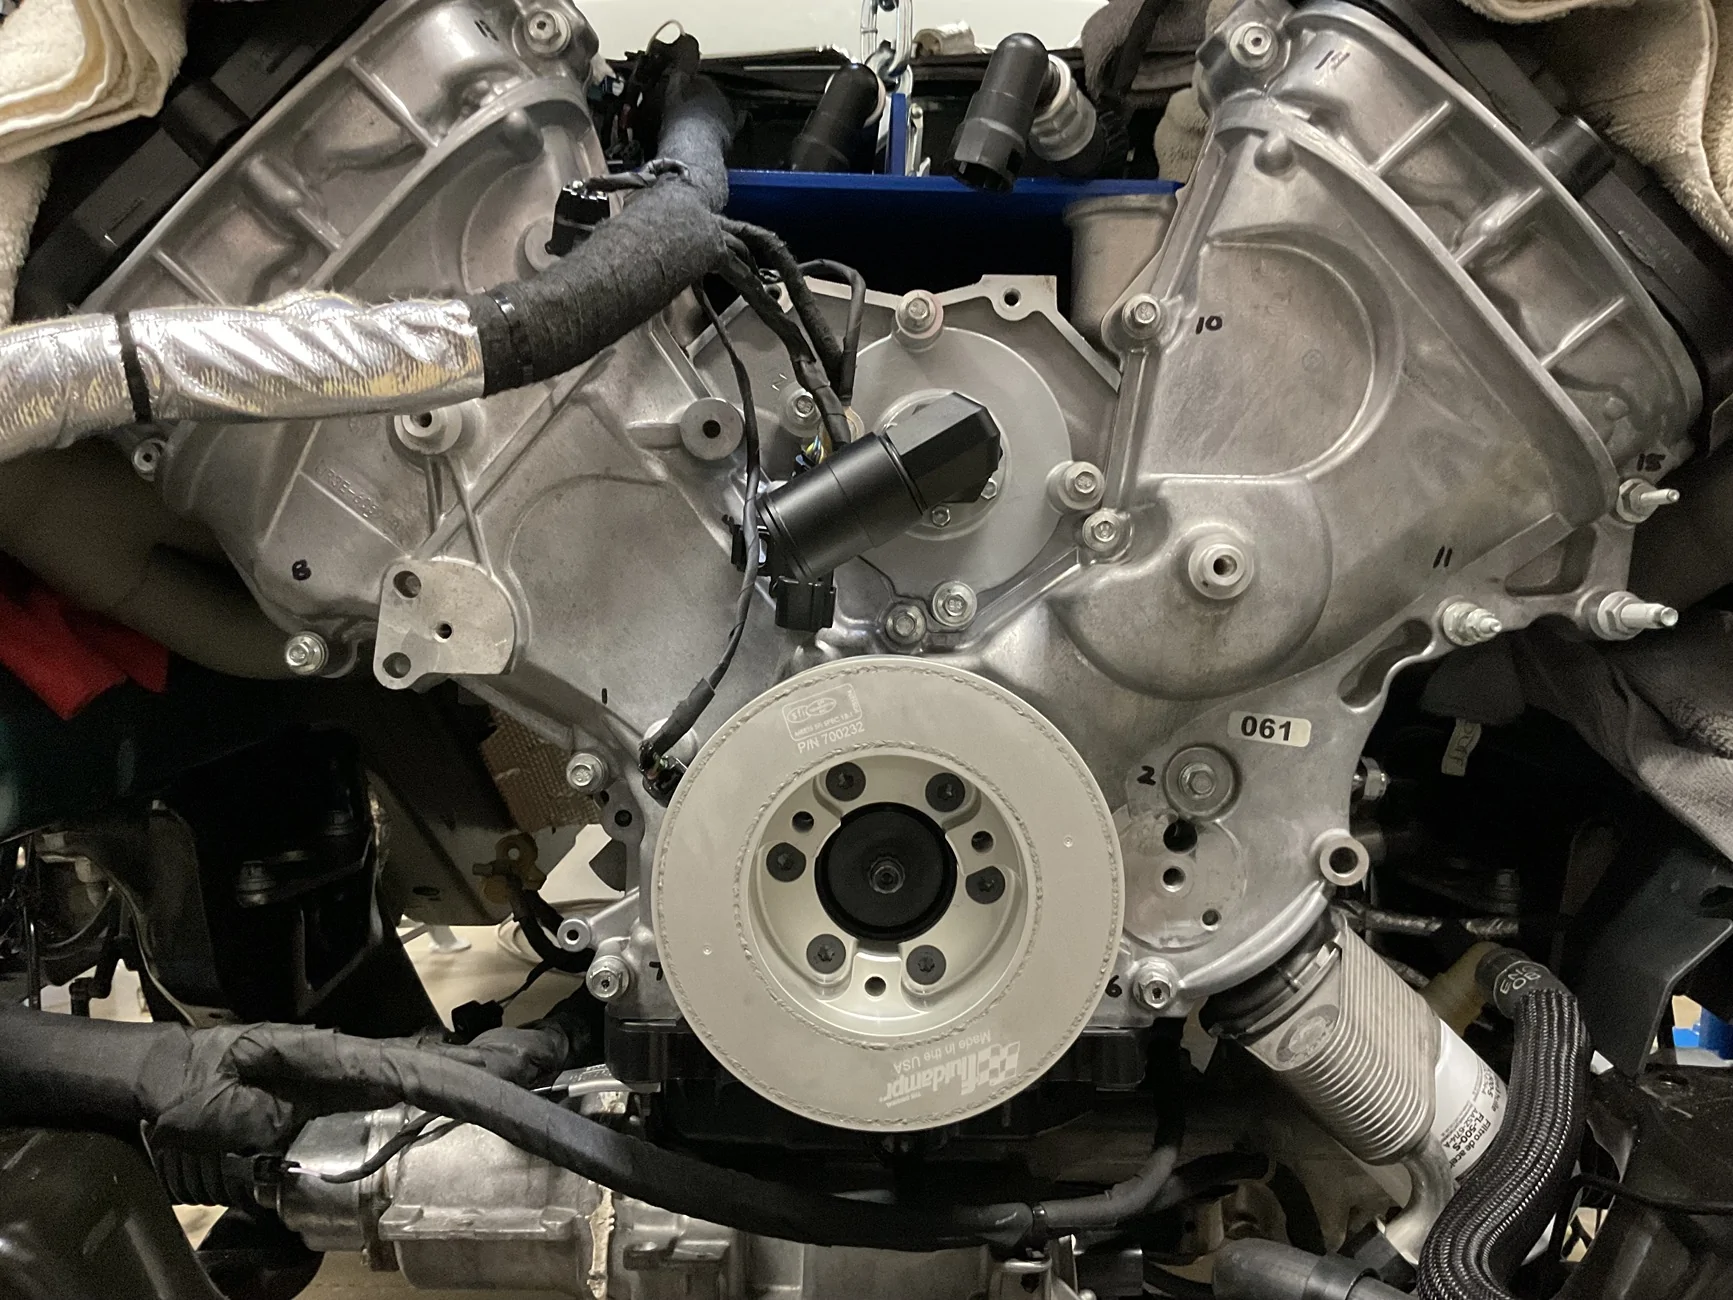
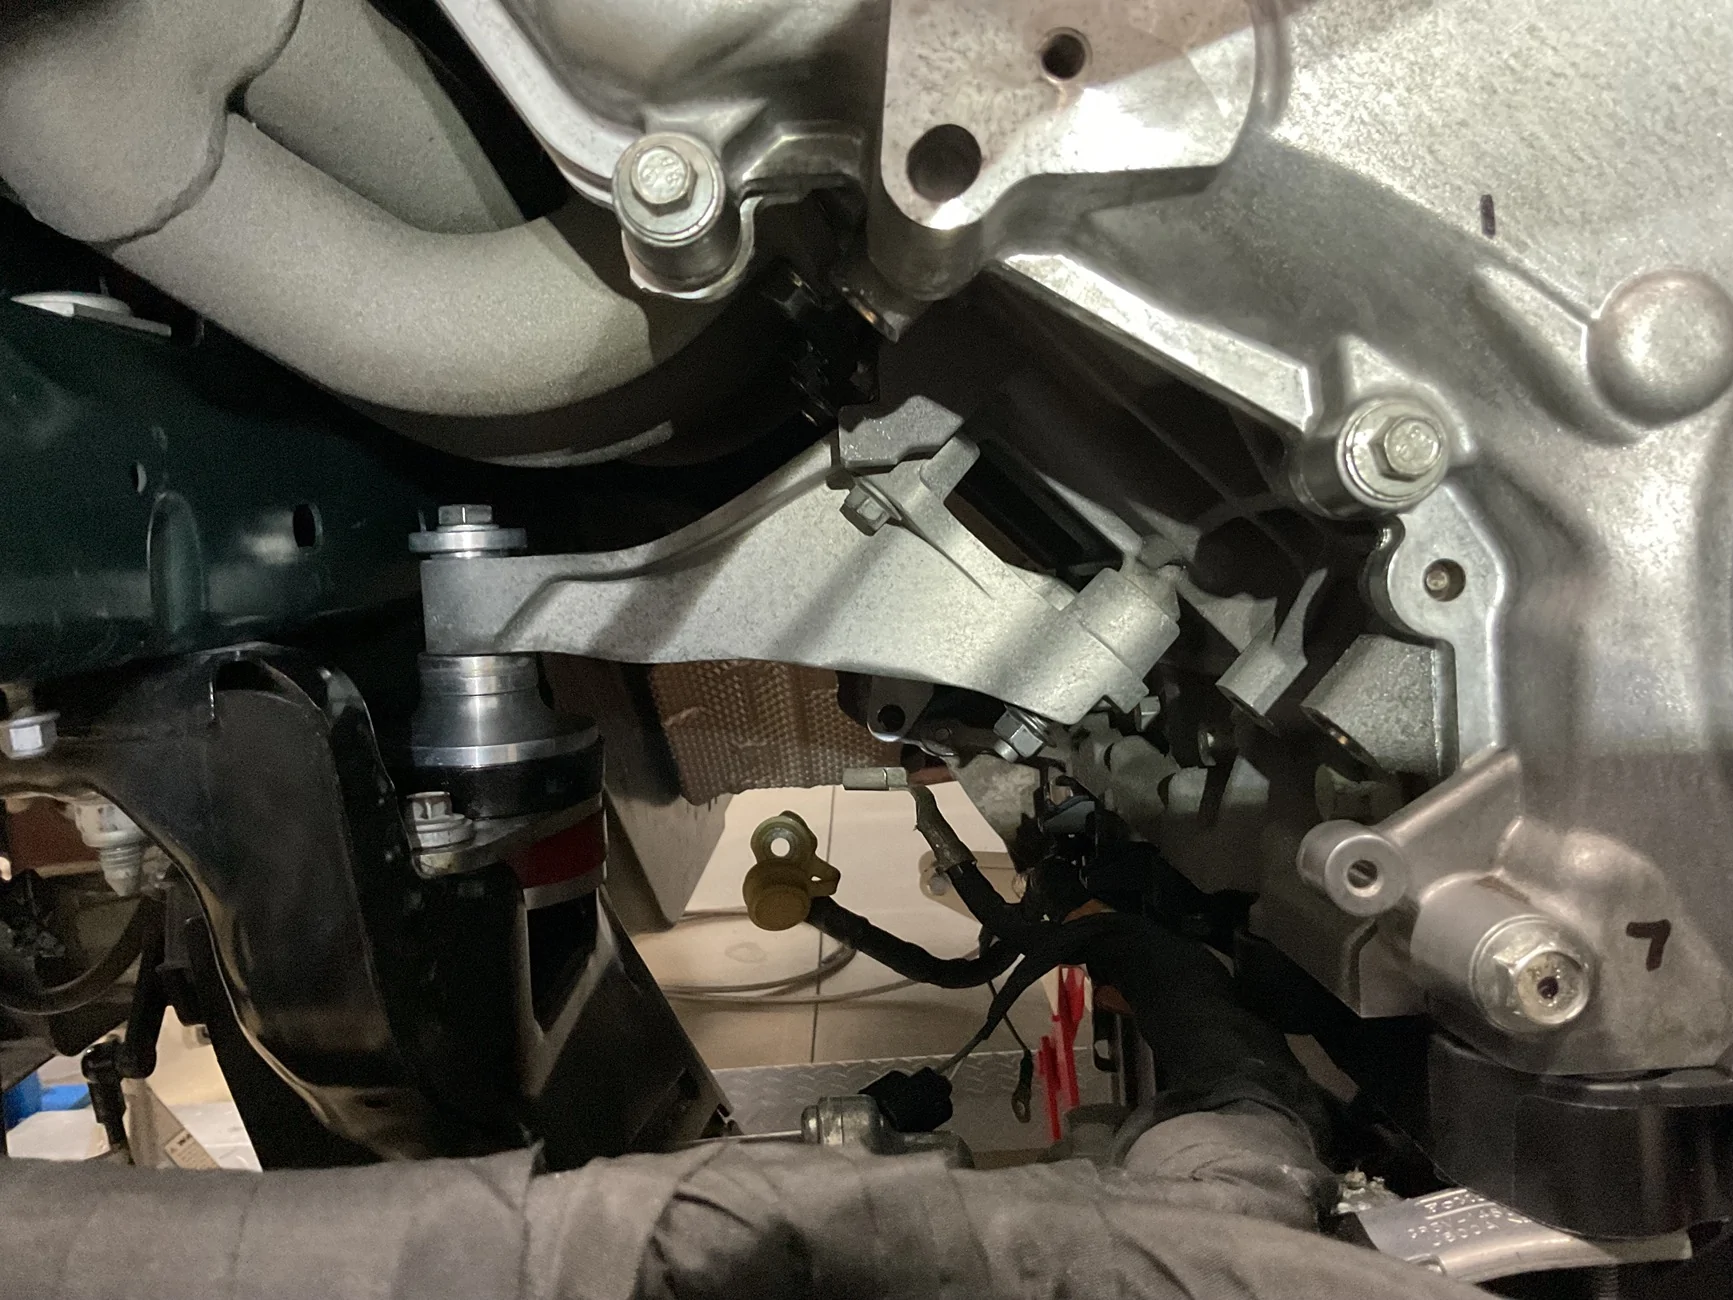
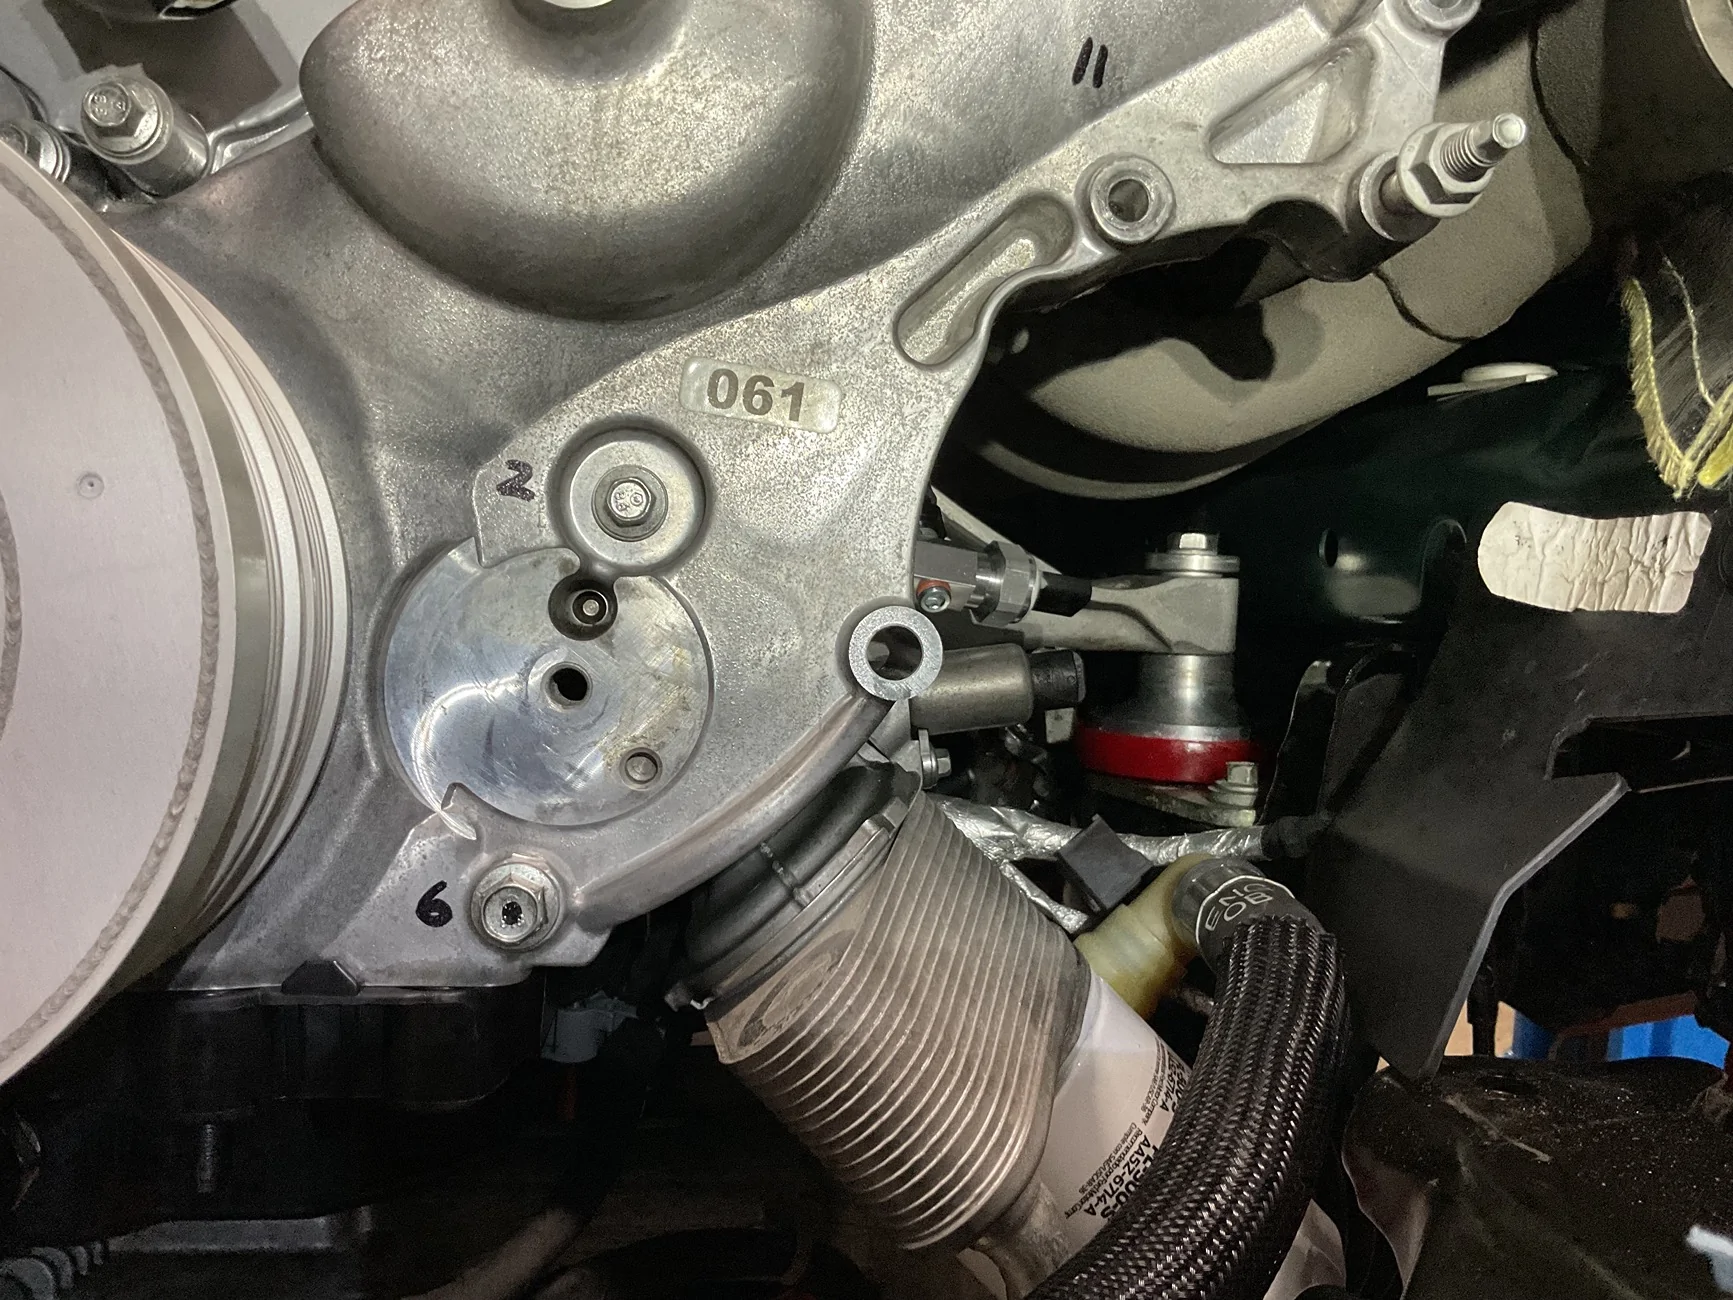
Oil pan is finally bolted up. The SM calls for 89 in-lbs of torque +45* of angle torque. Well, that just wasn’t going to happen, as my angle torque gauge simply wouldn’t fit, especially up front. I managed to torque all bolts, except for the one I’m pointing at. I had to go by feel on that one. All others were bumped up from 89 in-lbs to 120 in-lbs, to somewhat try and compensate for the 45* of angle torque.
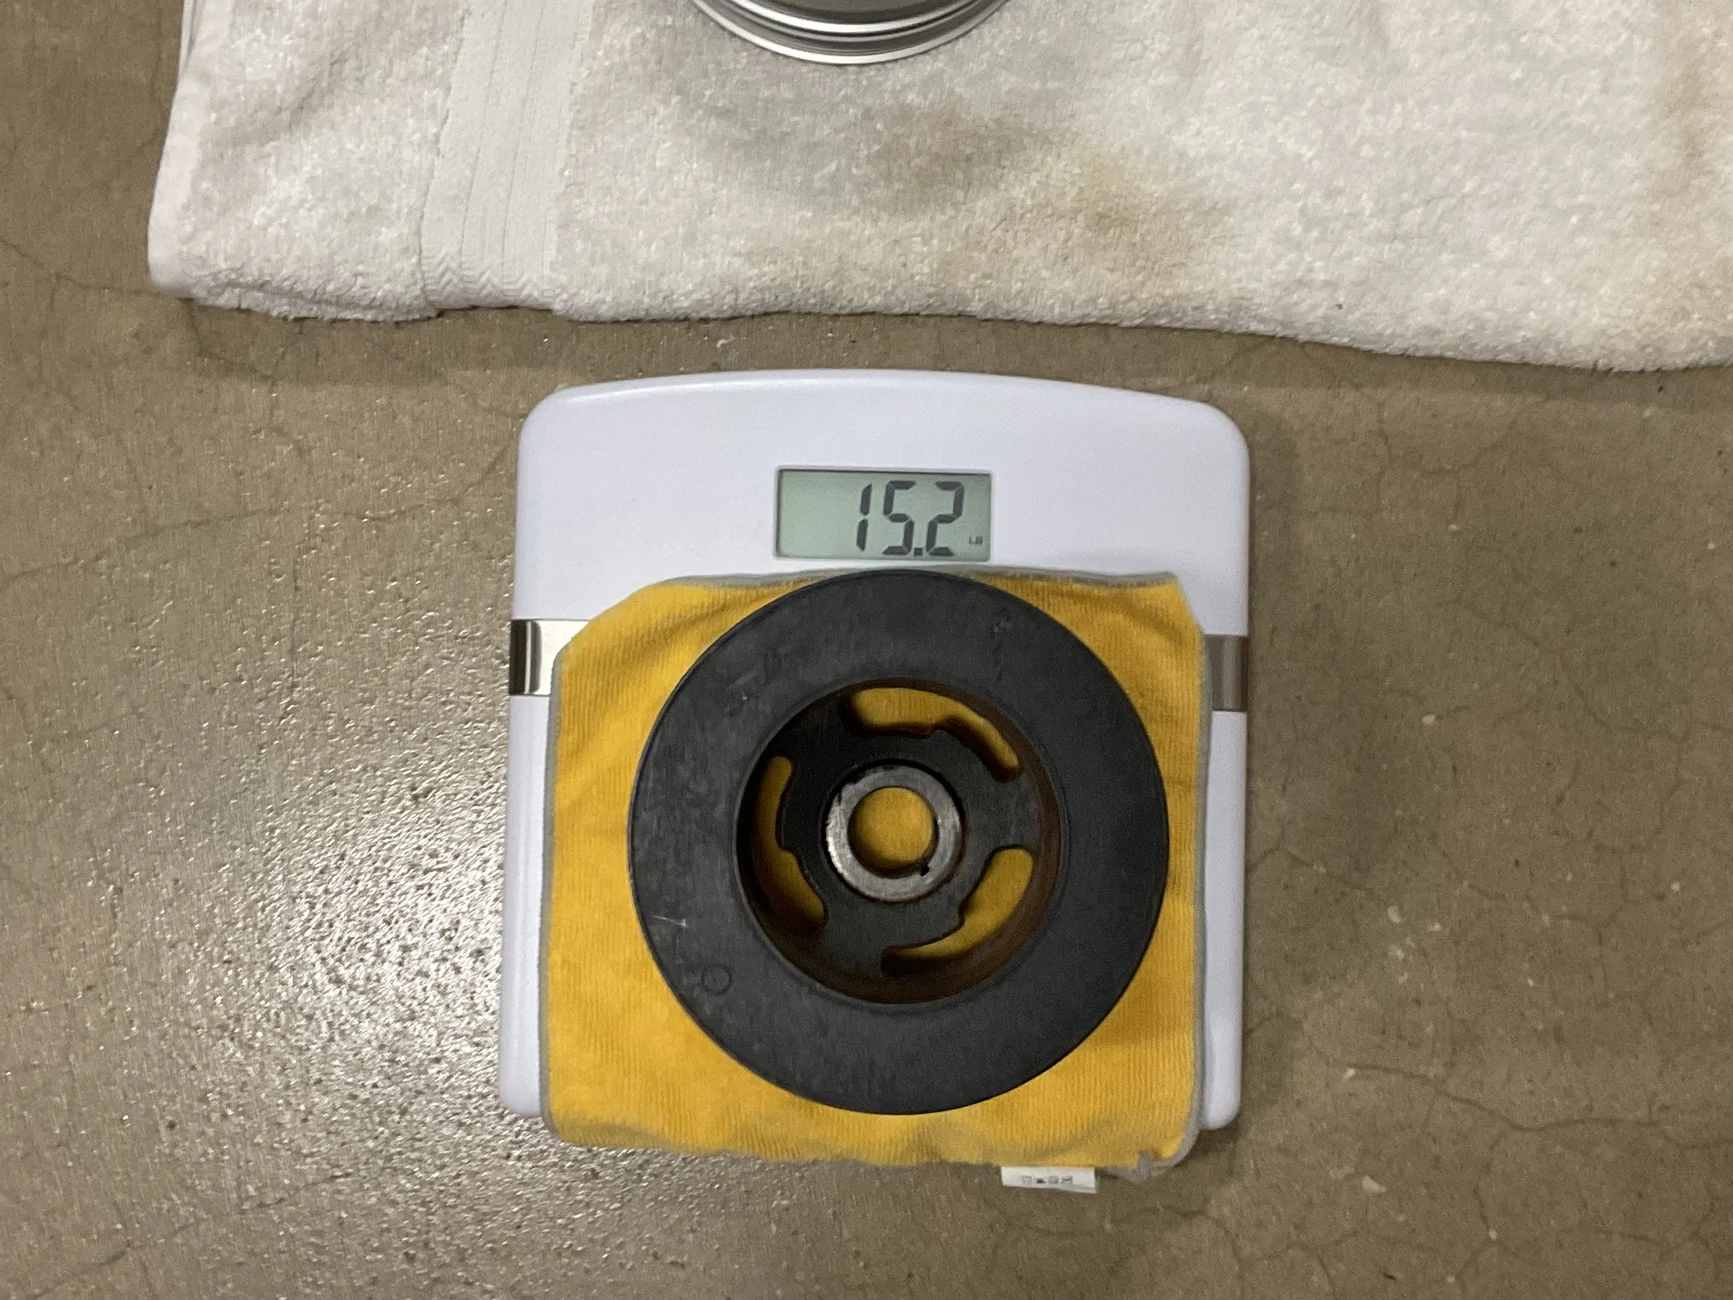
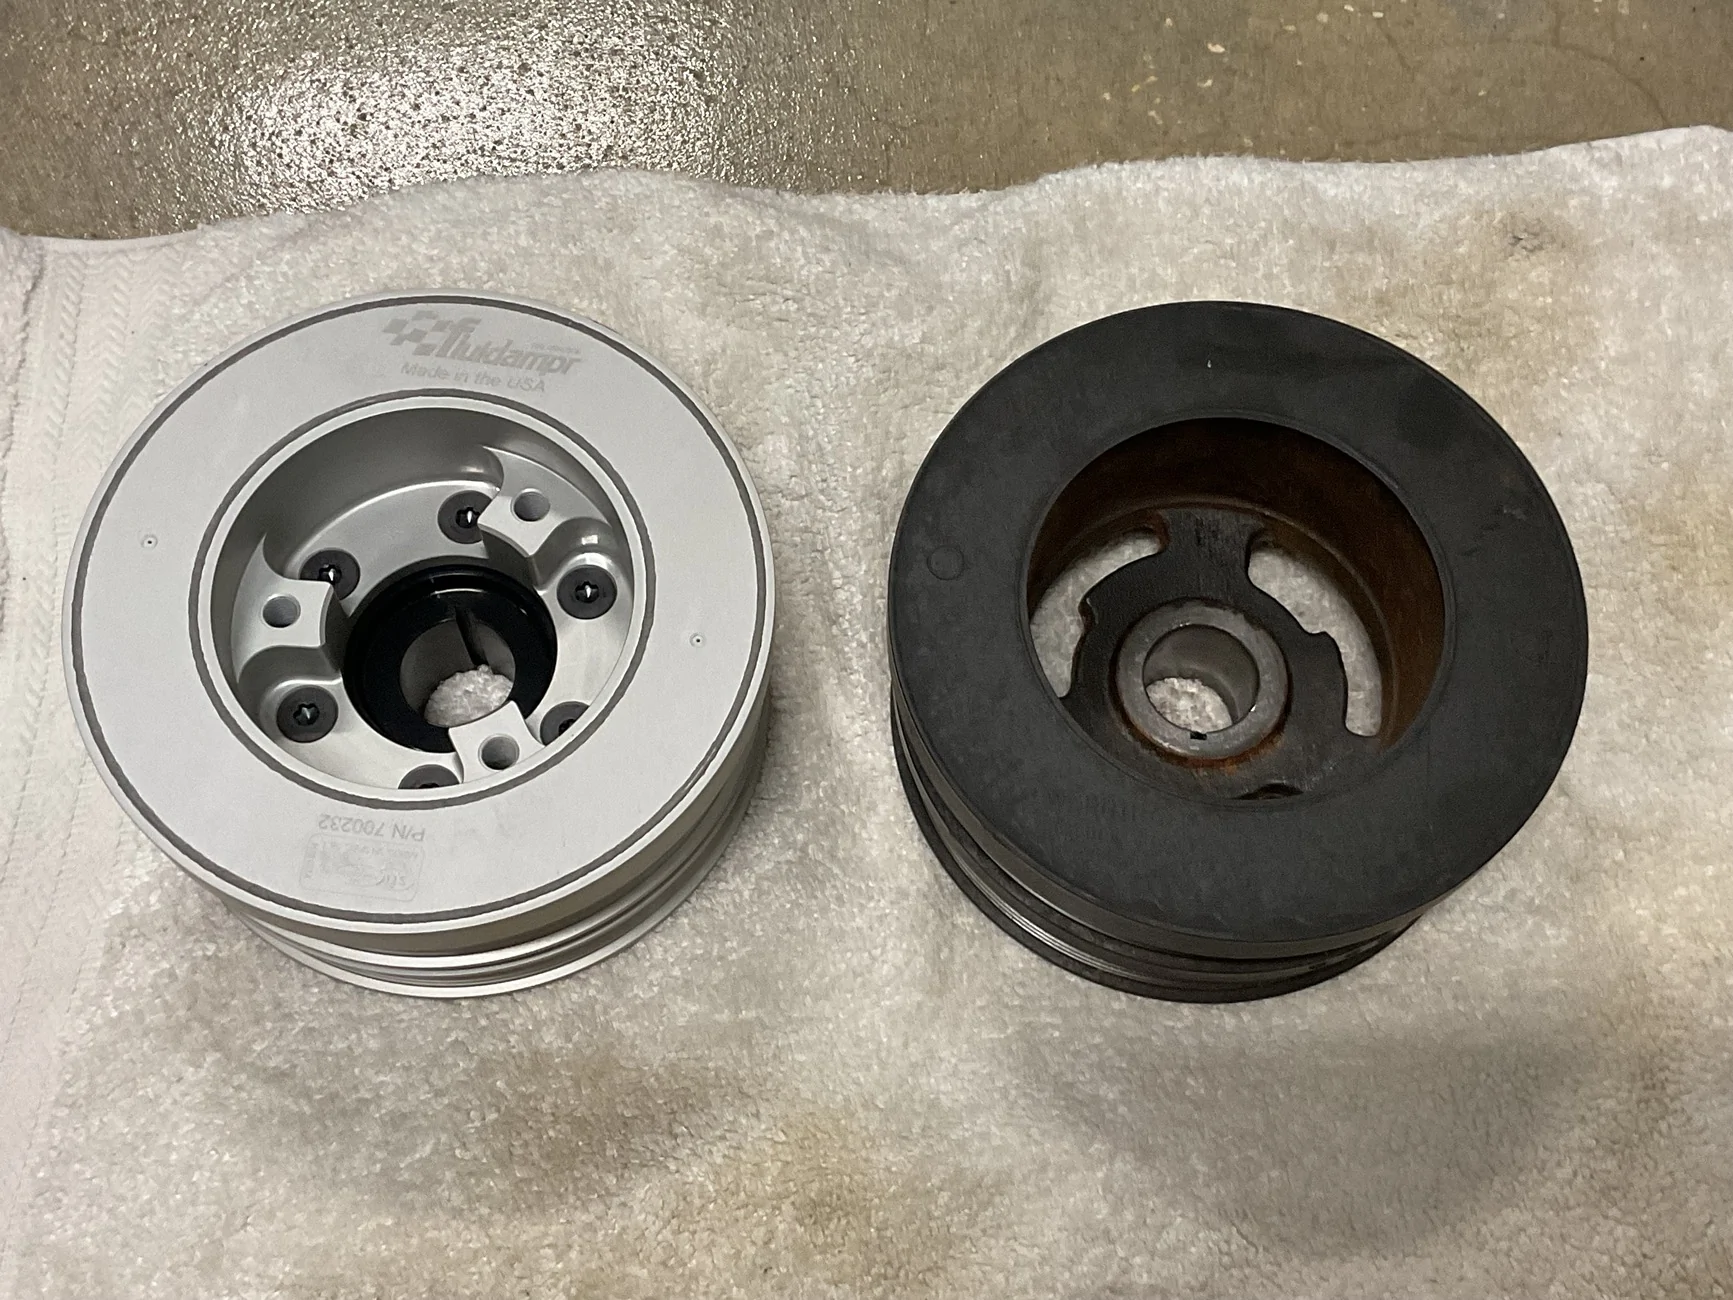
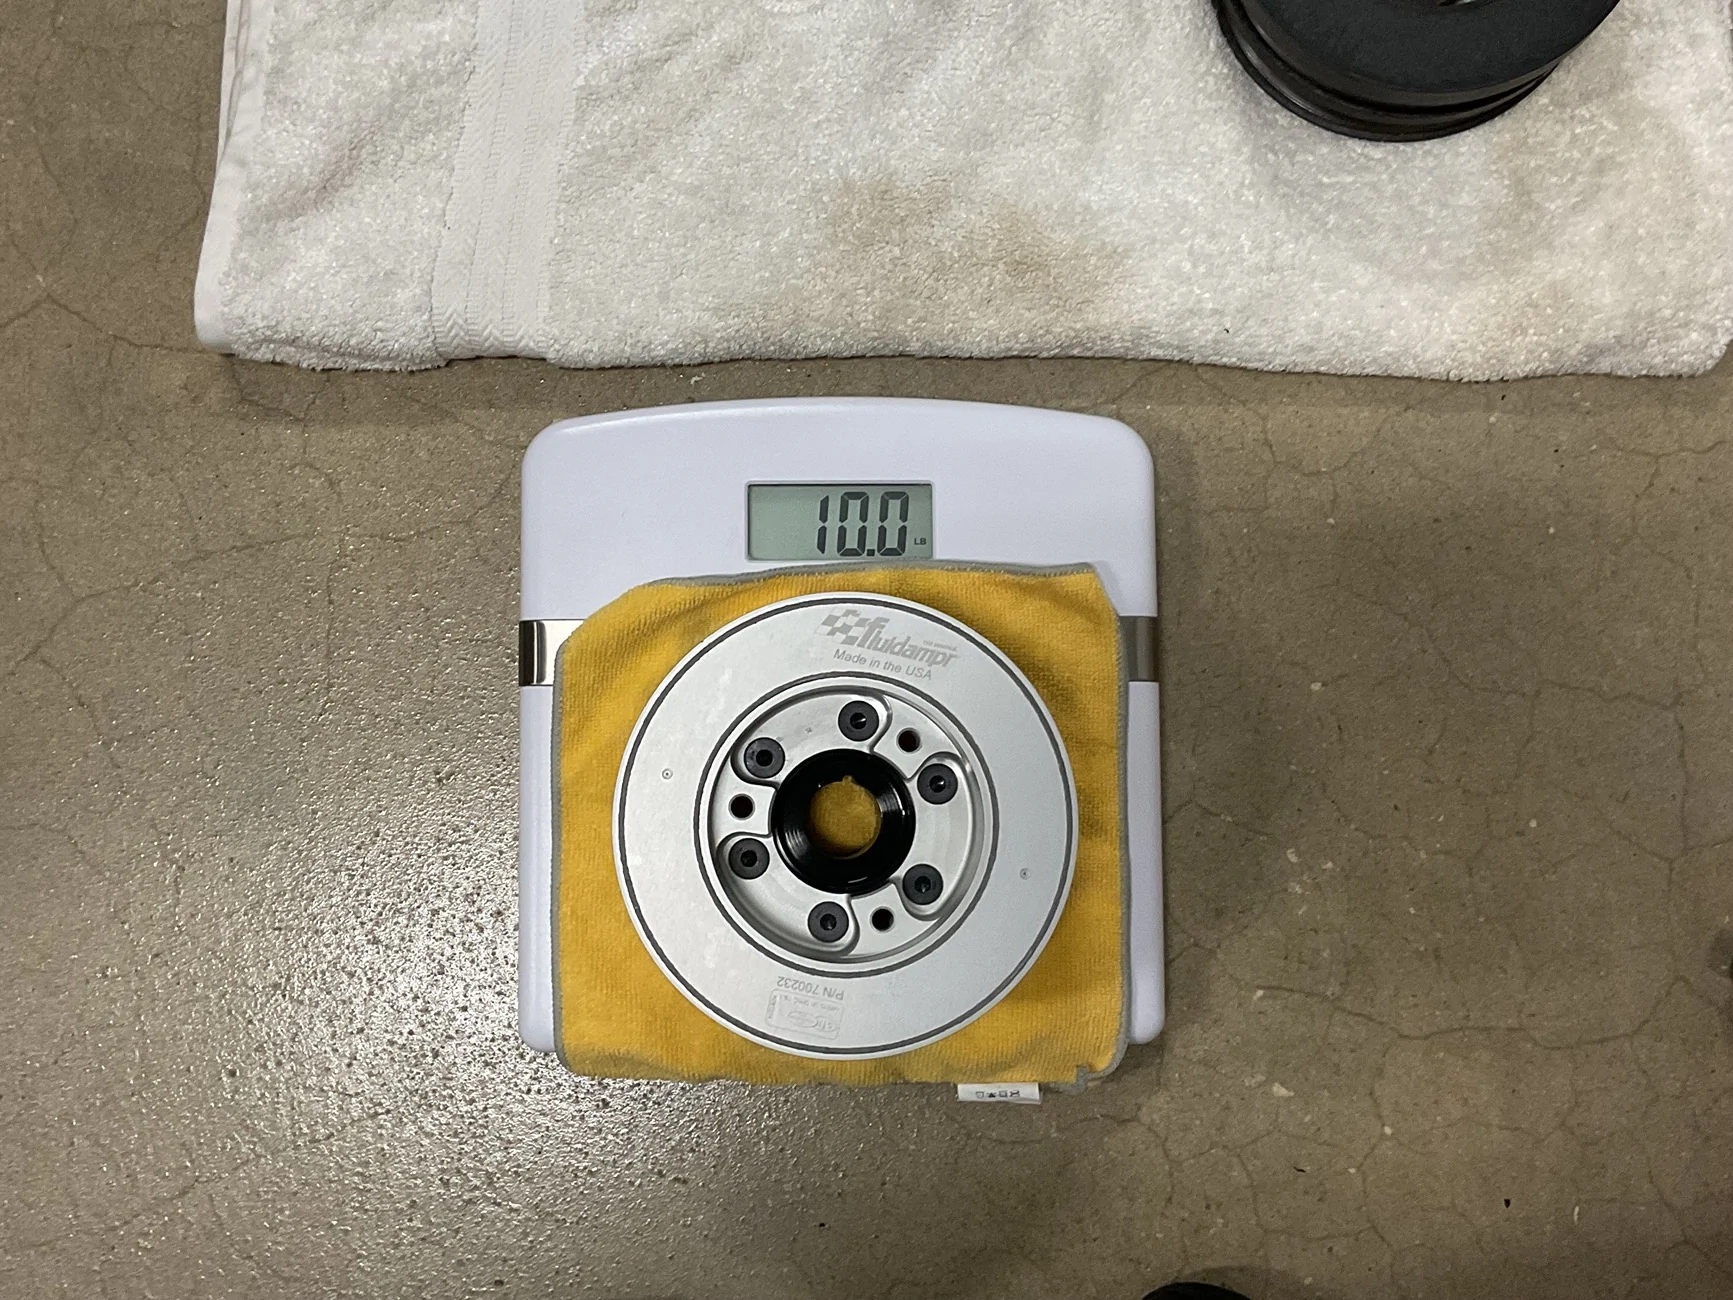
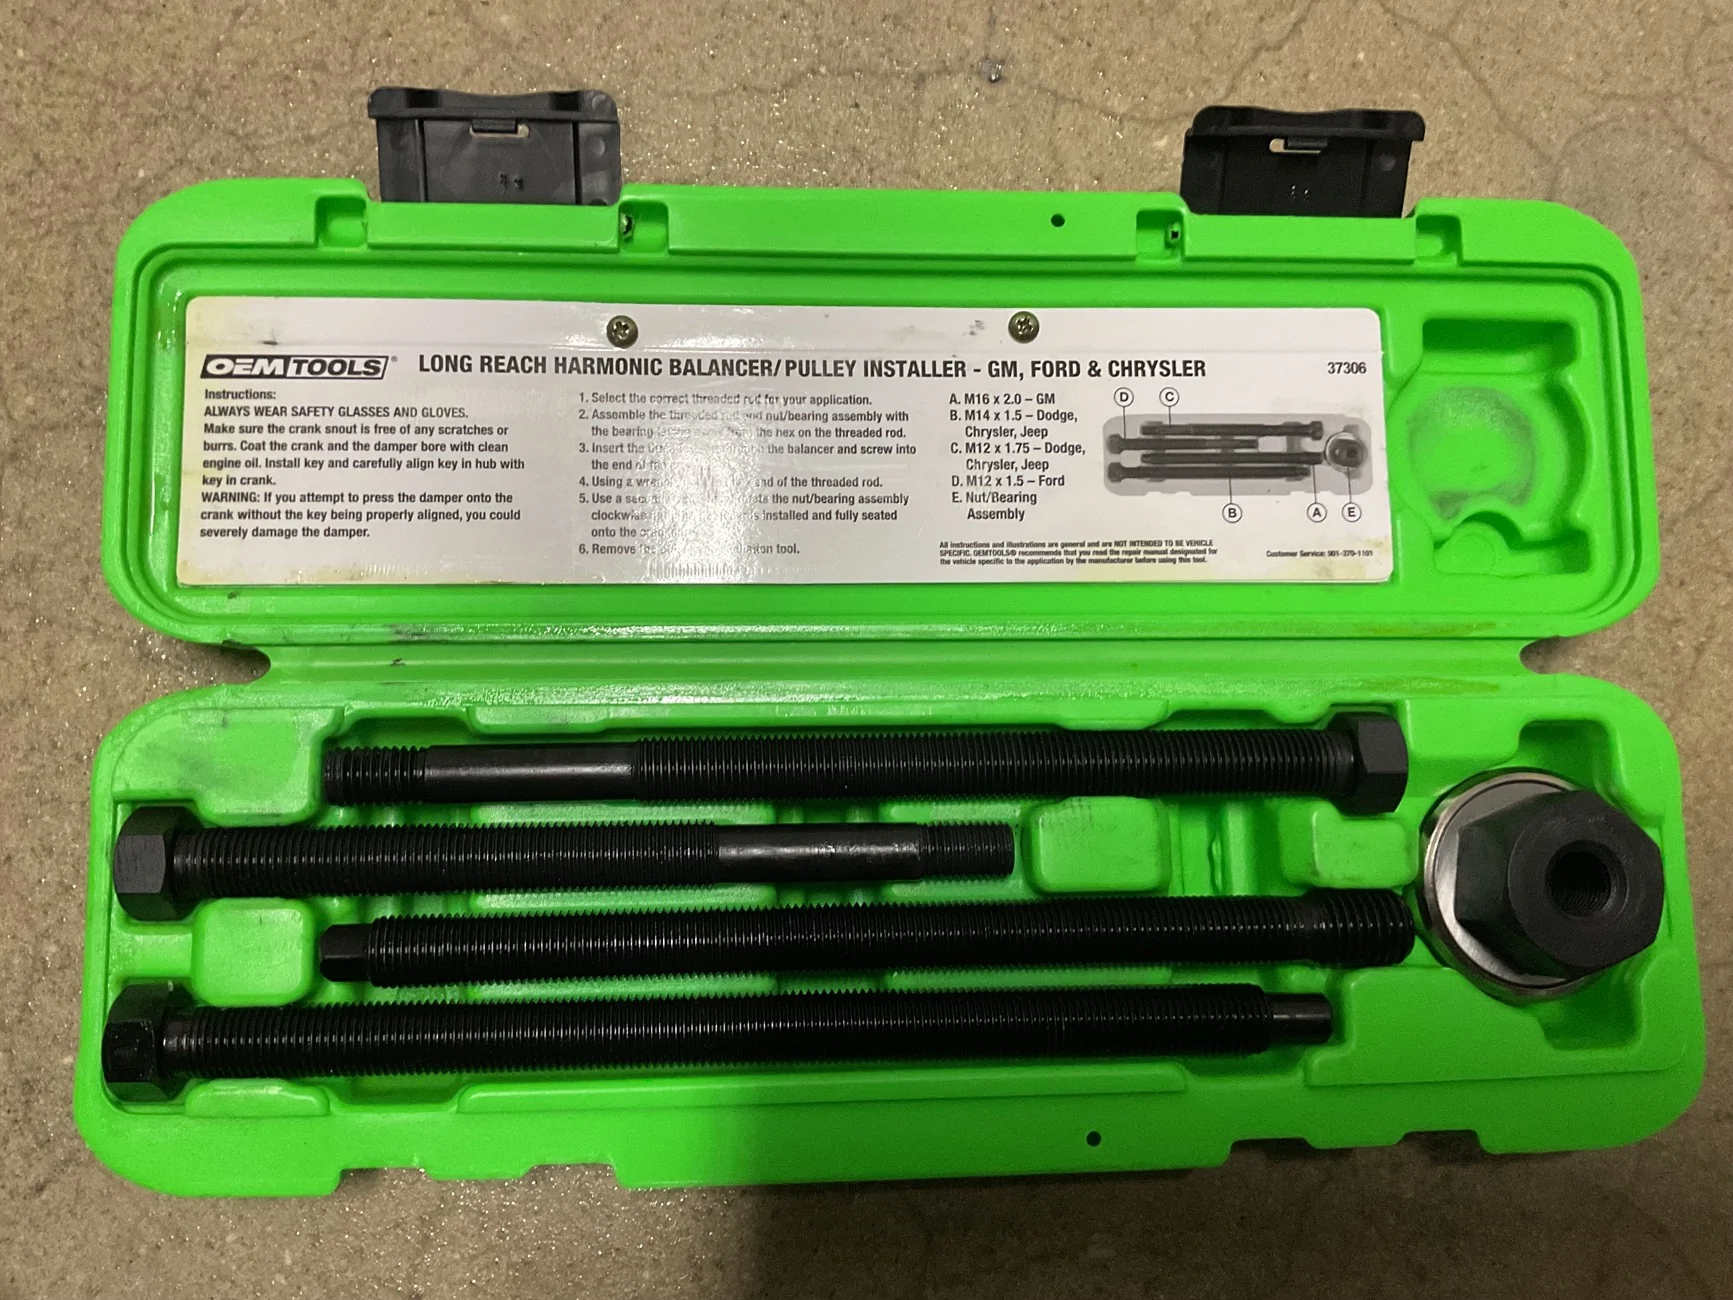
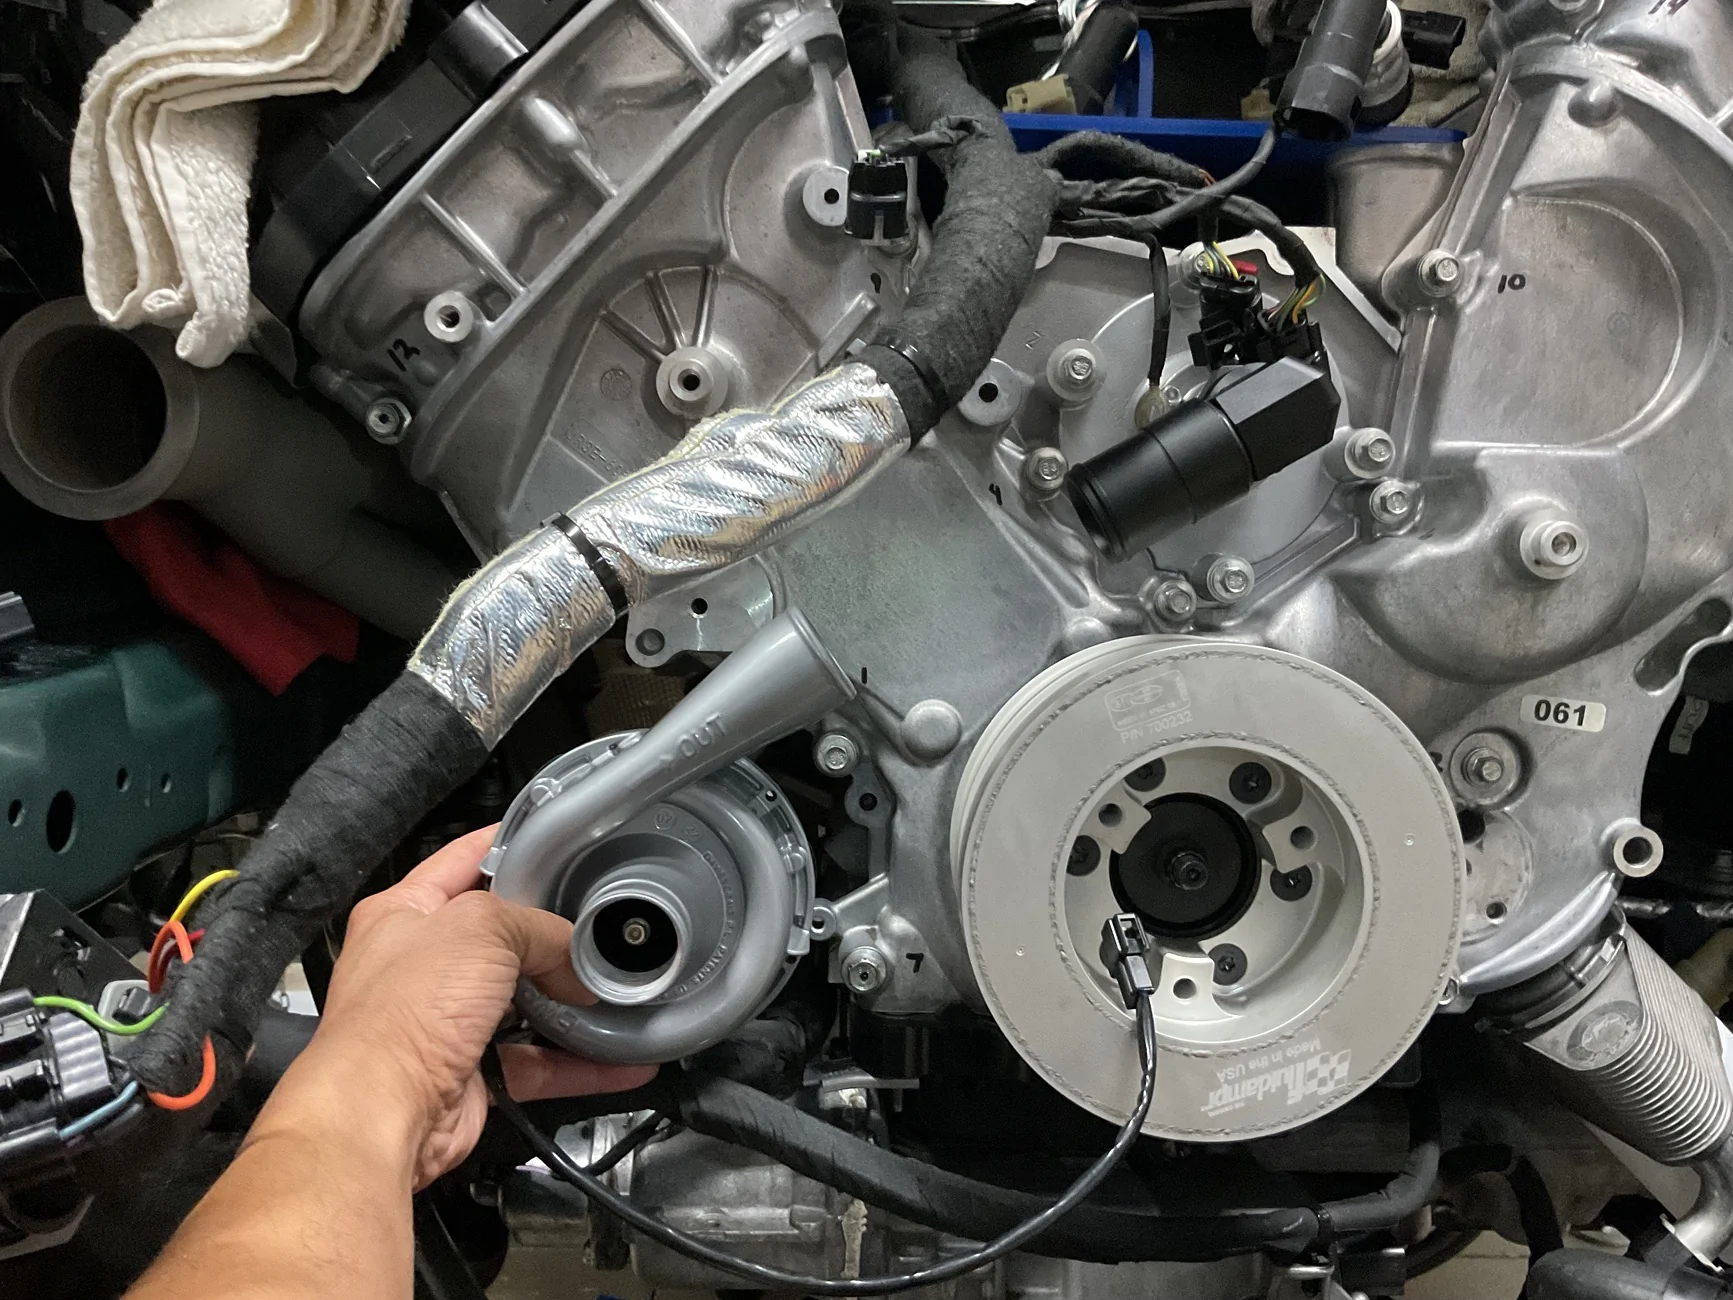
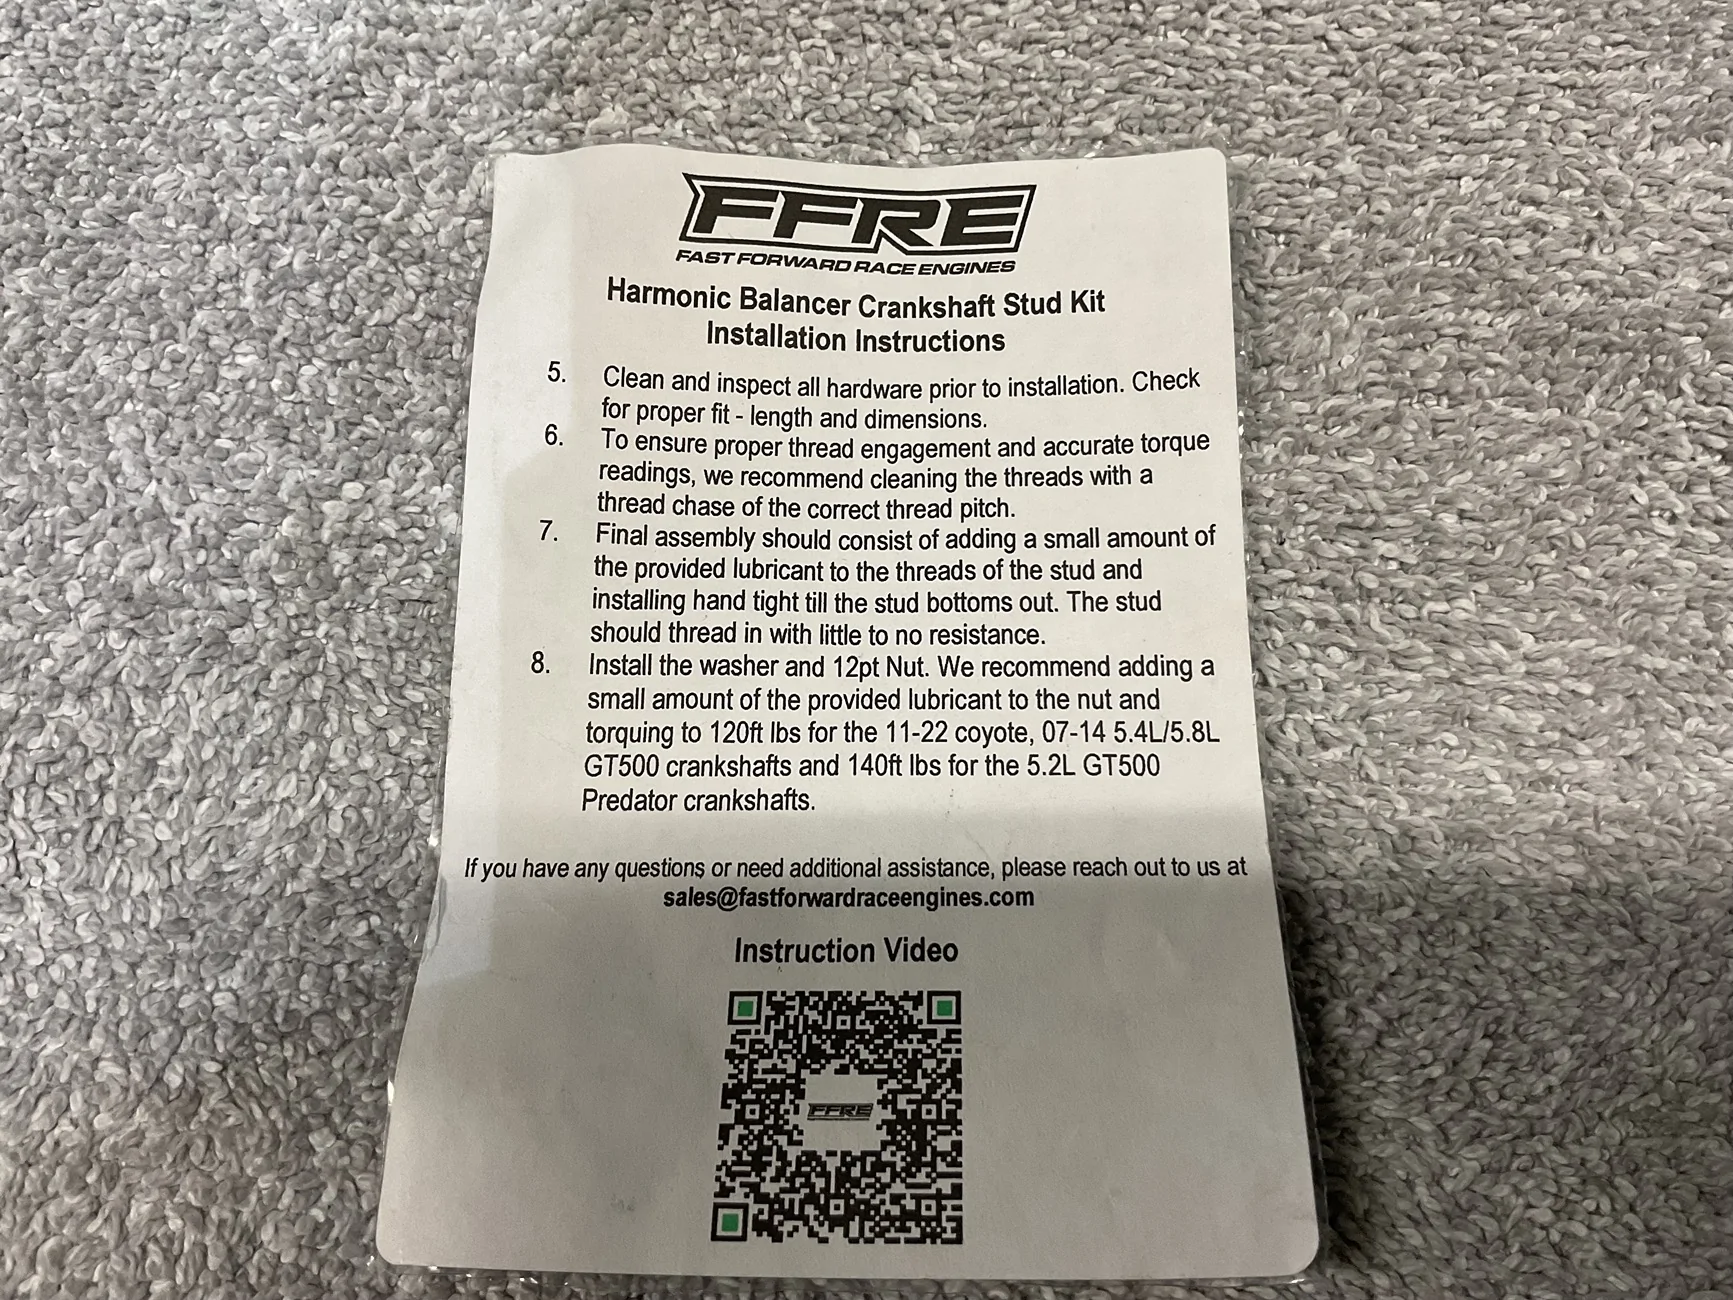
Moving on, I installed the Fuidampr harmonic balancer with the FFRE stud kit (after a thorough cleaning). I used the harmonic balancer installer from Amazon (included in the pics), to press the balancer on.
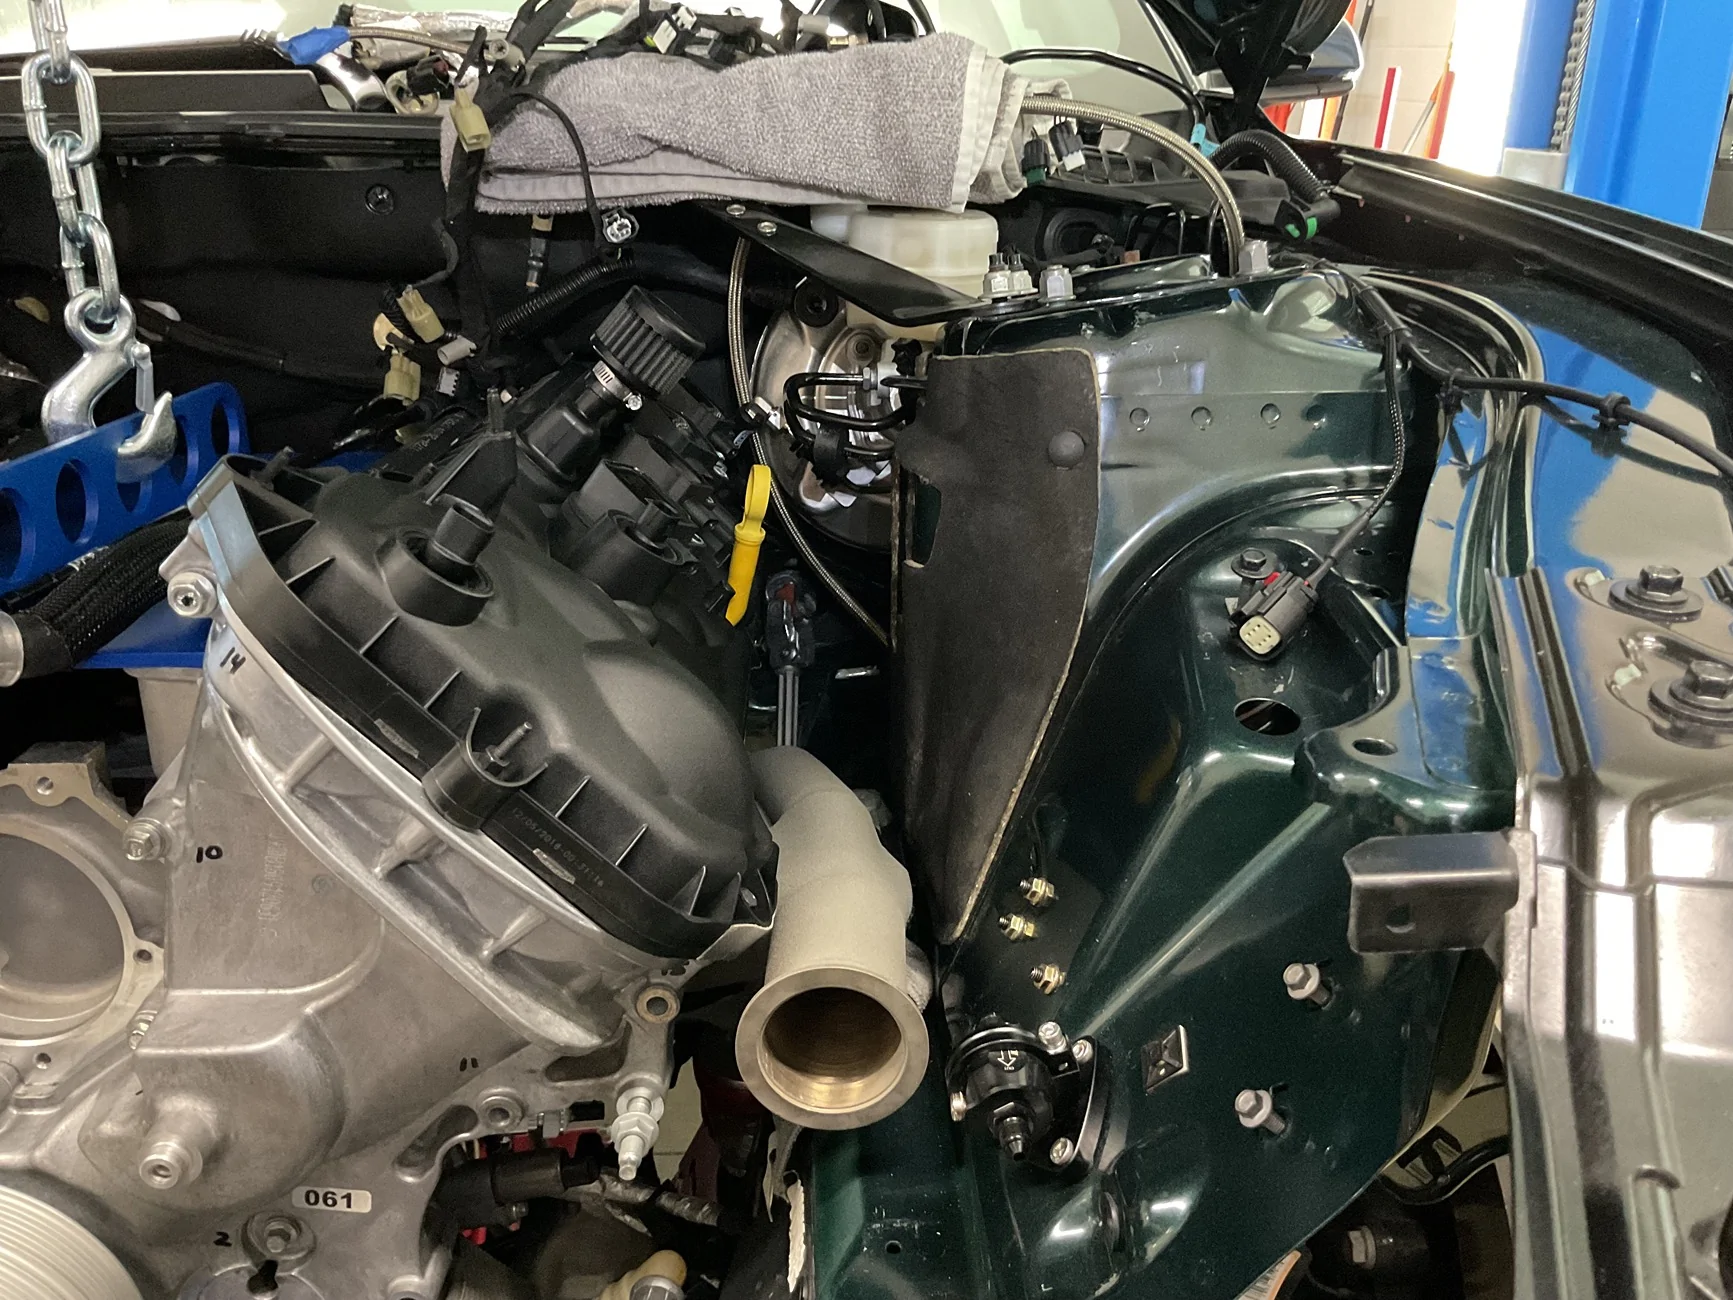
Steeda adj. motor mounts were also reinstalled, although I held off on torquing the top bolts on the mounts, in case I have to shift the motor one way or the other.
I’m still trying to find a good spot for the Davies Craig electric water pump. I may end up putting it in the vicinity of where the AC compressor was, if there’s room and no conflict with the hot and cold side piping.
Moving on, I installed the Fuidampr harmonic balancer with the FFRE stud kit (after a thorough cleaning). I used the harmonic balancer installer from Amazon (included in the pics), to press the balancer on.
Steeda adj. motor mounts were also reinstalled, although I held off on torquing the top bolts on the mounts, in case I have to shift the motor one way or the other.
I’m still trying to find a good spot for the Davies Craig electric water pump. I may end up putting it in the vicinity of where the AC compressor was, if there’s room and no conflict with the hot and cold side piping.


engineermike
Well-Known Member
Whatever you do, don’t discard that stock balancer. That’s a factory fluid damper that was only installed 2018 and early 2019.
OP
OP
NGOT8R
Well-Known Member
- Thread starter
- #269
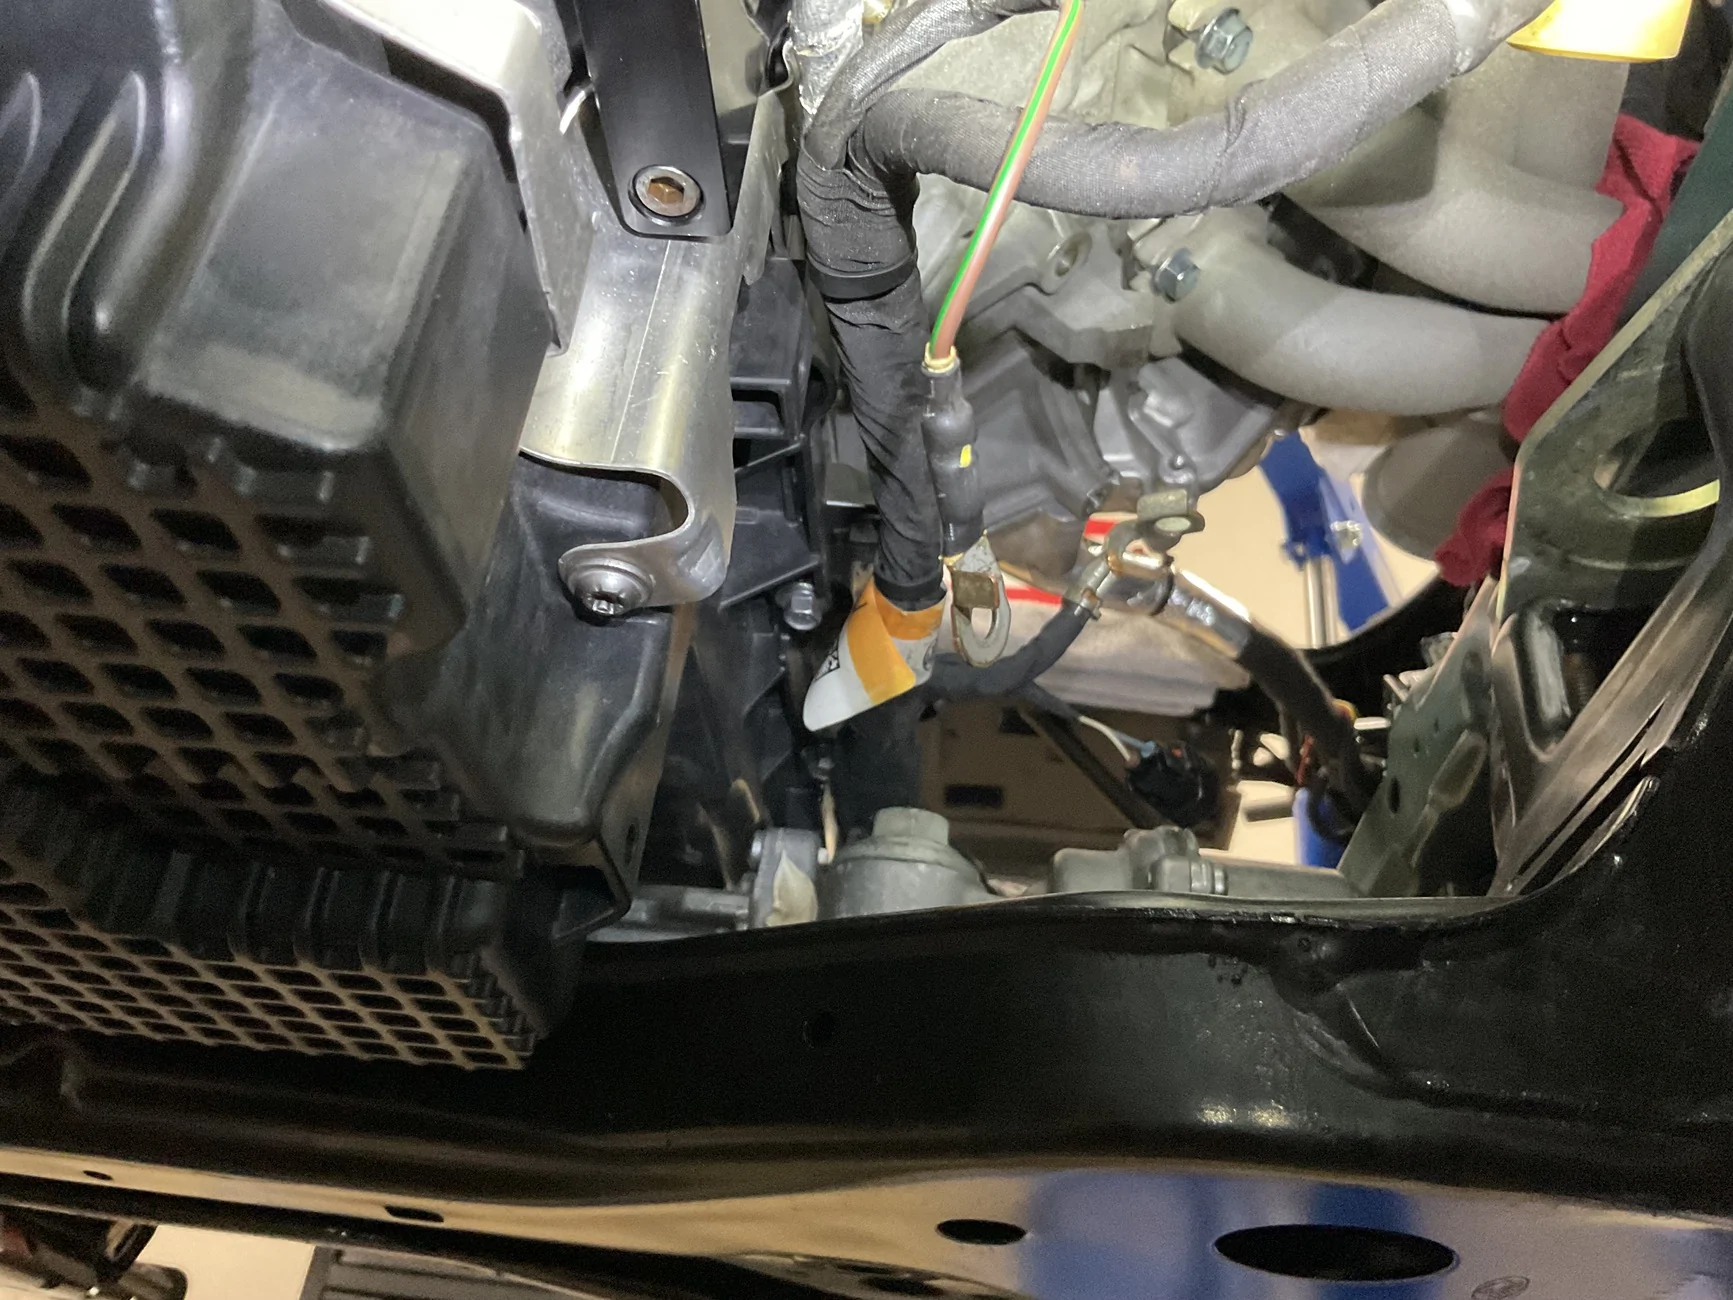
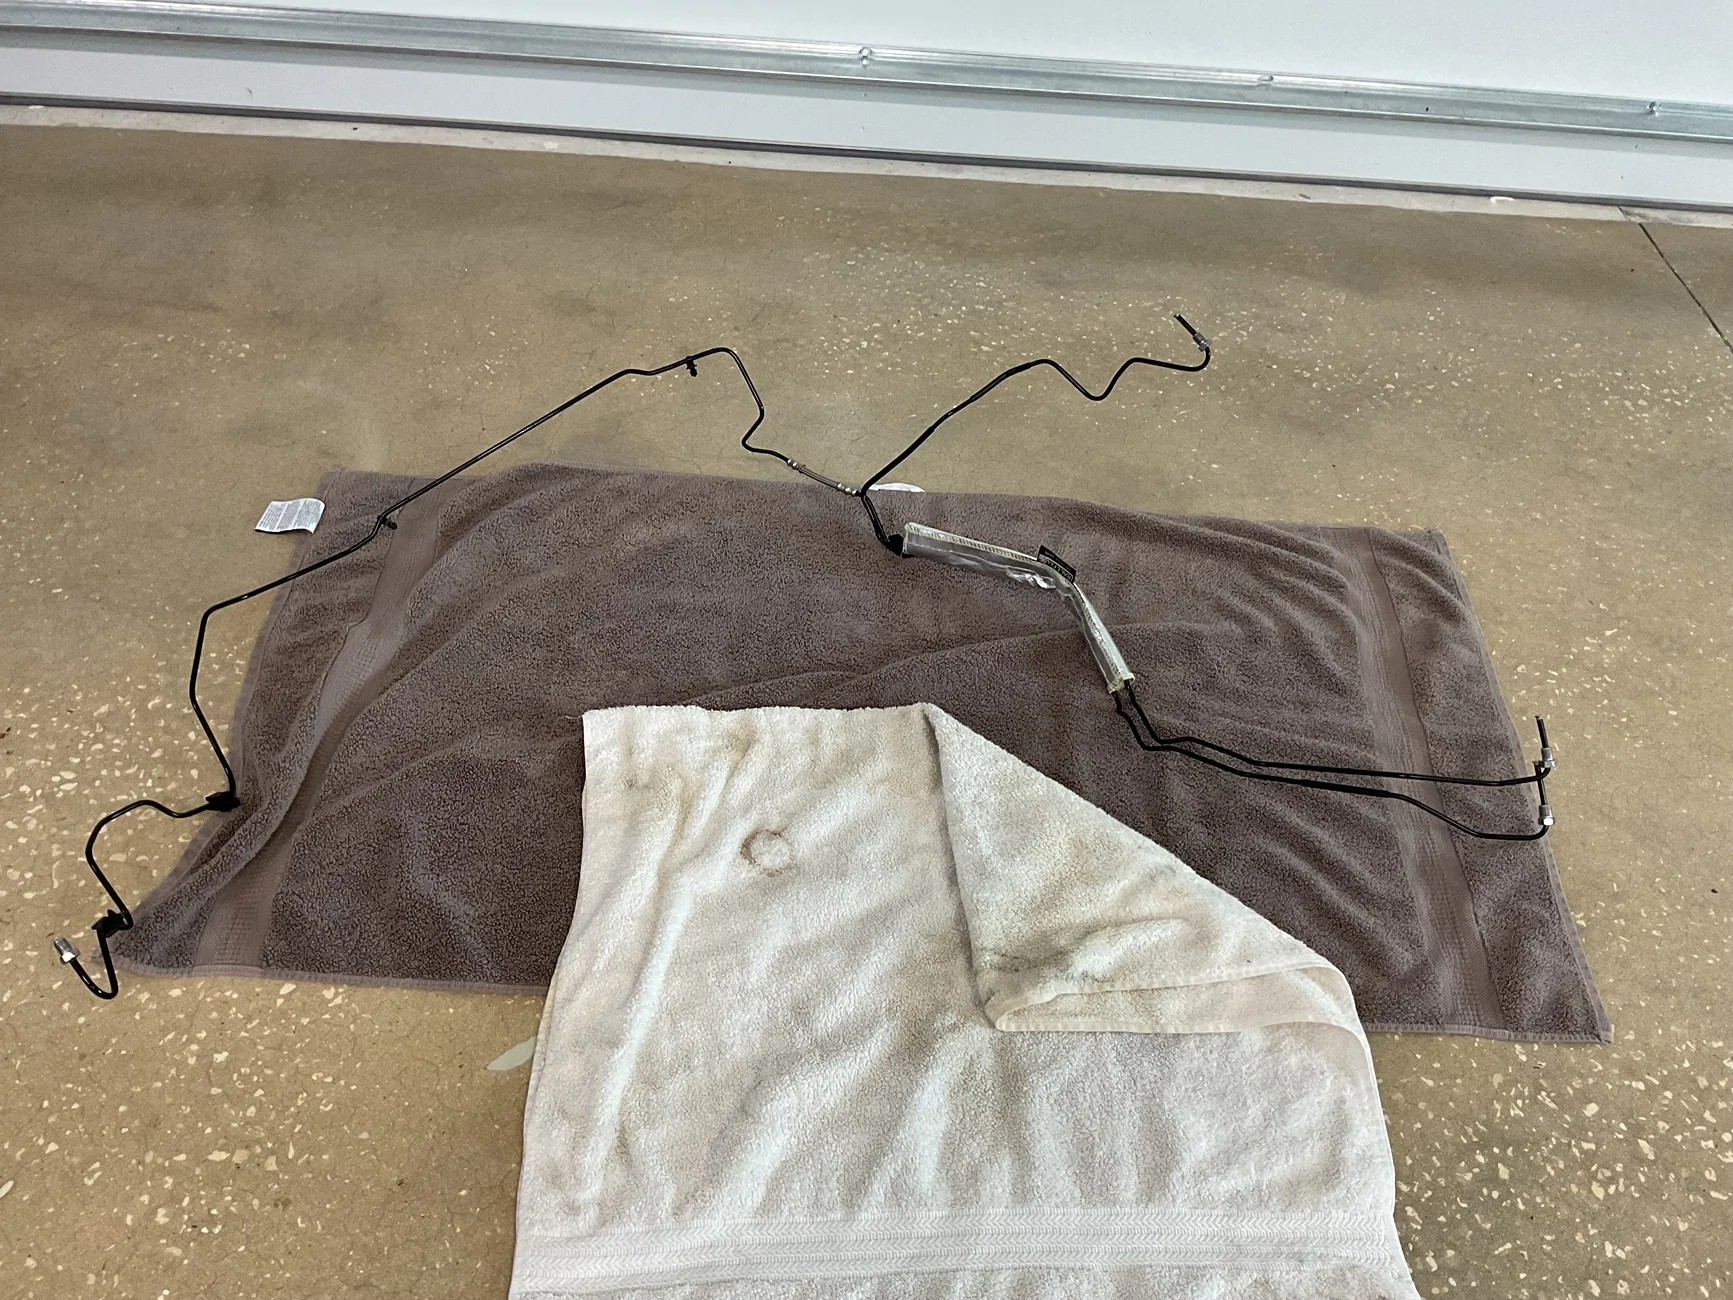
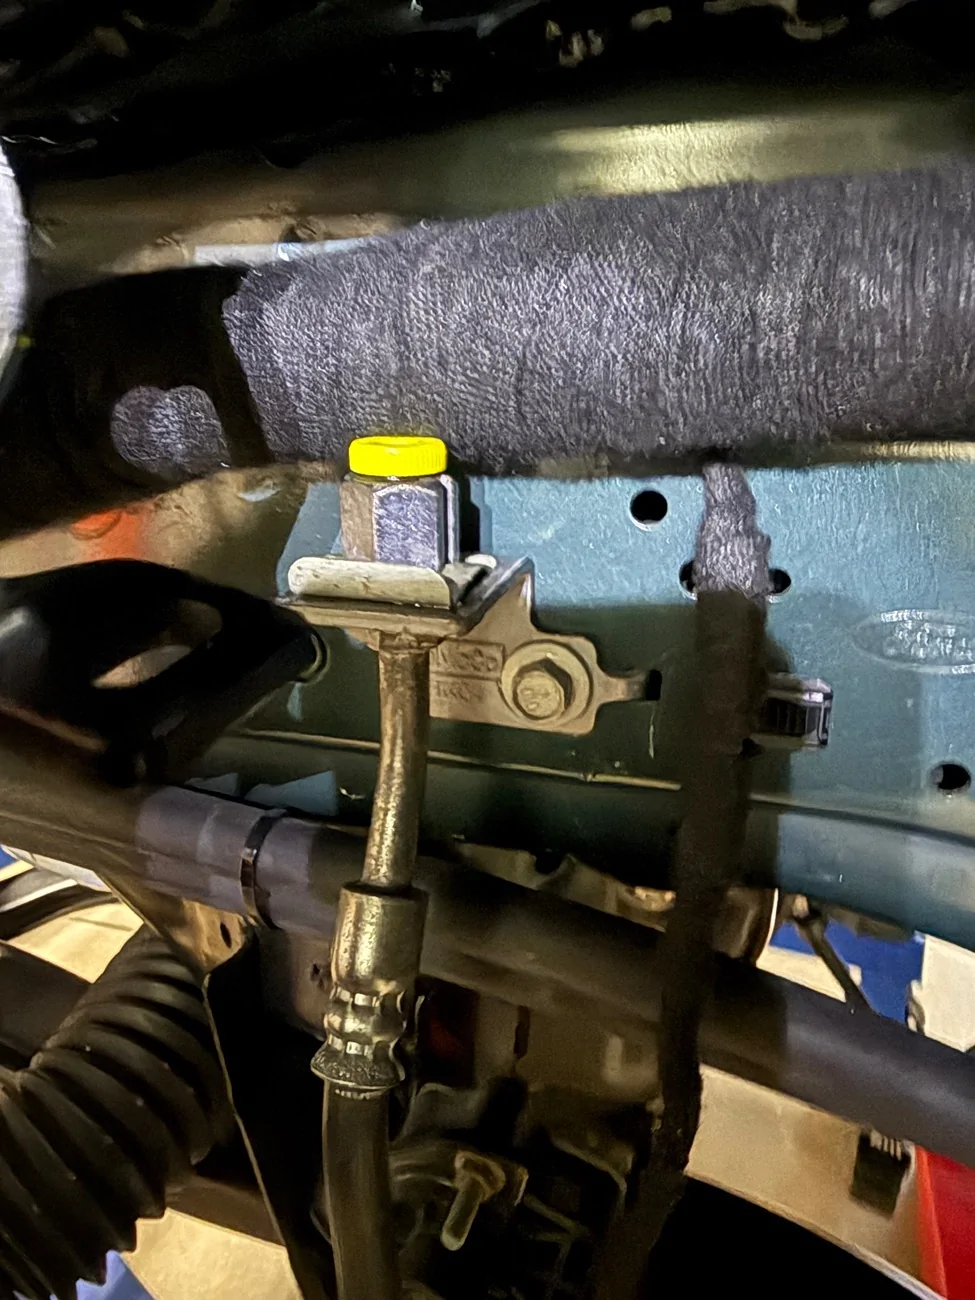
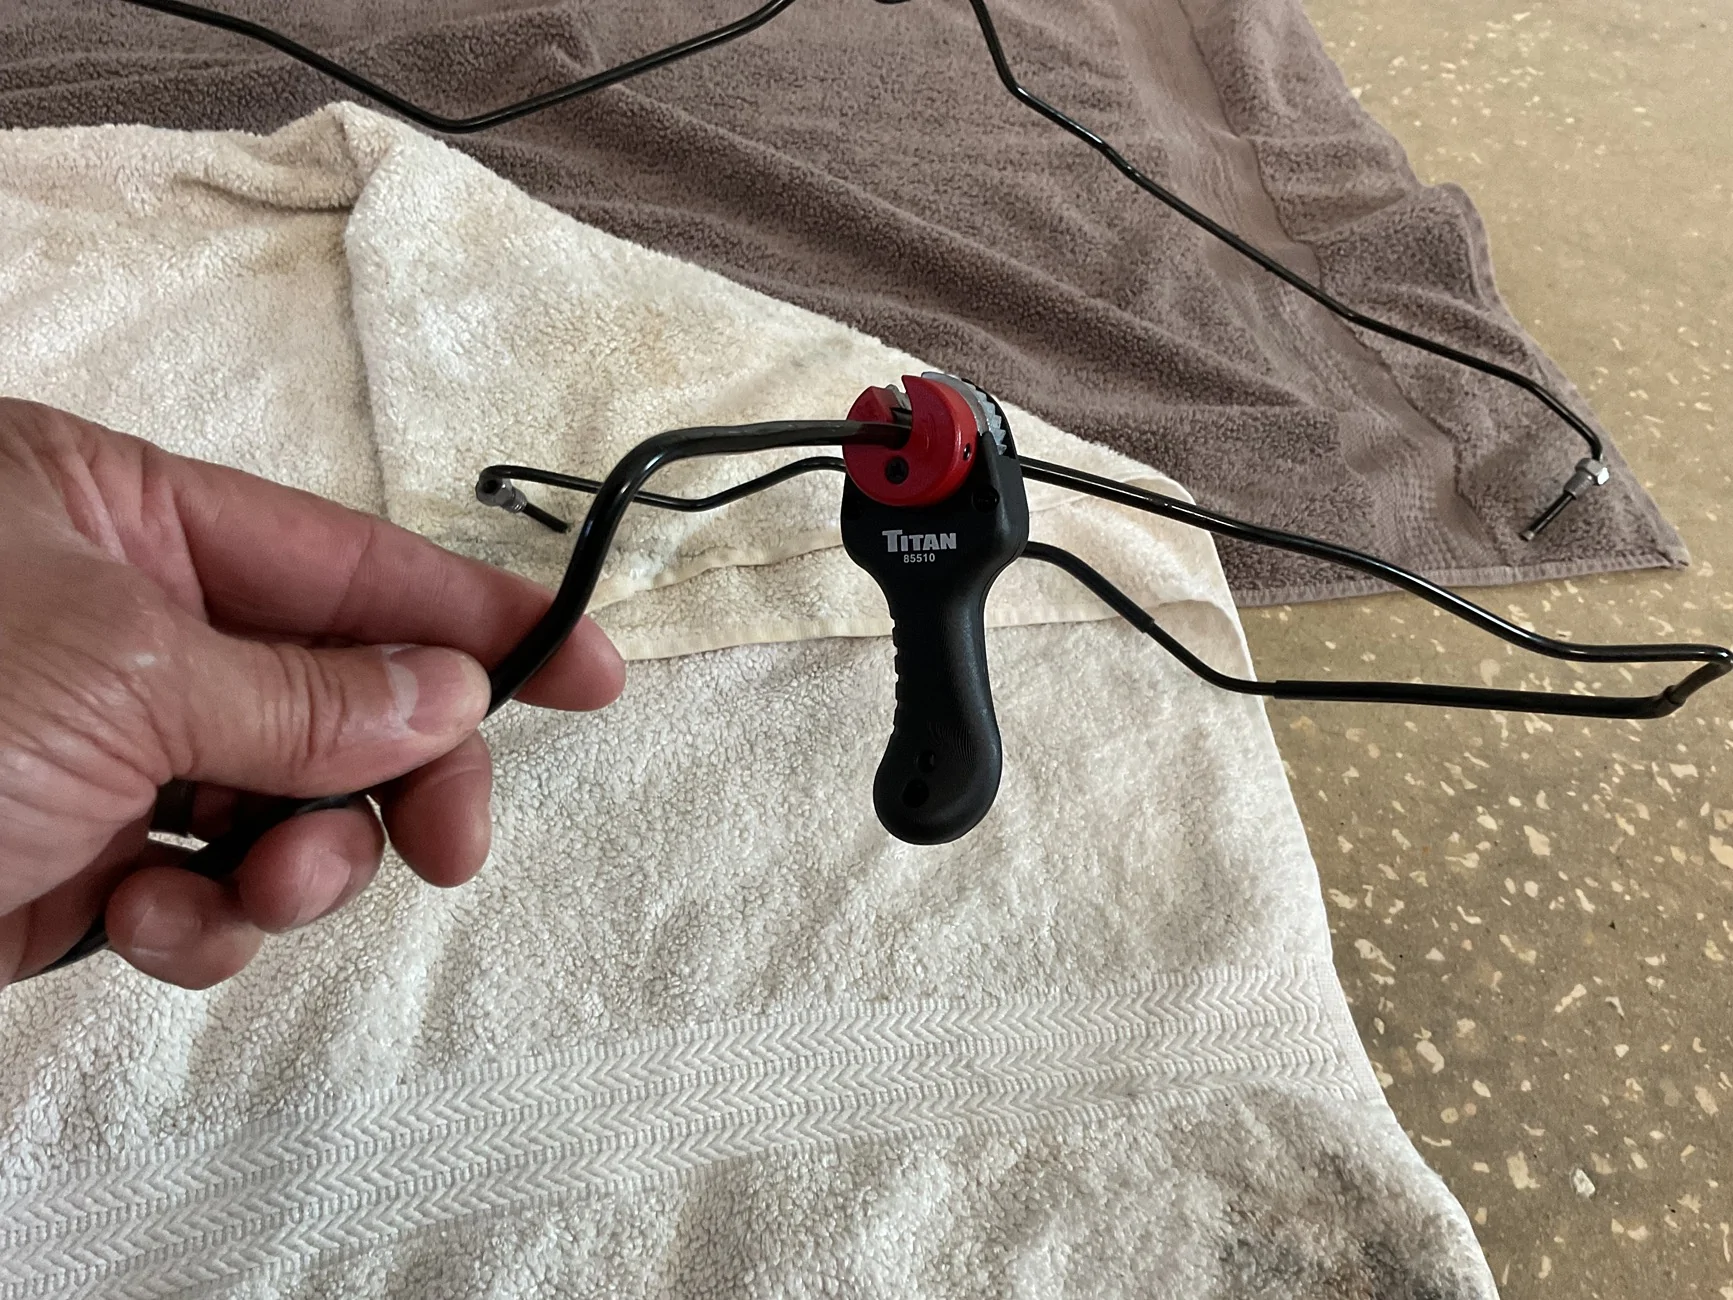
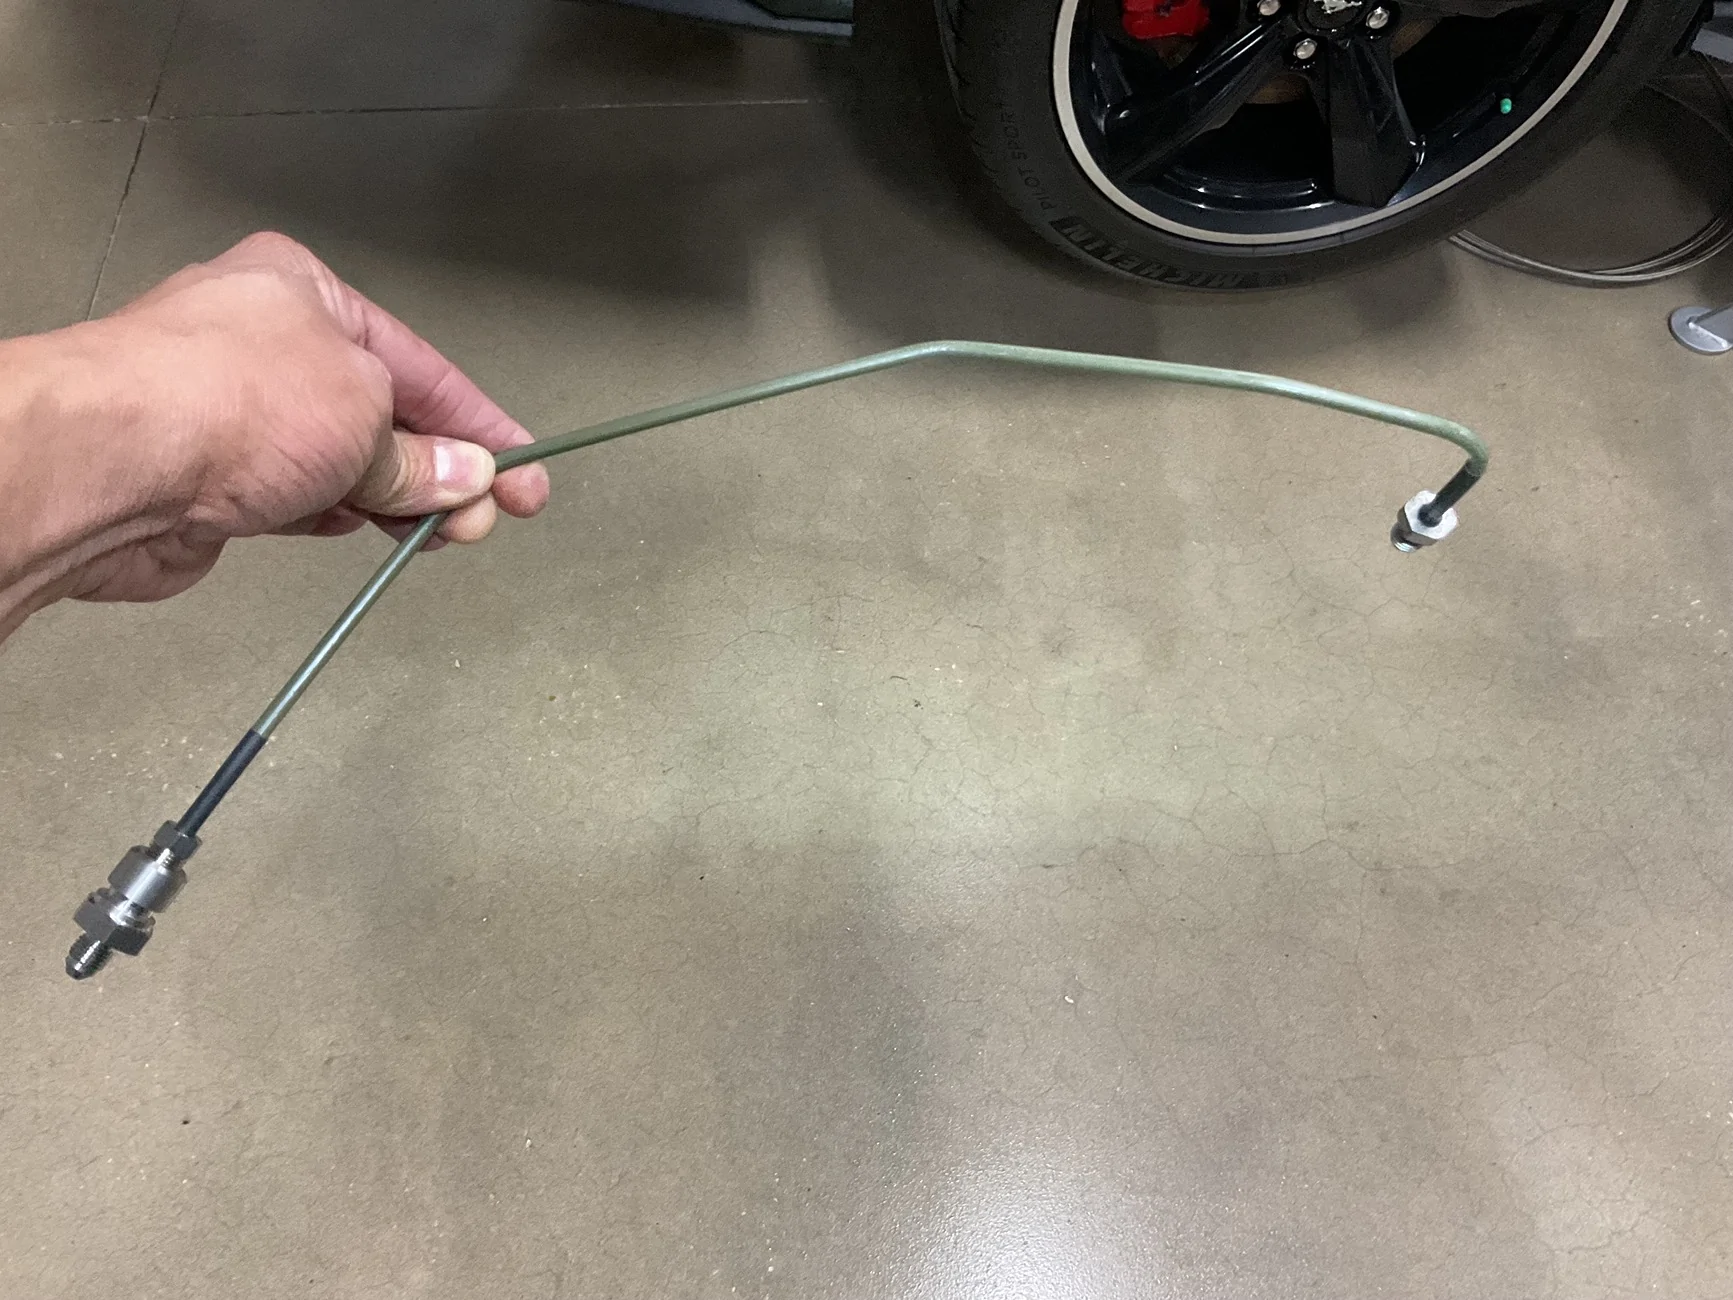
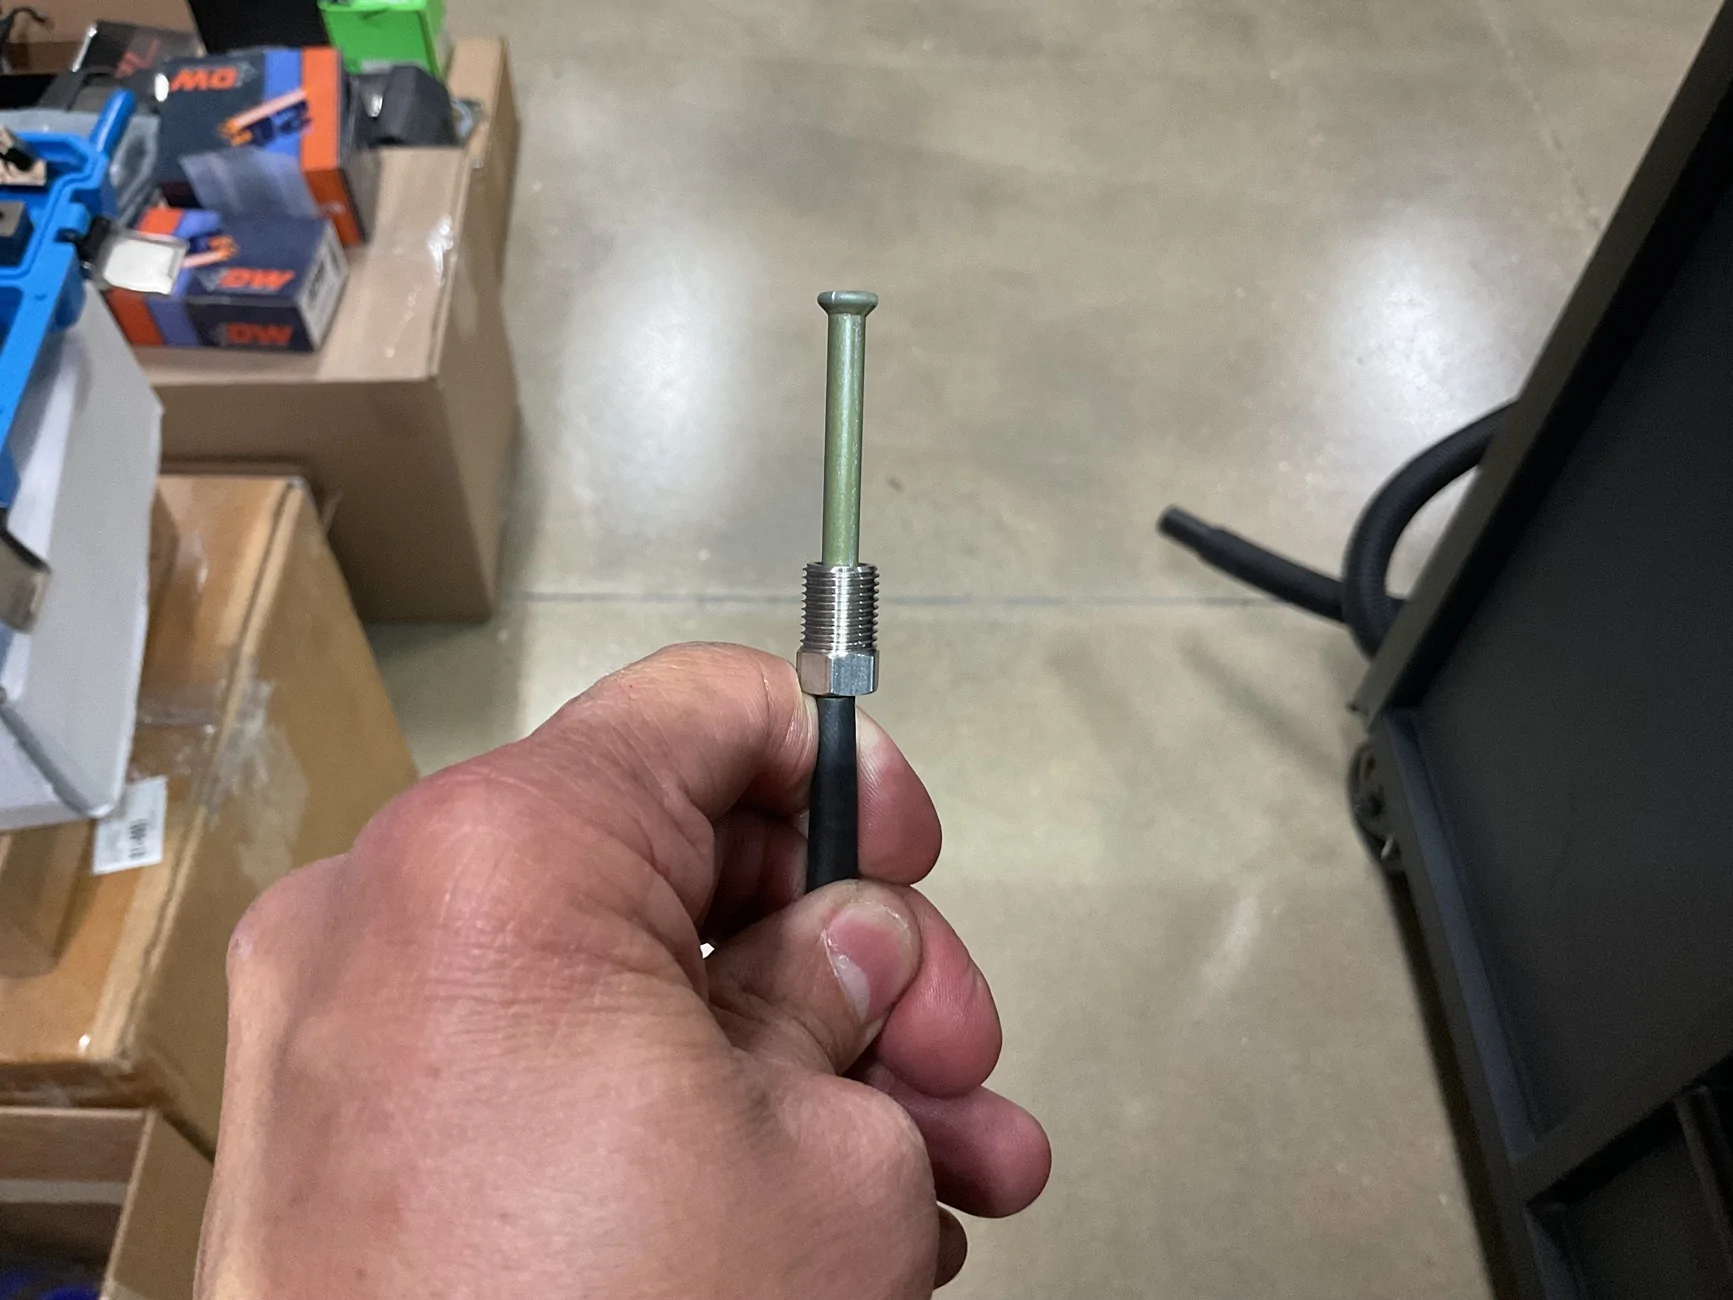
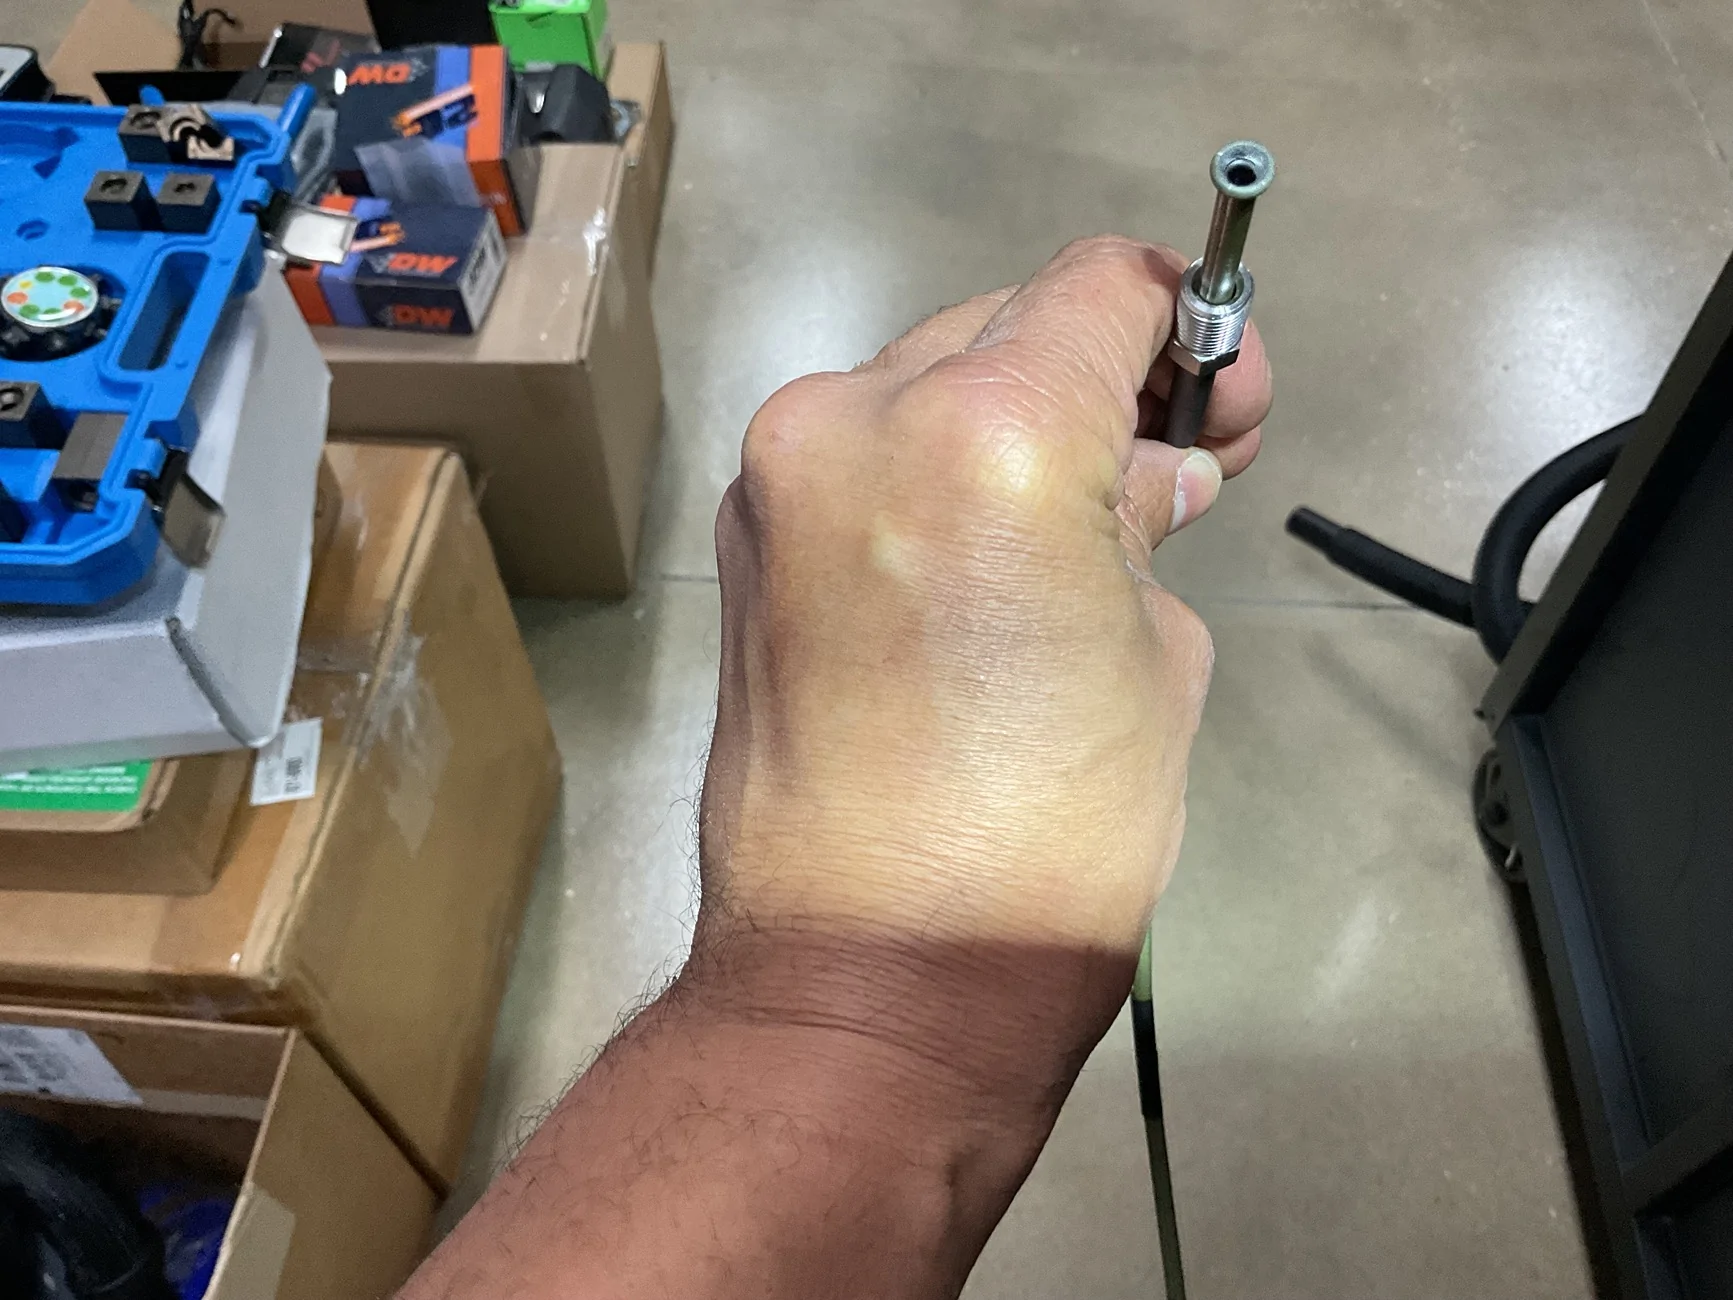
Not much going on today, other than I pulled the factory brake lines up front and started making new lines to clear the driver’s side header. Not a fun process at all either. It took me a while to stop wasting line and to figure out how to make the proper bends. I also picked up a tool to make the double flare a piece of cake.


AcceptableNebula
Well-Known Member
- Joined
- Apr 5, 2023
- Threads
- 19
- Messages
- 335
- Reaction score
- 927
- Location
- Massachusetts
- First Name
- Jake
- Vehicle(s)
- 2023 Ford Mustang GT Premium
Geez I haven’t even finished relocating my fuse box and now I’m being peer pressured into rerouting my brake lines correctlyNot much going on today, other than I pulled the factory brake lines up front and started making new lines to clear the driver’s side header. Not a fun process at all either. It took me a while to stop wasting line and to figure out how to make the proper bends. I also picked up a tool to make the double flare a piece of cake.

Sponsored