Sponsored

What's In DFB's Cabinet?

MAGS1

Well-Known Member
Joined
Mar 6, 2020
Threads
96
Messages
11,436
Reaction score
18,761
Location
Somewhere in Middle America
First Name
Mark
Vehicle(s)
2022 Mustang GT
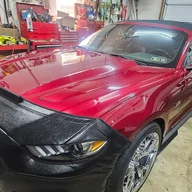
She is calling out of work today and coming about noon to pick it up. I am really excited to see her reaction. I have sent the same pictures to her as I have here, so she has seen the progress... But in person it does look really good. I of course can see all the little flaws and I cringe, but to 95% of the public, the car is STUNNING...

And yes, she is paying me, I am not charging nowhere near the going rate, but she has at least covered my supplies and maybe MAYBE minimum wage for my time :) But the enjoyment I got out of the project makes it worth it to me, it was worth taking a week away from the "Job" to do something I enjoy... Plus huge exposure for perhaps more "customers" in the future. :) You never know, this old man might want to start up a full time shop some time, its a great skill to have...

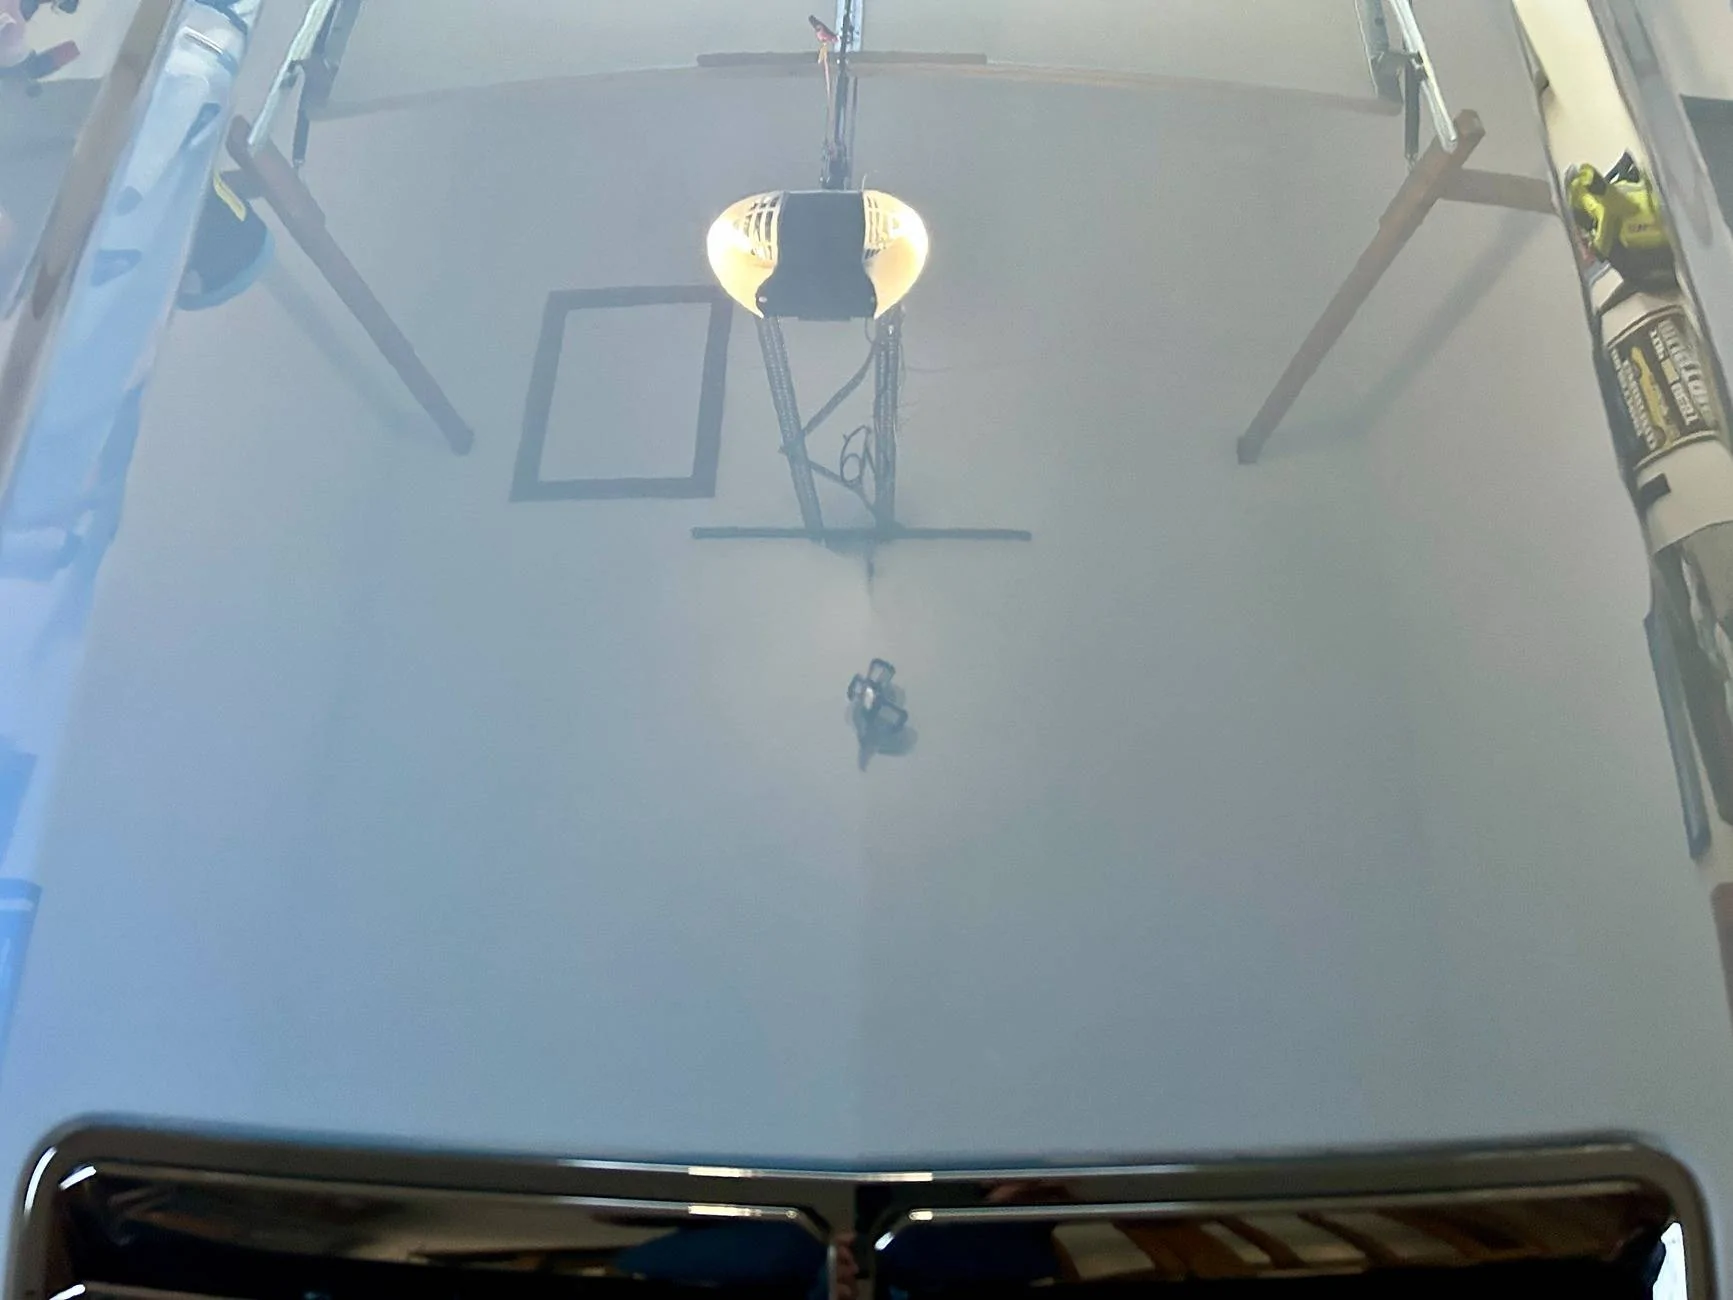
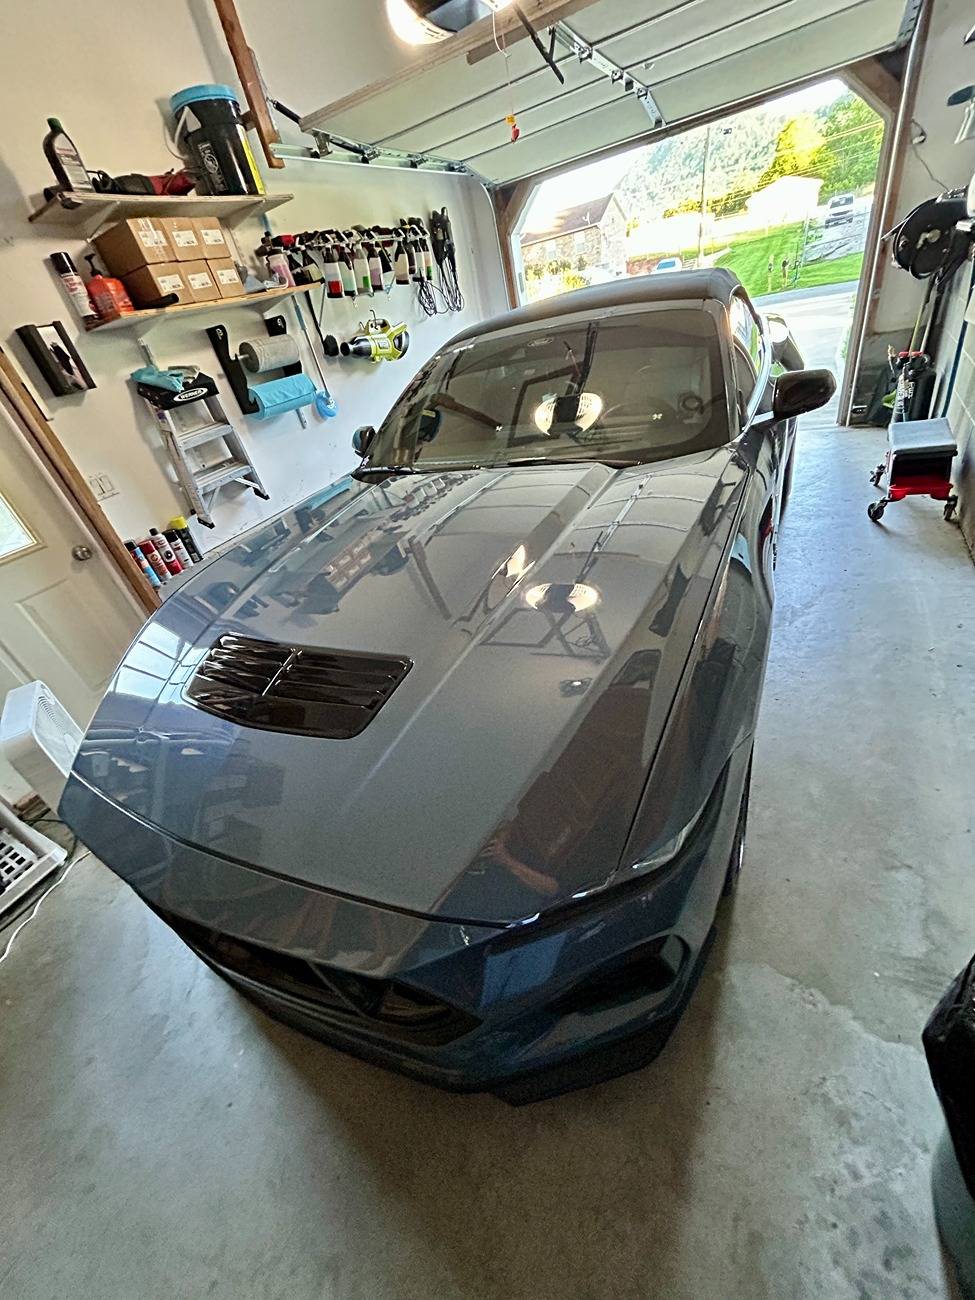
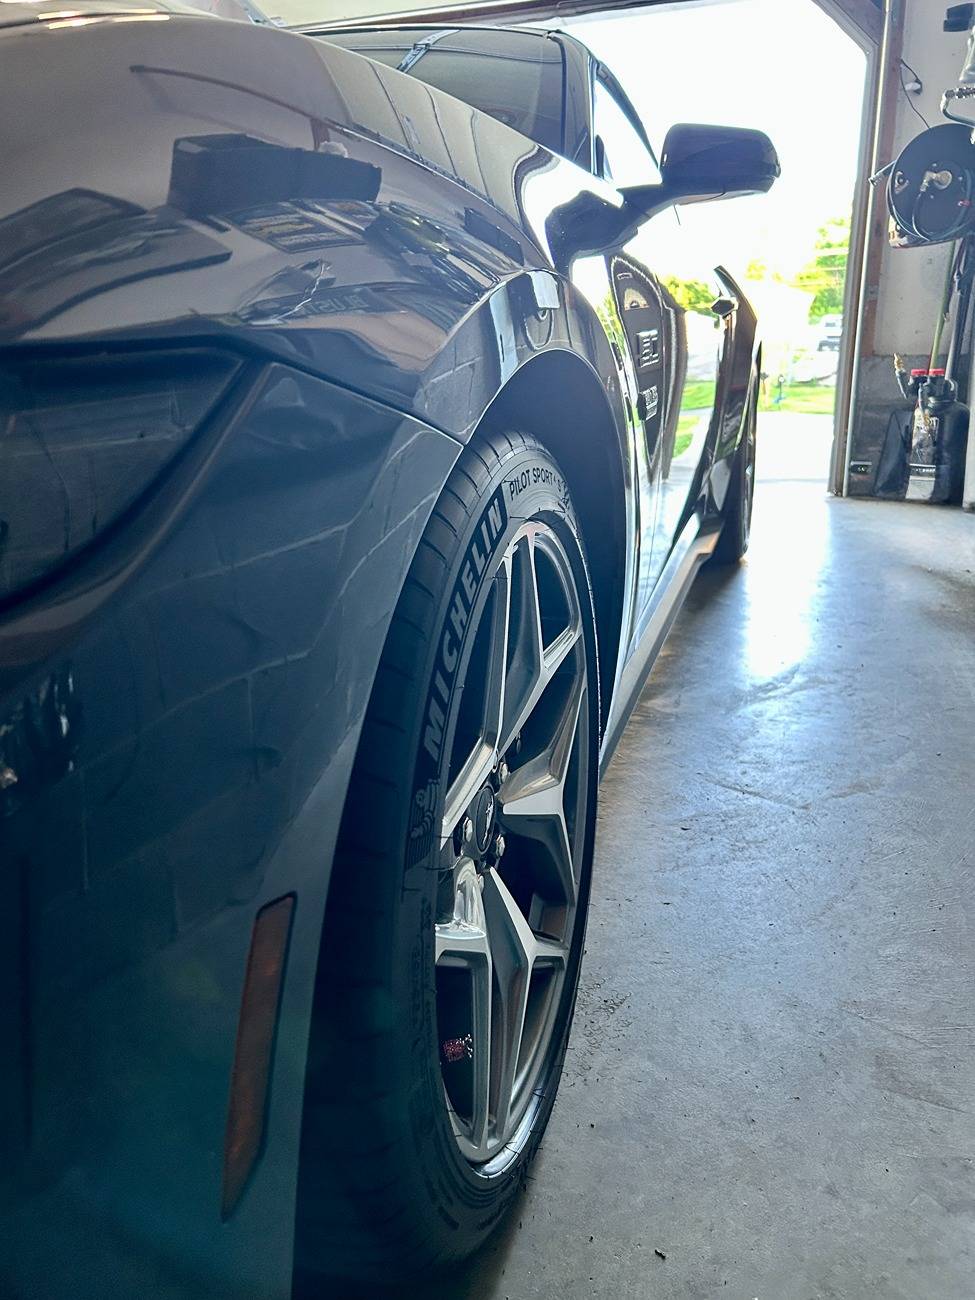
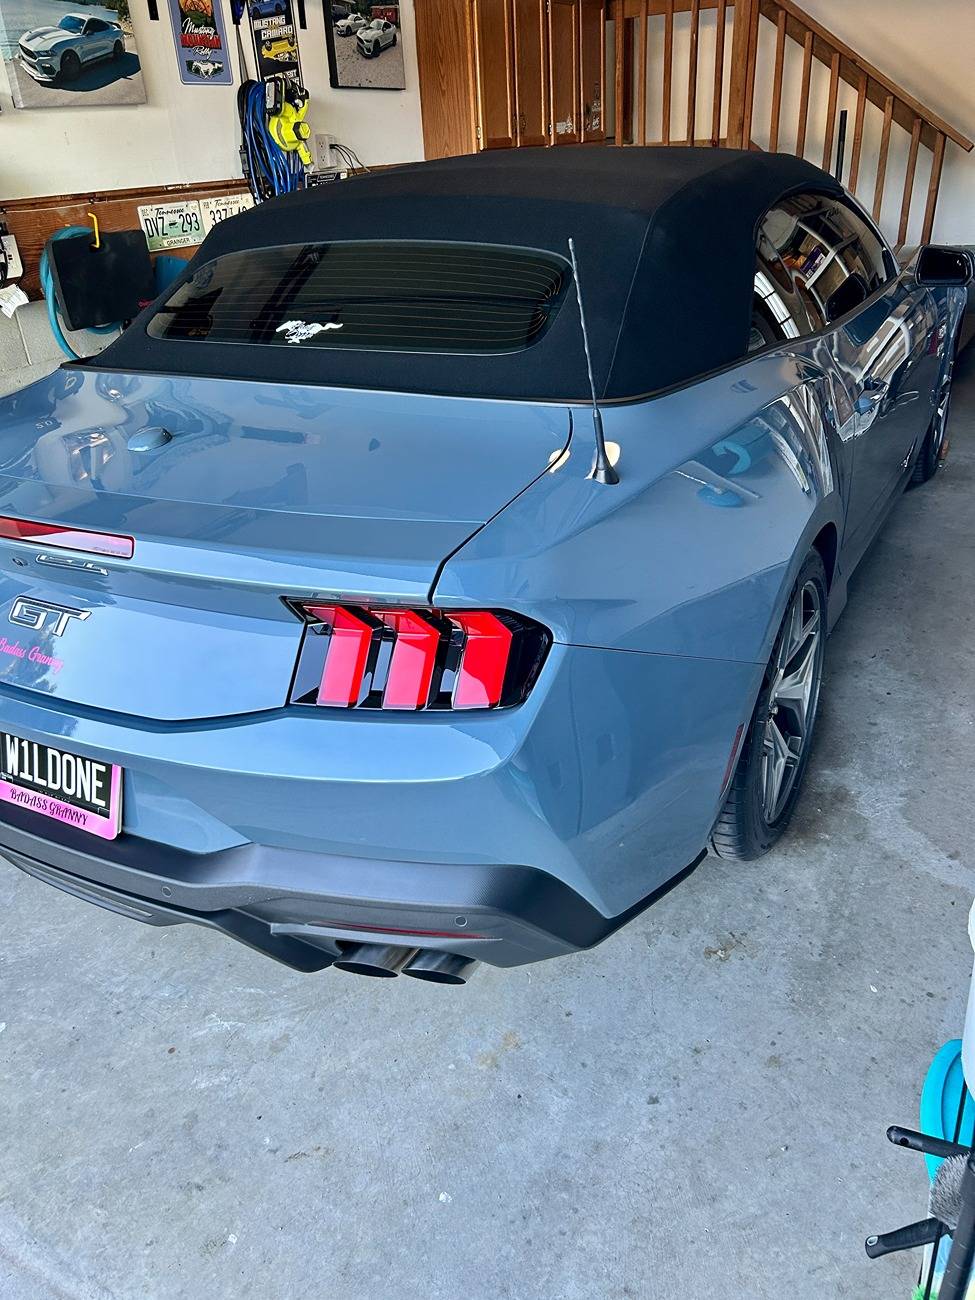
Here are a few pics in my garage this morning, the depth of color is STUNNING, I am really happy...

IMG_3105.jpeg


IMG_3103.jpeg


IMG_3104.jpeg


IMG_3102.jpeg
Good crisp reflections there. Well done. How did you like your new Rupes toy? I got the MaxShine micro and after using it had to ask myself what took me so long to get one LOL
Sponsored


skinnyb

Well-Known Member
Joined
Jun 25, 2022
Threads
12
Messages
3,628
Reaction score
9,112
Location
Knoxville TN
First Name
Alex
Vehicle(s)
21 Mach 1. FJG, Tremec
Good crisp reflections there. Well done. How did you like your new Rupes toy? I got the MaxShine micro and after using it had to ask myself what took me so long to get one LOL
I like it a LOT... I still don't have the "extension" but it does work really well without it. Still learning the ins and outs of how it works. Gotta figure out how to turn it into "rotary" mode. I did run out one complete battery using it on the car, and probably half thru the second. Glad I got 2 batteries :) ...
 

MAGS1

Well-Known Member
Joined
Mar 6, 2020
Threads
96
Messages
11,436
Reaction score
18,761
Location
Somewhere in Middle America
First Name
Mark
Vehicle(s)
2022 Mustang GT
I like it a LOT... I still don't have the "extension" but it does work really well without it. Still learning the ins and outs of how it works. Gotta figure out how to turn it into "rotary" mode. I did run out one complete battery using it on the car, and probably half thru the second. Glad I got 2 batteries :) ...
That’s the one downside of the micro/nano polishers. The batteries run out pretty quick. I had a similar experience, went through one battery and the indicator on the second one was showing 1 out of 3 bars left. Glad it came with 2 batteries for sure. Was considering ordering an extra but I probably won’t use it enough. When I take my summer wheels off this fall, I’m going to use it to polish out the spokes and re-coat my wheels. Excited to use it again that’s for sure
 
OP
OP
DFB5.0

DFB5.0

Well-Known Member
Joined
Mar 15, 2017
Threads
92
Messages
5,443
Reaction score
15,669
Location
Australia
Vehicle(s)
Mustang GT Fastback
I like it a LOT... I still don't have the "extension" but it does work really well without it. Still learning the ins and outs of how it works. Gotta figure out how to turn it into "rotary" mode. I did run out one complete battery using it on the car, and probably half thru the second. Glad I got 2 batteries :) ...
Check out these videos on changing the adaptors.

I highly recommend watching the first video, there is a lot of good tips in that one. For example, the rotary is only for use with the small backing plate. And don't go hammering down with the supplied wrench.


OP
OP
DFB5.0

DFB5.0

Well-Known Member
Joined
Mar 15, 2017
Threads
92
Messages
5,443
Reaction score
15,669
Location
Australia
Vehicle(s)
Mustang GT Fastback
Ranger Wiper Trim Restoration

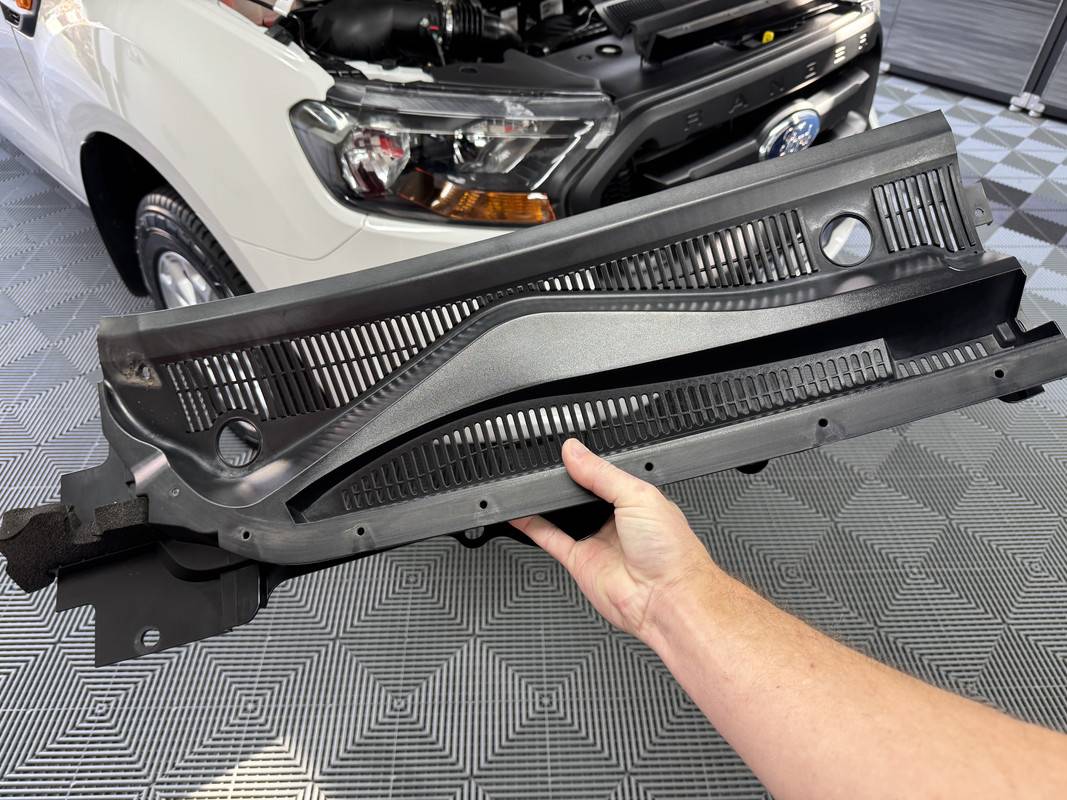
Nothing ages a car more than faded black plastic trim. While certain areas are easy to deal with, say the wing mirrors or bumper inserts, others are harder to do properly. As such, these areas tend to get neglected and therefore show age sooner. Sitting at the top of this category would be the trim at the base of the windscreen, mainly because the bonnet and wiper arms block full access.

So, after 9 years on the road, it’s time for the Ranger to receive some attention in this department. Now, this job could certainly be done with the trim still fitted to the car. However, to clean and treat the windscreen trim properly, I find its best to remove it from the vehicle.

Trim Removal –

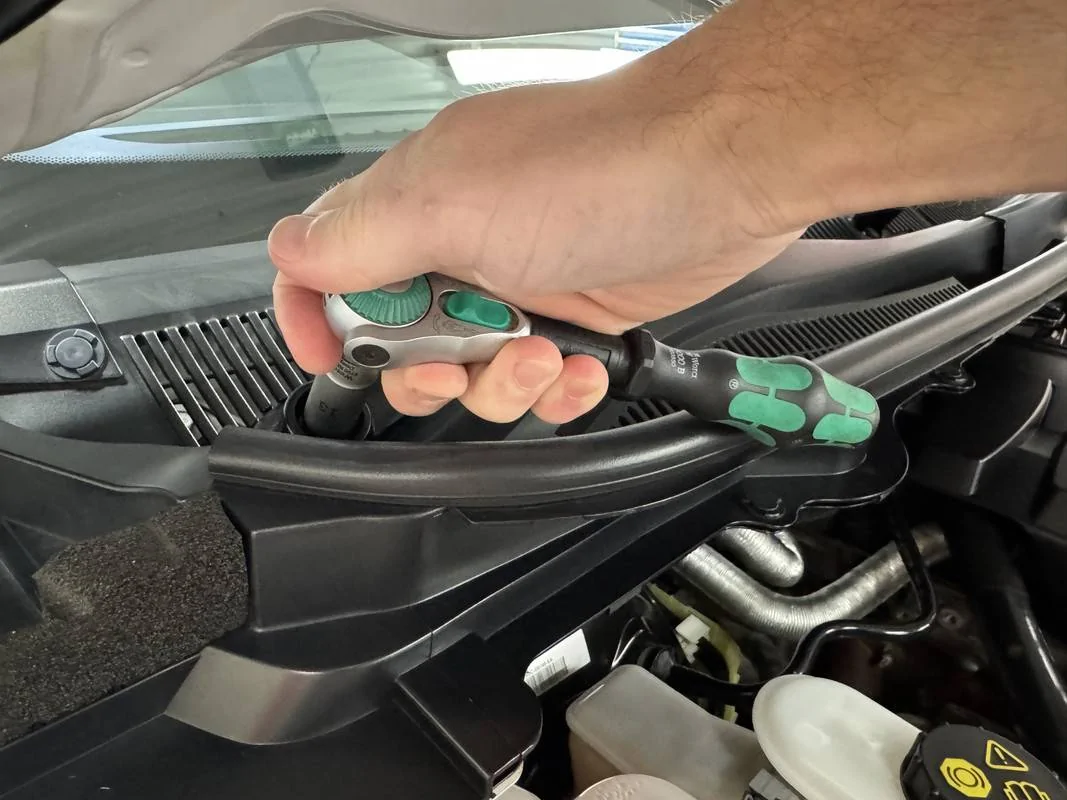
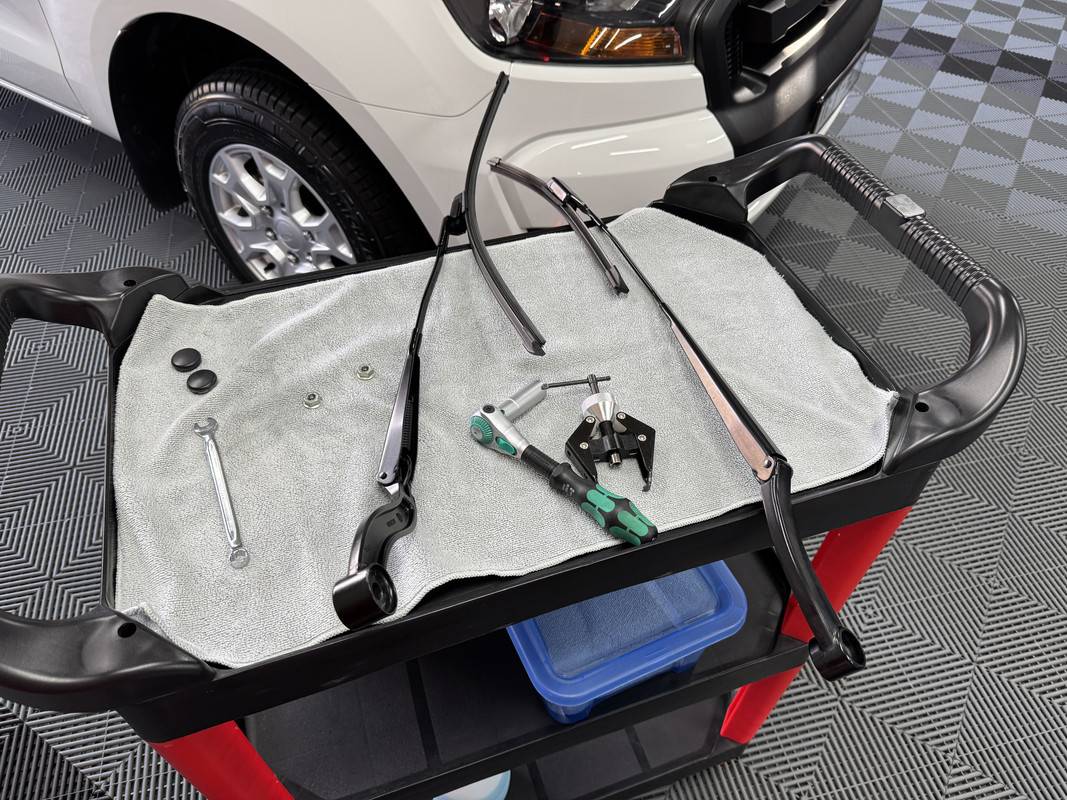
The PX-Series Ranger has a two-piece lower windscreen and wiper arm trim. To remove, first the wiper arms need to be removed. With the rubber caps popped out, remove the 13mm nut from the wiper arm.

IMG-5403.jpg


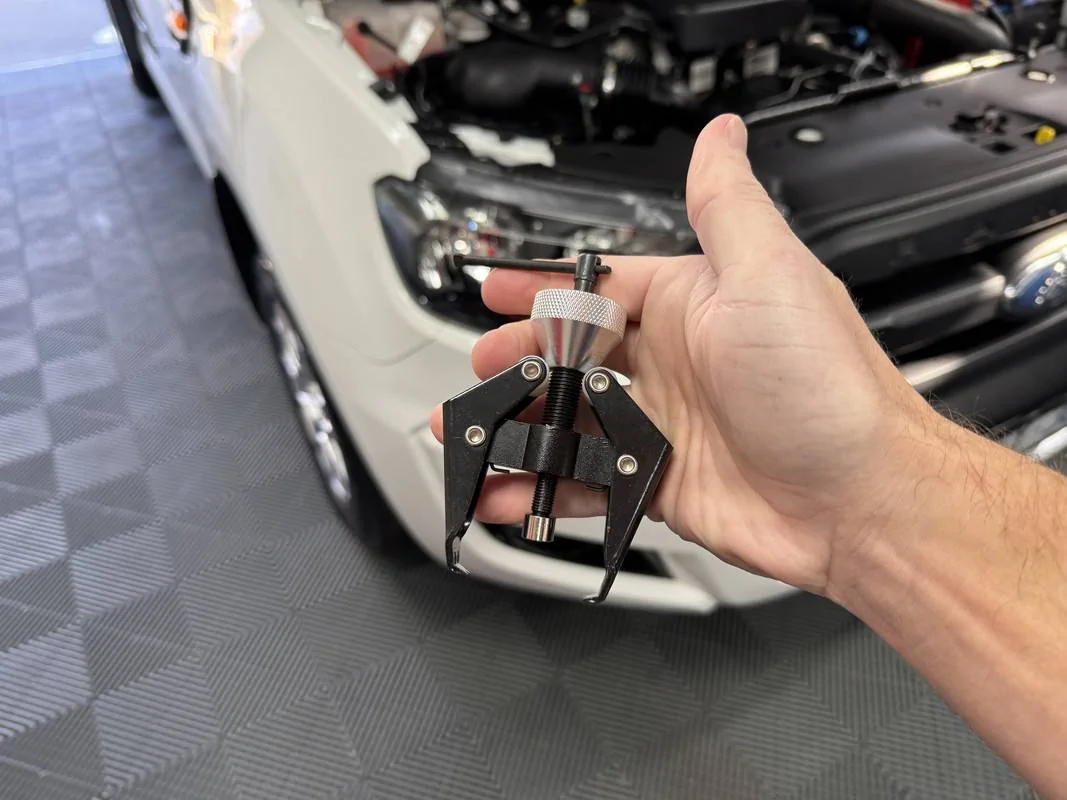
Now, you would think it would be a case of simply lifting the wiper arm from the motor shaft……………nope. The arms were effectively fused to the shaft after being on there for 9-years, which actually delayed this project by three days while I waited for a small puller to arrive. When I did the same thing on the XR6, I don’t seem to remember having this problem. Anyway, the puller arms are placed under the wiper, you then wind down on the bolt and draw the wiper from the shaft.

Wiper Arm Puller

IMG-5406.jpg


IMG-5408.jpg


Wiper arms removed, they were set aside for treatment later on.

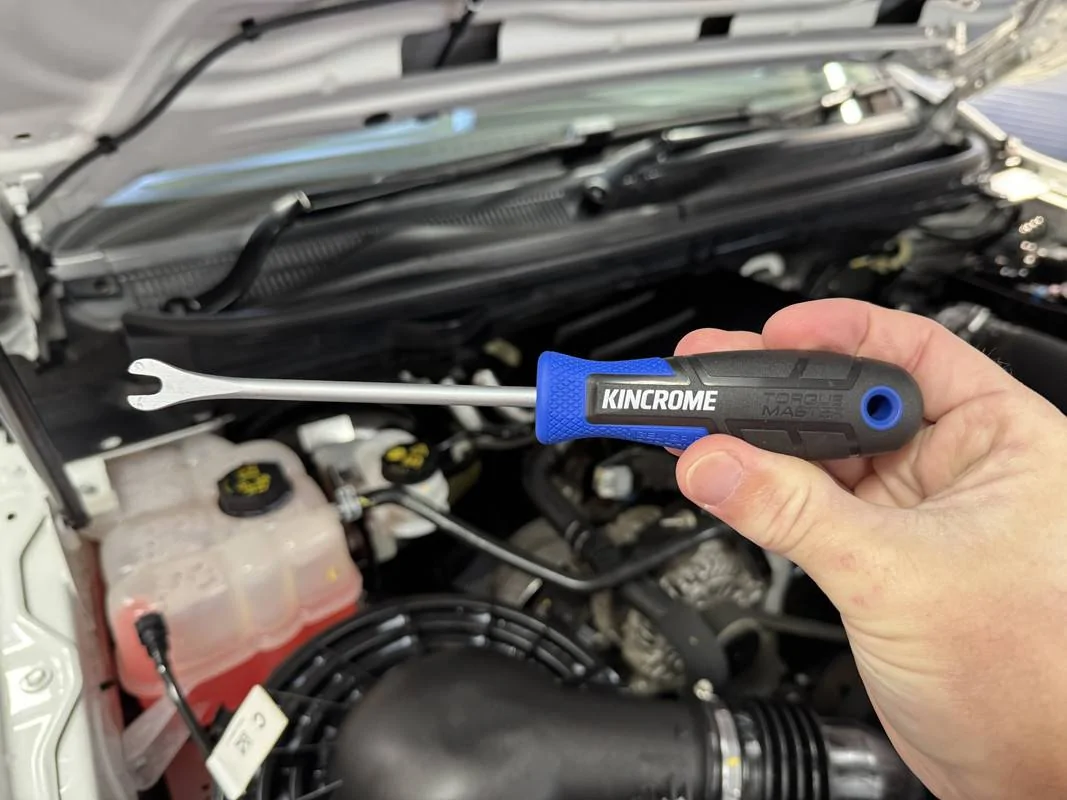
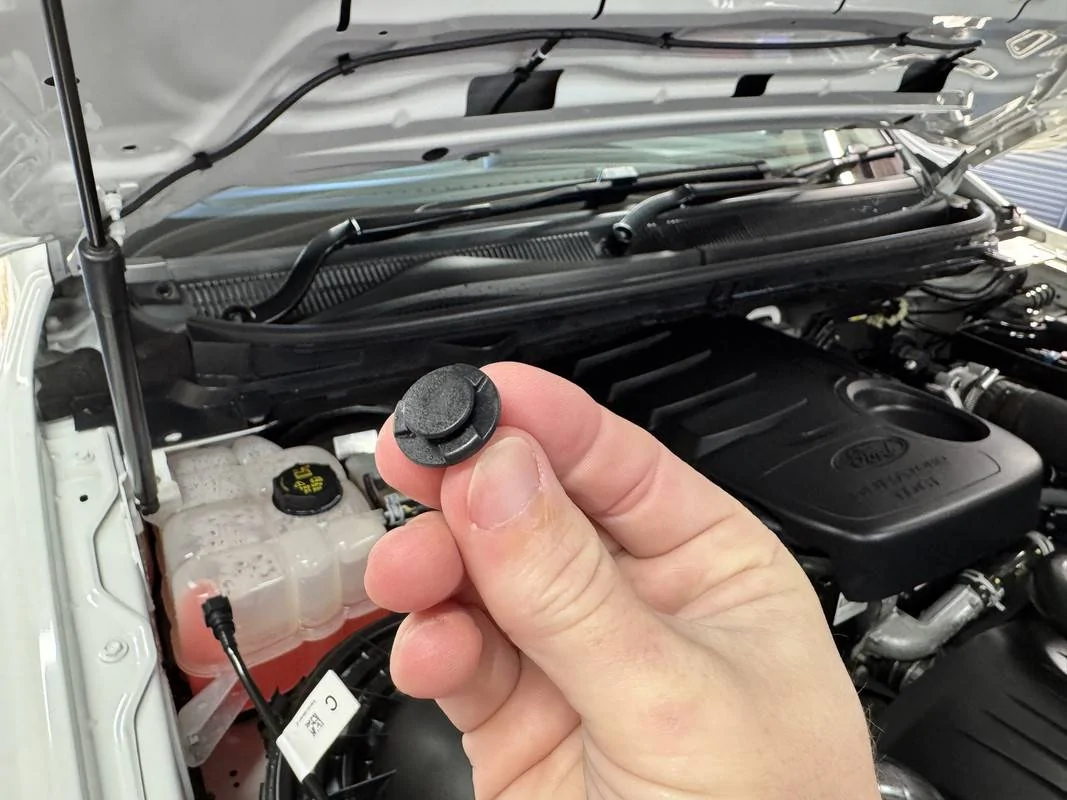
Next, the removal of nine plastic rivets, aided by a removal tool.............why didn't I buy one of these years ago?

IMG-5360.jpg


I was going to replace these rivets as two of them were quite badly faded. Different to most automotive trim hardware, I found they aren't an off the shelf item, strange considering the number of Ranger's on the road now. I tracked down the correct replacements at a few online retailers, but................................please tell me why these tiny little plastic rivets cost about $6.00 each? Absolutely ridiculous, for context that same spend buys you a 100 zinc plated timber screws. So, I decided to retore rather than replace.

IMG-5362.jpg


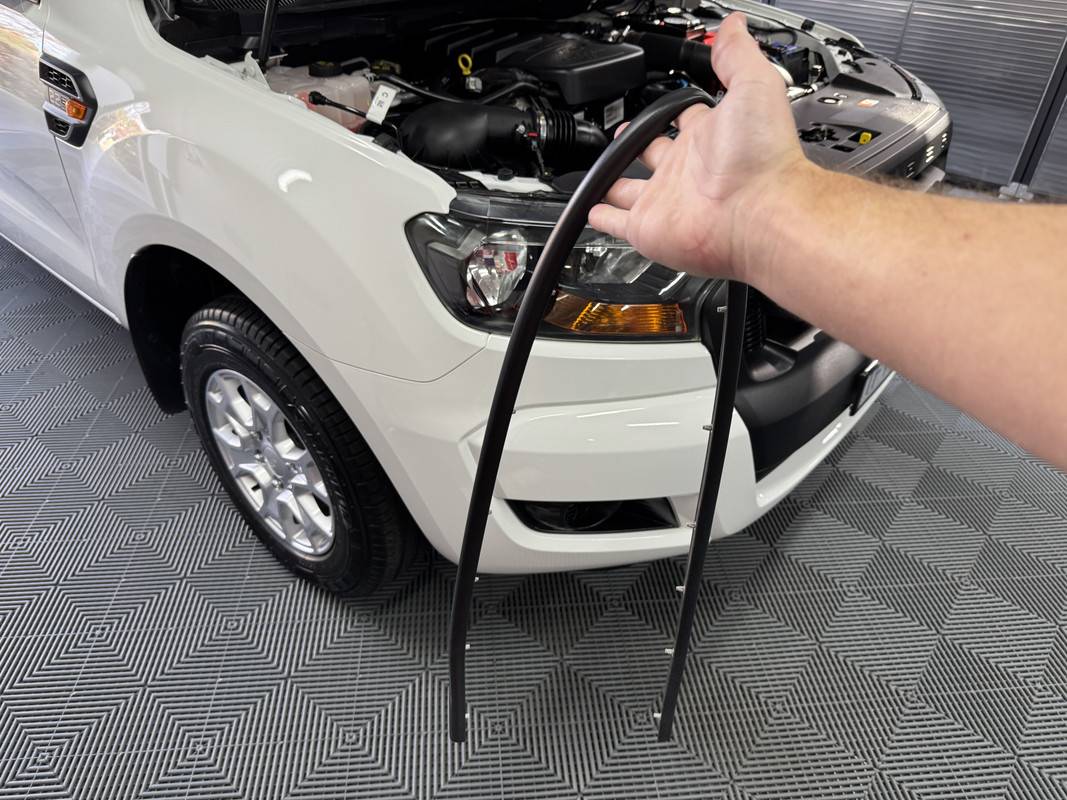
Before lifting up the two trim pieces, you need to first remove the single piece rubber seal.

IMG-5410.jpg


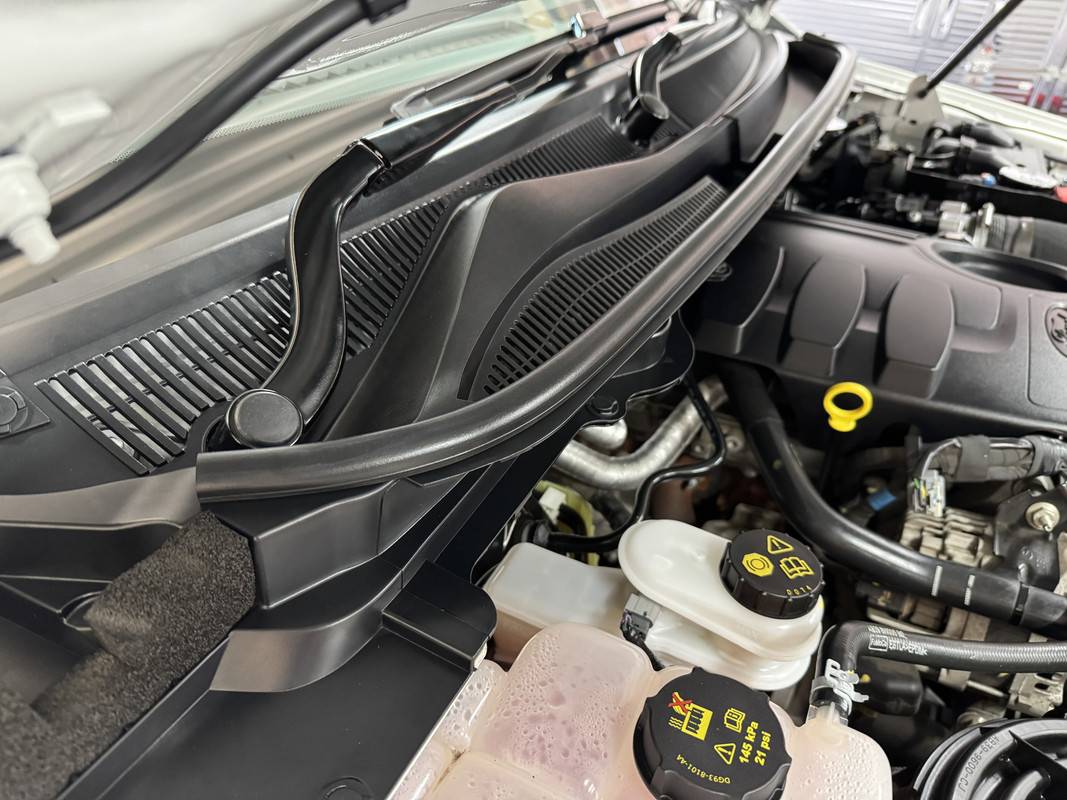
Each side of the trim is then gently prised upwards, the glass side will then pop out of the locating channel. There are then two side pieces that are clipped into the quarter panels, which gently levered up and away, more on these shortly.

IMG-5412.jpg


IMG-5417.jpg


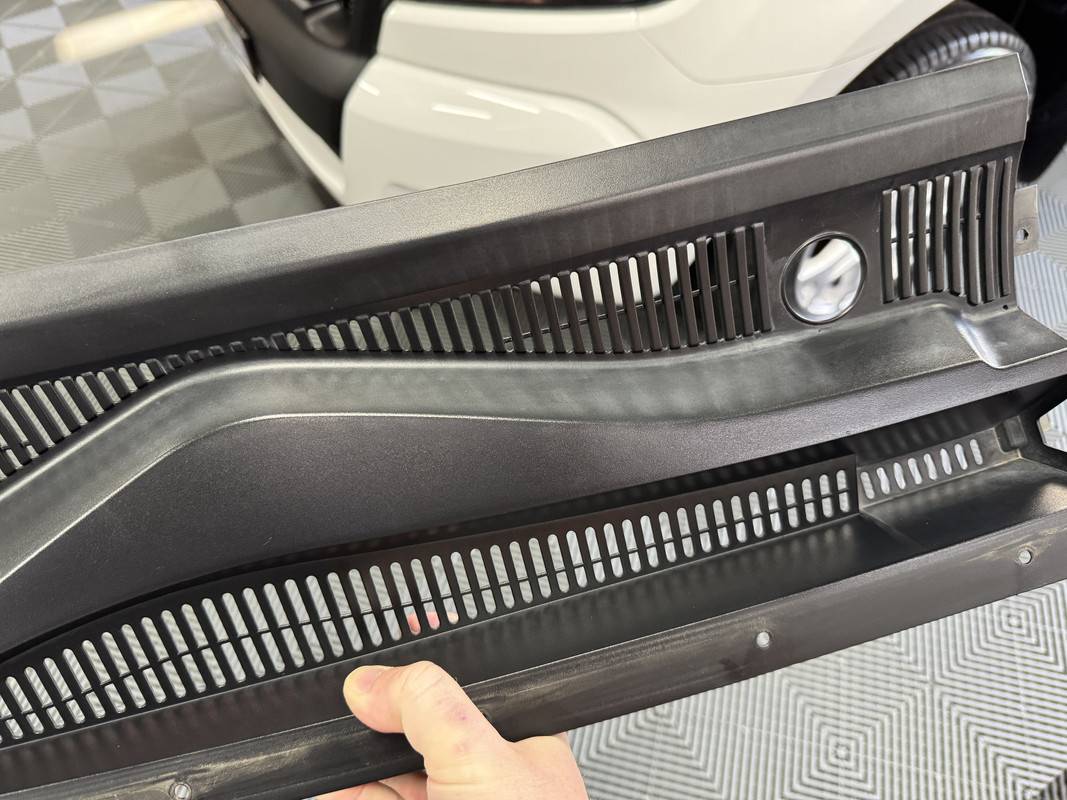
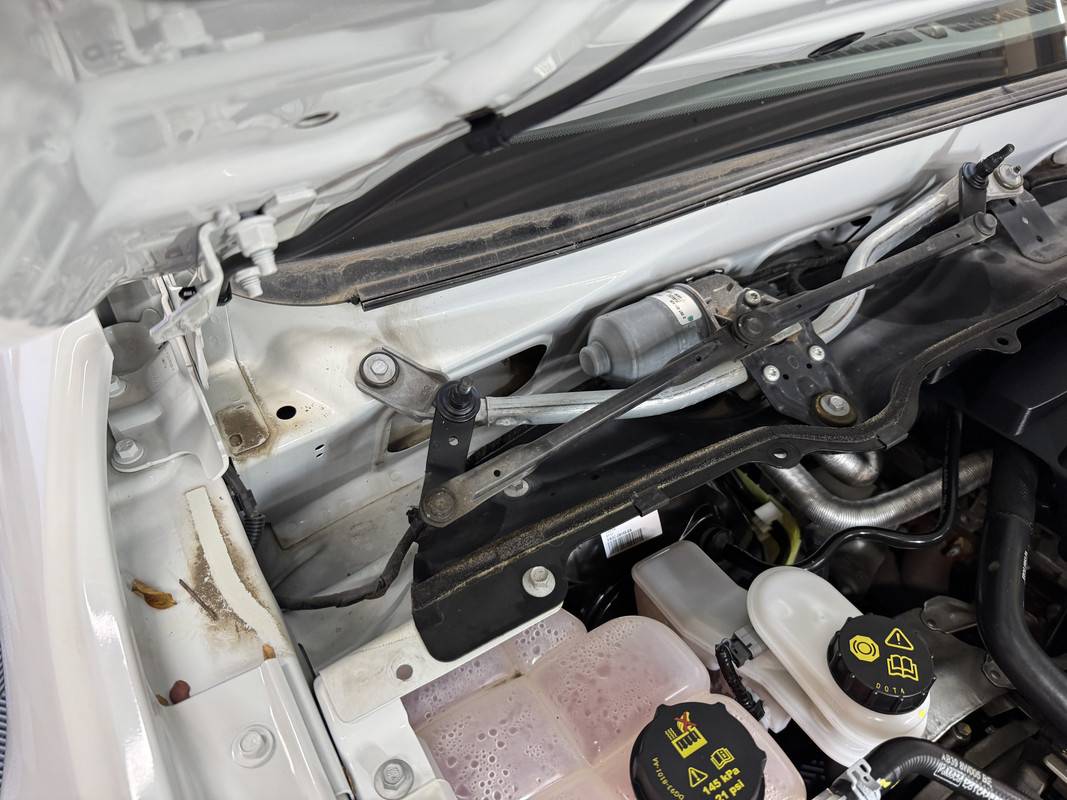
While not terrible, you can see discoloration on the surfaces most exposed to sunlight. Actually, its hard to properly show this on camera.

Cleaning –

With everything removed it was time to get cleaning. This step is vital in ensuring the success of the end result.

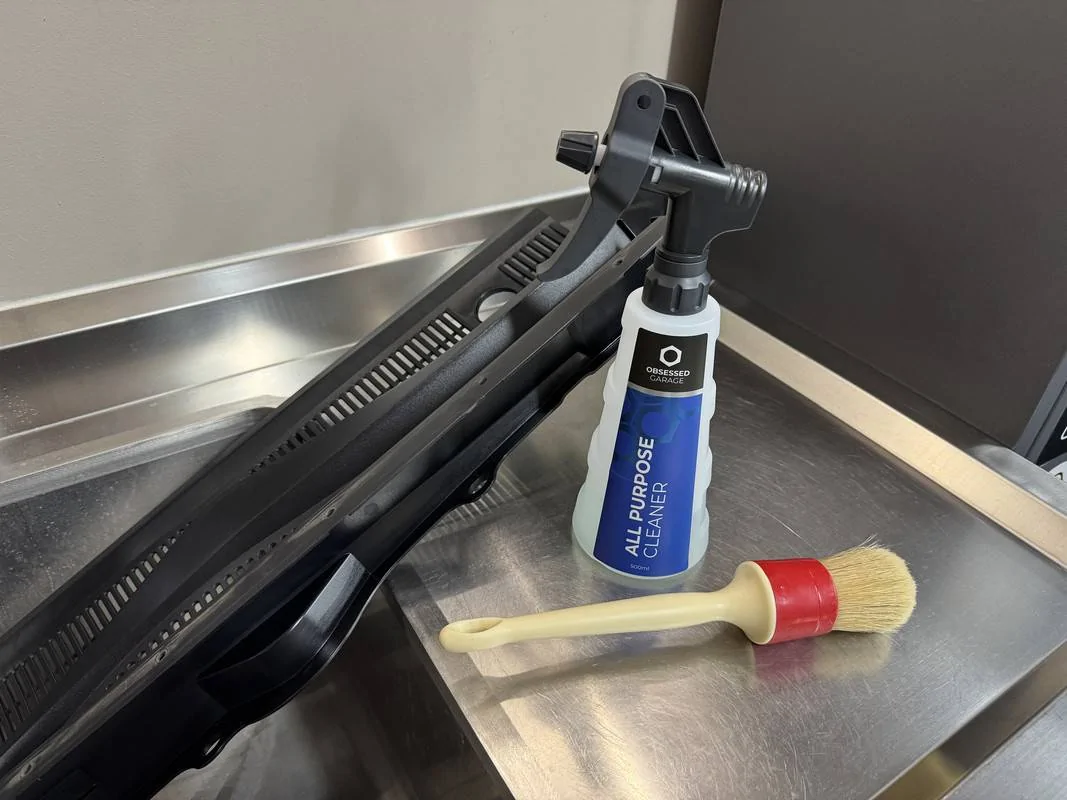
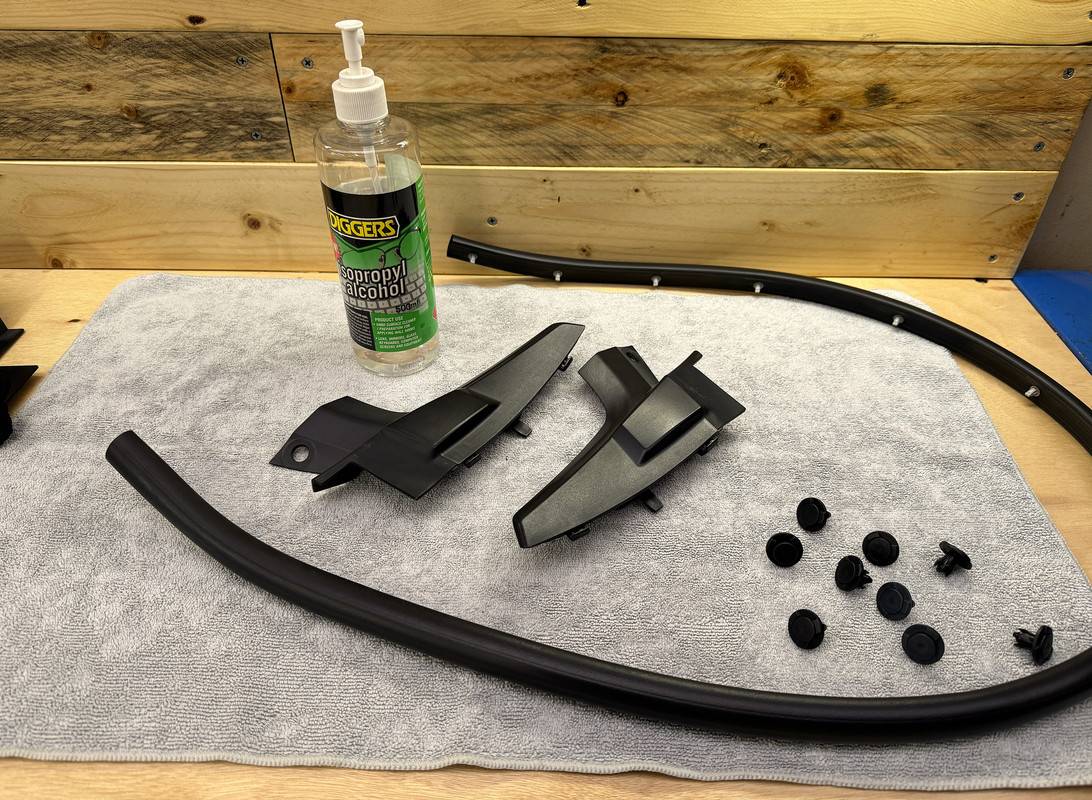
Using a brush and KCx Green Star APC, each trim piece was cleaned and rinsed thoroughly.

IMG-5420.jpg


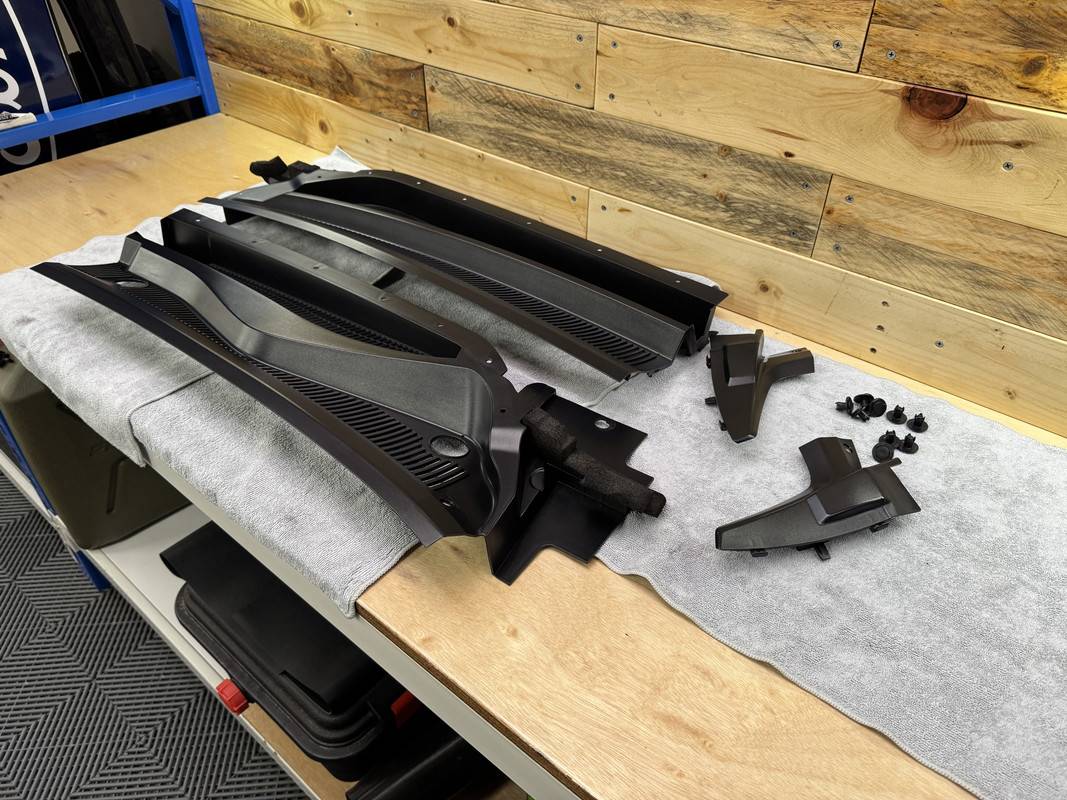
Below are the smaller side trims that bridge the gap between the windscreen, quarter panel and the larger trims. These have a flexible rubber section that folds away as the hood is raised/lowered. Both Ranger's in my care have faded badly in this area due to sun exposure.

IMG-5422.jpg


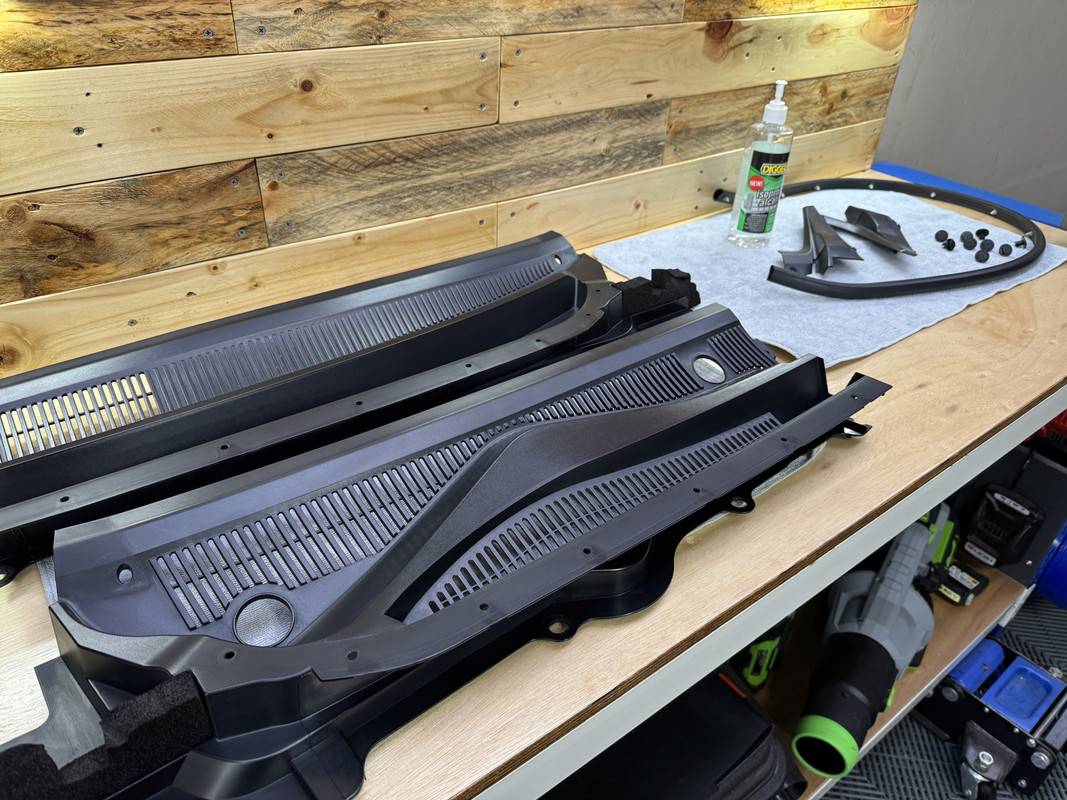
To finish the prep work, I used undiluted IPA to wipe down each piece, including the rubber seal and plastic rivets.

IMG-5427.jpg


IMG-5425.jpg


Trim Restoration -

There are many ways of restoring a fresh finish on black plastic trim.

Plastic & Vinyl Dressings - The quickest and easiest method, think water based products such as Carpro Perl or 303 Protectant. These will only last a couple of weeks at best, less if it rains or you wash the car.

Ceramic Coatings - In the past, I've used dedicated trim coatings such as Carpro DLUX, and even regular coatings such as ADS Quartz and Gyeon Can Coat. These will last the longest, but after a lot of research, I've moved away from this method.

Spray Sealants - These sit in the middle of the two above, offering an easy application and longer lasting results. I absolutely love Carpro Reload for this, but most ceramic spray sealants will work in a similar manner. However, these are best used to maintain trim rather than restore a moderate to heavy fading.

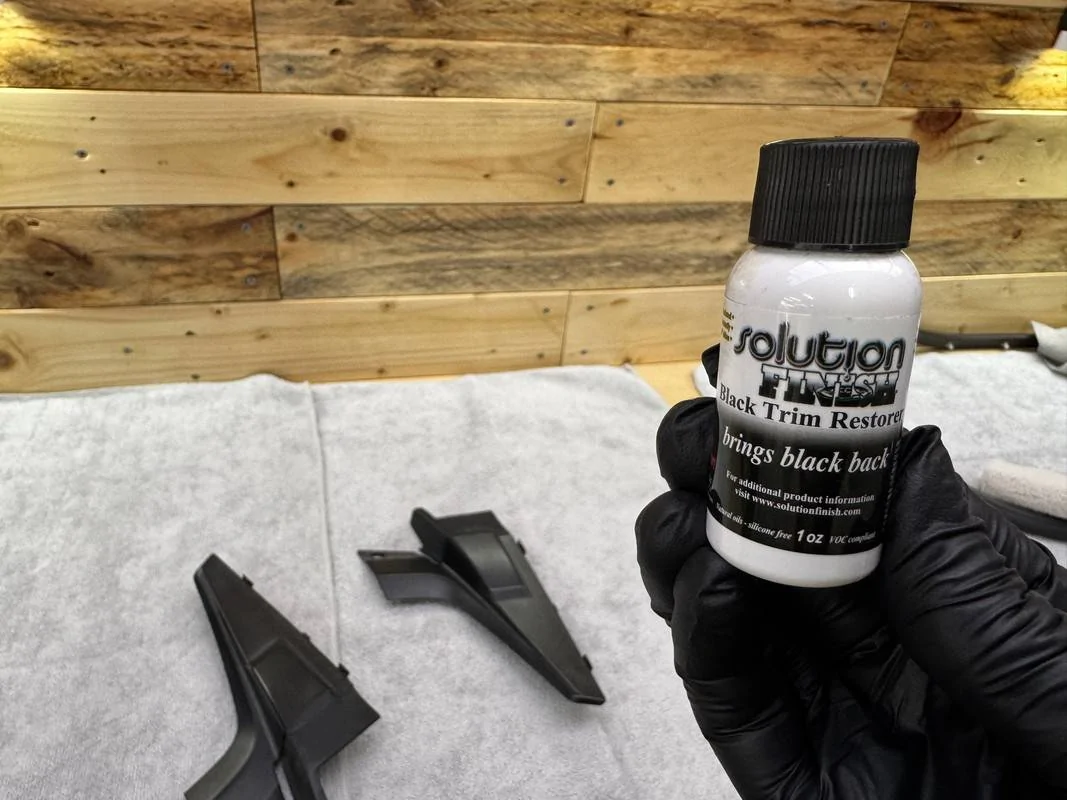
Trim Dye - A product such as Solution Finish restores faded plastic to a factory finish. I'm also keen to try Armour Detail Supply's new combined dye and ceramic coating, which is yet to hit the market but looks like the perfect solution.

Ultimately, I went with Solution Finish. I've used this multiple times in the past and really like how forgiving it is to use and the look of the finished result. It's termed a "semi-permanent" product that can last up to and beyond 12-months. Considering my vehicle use patterns, I should get plenty more than that.

Get Solution Finish Trim Restorer Online | Waxit – Waxit Car Care

IMG-5431.jpg


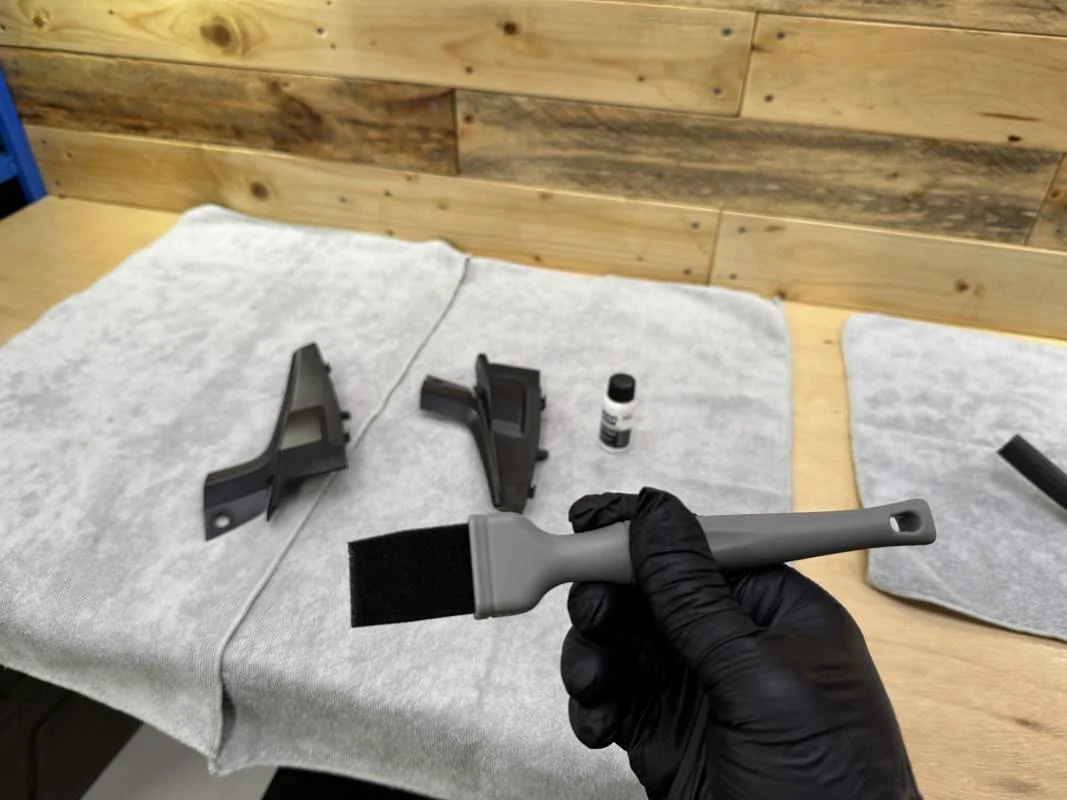
Application is simple, just shake the bottle very well, then apply a small amount to a microfiber applicator and work it over the surface. I did try one of the new Detail Factory foam brushes, which was designed with Solution Finish in mind, but a microfiber applicator works best. After thoroughly massaging the product into the plastic, leave it to absorb for 5-minutes and lightly buff away any residue. Choose you towel wisely as you won't be using it again after this. TRC Rip-n-Rag's are your friend here.

Rip N' Rag - Multi-Purpose Microfiber Towels | The Rag Company
The Rag Company "Rip n' Rag" Multi-Purpose Microfiber Towels 30X30 - Detailing Shed

IMG-5433.jpg


Each piece of trim was treated, as well as the rivet heads and rubber seal.

Cowl Cleaning -

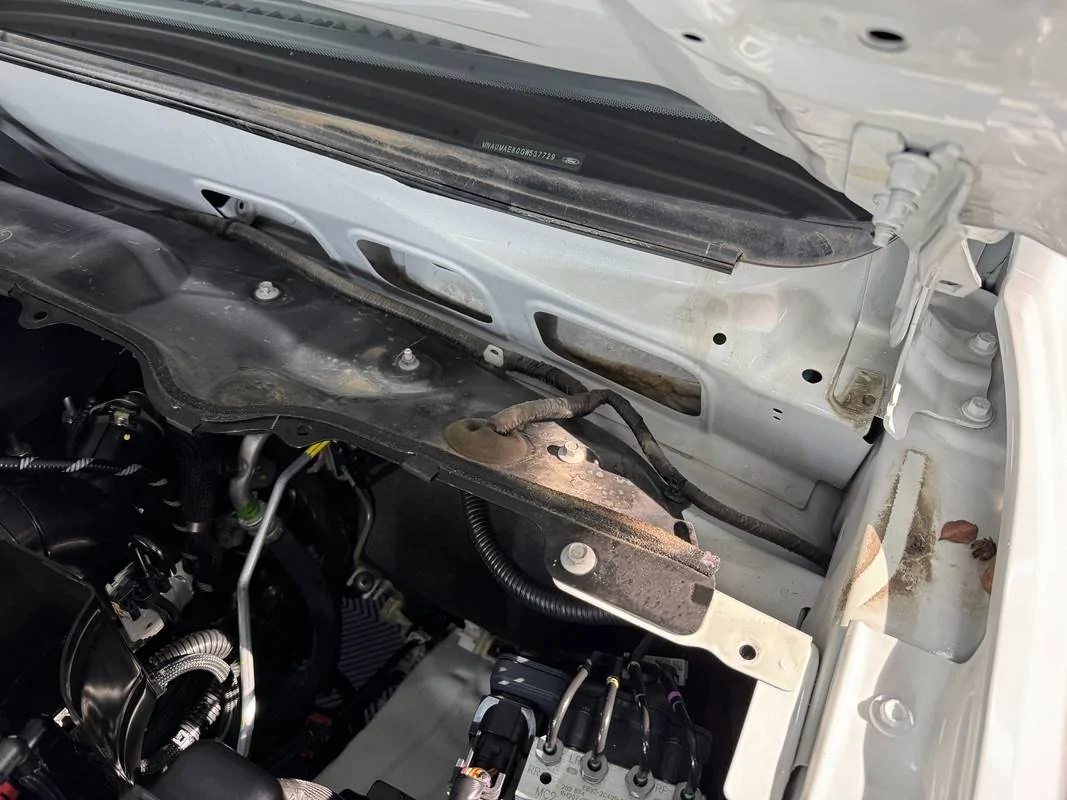
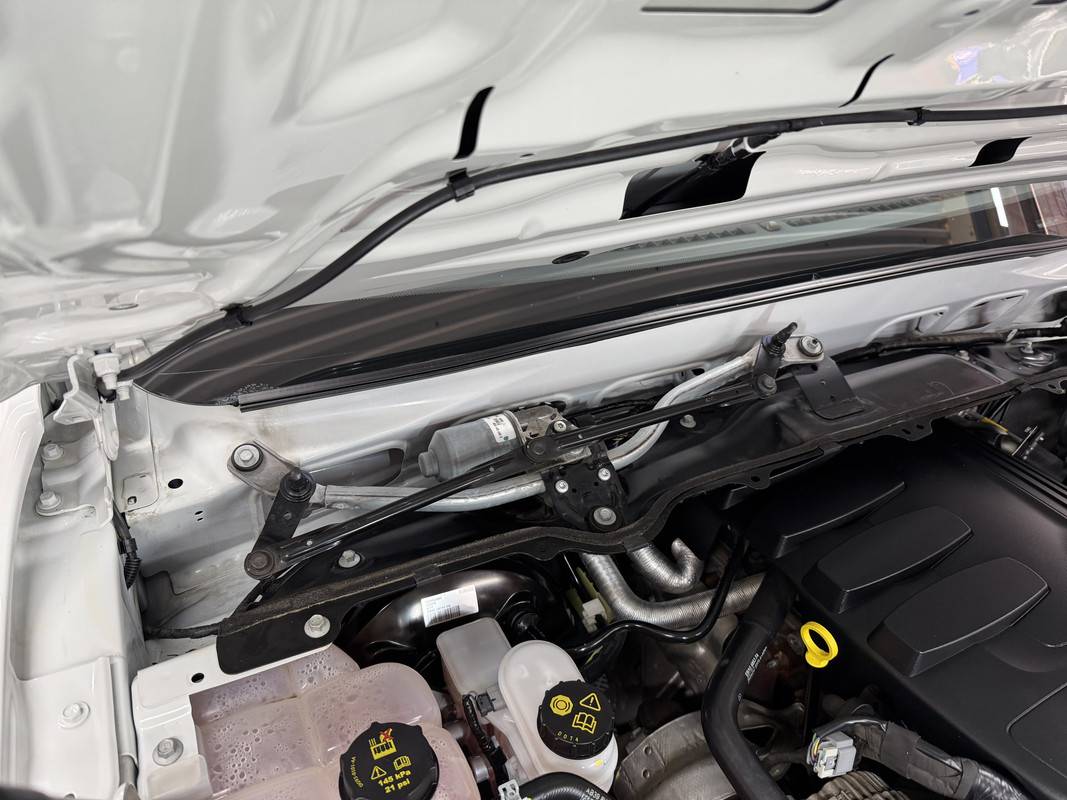
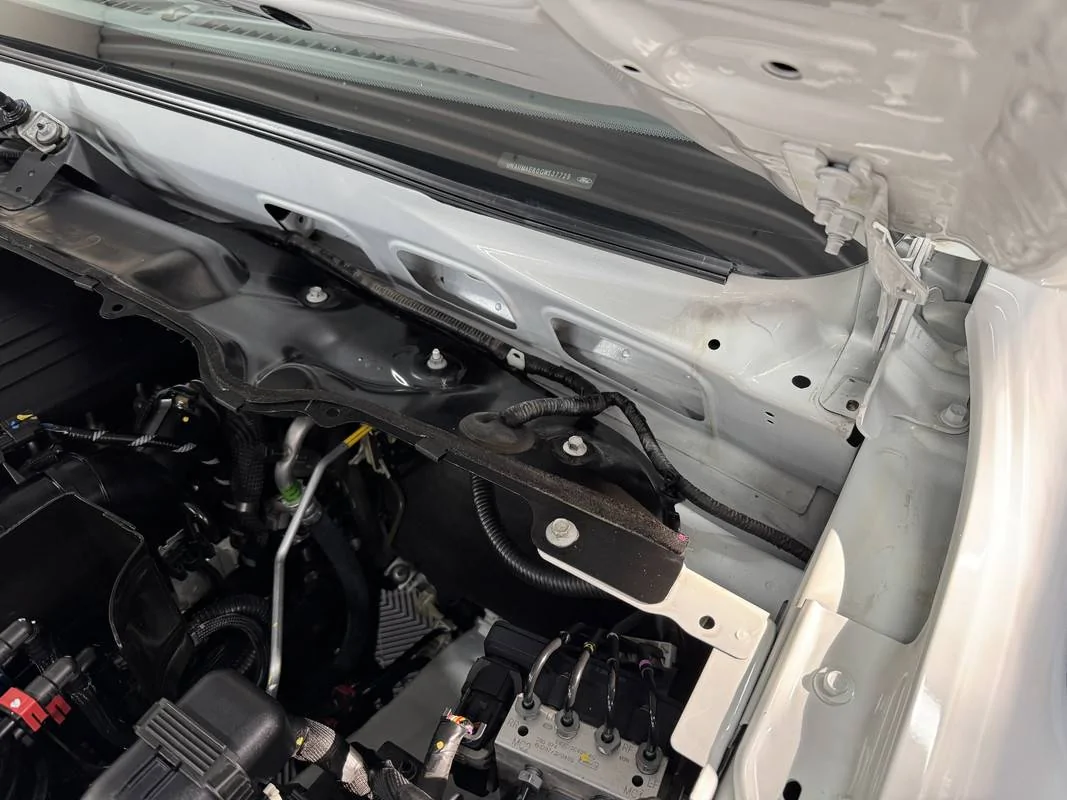
While I let the Solution Finish cure, I directed attention to the areas hidden by all this trim. Considering the age of the car, I was expecting more..................

IMG-5436.jpg


IMG-5437.jpg


To clean these areas, I used both Green Star, ONR and more Rip-n-Rag's. Hidden by the trim, the base of the glass had a build-up of mineral content, so I hand polished this using a towel and Clarity Creme. While I had this all apart, I went ahead and applied fish oil to a few key areas.

IMG-5448.jpg


IMG-5450.jpg


Wiper Arms & Blades –

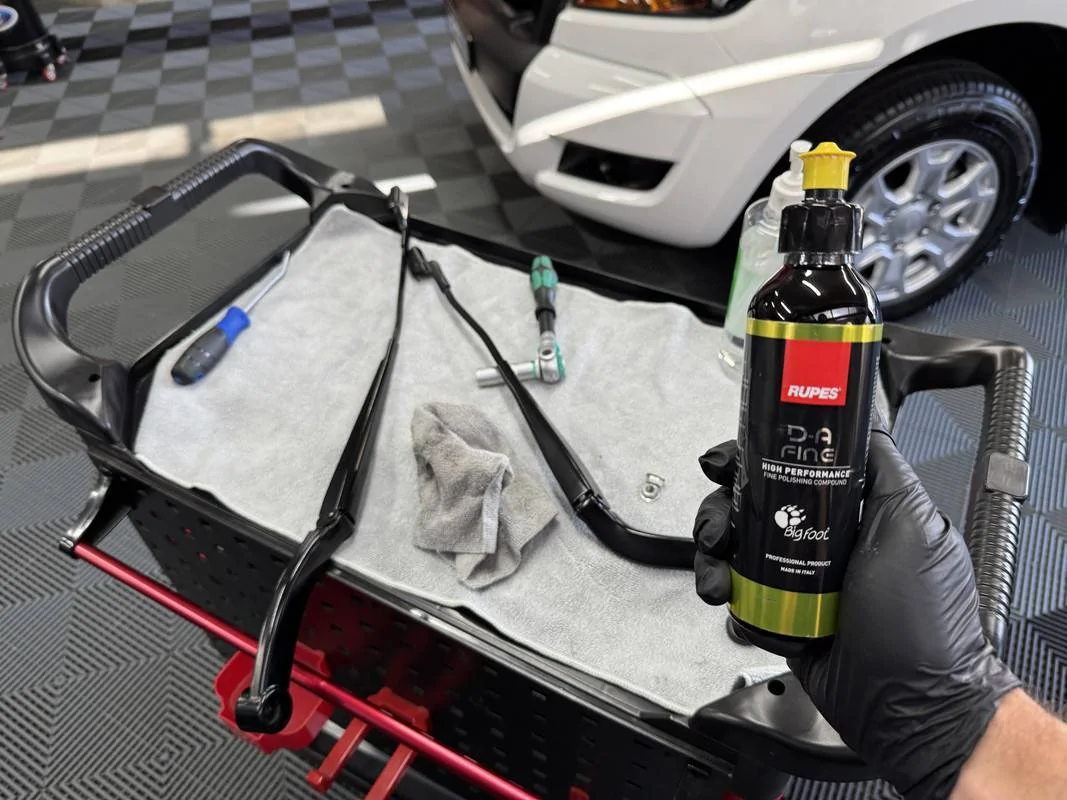
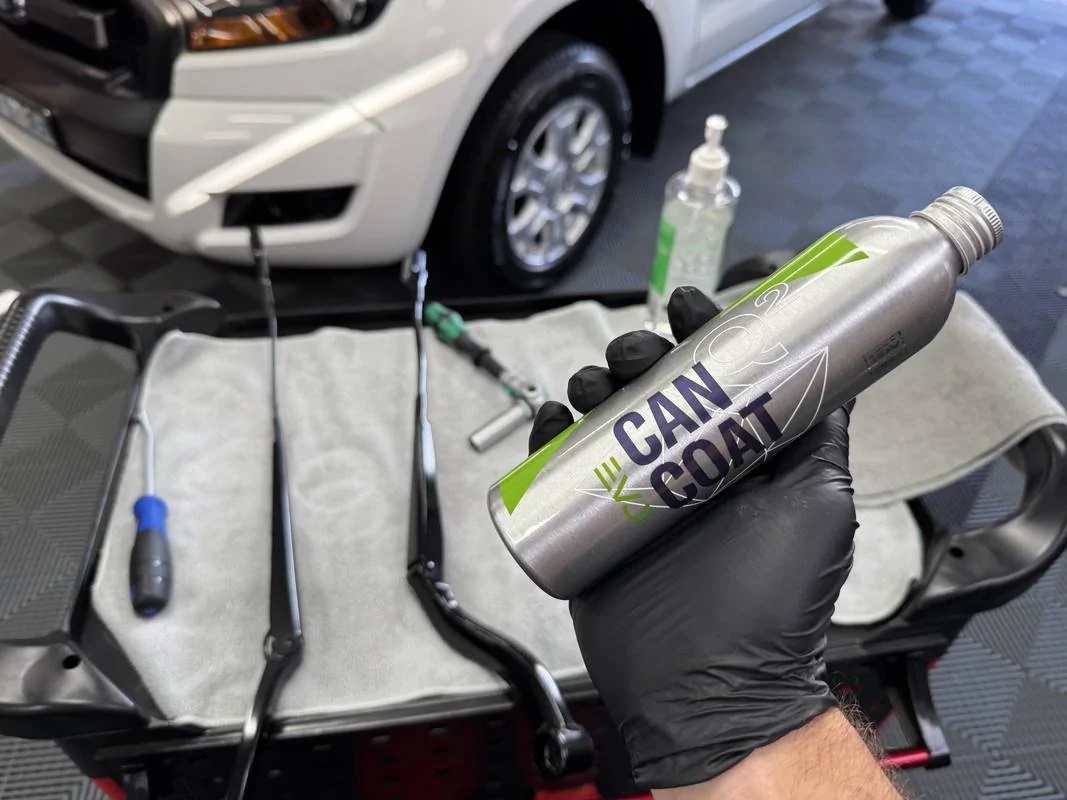
The wiper arms had some mild oxidation, so after removing the blades, I polished them using Rupes DA Fine on a towel. This cleaned them up very nicely, the following application of Gyeon Can Coat had them looking like new!

IMG-5440.jpg


IMG-5445.jpg


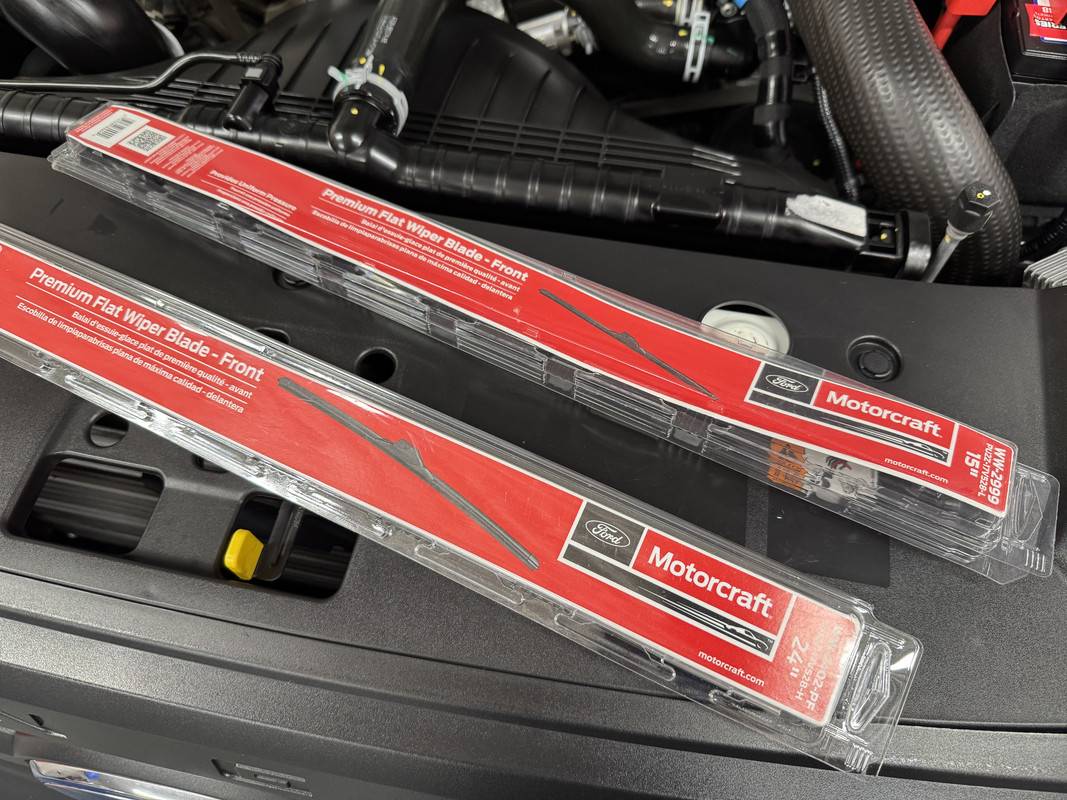
I had also decided to replace the wiper arms while I was at it. Earlier in the week, I picked up a set of OEM wiper arms from the local Ford dealer.

IMG-5464.jpg


Over The Top -

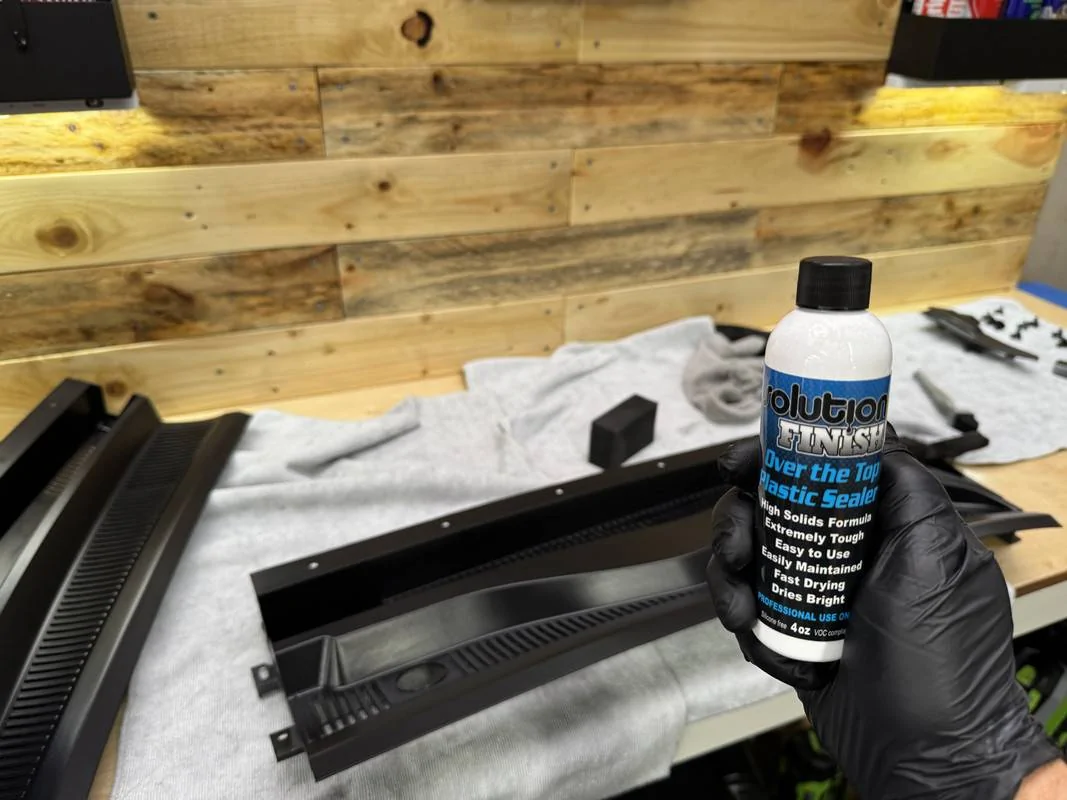
One could say all of the above is "over the top".....................and you would be correct. However, Over The Top is actually a product, a sealant that is applied after letting Solution Finish cure. Applied using a foam sponge, this helps protect and prolong your hard work. Not a necessity, but I had it on hand and though I may as well use it.

Get Solution Finish Trim Restorer Online | Waxit – Waxit Car Care
Solution Finish - Over the Top Plastic Sealer | The Rag Company

IMG-5453.jpg


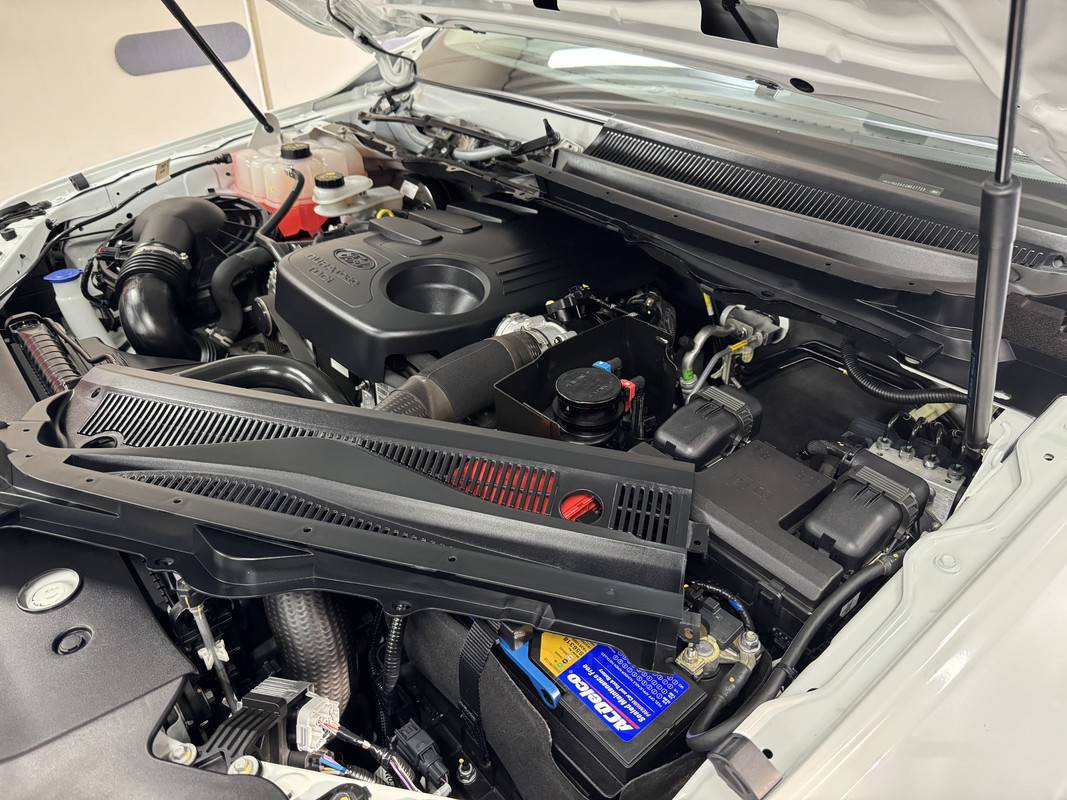
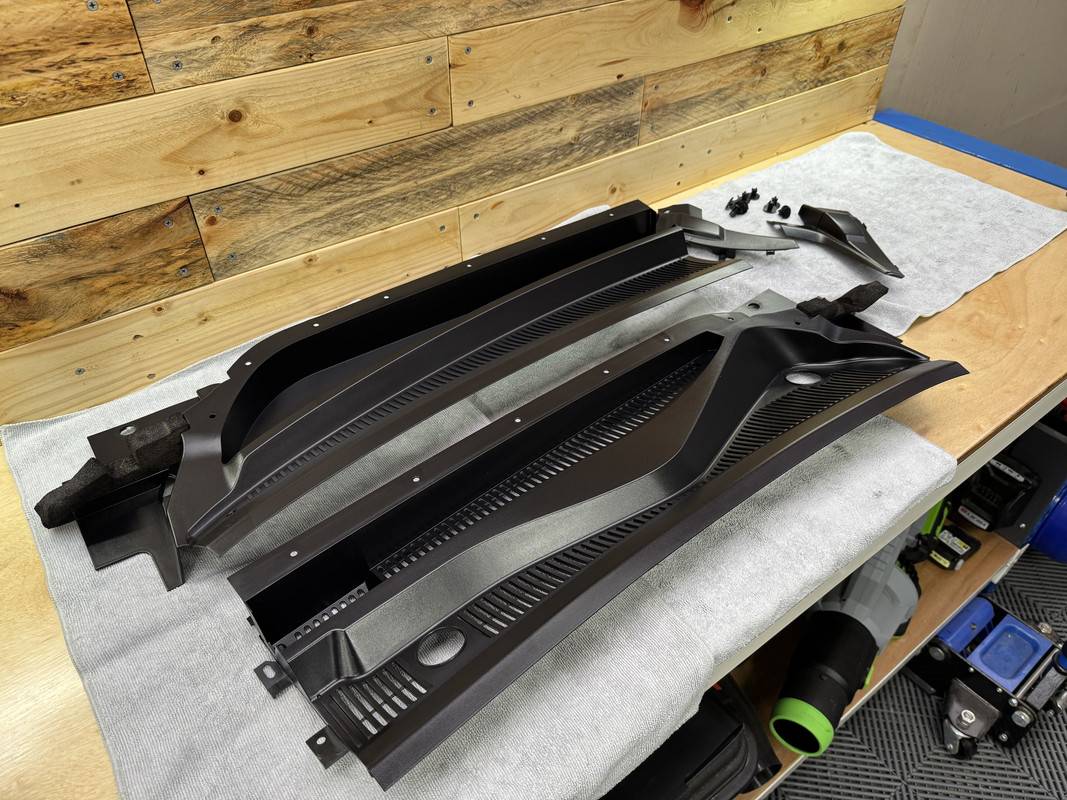
Finished and ready to go back on the car.

IMG-5454.jpg


IMG-5457.jpg


Reinstallation –

Time to put everything back together. First, the two large cowl trims. Just don't do what I did by putting the left-hand side on first, there are two tabs on the right-hand piece that need to slide under the left side. I have to say, the way the trim snaps back into place is a vastly better design compared to what Ford used on the FG Falcon..............as in it clicks back into place without an assortment of rude words.

IMG-5462.jpg


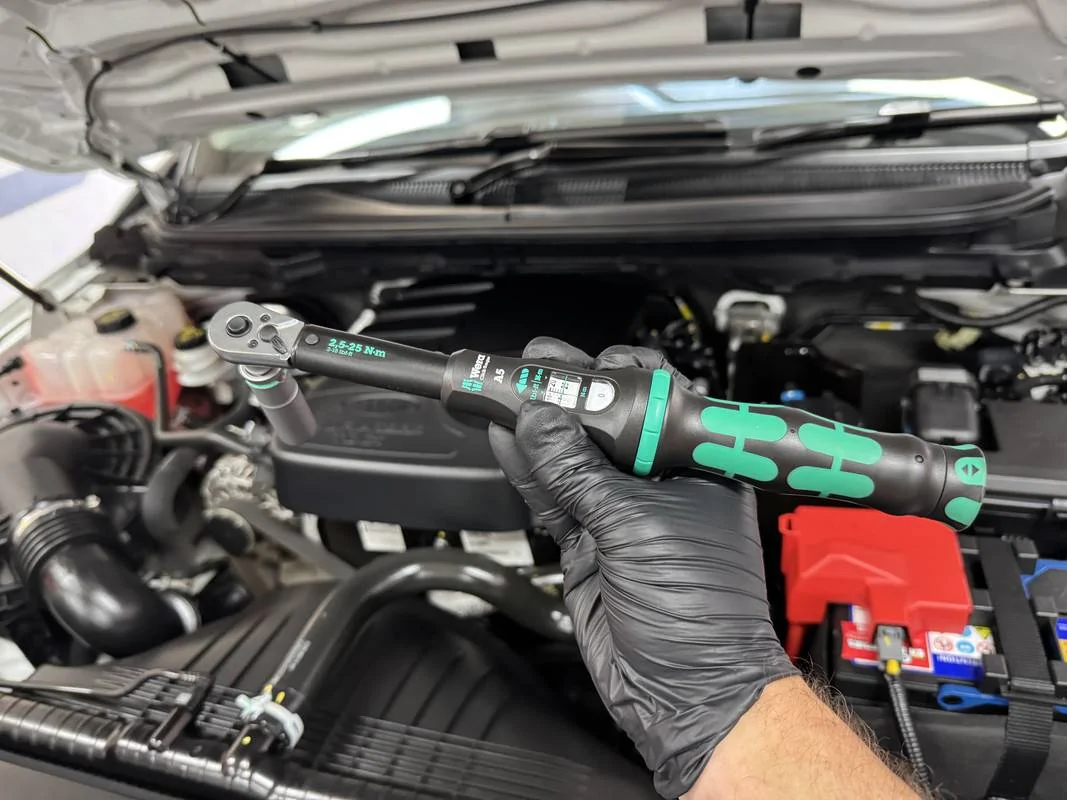
The two outer trims are then clipped back in place and the nine rivets reinstalled, followed by the rubber seal. From here, the wiper arms are put back in place and the nut torqued down to 25 Nm.

IMG-5468.jpg


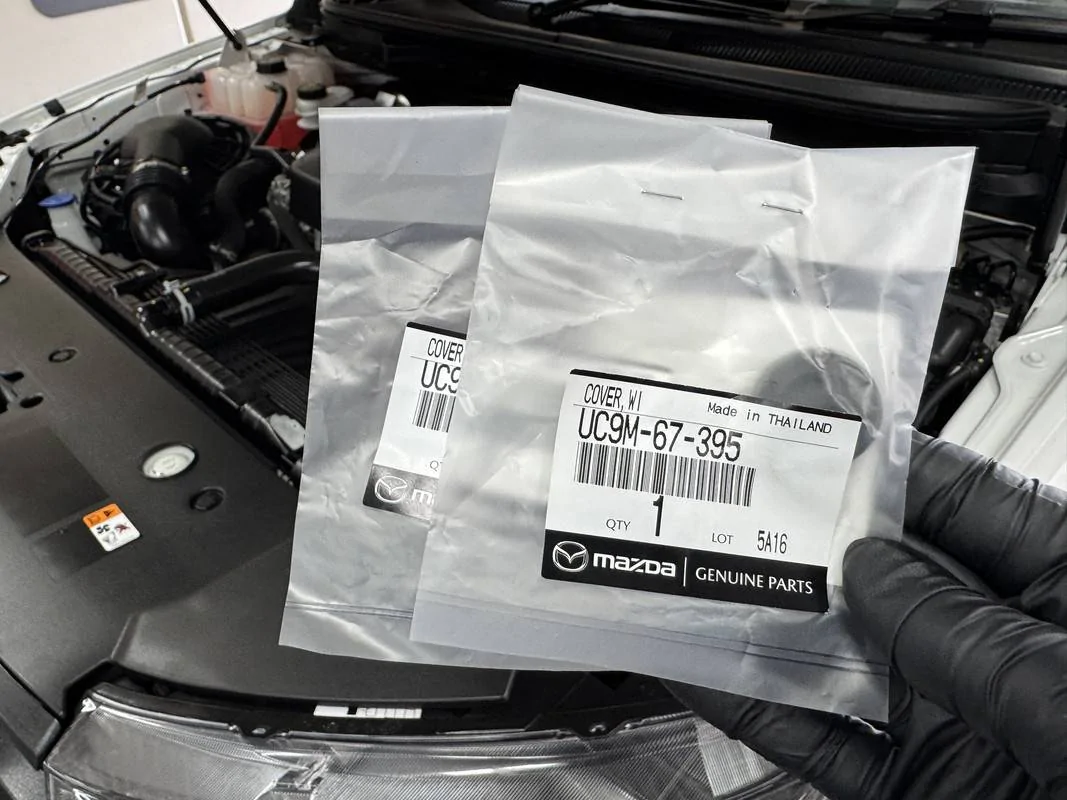
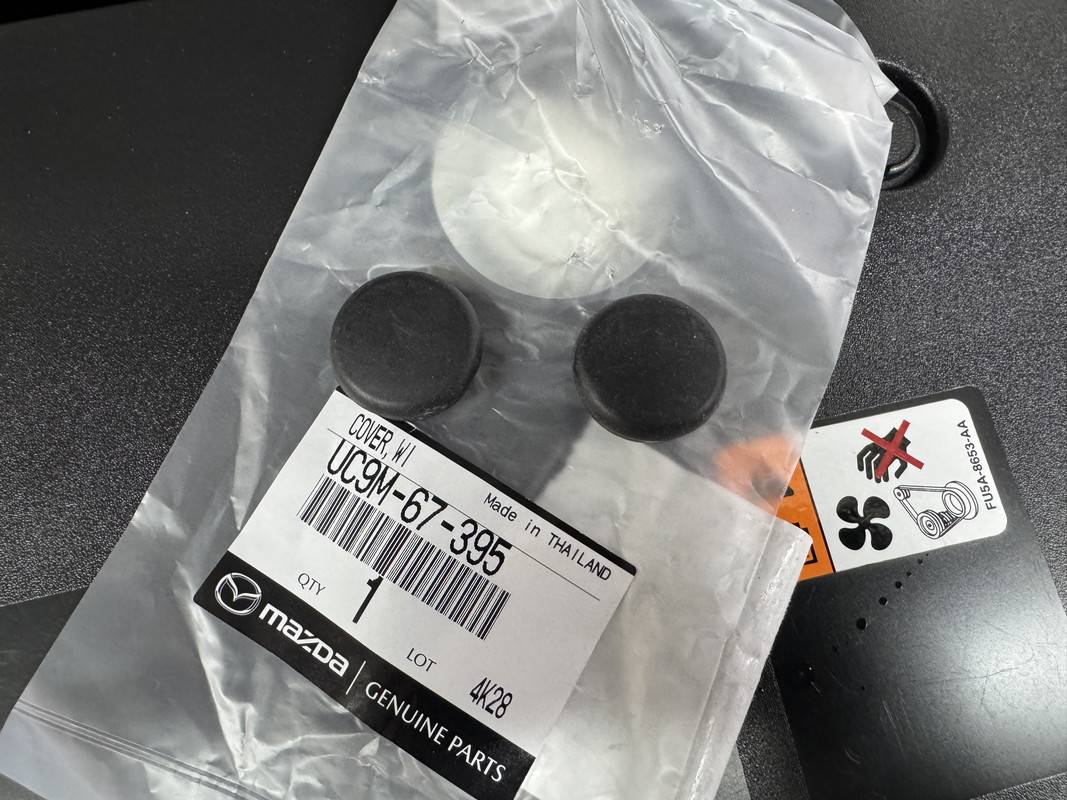
I then installed two new rubber gromets to cover the wiper arm nuts. I actually bought them for Dad's Wildtrak as these gromets are prone to going awol, especially when using a pressure washer around this area. However, I decided to nick them for myself, he can have my old ones. While packaged as Mazda items, they are the same part.

IMG-5472.jpg


IMG-5475.jpg


A quick test of the wipers, the windscreen was cleaned and the job complete.

Finished Result -

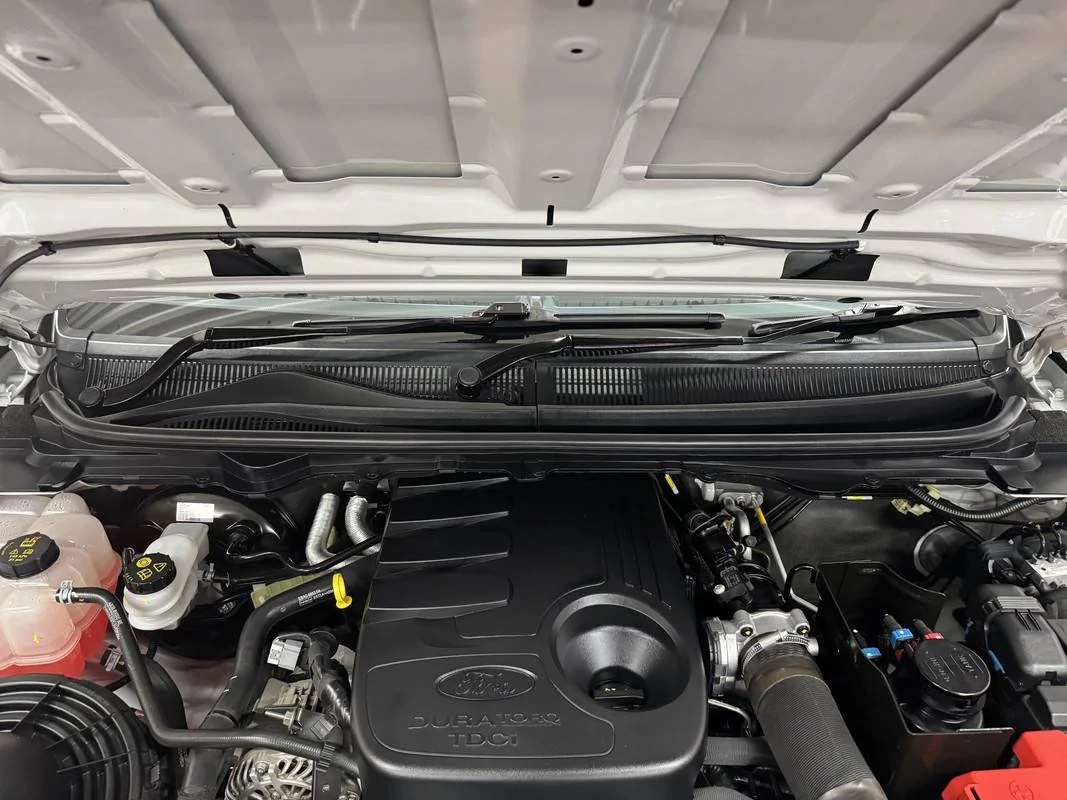
All four trim pieces are available from Ford............... at a price. The two large trim pieces will set you back between $255 - $287 for the pair, the two small trims are $35 each, so $325 - $357 all up. Considering I already had the Solution Finish, Can Coat, Rupes DA Fine and IPA from previous projects, the only items I specifically bought were the rubber gromets for $10 and the wiper arm puller for $17. And a few 0.70c towels.

IMG-5480.jpg


IMG-5484.jpg


I need to do the same thing to the Wildtrak at some point, but I'm thinking of waiting until the new ADS trim product arrives.
 

Sponsored
WD Pro

Well-Known Member
Joined
Jan 18, 2018
Threads
132
Messages
6,798
Reaction score
13,640
Location
United Kingdom
Vehicle(s)
Lime GT
Vehicle Showcase
1
Ranger Wiper Trim Restoration

Nothing ages a car more than faded black plastic trim. While certain areas are easy to deal with, say the wing mirrors or bumper inserts, others are harder to do properly. As such, these areas tend to get neglected and therefore show age sooner. Sitting at the top of this category would be the trim at the base of the windscreen, mainly because the bonnet and wiper arms block full access.

So, after 9 years on the road, it’s time for the Ranger to receive some attention in this department. Now, this job could certainly be done with the trim still fitted to the car. However, to clean and treat the windscreen trim properly, I find its best to remove it from the vehicle.

Trim Removal –

The PX-Series Ranger has a two-piece lower windscreen and wiper arm trim. To remove, first the wiper arms need to be removed. With the rubber caps popped out, remove the 13mm nut from the wiper arm.

IMG-5403.jpg


Now, you would think it would be a case of simply lifting the wiper arm from the motor shaft……………nope. The arms were effectively fused to the shaft after being on there for 9-years, which actually delayed this project by three days while I waited for a small puller to arrive. When I did the same thing on the XR6, I don’t seem to remember having this problem. Anyway, the puller arms are placed under the wiper, you then wind down on the bolt and draw the wiper from the shaft.

Wiper Arm Puller

IMG-5406.jpg


IMG-5408.jpg


Wiper arms removed, they were set aside for treatment later on.

Next, the removal of nine plastic rivets, aided by a removal tool.............why didn't I buy one of these years ago?

IMG-5360.jpg


I was going to replace these rivets as two of them were quite badly faded. Different to most automotive trim hardware, I found they aren't an off the shelf item, strange considering the number of Ranger's on the road now. I tracked down the correct replacements at a few online retailers, but................................please tell me why these tiny little plastic rivets cost about $6.00 each? Absolutely ridiculous, for context that same spend buys you a 100 zinc plated timber screws. So, I decided to retore rather than replace.

IMG-5362.jpg


Before lifting up the two trim pieces, you need to first remove the single piece rubber seal.

IMG-5410.jpg


Each side of the trim is then gently prised upwards, the glass side will then pop out of the locating channel. There are then two side pieces that are clipped into the quarter panels, which gently levered up and away, more on these shortly.

IMG-5412.jpg


IMG-5417.jpg


While not terrible, you can see discoloration on the surfaces most exposed to sunlight. Actually, its hard to properly show this on camera.

Cleaning –

With everything removed it was time to get cleaning. This step is vital in ensuring the success of the end result.

Using a brush and KCx Green Star APC, each trim piece was cleaned and rinsed thoroughly.

IMG-5420.jpg


Below are the smaller side trims that bridge the gap between the windscreen, quarter panel and the larger trims. These have a flexible rubber section that folds away as the hood is raised/lowered. Both Ranger's in my care have faded badly in this area due to sun exposure.

IMG-5422.jpg


To finish the prep work, I used undiluted IPA to wipe down each piece, including the rubber seal and plastic rivets.

IMG-5427.jpg


IMG-5425.jpg


Trim Restoration -

There are many ways of restoring a fresh finish on black plastic trim.

Plastic & Vinyl Dressings - The quickest and easiest method, think water based products such as Carpro Perl or 303 Protectant. These will only last a couple of weeks at best, less if it rains or you wash the car.

Ceramic Coatings - In the past, I've used dedicated trim coatings such as Carpro DLUX, and even regular coatings such as ADS Quartz and Gyeon Can Coat. These will last the longest, but after a lot of research, I've moved away from this method.

Spray Sealants - These sit in the middle of the two above, offering an easy application and longer lasting results. I absolutely love Carpro Reload for this, but most ceramic spray sealants will work in a similar manner. However, these are best used to maintain trim rather than restore a moderate to heavy fading.

Trim Dye - A product such as Solution Finish restores faded plastic to a factory finish. I'm also keen to try Armour Detail Supply's new combined dye and ceramic coating, which is yet to hit the market but looks like the perfect solution.

Ultimately, I went with Solution Finish. I've used this multiple times in the past and really like how forgiving it is to use and the look of the finished result. It's termed a "semi-permanent" product that can last up to and beyond 12-months. Considering my vehicle use patterns, I should get plenty more than that.

Get Solution Finish Trim Restorer Online | Waxit – Waxit Car Care

IMG-5431.jpg


Application is simple, just shake the bottle very well, then apply a small amount to a microfiber applicator and work it over the surface. I did try one of the new Detail Factory foam brushes, which was designed with Solution Finish in mind, but a microfiber applicator works best. After thoroughly massaging the product into the plastic, leave it to absorb for 5-minutes and lightly buff away any residue. Choose you towel wisely as you won't be using it again after this. TRC Rip-n-Rag's are your friend here.

Rip N' Rag - Multi-Purpose Microfiber Towels | The Rag Company
The Rag Company "Rip n' Rag" Multi-Purpose Microfiber Towels 30X30 - Detailing Shed

IMG-5433.jpg


Each piece of trim was treated, as well as the rivet heads and rubber seal.

Cowl Cleaning -

While I let the Solution Finish cure, I directed attention to the areas hidden by all this trim. Considering the age of the car, I was expecting more..................

IMG-5436.jpg


IMG-5437.jpg


To clean these areas, I used both Green Star, ONR and more Rip-n-Rag's. Hidden by the trim, the base of the glass had a build-up of mineral content, so I hand polished this using a towel and Clarity Creme. While I had this all apart, I went ahead and applied fish oil to a few key areas.

IMG-5448.jpg


IMG-5450.jpg


Wiper Arms & Blades –

The wiper arms had some mild oxidation, so after removing the blades, I polished them using Rupes DA Fine on a towel. This cleaned them up very nicely, the following application of Gyeon Can Coat had them looking like new!

IMG-5440.jpg


IMG-5445.jpg


I had also decided to replace the wiper arms while I was at it. Earlier in the week, I picked up a set of OEM wiper arms from the local Ford dealer.

IMG-5464.jpg


Over The Top -

One could say all of the above is "over the top".....................and you would be correct. However, Over The Top is actually a product, a sealant that is applied after letting Solution Finish cure. Applied using a foam sponge, this helps protect and prolong your hard work. Not a necessity, but I had it on hand and though I may as well use it.

Get Solution Finish Trim Restorer Online | Waxit – Waxit Car Care
Solution Finish - Over the Top Plastic Sealer | The Rag Company

IMG-5453.jpg


Finished and ready to go back on the car.

IMG-5454.jpg


IMG-5457.jpg


Reinstallation –

Time to put everything back together. First, the two large cowl trims. Just don't do what I did by putting the left-hand side on first, there are two tabs on the right-hand piece that need to slide under the left side. I have to say, the way the trim snaps back into place is a vastly better design compared to what Ford used on the FG Falcon..............as in it clicks back into place without an assortment of rude words.

IMG-5462.jpg


The two outer trims are then clipped back in place and the nine rivets reinstalled, followed by the rubber seal. From here, the wiper arms are put back in place and the nut torqued down to 25 Nm.

IMG-5468.jpg


I then installed two new rubber gromets to cover the wiper arm nuts. I actually bought them for Dad's Wildtrak as these gromets are prone to going awol, especially when using a pressure washer around this area. However, I decided to nick them for myself, he can have my old ones. While packaged as Mazda items, they are the same part.

IMG-5472.jpg


IMG-5475.jpg


A quick test of the wipers, the windscreen was cleaned and the job complete.

Finished Result -

All four trim pieces are available from Ford............... at a price. The two large trim pieces will set you back between $255 - $287 for the pair, the two small trims are $35 each, so $325 - $357 all up. Considering I already had the Solution Finish, Can Coat, Rupes DA Fine and IPA from previous projects, the only items I specifically bought were the rubber gromets for $10 and the wiper arm puller for $17. And a few 0.70c towels.

IMG-5480.jpg


IMG-5484.jpg


I need to do the same thing to the Wildtrak at some point, but I'm thinking of waiting until the new ADS trim product arrives.
A very timely post for me :like:

I need to do the same area on my 14 year old Sportage and that solution finish stuff was at the top of my list.

I’m thinking of spraying the wiper arms to give them a second lease of life, I think they are a little beyond a good polish (they also have the odd stone chip).

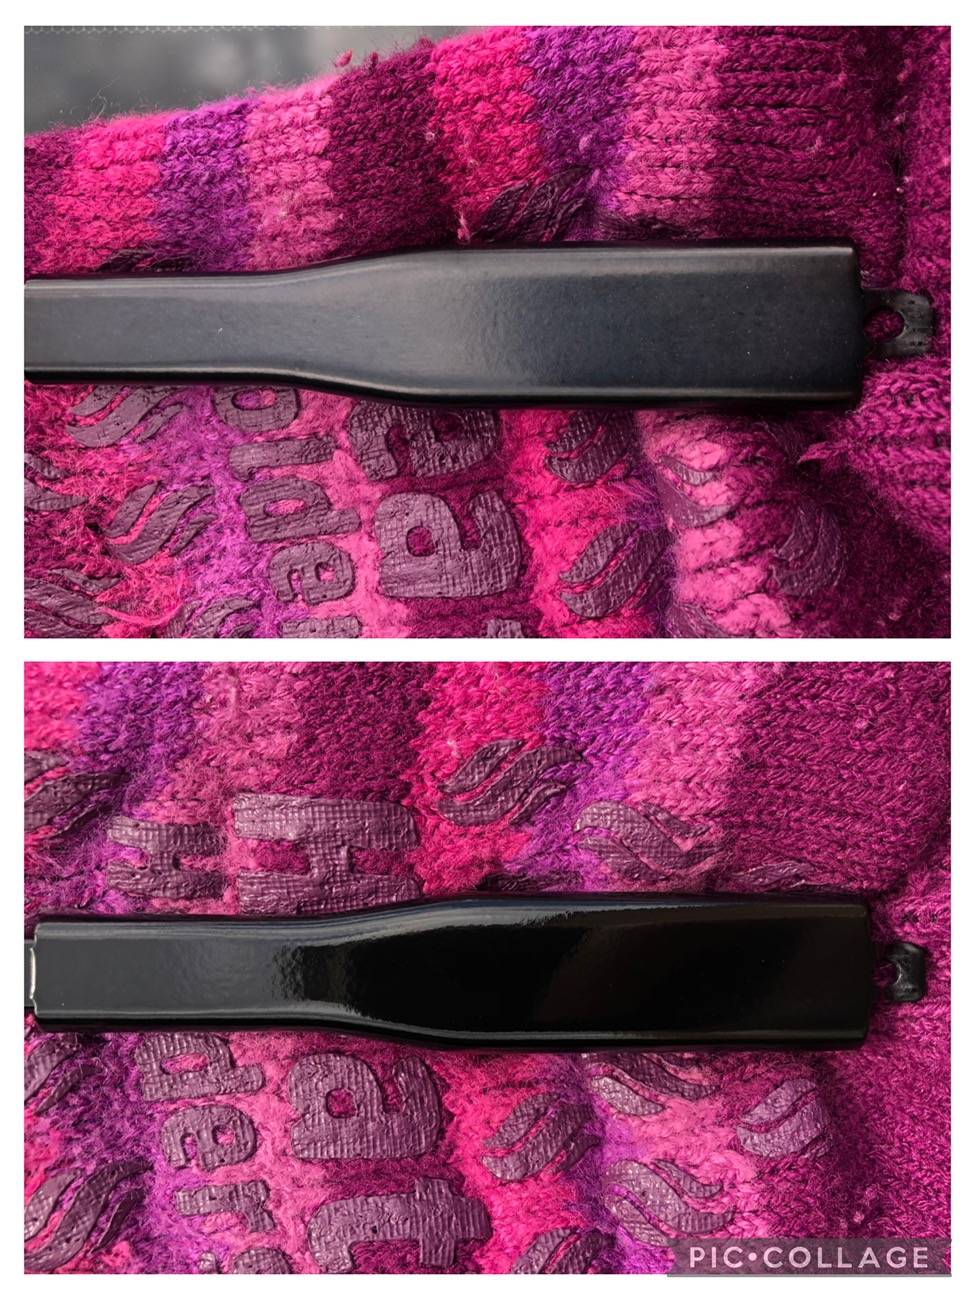
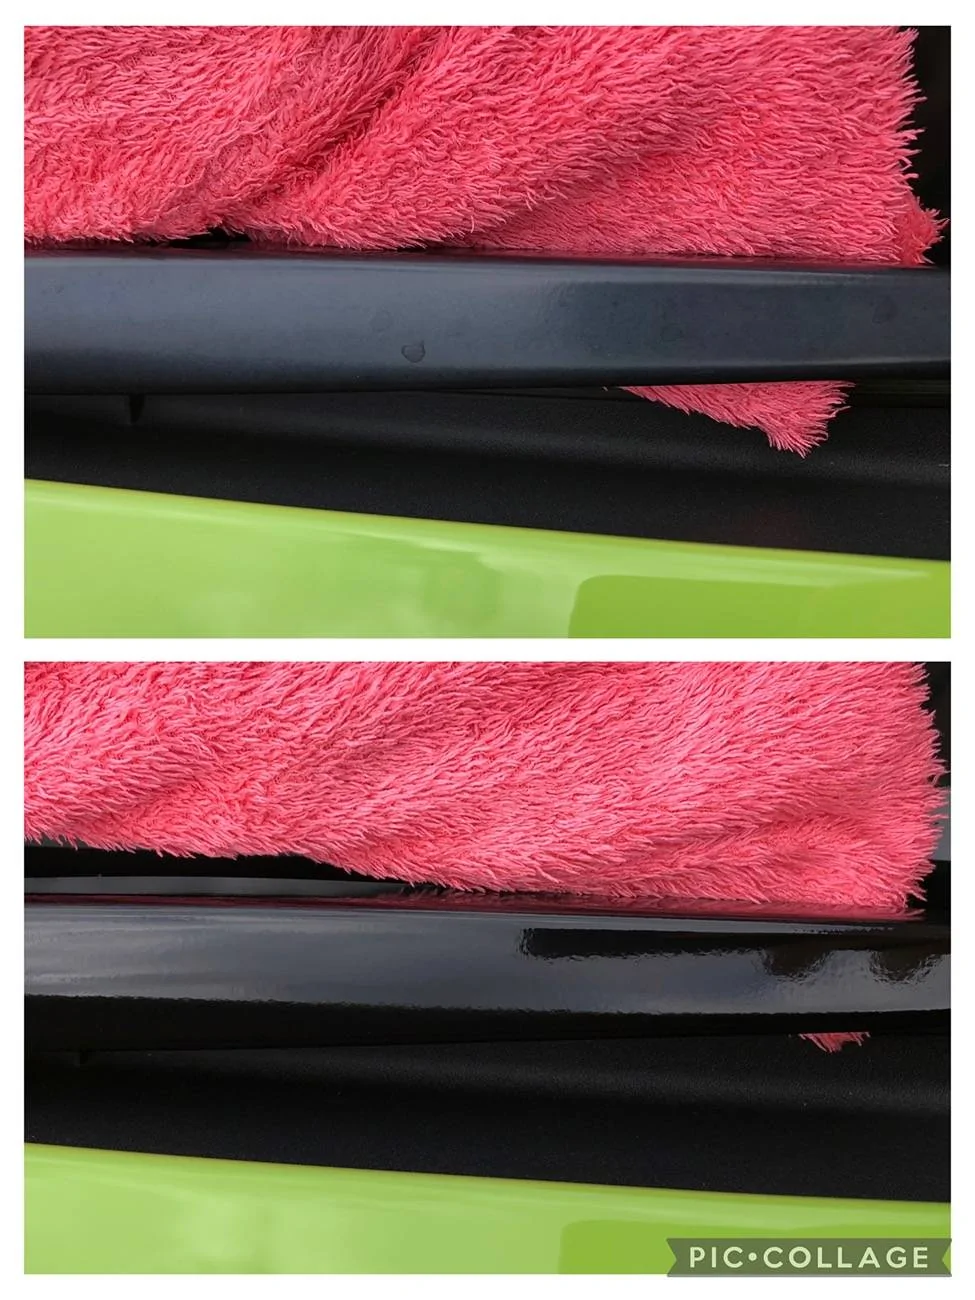
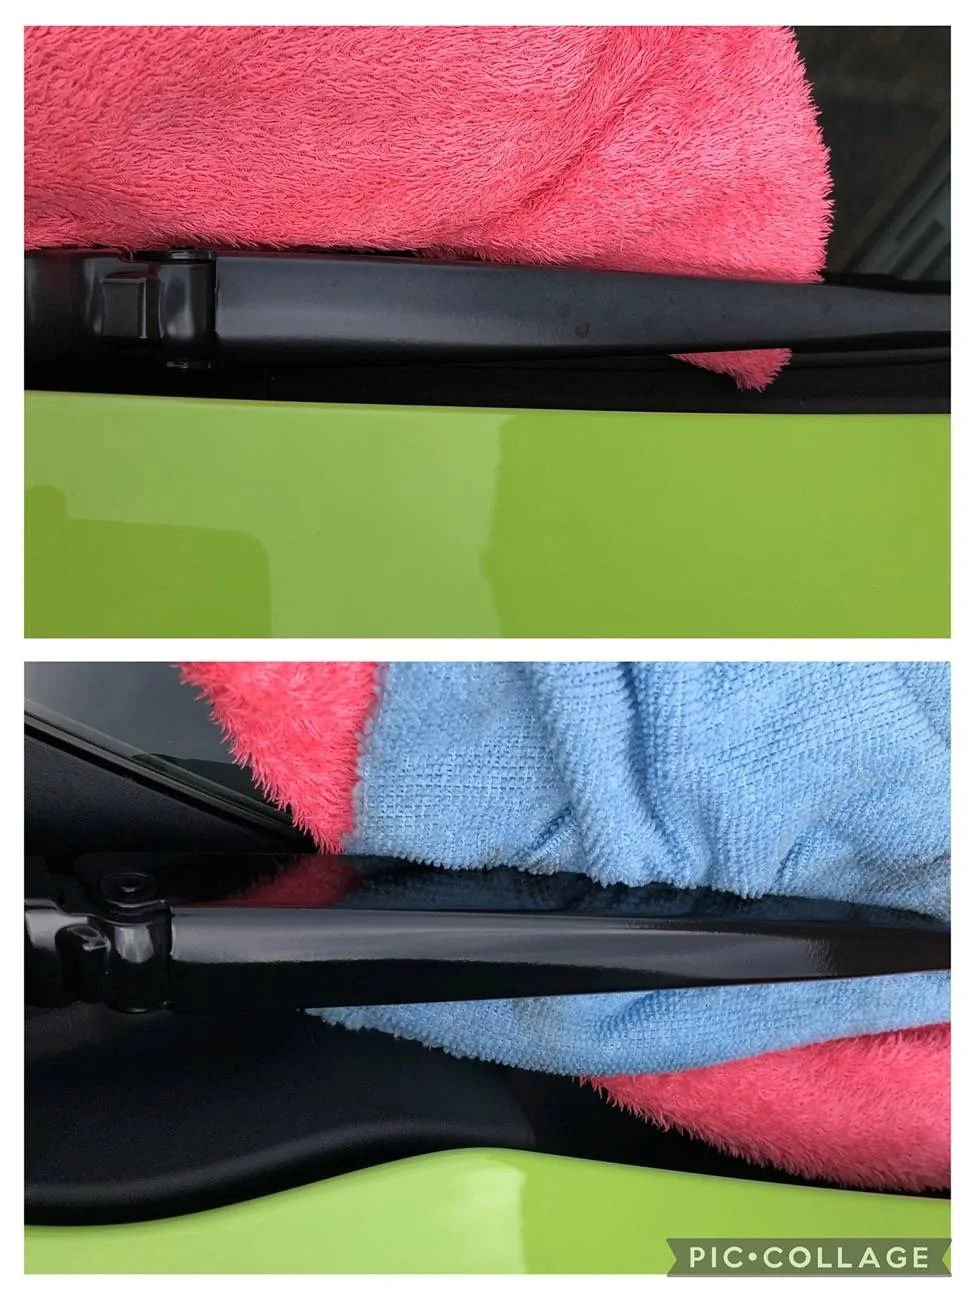
I have just done the wiper arms on the stang :

The wiper arms were looking decidedly flat / faded / dry, so I took the TWHC (Acrylic Black) to them, I was surprised at the difference.

Before and afters :

1745868672917-cx.jpg


1745868701058-p8.jpg


Right side done, compared to the left side :

1745868759533-x1.jpg


WD :like:
WD :like:
 

skinnyb

Well-Known Member
Joined
Jun 25, 2022
Threads
12
Messages
3,628
Reaction score
9,112
Location
Knoxville TN
First Name
Alex
Vehicle(s)
21 Mach 1. FJG, Tremec
Check out these videos on changing the adaptors.

I highly recommend watching the first video, there is a lot of good tips in that one. For example, the rotary is only for use with the small backing plate. And don't go hammering down with the supplied wrench.


I actually found the offical Rupes video yesterday. I got a 1 inch backing plate coming as well as a selection of Carpro 1 inch pads :) the extension showed up yesterday... I am excited to try in rotary mode. I can see several areas where rotary and 1 inch pad would be really handy, the 2 inch and DA mode was a bit inconvenient in several spots, it worked really well on outside mirrors and headlights though..
 

kilobravo

Well-Known Member
Joined
Aug 10, 2019
Threads
95
Messages
8,734
Reaction score
8,833
Location
Corpus Christi, TX
Website
kilobravo.com
First Name
KB
Vehicle(s)
'16 CT6, '18 SD, '20 GT 500
and maybe MAYBE minimum wage for my time :)
That gave me a big morning grin, Alex. :=)

Good crisp reflections there. Well done.
That's my barometer as well, Mark and I agree, Alex did a helluva polishing job.

That’s the one downside of the micro/nano polishers. The batteries run out pretty quick.
Yep, the ARE small batteries and I think they're only 2 ampers.

I'm also keen to try Armour Detail Supply's new combined dye and ceramic coating, which is yet to hit the market but looks like the perfect solution.
I imagine we'll all be curious to see how Larry's new product performs D, plastic trim is the bane of the detailer, IMO.

While I had this all apart, I went ahead and applied fish oil to a few key areas.
Say what?
 
OP
OP
DFB5.0

DFB5.0

Well-Known Member
Joined
Mar 15, 2017
Threads
92
Messages
5,443
Reaction score
15,669
Location
Australia
Vehicle(s)
Mustang GT Fastback

Sponsored
TonyT930

Well-Known Member
Joined
Dec 16, 2023
Threads
47
Messages
1,162
Reaction score
736
Location
Philadelphia, Pa.
First Name
Tony
Vehicle(s)
2017 Mustang GT Convertible in Ruby Red
As far as paint, I go a bit old school. I use nu finish polish and the original McGuires pure carnuba paste or liquid. Then finish with McGuires mist and wipe.
 

GT 550

Well-Known Member
Joined
Sep 4, 2017
Threads
31
Messages
2,235
Reaction score
1,990
Location
Australia
Vehicle(s)
Black GT MT S550
It's an old school rust proofing treatment, like a cavity wax. It's good to spray between adjoining panels that don't often get seen, or areas prone to collecting moisture and dirt. I use a deodorized version as I detest the smell of fish.
@kilobravo don't listen to him KB he's a typical Australian trying it on :rolleyes:. Fish Oil is exactly as the name suggests it's applied to fish to stop them squeaking as they swim.
 

kilobravo

Well-Known Member
Joined
Aug 10, 2019
Threads
95
Messages
8,734
Reaction score
8,833
Location
Corpus Christi, TX
Website
kilobravo.com
First Name
KB
Vehicle(s)
'16 CT6, '18 SD, '20 GT 500
It's an old school rust proofing treatment,
Well, that's interesting D and you are correct about one thing, it's "old." <grin> You know, there are products from this century that are designed to prevent rust. <BSEG>

And, FWIW, I too hate that smell. ;=)
 
OP
OP
DFB5.0

DFB5.0

Well-Known Member
Joined
Mar 15, 2017
Threads
92
Messages
5,443
Reaction score
15,669
Location
Australia
Vehicle(s)
Mustang GT Fastback
A day off today, and after a week of grey sky's, it was nice to be out in the sunshine. The Ranger was filthy after a damp mowing run this week, so it was first in line for treatment.

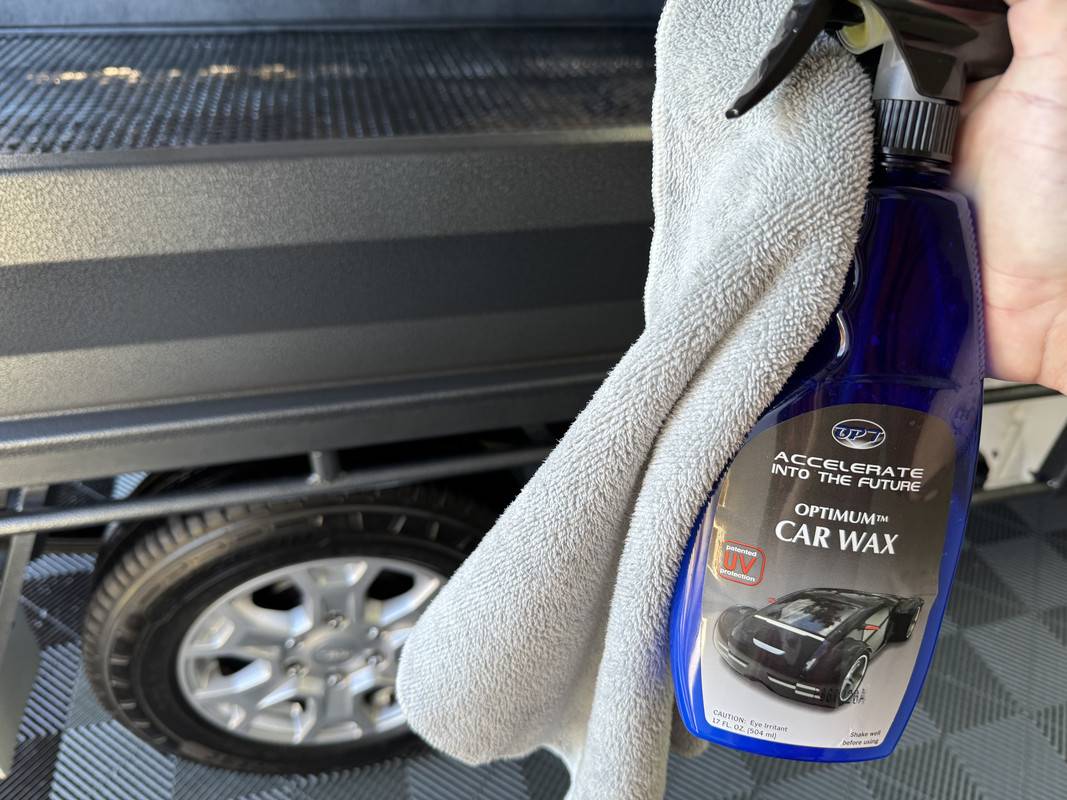
Wheels, tyres and arches were cleaned using foamed Brake Buster. In the foam cannon today, Shine Supply Shift, used for a pre-soak and the contact wash. Drying Aid was KCx Quick & Shine. For the tray and door jambs, OPT Car Wax, an odd choice but surprisingly good!

IMG-5516.jpg


The interior was wiped down with the coconut scented Ethos Interior Detailer. For the glass, I once again selected Trace-less in an attempt to better understand how to use it correctly. The wheels then got wiped down with Amplify and the tyres dressed with OG TD. Finally, a quick wipe over for the engine bay using ECH20.
 
OP
OP
DFB5.0

DFB5.0

Well-Known Member
Joined
Mar 15, 2017
Threads
92
Messages
5,443
Reaction score
15,669
Location
Australia
Vehicle(s)
Mustang GT Fastback
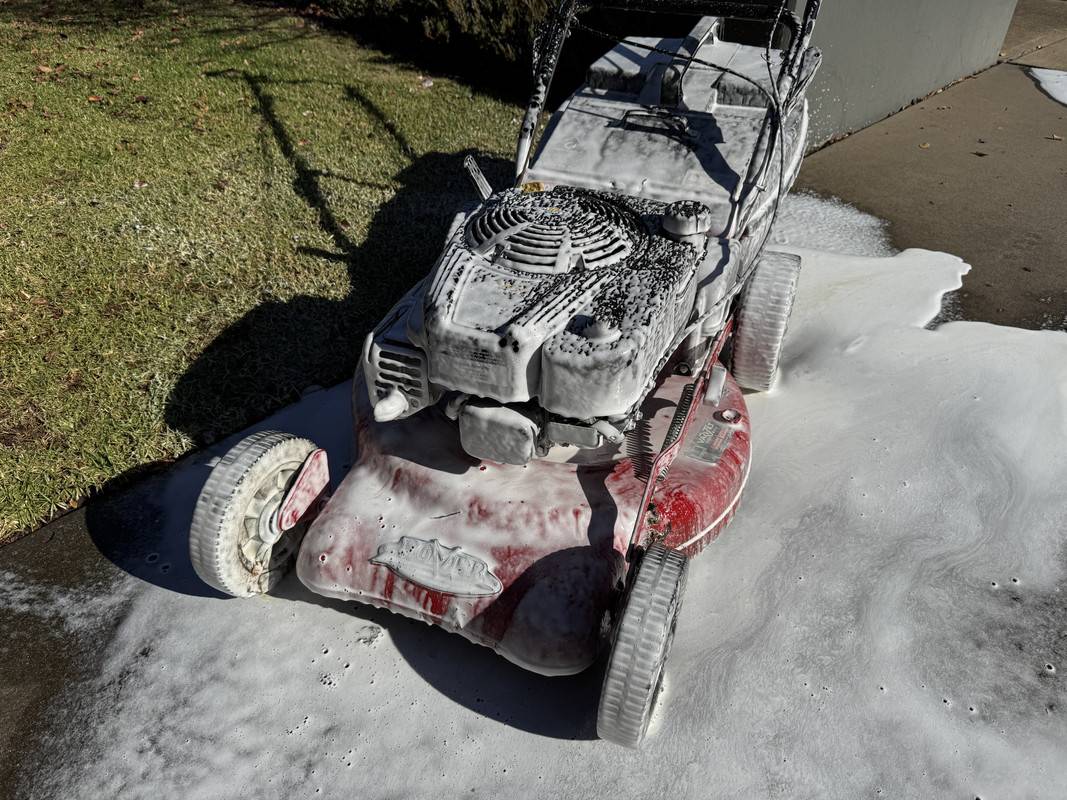
Gave the ProCut a well-deserved wash today!

Bilt Hamber Touch-less at 1.5% PIR. This was foamed on and left to soak for 5 minutes, which allows the product to penetrate and break down the dirt for easy removal via the pressure washer. Touch-less is fantastic for this sort of thing because you really don't need to use a brush or sponge, just let the chemical do its thing.

IMG-5521.jpg


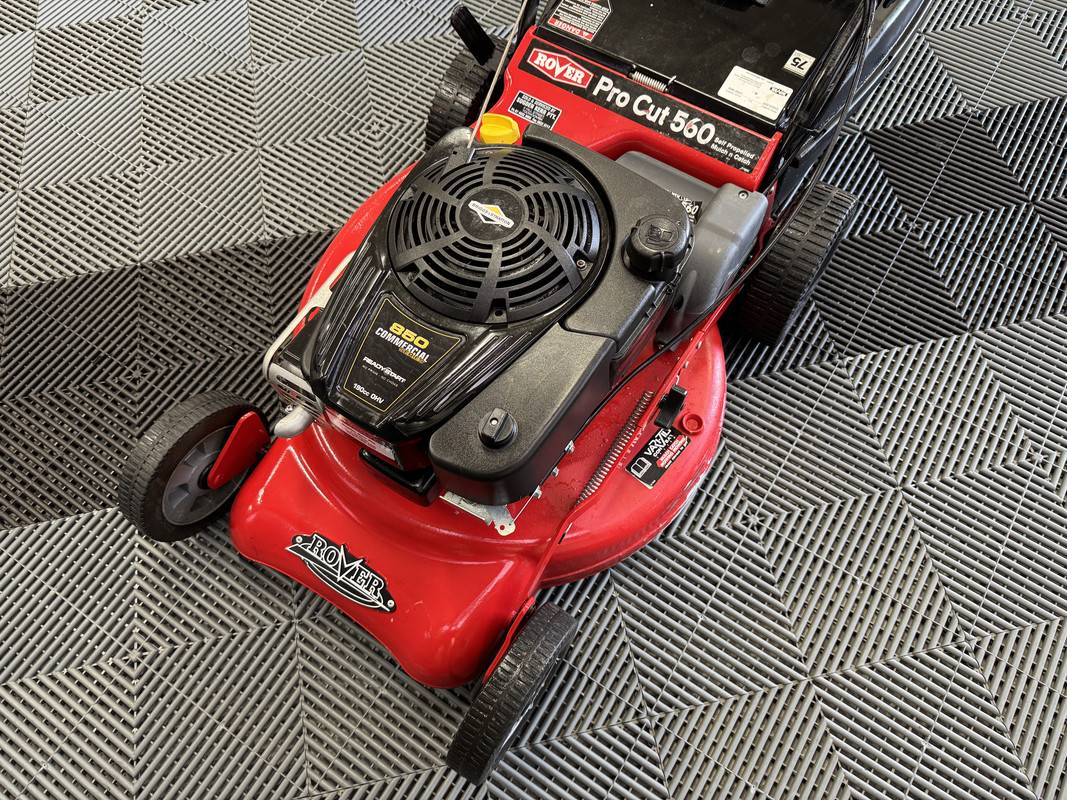
After rinsing, time for Carpro Hydr02, which is a spray on, rinse off touchless sealant. A misting of Meguiar's Hyper Dressing, the mower was the dried off with my leaf blower. Back to spec........................

IMG-5525.jpg


I love this mower!
Sponsored


Top