DFB5.0
Well-Known Member
- Thread starter
- #1
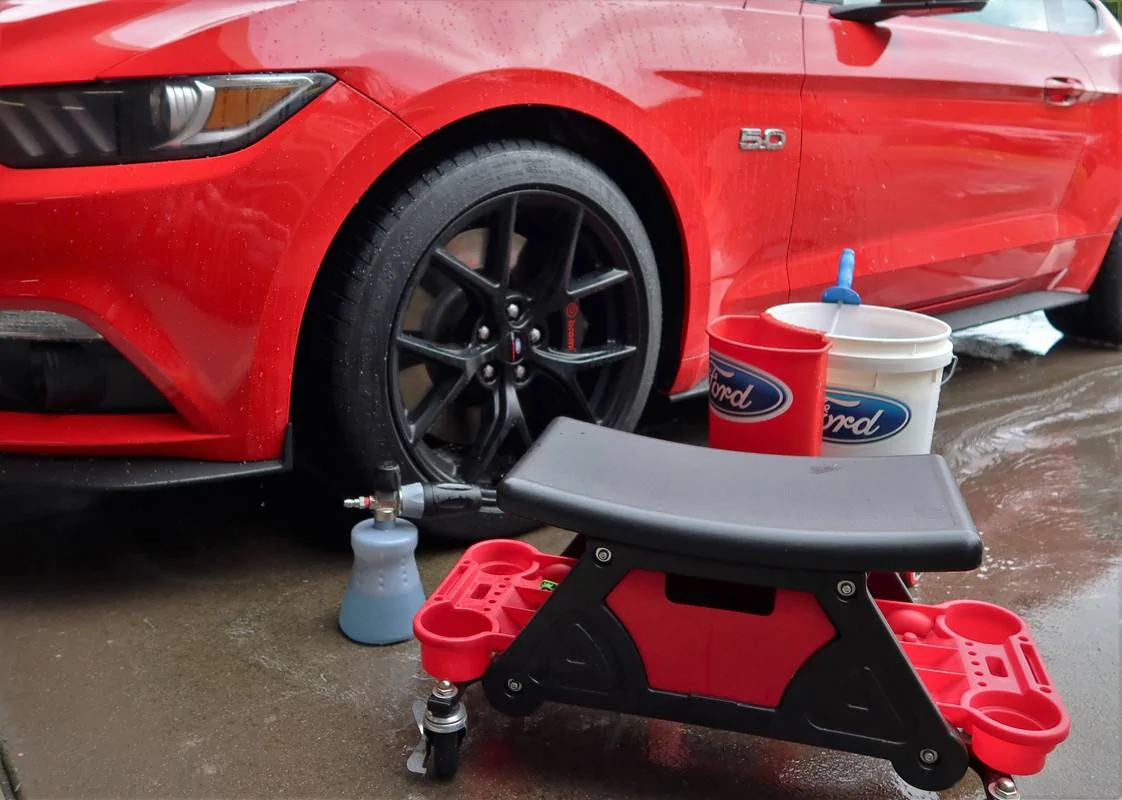
Having just completed this process on a new set of wheels and tires, I thought I would post some information for those who may want to try this themselves. My process for this also involved prepping new tires, which I have also included here. For those who will be doing this to an existing set of wheels, I will also note additional steps needed where appropriate.
First step is to prep the rubber. Fresh, new tires are contaminated with mold release agents and fitment soap. This needs to be removed to provide a clean surface for a tire dressing to bond to. For this step, I used Stoners Tarminator to strip the tires bare. This product is generally used as a heavy tar remover but is excellent for tire prep too. However, many products can be used for this including APC, de-greasers and tire cleaners. The benefit of Tarminator is the ability to do the job without using water. You can see how grotty the tires were in the before pics –

Tarminator is best sprayed onto a towel before scrubbing the tires clean. This stuff is extraordinarily strong, both in smell and cleaning power. I would show caution when using this around painted surfaces and remove any residue from over-spray/over-application. As you can see, this will ruin a towel so make sure to choose wisely. These white microfibres are basically single use items so I threw these away after this job.

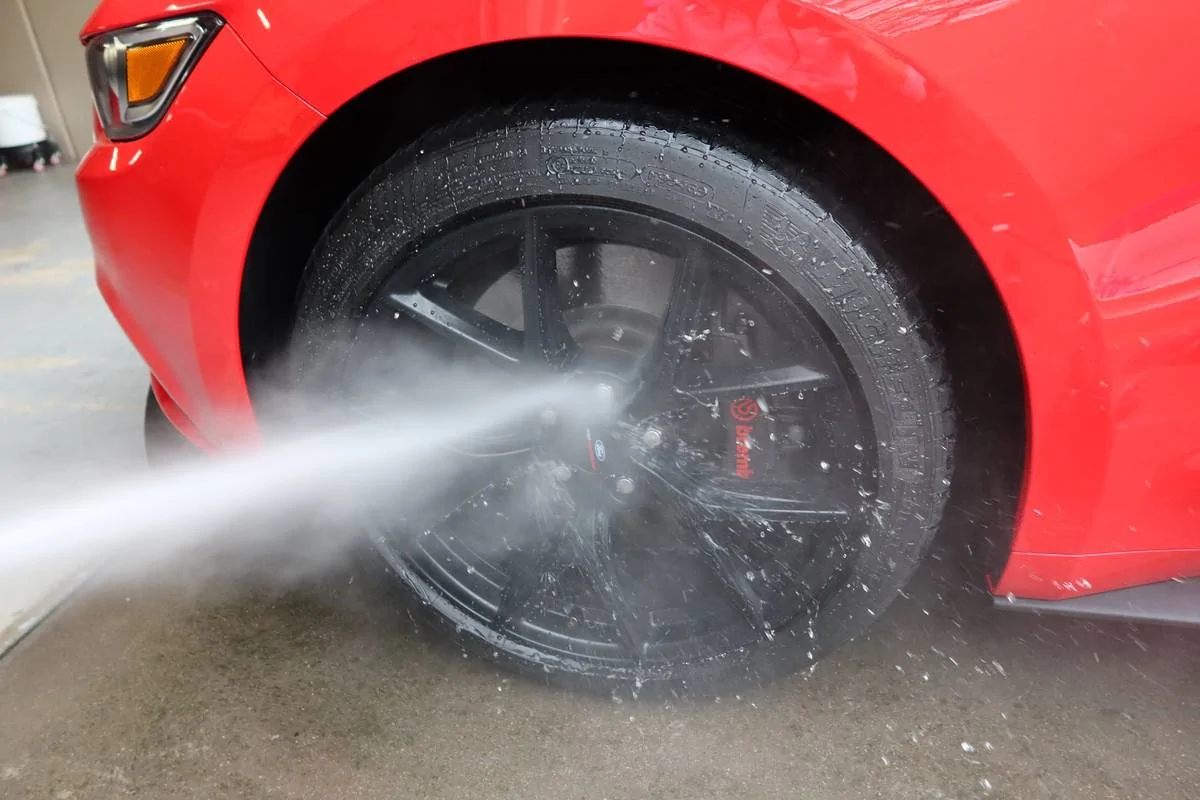
Now for wheel prep. As mentioned earlier, I had the ability to skip a few steps here and go straight to an IPA wipe down. For used wheels, this is where you would be using a wheel cleaner to thoroughly wash the rim, followed by a iron remover and finally a clay bar process. Some wheels may also need to be polished to restore their clarity, my wheels have a matte finish so obviously not suitable here.
For the IPA wipe-down, my product of choice here was the delightful smelling CarPro Eraser. Liberally spray this over the wheel face and barrel before wiping with a towel until it has evaporated away. Then follow up with another application, this time sprayed into a second towel and wiping over the wheel again.
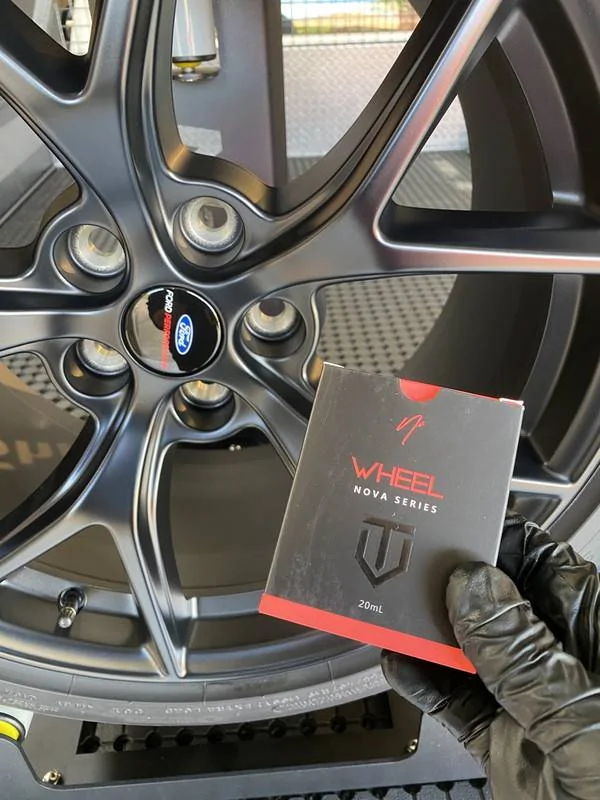
Now the wheels are clean and free of oils that may interfere with the ceramic coating bond process. Time for the coating. In my case, I used NV Wheel, however there are a variety of other similar wheel coatings available such as CarPro DLUX and GTECHNIQ C5.
Firstly, absolutely make sure to wear Nitrile gloves for this job and apply in a well ventilated space. Open the bottle and apply a generous line of the product to an applicator to prime it. Once primed, a few drops are all that is needed. Working somewhat quickly while showing care to get a even coverage, wipe the applicator over the wheel face and spokes. Allow the product to flash, then start wiping with a low pile microfibre towel. Once leveled, take a second towel, and give a final wipe to ensure you have removed all of the high spots. Flip the wheel and repeat on the barrel and the back of the spokes. And again, repeat the process for the 3 other wheels. Flash times will vary depending on climatic conditions and from product to product. Follow the manufacturers directions and you will be fine. I used the supplied suede applicators but there are a variety of products for this job, although I have found linting issues on microfiber applicators.
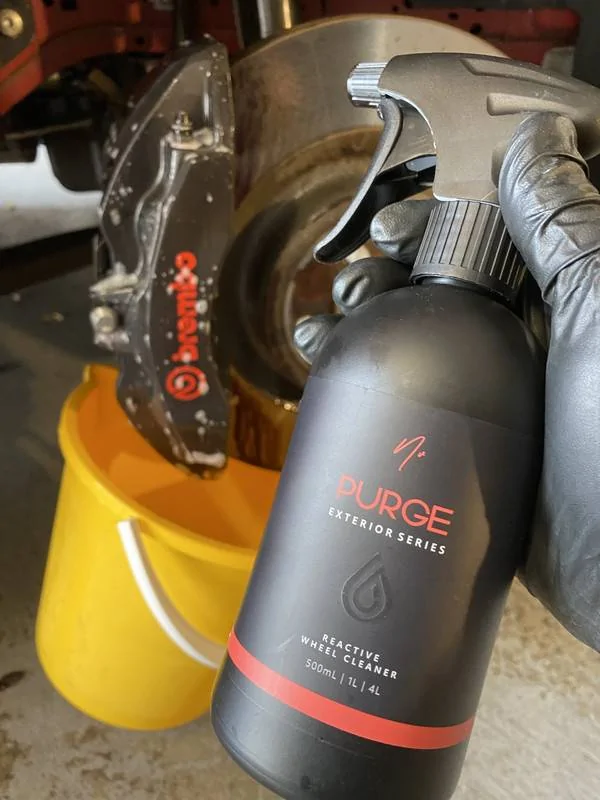
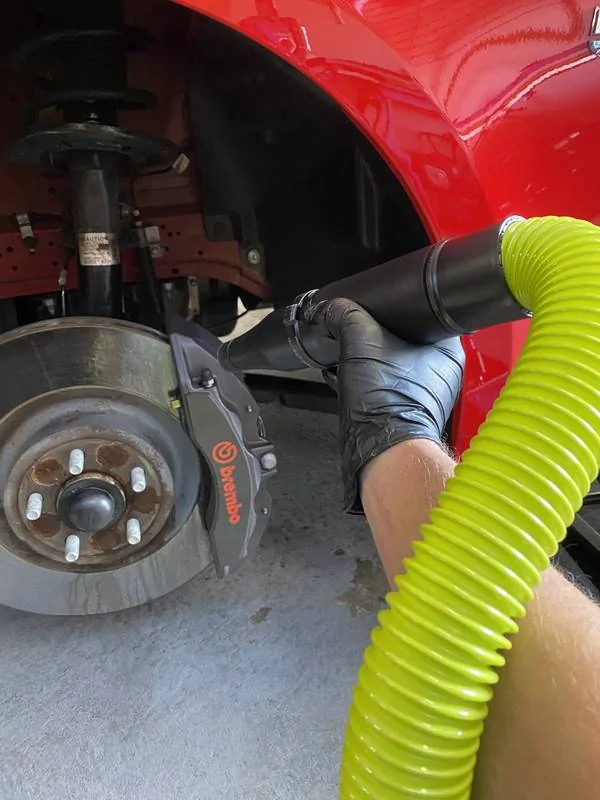
During this process, I took the opportunity to clean and then coat the front calipers while I had the wheels off. The rear calipers are nothing to look at so I skipped doing these.
With a bucket suspended under the caliper, I rinsed with water then applied an iron remover. Allowed to dwell for a few minutes, I agitated with a brush then rinsed again with water.
Then a wipe down with Eraser and dried using my blower.
Apply the coating using the same method as the wheels, apply with an applicator, level after about a minute then wipe again with a second towel.
Wheels now on and torqued to spec, time for tire dressing.
Before –
After -
All up, I used nearly one 30ml bottle of NV Wheel, several suede applicators and several low pile microfibre towels. It is worth noting that those towels are either destined for the bin or for shop use only. The dried coating in their fibres has rendered them not suitable for painted surfaces again. At a couple of dollars per towel, I'm not worried about this. Also be mindful to follow the cure times to ensure optimum durability and results.
The finished result, the wheels are now protected and will be easier clean in the future.
First step is to prep the rubber. Fresh, new tires are contaminated with mold release agents and fitment soap. This needs to be removed to provide a clean surface for a tire dressing to bond to. For this step, I used Stoners Tarminator to strip the tires bare. This product is generally used as a heavy tar remover but is excellent for tire prep too. However, many products can be used for this including APC, de-greasers and tire cleaners. The benefit of Tarminator is the ability to do the job without using water. You can see how grotty the tires were in the before pics –

Tarminator is best sprayed onto a towel before scrubbing the tires clean. This stuff is extraordinarily strong, both in smell and cleaning power. I would show caution when using this around painted surfaces and remove any residue from over-spray/over-application. As you can see, this will ruin a towel so make sure to choose wisely. These white microfibres are basically single use items so I threw these away after this job.


Now for wheel prep. As mentioned earlier, I had the ability to skip a few steps here and go straight to an IPA wipe down. For used wheels, this is where you would be using a wheel cleaner to thoroughly wash the rim, followed by a iron remover and finally a clay bar process. Some wheels may also need to be polished to restore their clarity, my wheels have a matte finish so obviously not suitable here.
For the IPA wipe-down, my product of choice here was the delightful smelling CarPro Eraser. Liberally spray this over the wheel face and barrel before wiping with a towel until it has evaporated away. Then follow up with another application, this time sprayed into a second towel and wiping over the wheel again.

Now the wheels are clean and free of oils that may interfere with the ceramic coating bond process. Time for the coating. In my case, I used NV Wheel, however there are a variety of other similar wheel coatings available such as CarPro DLUX and GTECHNIQ C5.

Firstly, absolutely make sure to wear Nitrile gloves for this job and apply in a well ventilated space. Open the bottle and apply a generous line of the product to an applicator to prime it. Once primed, a few drops are all that is needed. Working somewhat quickly while showing care to get a even coverage, wipe the applicator over the wheel face and spokes. Allow the product to flash, then start wiping with a low pile microfibre towel. Once leveled, take a second towel, and give a final wipe to ensure you have removed all of the high spots. Flip the wheel and repeat on the barrel and the back of the spokes. And again, repeat the process for the 3 other wheels. Flash times will vary depending on climatic conditions and from product to product. Follow the manufacturers directions and you will be fine. I used the supplied suede applicators but there are a variety of products for this job, although I have found linting issues on microfiber applicators.


During this process, I took the opportunity to clean and then coat the front calipers while I had the wheels off. The rear calipers are nothing to look at so I skipped doing these.
With a bucket suspended under the caliper, I rinsed with water then applied an iron remover. Allowed to dwell for a few minutes, I agitated with a brush then rinsed again with water.

Then a wipe down with Eraser and dried using my blower.

Apply the coating using the same method as the wheels, apply with an applicator, level after about a minute then wipe again with a second towel.


Wheels now on and torqued to spec, time for tire dressing.
Before –

After -

All up, I used nearly one 30ml bottle of NV Wheel, several suede applicators and several low pile microfibre towels. It is worth noting that those towels are either destined for the bin or for shop use only. The dried coating in their fibres has rendered them not suitable for painted surfaces again. At a couple of dollars per towel, I'm not worried about this. Also be mindful to follow the cure times to ensure optimum durability and results.

The finished result, the wheels are now protected and will be easier clean in the future.

Sponsored
Last edited: