GeigerZ
Well-Known Member
- Joined
- Aug 28, 2020
- Threads
- 4
- Messages
- 67
- Reaction score
- 101
- Location
- Conroe, TX
- First Name
- Eric
- Vehicle(s)
- 2020 Mustang GT
- Thread starter
- #1
I really had plans to time-lapse the install as I did with my Procharged 2010 Challenger SRT, but figured since there have been quite a few of those type videos made, mine wouldn't contribute much to the actual install.
However, I will share some of the processes involved along the way.
<note: didn't install the OPG or CS - felt zero need to do so>
1. Ordered the Stage 1 Kit from Beefcake Racing in August and arrived 10/30 via UPS
2. Reading through the online supercharger installation manual each night pending the arrival helped with becoming more familiar with what's what and the needed part(s) needed for each step
3. Inventory everything first! I spent the better part of an afternoon going through each and every bag and associating it with the installation step. This became really important since some of the parts were different than what was in the installation manual(s).
4. Next was deciding when to take the step into making the car a temporary paperweight. Working from home and having another vehicle make this step a little easier since the car could be down for an extended period. Even though the Mustang is my "daily" driver, it was nice to have the wife's truck on-hand incase I had to go to work.
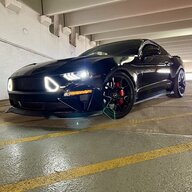
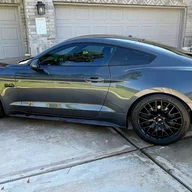
Before pictures:


Installation:
Difference 1 - Noticed while going through all the parts and pieces is that the S/C lid didn't match the online or hard-copy installation manual. Those had three I/C ports where the one received has four I/C ports (see pictures below). Will get back to that one down below
Difference 2 - The idler plate was different. No support stands needed or supercharger support bracket. These were built into the idler plate as one piece. Even though the parts were included.
Notes: I didn't remove the windshield wipers or cowl. However, did remove the K-brace, battery and panel next to the battery. I'm sure I could have changed the spark plug, but it was nice to have the extra room in that area.
Resonance tube - the bane of my existence! Worked for 15min trying to get the 10mm nut off and after countless turns, it only moved 1/16". Figured the stud and tube weren't needed ever again so needless to say, it's a vacant space now where the stud was. Installed the plug and moved along.
Supercharger - followed the directions and oil fill procedure. It took all 4oz though and was at the minimum fill line (leveled the work space ahead of time and then with the S/C on the bench.
Time - do take moments to relax and enjoy the install (yeah right!).
Installing the S/C solo was a challenge, but doable. Once I had the coolant drained (earlier step), I lowered the car back down on its wheels. This made it easier to get the S/C onto the intake. Note: If you install the fuel rails with the outlet fitting on before getting the S/C installed and bolted down to the intake will leave more of a challenge to get to the #10 bolt let alone torqued down. At least this was my case. I had to remove the outlet fitting and then could get to it with the tools available on-hand.
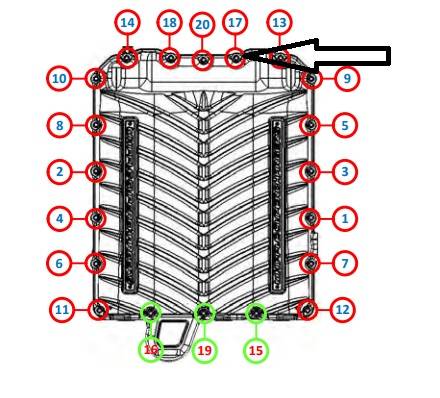
For those of you that have done the install - how in the hell did you get to #17 without using methods of adaptation and failures? <see picture> Even though it's tight, I couldn't torque it. <this one is blocked by the upper firewall plate and even if the cowling was removed, there's no room!

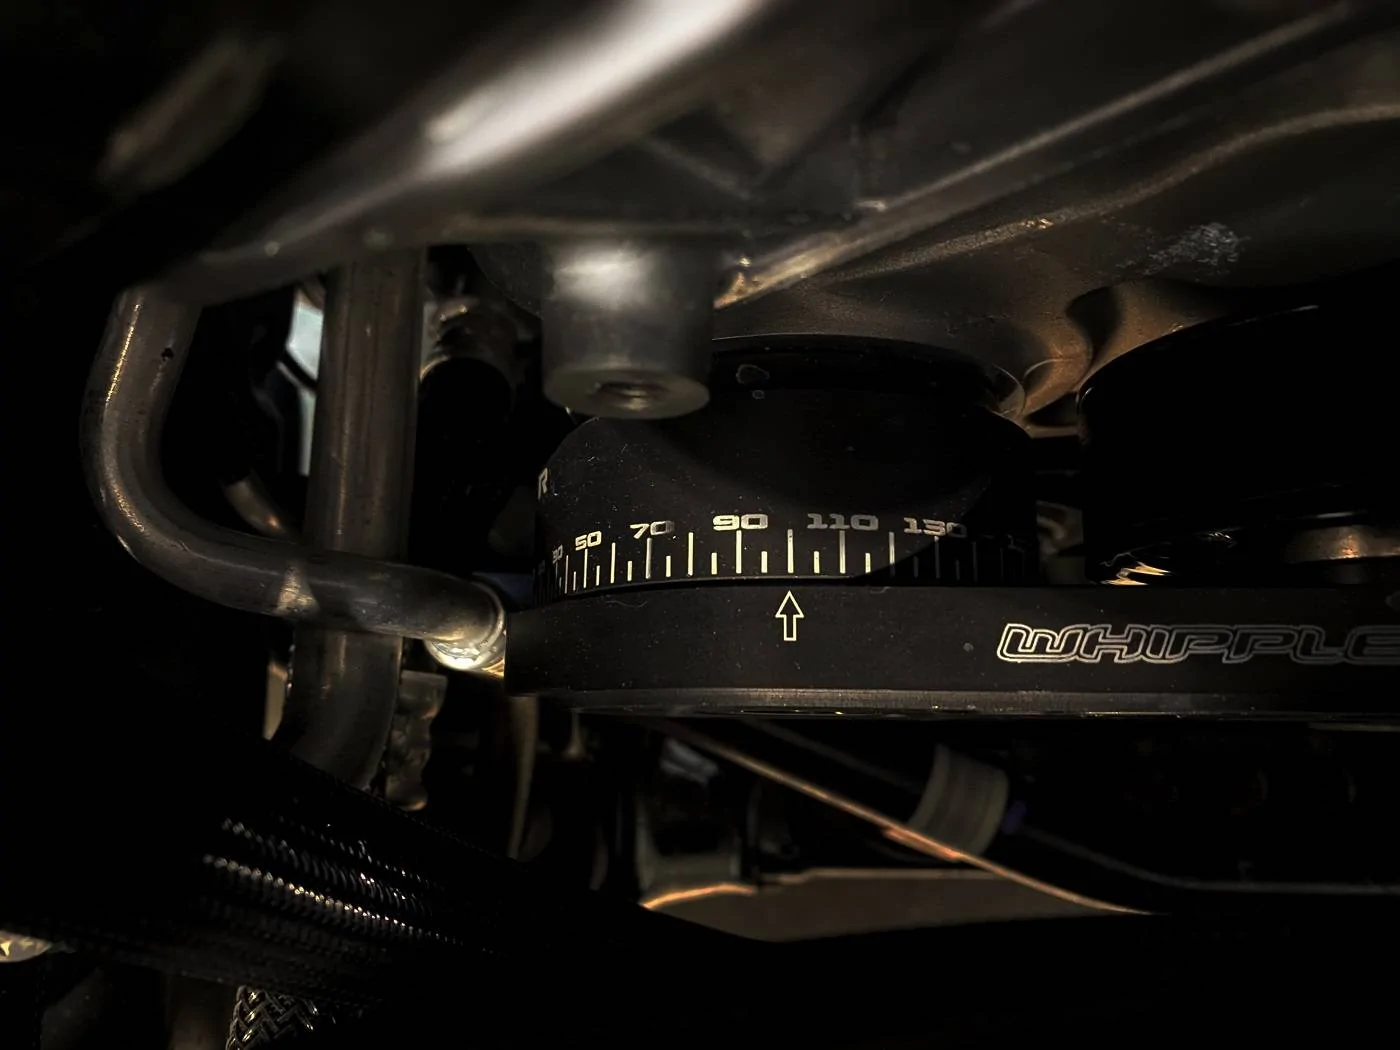
I did read a lot of posts regarding not being able to get the supplied belt on. Ran into the same issue, but resolved it by removing the following pulley (black arrow), engaging the tensioner all the way and then reinstalled the pulley with the belt already around it (easier get it over a non-lipped pulley). Not real easy, but can be done. I knew once the belt had some revs on it, it would loosen up and yep - the arrows align <see picture>

Can see the pulley better in this picture:
Tensioner after running it for a bit (directions call for the arrow to be on 100):

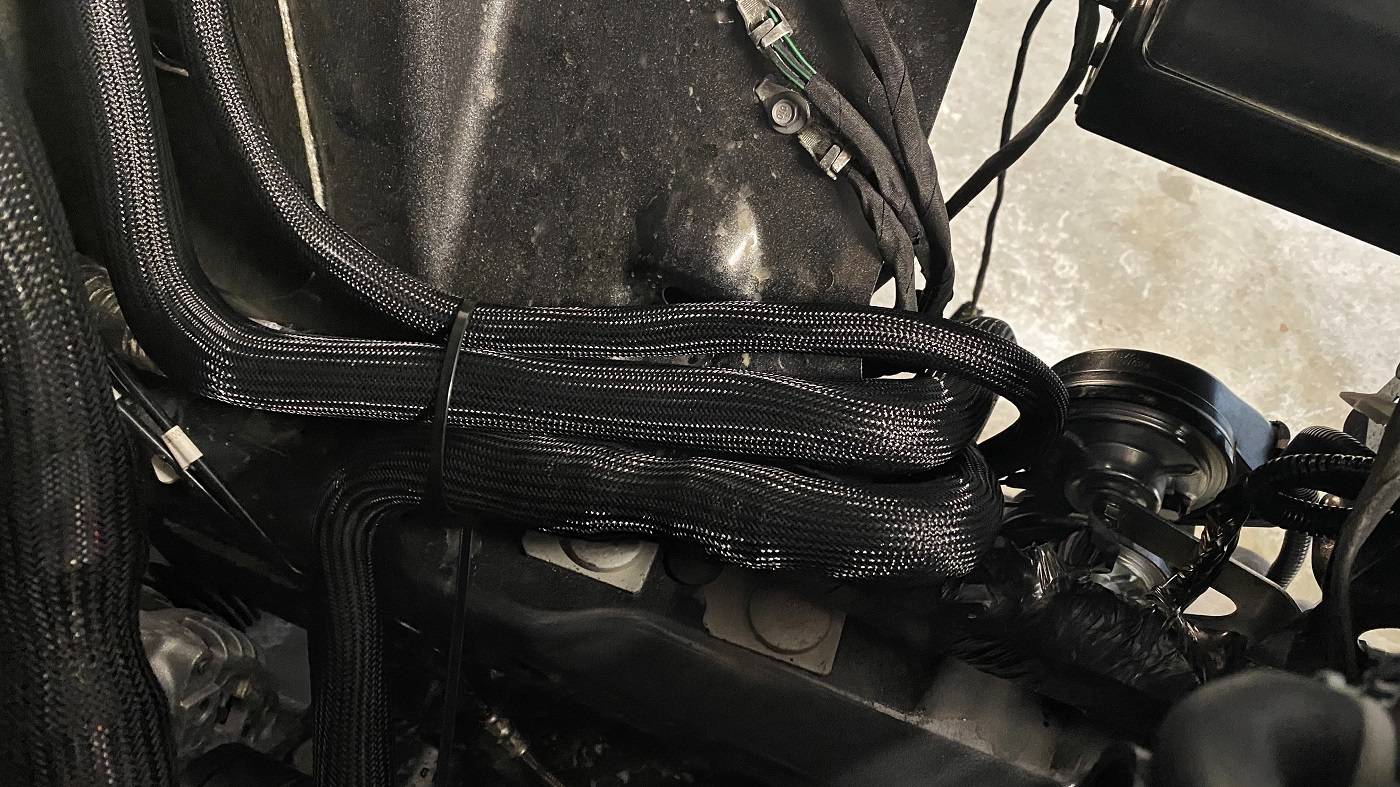
Hoses - lots and lots of hoses! Make sure there are no kinks and they follow the same routes as the others. Tried to keep them up and away from in front of the fans. Did I mention a lot of hoses?
Instead of two I/C hoses routed under the CAI, there are three since having an extra port on the S/C lid and I/C tank.
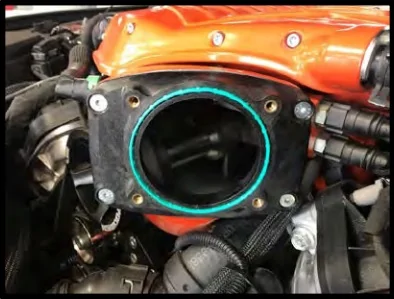
Other issues - the throttle body adapter came with the flat gasket - the one that goes next to the S/C opening and adapter, but if you fail to see that it doesn't have the actual T/B <greenish> gasket, then the car will not run. The kit doesn't come with the T/B gasket (at least mine didn't and didn't see it on the inventory list). Note: the car will run very poorly without this gasket - just sayin'
Don't miss this one!

Pretty much a straight forward process by following the directions and then standing back to get the big picture of what's all needed where in order for this kit to run without issues. Sort the bags and parts and also bag and label the removed parts - after a while they all look the same. Don't be that guy. lol
Still working on making sure the I/C has no air bubbles in the system. It's been a few days since running and am still adding coolant so no WOT as of yet.
Car runs great and fully expect it to have a very long life (unless the need for more boost comes around) and happy miles. No drag strip or open track events planned.
Oil was changed as well after the install to Motorcraft full Synthetic 5w-50 (10qts)
Not looking to have the fastest car on the streets. There will always be someone faster. Learned that pushing any car to the limit may decrease the "fun" factor exponentially while the car is needing attention and repairs.
Have fun and enjoy!

Installed this one six weeks ahead of time. lol

However, I will share some of the processes involved along the way.
<note: didn't install the OPG or CS - felt zero need to do so>
1. Ordered the Stage 1 Kit from Beefcake Racing in August and arrived 10/30 via UPS
2. Reading through the online supercharger installation manual each night pending the arrival helped with becoming more familiar with what's what and the needed part(s) needed for each step
3. Inventory everything first! I spent the better part of an afternoon going through each and every bag and associating it with the installation step. This became really important since some of the parts were different than what was in the installation manual(s).
4. Next was deciding when to take the step into making the car a temporary paperweight. Working from home and having another vehicle make this step a little easier since the car could be down for an extended period. Even though the Mustang is my "daily" driver, it was nice to have the wife's truck on-hand incase I had to go to work.
Before pictures:
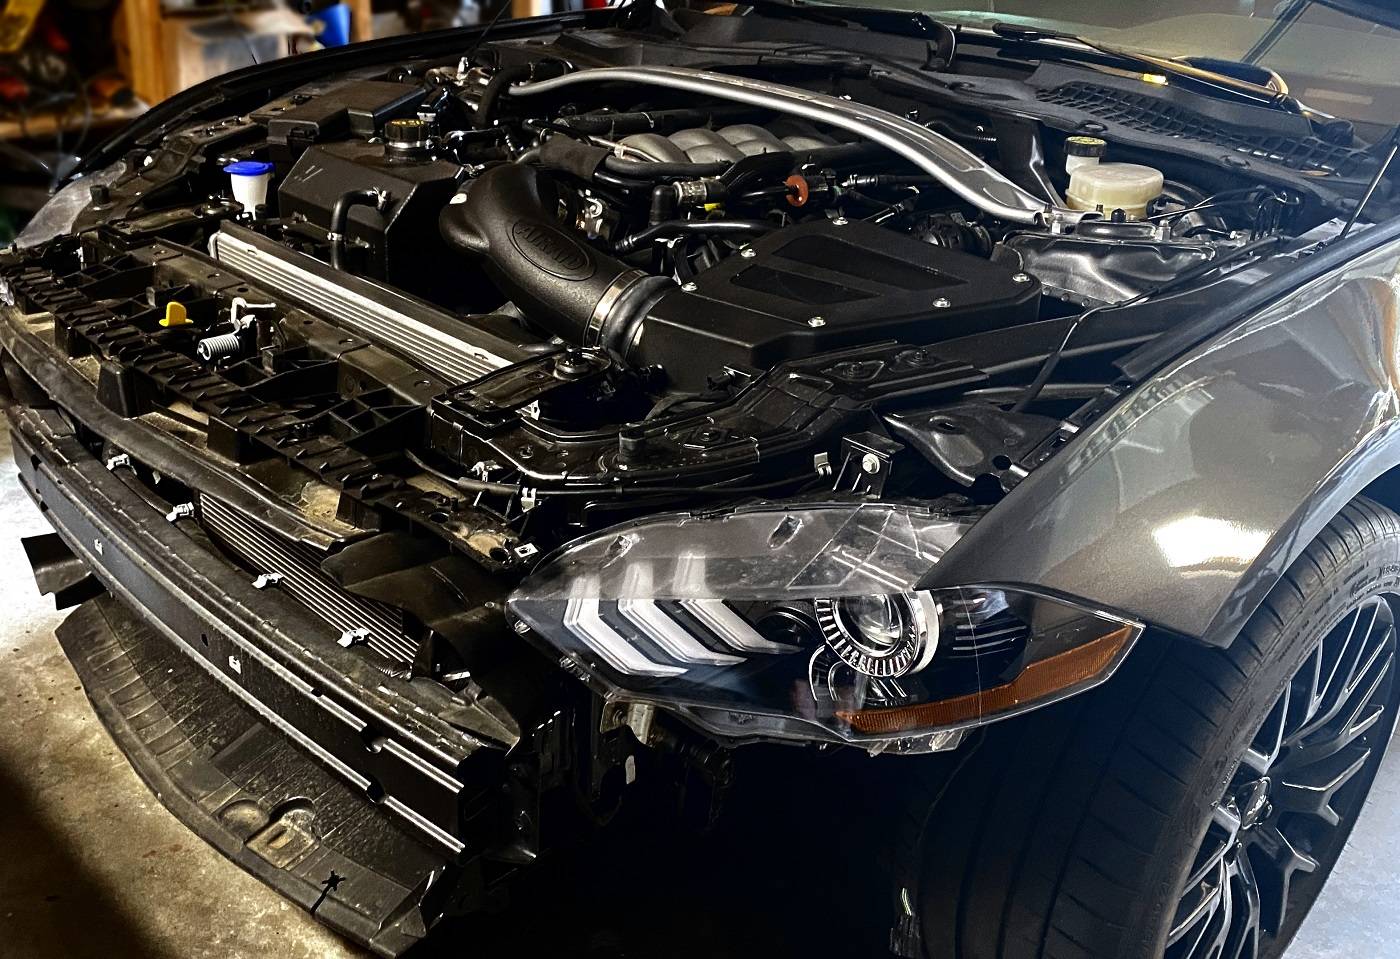
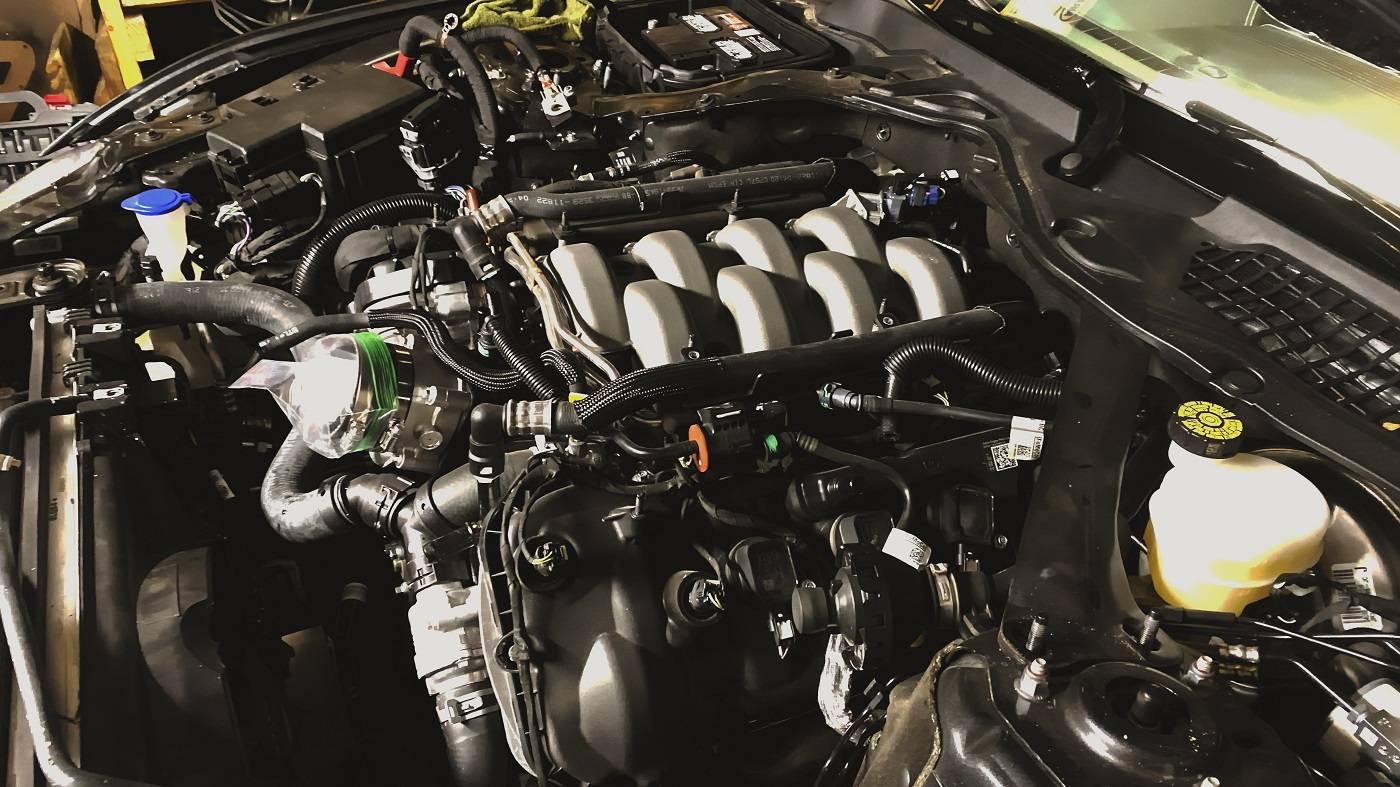
Installation:
Difference 1 - Noticed while going through all the parts and pieces is that the S/C lid didn't match the online or hard-copy installation manual. Those had three I/C ports where the one received has four I/C ports (see pictures below). Will get back to that one down below
Difference 2 - The idler plate was different. No support stands needed or supercharger support bracket. These were built into the idler plate as one piece. Even though the parts were included.
Notes: I didn't remove the windshield wipers or cowl. However, did remove the K-brace, battery and panel next to the battery. I'm sure I could have changed the spark plug, but it was nice to have the extra room in that area.
Resonance tube - the bane of my existence! Worked for 15min trying to get the 10mm nut off and after countless turns, it only moved 1/16". Figured the stud and tube weren't needed ever again so needless to say, it's a vacant space now where the stud was. Installed the plug and moved along.
Supercharger - followed the directions and oil fill procedure. It took all 4oz though and was at the minimum fill line (leveled the work space ahead of time and then with the S/C on the bench.
Time - do take moments to relax and enjoy the install (yeah right!).
Installing the S/C solo was a challenge, but doable. Once I had the coolant drained (earlier step), I lowered the car back down on its wheels. This made it easier to get the S/C onto the intake. Note: If you install the fuel rails with the outlet fitting on before getting the S/C installed and bolted down to the intake will leave more of a challenge to get to the #10 bolt let alone torqued down. At least this was my case. I had to remove the outlet fitting and then could get to it with the tools available on-hand.
For those of you that have done the install - how in the hell did you get to #17 without using methods of adaptation and failures? <see picture> Even though it's tight, I couldn't torque it. <this one is blocked by the upper firewall plate and even if the cowling was removed, there's no room!
I did read a lot of posts regarding not being able to get the supplied belt on. Ran into the same issue, but resolved it by removing the following pulley (black arrow), engaging the tensioner all the way and then reinstalled the pulley with the belt already around it (easier get it over a non-lipped pulley). Not real easy, but can be done. I knew once the belt had some revs on it, it would loosen up and yep - the arrows align <see picture>
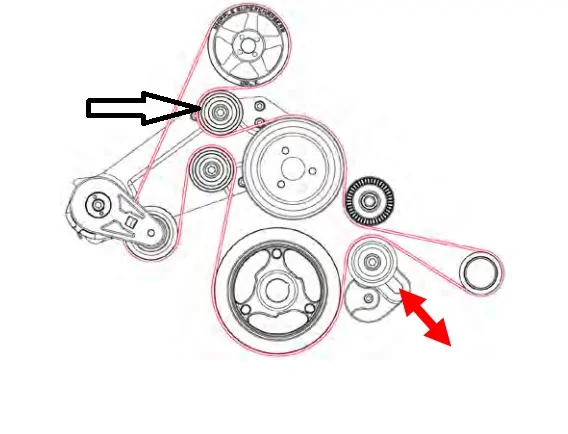
Can see the pulley better in this picture:
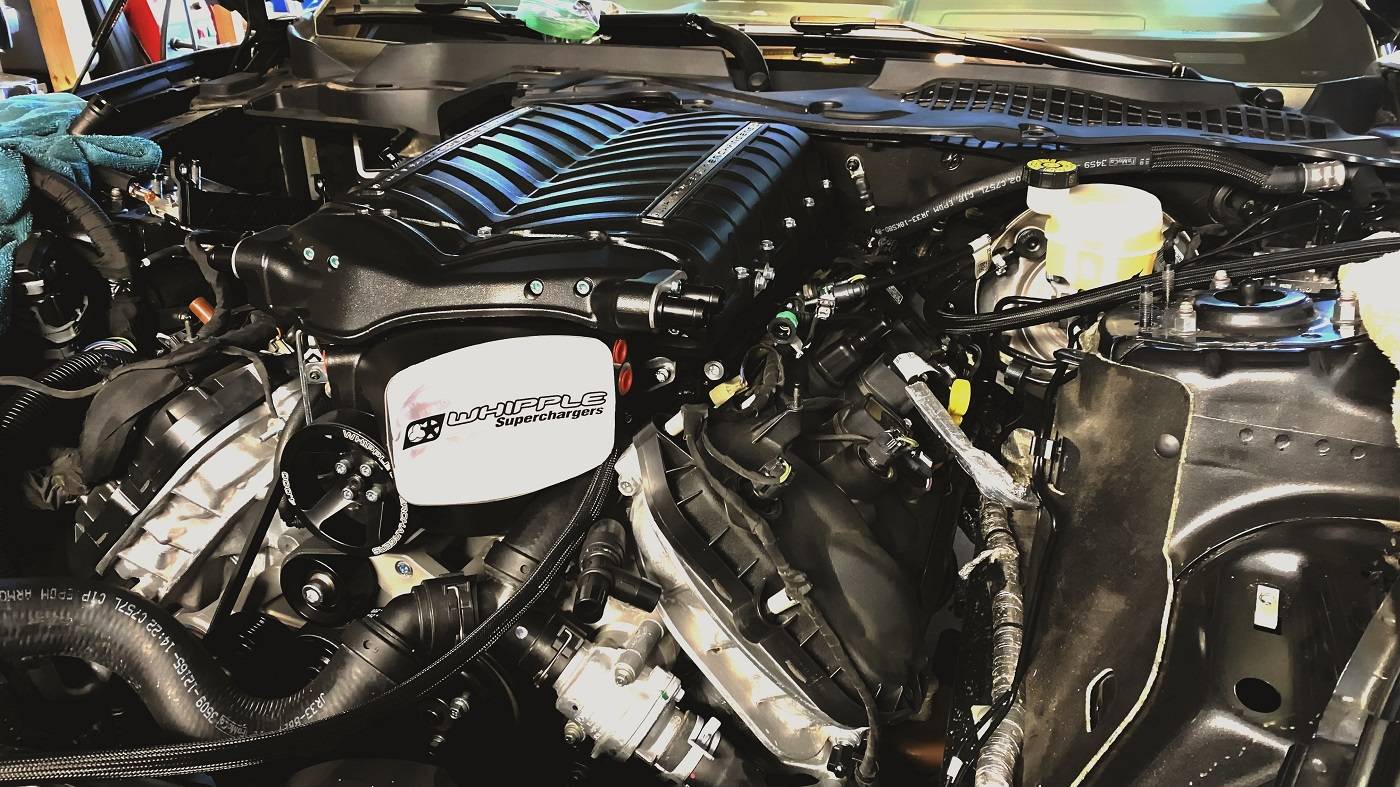
Tensioner after running it for a bit (directions call for the arrow to be on 100):
Hoses - lots and lots of hoses! Make sure there are no kinks and they follow the same routes as the others. Tried to keep them up and away from in front of the fans. Did I mention a lot of hoses?
Instead of two I/C hoses routed under the CAI, there are three since having an extra port on the S/C lid and I/C tank.
Other issues - the throttle body adapter came with the flat gasket - the one that goes next to the S/C opening and adapter, but if you fail to see that it doesn't have the actual T/B <greenish> gasket, then the car will not run. The kit doesn't come with the T/B gasket (at least mine didn't and didn't see it on the inventory list). Note: the car will run very poorly without this gasket - just sayin'
Don't miss this one!
Pretty much a straight forward process by following the directions and then standing back to get the big picture of what's all needed where in order for this kit to run without issues. Sort the bags and parts and also bag and label the removed parts - after a while they all look the same. Don't be that guy. lol
Still working on making sure the I/C has no air bubbles in the system. It's been a few days since running and am still adding coolant so no WOT as of yet.
Car runs great and fully expect it to have a very long life (unless the need for more boost comes around) and happy miles. No drag strip or open track events planned.
Oil was changed as well after the install to Motorcraft full Synthetic 5w-50 (10qts)
Not looking to have the fastest car on the streets. There will always be someone faster. Learned that pushing any car to the limit may decrease the "fun" factor exponentially while the car is needing attention and repairs.
Have fun and enjoy!
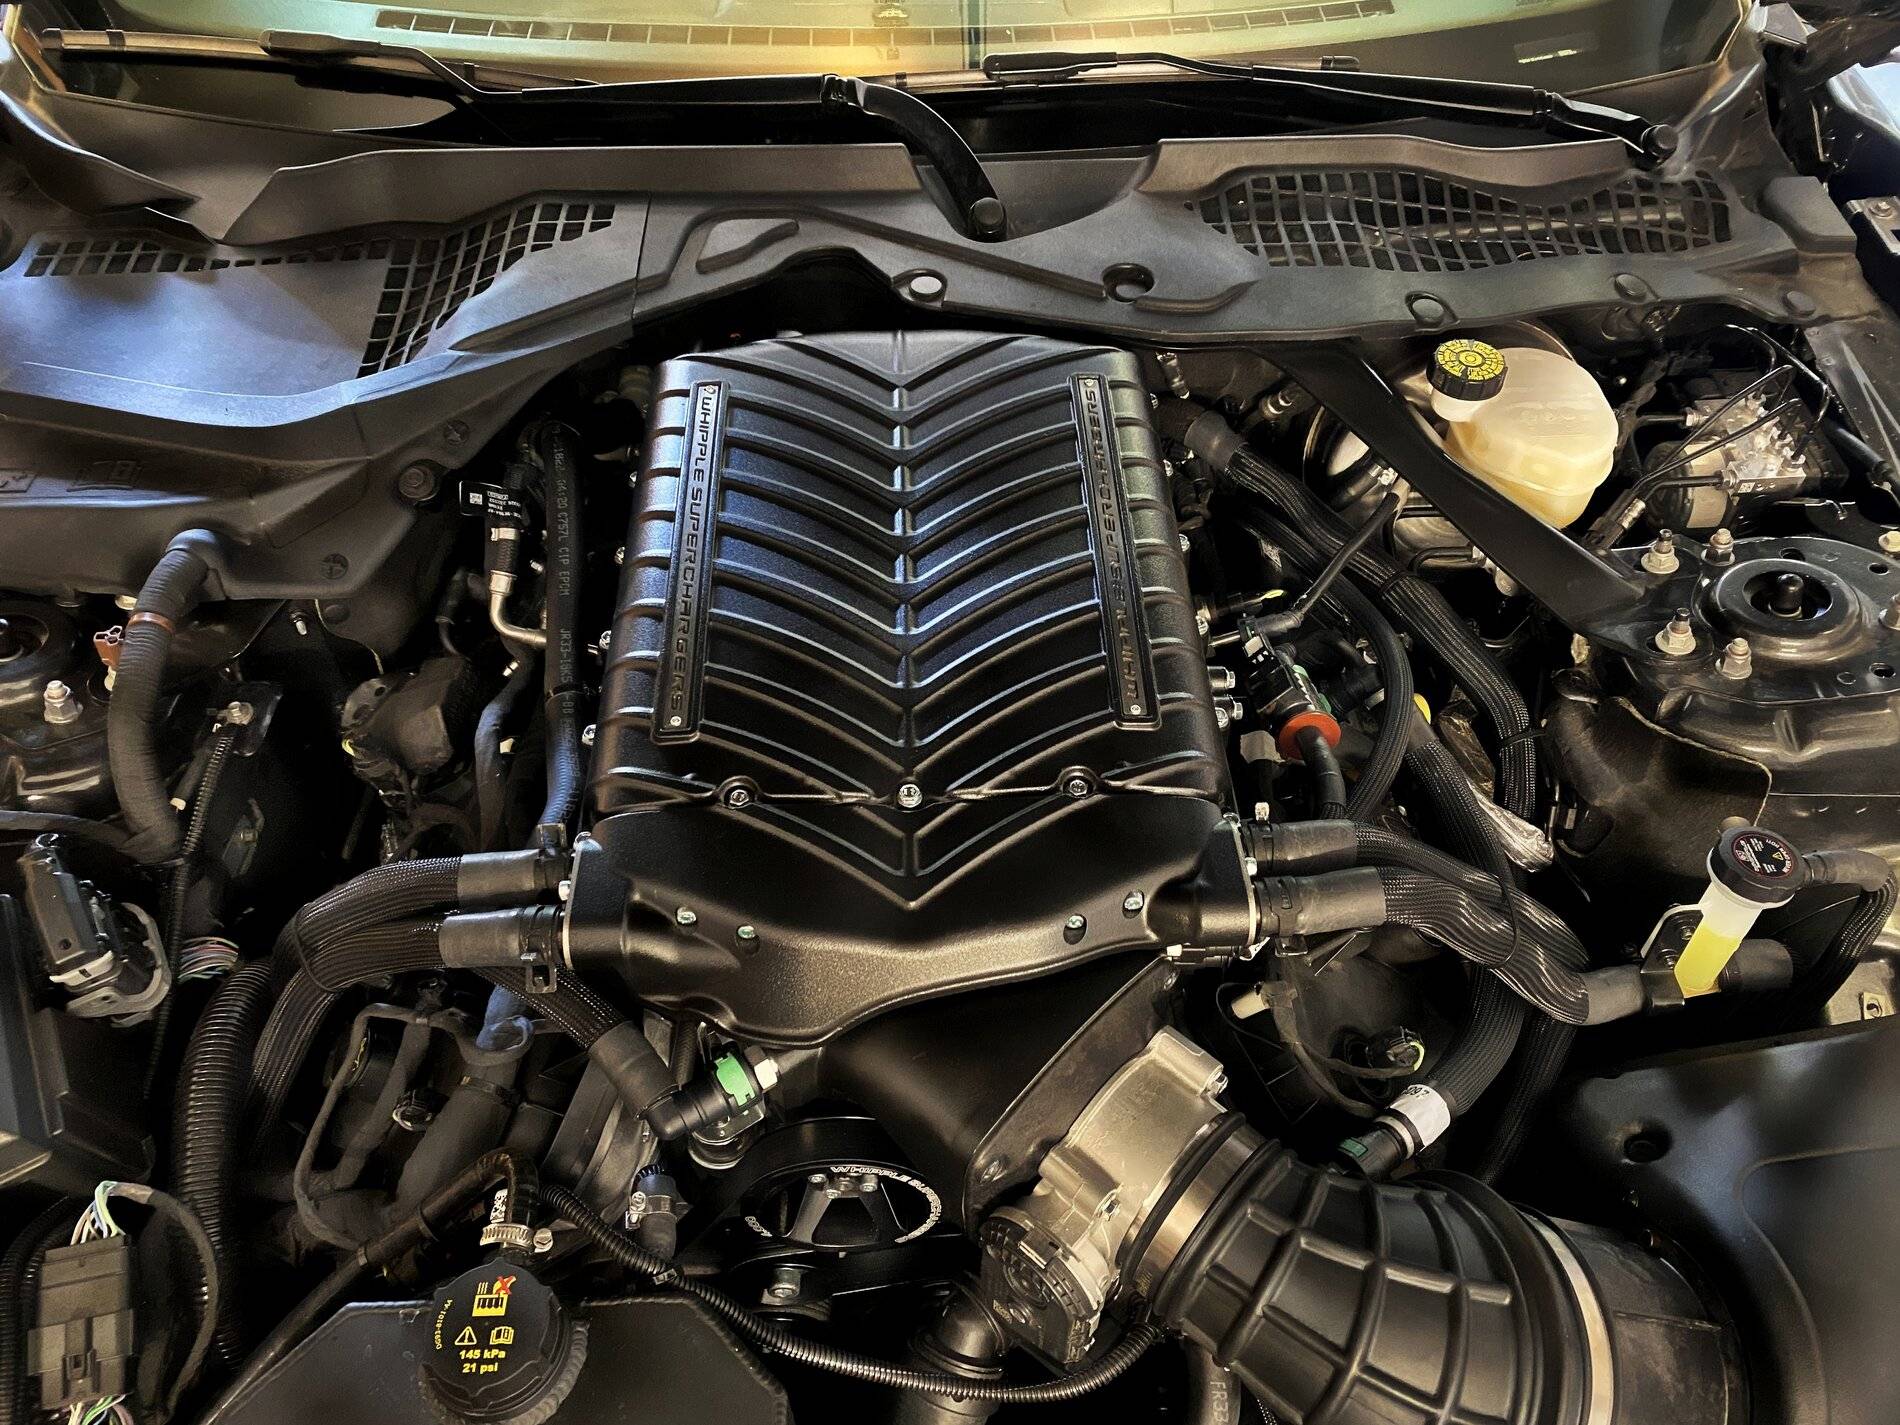
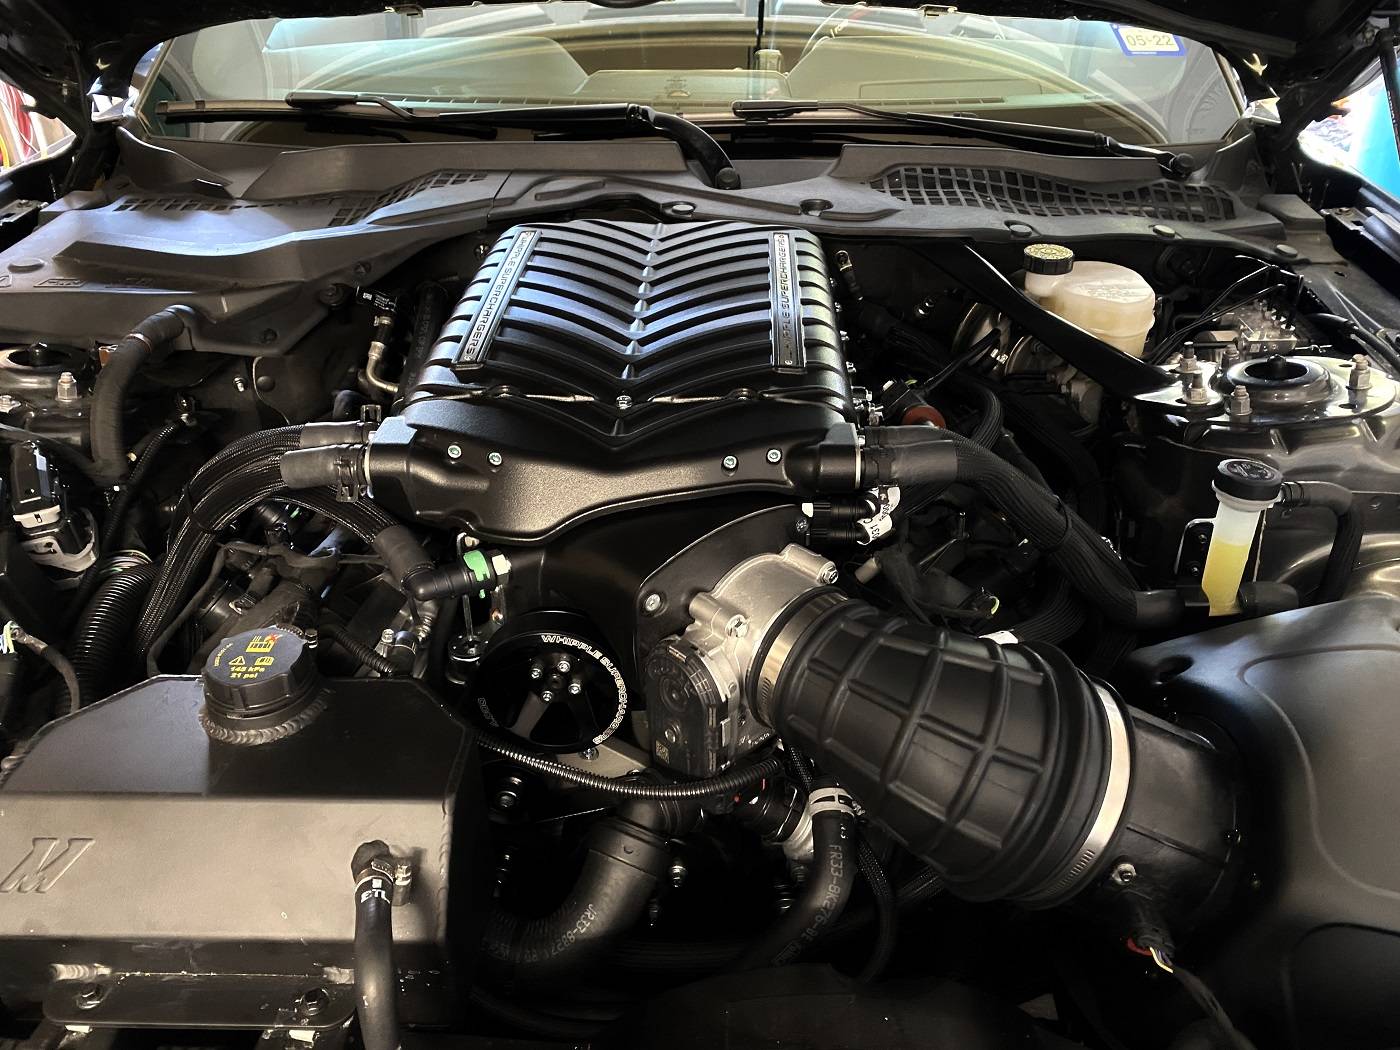
Installed this one six weeks ahead of time. lol
Sponsored
Last edited: