Sponsored

What's In DFB's Cabinet?

OP
OP
DFB5.0

DFB5.0

Well-Known Member
Joined
Mar 15, 2017
Threads
93
Messages
5,458
Reaction score
15,727
Location
Australia
Vehicle(s)
Mustang GT Fastback
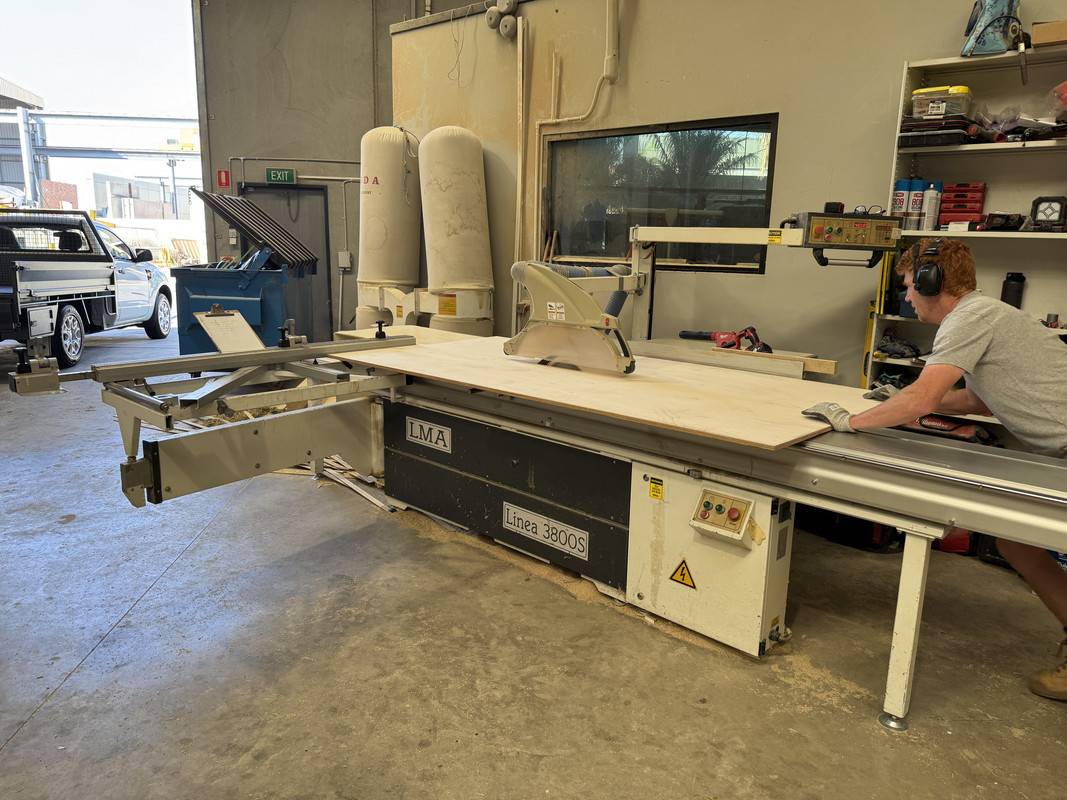
Swung by my friends workshop this morning, and with his large panel saw, the plywood was cut to size in no time. Two 1840mm x 600mm sections.

IMG-4735.jpg


In Year 10 I did a week's work experience with the gentleman above. At the time, I was mad on woodwork and cabinetry, which started in Year 7 woodwork class. Funnily, I started out hating that class, which was mandatory for all Year 7 students and. If I'm honest, it was simply because of a lack of confidence and a high amount of self-consciousness that was holding me back. But................somehow woodwork ended up being one of my favorite classes, of which I carried right through into Year 12. Go figure.

Anyway, I remember on day one of that work experience being set up to apply laminate edge banding on "white board" (melamine). Back then, this was done by hand using a hot iron to activate the adhesive, smoothed over with a cork block, then trimmed with a hand file in a very specific technique, as shown below. Well, being a ball of anxiety, the first stroke of the file was an instant failure, to which I let slip "I fu.ked it up"..................to hysterical laughter from my mentor. I did eventually get the hang of it, I actually enjoyed the task in the end and could probably still do it now.


Of course, there are various methods of applying and trimming edge banding these days, depending on the shop volume and budget. No more "fu.king it up"................... :wink:


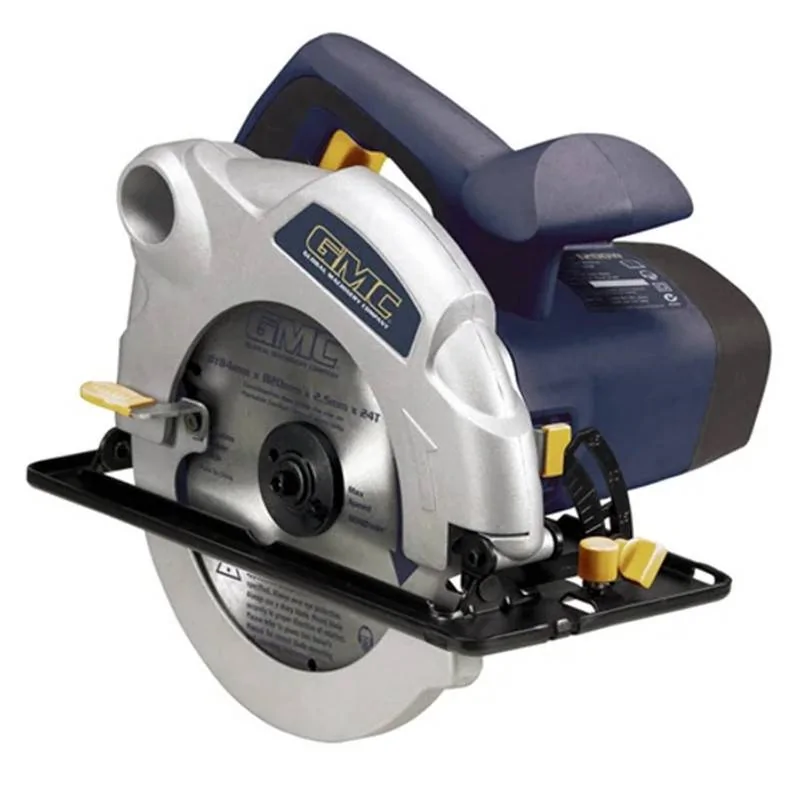
I had originally planned on making these cuts myself using a circular saw that dates back to my mid-teens, anyone remember GMC tools, basically what Ozito is today. Anyway, I didn't have a long enough straight edge to make a perfect cut, nor did I want to buy one for the mere three cuts I needed it for, then have to store the bloody thing somewhere.

gmccs1.webp


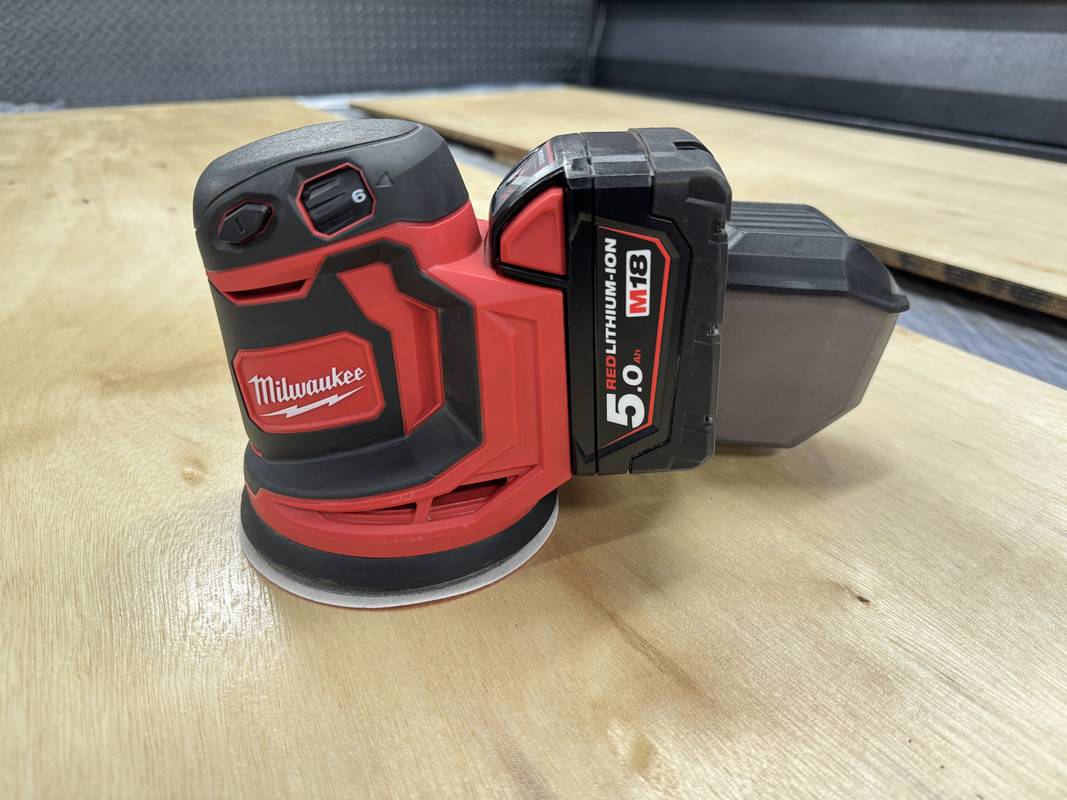
Once cut to size, I cleaned up the plywood edges with the sander, then a final sand of the facing sides. I really love this M18 palm sander, so convenient to use and seems to be quite efficient in terms of power usage/battery life.

MILWAUKEE 18V 125mm Random Orbital Sander Skin M18BOS125-0 | Total Tools

IMG-4739.jpg


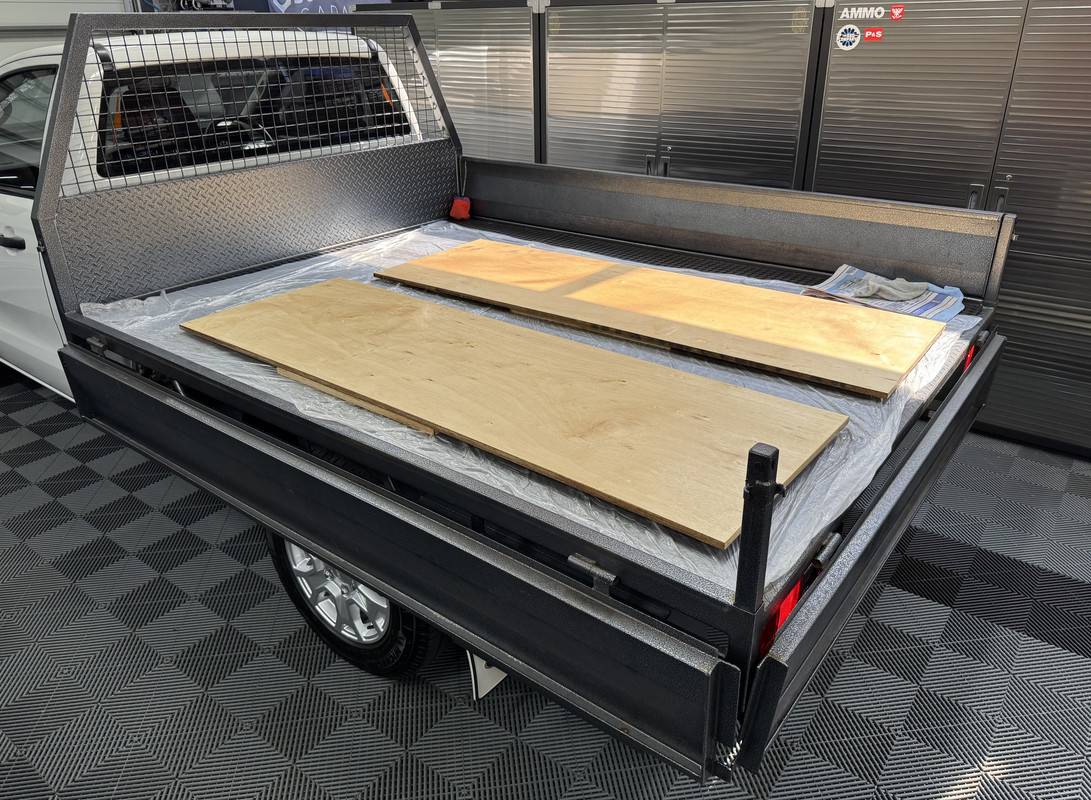
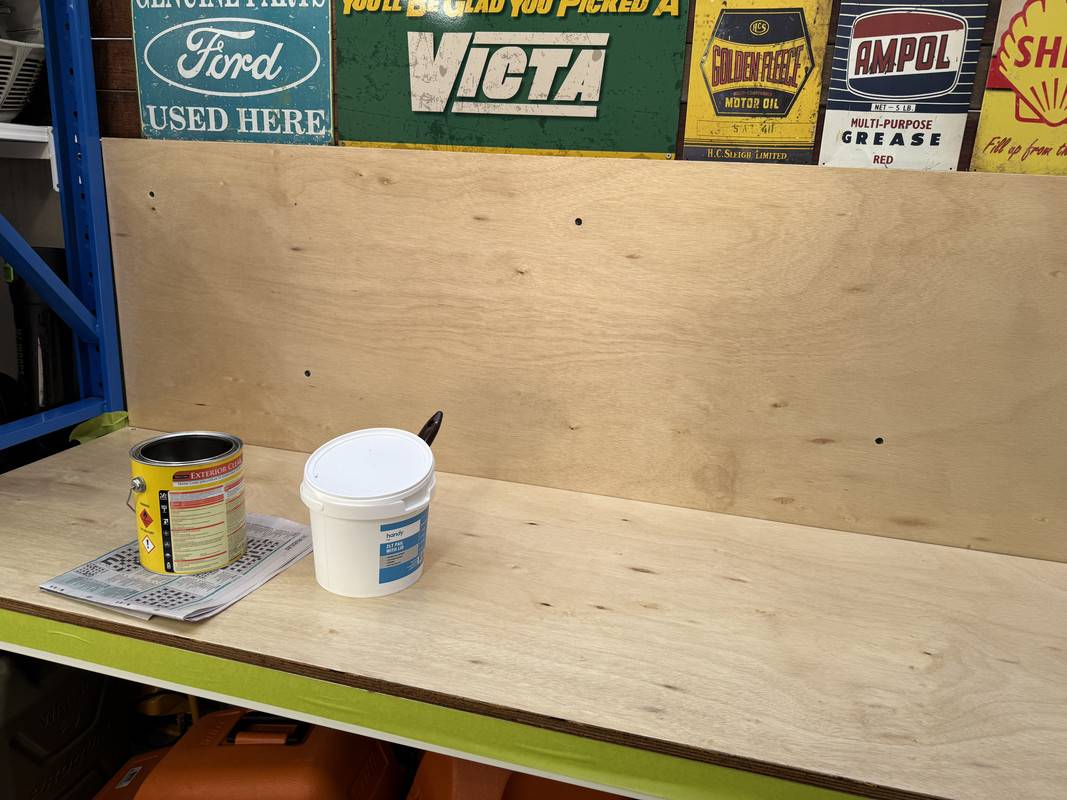
It was then out with the paint brush to continue applying the polyurethane.

IMG-4736.jpg


Once I have the painting done, one piece of the plywood will provide a sturdier surface for my work bench, the existing sheet metal panels are just too thin and end up clanging as the deforming under weight. The second will become a backing piece for a unique splash back I have in mind.

54398578403_dd58163369_b.jpg
IMG_4684 by D B, on Flickr
Sponsored


skinnyb

Well-Known Member
Joined
Jun 25, 2022
Threads
12
Messages
3,657
Reaction score
9,255
Location
Knoxville TN
First Name
Alex
Vehicle(s)
21 Mach 1. FJG, Tremec
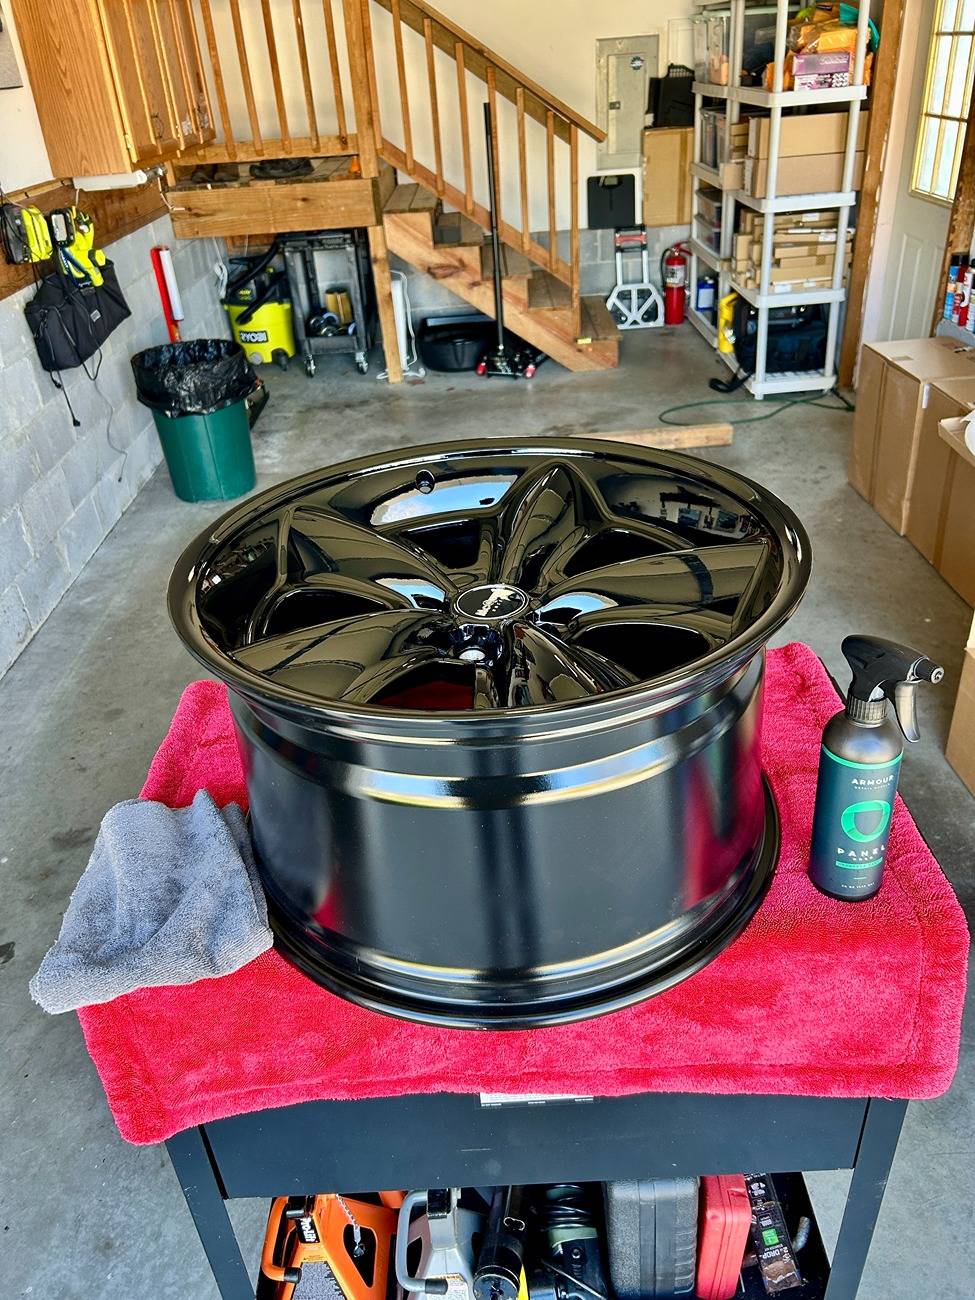
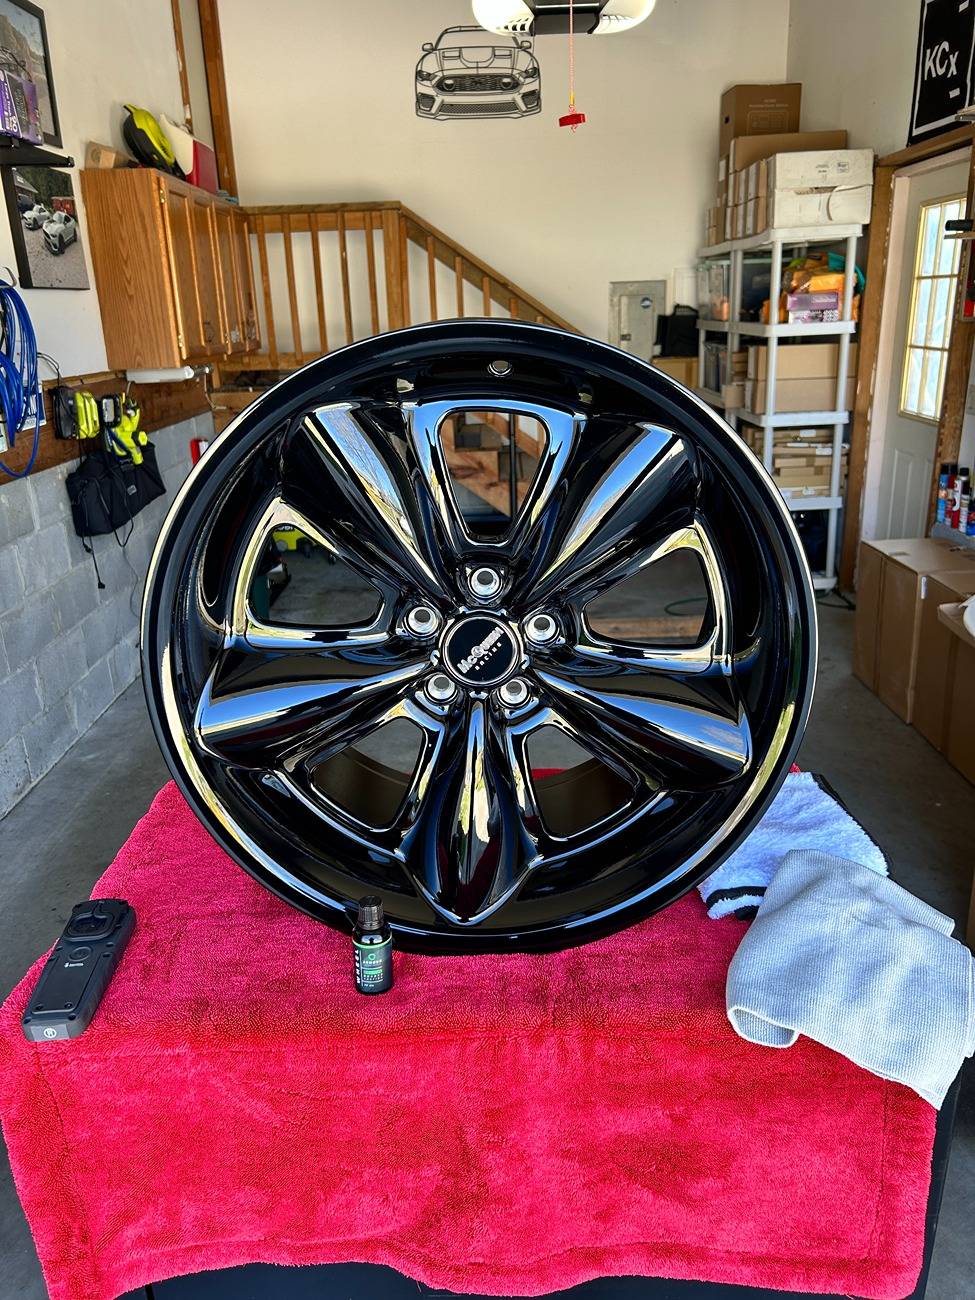
Little project complete today. Took a brand new set of Chad McQueen Racing wheels from a friend and did a prep and coating for his Bullitt... Since they were new in box, a thorough wipe with Armour Detail Supply prep, then a coat of ADS Wheel. They turned out amazing. The wheels had a few small love marks from packaging but nothing that needed attention enough to worry about... The coating went on easy, it is a bit grabby removing but once removed with the short nap towel, the plush towel was extremely slick on the paint...

IMG_2769.jpeg


IMG_2770.jpeg
 

MAGS1

Well-Known Member
Joined
Mar 6, 2020
Threads
96
Messages
11,584
Reaction score
19,016
Location
Somewhere in Middle America
First Name
Mark
Vehicle(s)
2022 Mustang GT
Little project complete today. Took a brand new set of Chad McQueen Racing wheels from a friend and did a prep and coating for his Bullitt... Since they were new in box, a thorough wipe with Armour Detail Supply prep, then a coat of ADS Wheel. They turned out amazing. The wheels had a few small love marks from packaging but nothing that needed attention enough to worry about... The coating went on easy, it is a bit grabby removing but once removed with the short nap towel, the plush towel was extremely slick on the paint...

IMG_2769.jpeg


IMG_2770.jpeg
Those wheels are sharp looking
 

skinnyb

Well-Known Member
Joined
Jun 25, 2022
Threads
12
Messages
3,657
Reaction score
9,255
Location
Knoxville TN
First Name
Alex
Vehicle(s)
21 Mach 1. FJG, Tremec
Those wheels are sharp looking
I'm reserving judgment til I see them mounted and installed. I do know they are heavy but no intricate areas so coating was a breeze. They used to make a polished lip version I wish he could have got those.

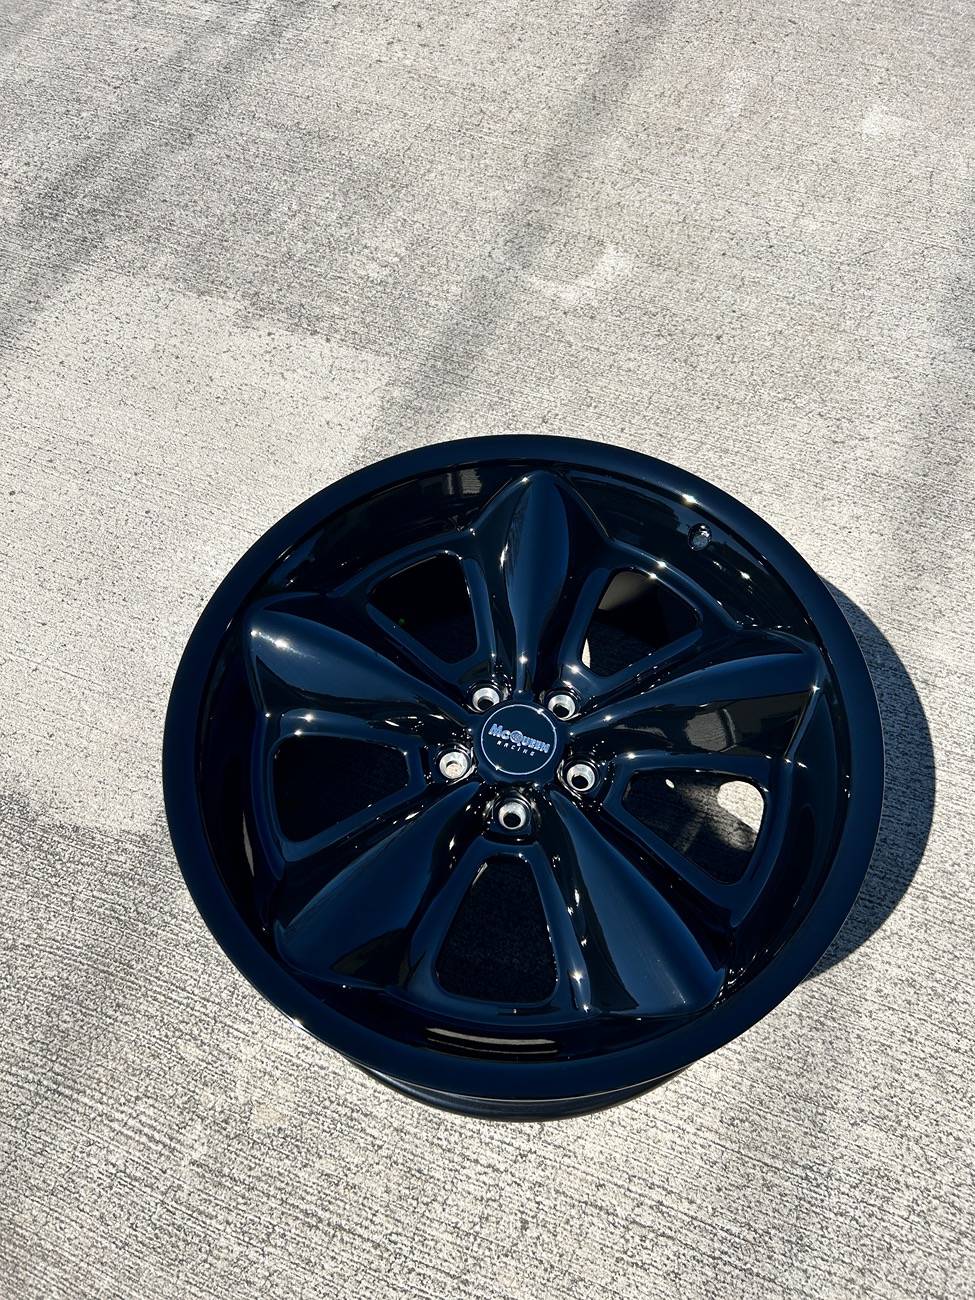
Definitely shiny when I applied the truth serum. I used the light but sunlight tells all 😄😄

IMG_2774.jpeg
 

MAGS1

Well-Known Member
Joined
Mar 6, 2020
Threads
96
Messages
11,584
Reaction score
19,016
Location
Somewhere in Middle America
First Name
Mark
Vehicle(s)
2022 Mustang GT
I'm reserving judgment til I see them mounted and installed. I do know they are heavy but no intricate areas so coating was a breeze. They used to make a polished lip version I wish he could have got those.

Definitely shiny when I applied the truth serum. I used the light but sunlight tells all 😄😄

IMG_2774.jpeg
I just looked them up as I was curious about the weight. 34lbs front and 35lbs rear, woof!
 

Sponsored

OP
OP
DFB5.0

DFB5.0

Well-Known Member
Joined
Mar 15, 2017
Threads
93
Messages
5,458
Reaction score
15,727
Location
Australia
Vehicle(s)
Mustang GT Fastback
Feel like I making progress now!

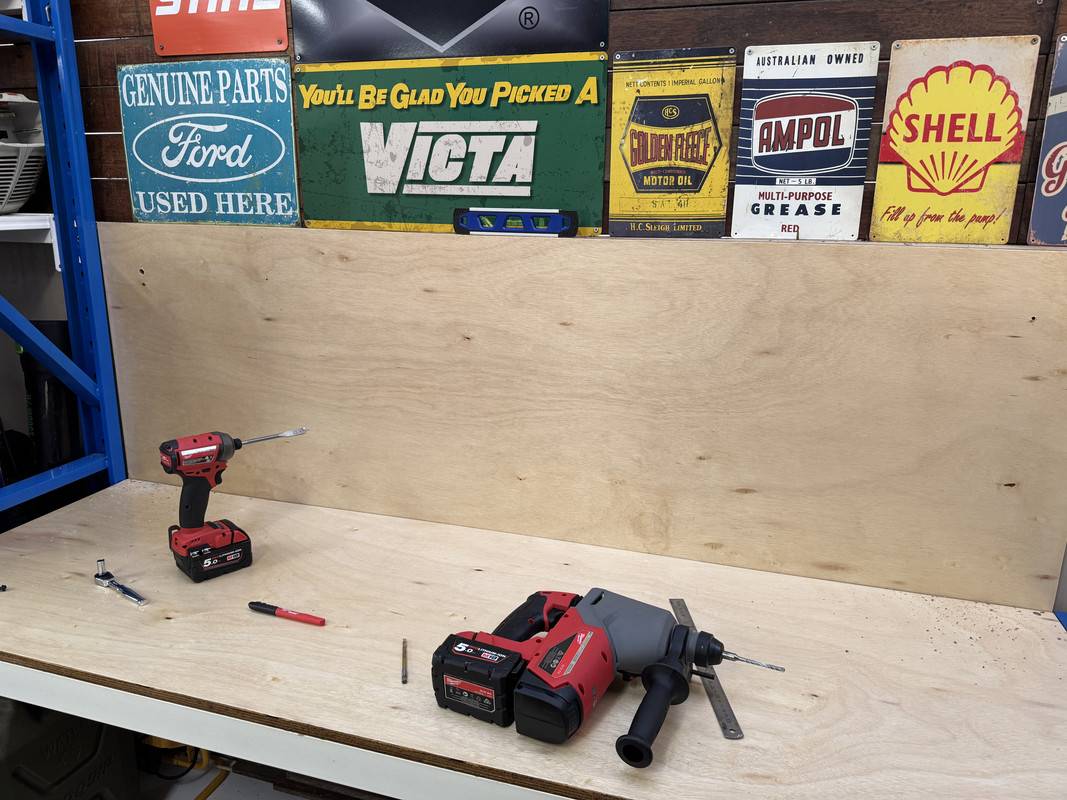
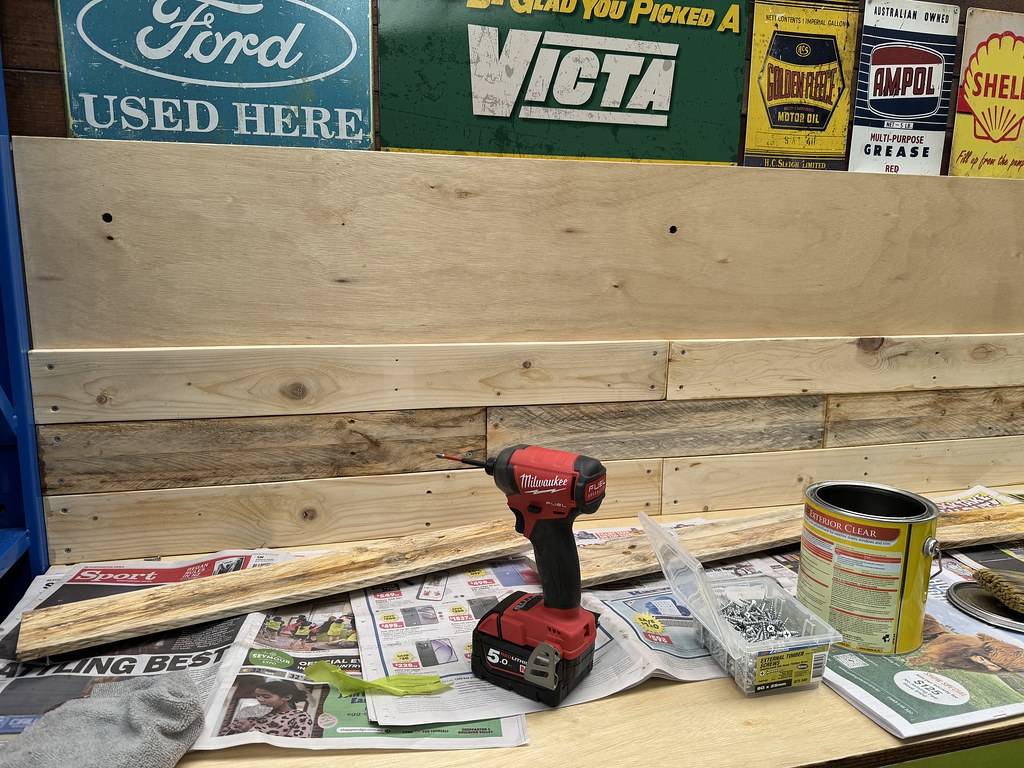
Yesterday I was waiting for a second coat of polyurethane to dry, so today I got around to installing the plywood pieces. First, after being squared up, pre-drilled and countersunk, the bench top section was secured to the metal frame. I love how that Surge Impact can be used to drive drill bits as well as driving home fasteners. And because of the hydraulic gearset, its super smooth doing it, none of the typical noise and vibration from a conventional impact driver.

IMG-4743.jpg


For the backsplash, this piece tucks slightly behind the bench and was secured directly to the concrete wall. After applying some adhesive, I actually had to prop it up from underneath to hold the board in place while I pre-drilled and countersunk the plywood, then plunged through with the SDS drill into the concrete, then used tapcons to hold it in place. You can wind in tapcons with an impact, but they are easy to strip, so I used a 1/4-inch socket wrench to play it safe.

After vacuuming up all the concrete dust, I went over the worktop with 320-grit sandpaper to level down the finish, ready for another layer of polyurethane.

IMG-4746.jpg


At this point, looking at what I had just done, I was wondering if the planned next step was something I still wanted to do? But, while it looked clean, I felt it also lacks character, so I decided to follow my heart and took the plunge......................

As always, the Ranger proves its worth in being an excellent work bench.

IMG-4749.jpg


A lot of additional work, but hopefully it achieves the look I'm going for. I've also ordered some shelves to break up the backsplash.
 

skinnyb

Well-Known Member
Joined
Jun 25, 2022
Threads
12
Messages
3,657
Reaction score
9,255
Location
Knoxville TN
First Name
Alex
Vehicle(s)
21 Mach 1. FJG, Tremec
I just looked them up as I was curious about the weight. 34lbs front and 35lbs rear, woof!
I knew I was struggling lugging them around :). My Velgen I had on my GBM GT I think weighed not much more than that tire and all :)
 
OP
OP
DFB5.0

DFB5.0

Well-Known Member
Joined
Mar 15, 2017
Threads
93
Messages
5,458
Reaction score
15,727
Location
Australia
Vehicle(s)
Mustang GT Fastback
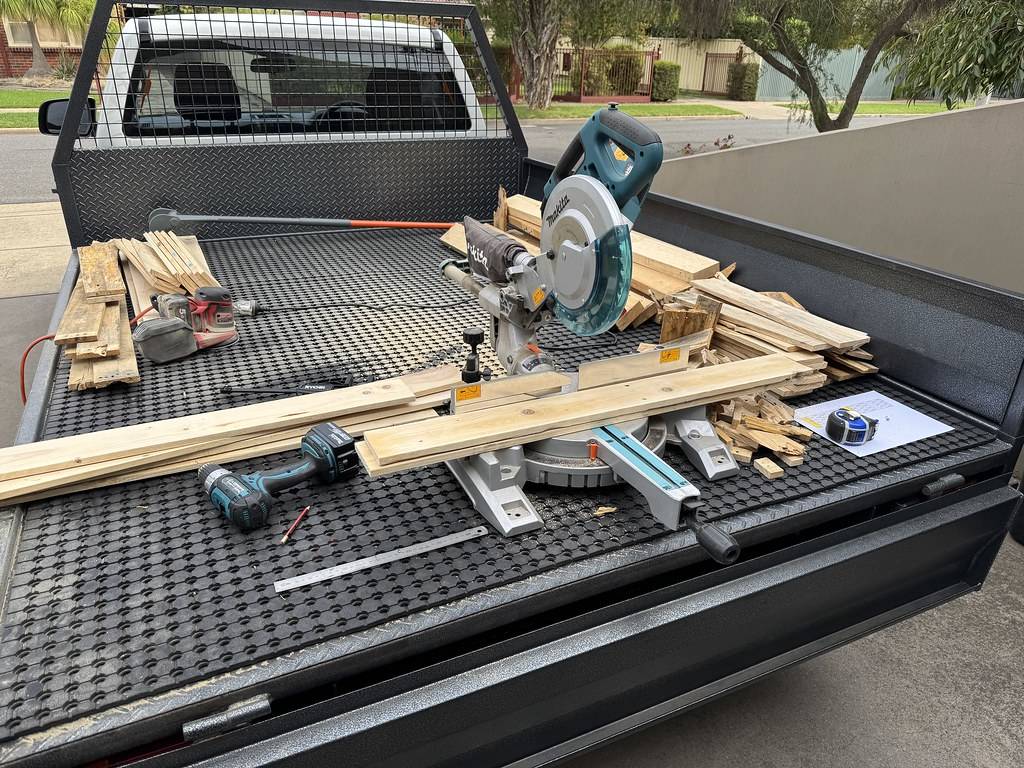
Back into it this morning, determined to get the bulk of the bench project done today!

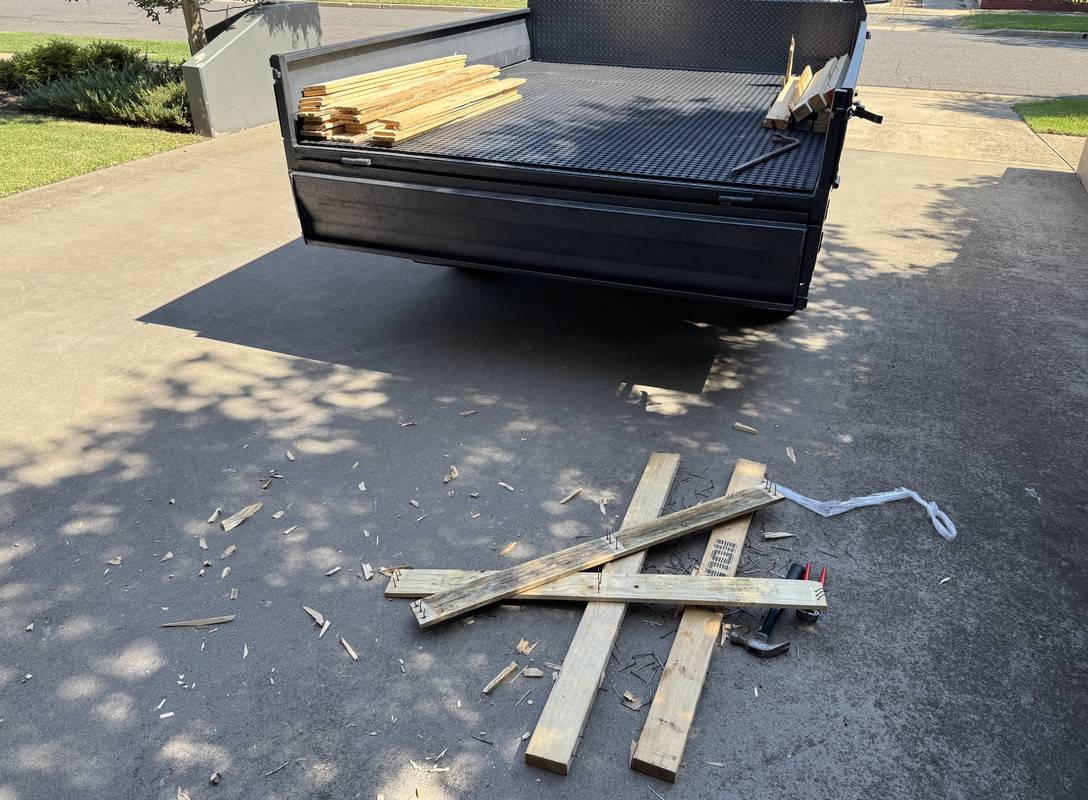
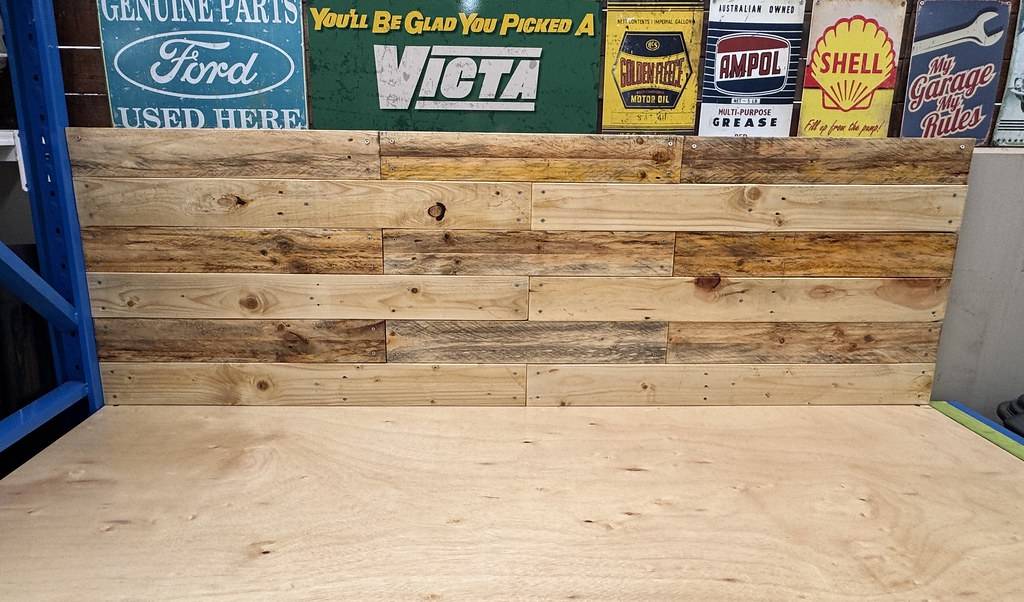
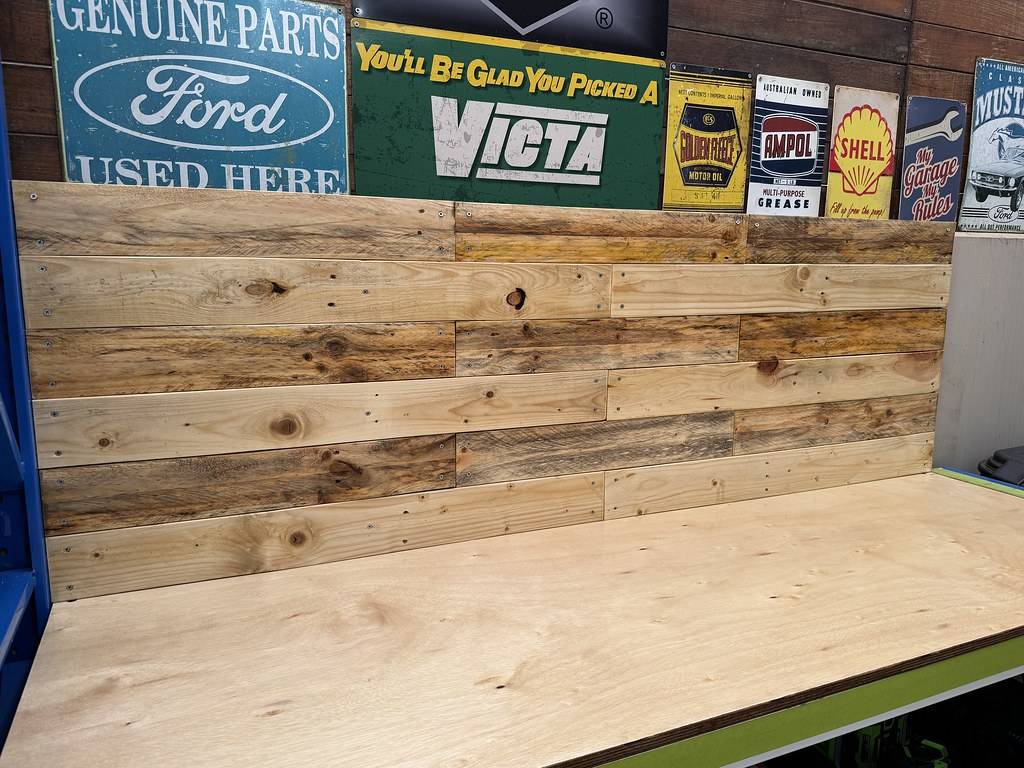
Yesterday I broke down several pallets, sorting them into size and finish. These will be used to clad backsplash, the idea being to add some "character" while still having a "finished" look. So, I then sanded down the boards, removing any splinters, rough sections and rounding over the edges. Now, after messing with pallets last year, I discovered its best to strip down more than you need, that way you can pick and choose what boards you want to use or will be happy with.

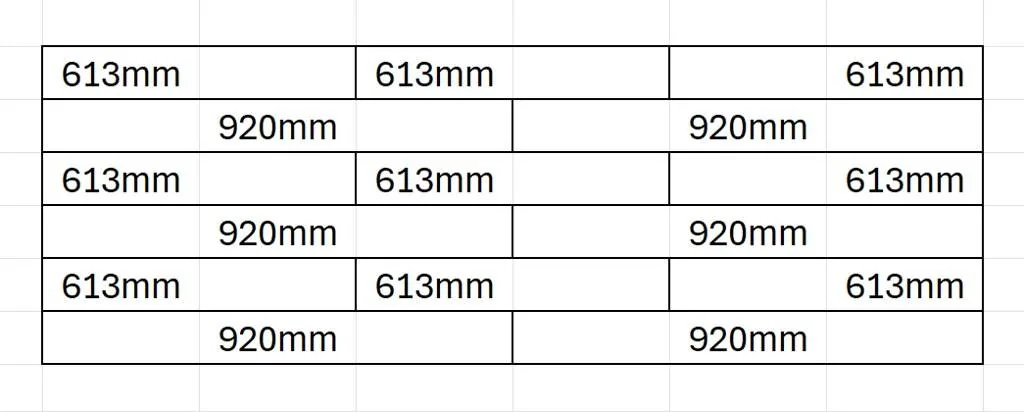
Last night I plotted out a pattern for the boards. Quite often with this sort of effect, the boards will be randomly arranged at varying lengths........................but I'm too regimented for that and wanted to have some uniformity. So, alternating layers consisting of two 920mm smooth boards and three 613mm boards in a rougher finish.

54415016758_fb6903a562_b.webp
Screenshot (355) by D B, on Flickr

With the prep done, it was time for some saw work. This is where having plenty of boards broken down comes in handy, allowing you work around imperfections and select enough of each finish.

54415127375_7251e99665_b.jpg
IMG_4752 by D B, on Flickr

After a quick layout check, I went ahead measuring and pre-drilling pilot holes in each board. Again, from experience, this timber can be prone to splitting, so pre-drilling helps prevent this. It was then time for fun part..................have I mentioned how much I love the Milwaukee M18 Surge? :like:

54414743956_a07ee0ff6c_b.jpg
IMG_4757 by D B, on Flickr

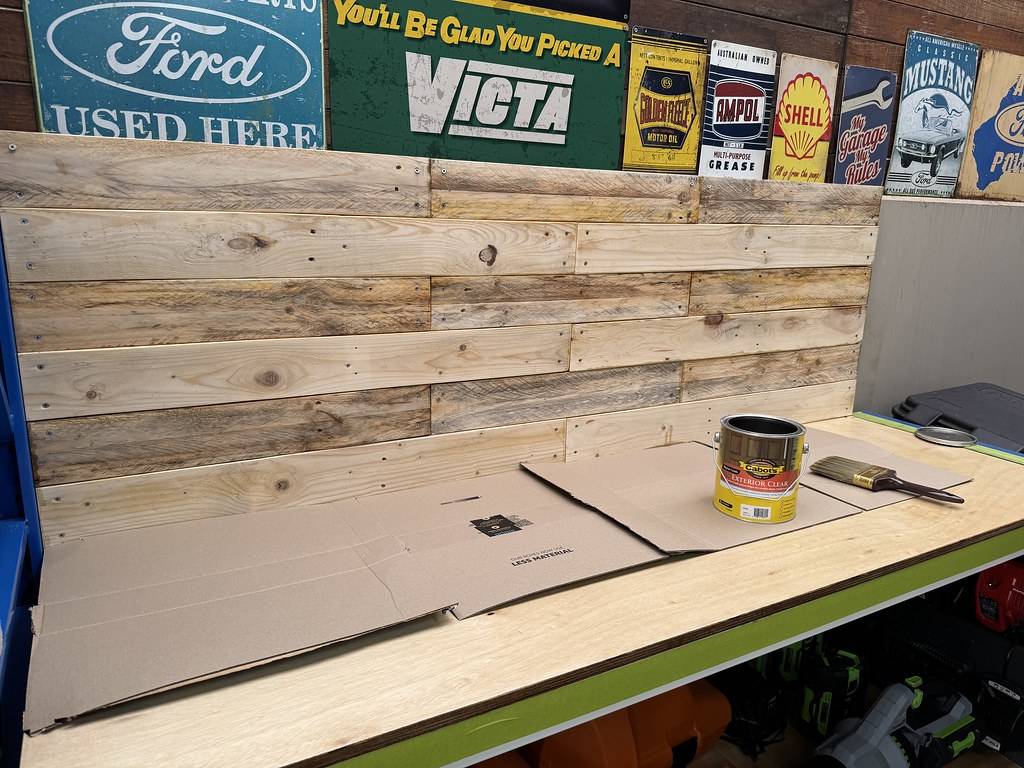
With the boards secured, time for paint......................

54414988728_f6e5c1819a_b.jpg
IMG_4758 by D B, on Flickr

The finish will lose some of the sheen once the polyurethan has dried. I also sanded and applied another layer to the worktop, and tomorrow I will apply another to the backsplash.

54414988653_9e7a78b9ed_b.jpg
IMG_4766 by D B, on Flickr

54413872987_337736293b_b.jpg
IMG_4762 by D B, on Flickr

54414929044_ef8aa1942f_b.jpg
IMG_4768 by D B, on Flickr

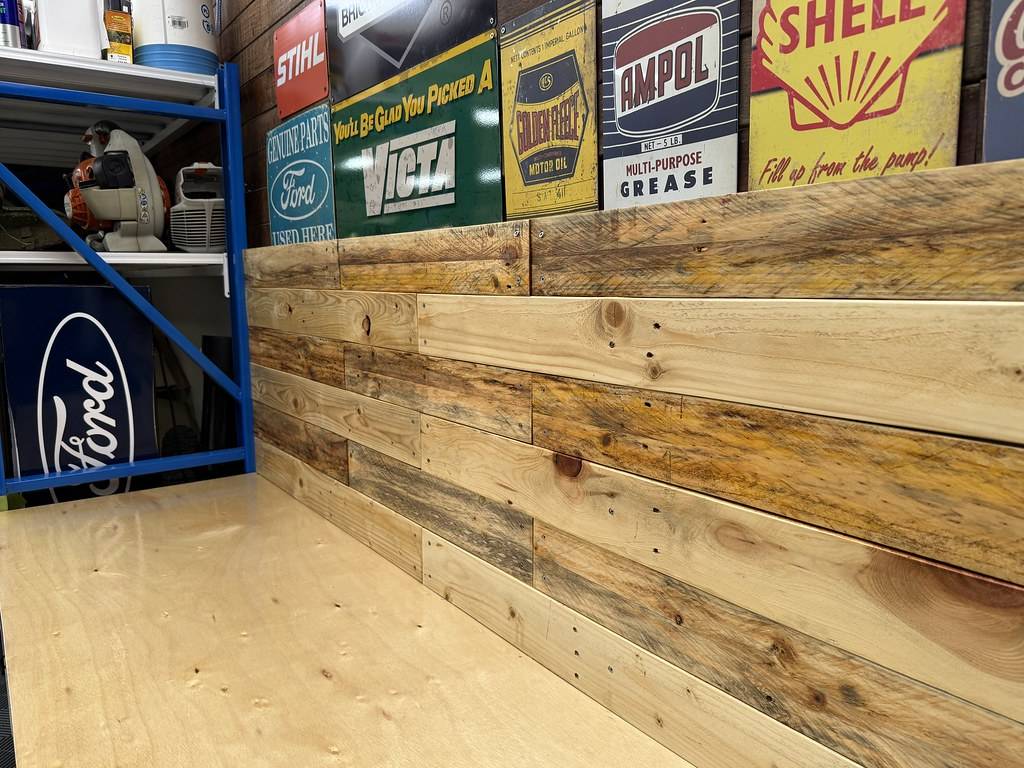
Very pleased with how the backsplash turned out. Once the paint has dried, I will attach a couple of shelves for aerosol cans such as carb spray and WD40. I'm also on the hunt for a vice.

A simple task, but it's been nice working with timber again.
 

Evolvd

Instigator
Joined
Jan 19, 2015
Threads
186
Messages
6,881
Reaction score
5,895
Location
Northwest Florida
First Name
Brian
Vehicle(s)
2021 Shelby GT500
Back into it this morning, determined to get the bulk of the bench project done today!

Yesterday I broke down several pallets, sorting them into size and finish. These will be used to clad backsplash, the idea being to add some "character" while still having a "finished" look. So, I then sanded down the boards, removing any splinters, rough sections and rounding over the edges. Now, after messing with pallets last year, I discovered its best to strip down more than you need, that way you can pick and choose what boards you want to use or will be happy with.

Last night I plotted out a pattern for the boards. Quite often with this sort of effect, the boards will be randomly arranged at varying lengths........................but I'm too regimented for that and wanted to have some uniformity. So, alternating layers consisting of two 920mm smooth boards and three 613mm boards in a rougher finish.

54415016758_fb6903a562_b.jpg
Screenshot (355) by D B, on Flickr

With the prep done, it was time for some saw work. This is where having plenty of boards broken down comes in handy, allowing you work around imperfections and select enough of each finish.

54415127375_7251e99665_b.jpg
IMG_4752 by D B, on Flickr

After a quick layout check, I went ahead measuring and pre-drilling pilot holes in each board. Again, from experience, this timber can be prone to splitting, so pre-drilling helps prevent this. It was then time for fun part..................have I mentioned how much I love the Milwaukee M18 Surge? :like:

54414743956_a07ee0ff6c_b.jpg
IMG_4757 by D B, on Flickr

With the boards secured, time for paint......................

54414988728_f6e5c1819a_b.jpg
IMG_4758 by D B, on Flickr

The finish will lose some of the sheen once the polyurethan has dried. I also sanded and applied another layer to the worktop, and tomorrow I will apply another to the backsplash.

54414988653_9e7a78b9ed_b.jpg
IMG_4766 by D B, on Flickr

54413872987_337736293b_b.jpg
IMG_4762 by D B, on Flickr

54414929044_ef8aa1942f_b.jpg
IMG_4768 by D B, on Flickr

Very pleased with how the backsplash turned out. Once the paint has dried, I will attach a couple of shelves for aerosol cans such as carb spray and WD40. I'm also on the hunt for a vice.

A simple task, but it's been nice working with timber again.
Nice work!
 
OP
OP
DFB5.0

DFB5.0

Well-Known Member
Joined
Mar 15, 2017
Threads
93
Messages
5,458
Reaction score
15,727
Location
Australia
Vehicle(s)
Mustang GT Fastback
Nice work!
Thanks! I'm not sure what I enjoy most about projects, the planning and sourcing of all the bits and pieces, putting the planning into action, or the finished result. Probably the decision making that goes into the planning and purchasing side.
 

Sponsored
Brisvegas

Well-Known Member
Joined
Feb 16, 2023
Threads
6
Messages
485
Reaction score
839
Location
Brisbane
First Name
Pete
Vehicle(s)
Dark Matter Grey '23 GT Mustang , 1976 SS Torana
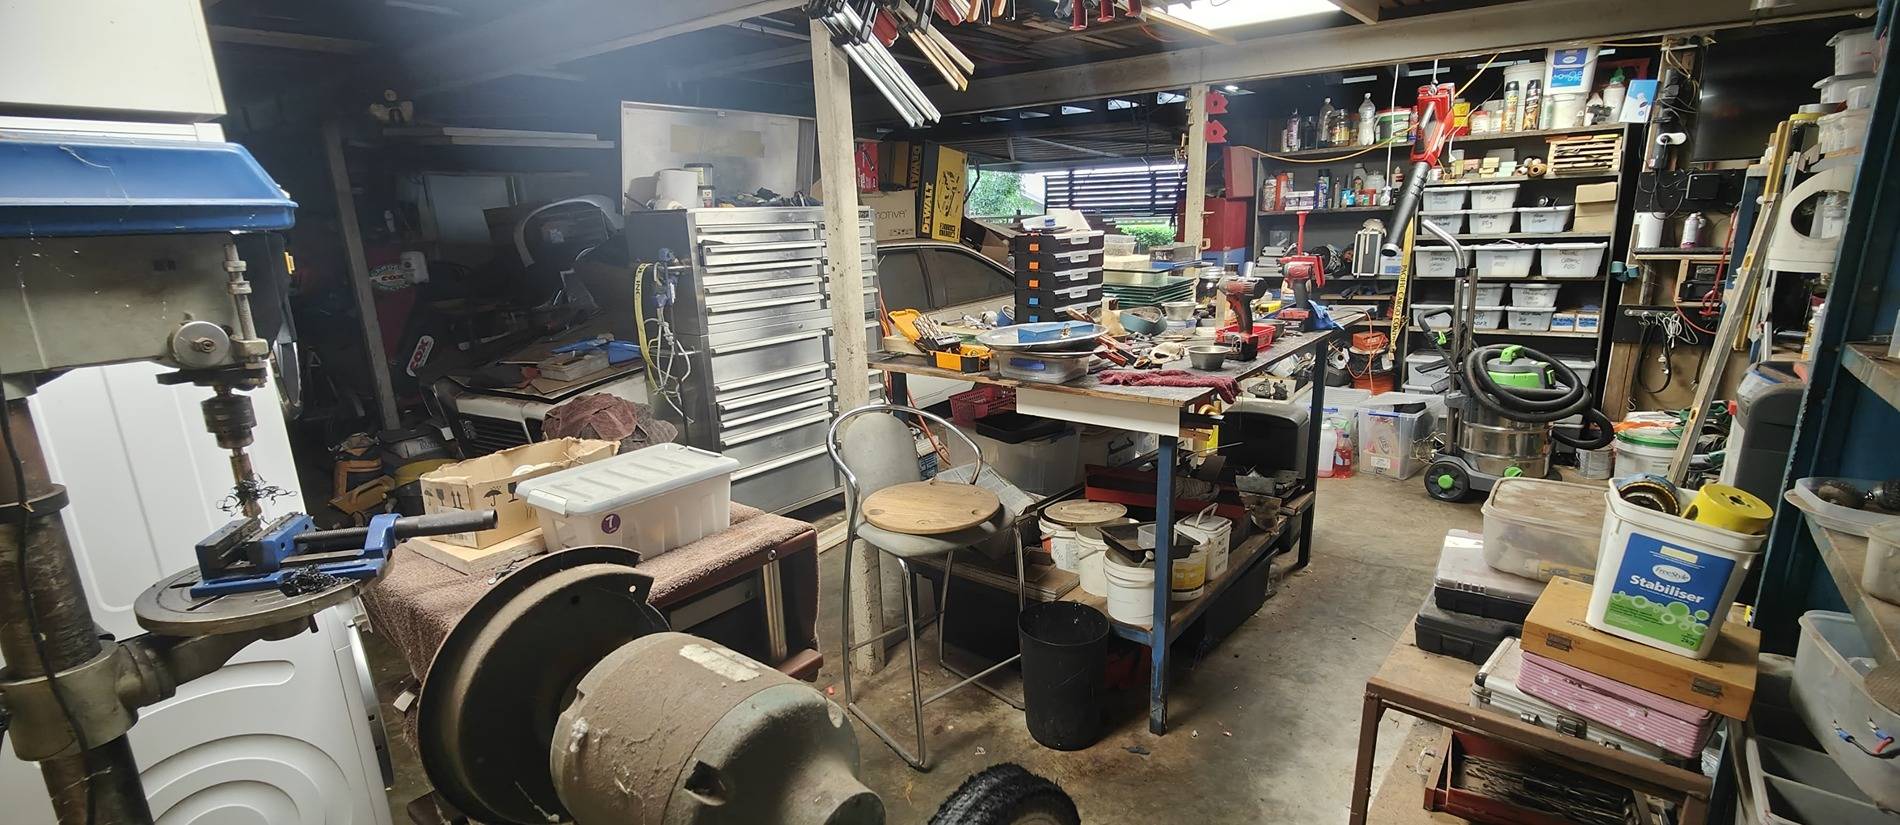
I am just the guy who uses Film faced form ply and is done in 20 minutes . We all got different ideas about what a garage is . Mines a tool not a display , made for sparks , dust , welding , oil and grease , making shit happen . I build things , my garage is not beautful but its extremely functional , beautiful things come out of my garage though .. I Use my Ute as a workbench as well so we got that in common

Definitely needs a tidy up in next few days , been hectic as since cyclone couple weeks back . Job i will start this afternoon . I need a larger garage for sure , no unused area anywhere i actually have table saw , linisher , pedestal grinders etc outdoors under carports and balconies as well
ScreenShot2378.jpg
 
Last edited:
OP
OP
DFB5.0

DFB5.0

Well-Known Member
Joined
Mar 15, 2017
Threads
93
Messages
5,458
Reaction score
15,727
Location
Australia
Vehicle(s)
Mustang GT Fastback
Despite having the saw set up out in the driveway yesterday, the Falcon got showered with a layer of sawdust. In hindsight, I probably should have moved it out of the garage, but then I wouldn't have had something to do today! :wink:

IMG-4769.jpg


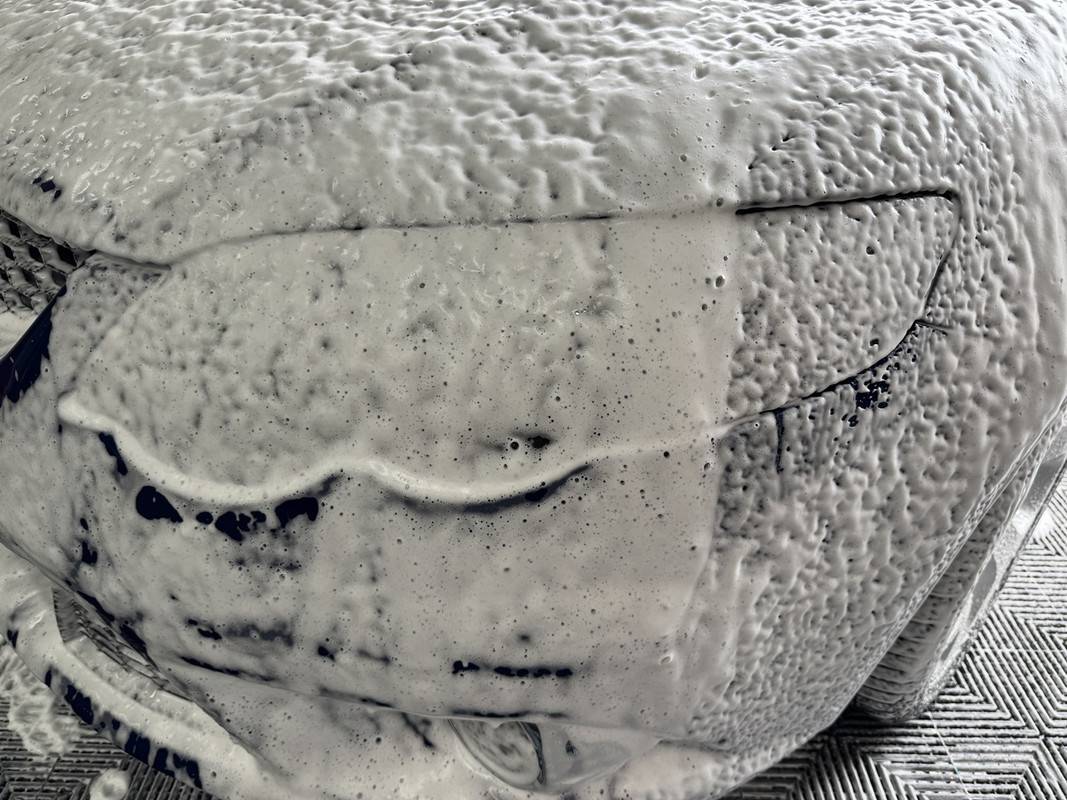
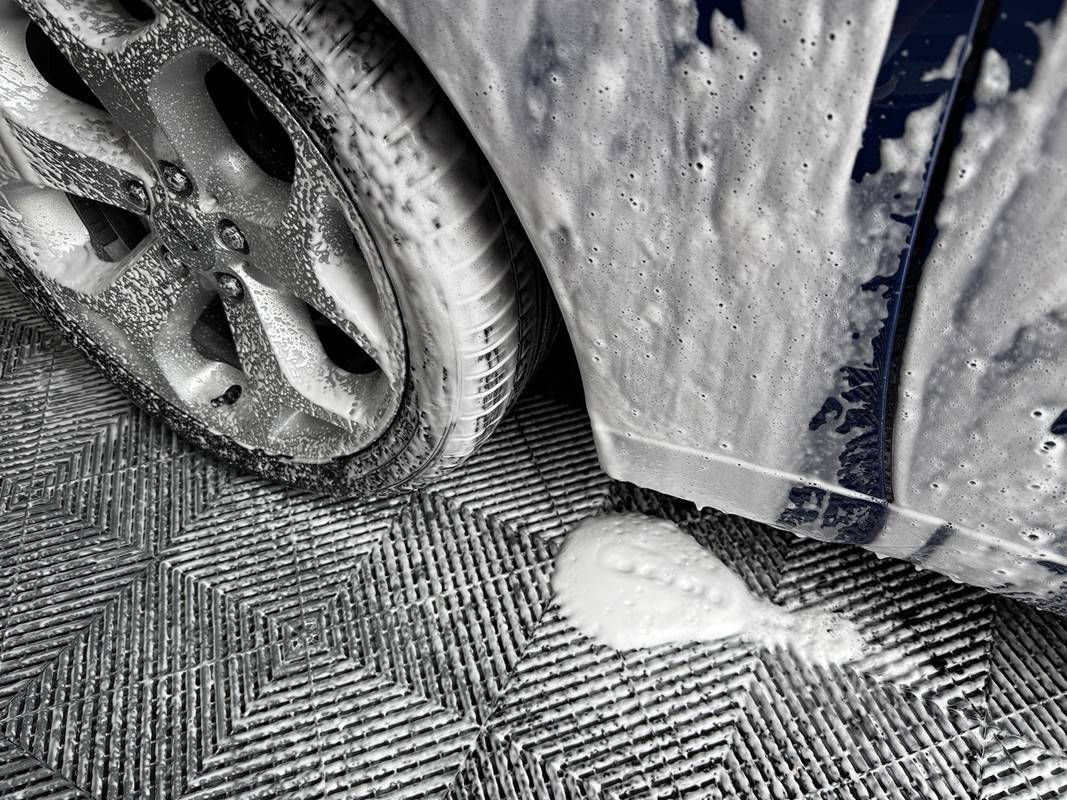
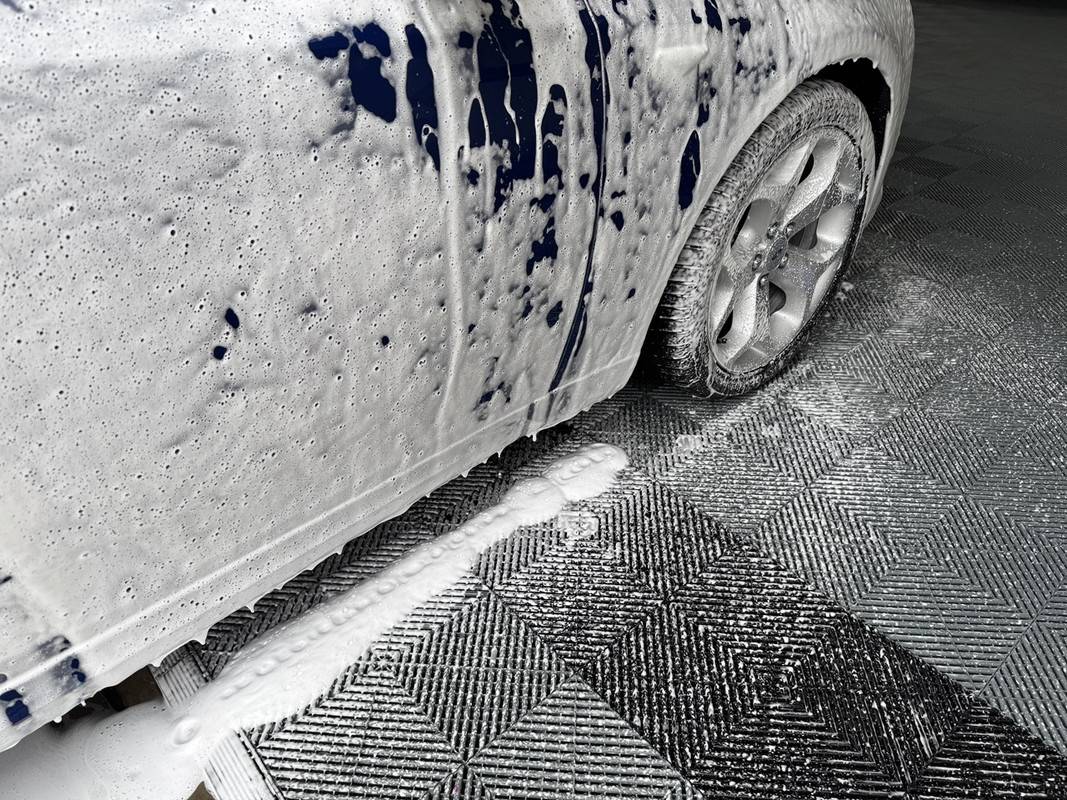
Soap of choice today was NV Snow.

Snow | pH-Neutral Foaming Shampoo – Nv Car Care USA
Nv Snow | Foaming Car Shampoo – Parks Car Care

Nv SNOW | pH Neutral Wash | Waxit – Waxit Car Care

If I had to name my absolute favorite soap, the response would be a very quick Carpro Reset. But you certainly pay for Reset's top drawer user experience. However, when you throw purchase price into the equation, the balance shifts towards NV Snow for the following reasons......................

- The consistency of the soap is thin, so it's easy to pour, just like Reset.

- A unique but subtle fragrance..............also like Reset. Both differ from the usual berry or bubblegum scents used in most soaps.

- The foaming ability is seriously impressive, producing slightly thicker foam compared to Reset.

- Slickness is exceptional, not quite Reset slick, but not far off. If Reset was 10/10, Snow would be 9.5/10.

- Free rinsing, like Reset.

- Excellent cleaning ability, if not more so than Reset.

- Snow is significantly more cost effective in the 4-litre size.

AUD
SIZENV SnowCarpro Reset
500ml$21.95$24.95
1-litre$33.95$39.95
4-litre$78.50$129.95

USD
SIZENV SnowCarpro Reset
500ml$15.99$15.99
1-litre$22.99$26.99
4-litre$64.99$89.99

IMG-4771.jpg


IMG-4773.jpg


After the wash, ADS Amplify was used for drying aid duties (paint, engine bay, door jambs and wheels), OG Tire Dressing on the rubber, ADS Pilot for the interior. On this occasion, I also had to get after the interior glass. For this, I went with Carpro Eraser to hopefully deal with the light film that had built up. After the detail, the XR6 swapped place with the Mustang and then covered up.

I've been using the Falcon as my daily over the last two weeks, which after a short acclimatization, has been so nice due to the comfortable seats, decent ride quality and that smooth, torque rich engine. Despite the 8-year age difference, jumping back in the Ranger is such a downgrade in drivability. Just the other week, I nearly got t-boned due to the horrendous turbo/throttle lag in the Ranger, how Ford signed off on the 2.2's calibration beggars belief! Apparently the 6-speed automatic is even worse.

And it's not due to a lack torque as both produce similar numbers, 385 Nm for the Ranger and 391 Nm (420 Nm on 98-ron) for the Falcon. Where the Barra builds torque very naturally off idle, absolutely nothing happens till 1800 rpm in the Ranger, then it falls on it's face at 2200 rpm. Now, 1800 rpm might sound reasonable for peak torque to arrive, but the problem is how long the engine takes to reach that number due to the turbo lag and the throttle being absolutely dead. And with such a narrow 400 rpm power/torque window, it means you are constantly shifting gears to keep it productive.

Speaking of the Ranger, due to it doubling as a sawhorse, it too has that layer of sawdust. However, the workhorse will have to wait until after my mowing run next week for a wash.
 
OP
OP
DFB5.0

DFB5.0

Well-Known Member
Joined
Mar 15, 2017
Threads
93
Messages
5,458
Reaction score
15,727
Location
Australia
Vehicle(s)
Mustang GT Fastback
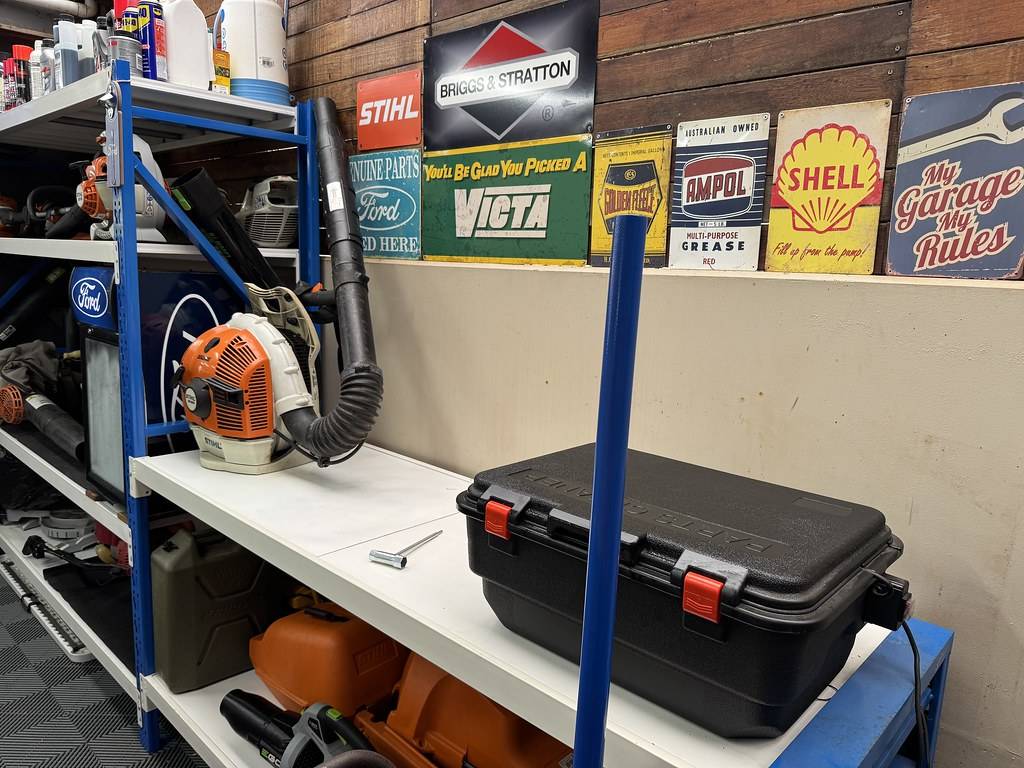
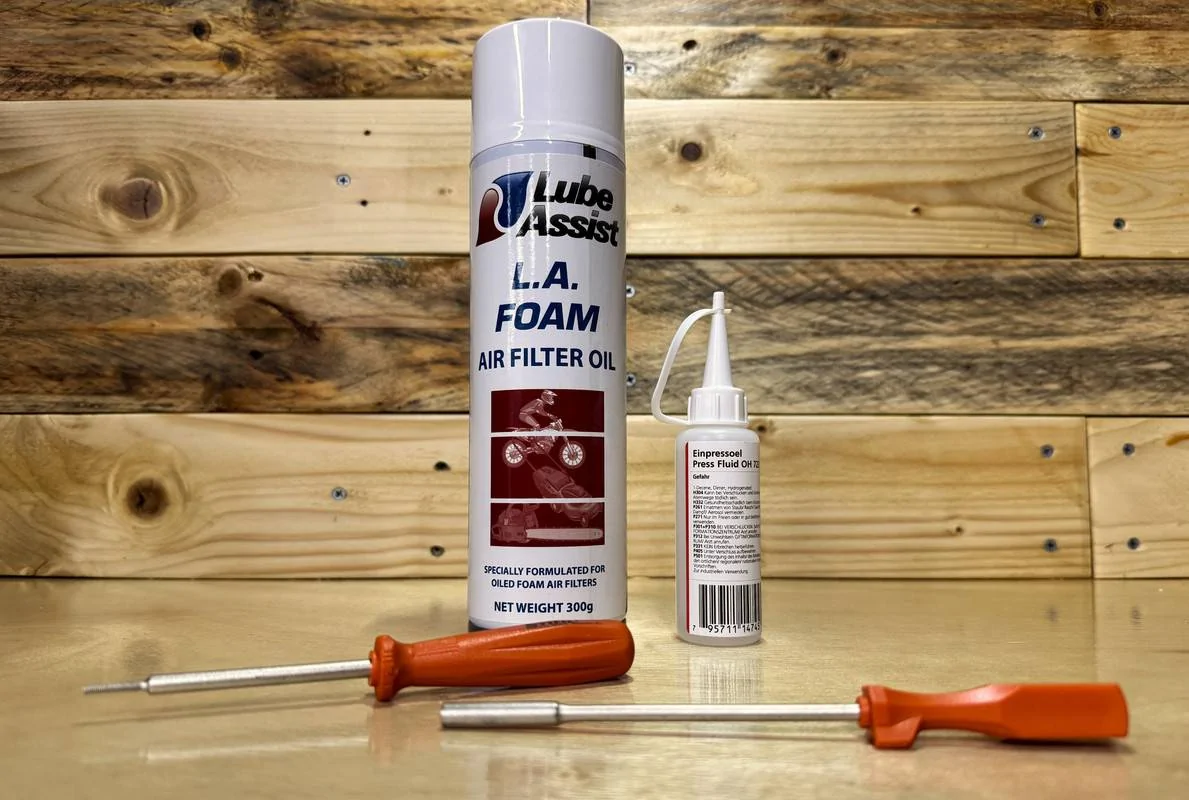
First use of the new workbench, a backdrop for images.

IMG-4776.webp


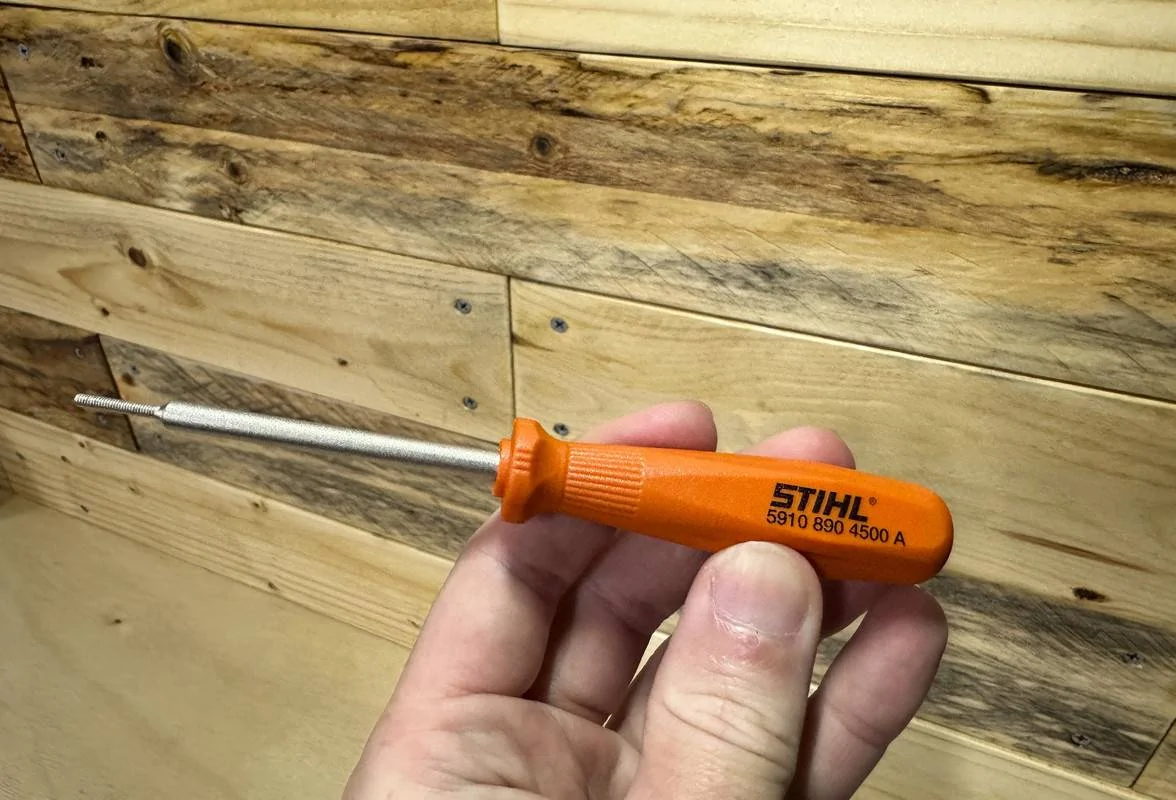
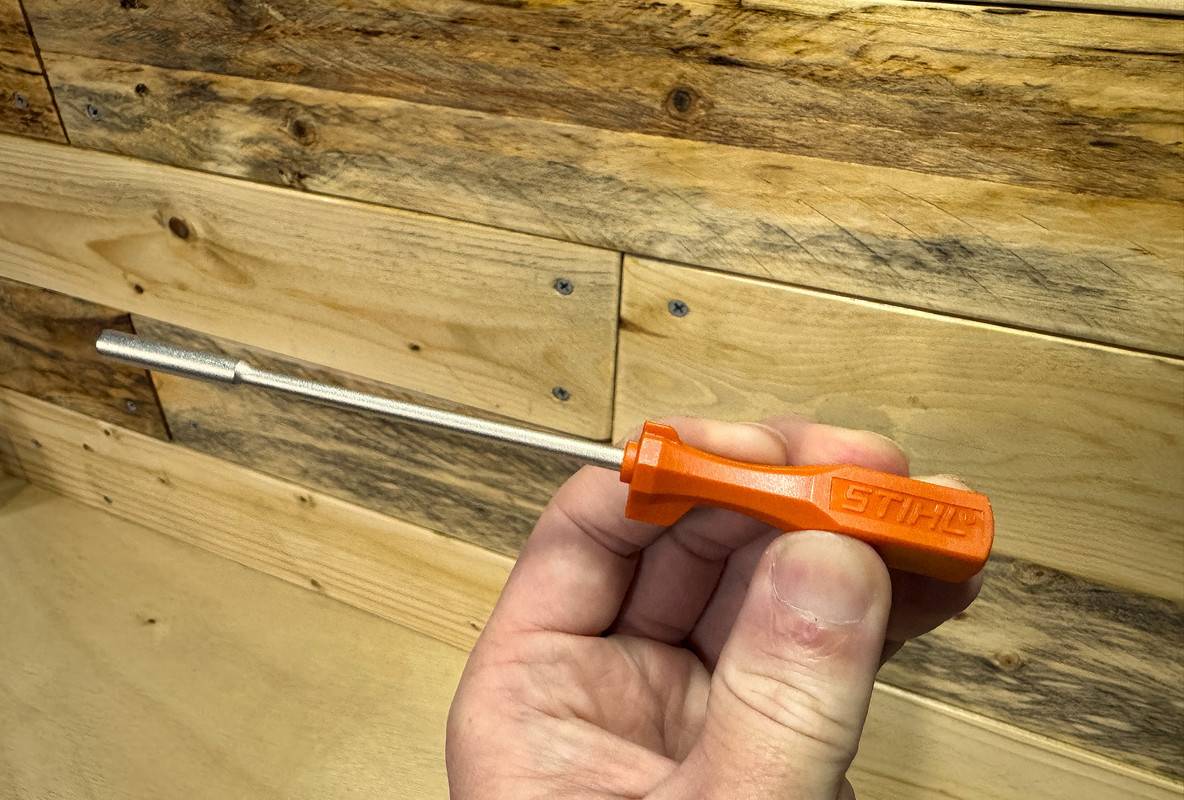
In this case, I'm show casing a couple of specific Stihl tools, which are designed to allow adjustment to the carburetor tuning screws, bypassing the limiter caps.

STIHL Carburettor Limiter Cap Special Tool. # 5910 890 4500 | Outbushman
STIHL Genuine Octagonal Carburettor Adjustment Driver # 5910 890 2314 | Outbushman

IMG-4785.webp


IMG-4787.jpg


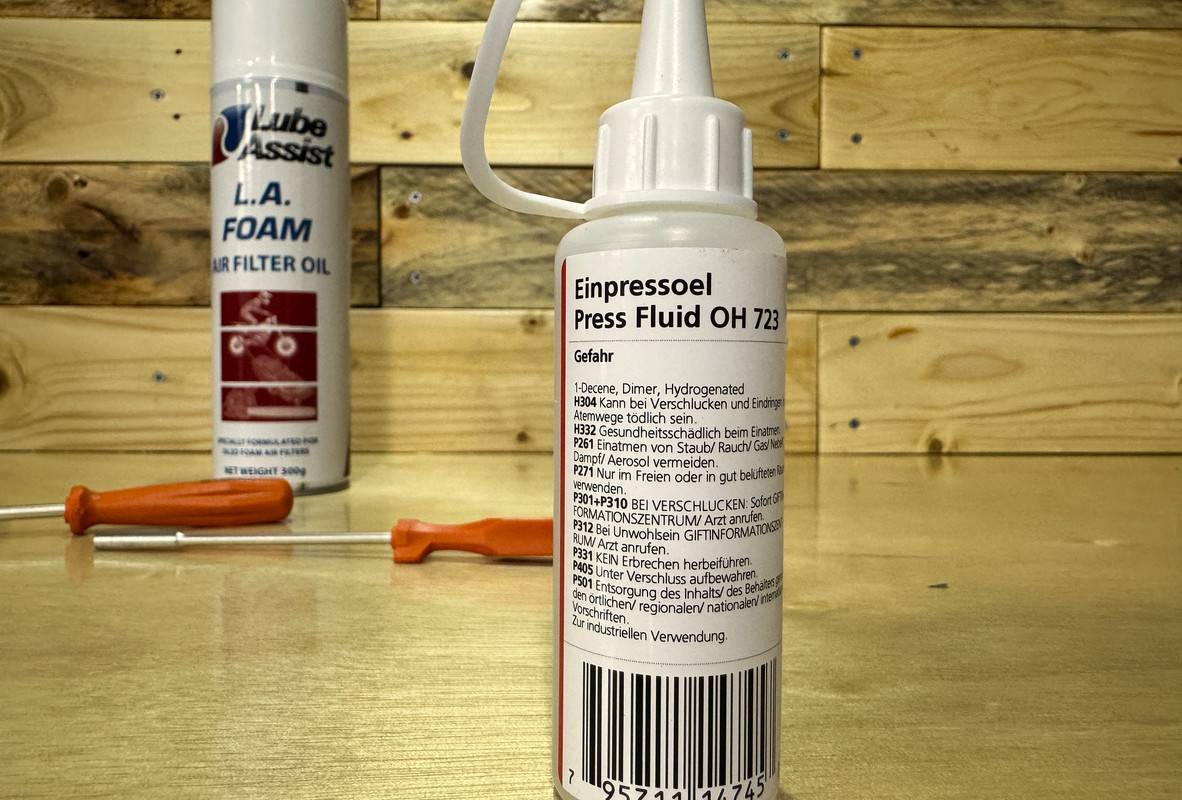
Also included was a bottle of Stihl press fluid, which is designed to make installing gromets, fuel lines and filters easier. I learnt about this via the video below (from the 43-min mark), the idea of using this over oil is that press fluid evaporates away and prevents the fitting from popping off.

Stihl MS362 Chainsaw! HARD TO START! Let's Find Out WHY! - YouTube

STIHL Genuine OELHELD Press Fluid for AV Buffer / Fuel / Oil Line Fitment etc... | Outbushman

IMG-4779.jpg


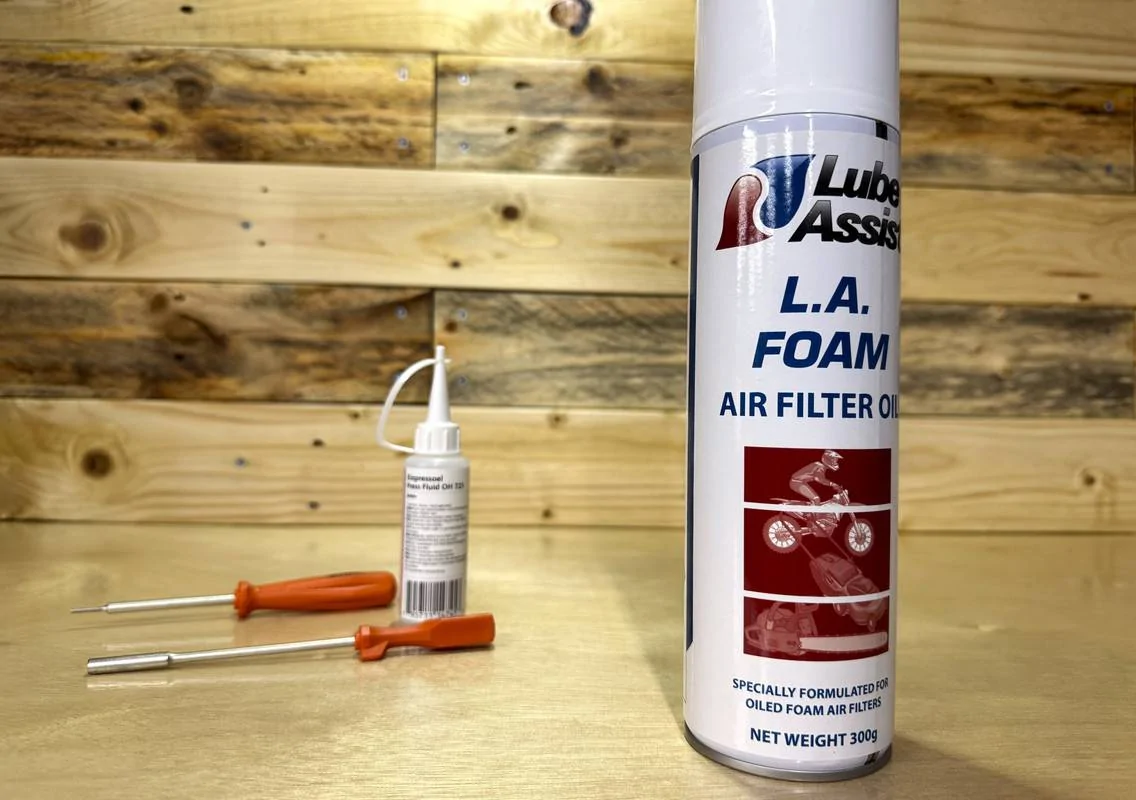
I also decided to give this foam air filter oil a try. Normally, I'd just use 30 weight oil, but its a messy job. This would be useful for old 3.5 - 4.0hp side-valve Briggs engines, as well as the newer entry level OHV Briggs with the primer bulb (300E, 450E and 500E) which have oil-soaked foam filters.

LUBE ASSIST Spray Air Filter Oil For Flock and Foam Air Filters in All Machinery | Outbushman

IMG_2988.jpg


IMG-4781.webp


The backdrop is exactly the look I was aiming for! I'll probably need some supplement lighting though, which I'm thinking of fitting rechargeable under cabinet lights, mounted underneath the backsplash storage shelves.
Sponsored


Top