Bridgie
Well-Known Member
- Joined
- May 25, 2015
- Threads
- 44
- Messages
- 584
- Reaction score
- 961
- Location
- Raleigh, North Carolina
- First Name
- Dave
- Vehicle(s)
- 2015 GT fastback. PP, 50th trim, Black
just checking.

Sponsored
just checking.
Here is the link to the install video for the cam covers. I have not seen it yet.Maybe stick a camera around while you're doing it? Please? I really need to do this swap, but it's a little daunting to accomplish without having something to refer to.
JR
Great video George. The only video on YouTube to show how installing and replacing is done.Here is the link to the install video for the cam covers. I have not seen it yet.
Great video George. The only video on YouTube to show how installing and replacing is done.
Did you scrape off the old and re-apply gasket sealer to the front cover joints.?
I'm in the process of changing out my valve covers too. Do you think I can remove the back bolts on the plastic covers with a 10mm socket and swivel, instead of the 10mm universal joint?Afternoon all,
Today was cam cover replacement day. My buddy came by and recorded the process. Once he is done editing he will post to his YouTube page, Truccispeed.
As for the install we learned a lot.
Started on the drivers side as it would be the hardest. It was the hardest too but learning as we went. Found a small swivel head light was a big help at rear for harness clips and bolts.
We removed strut bar, air filter box, air inlet tube, oil separators and coil covers. That's all pretty straight forward to do. Strut bar nuts-15mm, torque to 41 ft pd.
Remove dipstick and then dipstick tube. We spent a good bit of time getting this done. The tube has a hex recess in the opening. Did not have a tool so we made one, used a 3/8 nut as the 9/16 hex fit into the recess best. 2 nuts tighten onto a bolt.. There is a small lock tab , then turn counterclockwise. Once free pull out. Make sure it goes back in the way it came out. Ask me how I know, lol.
Then popped the harness clips out, ones on rear are tough to get but patience works.
Disconnect the harness from coils and cam sensors, slide clips back then press on end to release. Remove 10mm bolt from coil packs, then pull out.
FYI-We found the rubber seal on 2 coil packs folded over, factory screw up.
To remove and install covers we used 1/4 inch flex head rachet, various extensions, swivels, 10mm to remove, 8mm for new bolts that come with covers.. Takes some finess to get the drivers side rear upper bolt and passenger side rear lower bolt. Once broken free will pull up and off. The bolts stay in the old covers won't come out. Used a magnetic socked to put in the new lower and rear bolts to ensure not dropping one.. New covers come with seals and gasket installed. Need to move fittings for pcv hoses from old to new covers and 1 hose mount.
That pretty much sums up the job. Spent about 2 hours on driver side, learning curve and took our time. Passenger side 45 min to an hour.
Hope this helps those on the fence. It's not a bad job, be patient, take your time.

Thank you for the information!I'm sure you can. I had a 10 mm socket with swivel attached that I used. Also a 10mm magnetic socket with seperate universal joint. Didn't really need that one .
Much appreciatedGlad I could help, just be patient and take your time.
If any more questions, I should be available.
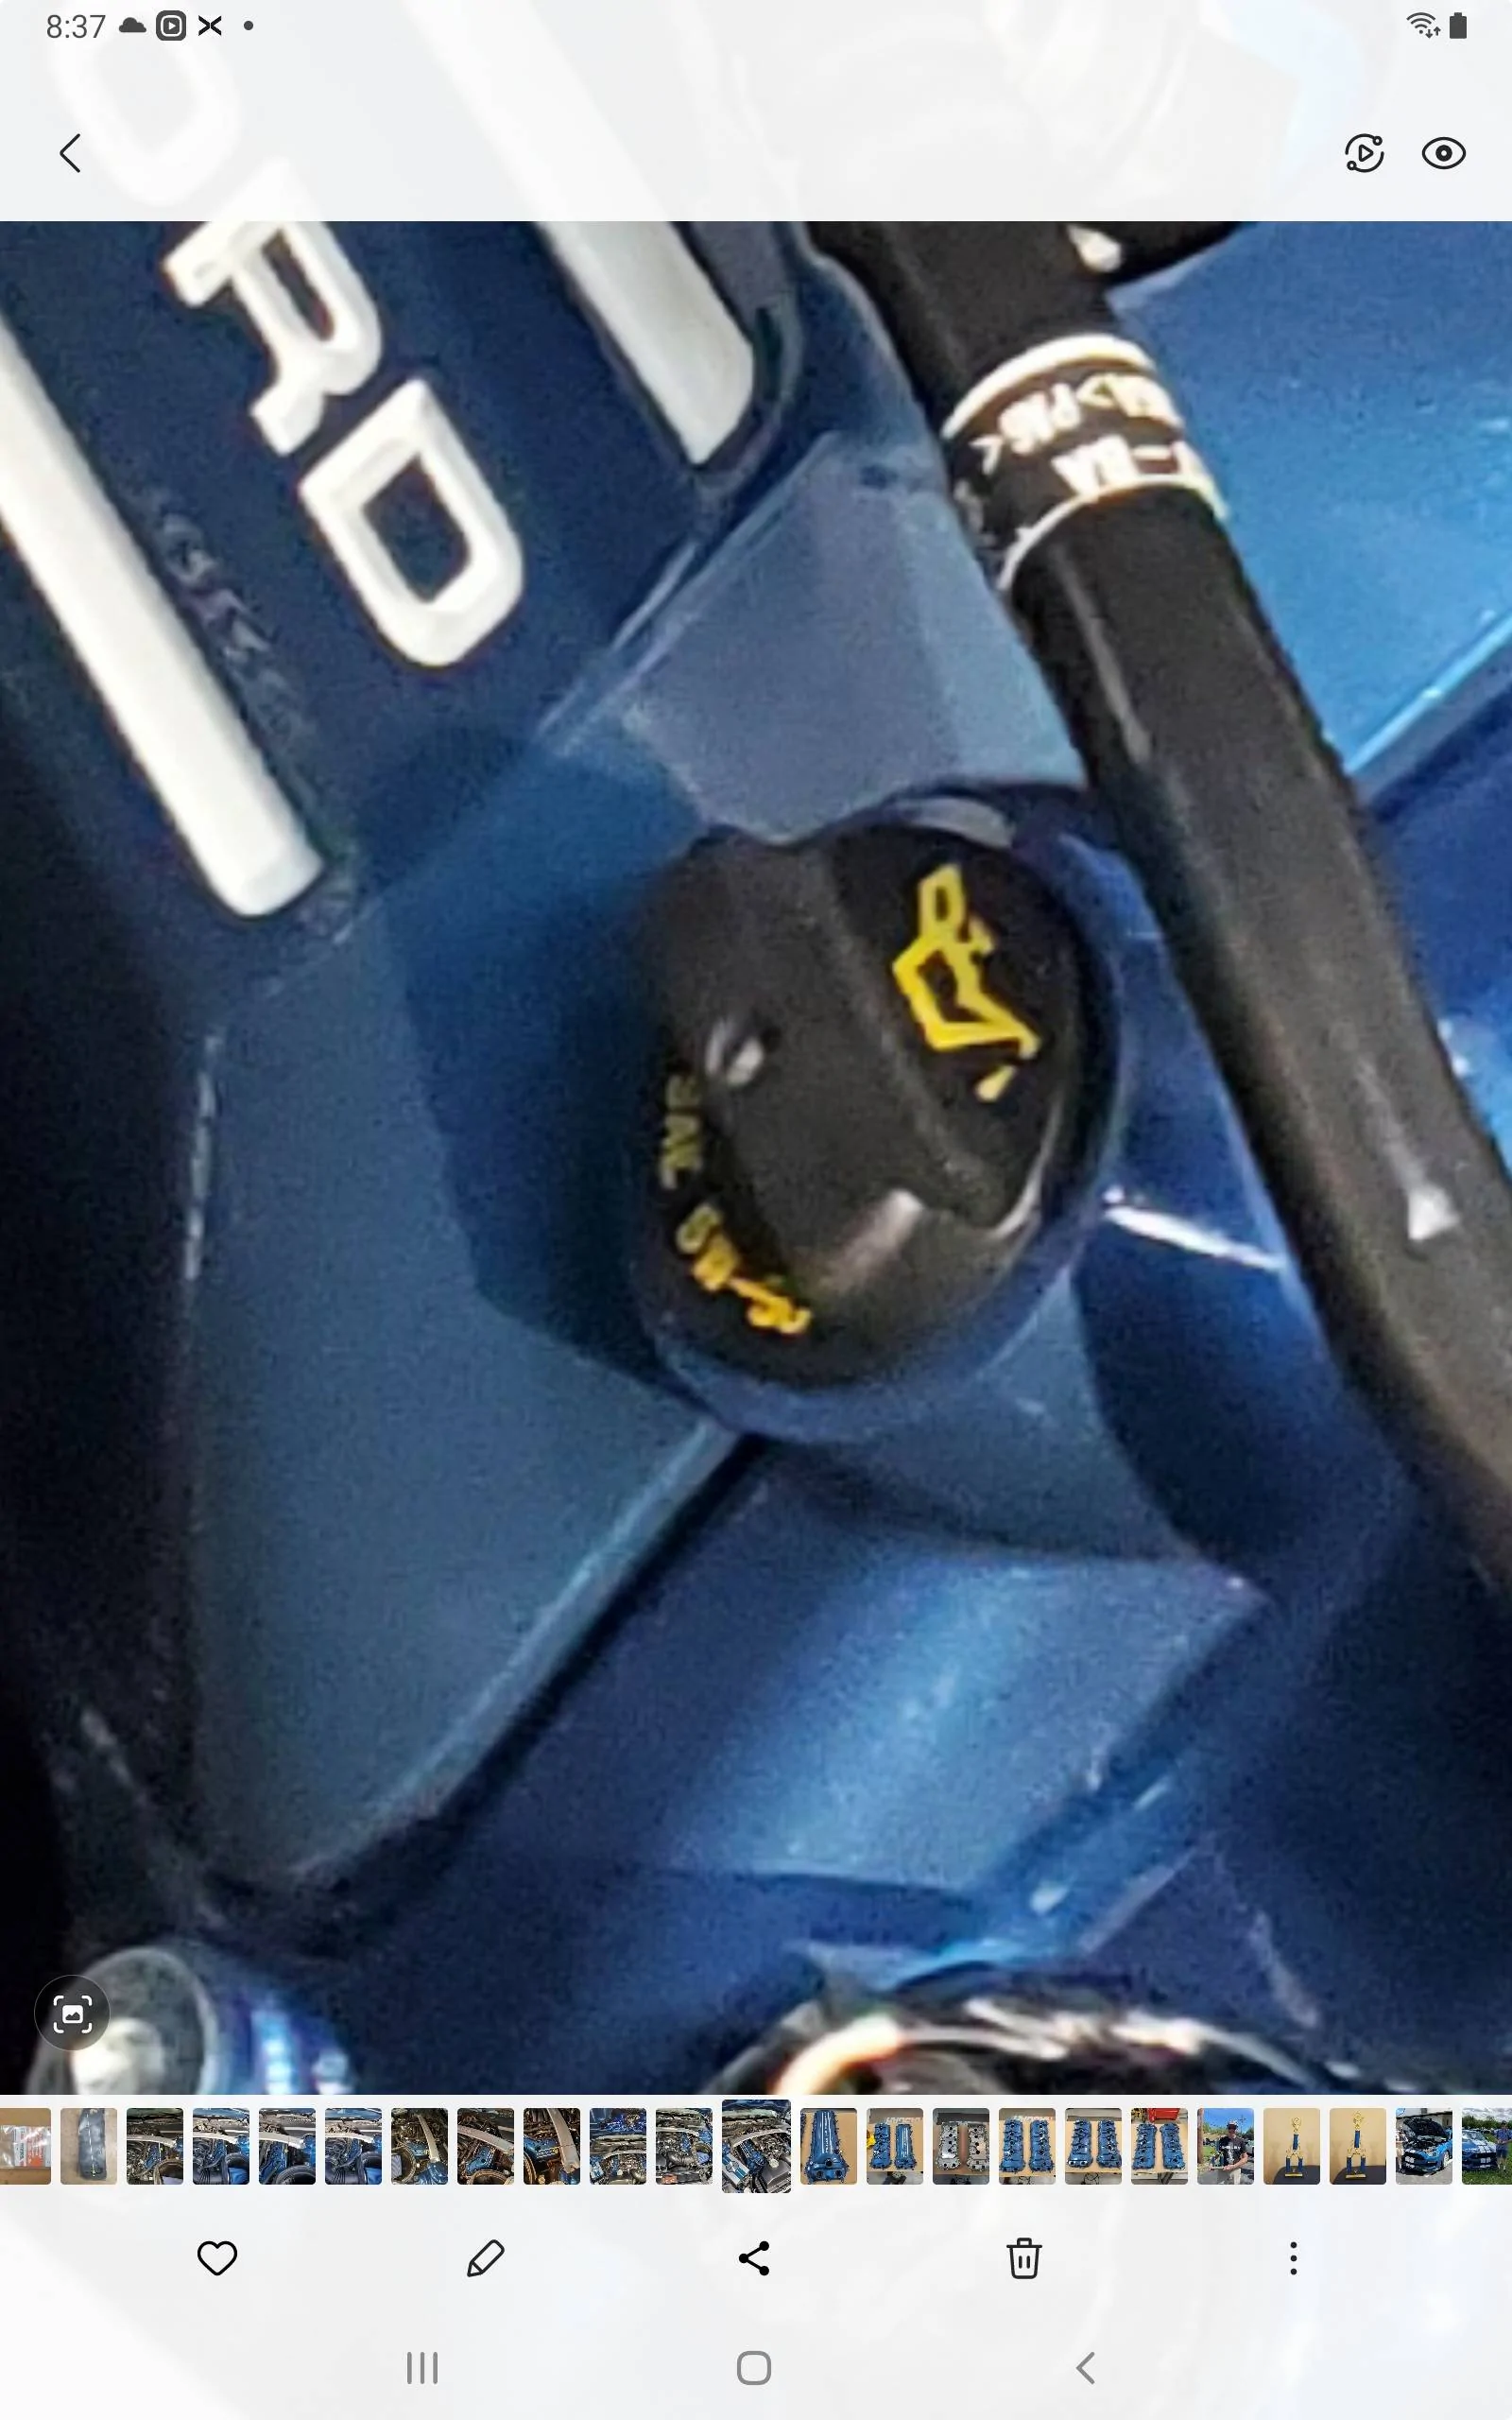
Hi George, did you find a oil cap that fits these valve covers and says 5w50? I understand the one that comes with them says 0w-20. Thanks in advance!Thank you but my buddy Chris is the one who suggested we do a video on it. I looked for one everywhere and told him there was not one I could find. He spent a lot of time editing it. I'm just the old guy in it, lol.