DFB5.0
Well-Known Member
- Thread starter
- #1
Decontamination, a buzz word that has probably become a little overused in recent times. In very basic terms, the word is used to describe the removal of foreign material from the paint, glass, and wheels that is not removed during a normal maintenance wash. These contaminants build up over time, making the paint feel rough and lacking in clarity.
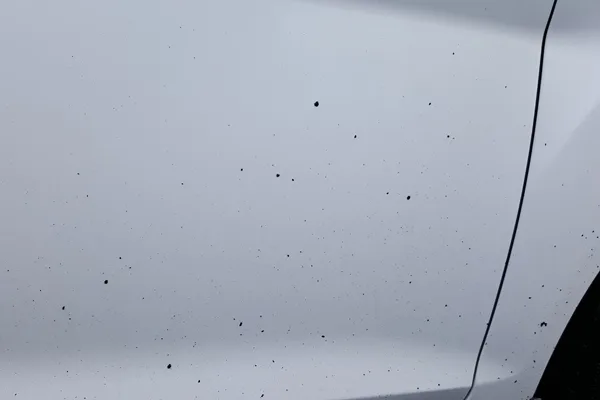
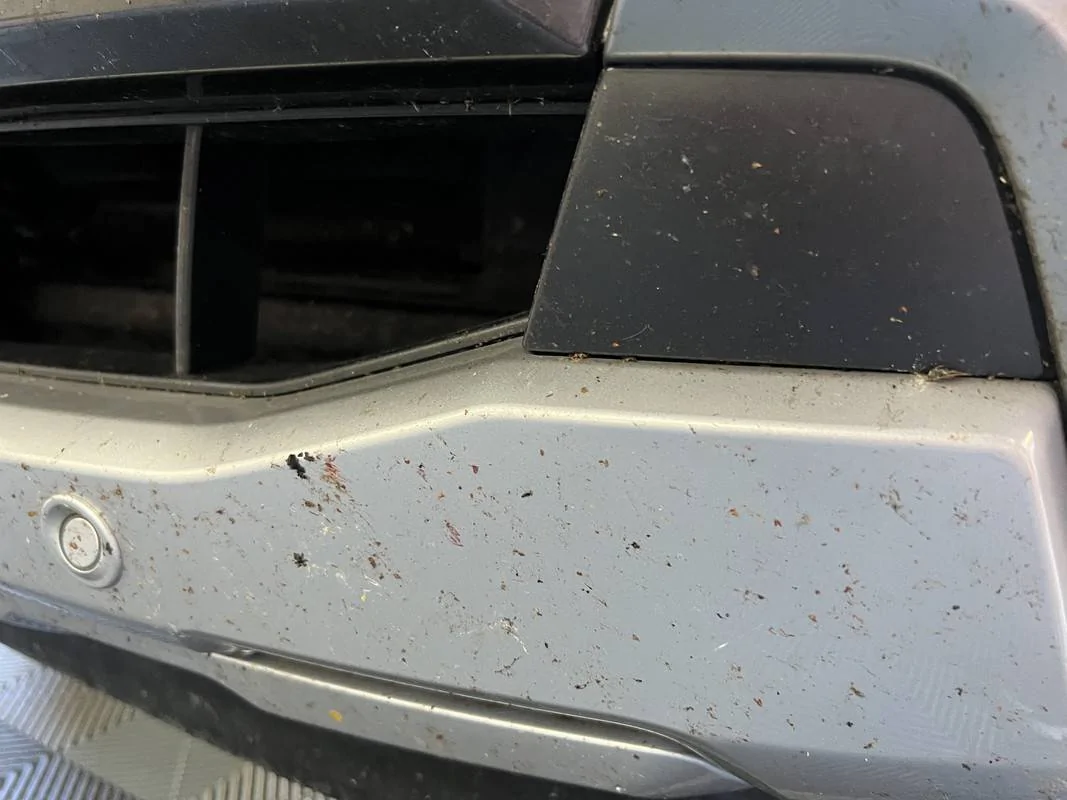
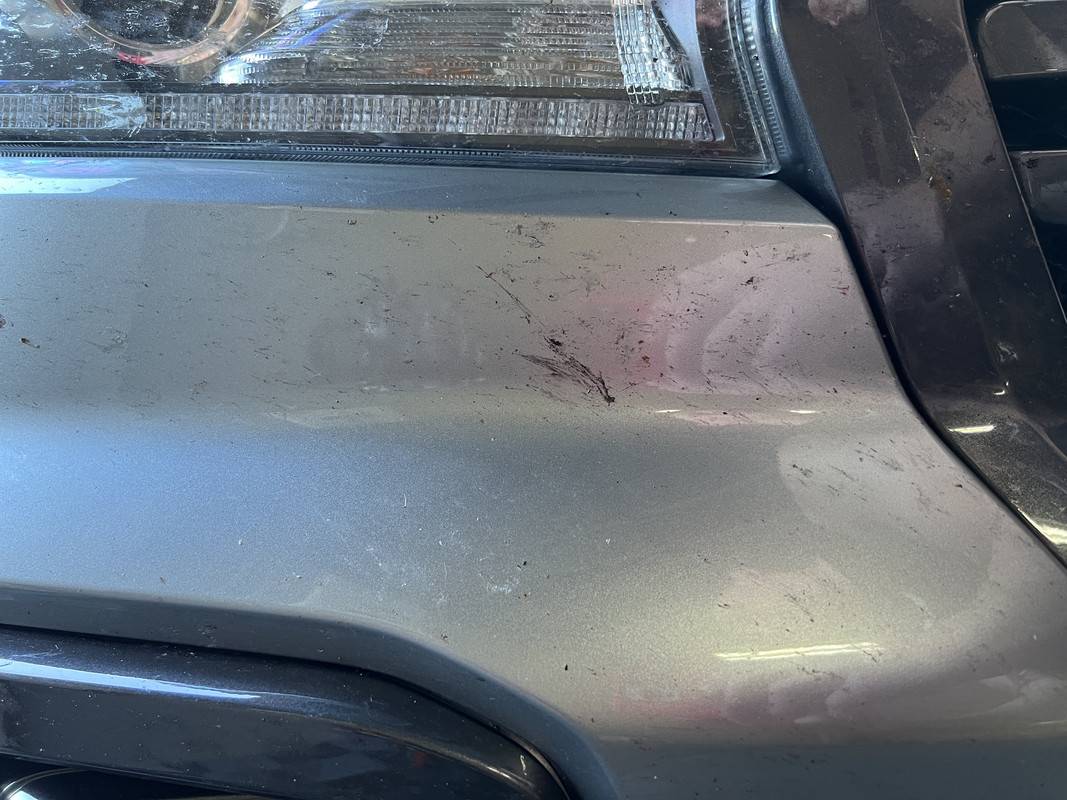
Contamination can range from iron fallout, industrial fallout, acid rain, mineral deposits, bird droppings, tree sap, bug remains, tar, paint overspray, oily road grime and rubber residue. This can vary depending on how and where you use your vehicle. A garage queen may never truly need to be decontaminated. Live in an industrial area or park at a train station, chances are you will be doing this regularly. I live in a country area, but those who live/work in higher population cities, by an airport or in industrial areas, you will typically have more fallout to deal with.


Some contamination can be seen with the naked eye, bugs and tar for example, others can only be felt. Typically, contaminated paint or glass will feel rough and sound “crunchy”. An experienced detailer will feel this with their naked hand, but if you are unsure, the “baggy test” is a good method to start with. Place your hand in a plastic bag, then run over a test spot. The bag will amplify the effects of the contaminants and help you feel and hear what’s on the paint. If it feels smooth, then you likely won’t need to go any further. If the bag feels gritty and/or has an audible scruffy feel, then decontamination is needed.

Removing contamination will enhance the look and feel of the paint, improve the results of a paint correction procedure by eliminating interference between the pad and the paint, and ensure any wax/sealant/coating will correctly bond to the surface, improving its longevity.
There are two ways to remove contamination from vehicle surfaces. Which method you use will depend on the level and type of contamination present, sometimes you will need both.
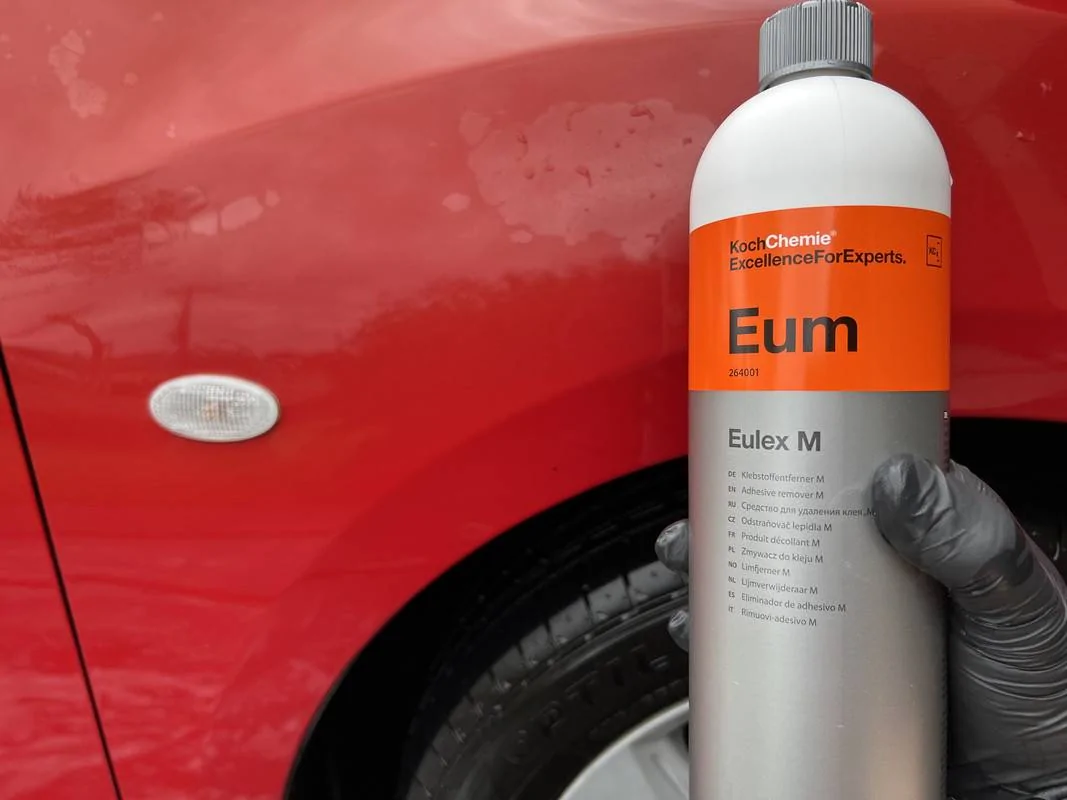
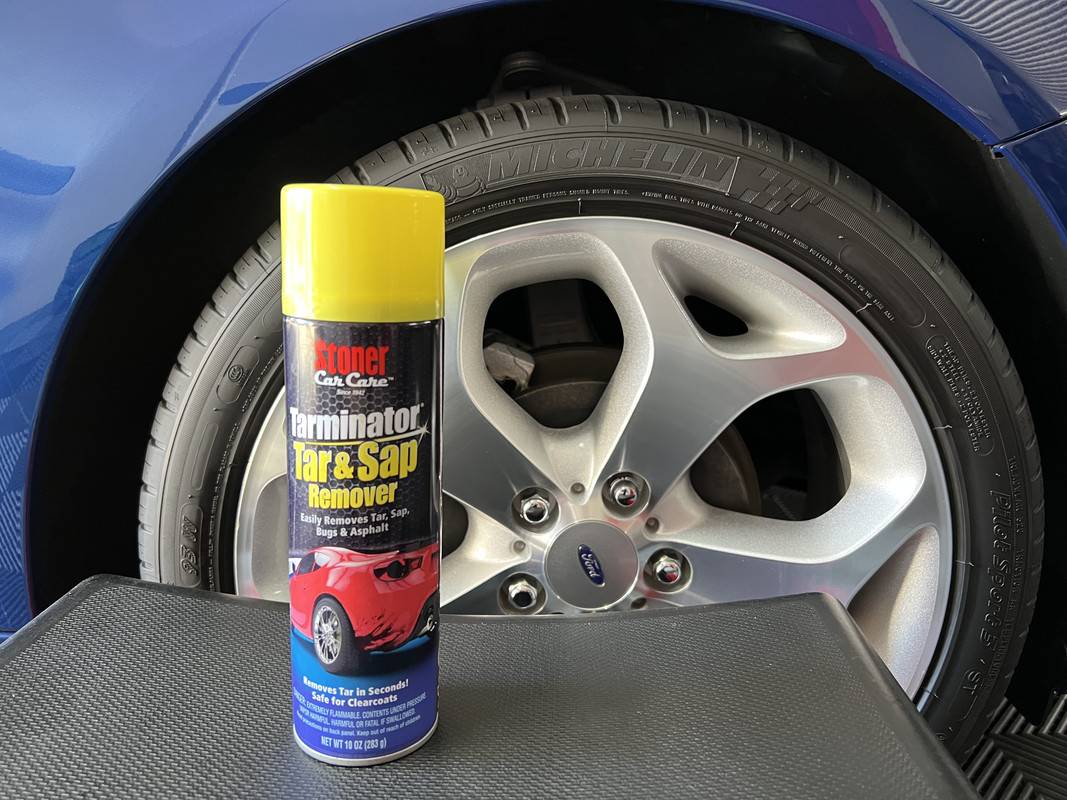
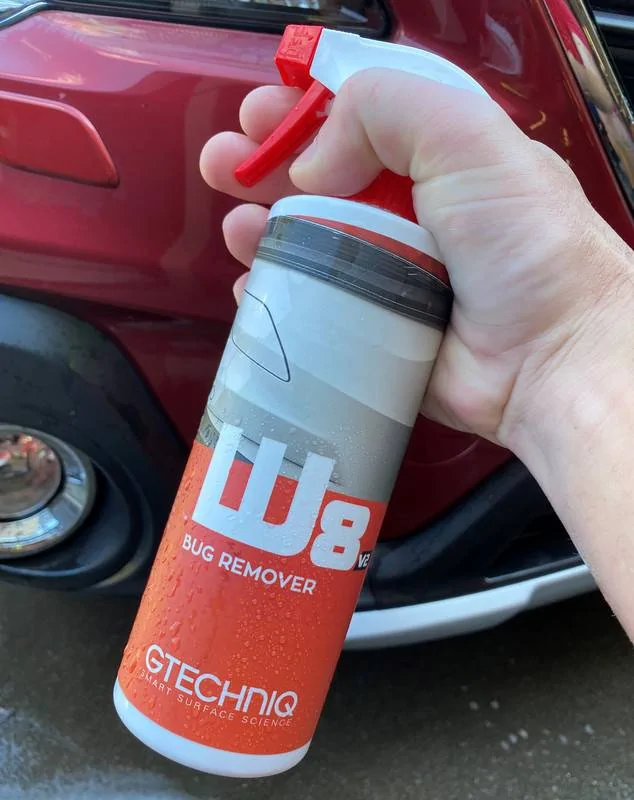
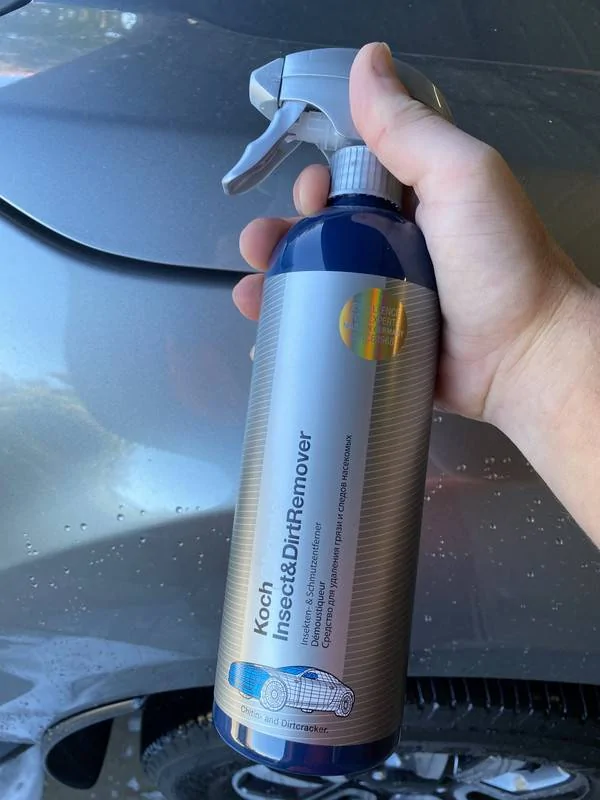
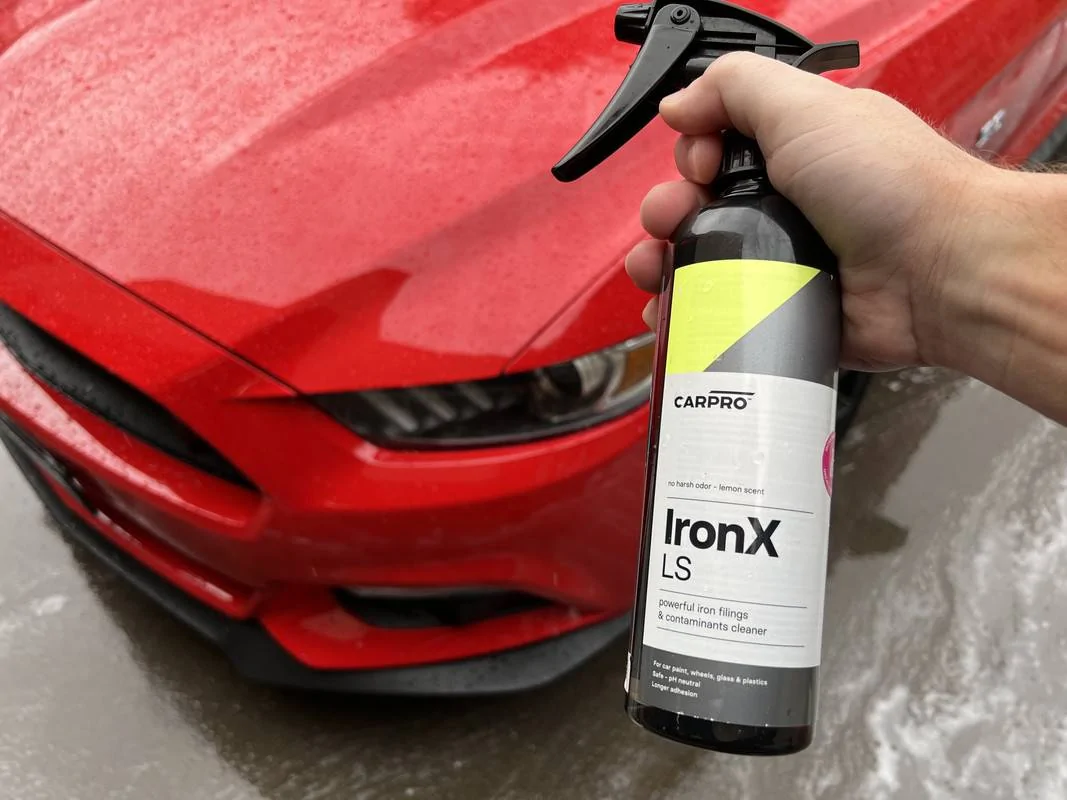
Chemical Decontamination – this involves the use of specific chemicals to safely soften and then remove contaminants. Iron, water spot, bug, tar and degreaser products exist for this very reason.
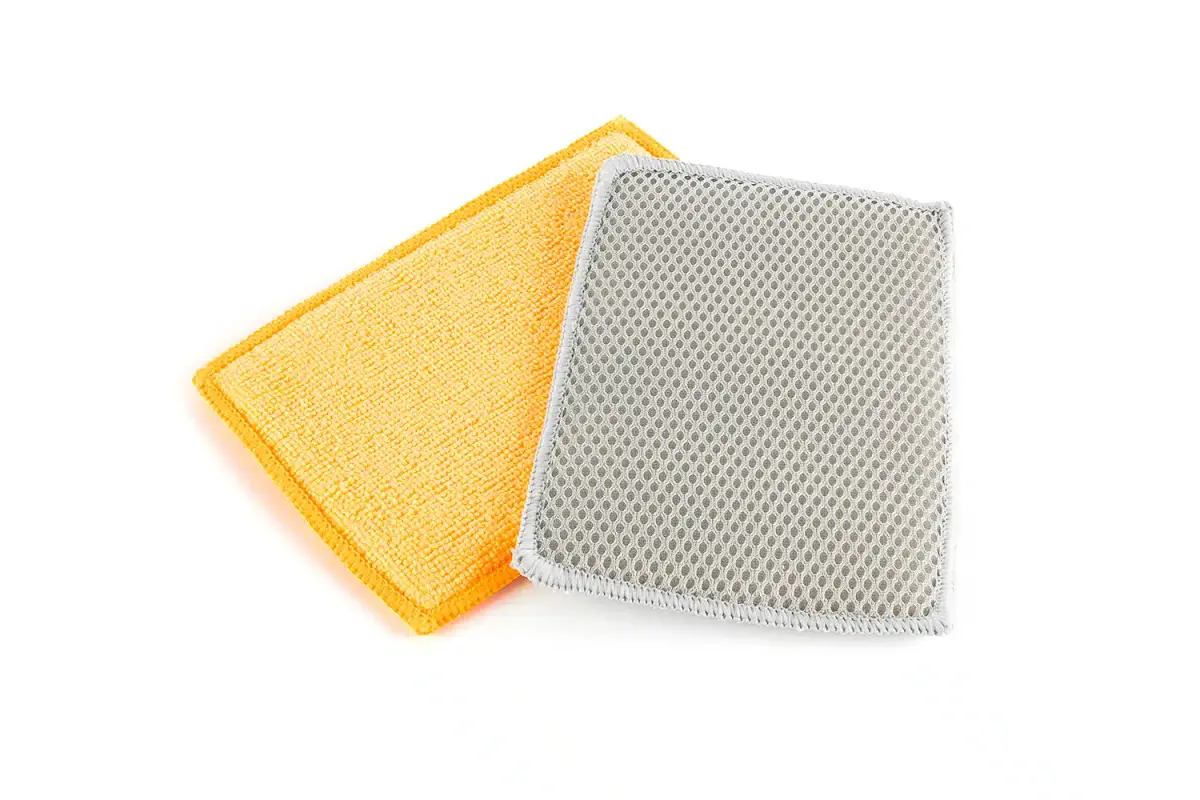
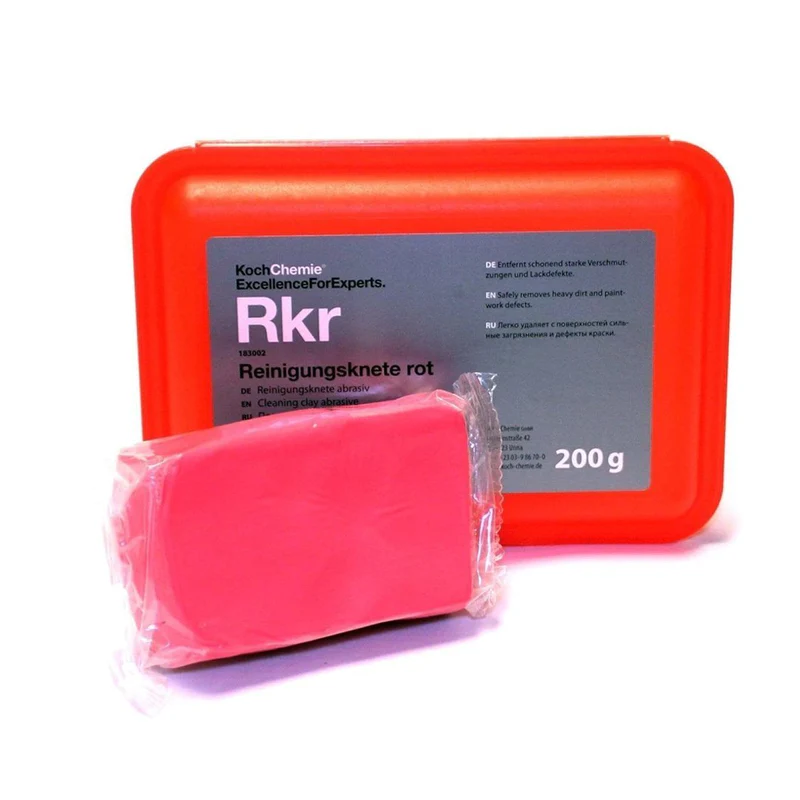
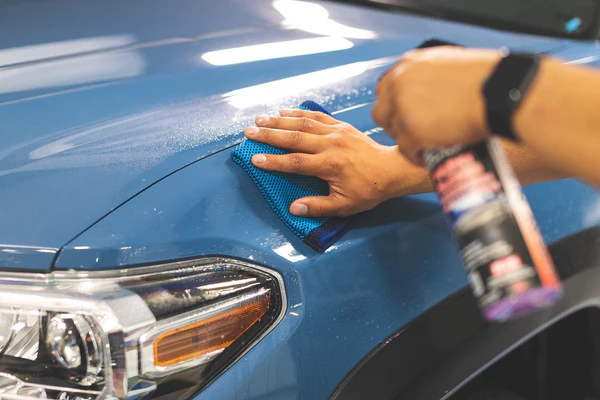
Mechanical Decontamination – this involves contact with the surface to agitate or abrade the contaminants. Think clay bars, mitts, towels and sponges. Because of that, you want to do this as little as possible, and depending on the aggression needed/used, you may even need to follow with a polish.
Over the following posts, I will focus on various decontamination scenarios, from simple bug removal right through to dealing with water spots and mineral deposits.
Contamination can range from iron fallout, industrial fallout, acid rain, mineral deposits, bird droppings, tree sap, bug remains, tar, paint overspray, oily road grime and rubber residue. This can vary depending on how and where you use your vehicle. A garage queen may never truly need to be decontaminated. Live in an industrial area or park at a train station, chances are you will be doing this regularly. I live in a country area, but those who live/work in higher population cities, by an airport or in industrial areas, you will typically have more fallout to deal with.


Some contamination can be seen with the naked eye, bugs and tar for example, others can only be felt. Typically, contaminated paint or glass will feel rough and sound “crunchy”. An experienced detailer will feel this with their naked hand, but if you are unsure, the “baggy test” is a good method to start with. Place your hand in a plastic bag, then run over a test spot. The bag will amplify the effects of the contaminants and help you feel and hear what’s on the paint. If it feels smooth, then you likely won’t need to go any further. If the bag feels gritty and/or has an audible scruffy feel, then decontamination is needed.

Removing contamination will enhance the look and feel of the paint, improve the results of a paint correction procedure by eliminating interference between the pad and the paint, and ensure any wax/sealant/coating will correctly bond to the surface, improving its longevity.
There are two ways to remove contamination from vehicle surfaces. Which method you use will depend on the level and type of contamination present, sometimes you will need both.
Chemical Decontamination – this involves the use of specific chemicals to safely soften and then remove contaminants. Iron, water spot, bug, tar and degreaser products exist for this very reason.
Mechanical Decontamination – this involves contact with the surface to agitate or abrade the contaminants. Think clay bars, mitts, towels and sponges. Because of that, you want to do this as little as possible, and depending on the aggression needed/used, you may even need to follow with a polish.

Over the following posts, I will focus on various decontamination scenarios, from simple bug removal right through to dealing with water spots and mineral deposits.
Sponsored


") , and I already treated the black trim with Carpro DLux
, and I already treated the black trim with Carpro DLux 


 . Speaking of YouTube I chuckled when you talked about Luke Wilson talking. I agree he is a fast talker LOL. He is only a couple hours from me in Nashville. I do watch his videos but sparingly
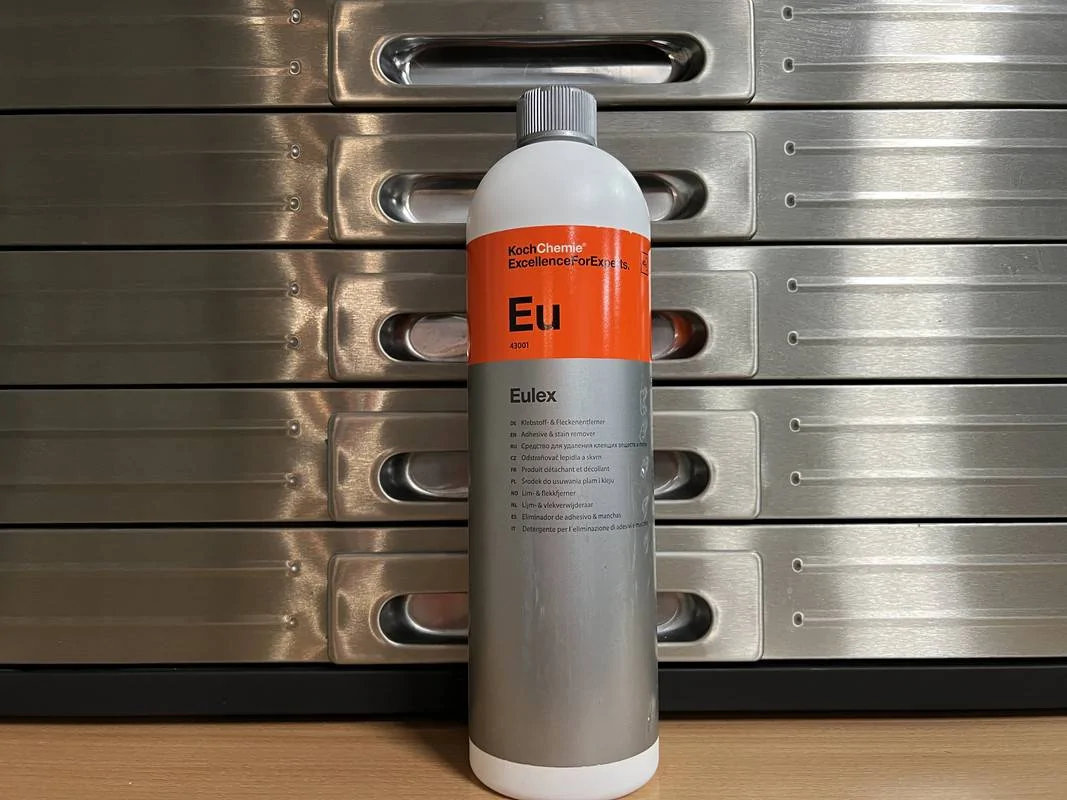
  . Oh and I finally orders some Eulex, it is my birthday, I had to buy myself something